Colony Flow Level 1227 Walkthrough Solution & Guides | How to solve Colony Flow 1227

Guide By Liam Stone
Updated on August 12, 2026
The Level 1227 walkthrough video above shows every step, so feel free to skip the article and watch instead.
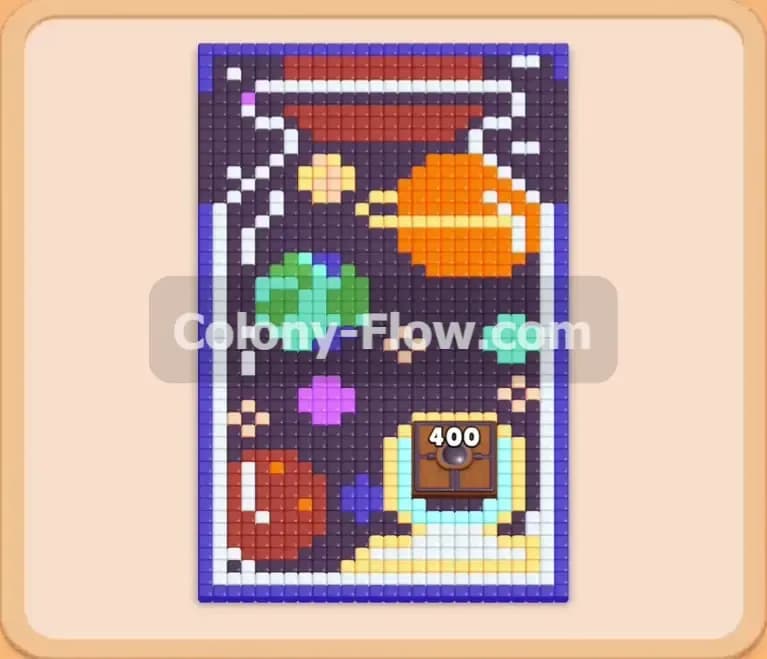
Video doesn't match your screen?
Game updates frequently scramble layouts! Try our AI Screenshot Solver first to find your exact board instantly, or report broken guides to our team.
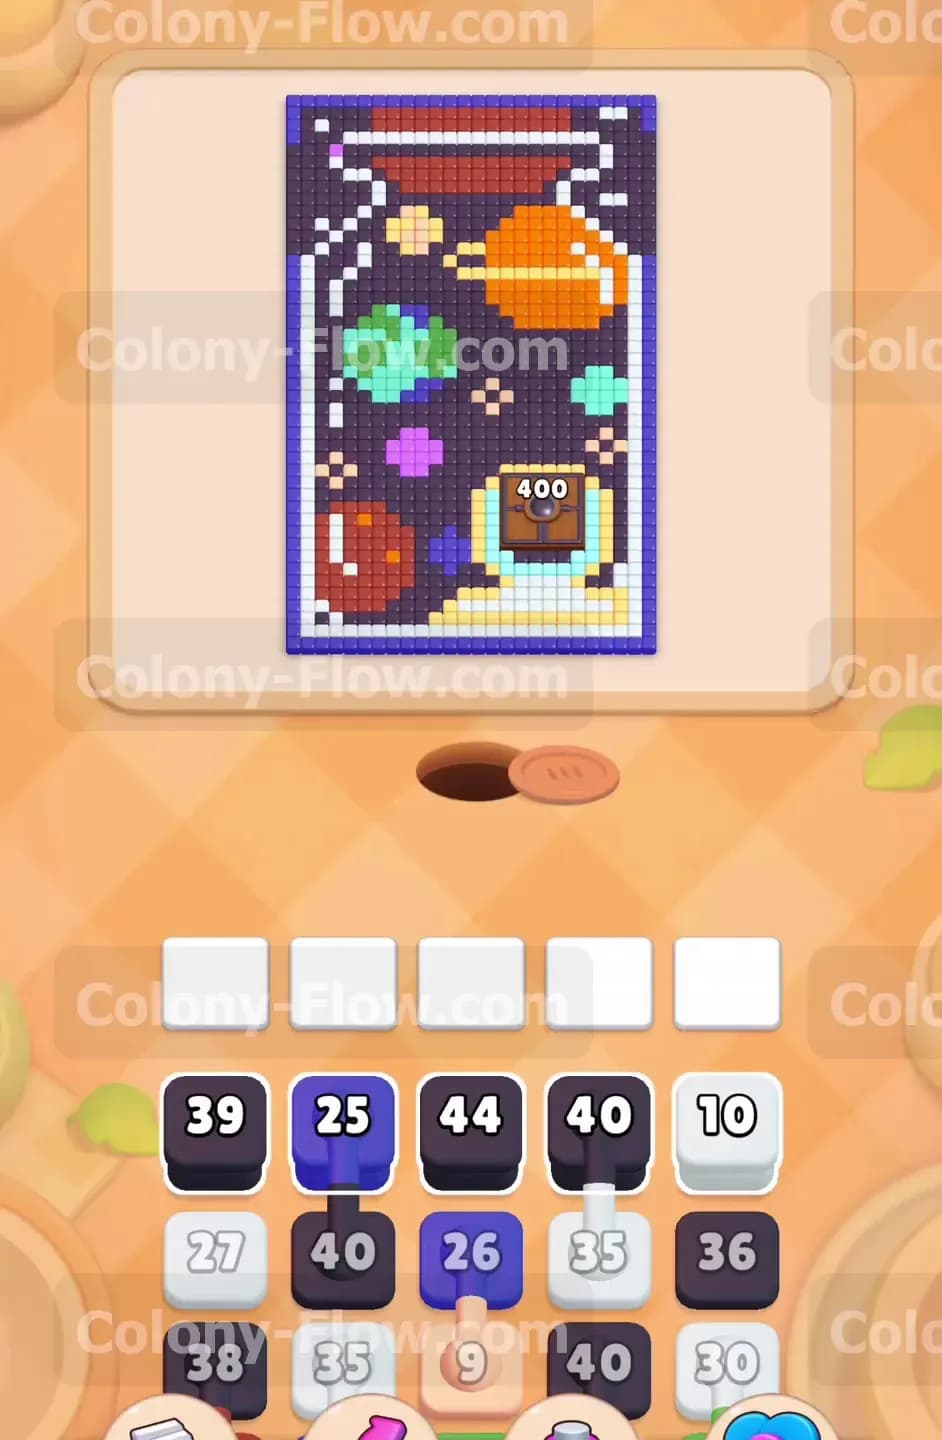
Colony Flow Level 1227 presents a massive space scene trapped inside a glass jar. You face a beautiful pixel art puzzle filled with planets and bright stars floating against a vast dark sky. I played through this level and found the sheer volume of background tiles overwhelming at first glance. The vibrant colors of the planets really pop against the heavy dark background. You will need a careful strategy to manage your tray and keep your ants moving without getting stuck. Every move carries weight because the board is incredibly dense from the very beginning.
Colony Flow Level 1227 Overview
What You Are Working With
The board is completely packed with different visual elements. The main picture is a large glass jar standing on a light blue base. Inside the jar you see a dark background representing deep outer space. A bright orange planet with a prominent slanted ring sits in the upper right quadrant. A smaller green planet floats on the middle left side. A round red planet rests near the bottom left corner. Small white and purple stars are scattered randomly throughout the dark space. The jar itself has a thick blue outline and a bright red lid at the top edge. The most demanding feature on the entire board is a Hungry Door located exactly at the bottom center. This door requires a massive feed count of four hundred before it opens. Your tray provides a wide mix of high number blocks and low number blocks across all these distinct colors.
What It Takes to Clear Level 1227 Board
Winning this level means peeling back the thick layers of tiles from the outside in. You must clear the massive dark background early to create open pathways for your ants. The core challenge is expertly managing your five waiting slots at the bottom of the screen. If you pull blocks and fill all five slots with colors that the ants cannot reach you will jam the tray. When the tray jams and the ants stop moving you lose the level instantly. You have to feed the Hungry Door steadily while carving out routes to the inner planets. Every single move you make must leave at least one active path open so the ants can continue clearing food tiles and freeing up your tray slots.
Colony Flow Level 1227 Step by Step Solution
Step 1: Target the dark background to open the outer edges.
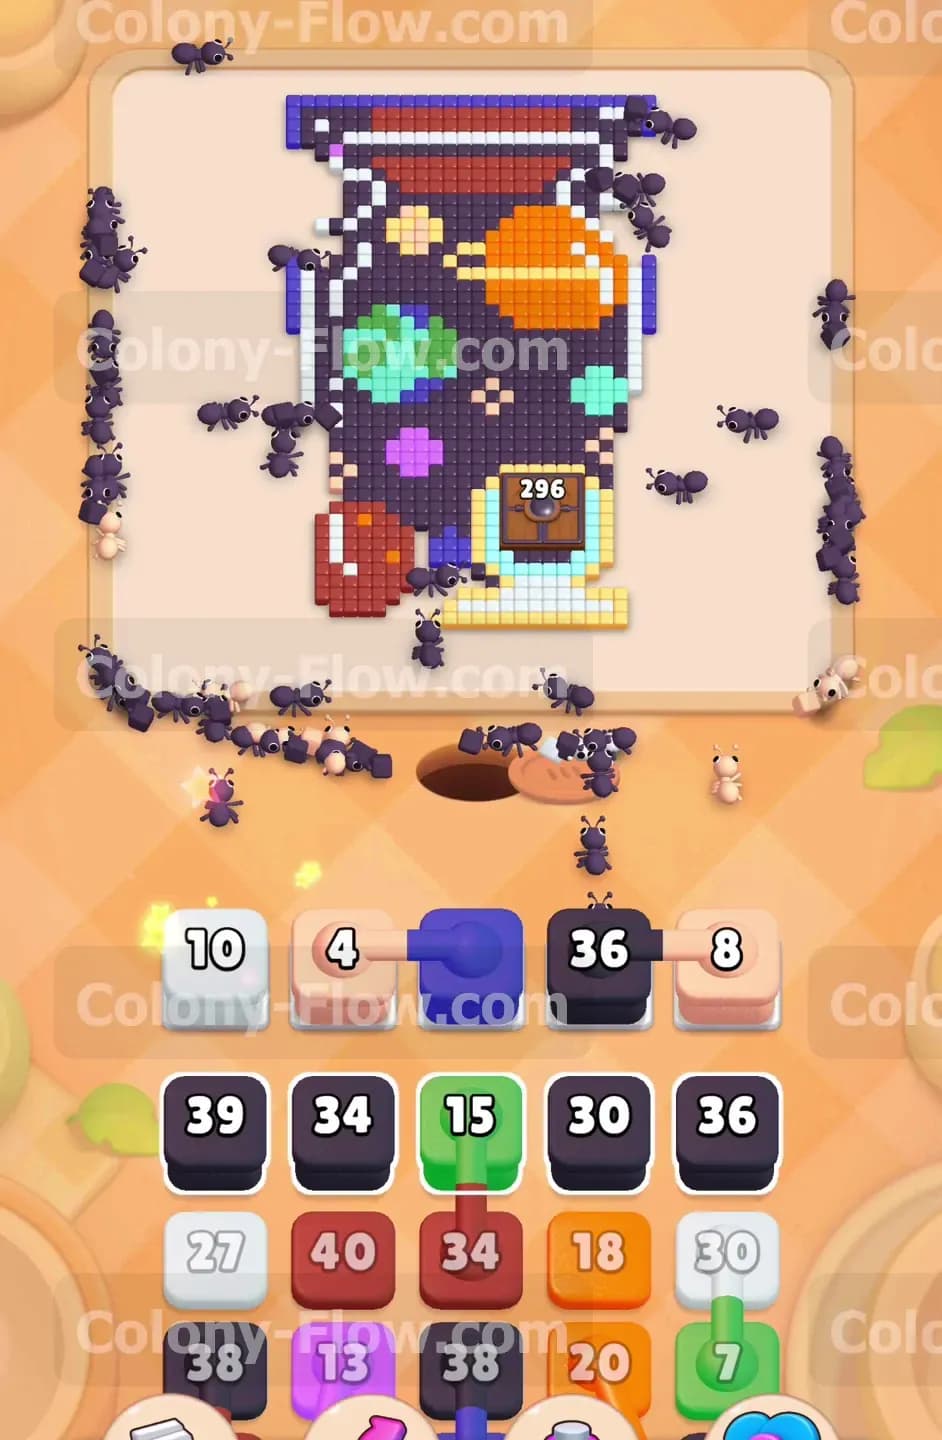
The dark tiles make up the absolute biggest obstacle on the board and they block access to everything else inside the jar. You need to pull the dark blocks and black blocks from your tray to get the ants working immediately. When you select these blocks the ants stream out of the bottom nest hole and march up the left and right sides of the board. They start chewing away at the massive dark sky. You will see the numbers on your tray blocks drop rapidly because there are so many accessible dark tiles touching the open edges. Keep pulling high number dark blocks as long as the path remains totally clear. This steady clearing action creates crucial breathing room for your ants to reach the stars and planets buried much deeper inside the picture.
Step 2: Tap the white blocks to dissolve the scattered stars.
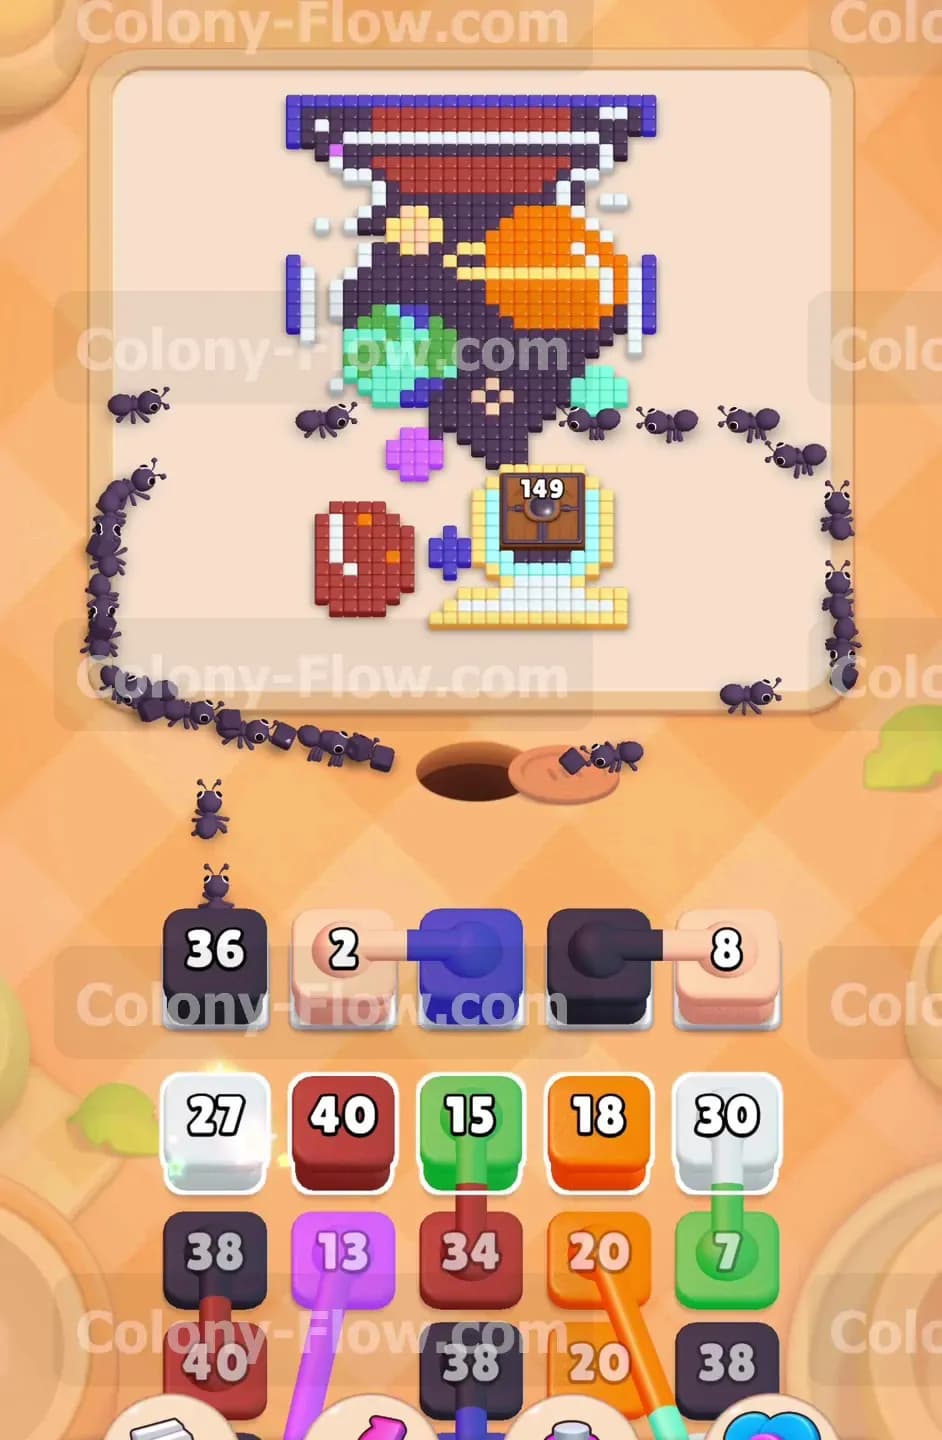
As the dark background begins to recede and vanish you will expose the small white stars dotting the space scene. The jar also features bright white reflection lines running down its vertical sides. Pull a white block from the tray into your waiting slots to target these areas. The ants will navigate through the newly opened empty spaces to reach these isolated white tiles. Managing these smaller clusters requires very close attention. Because the star clusters are tiny your white blocks might not empty entirely in one single push. You must ensure you always have other active colors in your tray so the main body of ants keeps moving. Never fill all five slots with white blocks or you risk a fatal tray jam right near the start.
Step 3: Feed the Hungry Door to unlock the bottom center area.
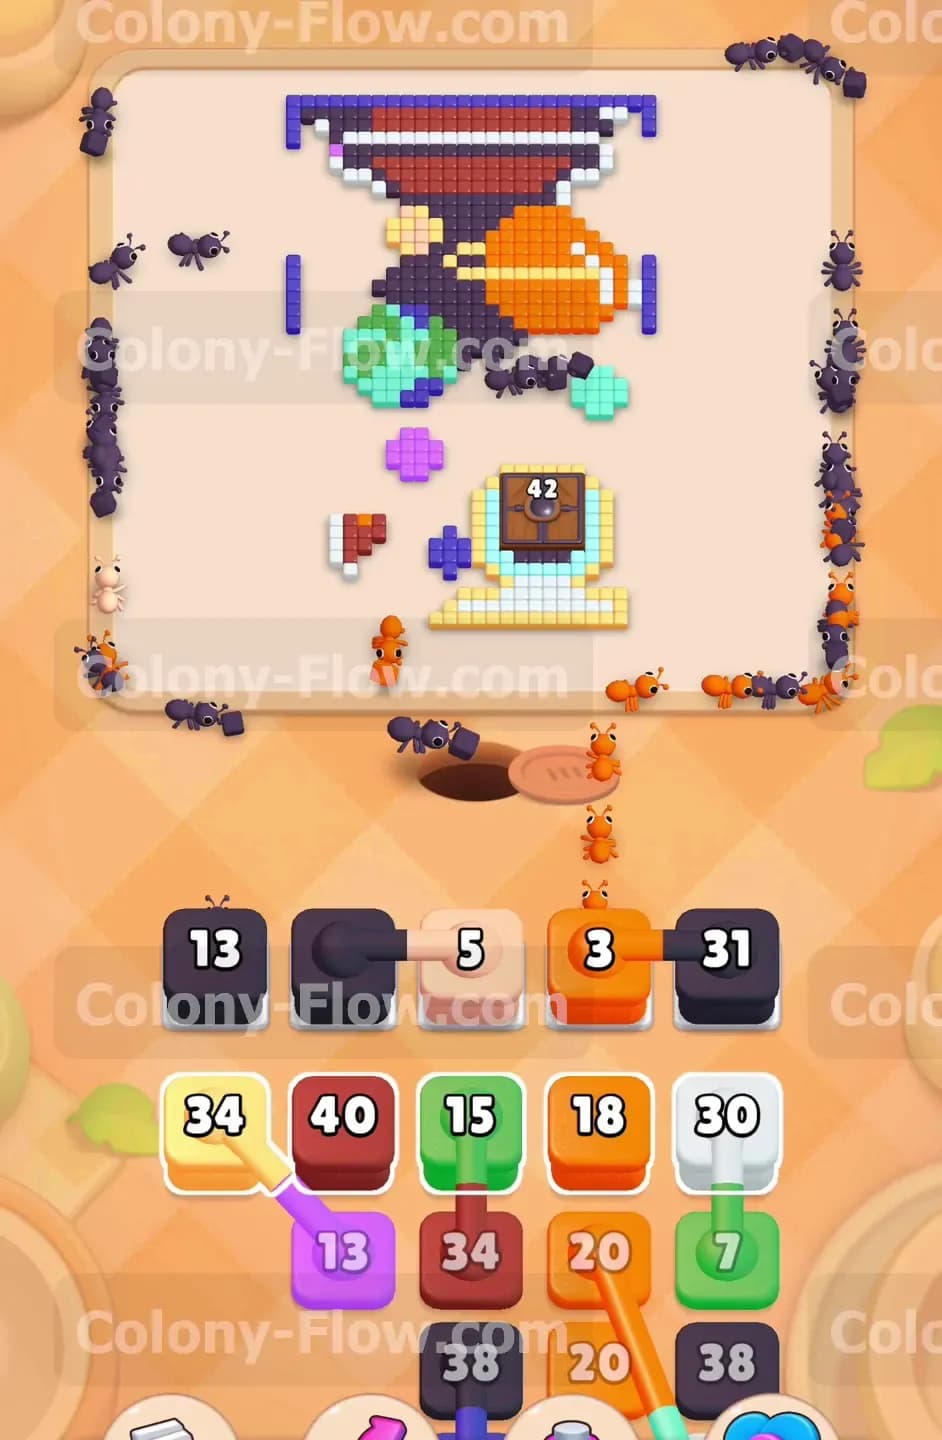
The Hungry Door sits squarely near the bottom of the jar and demands an enormous amount of resources to open. It starts with a steep requirement of four hundred points. You must route ants to it consistently throughout the early stages of the level. Clear the dark tiles right above and around the door to give the ants a clear direct path to the mechanism. As you pull matching colors the ants will march straight into the door to feed it. You will notice the bright numbers on the door ticking down with every single ant that enters. Keep supplying the correct colors whenever the path allows it. Do not neglect this door because the specific tiles trapped directly behind it will block your final progress if left locked for too long.
Step 4: Break down the giant orange planet in the upper right.
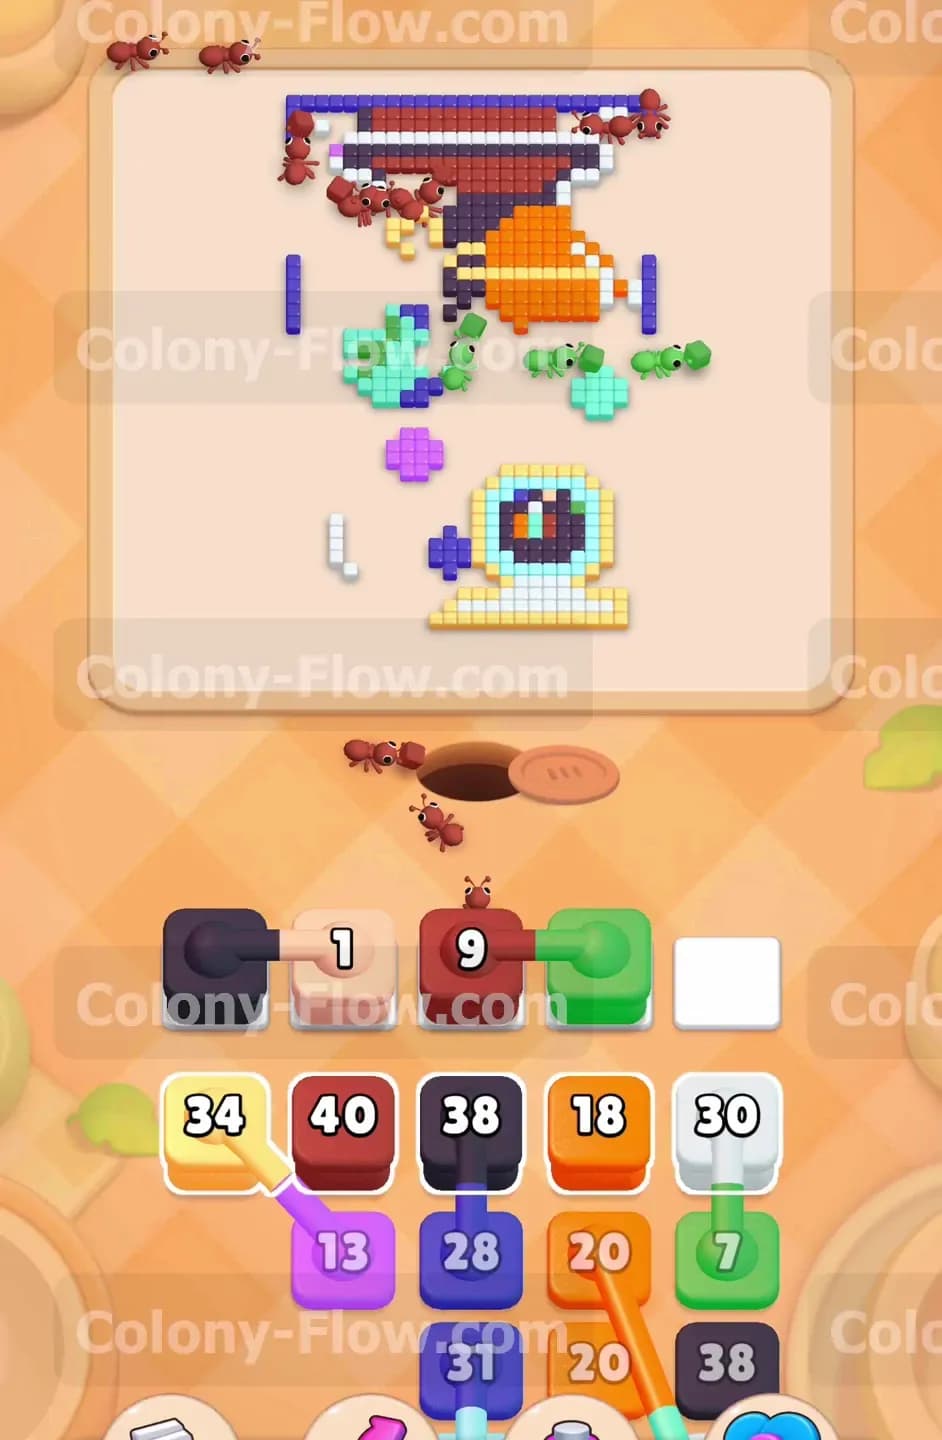
The orange planet is huge and features a thick diagonal ring around its middle. This structure creates a solid wall that completely blocks access to the upper right section of the jar interior. Tap the orange blocks from your tray to send your colony marching toward this massive celestial body. The tile counts here are quite high so you will need to pull several orange blocks in succession to chew through the shape completely. Watch the ants crawl all the way up the right side of the board and swarm the planet surface. Make absolutely sure your other tray slots hold active colors like black or blue so the ants never run out of work while chipping away at the thick orange ring.
Step 5: Clear the green planet and start the red details.
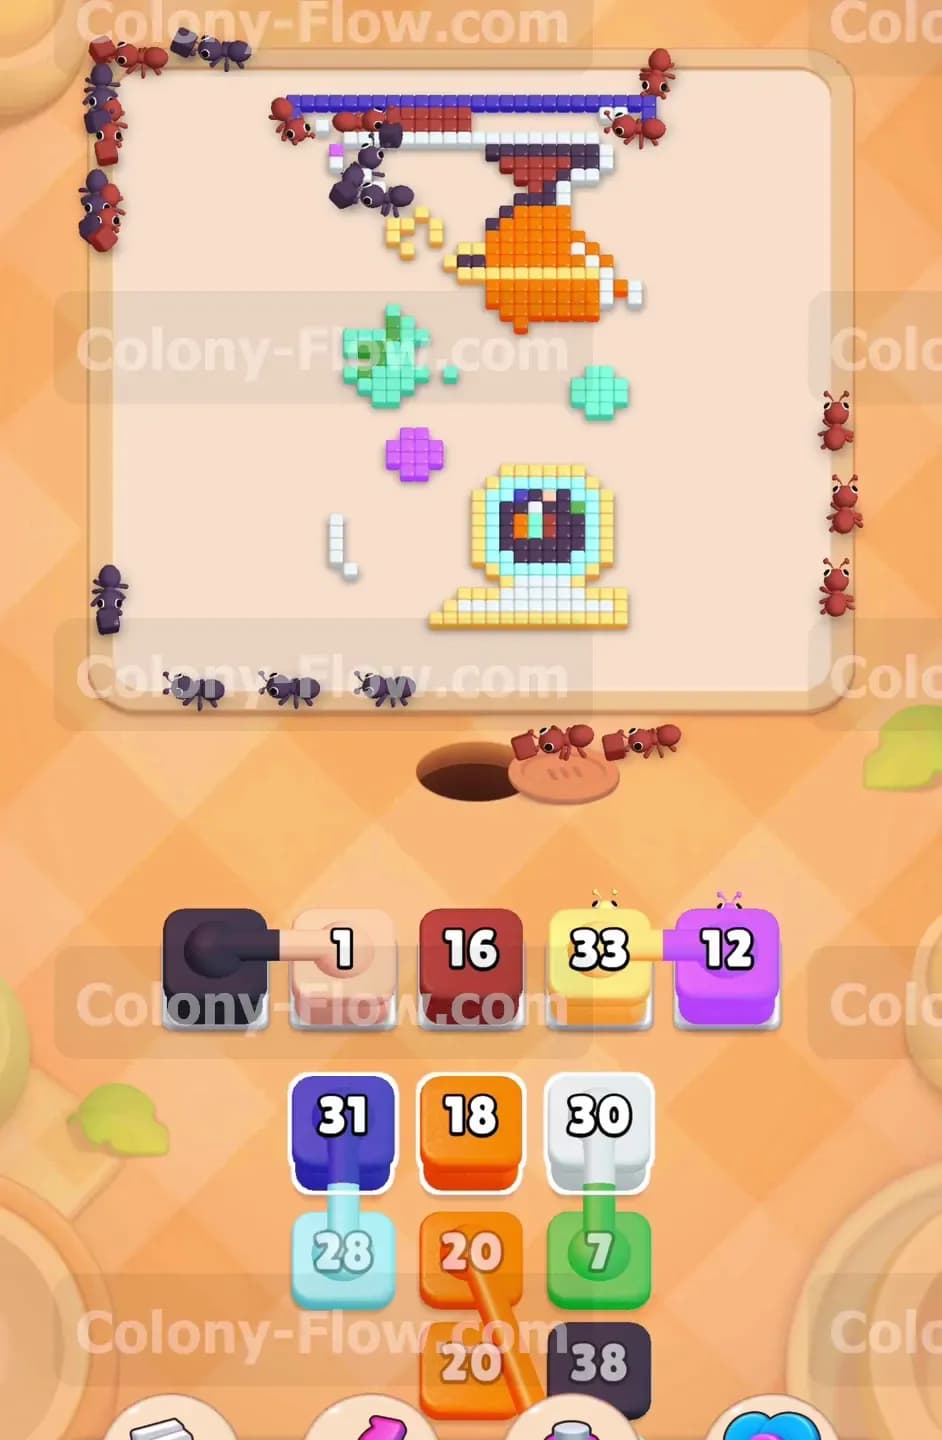
With the right side opening up nicely you can shift your focus to the left side of the jar. A bright green planet floats in the middle left area completely exposed now. Pull the green blocks into your tray and let the ants devour it quickly. Once the green planet shrinks you will gain full access to the red planet sitting just below it. Tap the red blocks to clear this bottom left area. The red tiles also form the heavy flat lid at the very top of the glass jar. When you activate red blocks your ants will split their forces in two directions. Half the colony will tackle the bottom planet while the other half marches all the way up to the top lid. This split action is a fantastic way to maximize your clearing speed and keep your waiting slots flowing smoothly without any jams.
Step 6: Eliminate the thick blue jar border.
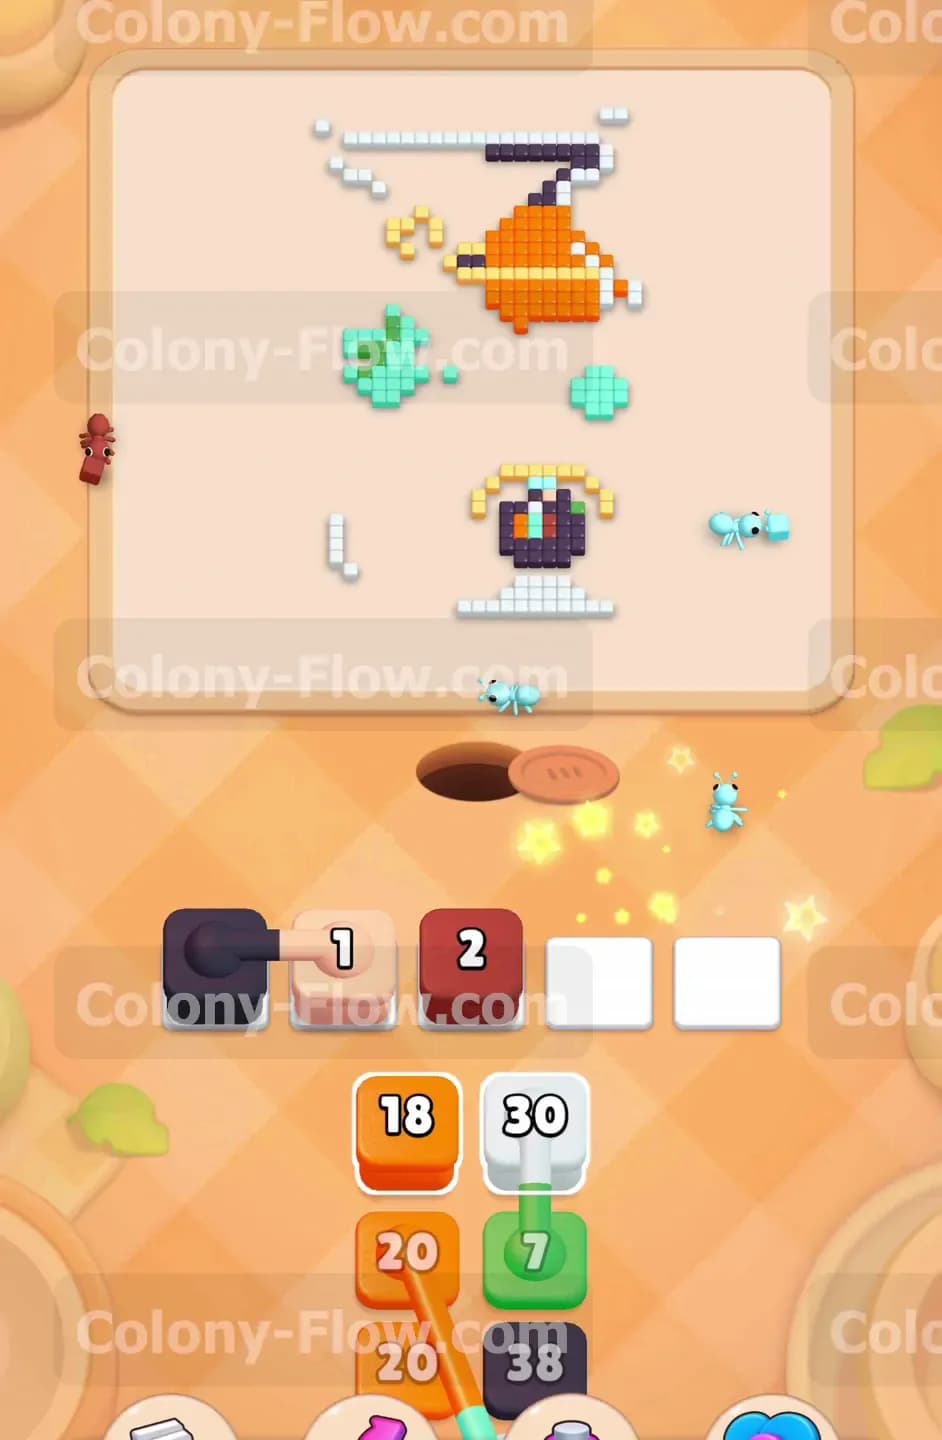
The heavy dark blue outline of the glass jar is fully exposed now that the internal space background is mostly gone. Tap the blue blocks to send a massive swarm around the entire outer perimeter of the picture. The ants will march up both the left and right sides simultaneously to eat away the thick straight borders. You are pulling very large numbers from the tray during this phase. Your slots will empty at a rapid pace as the ants quickly devour the long unbroken lines of blue tiles. Always keep one eye securely on your waiting slots. Wait for a blue block to completely vanish from the tray before pulling another one to ensure you never accidentally dead end your available space.
Step 7: Sweep up the light blue base and stray purple fragments.
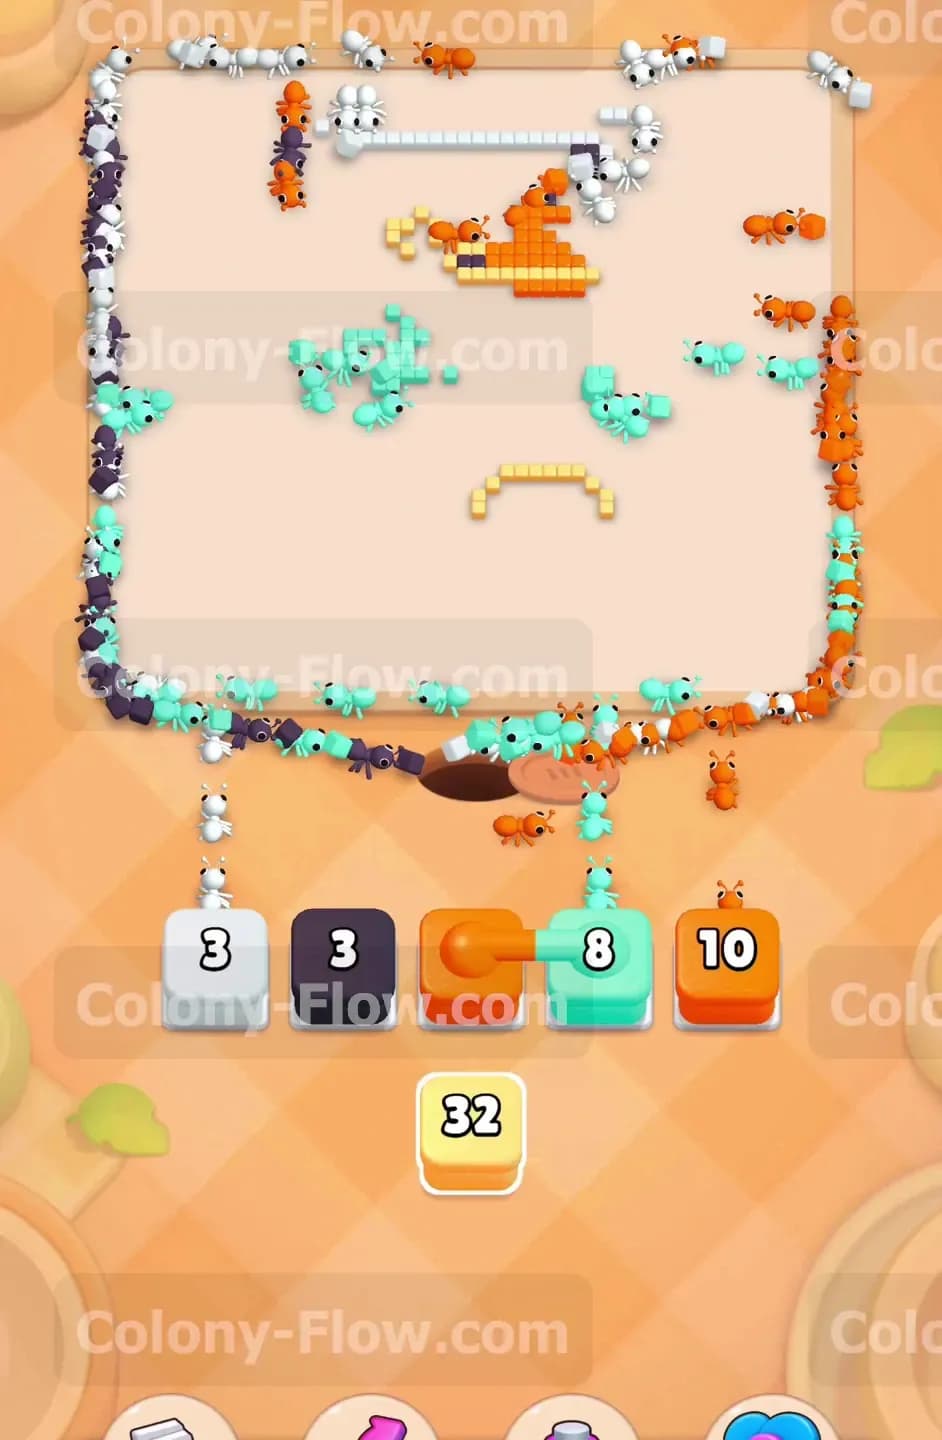
The board is looking much cleaner now but several isolated clusters still remain. You will see a blocky light blue section forming the solid base of the jar stand right near the bottom. There are also a few scattered light purple tiles that were previously trapped near the center planets. Tap the specific light blue blocks and purple blocks you need to clear these small areas. Wait patiently for the ants to finish a small section before you aggressively fill your slots with the very next color. The absolute biggest mistake you can make right now is rushing your taps. If you pull too many colors at once for these tiny remaining clusters you will fill your five slots with blocks that have absolutely nowhere to go.
Step 8: Finish the final white and orange pieces to secure the win.
Only a tiny handful of tiles remain on the empty board at this final point. You have a few stray white pieces left from the jar reflections and a couple of isolated orange fragments from the planet ring. Tap the very last white blocks and orange blocks waiting in your tray. The ants will rush out of the nest and rapidly target these final stragglers. Keep your tray perfectly organized and only pull exactly what you need to finish the job. Once the ants consume the final colored tile on the board they will turn around and retreat back into the dark nest hole. The entire picture will vanish and you will successfully clear the level.
Final Thought
Colony Flow Level 1227 really tests your ability to manage massive tile counts without ever clogging your tray. Keep your focus on opening up the heavy dark background early so your ants always have plenty of room to roam and eat. Managing those five waiting slots is the absolute key to surviving the huge numbers thrown at you. I highly encourage you to watch the video above this article if any particular step feels hard to follow in text. Seeing the ants move in real time makes the whole spatial puzzle process much easier to understand.