Colony Flow Level 172 Walkthrough Solution & Guides | How to solve Colony Flow 172

Guide By Liam Stone
Updated on July 12, 2026
The video above has the full walkthrough for Level 172, so use it if you'd rather skip the article.
Video doesn't match your screen?
Game updates frequently scramble layouts! Try our AI Screenshot Solver first to find your exact board instantly, or report broken guides to our team.
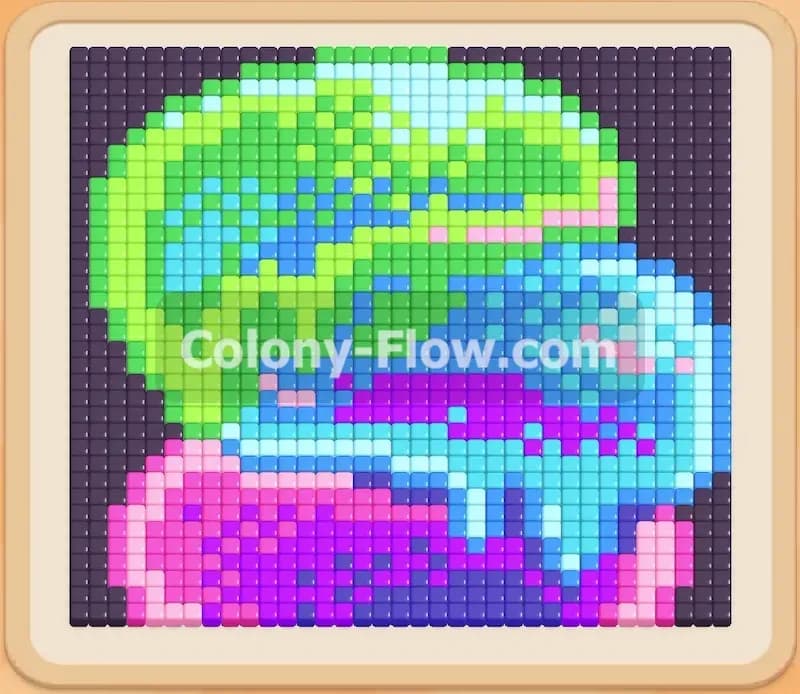
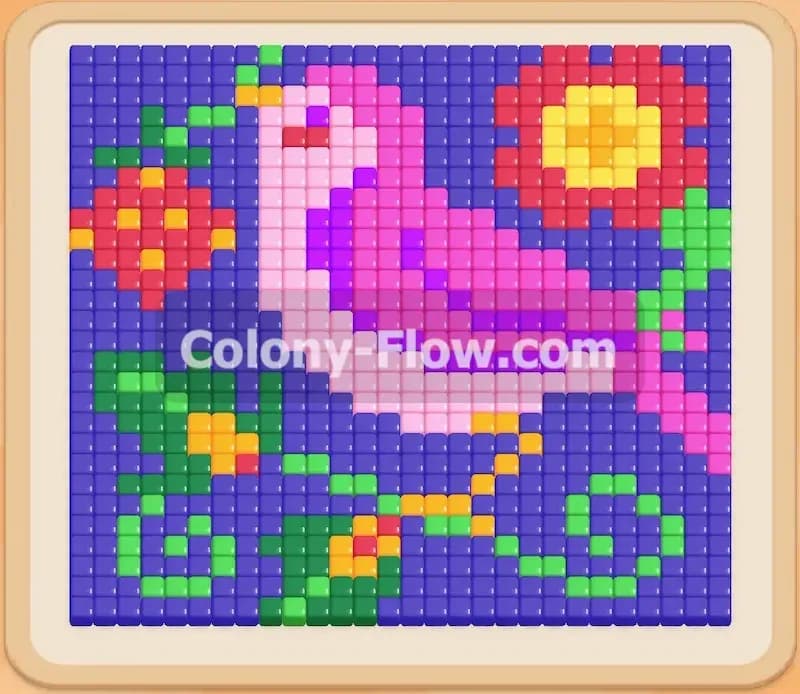
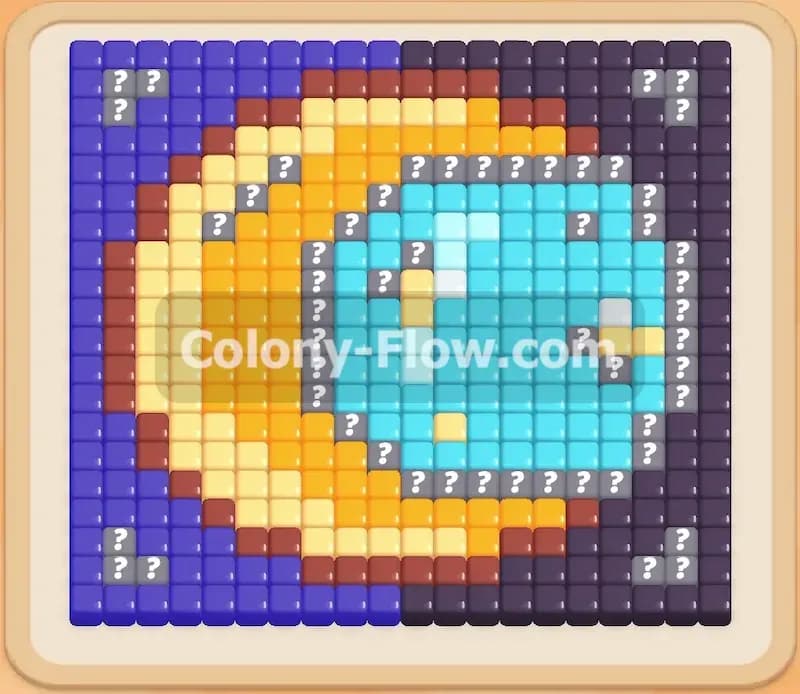
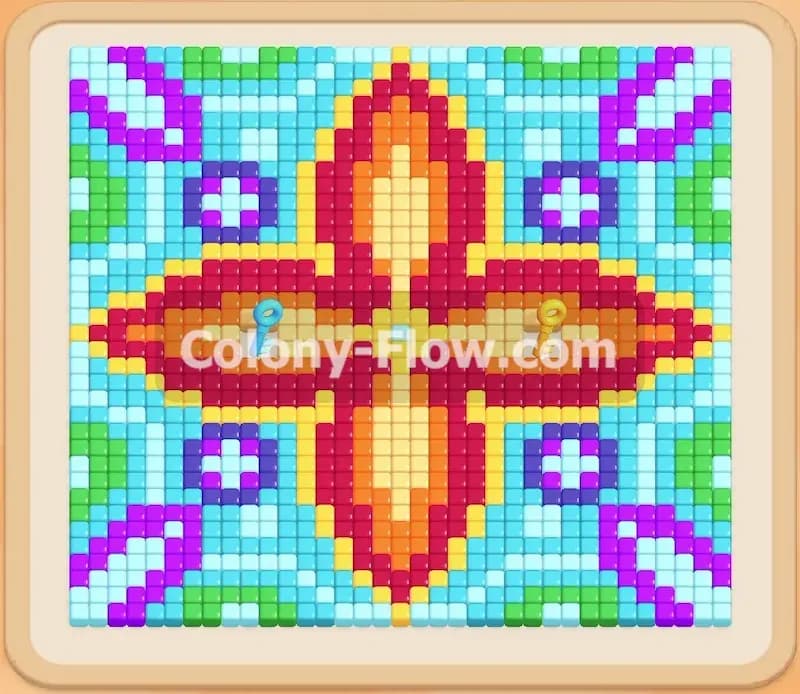
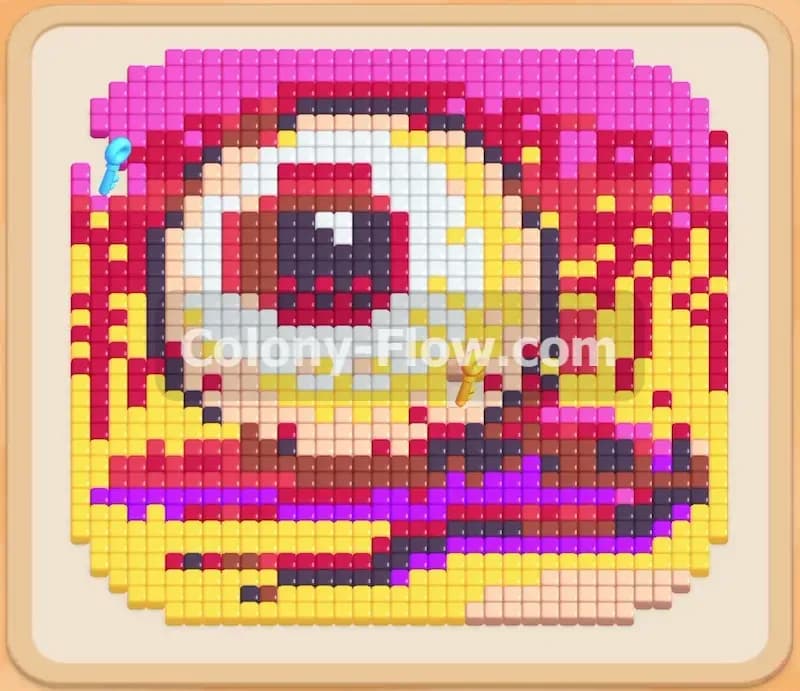
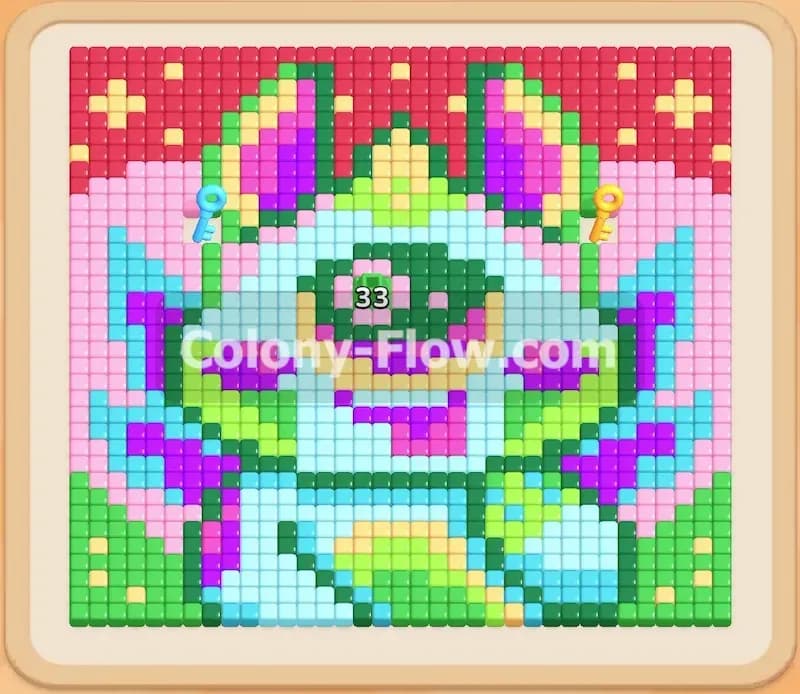
Welcome to Colony Flow Level 172. This level features a massive colorful pixel art creature sitting against a starry sky background. You have a huge number of tiles to clear and a tray full of connected blocks and locks that will test your patience. I will explain exactly how I manage the five waiting slots and keep the ants flowing without jamming the board.
Colony Flow Level 172 Overview
What You Are Working With
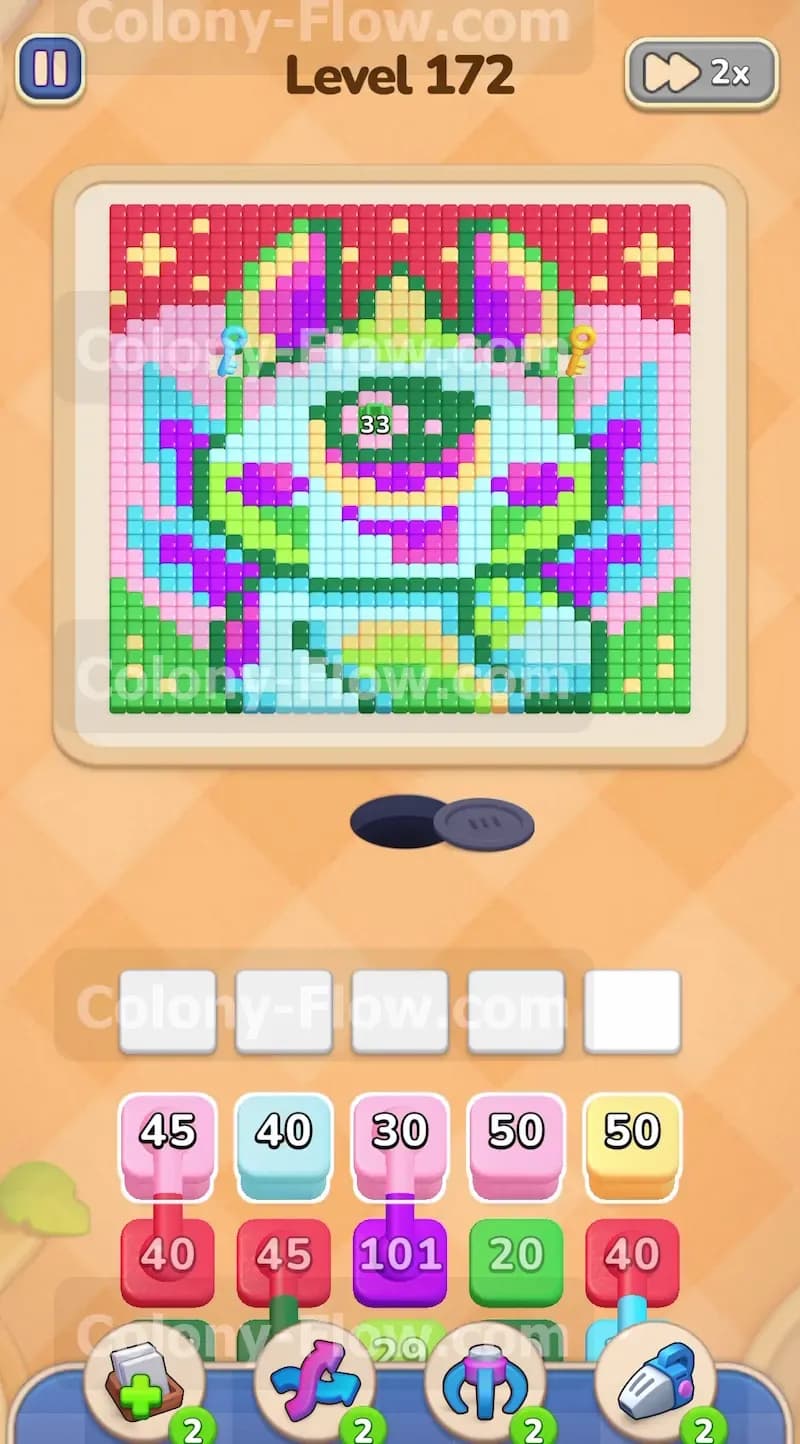
The board displays a creature resembling a bat or fairy cat. It has a big central eye, pink wings, a green body, and light blue accents. The background features a large pink border and a top area filled with red space and yellow stars. Down in your tray you have high number blocks in pink, light blue, purple, light orange, red, and green. You will see massive numbers like a 45 pink block and a 101 purple block waiting for you. This level heavily features connected boxes where two colors are linked together by a line. You will also see blocks locked behind keyholes which require you to find and clear the matching keys on the board to progress.
What It Takes to Clear Level 172 Board
Winning this board means clearing every single pixel tile of the creature and its background until nothing remains. Your primary obstacle is the five waiting slots at the bottom of the screen. If you pull blocks into all five slots and the ants cannot find an open path to those specific colors the game ends in a loss. You must always verify that an open path exists before pulling a new block. The safest method is to work from the outside edges inward to create wide open highways for the ants.
Colony Flow Level 172 Step by Step Solution
Step 1: Pull the initial pink blocks to clear the outer border.
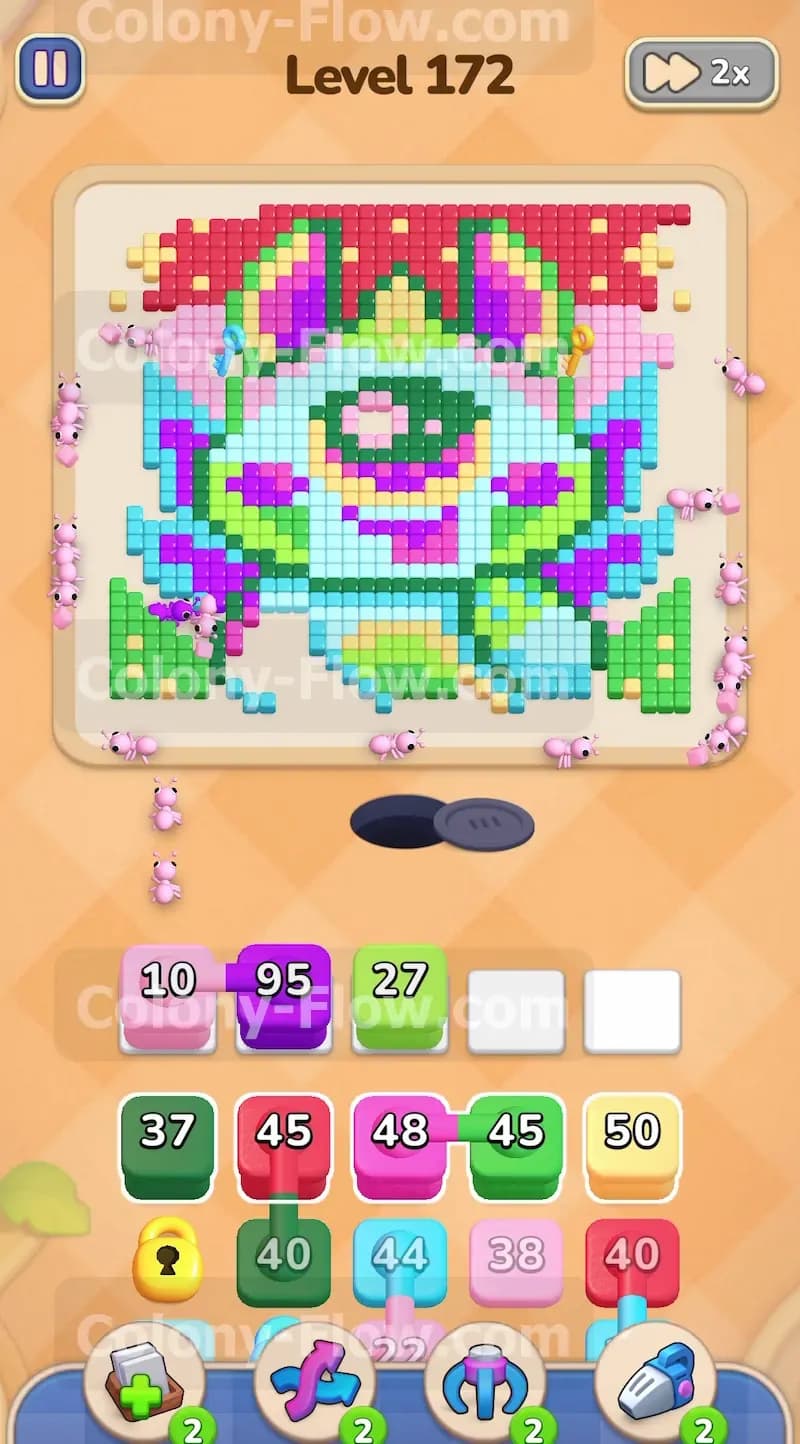
Your first move is to target the thick pink border surrounding the creature. Tap the 45 pink block from the tray to move it into your waiting slots. The ants will immediately emerge from the nest hole and fan out toward the bottom left and bottom right corners. Clearing this outer edge is incredibly important because it creates open lanes on both sides of the main picture. You want the ants to have easy access to the top half of the board later on. The 45 pink block handles a huge chunk of this border right from the start. Keep a close watch on your five slots so you leave plenty of room for the next colors.
Step 2: Send the massive purple block to clear the wing details.
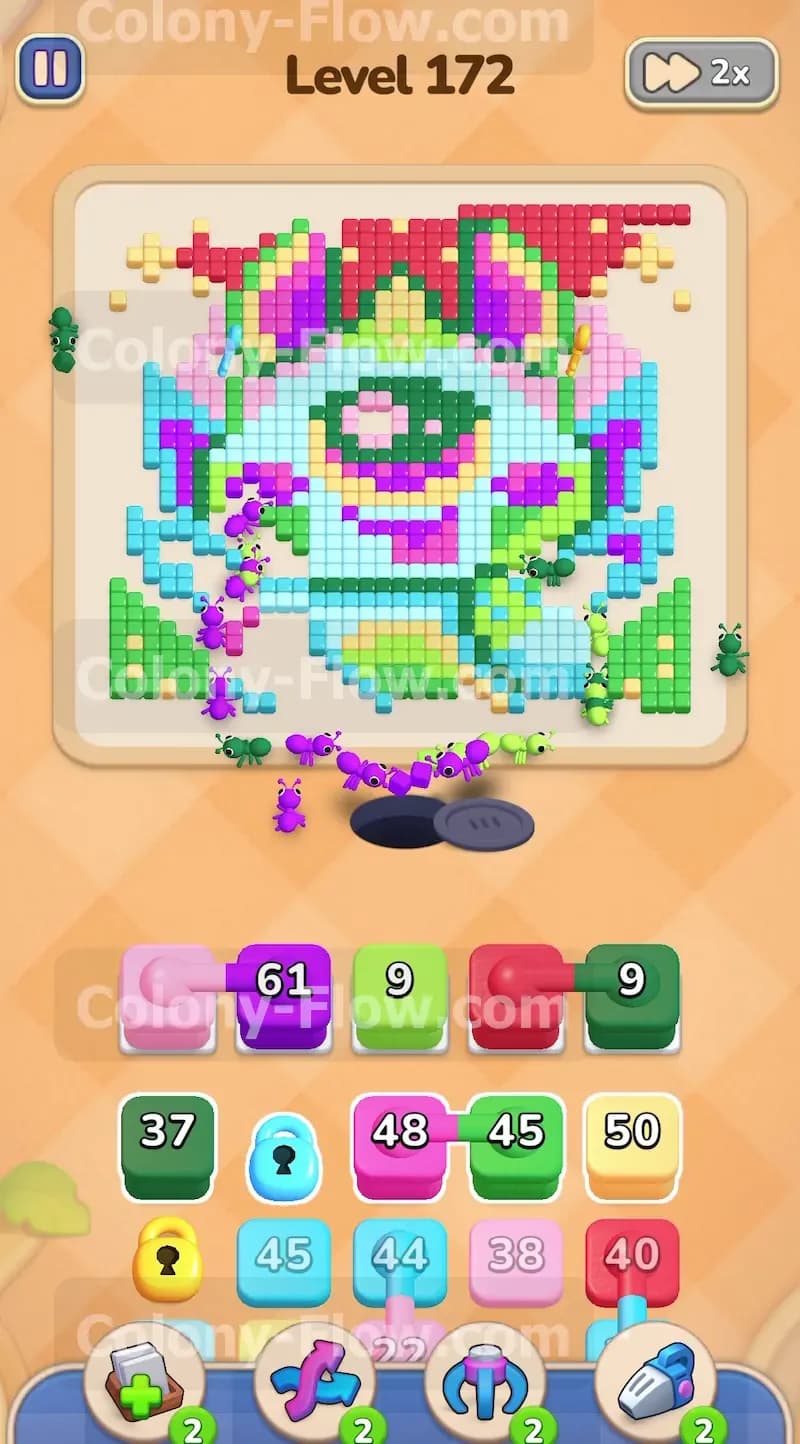
Once the pink border starts breaking apart the purple tiles on the wings become fully exposed. You will see a giant 101 purple block in your tray. Tap it to send it into the slots. The colony will swarm the bottom edges of the wings and the lower body decorations. A block with a number this high takes a very long time to count down to zero. Having this large purple block active early ensures a constant steady stream of ants leaving the nest. They will keep working on the purple tiles while you focus on setting up your next moves.
Step 3: Bring in the light green blocks to open the lower body.
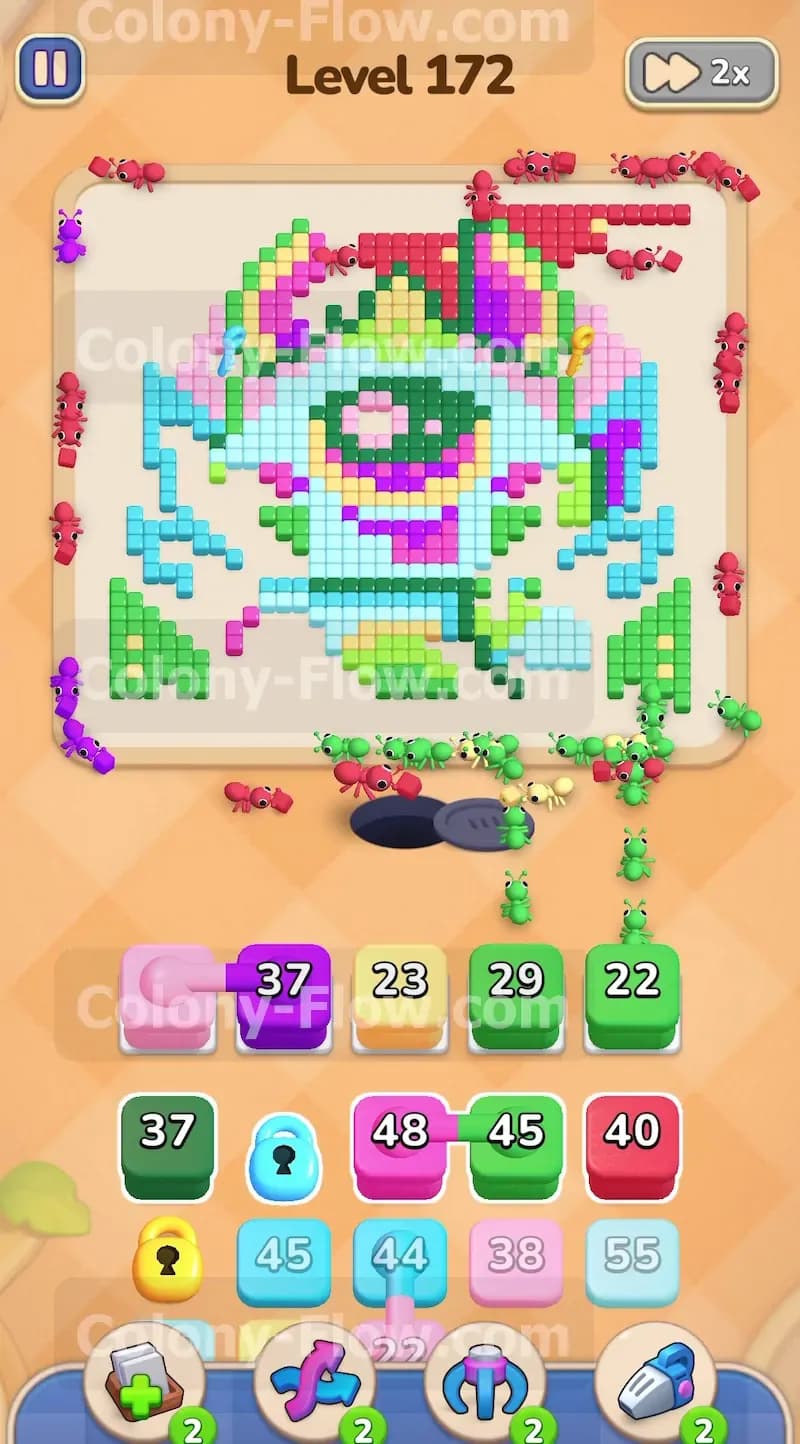
The creature has several light green sections near the bottom that block access to the inner body. Pull the light green blocks into your waiting slots alongside the purple block. The ants will march straight toward these green sections and eat them away. Removing these specific green tiles exposes the central parts of the creature and gives your ants a clear path to the red sky background above. Make sure your purple block is still active so you maximize the total number of ants doing work on the screen at the exact same time.
Step 4: Target the red starry background at the top corners.
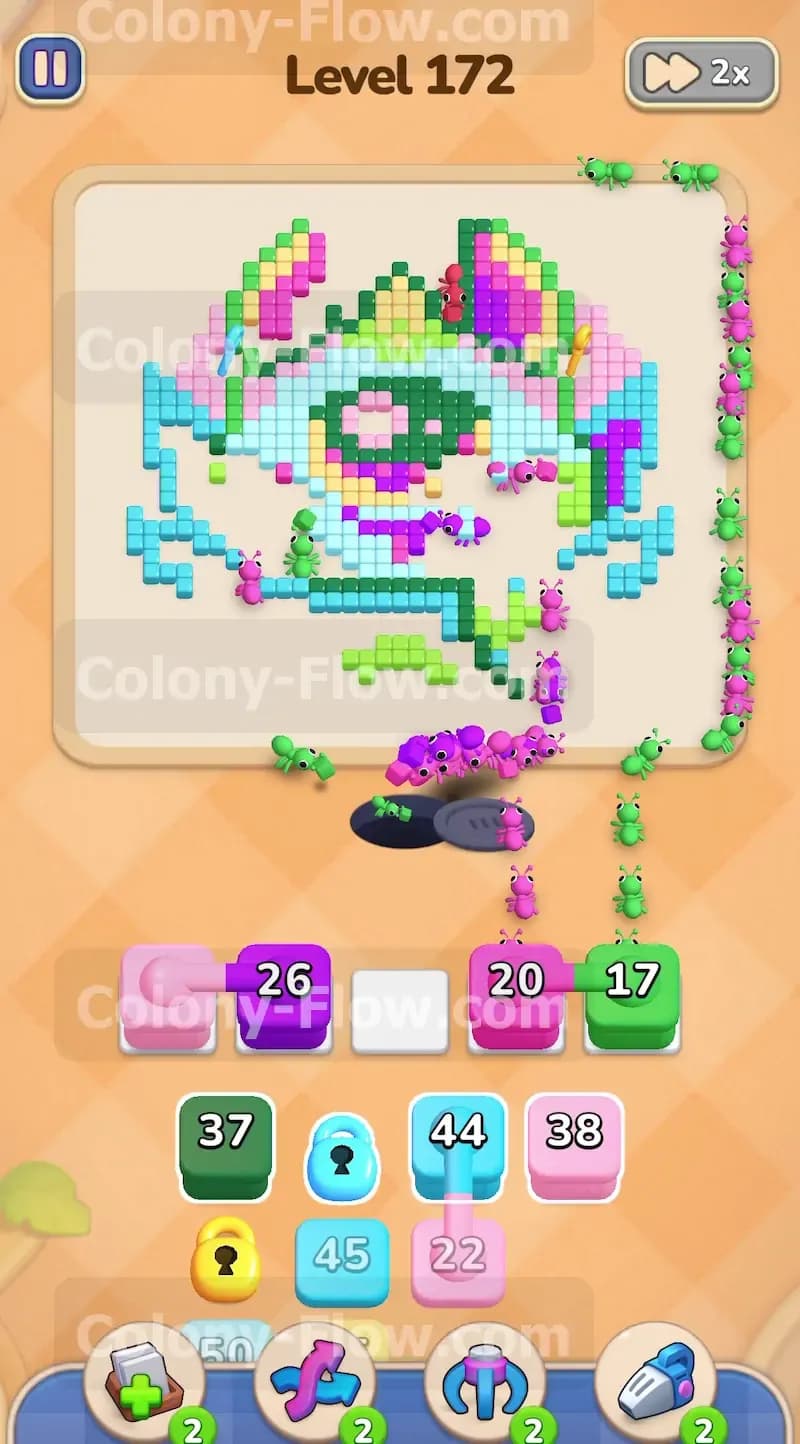
The side paths are now wide open which means the ants can finally reach the top of the board. Tap the red blocks in your tray to activate them. The ants will run up the empty side lanes and begin eating the red sky and the red tips of the creature. Watching the top corners disappear is very satisfying and it physically shrinks the boundaries of the puzzle. Always check your waiting slots during this phase to ensure you do not pull too many red blocks at once and cause a permanent jam.
Step 5: Pull the connected pink and light blue blocks safely.
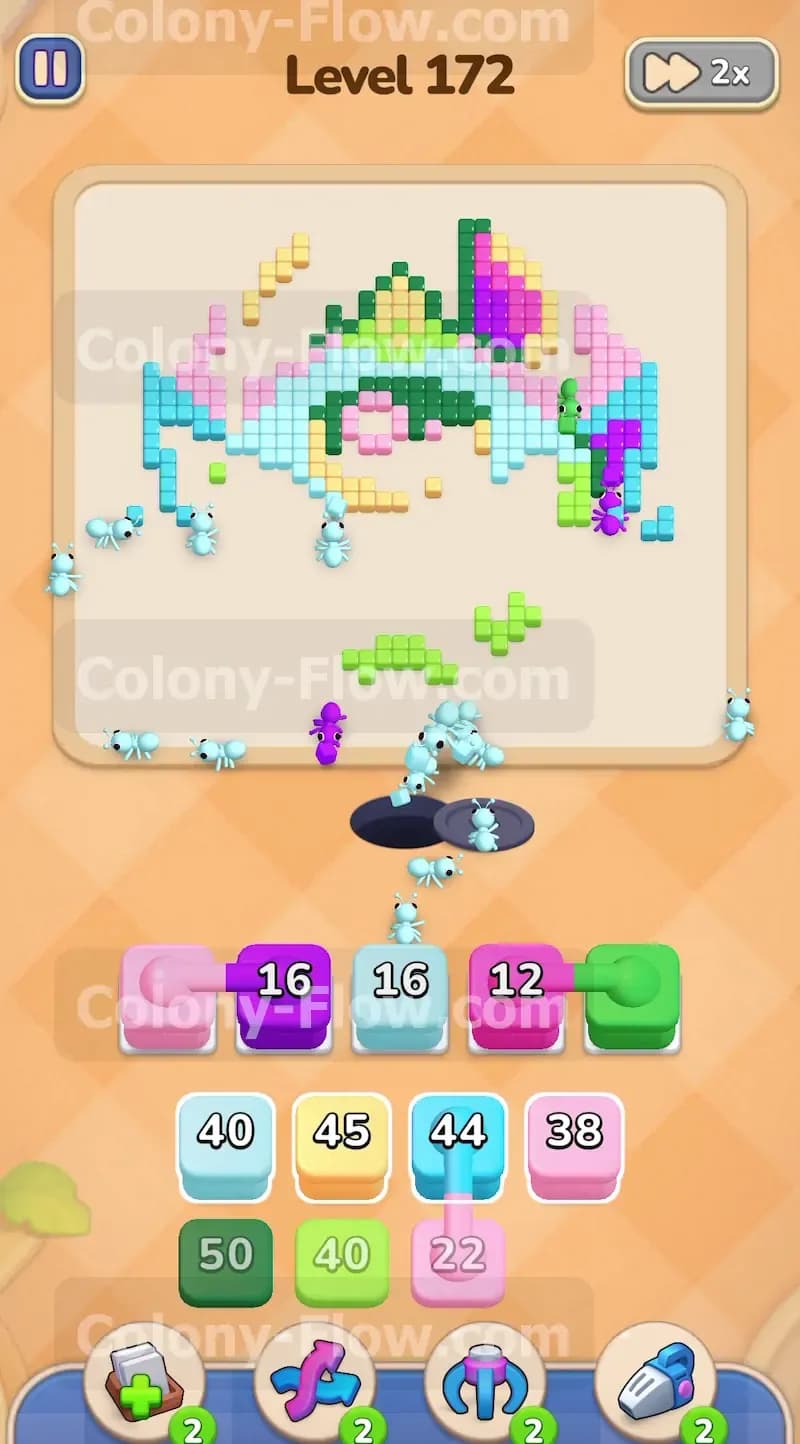
You must handle the connected boxes carefully in this level. You have a pink block and a light blue block joined together by a line in the tray. Tapping one pulls both into your waiting slots simultaneously. Before you touch them look at the board to confirm that the ants have an open path to both the pink and light blue tiles. If the light blue tiles are completely blocked by another color the light blue block will sit in your slot and waste space. Once you confirm the paths are completely open pull the connected group. The ants will divide their attention and clear both colors efficiently without causing any dead ends.
Step 6: Work through the remaining pink and purple to reach the keys.
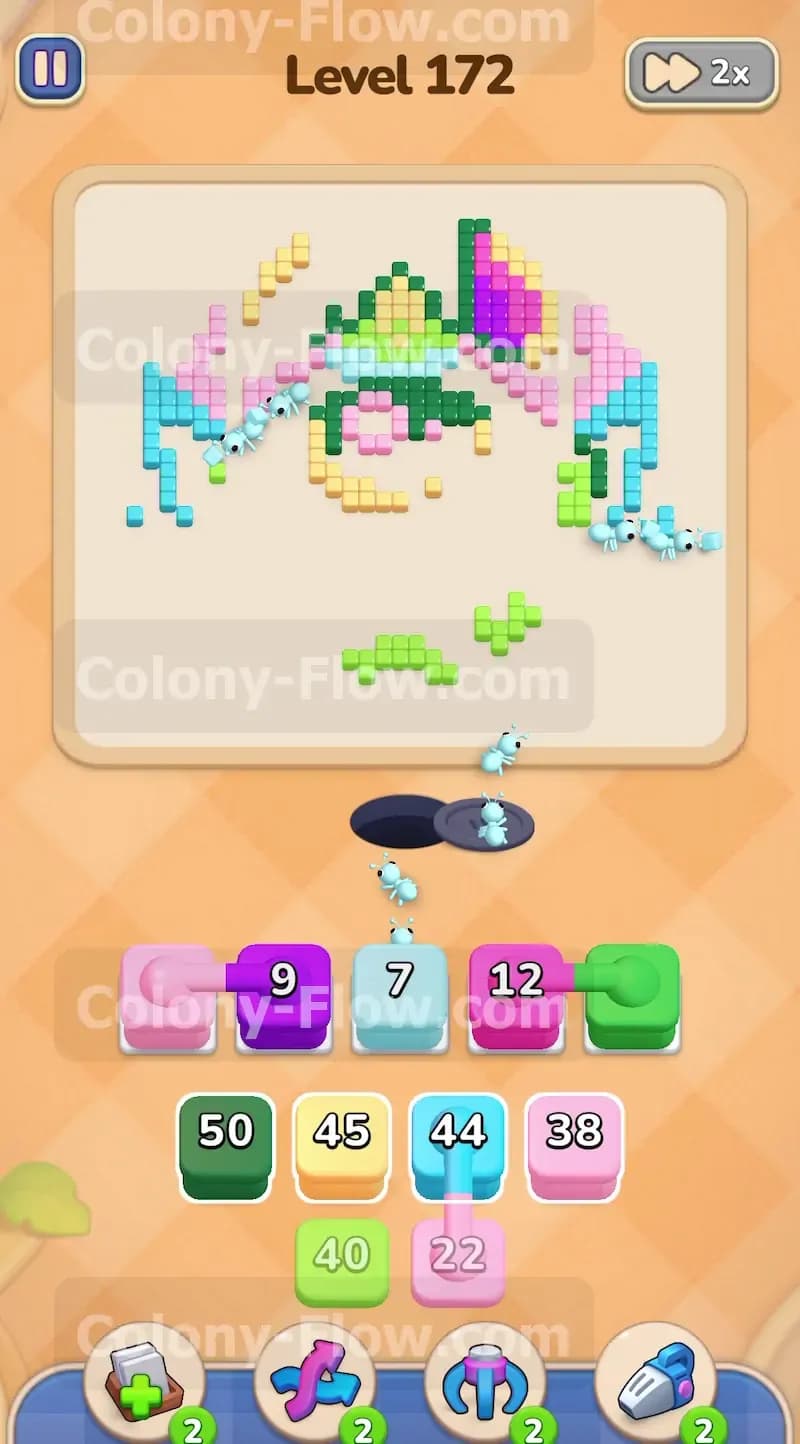
Your tray contains blocks locked by blue and yellow locks. To open them you must clear the tiles that hide the matching keys on the board. Continue pulling the available pink and purple blocks into your empty slots. The ants will eat deeper into the wings and the body of the creature. This gradual clearing process eventually unlocks the keys needed to open your locked tray items. Do not rush this process by pulling random colors that cannot move. Stick to the colors that directly expose new sections of the board.
Step 7: Clear the bright yellow stars from the sky.
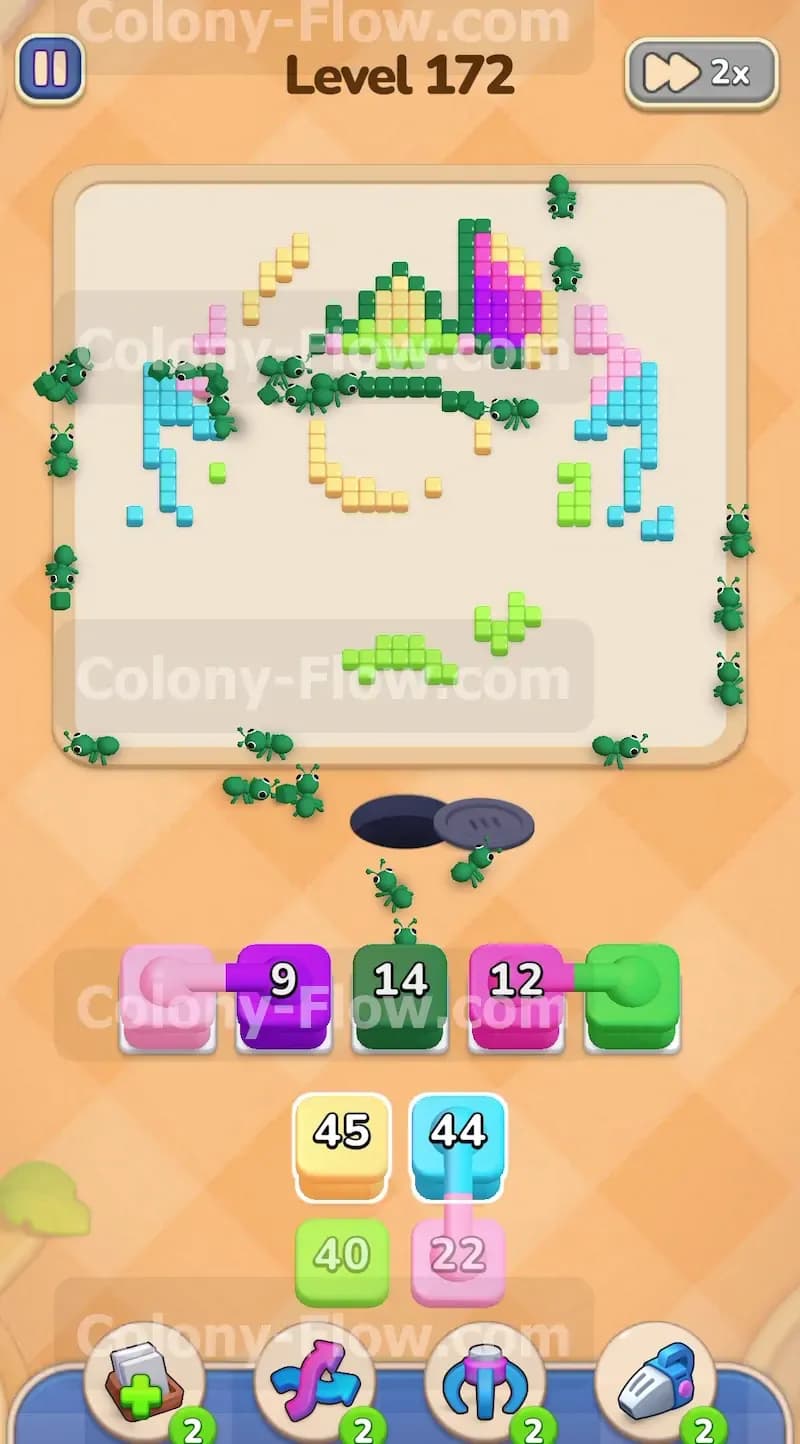
The top background includes scattered bright yellow stars and the creature has yellow inner ear details. Now is the perfect time to tap the yellow blocks into your active slots. The ants will travel quickly up the cleared board to reach these yellow stars. Because the entire outer edge is empty the ants move at top speed. This step removes the annoying scattered tiles that might otherwise trap you or block a specific path later in the level when space gets tight.
Step 8: Focus on the dark green sections of the face.
The upper head and face of the creature contain a large patch of dark green tiles. Tap the dark green blocks from your tray. The ants will head straight up the middle of the board to eat the top center details. You must be careful here because the face has multiple colors stacked tightly together. Verify that no stray light blue or purple tiles are blocking the path to the dark green section. The wide open space around the creature helps the ants navigate directly to the head.
Step 9: Bring in the final light blue blocks for the main body.
The main body and arms of the creature consist of a large cluster of light blue tiles. Tap the remaining light blue blocks to send them to the waiting slots. The ants will pour into the very center of the board to devour the body. This is the moment where the recognizable shape of the creature completely breaks apart. Keep your slots organized and only activate another color if you are completely sure the ants can reach it.
Step 10: Clear the final pink and purple eye details.
The big single eye in the middle of the face uses pink and purple tiles. Pull your final pink and purple blocks from the tray. The ants will target the center of the screen to eat the remaining eye details. Watch the numbers on your blocks count down to zero as the colony finishes off the central tiles. The board is now extremely bare with only a tiny handful of pieces left scattered around the edges.
Step 11: Clean up the last scattered tiles to win the level.
In the closing seconds of the level you will see just a few random green and yellow tiles left on the screen. Tap the very last blocks resting at the bottom of your tray. The ants will sprint across the empty board to grab these final few pixels. Because there are absolutely no obstructions left the ants will finish the job in seconds. Keep your slots clear of unnecessary colors and just watch the ants clear the final pieces to secure your victory.
Final Thought
Clearing this massive board takes patience and careful management of your connected boxes. If you keep the outer edges clear first you will never run out of paths for your ants. Feel free to watch the video above this article if any step is hard to follow in text. Good luck with your colony.