Colony Flow Level 27 Walkthrough Solution & Guides | How to solve Colony Flow 27

Guide By Liam Stone
Updated on July 10, 2026
Skip the article and watch the video above instead. It covers every move you need for Level 27.
Video doesn't match your screen?
Game updates frequently scramble layouts! Try our AI Screenshot Solver first to find your exact board instantly, or report broken guides to our team.
Colony Flow Level 27 presents a charming pixel art camper van that requires careful sequence planning. I found this board tricky because of how the tray forces you to manage your waiting slots right from the start. You must balance clearing the outer sparkles and the bottom bumper while holding onto blocks that will not be useful until much later. Follow my steps to keep your ants moving and prevent the board from locking up.
Colony Flow Level 27 Overview
What You Are Working With
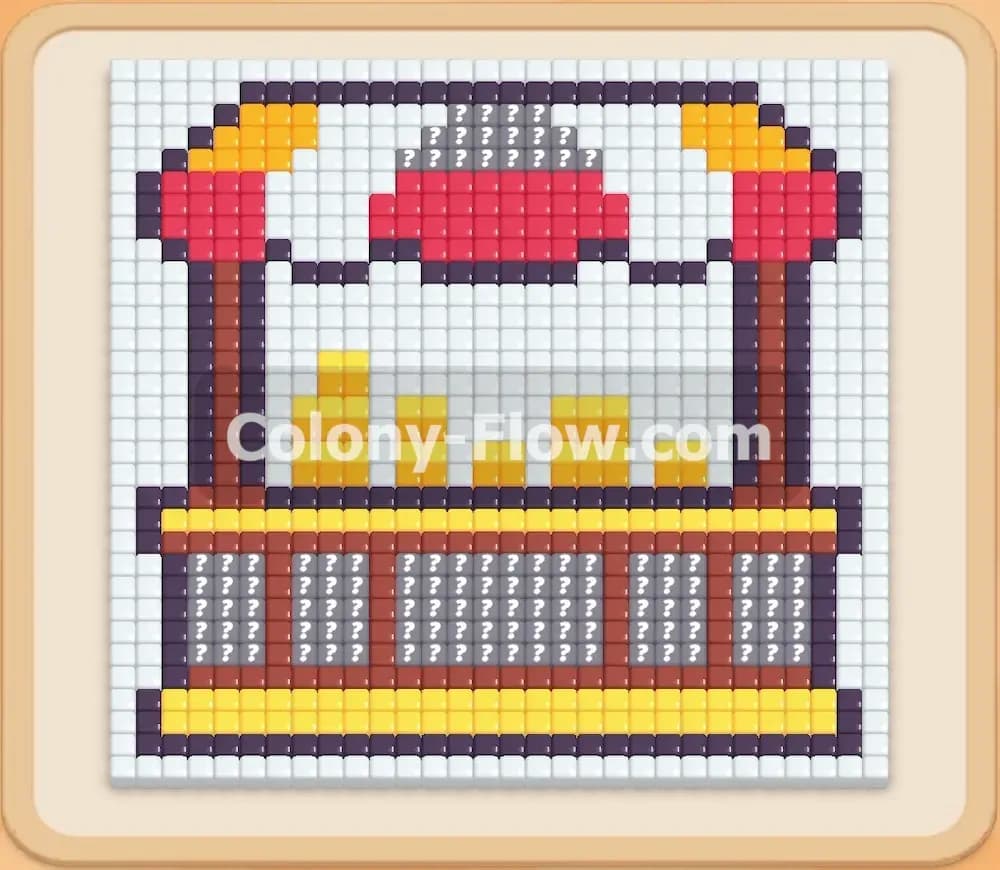
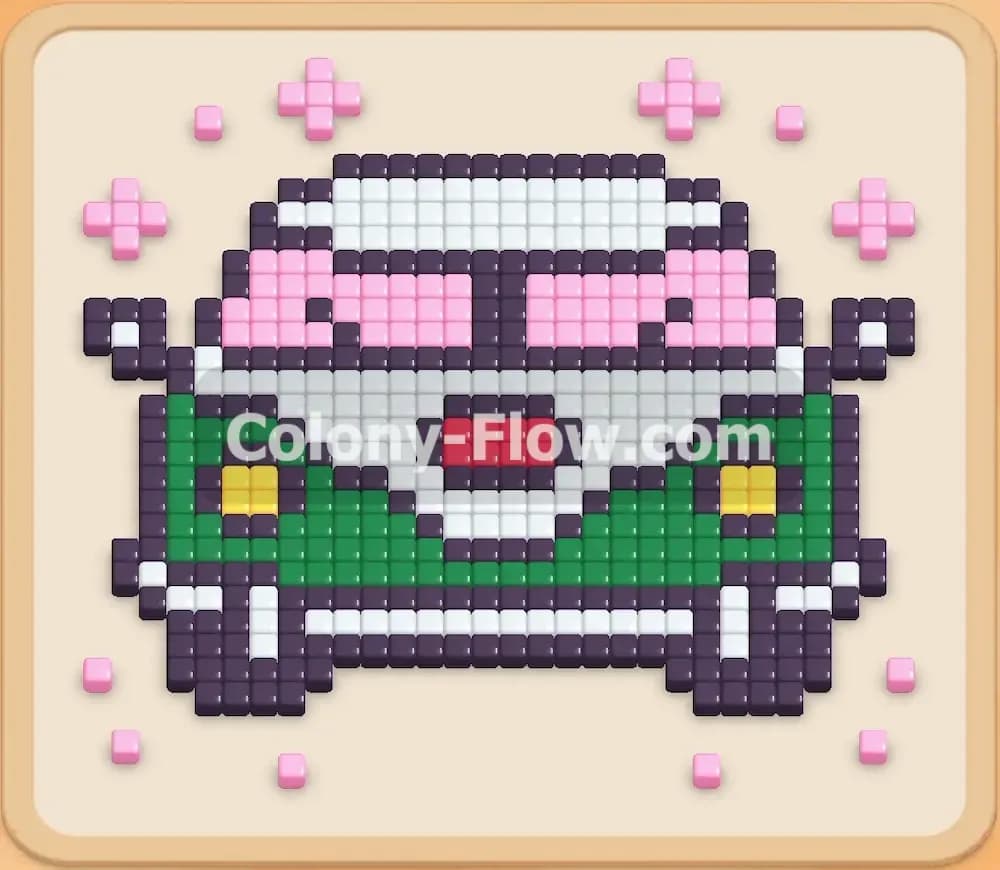
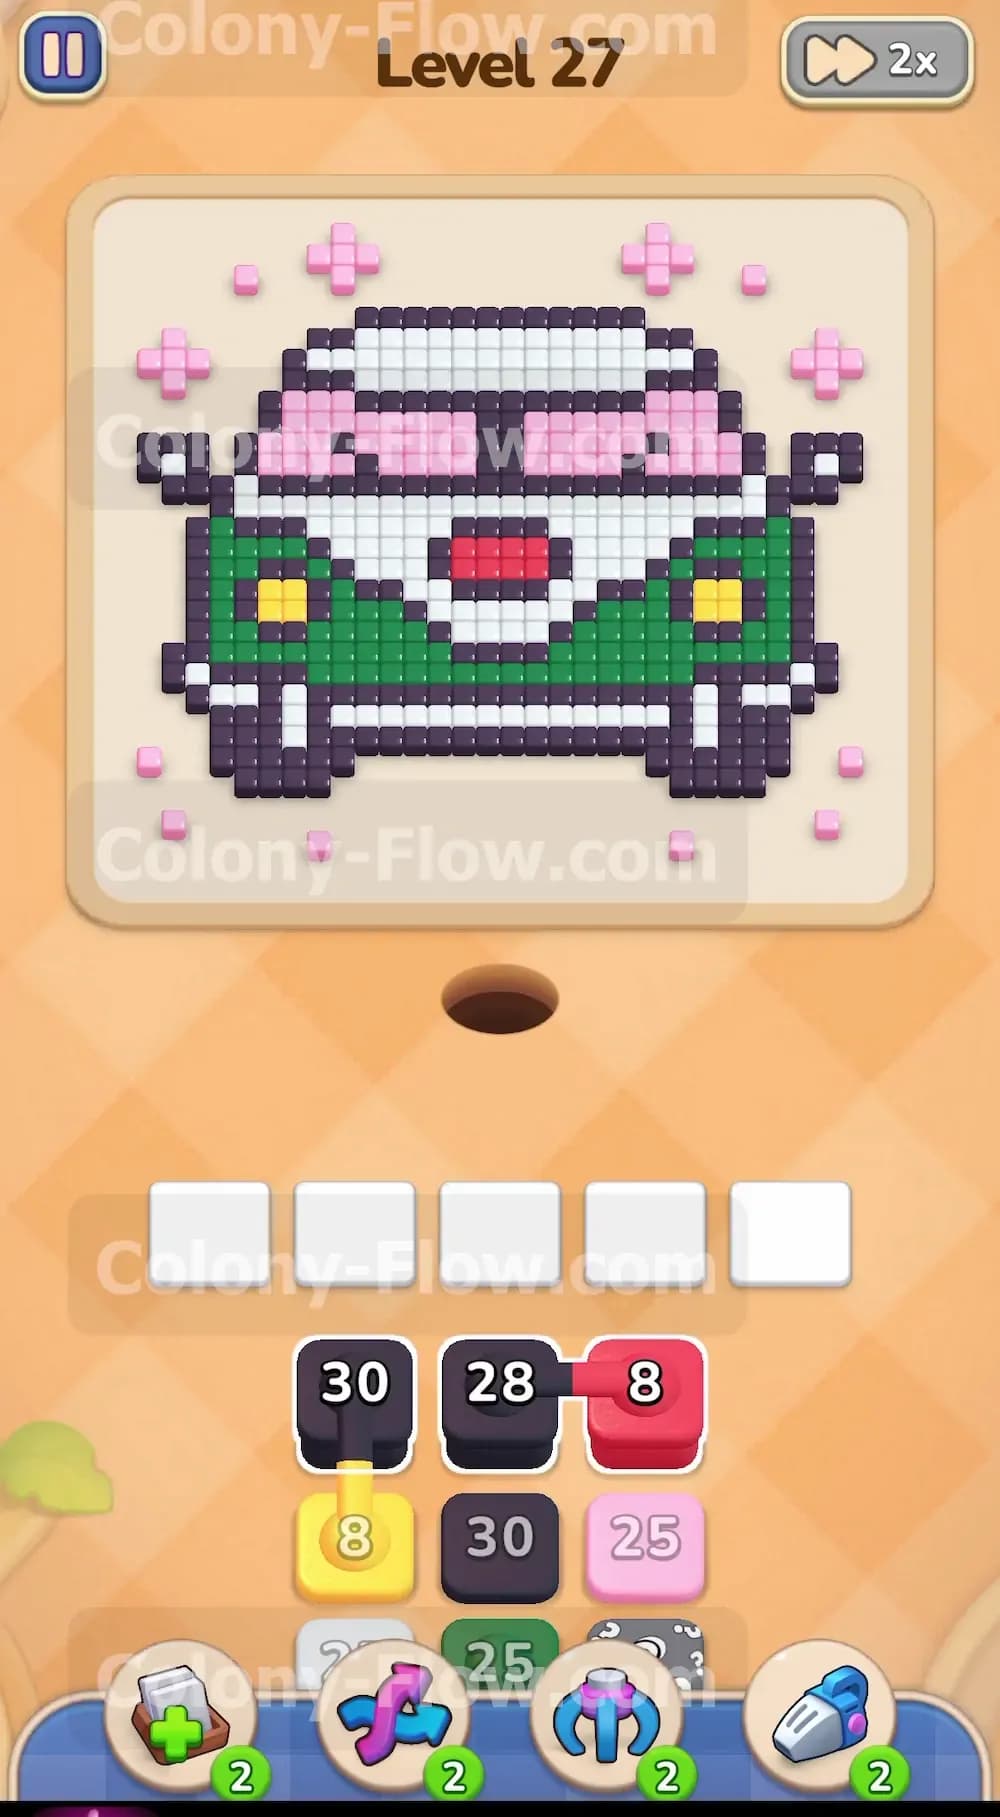
The picture for this level is a retro camper van surrounded by floating pink sparkles. The design features a heavy black outline that wraps around the entire vehicle. Inside the outline you will find a green lower body, a white bumper, yellow headlights, a red front logo, and pink windows. The top of the van has a white roof. The path for the ants starts at the single nest hole at the bottom center of the board.
Your tray holds a variety of colored blocks with numbers. You will immediately notice a red block with an eight on it sitting at the top right of the tray. The tray also contains several special elements. You will deal with connected boxes where a line links two blocks together. When you pull one of these connected blocks into your waiting area, both blocks move into the slots. This takes up two of your five precious waiting slots in an instant. The tray also features hidden boxes marked with question marks. These grey boxes keep their true color a secret until you clear the blocks sitting directly in front of them. You cannot plan for their colors until they reveal themselves so you must keep your waiting slots as empty as possible to handle whatever color pops up.
What It Takes to Clear Level 27 Board
You win this level when the ants completely eat every colored pixel tile of the camper van and the floating pink sparkles. The main challenge comes from the layout of the picture and the order of the tray. The red logo sits right in the middle of the van surrounded by green and white tiles. You have no path to the red tiles at the beginning. However the red block blocks other useful colors in the tray. You have to pull the red block into your waiting slot early just to access the blocks underneath it. This means the red block will sit in your waiting area taking up space for a very long time.
You must clear the outer black outline, the pink sparkles, and the bottom green and white sections to eventually carve a path to the red logo. Clearing the board means carefully cycling through black, pink, green, and white blocks without letting your four remaining slots fill up with trapped colors. Once you open the red path, the red block will finally clear and give you back your full waiting area. You will then push upward to eat the windows and the white roof.
Colony Flow Level 27 Step by Step Solution
Step 1: Open the tray and tackle the bottom outline
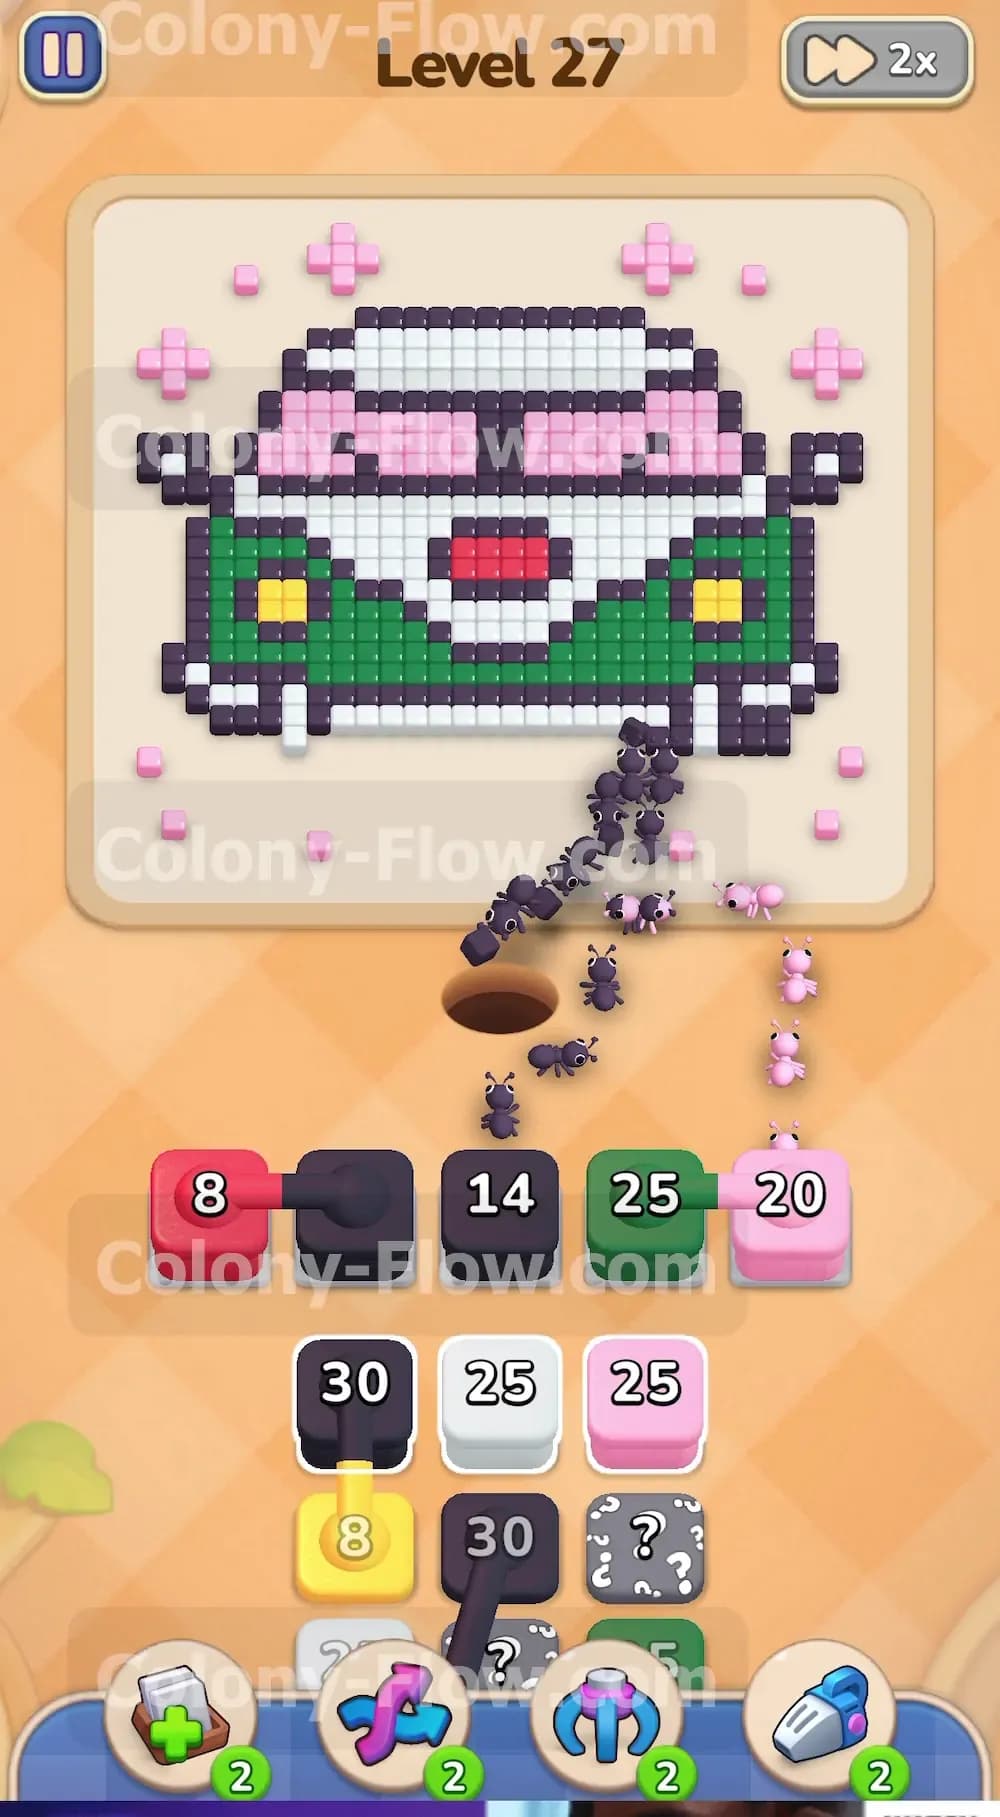
Your first goal is to get the ants moving on the bottom edges of the van. You need to pull the black block with a thirty and the pink block with a twenty five. Pulling these allows the ants to start eating the thick black outline at the bottom and the floating pink sparkles scattered around the lower half of the board. You also need to pull the red block with an eight to uncover the tray blocks behind it. This red block will go into your first waiting slot and stay there because the red logo is completely sealed off inside the van. Acknowledge that you now only have four usable slots for a large portion of the level. Pull the green block with a twenty five into the slots so the green ants can start eating the bottom corners of the van body. This keeps a steady stream of ants leaving the nest hole. The black outline forms the boundary of the entire picture so eating the bottom of it is the only way to expose the inner colors.
Step 2: Push through the headlights and white bumper
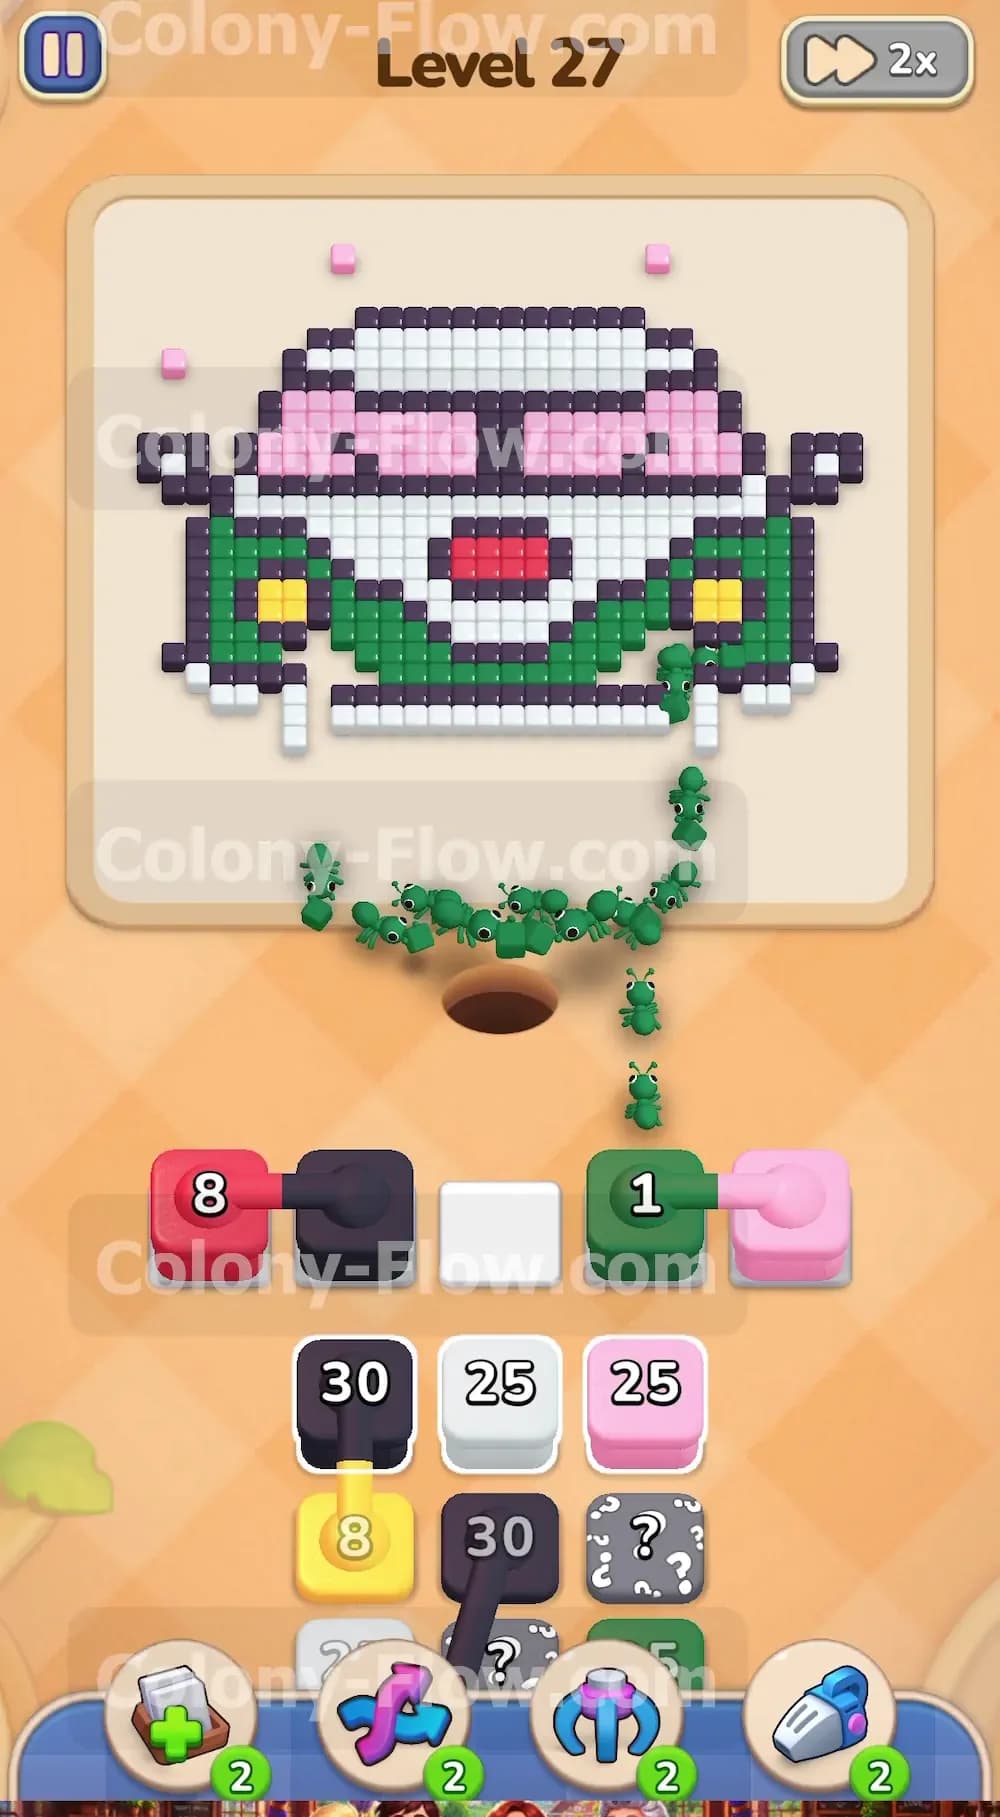
As the black and green tiles clear away from the bottom corners the yellow headlights become exposed to the open board. You will now see a yellow block with an eight in the tray. Pull this yellow block into a waiting slot. The yellow ants will rush out and completely consume both headlights. This action opens up the edges of the white bumper located just above the headlights. Pull the white block with a twenty five from the tray. The ants will begin marching along the white tiles of the bumper. At this point your green block and black block numbers will drop significantly as the bottom sections vanish. Wait for the green block or the yellow block to hit zero and disappear from the waiting area. This frees up crucial space for the next set of moves. You must never rush and pull a block if you do not see a clear path for those specific ants on the current board.
Step 3: Manage the connected boxes in the tray
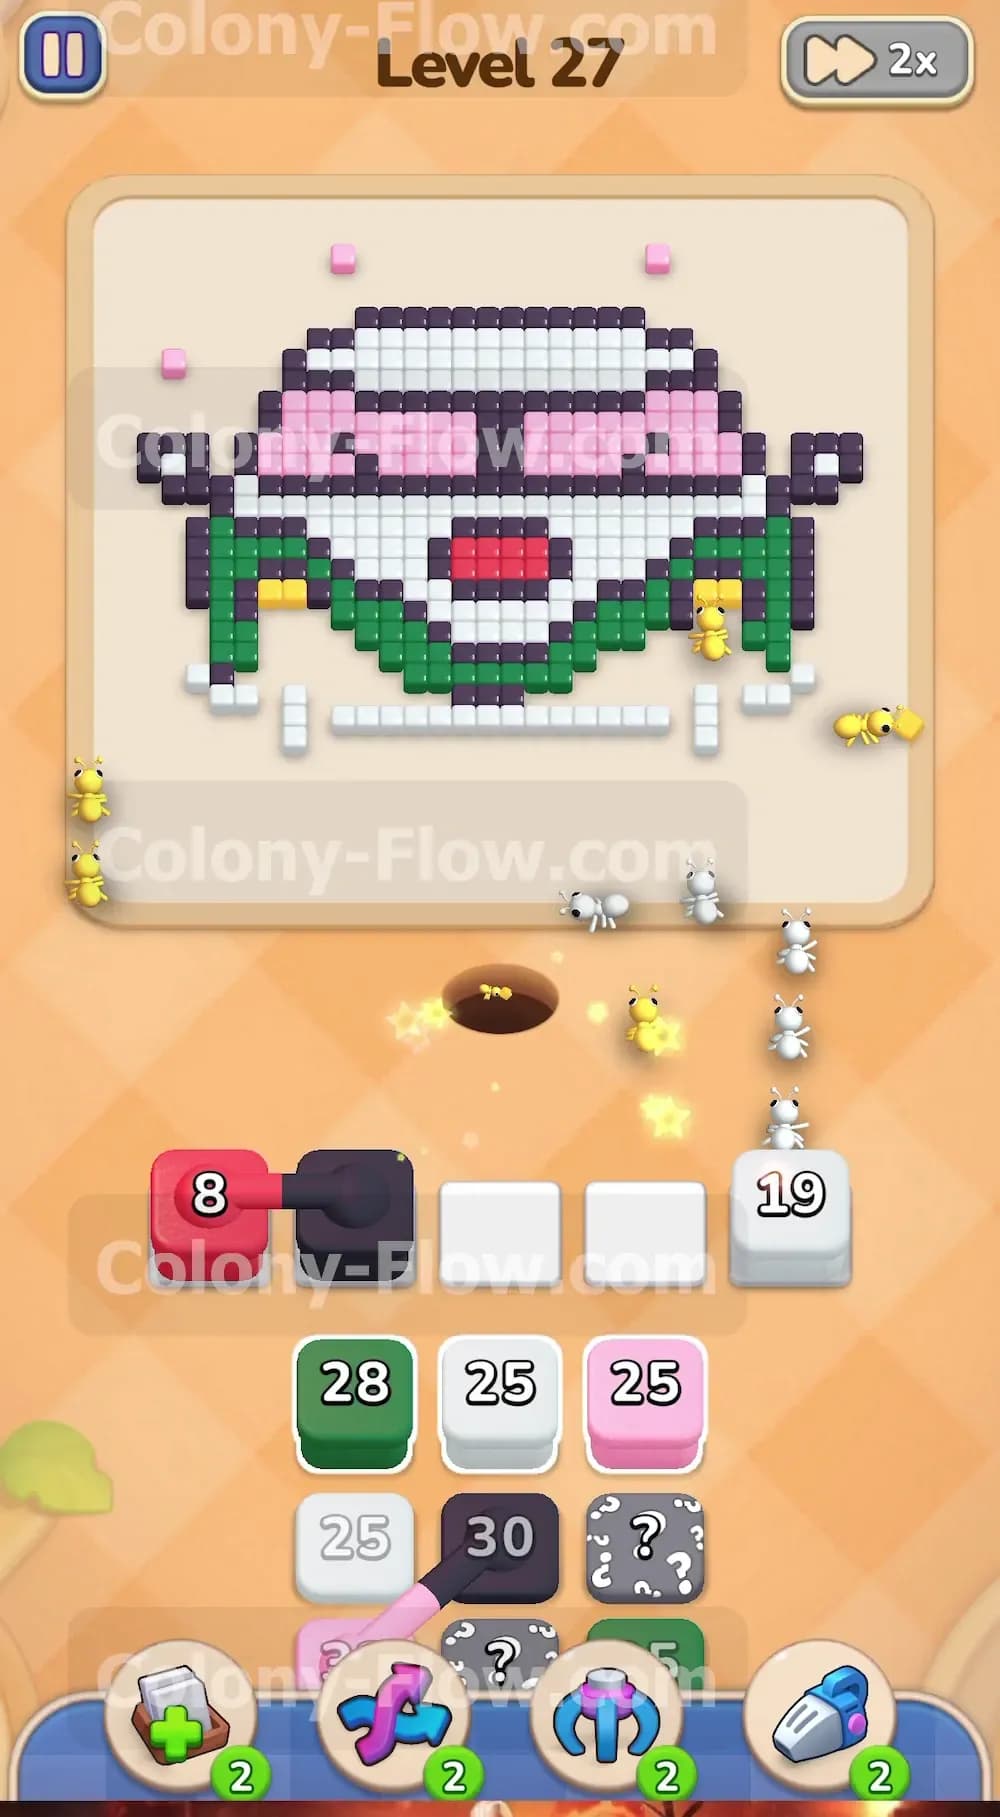
You will soon encounter the connected boxes in your tray. You will see a white block and a pink block linked together by a line. Before you tap them check your waiting area to ensure you have two completely empty slots. If you only have one empty slot and you tap a connected box the game will reject the move or jam your board. Wait for your current white or pink blocks to finish clearing. Once you have the space tap the connected boxes. Both blocks will slide up into the waiting slots. The white ants will continue eating the rest of the lower bumper and move into the upper grille area. The pink ants will target the remaining sparkles floating higher up around the sides of the camper van. Keep an eye on the black outline as well. You will need to pull another black block to keep the sides of the van shrinking. Managing these connected boxes properly prevents the sudden death of filling your last slot without an open path.
Step 4: Reveal the hidden boxes and clear the green body
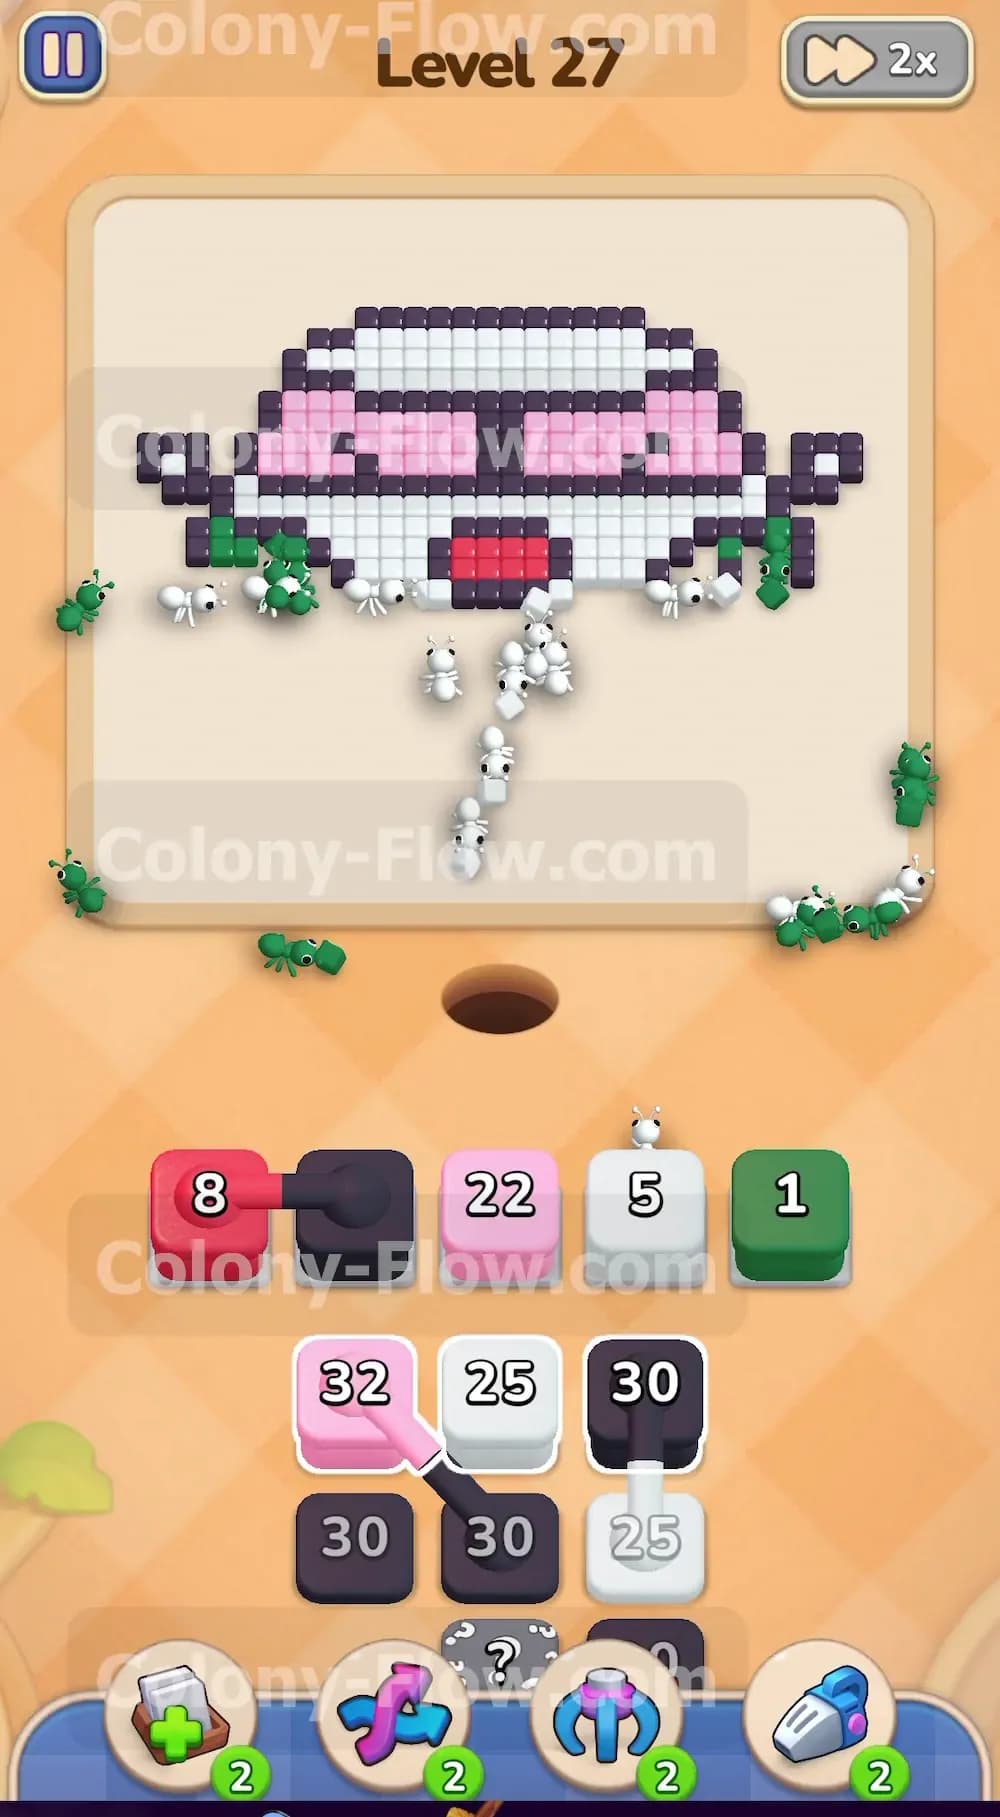
Clearing the front rows of the tray causes the hidden boxes to finally reveal their colors. You will see them flip from grey question marks into usable colors. A black block and another white block will usually emerge here. Pull the newly revealed black block to let the ants continue eating the vertical black outlines on the left and right sides of the van. Pull another green block to finish off the green body panels. The green tiles funnel toward the center of the vehicle. As the green ants eat their way inward they get very close to the red center logo. Make sure your white block is also active because the white grille and bumper surround the bottom of the red logo. You must clear the white and green tiles touching the red tiles to finally open a path for the red ants. The hidden boxes always add a layer of unpredictability so keeping a slot open is your best defense.
Step 5: Free the red block and attack the pink windows
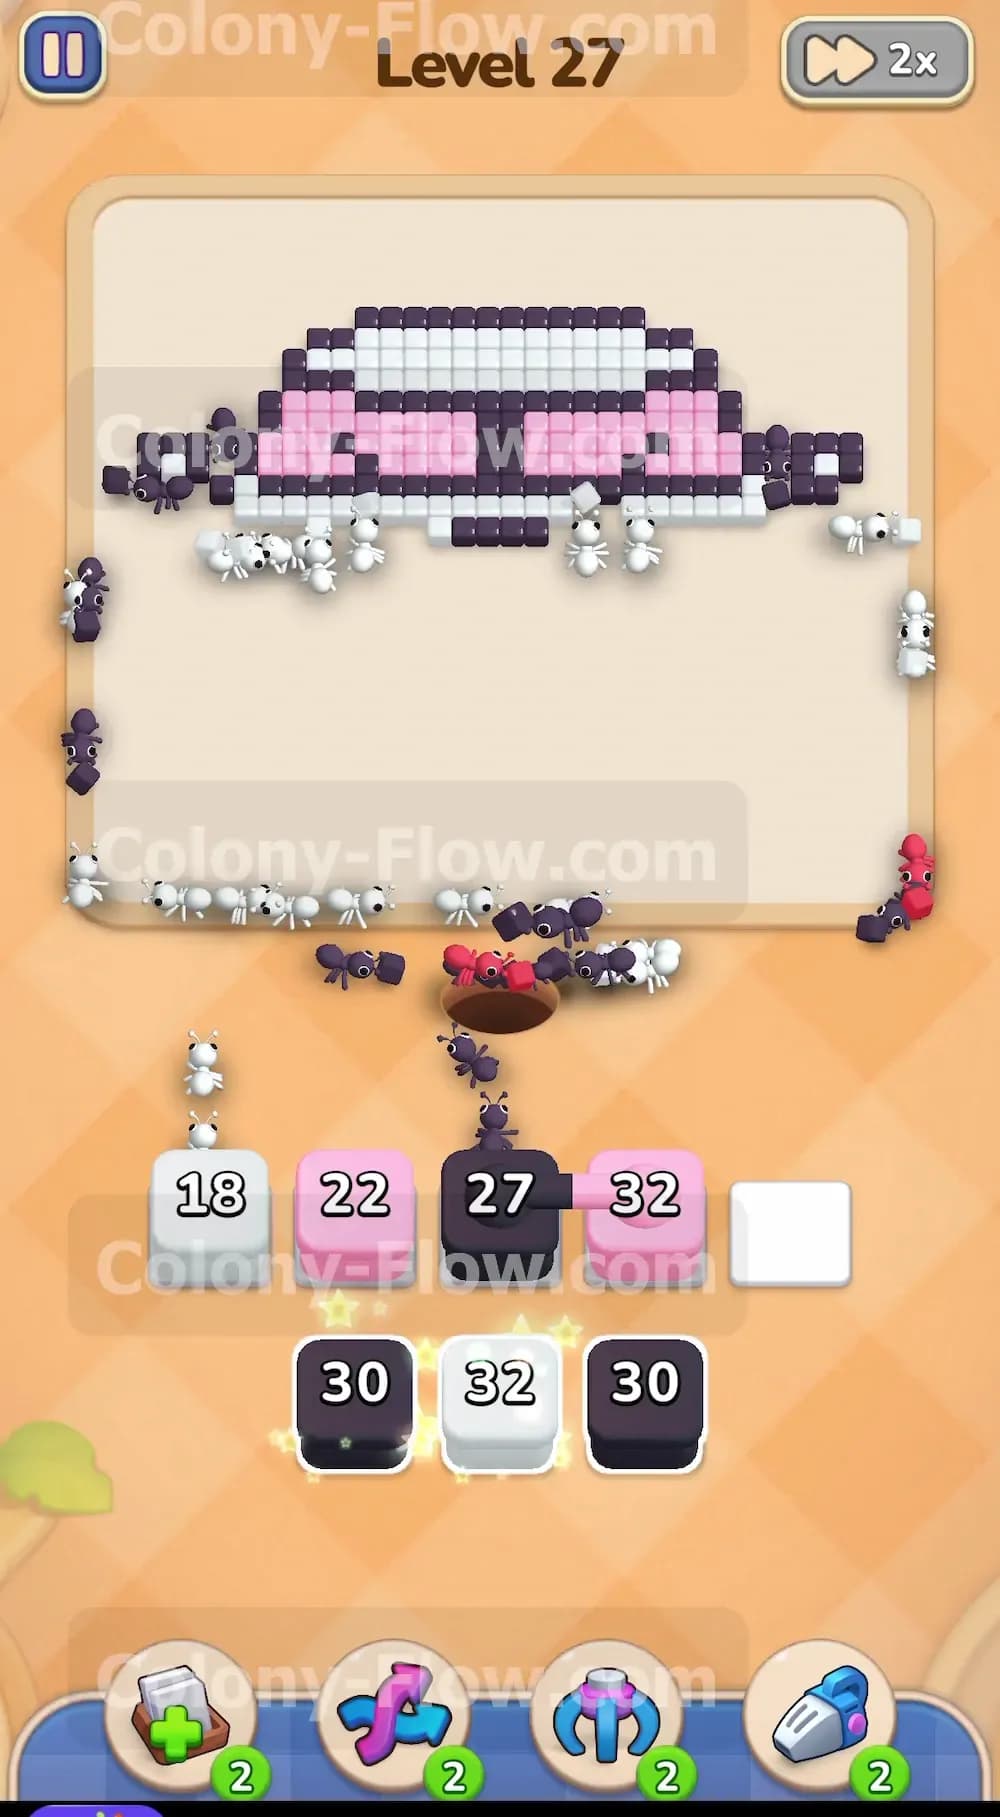
This is the most satisfying moment of the level. The green and white ants finally eat the last tiles blocking the red logo in the center of the grille. Instantly the red block that has been sitting in your first waiting slot since the very beginning activates. Red ants pour out of the nest hole and march straight up the middle of the board to consume the logo. The red block counts down from eight to zero very quickly and vanishes. You finally have all five waiting slots available again. Use this extra space to pull the next pink block from the tray. The pink ants will rush past the cleared body panels and start eating the large pink windows on the upper half of the camper van. The board opens up significantly now. You can breathe a sigh of relief because the biggest trap of the level is finally out of your way.
Step 6: Finish the upper windows and white roof
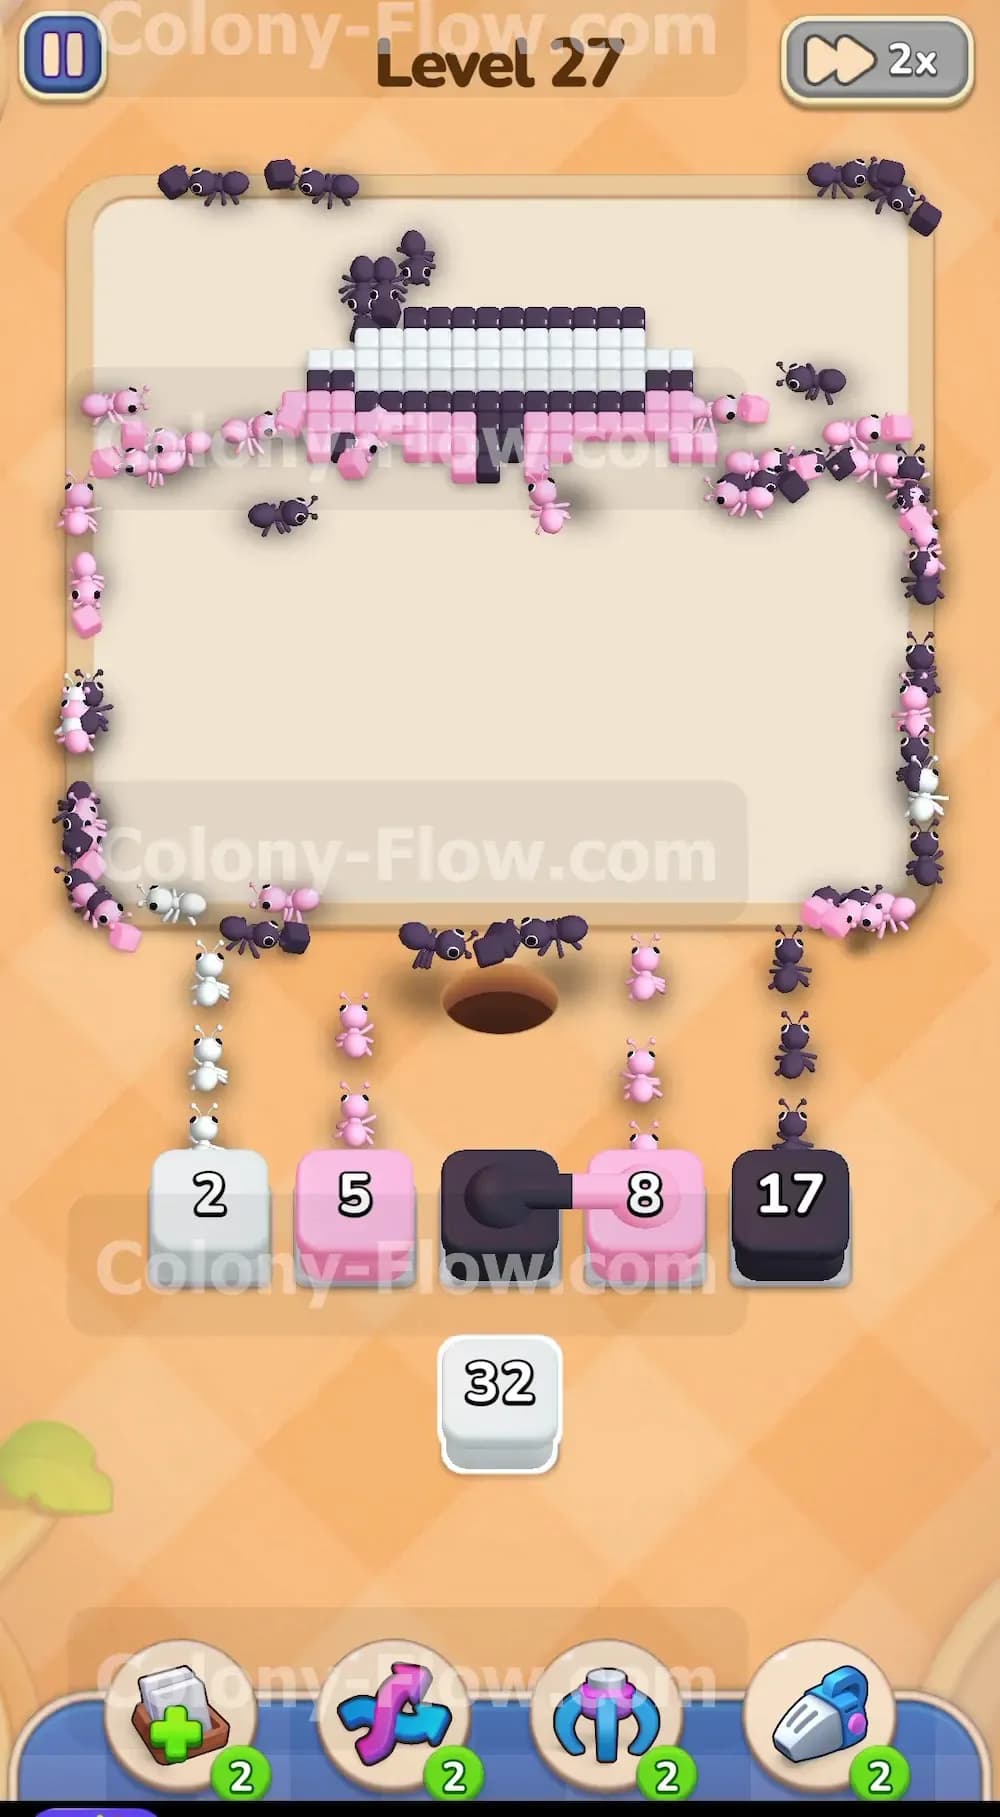
With the red logo gone and the windows clearing you are on the home stretch. The only sections left are the top black outline and the white roof of the van. Pull the remaining black block from the tray to let the ants eat the roof outline. Pull the final white block to send white ants swarming over the top of the van to eat the roof tiles. You might also have a few floating pink sparkles left near the very top. Pull the last pink block to clear those out. Because you have plenty of waiting slots you can pull the black white and pink blocks all at once. The ants will stream out together and devour the remaining tiles in a massive wave. The final block drops to zero and the camper van disappears completely to win the level. Watching that final massive swarm of ants completely erase the top of the van feels fantastic after such a tight start.
Final Thought
Level 27 teaches you a harsh lesson about sacrificing a waiting slot early to access the blocks you actually need. Holding that red block requires discipline and careful management of your other colors. You must constantly check that your ants have an open path before pulling any new blocks especially the connected ones. If you find yourself getting jammed near the headlights or struggling with the hidden boxes I highly recommend you watch the video above this article. Seeing the timing of the pulls in motion makes the strategy perfectly clear.