Colony Flow Level 150 Walkthrough Solution & Guides | How to solve Colony Flow 150

Guide By Liam Stone
Updated on August 1, 2026
The video above walks through Level 150 in full, so feel free to skip the written steps below.
Video doesn't match your screen?
Game updates frequently scramble layouts! Try our AI Screenshot Solver first to find your exact board instantly, or report broken guides to our team.
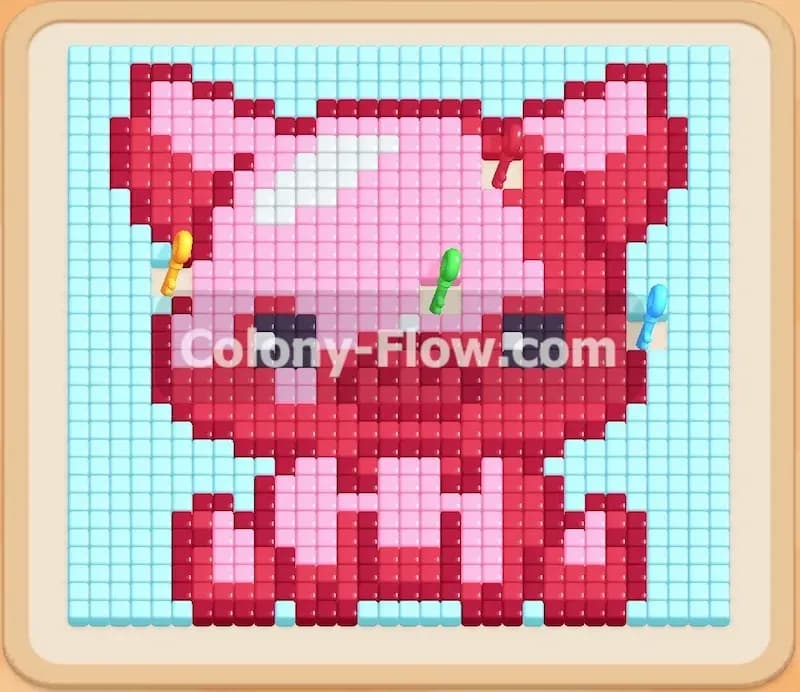
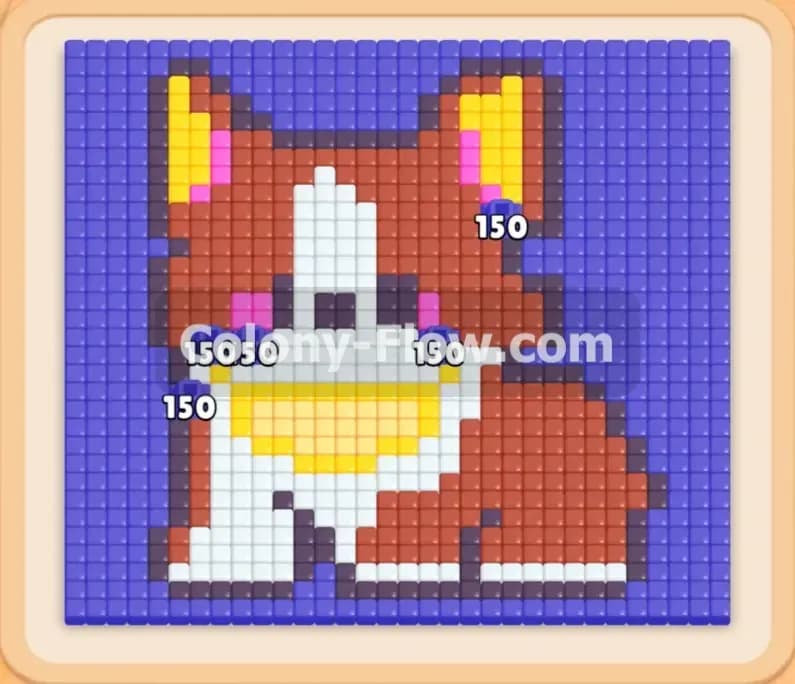
Welcome to Colony Flow Level 150. This puzzle features a large sleeping cat design positioned in the center of the board. You will manage a steady stream of ants to clear out the solid blocks of color and reveal the blank canvas underneath. The real challenge here comes from connected boxes in the tray that require you to clear multiple colors at the exact same time without filling your limited waiting space.
Colony Flow Level 150 Overview
What You Are Working With
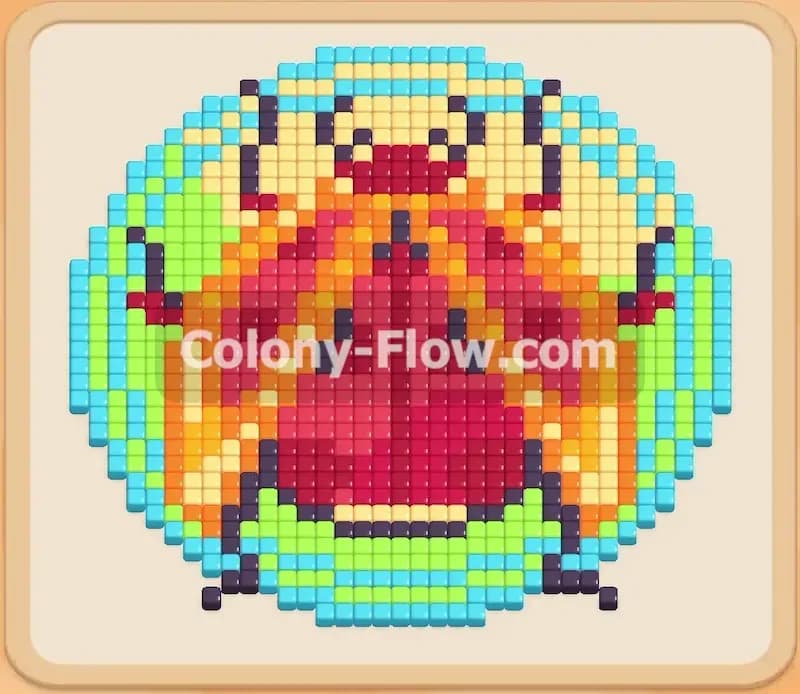
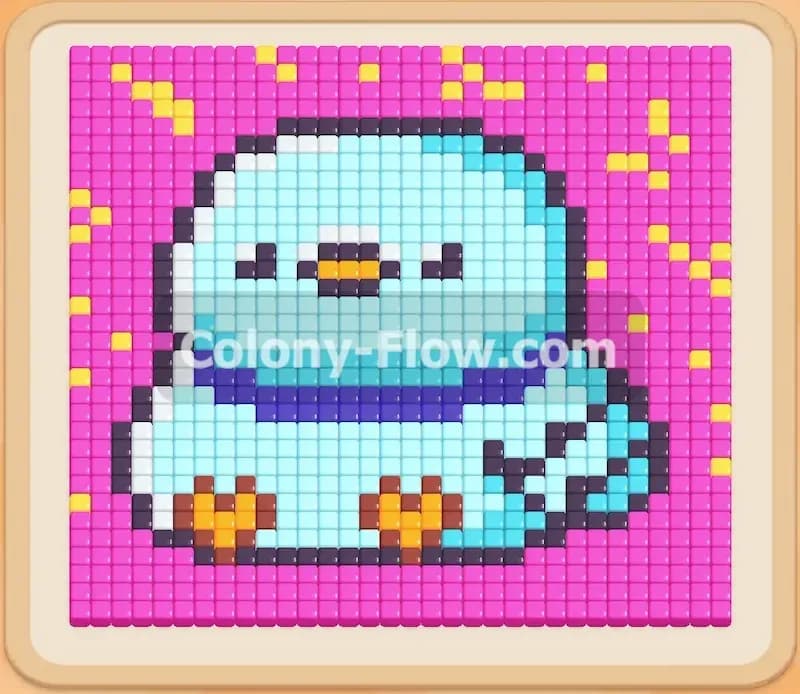
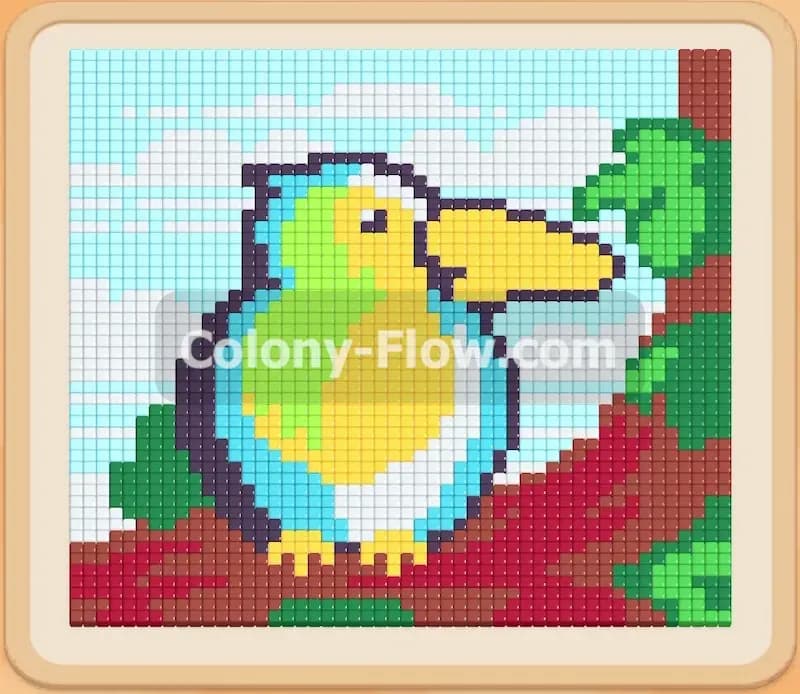
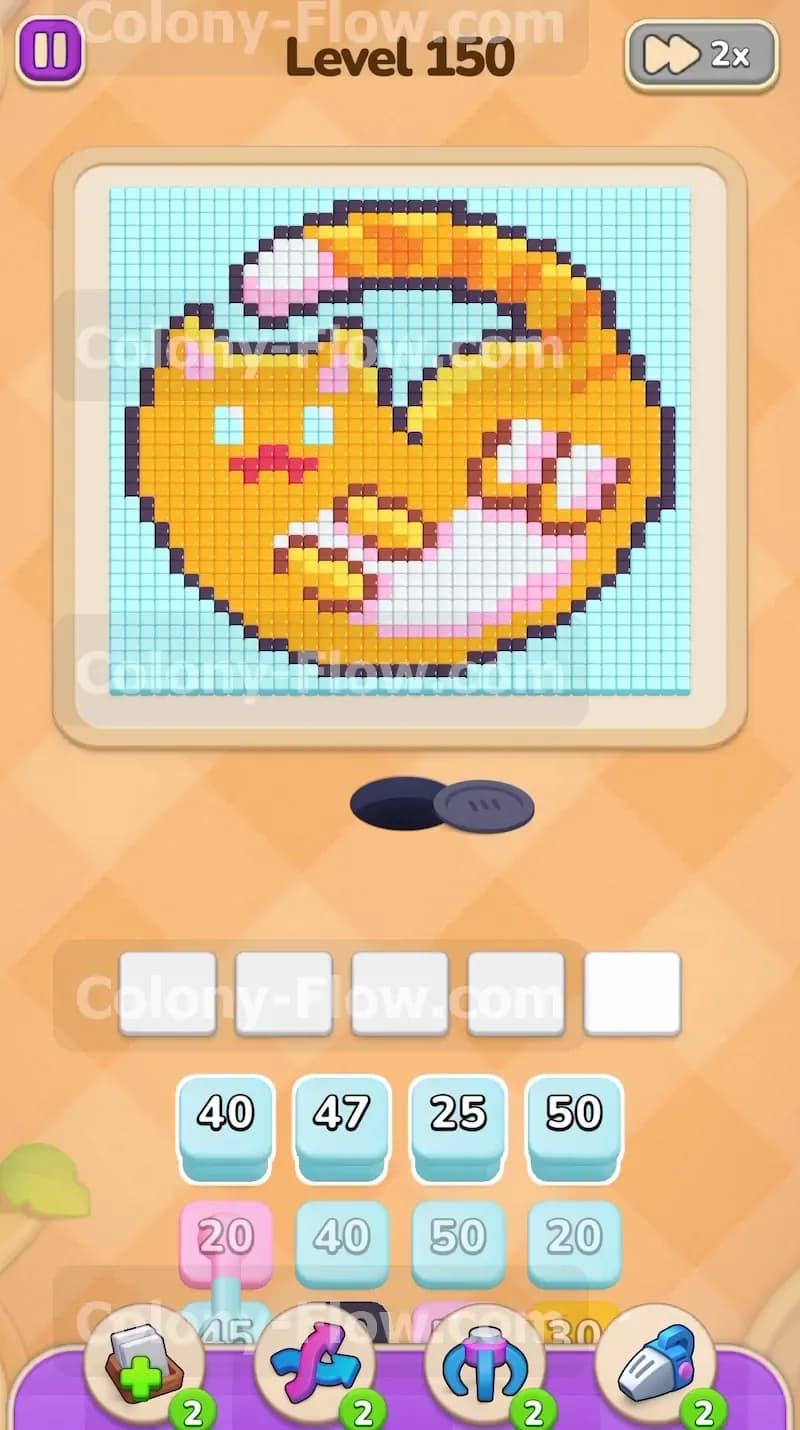
The pixel art picture shows a sleeping cat curled up into a tight circle. The background consists of light blue tiles that surround the entire animal shape. The cat itself has a solid black outline to define its shape against that light blue background. Inside the outline you will find a main yellow body with orange accent stripes along the back and the tail. The cat has white paws and a large white belly section near the bottom. Pink tiles make up the small nose and the inner ears. Down in the tray you have standard single color blocks featuring large numbers. You also have connected boxes linking two different colors together. These connected boxes force you to commit two of your five waiting slots at once.
What It Takes to Clear Level 150 Board
You win this level by fully clearing every single tile of the sleeping cat and its surrounding background. The ants need a continuous open path to reach their matching color tiles. You must carefully peel away the outer light blue background first to expose the black outline. Once the outline breaks open you can send your ants inside to eat the white and yellow sections. The most critical part of this board involves timing your connected boxes perfectly. If you pull a connected box without having an open path for both of its colors you will instantly clog your waiting slots. You need to keep at least one color actively feeding the ants at all times to prevent a board lock and a level failure.
Colony Flow Level 150 Step by Step Solution
Step 1: Clear the bottom background layer first to create physical space for the ants.
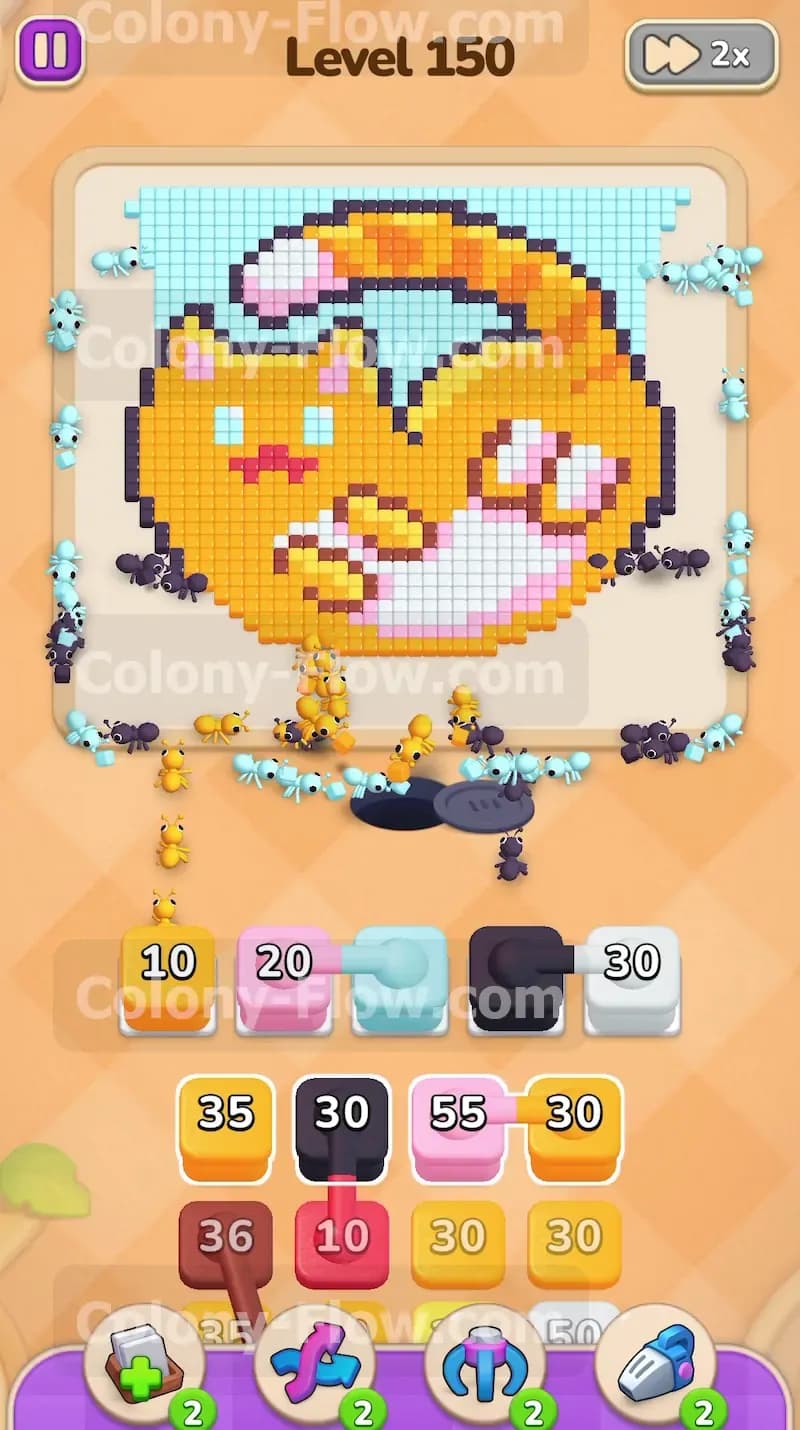
Start the level by pulling the high number light blue blocks from the top row of the tray. The light blue tiles completely block access to the actual cat shape. You pull a light blue forty block followed by a light blue forty seven block into the waiting slots. The ants immediately stream out of the nest hole and fan out along the bottom edge of the board. They start eating away the light blue tiles to clear the bottom corners. This action opens up physical space on the board and exposes the bottom sections of the solid black outline. Your light blue blocks will slowly count down as the ants consume the background tiles. Do not pull any other colors yet because the ants cannot reach anything except the light blue outer layer. Wait for the ants to finish the bottom section entirely.
Step 2: Break into the bottom black outline to access the belly tiles.
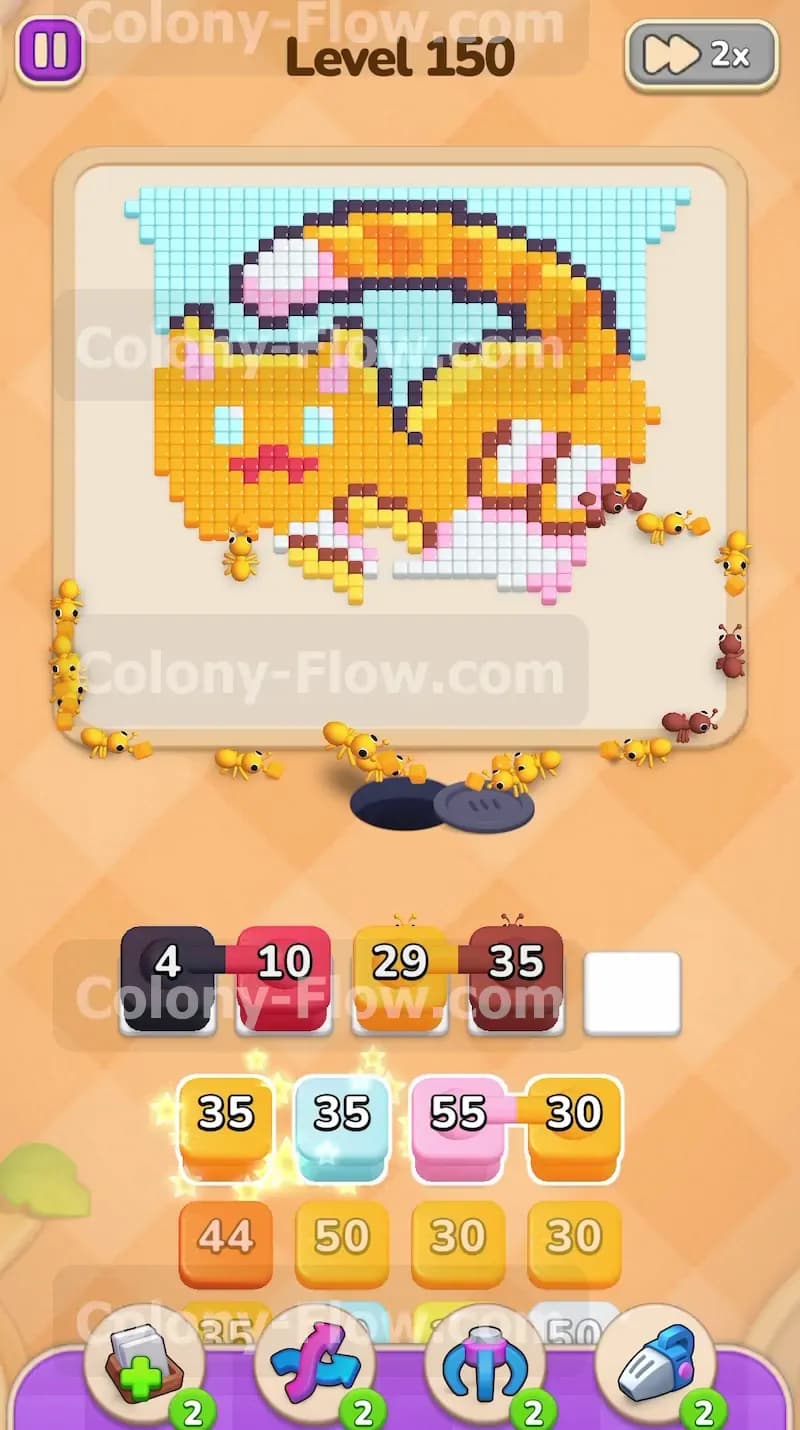
With the bottom light blue tiles out of the way you can now attack the black outline covering the bottom of the cat. Pull a black thirty block into the waiting slots. The ants will march up the center and begin dissolving the black border tiles. Breaking this bottom barrier is your main priority because it serves as the physical gateway into the white belly tiles and the yellow body tiles. As the ants work on the black tiles you will see the black block in your tray count down rapidly. You want to make sure the black outline breaks wide open so the ants can flood into the middle of the picture. Keep an eye on your waiting slots to ensure you always have an active color draining.
Step 3: Deploy the first set of connected boxes to clear the nose and background together.
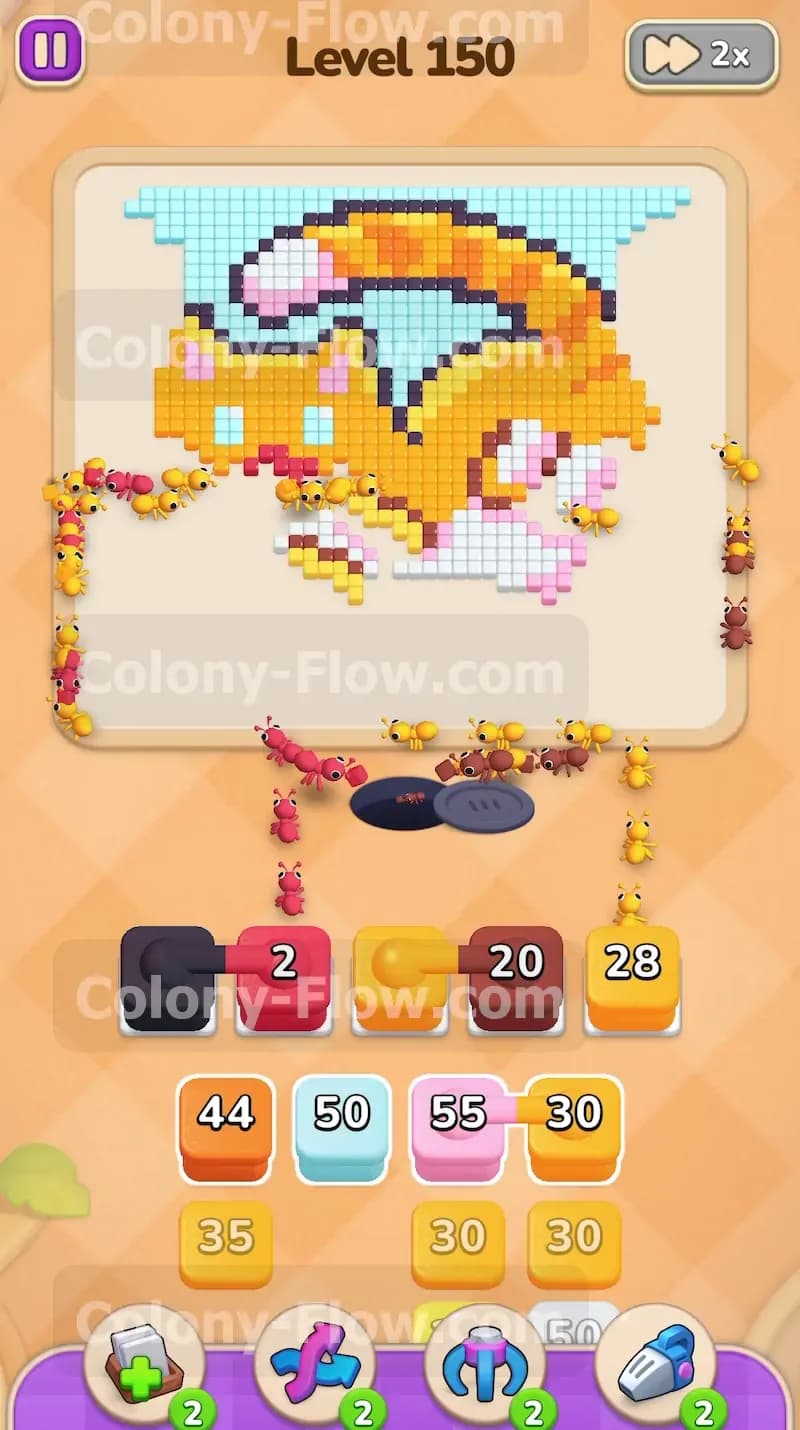
Now you face your first major tray challenge with a connected box. You will see a pink twenty block physically linked to a light blue block down in the tray. Pull this connected pair up into the waiting slots. Because you already cleared a path to the light blue background on the sides the ants will immediately start using the light blue half of the connected box. At the same time the ants can reach the pink nose tiles through the hole you just made in the black outline. This perfect timing ensures both halves of the connected box activate right away. The numbers on both the pink block and the light blue block will decrease together. This dual action prevents the connected pair from sitting idle and jamming up your limited tray space.
Step 4: Clear the white paws and belly tiles to open the main body.
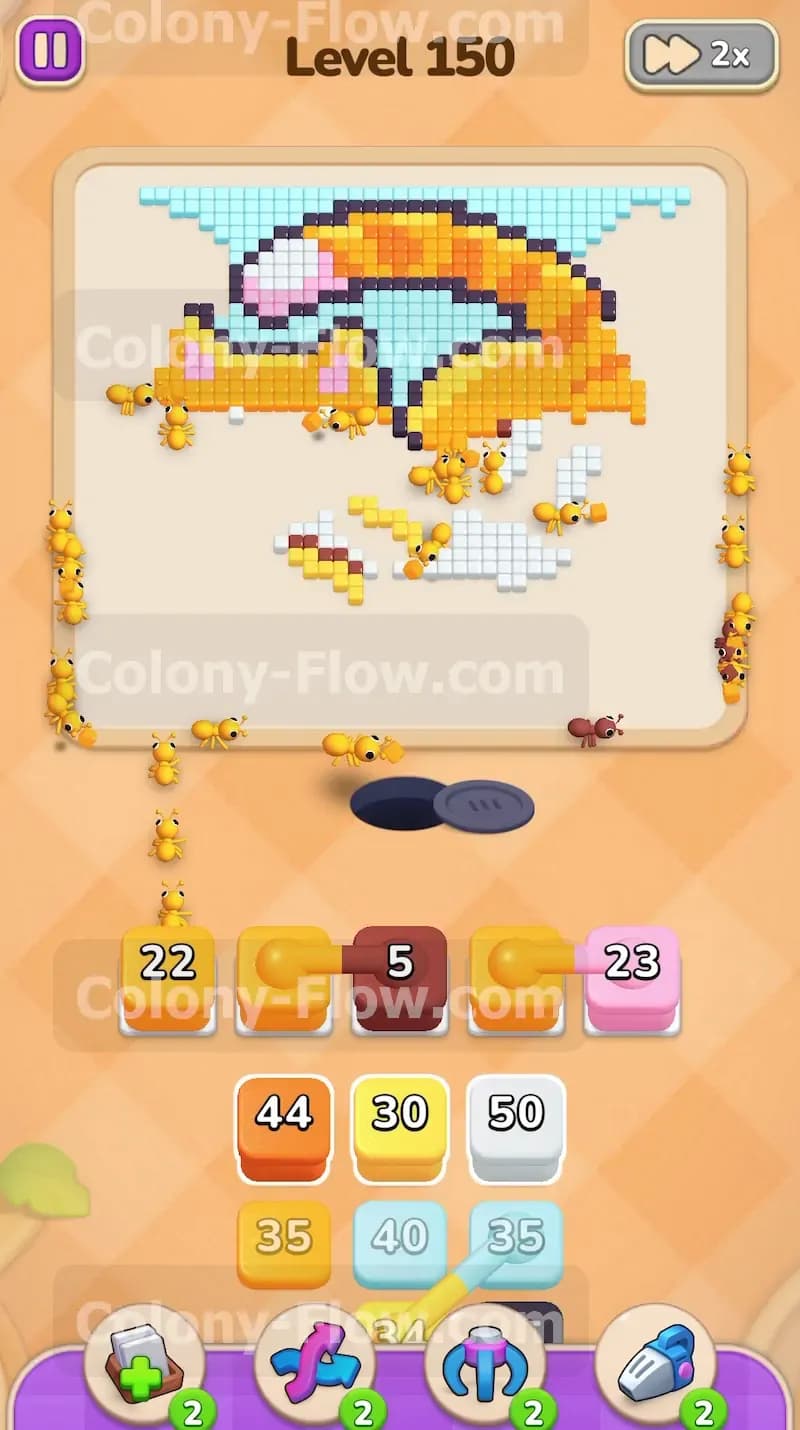
Look at the bottom right section of the cat to find the white paws and belly. These tiles are now completely exposed and ready to clear. Pull a white fifty block into your open waiting slot. A large group of ants will redirect toward the bottom right and swarm the white tiles. The white fifty block carries a huge number so it will take some time for the ants to eat through that entire section. While the white block counts down you can continue managing the outer background. Pull another light blue block to keep a steady flow of ants moving up the left side of the board. You always want to have two different paths active at once so the ants never stop moving and your tray never hits a dead end.
Step 5: Move up into the yellow body tiles to remove the bulk of the cat shape.
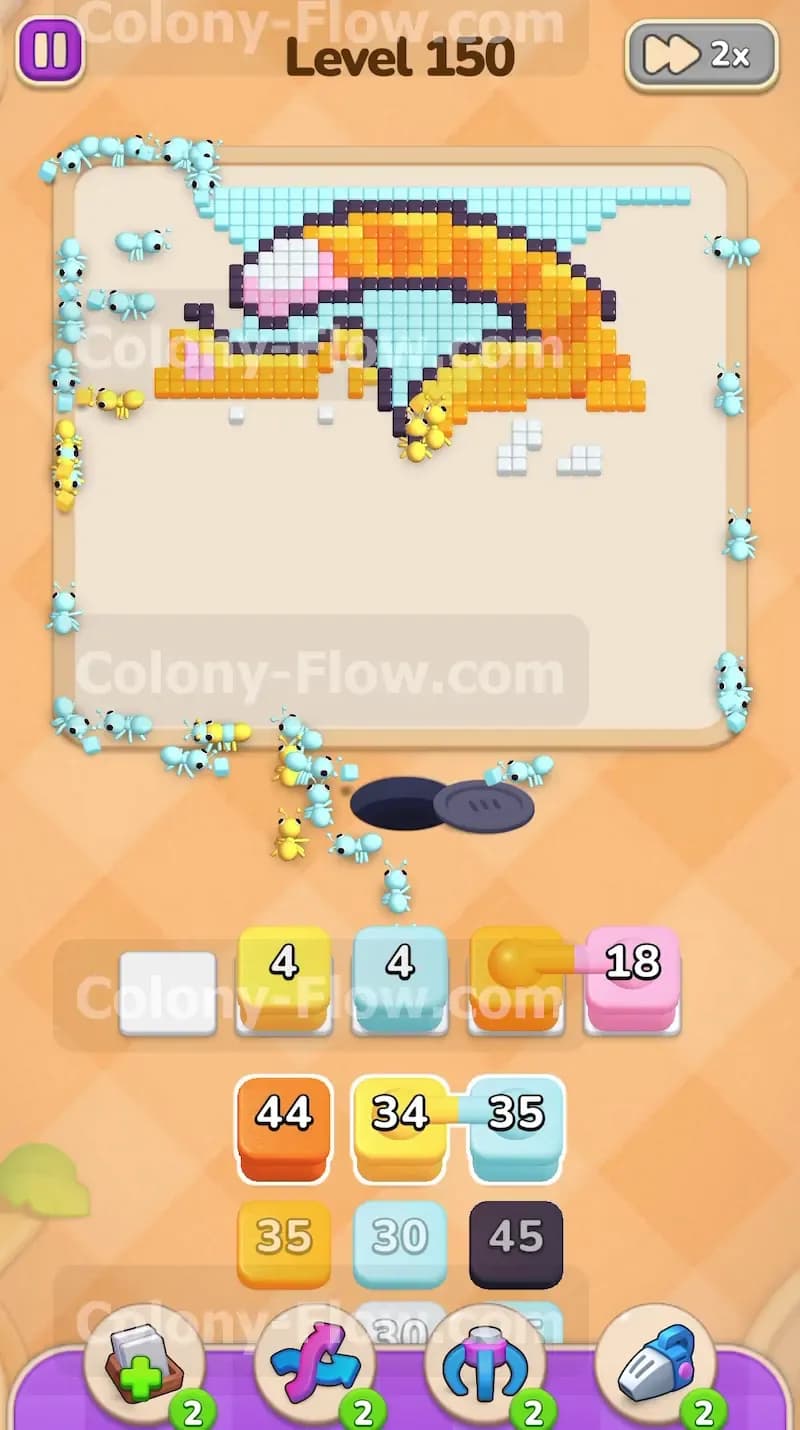
The white belly clearing out gives you massive access to the main yellow body of the sleeping cat. Pull a yellow thirty five block from the middle of the tray. The ants will march straight through the empty bottom section and spread out across the yellow face and lower body. Yellow makes up the vast majority of this pixel art picture. You will need to process multiple yellow blocks to get through the bulk of the cat. Pulling that first yellow block drops its number down steadily as the ants munch away at the face. The entire left side of the cat face will start to vanish and reveal the plain board underneath.
Step 6: Handle the second set of connected boxes to clear the ears and right outline.
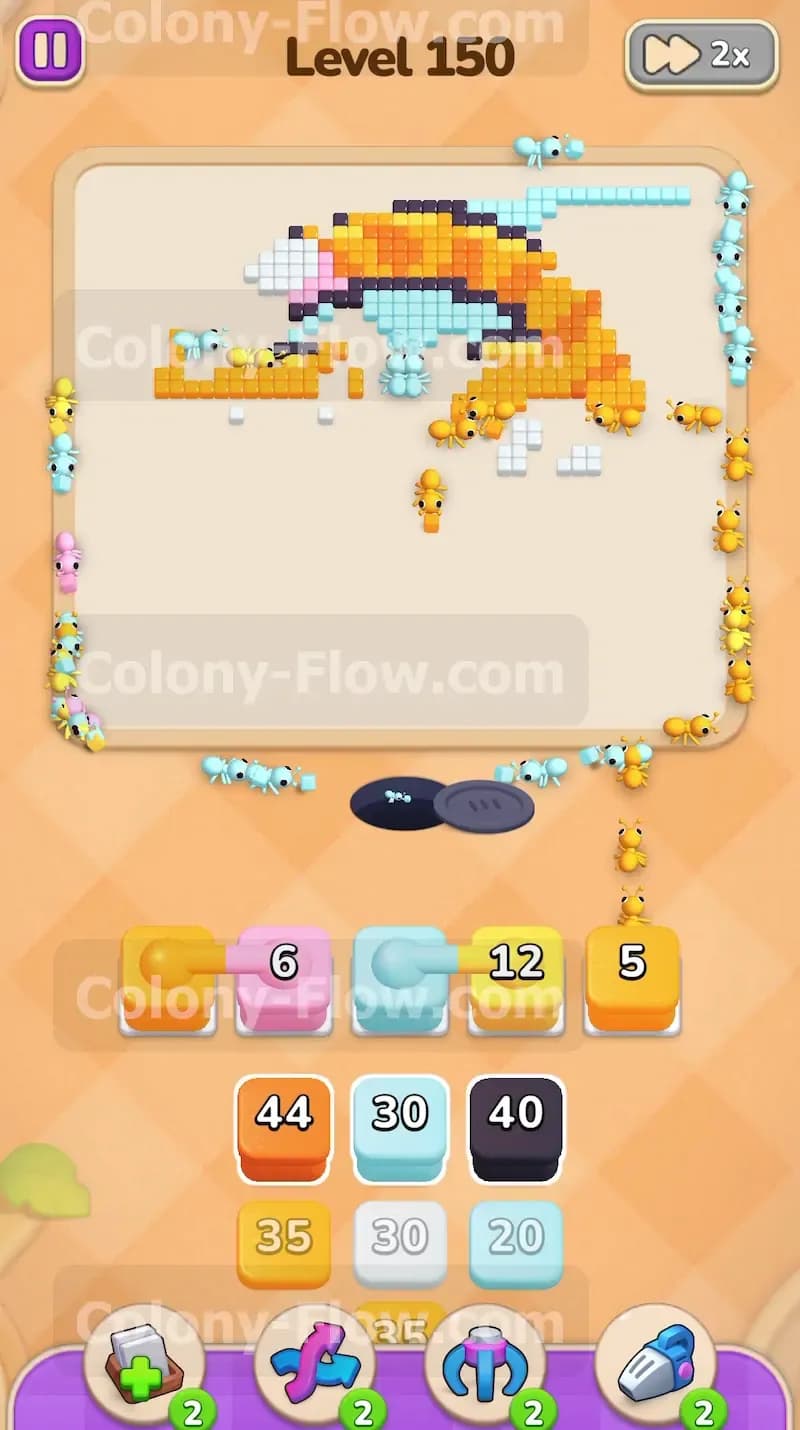
Your tray now presents another connected box problem. This one features a black thirty block linked to a pink ten block. You must ensure you have a valid path for both colors before pulling them up. The ants can easily reach the remaining black outline on the right side of the picture. The pink ten block will target the pink tiles located inside the cat ear near the top left. Because you already cleared the yellow face you have a completely unobstructed route straight up to that ear. Pull the black and pink connected box into the waiting slots. The ants split into two groups immediately. One group heads right for the outline and the other group heads up left for the ear. Both blocks count down and clear out of your tray without causing any jams.
Step 7: Work on the brown and orange accent tiles to break up the remaining body.
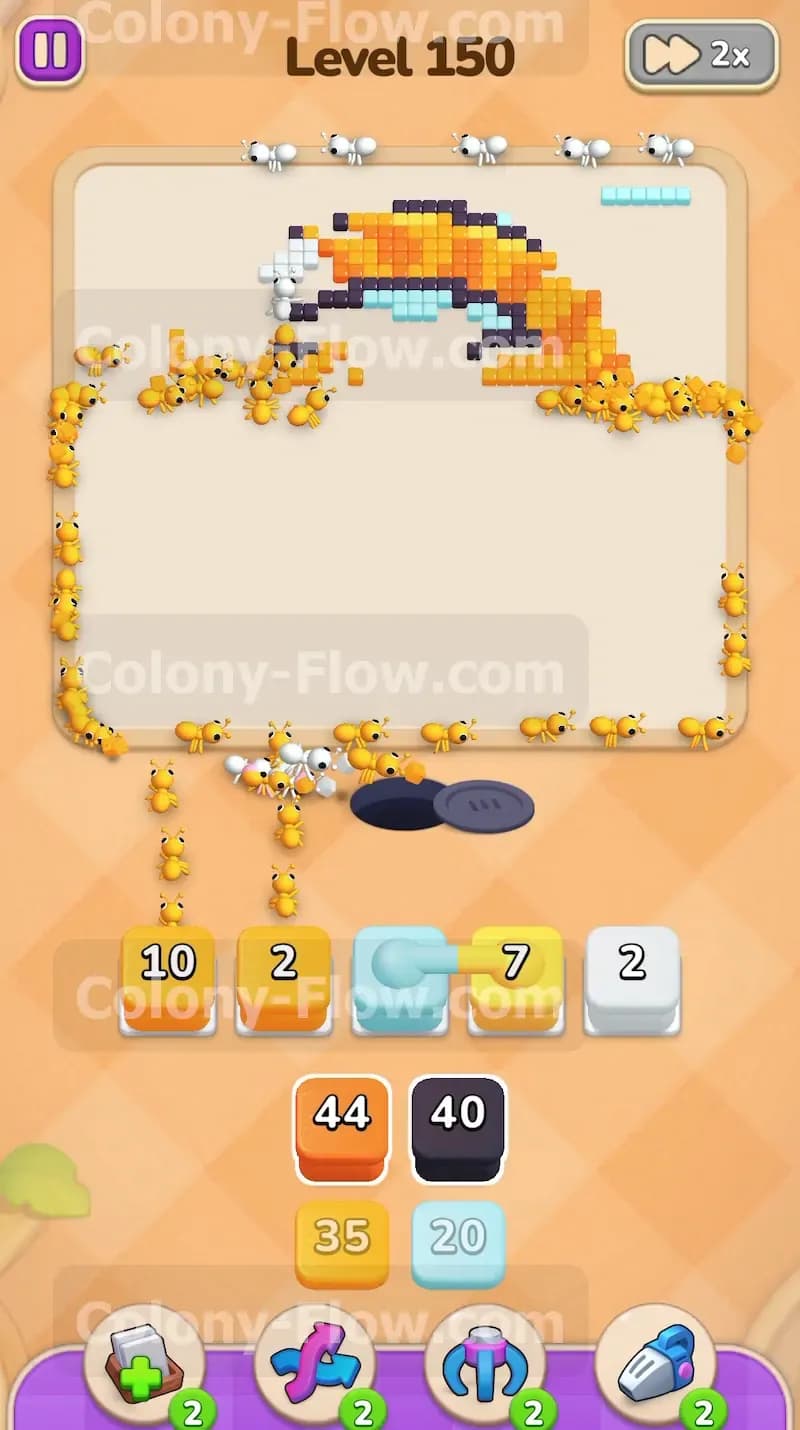
The cat has darker accent colors mixed into the yellow body. You will see orange tiles along the back and brown tiles mixed near the tail section. Pull a brown thirty six block into the tray to let the ants clear those darker tail segments. Once the brown tiles clear you can pull an orange forty four block. The ants will wrap around the right side of the board to attack the orange stripes along the top curve of the back. Clearing these accents separates the remaining yellow sections into smaller isolated chunks. This makes the final cleanup phase much easier to manage.
Step 8: Clear the top background and upper outline to isolate the final body tiles.
At this point only the top curve of the cat and the upper background remain intact. You have plenty of open space for the ants to travel. Pull a light blue thirty five block to send ants all the way up the sides to the top corners. The light blue background will melt away and leave only the top edge of the black outline. Pull your remaining black forty block to let the ants finish off the outline completely. Removing that top border exposes the very last section of orange and yellow tiles forming the top curve of the cat body. You have completely dismantled the outer defenses of the puzzle.
Step 9: Finish the remaining body tiles to win the level and clear the board completely.
You are now in the home stretch with just a handful of yellow and orange tiles left at the very top of the board. Your waiting slots should be mostly empty. Pull a yellow thirty block and watch the ants march straight up the middle of the screen. They will devour the remaining yellow sections of the back. Finally you pull your last orange block and your last light blue block to clean up the stray tiles scattered at the very top edge. The ants will eat the final pixel and the entire board will sit totally empty. You have successfully cleared the picture.
Final Thought
You need to stay alert when handling the connected boxes in this puzzle. A single mistake with those linked colors will fill your tray and end your run instantly. Always double check your open paths before you pull a dual color block into your slots. If you find yourself struggling with the exact order of the colored blocks please scroll up and watch the video above this article. Watching the real time ant paths will show you exactly how to navigate the trickiest parts of this board.