Colony Flow Level 147 Walkthrough Solution & Guides | How to solve Colony Flow 147

Guide By Liam Stone
Updated on July 11, 2026
The video above shows the complete Level 147 solution in real time, so you can skip straight to watching if you want.
Video doesn't match your screen?
Game updates frequently scramble layouts! Try our AI Screenshot Solver first to find your exact board instantly, or report broken guides to our team.
Colony Flow Level 147 drops you right into a massive pixel art puzzle featuring a brown sloth holding a white cup. This puzzle relies heavily on proper sequence planning because the wide picture blocks your ants from reaching the center of the board. You play by managing your tray slots and ensuring your ant colony always has an open route to their matching food. I play every level myself to find the safest route to victory. Here is my exact method to beat this board without jamming your slots.
Colony Flow Level 147 Overview
What You Are Working With
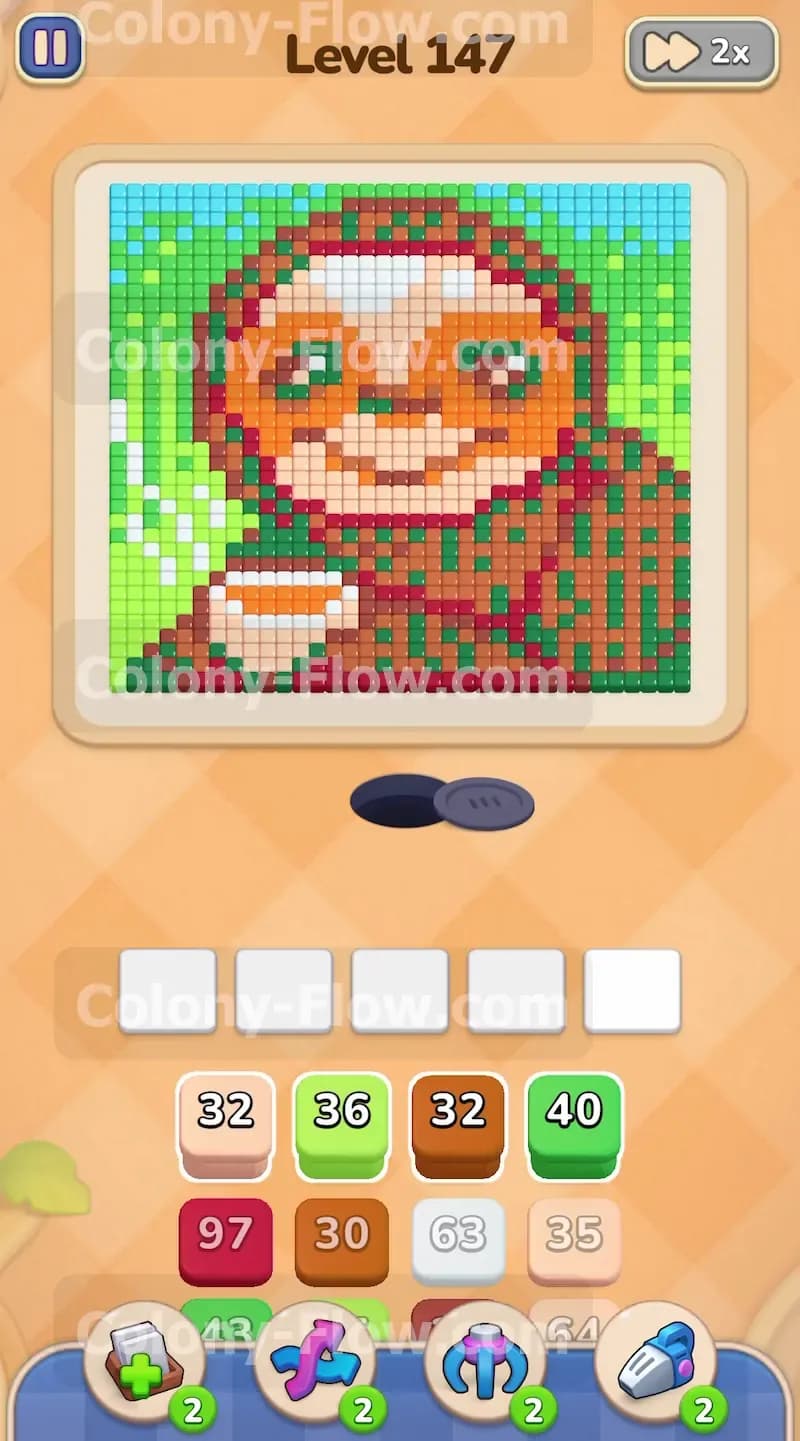
The picture is large and densely packed with different colors. You have a light green background on the left and a light blue background on the right. Dark green leaves frame the top of the scene. The sloth itself features a light orange and peach face with dark red and brown fur covering the main body. A white cup with grey details sits near the bottom left corner. The tray starts packed with heavy numbers. You will pull a 36 light green block, a 32 light orange block, a 32 brown block, and a massive 97 dark red block during the opening moves. There are no special hidden boxes or tricky food pipes on this board. It is purely a test of routing your ants through a thick wall of colored pixels.
What It Takes to Clear Level 147 Board
Clearing the board means every single pixel of that sloth and the surrounding background must completely disappear. You win when the ants eat the last piece of food and the picture is completely empty. You lose if you pull five blocks into your waiting slots and none of them can reach their matching colors. This happens fast if you pull face colors before clearing the outer background or the lower body sections. Every single move you make must carve a new path or extend an existing one. You must peel the picture away from the outside edges inward to survive.
Colony Flow Level 147 Step by Step Solution
Step 1: Pull the light green background block to open the left side edge.
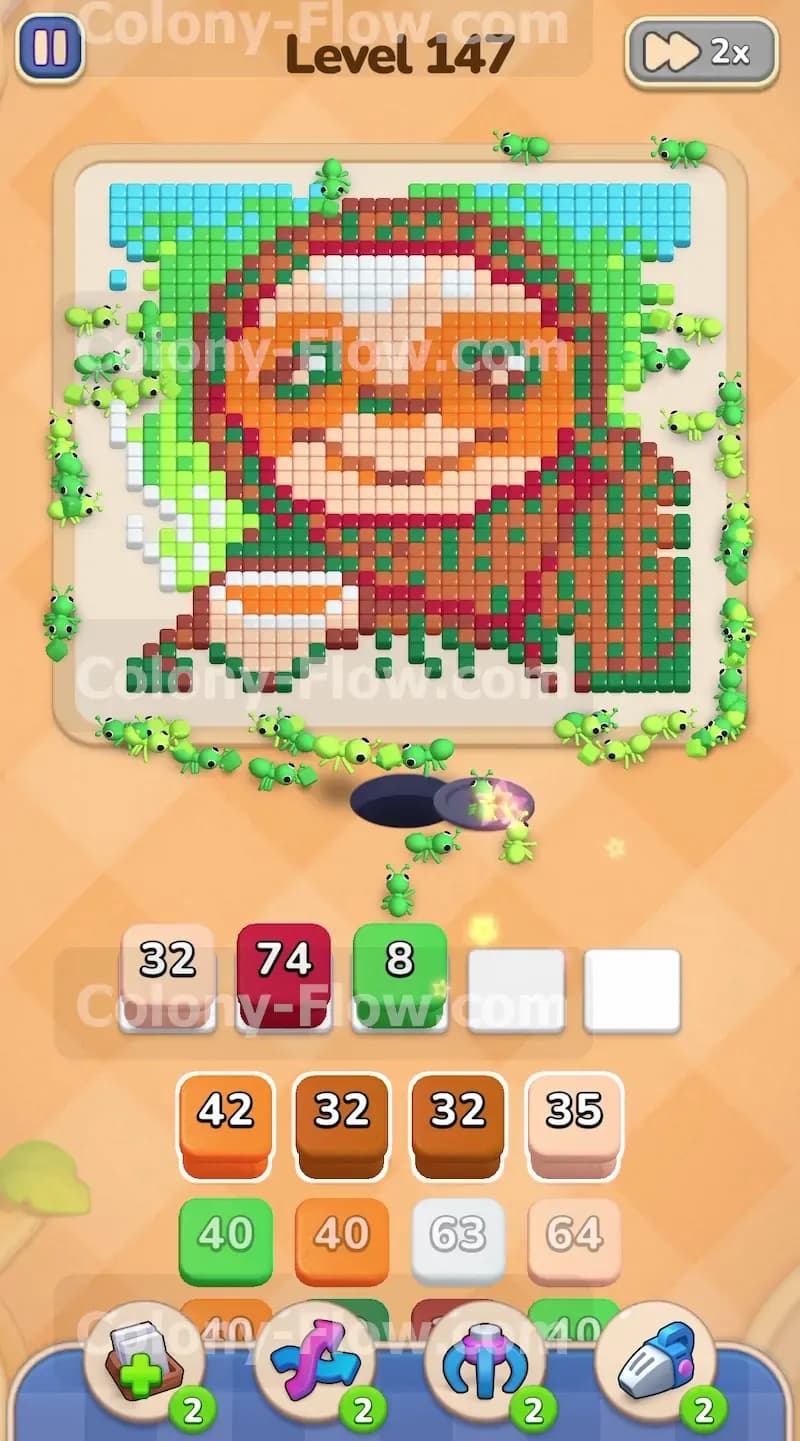
Your very first move must break the outer wall to let the ants travel freely up the board. Pull the 36 light green block into your tray. The ants stream out of the nest and immediately attack the light green background tiles on the bottom left corner. This move is entirely safe because the green tiles sit right on the outer edge of the puzzle. The ants have direct access to them without navigating through any other colors. As the number counts down to zero, the entire lower left border vanishes. This reveals the side of the white cup and gives your ants a clear open path to the middle section of the board. Leaving this green wall intact would block your later moves and cause an immediate slot jam.
Step 2: Bring down the dark red and brown blocks to dissolve the lower body fur.
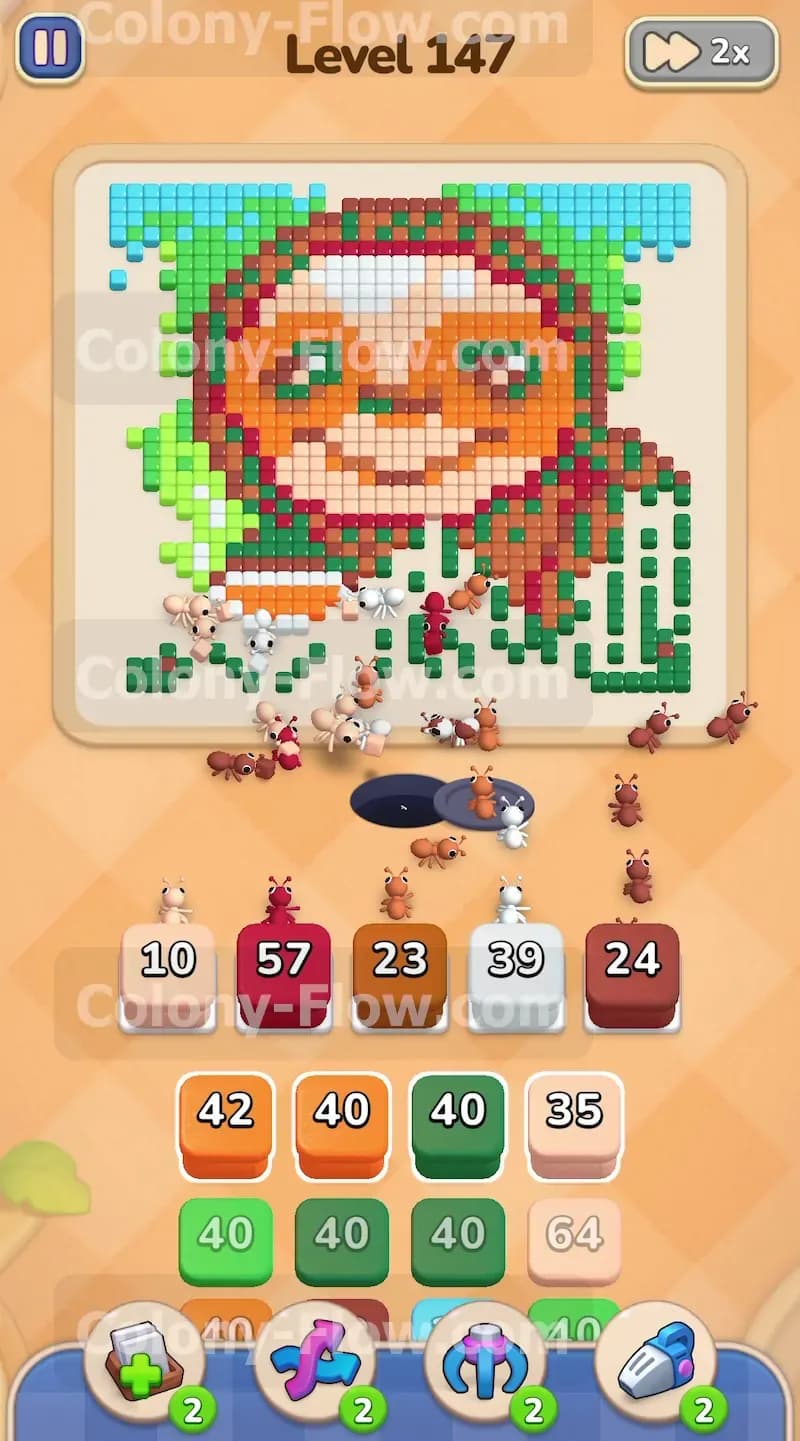
With the left side now open, you can safely target the bottom edge of the sloth character. Pull the large 74 dark red block and the 32 brown block into your waiting slots. The ants use the newly opened space to swarm the dark red stripes and brown fur making up the chest and lower back of the sloth. These are large numbers so they will take a minute to count down. You must wait to pull anything else until these numbers drop significantly. The ants chew through the lower right quadrant and completely open the bottom half of the picture. Your waiting slots remain safe because the ants continuously consume the red and brown food tiles without getting stuck behind another solid color wall.
Step 3: Activate the white block to completely eliminate the cup.
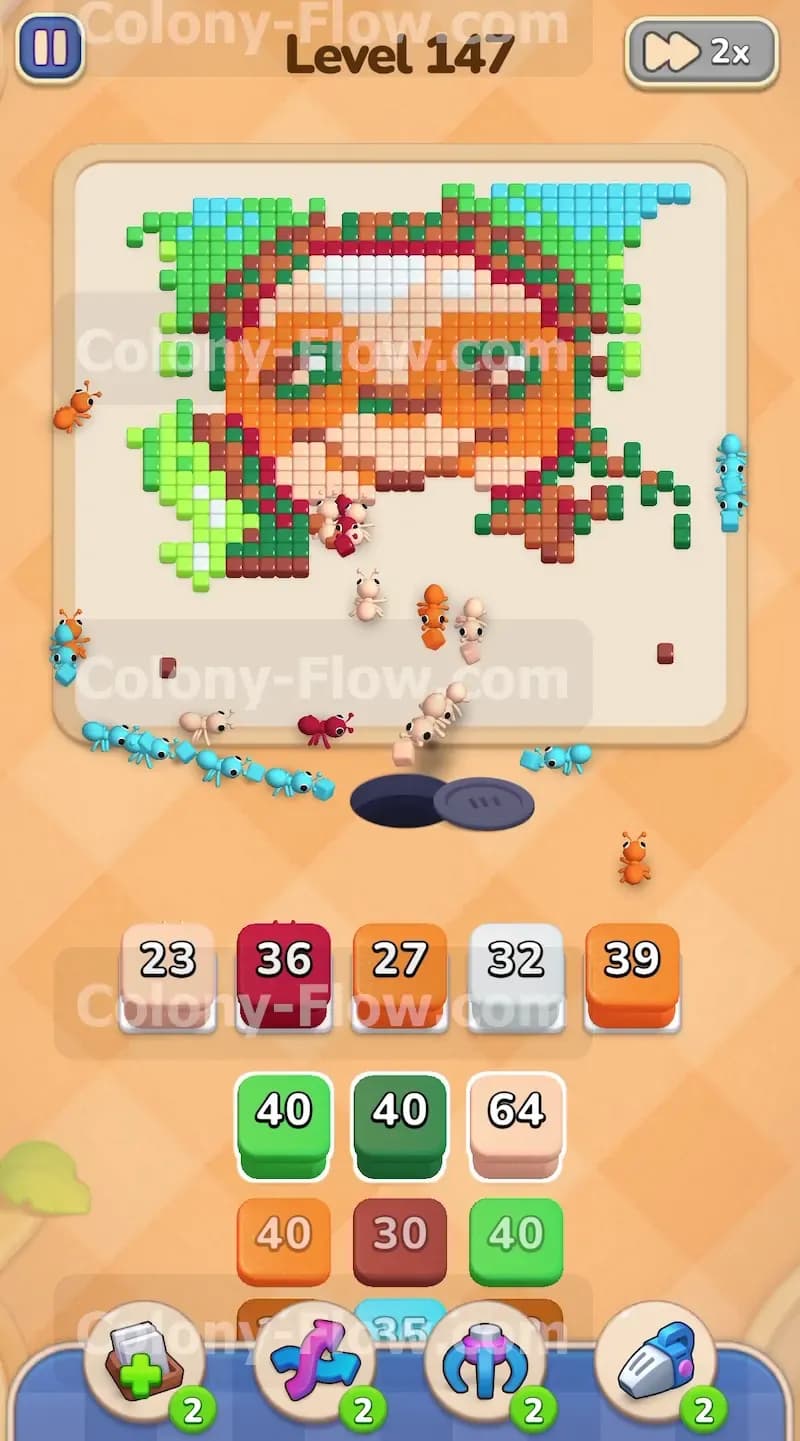
The white cup sits directly below the sloth face and acts as a solid barrier. Pull the large white block into your tray now. Since you already cleared the green background and the lower red fur, the ants have a massive open runway straight to the cup. They quickly swarm the white tiles and eat away the cup shape. This move matters heavily because it opens the entire center of the board. If you tried to pull the white block earlier, it would sit dead in your slot and push you closer to losing the level. Now it counts down smoothly and clears the way to the peach skin tiles directly above it.
Step 4: Use the peach blocks to consume the lower face and chin.
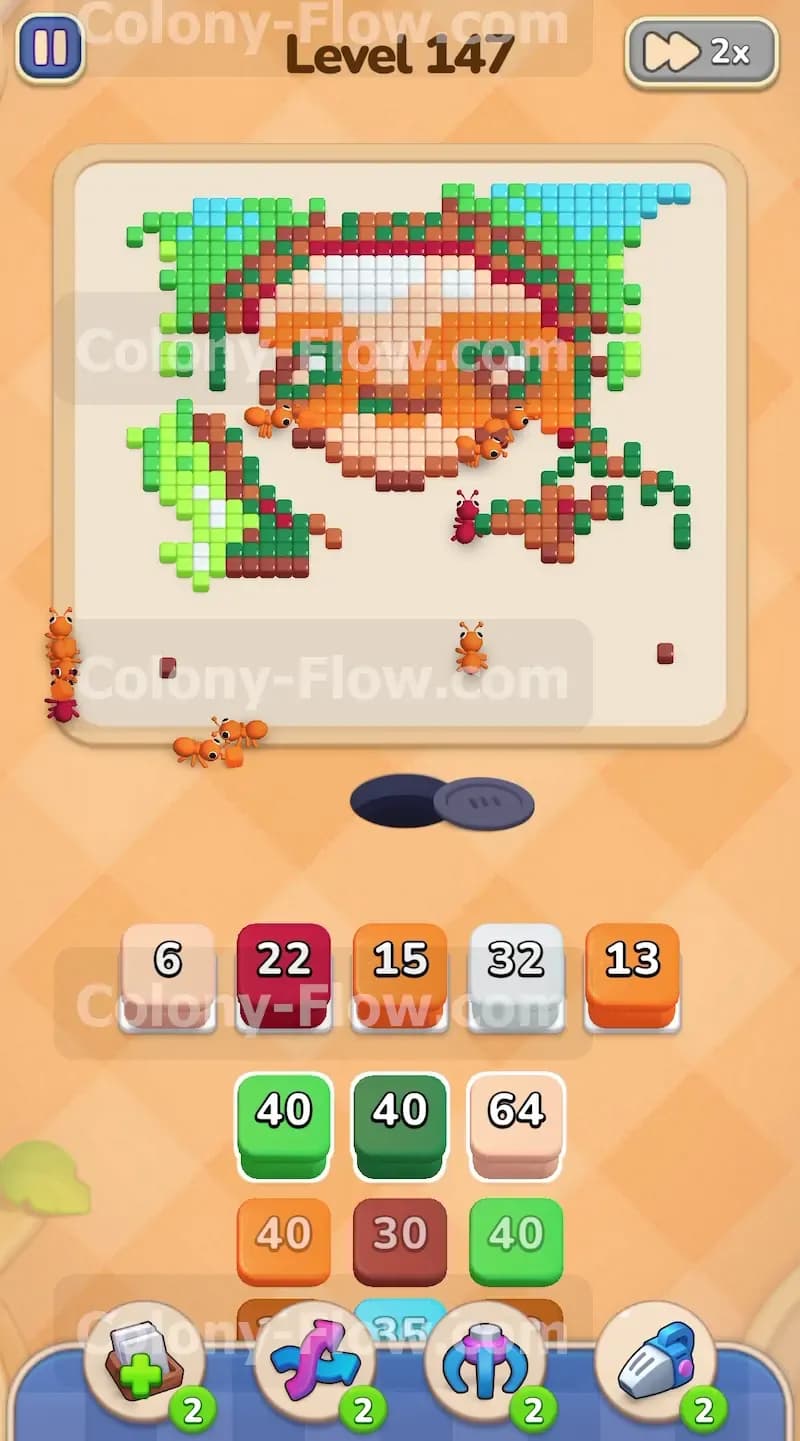
Now that the cup is gone, you have direct open access to the sloth face. Pull a 32 peach block into your slot. The ants stream up the middle of the board and attack the chin and lower cheeks. The face consists of many peach tiles, so this block will keep your colony busy for a while. You can also pull a secondary dark red block if you have an empty slot available. The ants will split their attention between the remaining dark red fur on the right and the peach skin in the center. Always keep at least two slots completely empty during this phase so you do not accidentally trap yourself. The bottom half of the picture is now completely clear of all tiles.
Step 5: Target the light blue background to open the upper right corner.
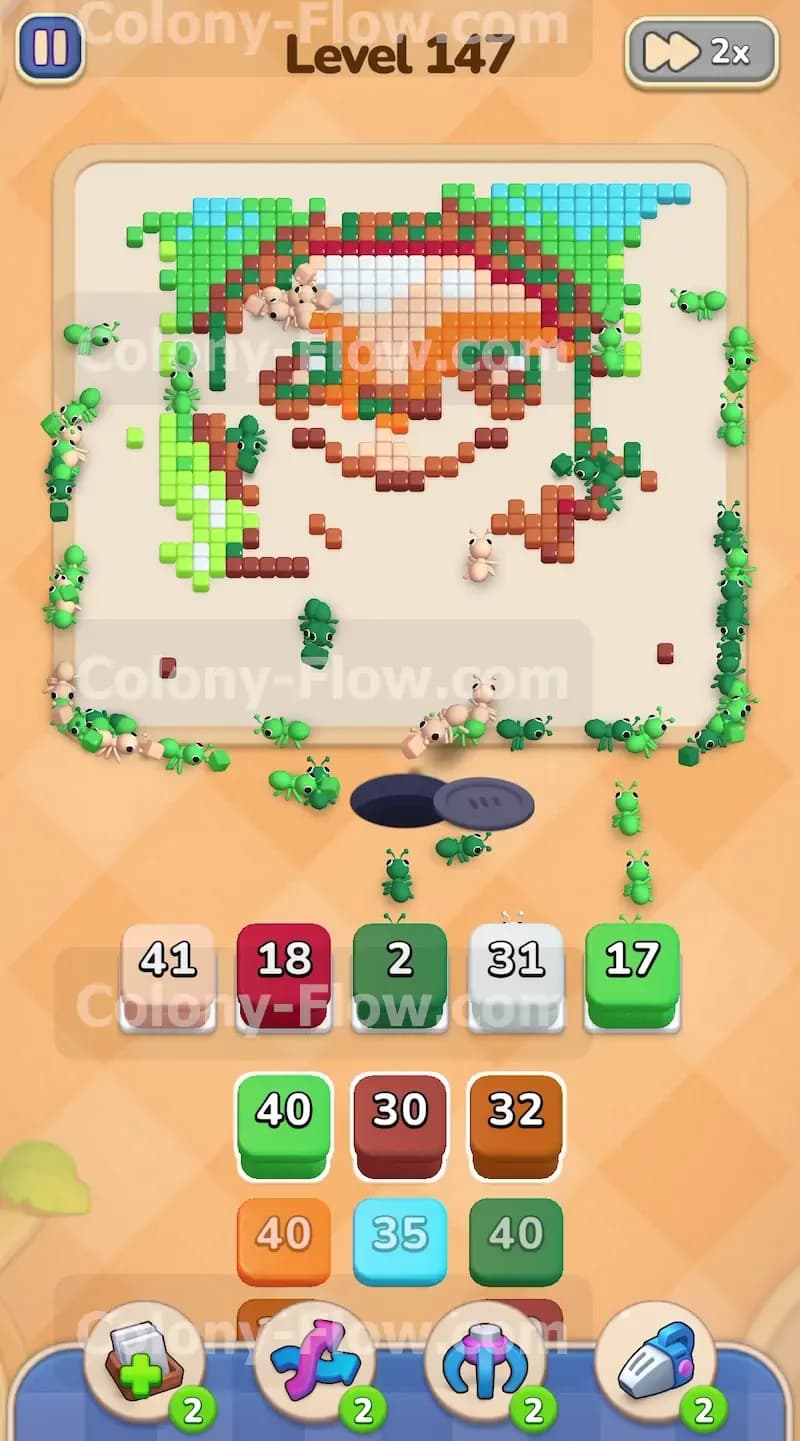
You must clear the right side before moving higher up the head. Pull the light blue blocks into your tray. The ants travel all the way across the cleared bottom section and march up the right side wall to eat the blue sky tiles. This clears the upper right corner and exposes the dark green leaves hanging over the sloth. You need this right side path open so the ants can reach the top of the head without getting bottlenecked in the center of the board. The blue blocks count down quickly and leave the right side of the puzzle completely empty.
Step 6: Eliminate the dark green leaves surrounding the top of the head.
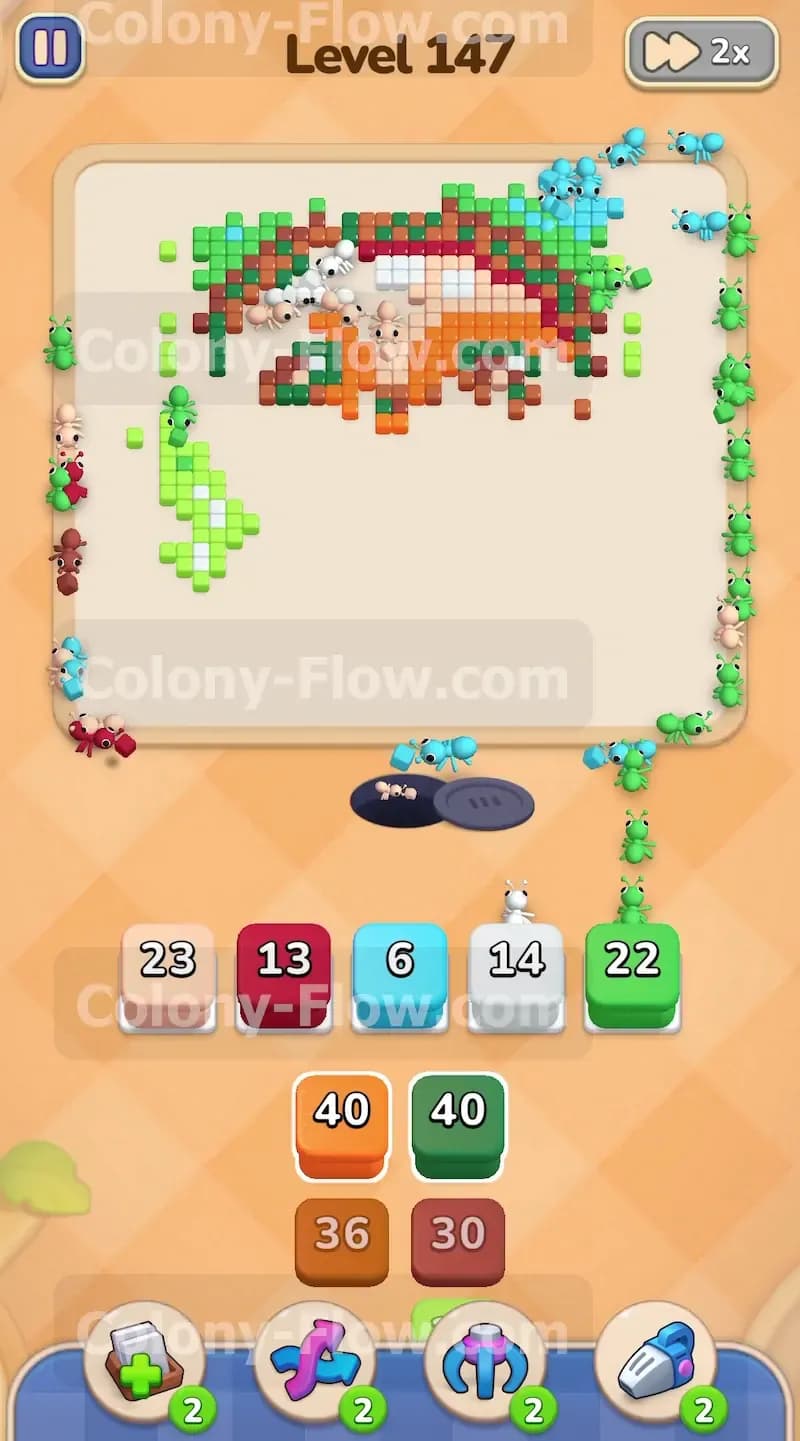
The top of the picture is heavily framed by thick dark green leaves. Pull the 40 dark green block into your tray. Your colony will divide into two separate groups. One group climbs the open left side and the other group climbs the open right side. They attack the dark green leaves simultaneously from both directions. This pincer movement clears the foliage incredibly fast. The green tiles dissolve and expose the dark orange eye mask and the very top of the head. Doing this prevents any future blocks from dead ending at the top of the screen.
Step 7: Break down the dark orange eye mask and remaining facial features.
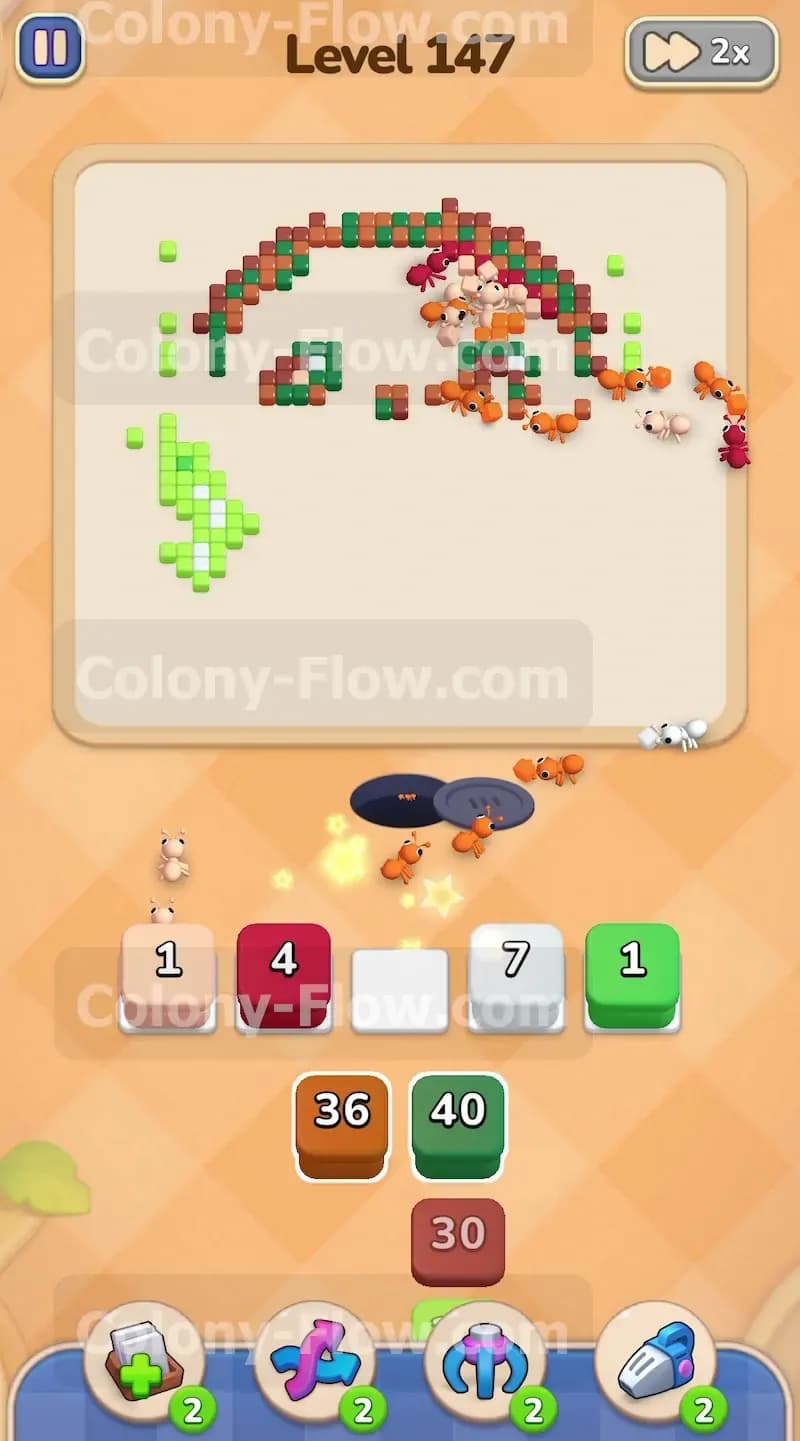
The main obstacle left is the dark orange mask surrounding the eyes. Pull the dark orange blocks into your tray. The ants swarm the center and chew away the thick rings around the eyes. At this point, the board is mostly empty space. Your ants have total freedom of movement in every direction. You can safely pull a white block to clear the eyes and a dark red block to clear the remaining bits of fur on the top of the head. Just remember to watch your slots carefully. Only pull what the ants can immediately reach. The sloth face completely disappears as the numbers hit zero.
Step 8: Clean up the final scattered top tiles to finish the level.
Only a few small clusters of tiles remain at the very top edge of the board. You will see a few remaining peach tiles, some light blue pieces, and a handful of dark green tiles. Pull the corresponding low number blocks into your tray one by one. A 7 light blue block and a low number dark red block will easily finish the job. The ants make the long trek up to the top of the screen and eat the last few remaining food tiles. The final pixel vanishes and the ants return to the nest. You win the level because you carefully managed your tray and never allowed your slots to jam.
Final Thought
This level demands patience and strict attention to the outer edges. Rushing the center blocks will always end in a filled tray and a fast loss. Keep your paths wide and always wait for heavy numbers to drop before pulling your next move. If you find any step hard to visualize from the text alone, I encourage you to watch the video above this article to see exactly how the ants move through the board.