Colony Flow Level 93 Walkthrough Solution & Guides | How to solve Colony Flow 93

Guide By Liam Stone
Updated on July 11, 2026
Some players learn faster by watching. The video above walks through Level 93 move by move.

Video doesn't match your screen?
Game updates frequently scramble layouts! Try our AI Screenshot Solver first to find your exact board instantly, or report broken guides to our team.
Welcome to Colony Flow Level 93. I am Liam Stone and I play every single puzzle myself to figure out the safest routes and the best strategies. I verify every answer against the real game screen so you get advice that actually works. This level presents a beautifully detailed arched window scene packed with bright colors and dense tile clusters. Grab your tray blocks and get ready to direct your ant colony to a flawless victory.
Colony Flow Level 93 Overview
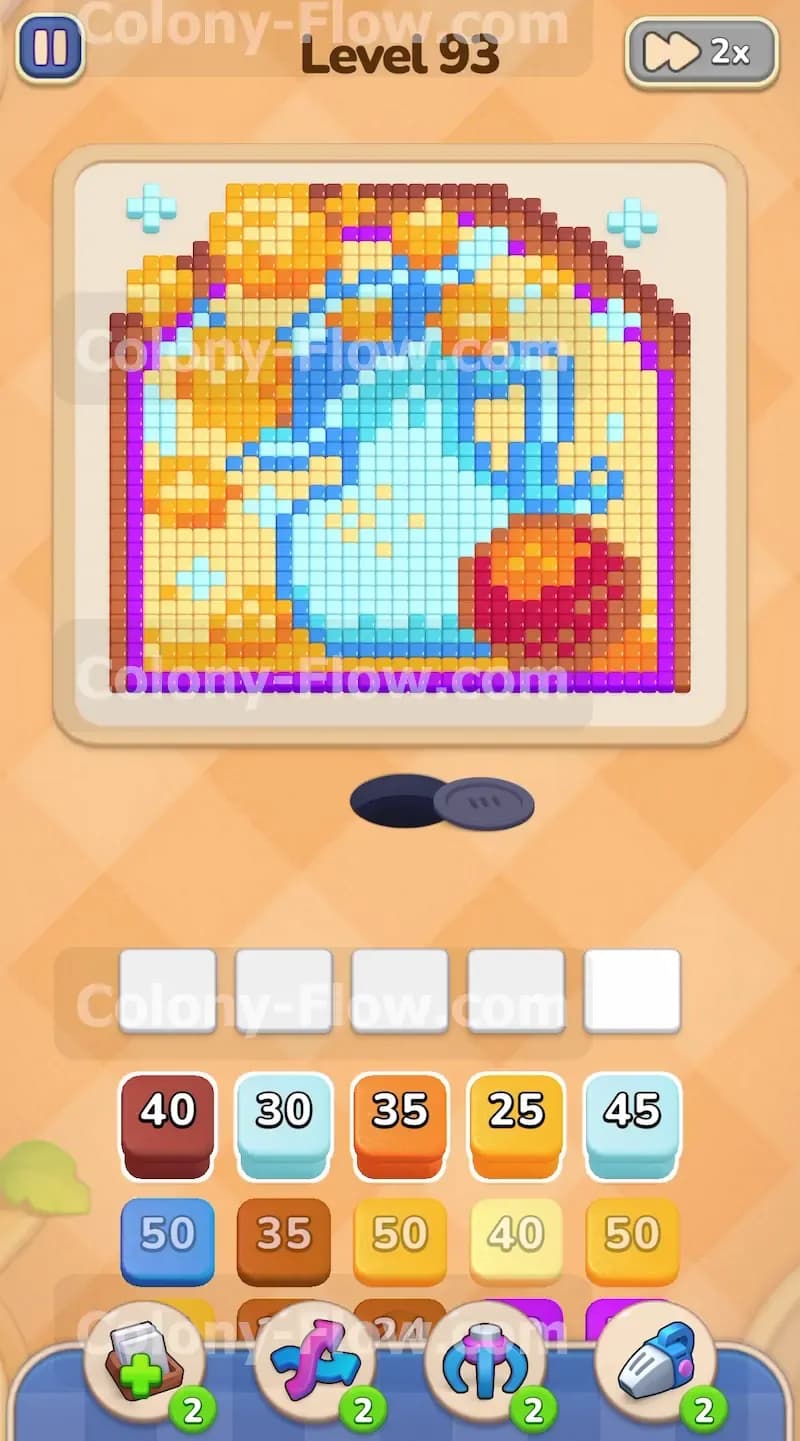
What You Are Working With
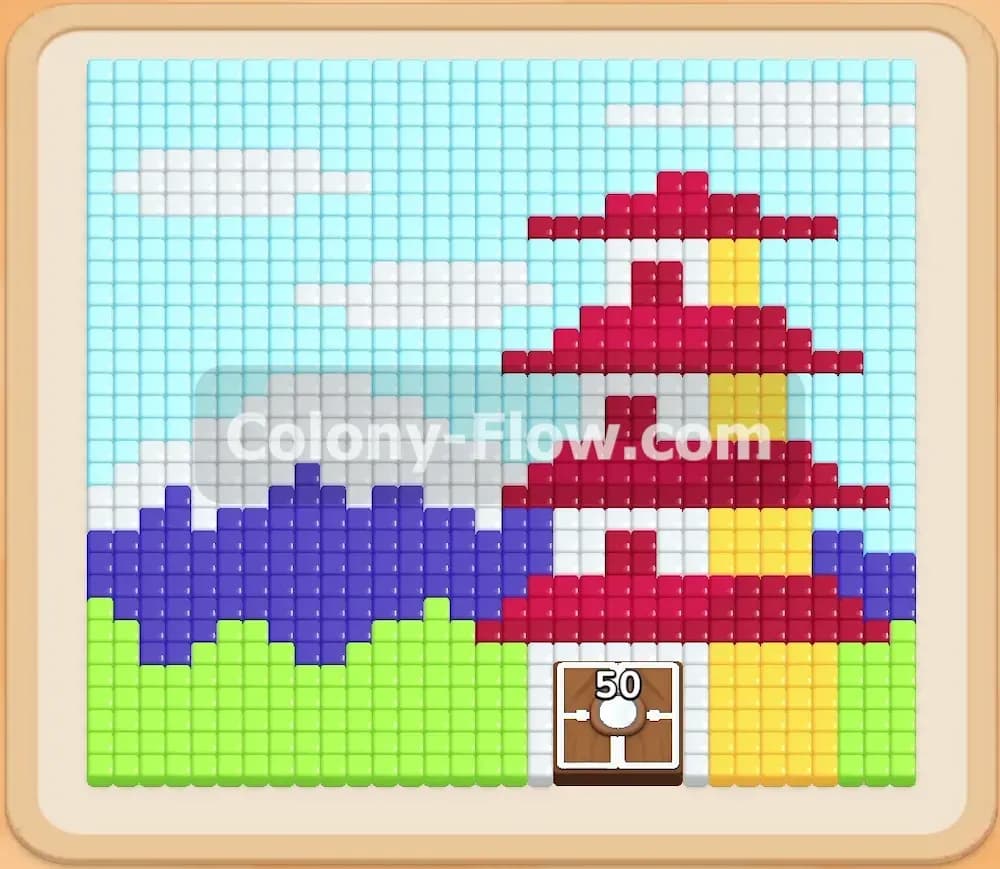
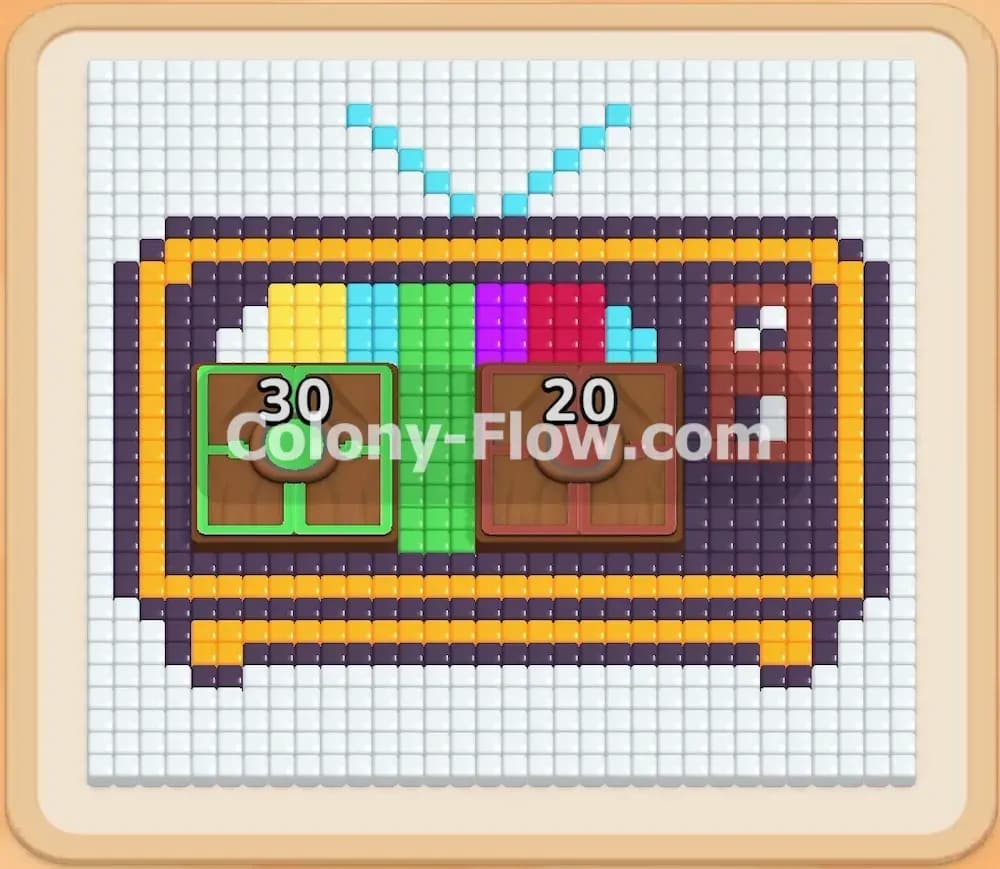
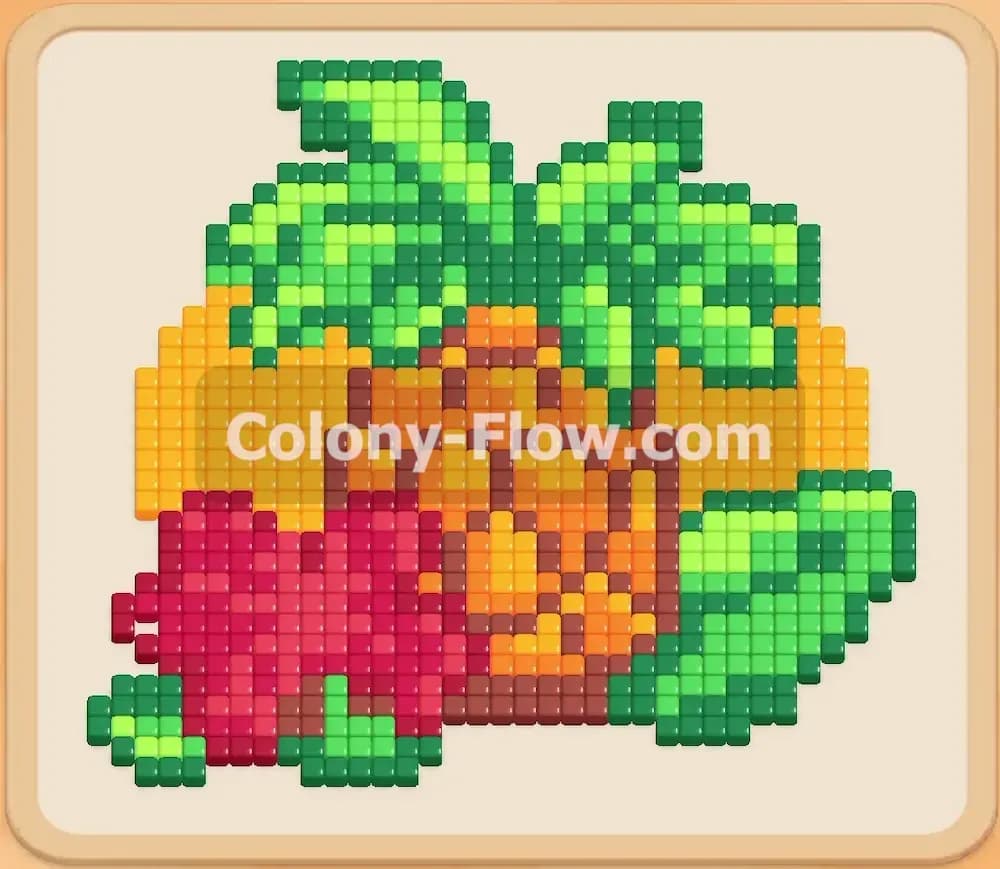
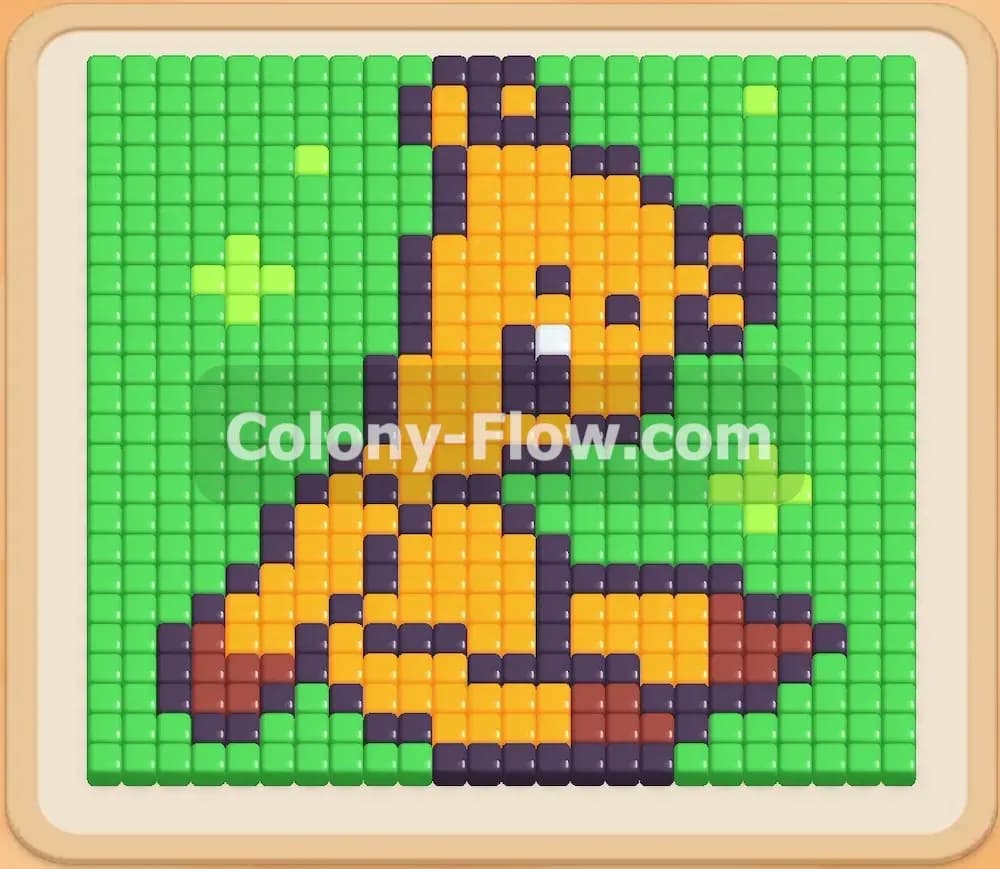
You start with a tightly packed pixel art picture resting right above the nest hole. The image features a large blue pitcher or teapot sitting directly in the center of the canvas. A bright red round object rests on the lower right side next to the pitcher. The background surrounding the pitcher is completely filled with yellow and light yellow shapes that resemble shiny coins or blooming flowers. A solid purple and brown border frames the entire arched window. Down in your tray you have a tall stack of numbered colored blocks. You will mainly work with brown, purple, orange, yellow, light blue, dark blue, and red blocks. Deep inside the tray you will also find two special elements that complicate the end game. You will face a hidden box marked with a large question mark and a pair of connected blocks linked by a physical chain.
What It Takes to Clear Level 93 Board
You win the level when every single pixel art tile is removed from the canvas and the board is completely empty. You lose if you fill all five of your waiting slots with blocks that have nowhere to go. Every block you pull from the tray must match an exposed color on the board. If the ants cannot trace a clear open path to that matching color, the block sits trapped in the slot. When you pull a block with a high number like fifty, it will not disappear from your slot until the ants consume exactly fifty matching tiles. If only ten yellow tiles are currently exposed on the board, the ants will eat those ten tiles and stop. Your yellow block will drop to forty and sit completely trapped in your waiting slot until you uncover more yellow tiles. You clear this board by always keeping at least one active color path open and managing your slot space perfectly.
Colony Flow Level 93 Step by Step Solution
Step 1: Open the outer border with brown and purple blocks to establish your first paths
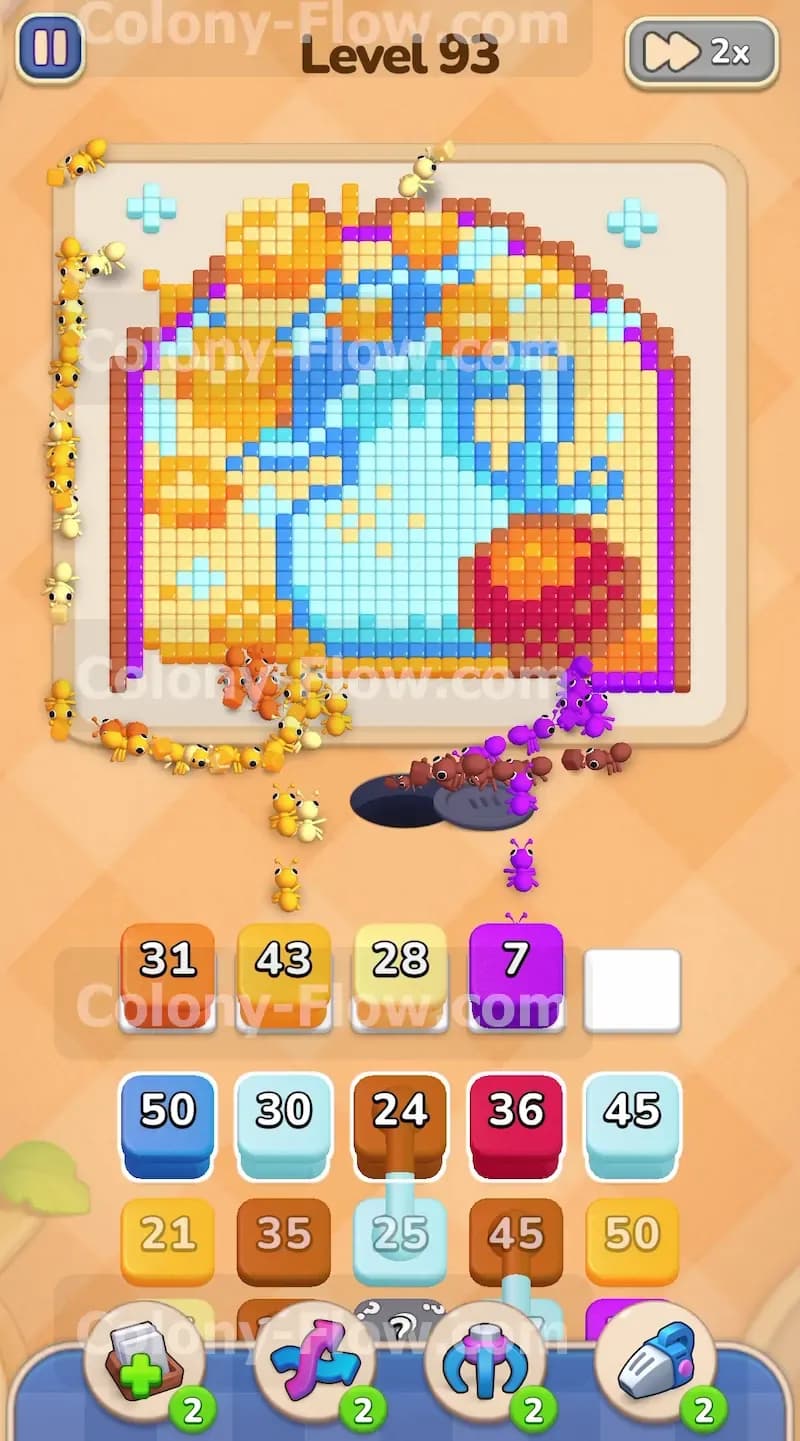
Start the level by pulling the brown block from the top row of your tray. The outer edges of the arched window frame are fully exposed to the nest hole located at the bottom center of the screen. The ants will flood out of the hole, split into two massive streams, and begin chewing through the brown border immediately. Shortly after, pull the purple block into an empty slot. The purple tiles sit right inside the brown border and are also perfectly exposed. Pulling these two outer colors first is the absolute safest opening move you can make. The ants have wide open access to the entire perimeter and your waiting slots will not jam. You will see the numbers on your blocks drop rapidly as the swarm breaks down the heavy outer frame.
Step 2: Clear the orange corner pieces to expose the massive yellow background elements
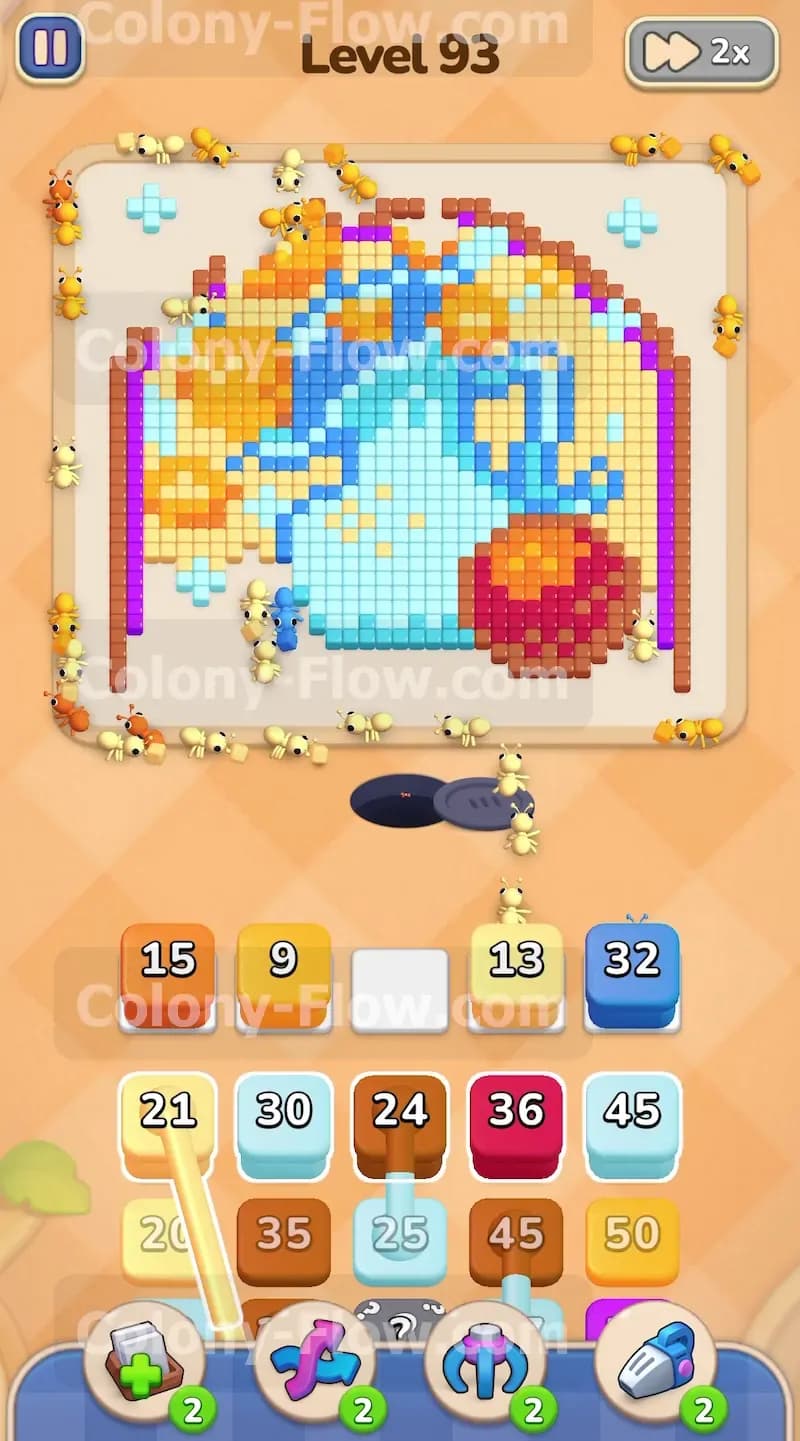
Once the brown and purple borders start thinning out, turn your attention to the orange tiles clustered near the top and bottom corners of the picture. Pull an orange block into your active slot row. The ants will march outward from the nest and clear these orange barriers. This action is extremely important because the orange tiles block direct access to the deep yellow sections on the left side of the canvas. You must be patient here and let the orange block count down fully before you rush into pulling too many other colors. Keeping your slots mostly empty right now gives you the flexibility you need for the massive yellow tile push coming up next.
Step 3: Attack the deep yellow clusters on the left side of the picture to clear space
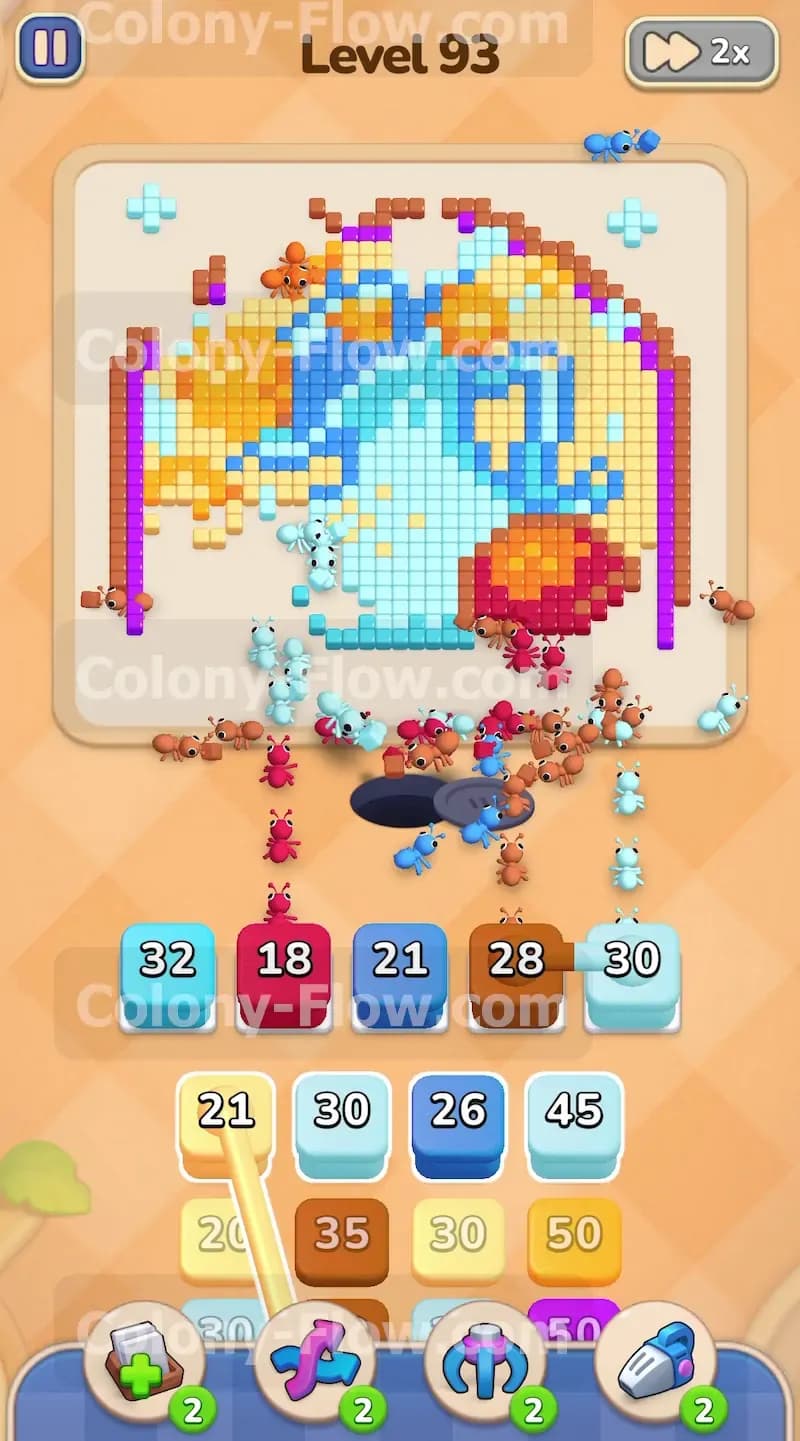
Now that the orange corner barriers are completely gone, the entire left half of the board is wide open. Pull a yellow block and a light yellow block from your tray into the waiting slots. You will witness a huge swarm of ants flood the left side of the screen to devour the background tiles. These yellow sections contain a remarkably high number of tiles. You will need to cycle through several yellow blocks from your tray to get through them all. Watch the numbers on your active blocks tick down toward zero. As soon as one yellow block empties out and vanishes, bring up another one from the tray to keep the swarm fed and moving smoothly.
Step 4: Send ants up the middle to dismantle the central blue pitcher shape
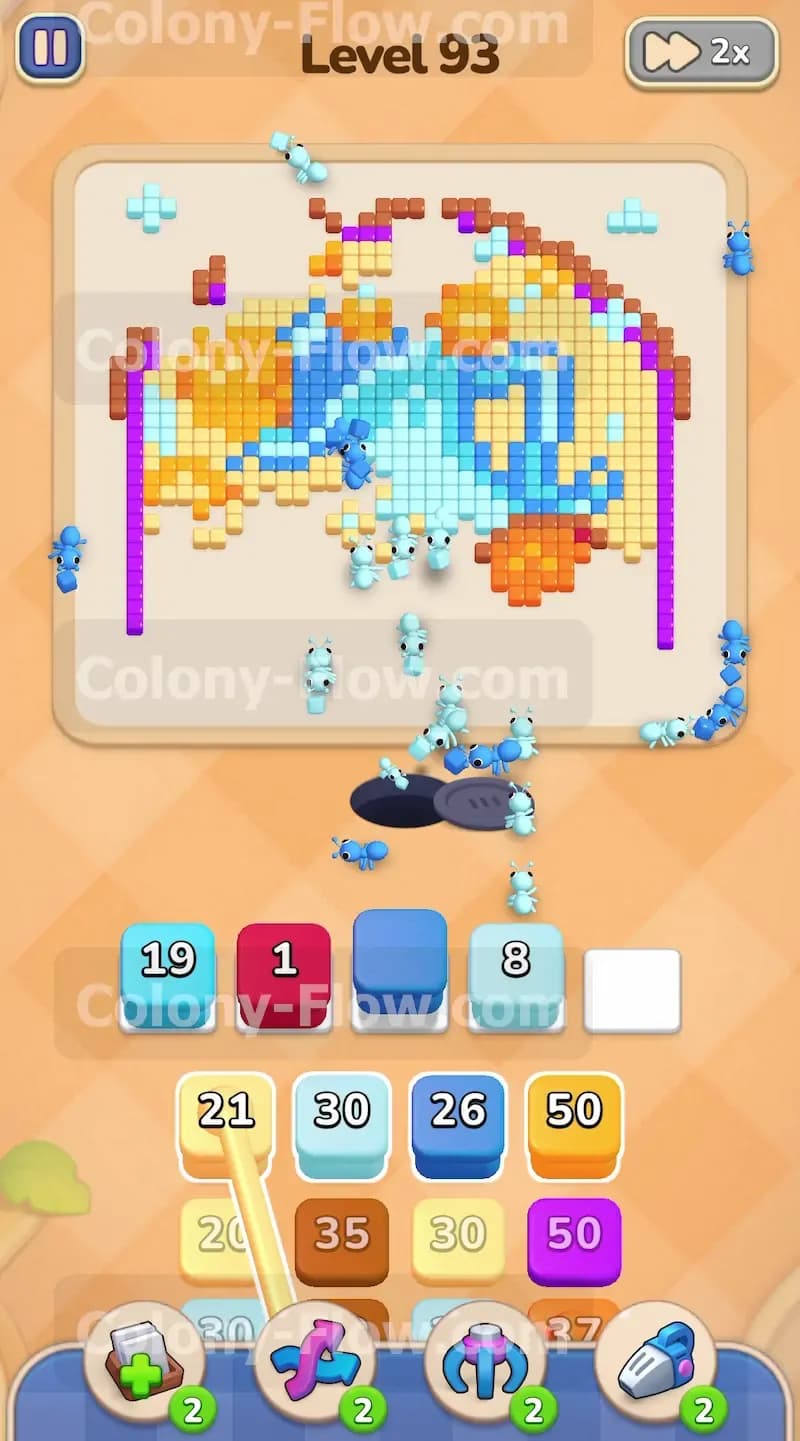
With the left side mostly clear of background tiles, the central blue pitcher becomes fully accessible from multiple different angles. Pull the light blue block and the dark blue block into your active slots. The ants will march straight up the middle of the board and begin breaking the pitcher apart. The dark blue tiles make up the solid core and base of the pitcher while the light blue tiles form the decorative highlights and the curved spout. The bottom of the pitcher is entirely exposed by your earlier clearing efforts so the ants will have zero trouble reaching these tiles. Keep feeding blue blocks into your slots as they empty out to maintain a steady flow of ants up the middle section.
Step 5: Pull the red block to eliminate the round object on the lower right side
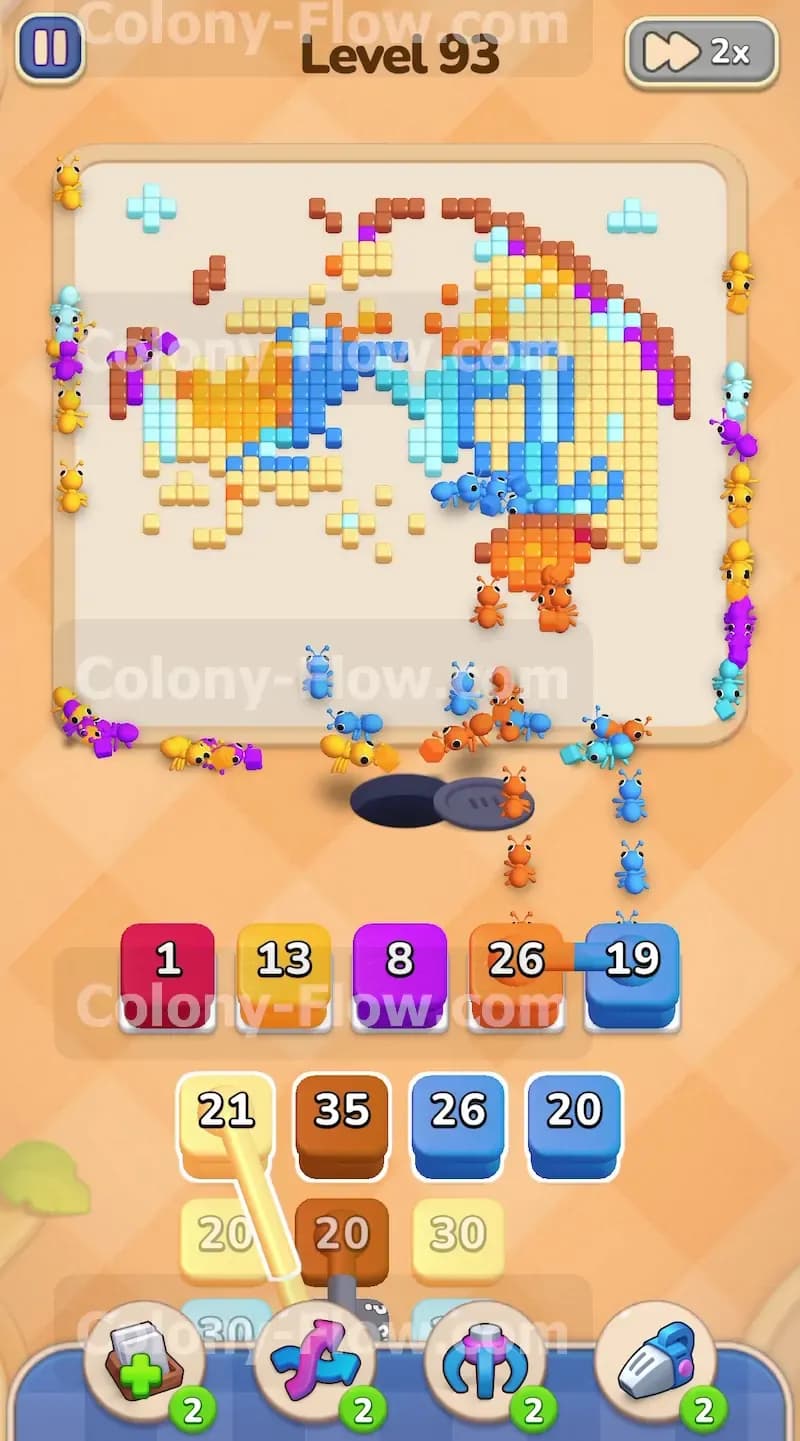
While your ants are busy eating the blue pitcher, you can safely start working on the red round object resting near the bottom right corner. Pull a red block into an available waiting slot. The red tiles are clustered tightly together in a solid circle and are fully exposed to the main nest hole. The ants will make very quick work of this red section. Clearing the red object right now is an excellent parallel move because it uses a completely different physical path than the central blue pitcher. You maximize your clearing speed without risking a clogged slot. The red block will count down steadily until the entire round object disappears from the board.
Step 6: Handle the connected blocks very carefully to avoid filling your slots
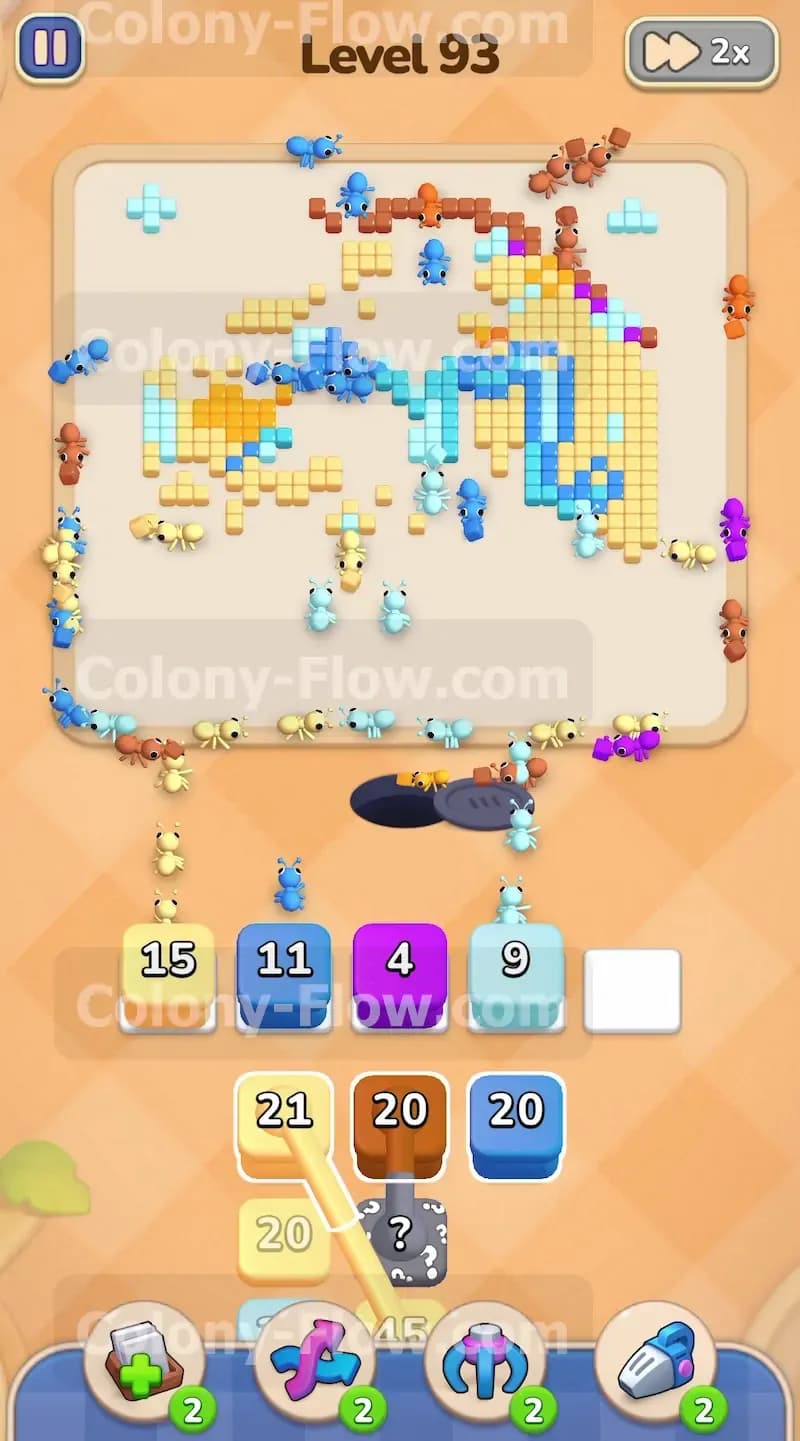
As you dig deeper into the tray, you will uncover a pair of connected blocks linked together by a thick chain. One specific pair links a brown block and a light yellow block. When you pull a connected pair, both blocks jump into your waiting slots at the exact same time and clear as a group. This takes up two of your five slots instantly. You are left with only three open spaces which drastically increases your risk of hitting a dead end. You must wait until both the brown tiles and the light yellow tiles are fully exposed on the board before you pull this linked pair. If you pull them too early and one color is blocked by another shape, both blocks will sit trapped in your slots and waste precious space.
Step 7: Reveal the hidden box and clean up the final scattered pieces
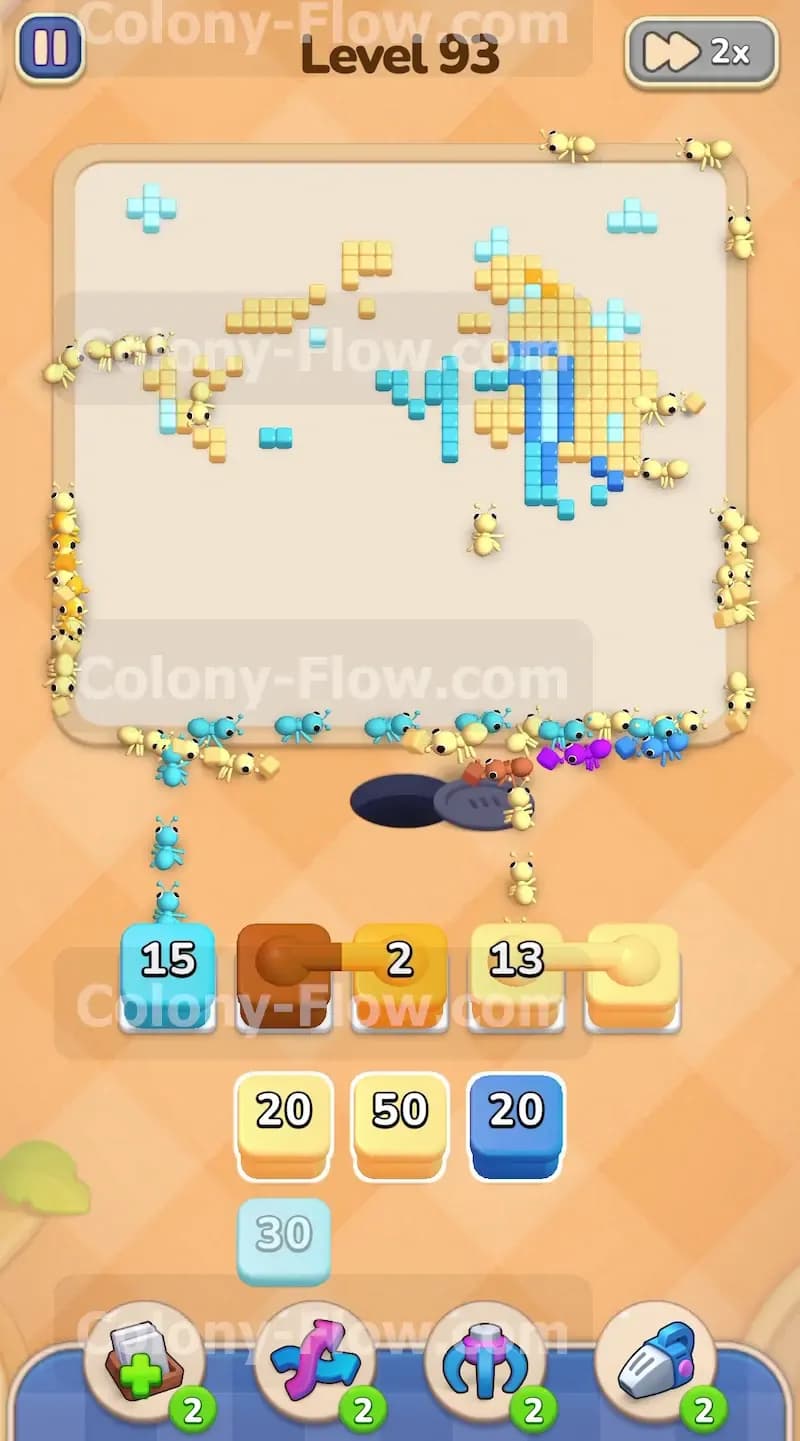
Near the end of the tray you will encounter a hidden box marked with a question mark. This block hides its true color until it has a valid path to move. Leave the hidden box sitting in the tray until the board is mostly empty. Once the ants clear the surrounding tiles and a valid path opens up, the hidden box will reveal its color and you can pull it safely. The board is now mostly empty with only a few scattered clusters of light blue and yellow remaining. Carefully pull the exact colors you need from the bottom of the tray to finish the job. Pull a light blue block to clear the remaining pieces of the pitcher spout. Pull a yellow block to grab the last few background tiles. Be incredibly precise with your pulls in this final stretch. Let the ants finish eating the final few tiles to secure your victory.
Final Thought
That is how you break down the arched window and conquer this puzzle. Managing those connected blocks deep in the tray is the trickiest part of the whole experience. Patient slot management is everything in this game. If you find yourself struggling to visualize the exact sequence of the later moves, please watch the video above this article.