Colony Flow Level 94 Walkthrough Solution & Guides | How to solve Colony Flow 94

Guide By Liam Stone
Updated on July 11, 2026
Skip ahead to the video above if you want to see Level 94 solved without reading the full article.
Video doesn't match your screen?
Game updates frequently scramble layouts! Try our AI Screenshot Solver first to find your exact board instantly, or report broken guides to our team.
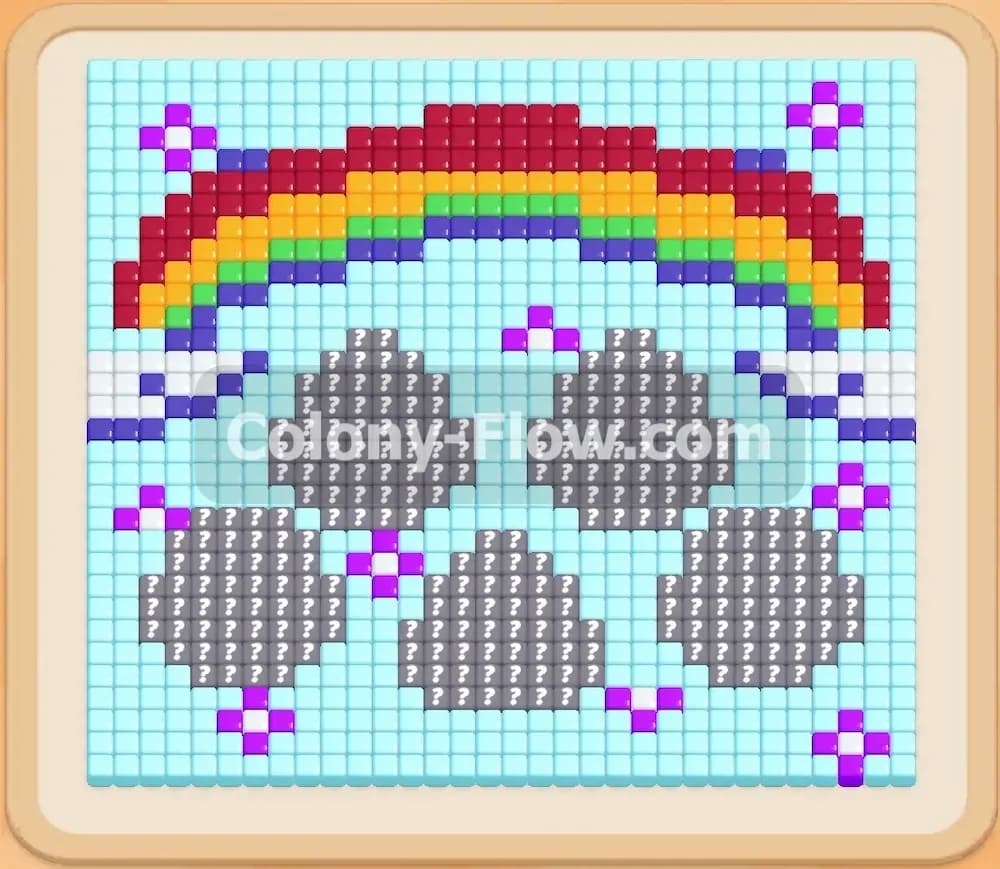
Colony Flow Level 94 presents a beautiful pixel art picture of a bright rainbow shining over giant grey paw prints and a clear blue sky. You will need careful planning to clear this massive board without jamming your waiting tray. I played through this level multiple times to map out the exact sequence of block pulls you need to secure a win.
Colony Flow Level 94 Overview
What You Are Working With
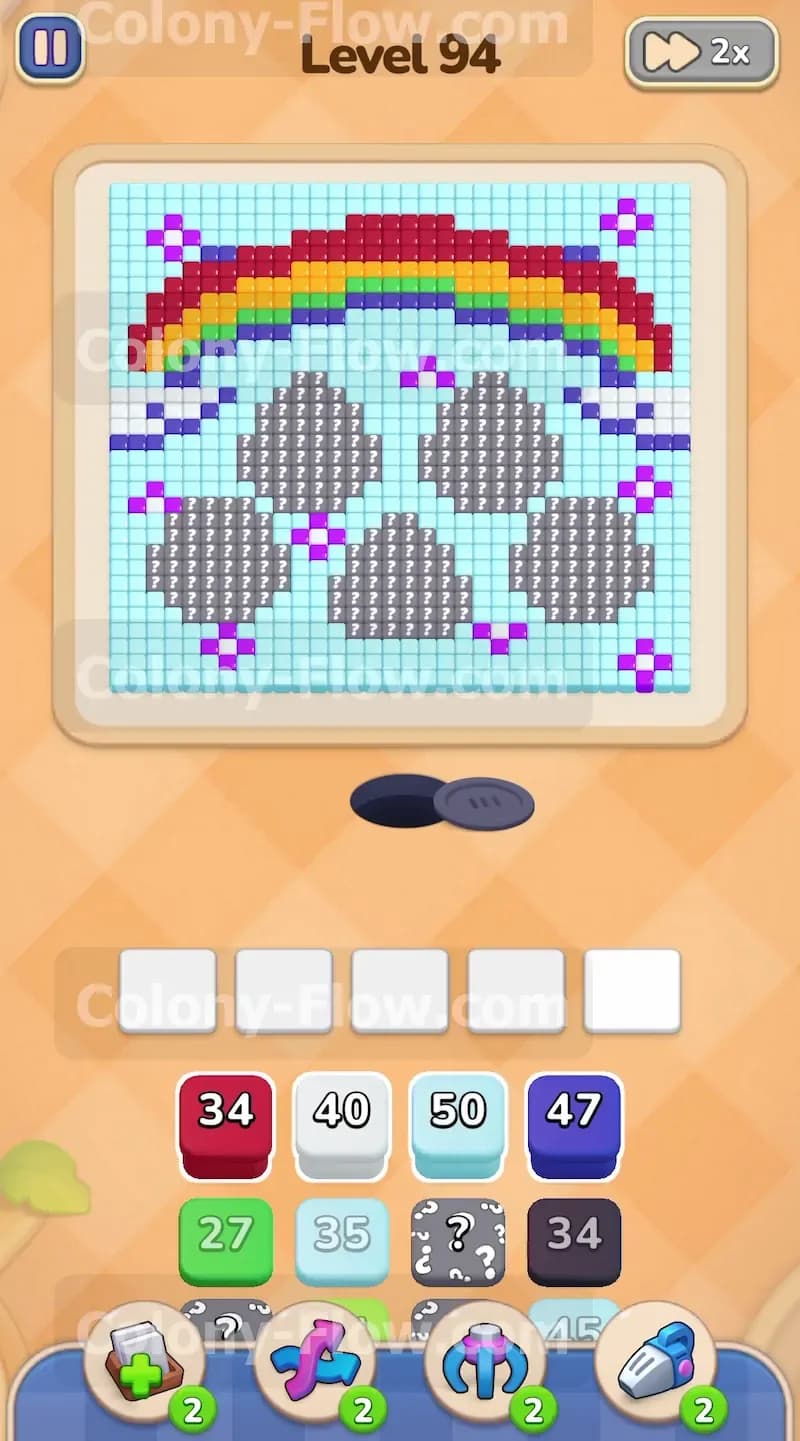
The main picture features a large four color rainbow at the very top of the screen. Below the rainbow you see a huge set of dark grey paw prints with thick main pads and smaller toe pads. A massive light blue sky fills the background behind all these shapes. You will also spot a few small purple star shapes scattered around the outer edges of the board.
Your tray starts loaded with blocks of various colors and numbers. You have light blue blocks with large numbers like 50 and 35. You have dark grey blocks for the paw prints. You also have red white green and blue blocks to match the different rainbow stripes.
This level includes two special block types that will severely test your strategy. First you will encounter a hidden box early in the bottom tray. This block displays a question mark and hides its true color until you give it an open path to the board. Second you will deal with connected boxes later in the level. These are two separate color blocks linked together by a thick visual chain. They move into your waiting slots as a single giant unit and both colors must find valid paths to clear completely.
What It Takes to Clear Level 94 Board
To win you must feed every single pixel art tile to your ant colony. You start by pulling colored blocks from the bottom tray up into your five waiting slots. The ants stream out of the nest hole and grab the color from the waiting block. They then march across the board along open paths to eat matching colored tiles.
The primary danger is filling all five waiting slots with blocks that have no open path to their matching tiles. If you pull a green block but the green tiles are trapped behind a solid wall of light blue tiles your ants cannot reach them. The green block will sit completely dead in your tray. If you make this mistake five times your tray jams and you instantly fail the level. Winning means you always peel the board away layer by layer so the ants never hit a dead end.
Colony Flow Level 94 Step by Step Solution
Step 1: Clear the outer light blue sky frame to open the board.
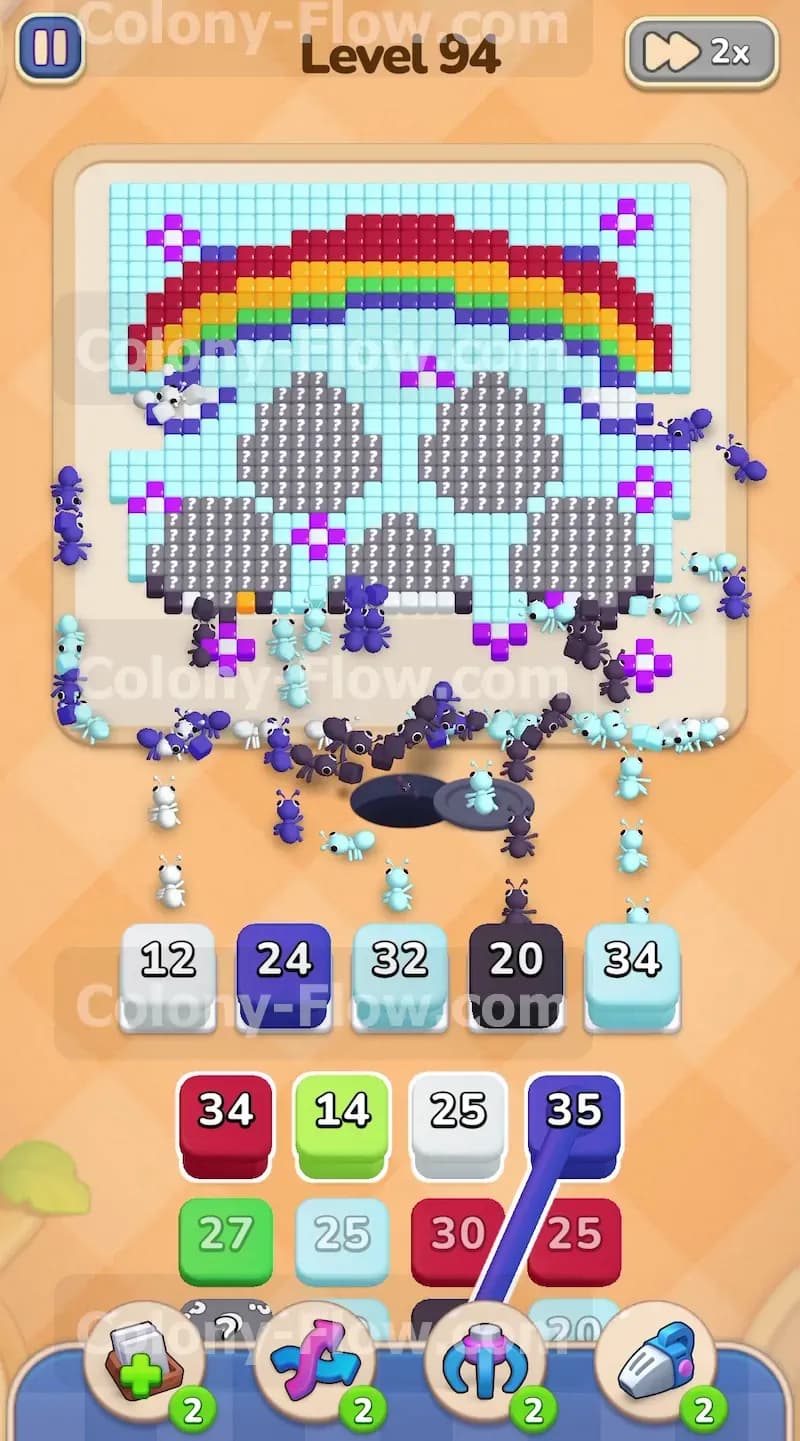
Your first goal is to create physical space for your ants to move. The light blue sky covers the entire outer border of the board and blocks access to the center shapes. You need to pull the light blue 50 block from the top row of your tray. This massive number will send a huge wave of ants swarming around the outer edges of the picture. They will start eating away the thick frame of the sky. This move instantly opens up new paths to the purple stars and the outer edges of the grey paw prints. Keep a close eye on your waiting slots because a number 50 block takes a very long time to empty completely.
Step 2: Activate the white and dark grey blocks for the lower elements.
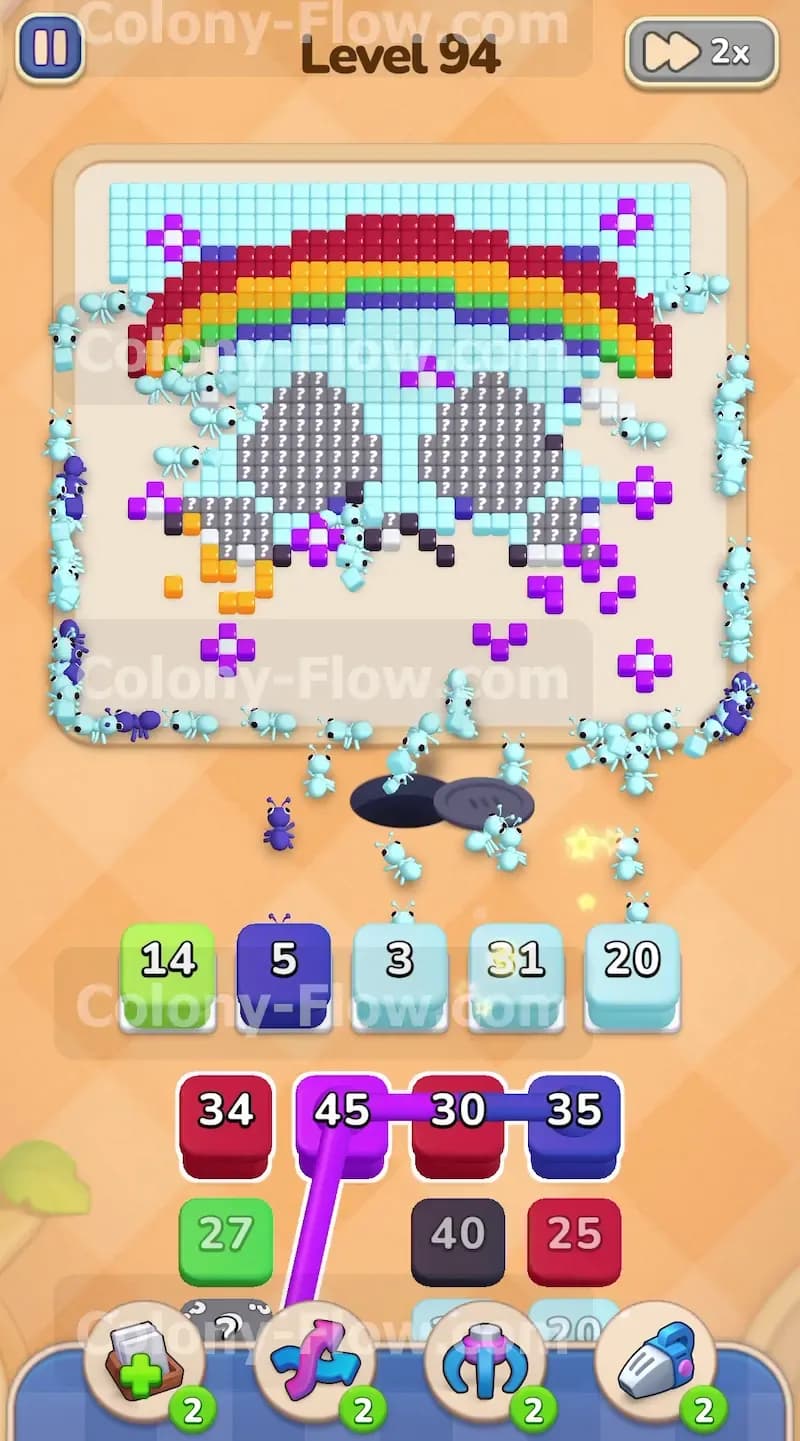
With the outer sky partially cleared you can start working on the large solid shapes in the lower half of the board. Pull the dark grey 34 block and the white 40 block into your tray. The dark grey ants will target the outer edges of the giant paw prints. The white ants will move toward the white clouds sitting just underneath the rainbow arch. By running the light blue dark grey and white blocks at the same time you keep your ants moving on three completely different fronts. This prevents any single color from bottlenecking the board. You also reveal the hidden box in your tray during this step. Once the board opens up enough the hidden box reveals its hidden color and you can safely pull it when its matching tiles become exposed.
Step 3: Open paths to the blue and green rainbow arches.
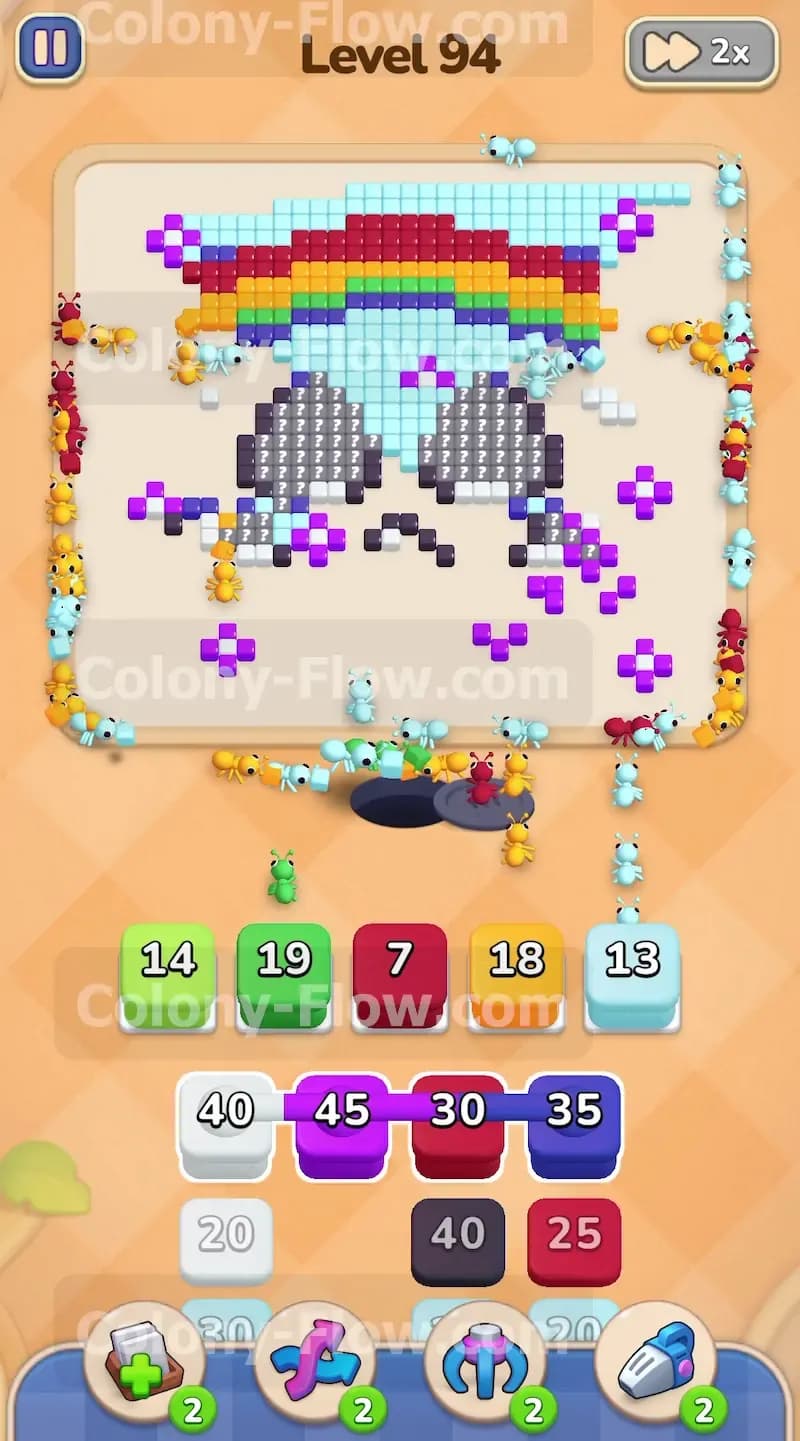
Now you need to start chipping away at the bottom layers of the rainbow itself. Pull the blue 47 block and the green 27 block into your open slots. The blue tiles form the very bottom stripe of the rainbow. Because you already cleared the white clouds the ants now have a direct open path to the blue stripe. The green tiles sit directly above the blue stripe. As the blue ants clear the bottom edge the green ants will follow right behind them to eat the green layer. This keeps your flow continuous and safe. You never want to pull the green block before the blue block because the green tiles are completely trapped inside the solid rainbow structure.
Step 4: Clear the purple stars and pull more light blue background blocks.
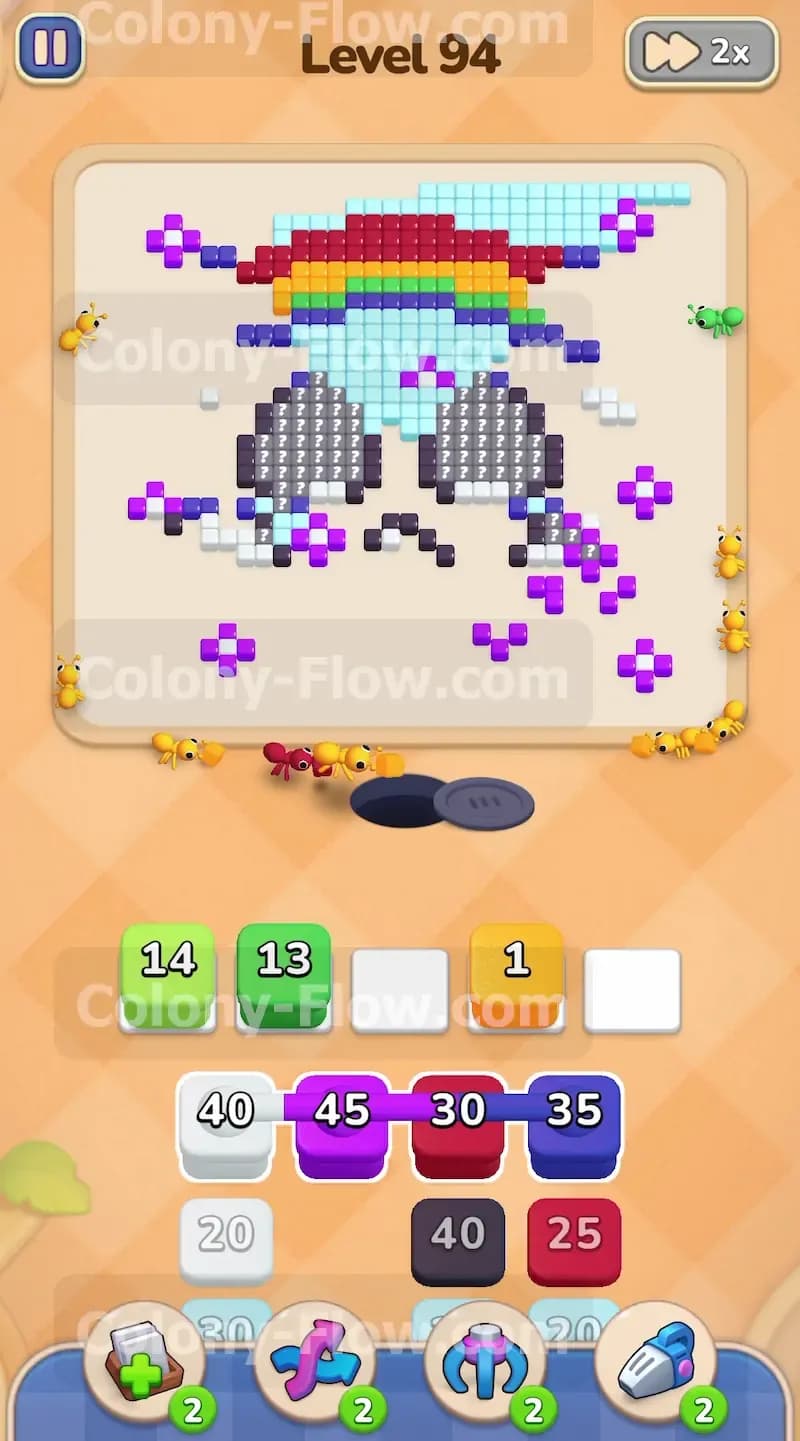
Your board is now getting smaller but you still have scattered elements blocking the way. Pull the purple 45 block into your waiting slots. The purple ants will rush out to eat the small star shapes dotting the lower and side sections of the board. Clearing these purple stars is crucial because they block direct routes to the inner grey paw prints. At the same time you should pull another light blue 35 block. The initial 50 block was not enough to clear the massive sky background. This second light blue block will finish off the lower sections of the sky and expose the very top of the rainbow. Always balance the large background colors with the smaller detail colors to keep your waiting slots flowing smoothly.
Step 5: Finish the green stripe and target the orange rainbow layer.
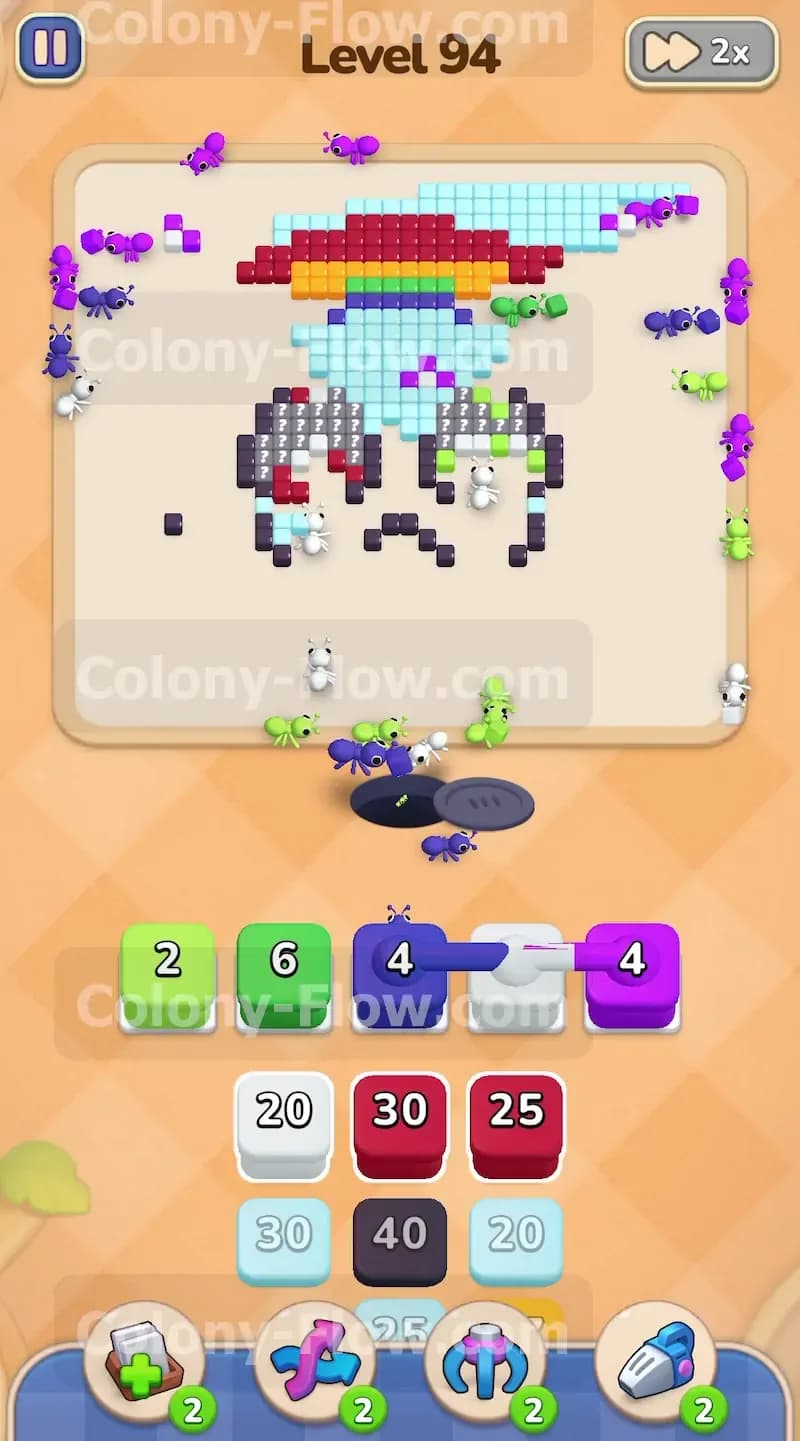
The green 27 block from earlier will leave a few green tiles behind. Pull the green 14 block to finish off the green stripe completely. Once the green stripe is entirely gone the yellow and orange stripe becomes fully exposed. Pull the orange 18 block into your tray. The orange ants will stream straight up the middle of the board and consume the third layer of the rainbow. We are working strictly from the bottom of the rainbow to the top. This bottom up method guarantees that your blocks always have an open target. If you pull a top color too early it will sit dead in your tray and risk a frustrating game over.
Step 6: Unleash the red ants on the giant top rainbow arch.
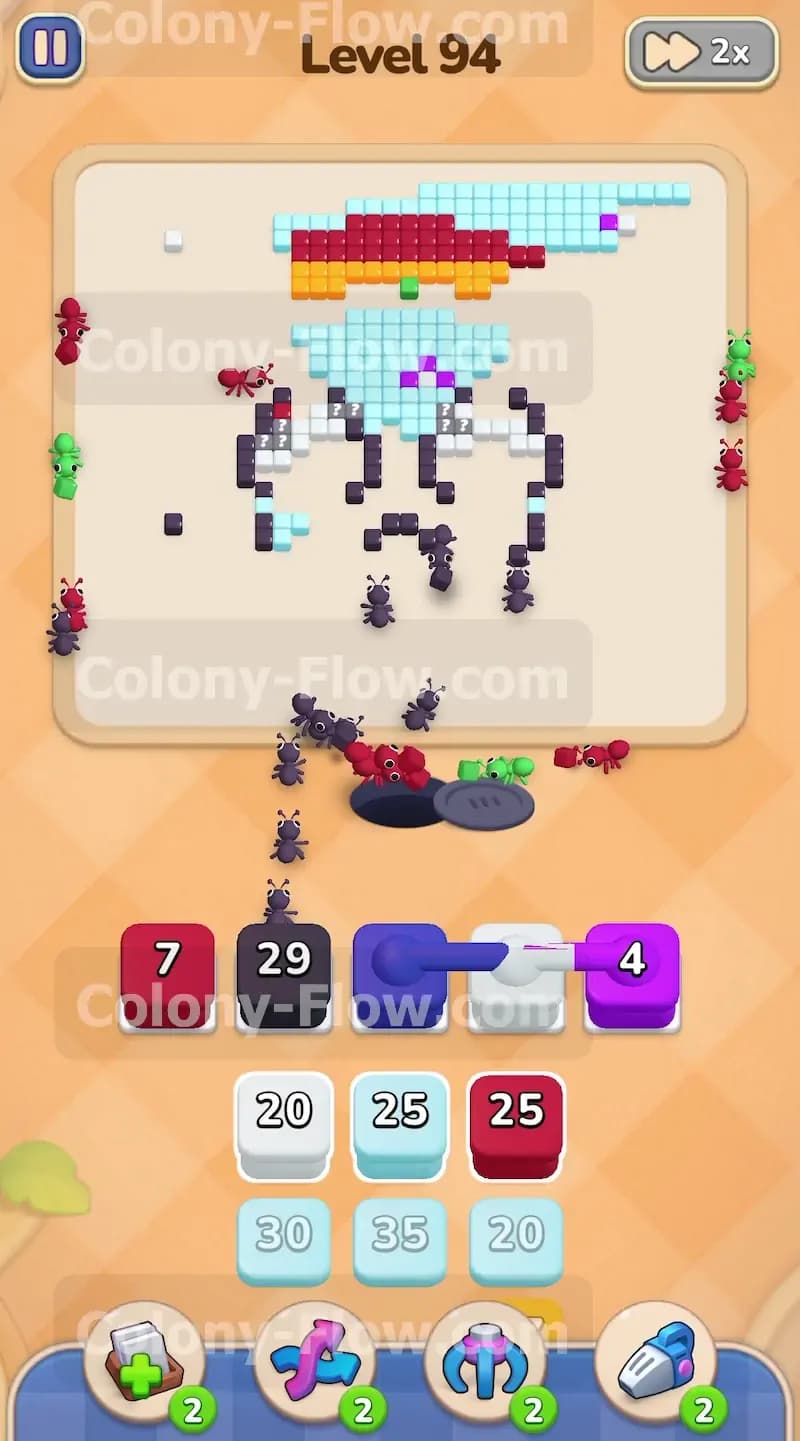
The top stripe of the rainbow is solid red and it contains a massive number of tiles. Now that the blue green and orange layers are gone the red layer is wide open. Pull the red 34 block and the red 30 block. This will send a huge colony of red ants to tackle the giant arch. They will eat from both ends and the middle simultaneously. While they work you will see your waiting slots clear up rapidly. Having empty slots is exactly what you want as you prepare for the final complex phases of the board.
Step 7: Handle the connected boxes without jamming your tray.
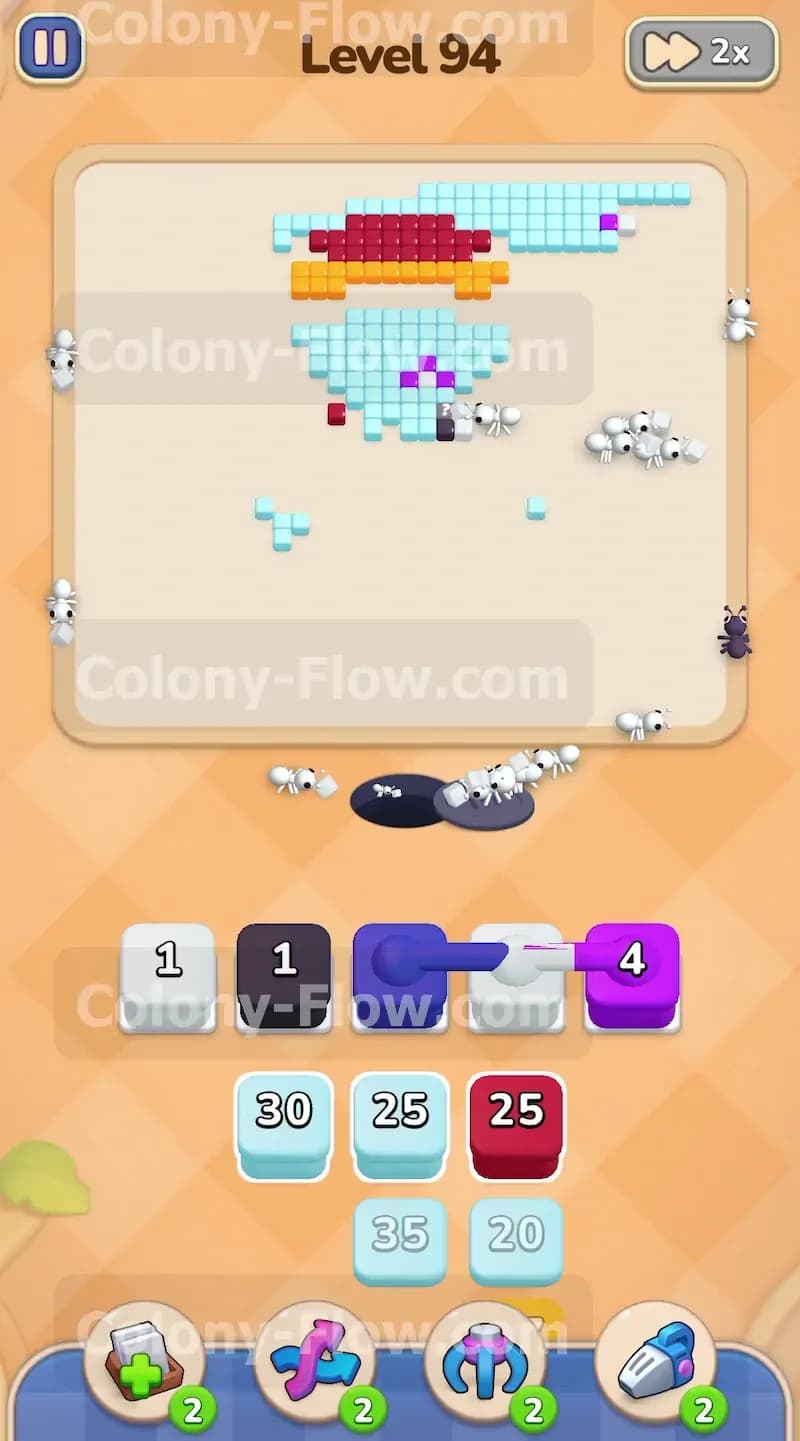
As you reach the later stages of the tray you will finally encounter the connected boxes. You will see a blue block and a white block joined by a thick visual link. When you pull one you automatically pull both. They will take up two of your five precious waiting slots instantly. Before you pull them you must absolutely verify that both blue tiles and white tiles are easily reachable on the board. Look closely at the remaining pixels near the center of the rainbow and the clouds. Because you carefully peeled the outer layers away earlier both colors are now fully exposed. Pull the connected boxes into your tray. The ants will split up and clear the remaining blue and white tiles without jamming your slots.
Step 8: Clear the remaining thick grey paw prints.
The center of the board still holds thick chunks of the grey paw prints. Pull the dark grey 40 block and the dark grey 29 block. These are large numbers so they will take a full minute to count down. The ants will flood the middle of the board and eat away the heavy grey pads. You must be extremely patient here. Let the dark grey blocks completely empty out of your waiting slots before you pull too many other colors. You want to keep your tray as empty as possible for the final clean up phase.
Step 9: Mop up the final center tiles to win the level.
Only a small cluster of tiles remains in the very center of the board. You will see a few light blue sky tiles and a tiny chunk of the red rainbow. Your tray now holds the final red 25 block and several smaller light blue blocks. Pull the red 25 block to finish the rainbow completely. Then pull the light blue 30 and light blue 25 blocks to consume the last bits of the background. The ants will easily reach these center tiles because the rest of the board is completely empty. The final block numbers will tick down to exactly zero and the ants will return to the nest hole. The picture will vanish completely and you will win the level.
Final Thought
Winning this level comes down to strict patience and smart layer management. You have to absolutely resist the urge to pull colors just because you see them in the tray. Always verify that a clear open path exists before you commit a block to your waiting slots. If you find yourself struggling with the timing of the connected boxes or the hidden box please watch the video above this article. Seeing the ants move in real time will help you understand exactly when to pull each block for a perfect clear.