Colony Flow Level 443 Walkthrough Solution & Guides | How to solve Colony Flow 443

Guide By Liam Stone
Updated on July 29, 2026
The article below explains Level 443 in detail, but the video above gets you there faster.
Video doesn't match your screen?
Game updates frequently scramble layouts! Try our AI Screenshot Solver first to find your exact board instantly, or report broken guides to our team.
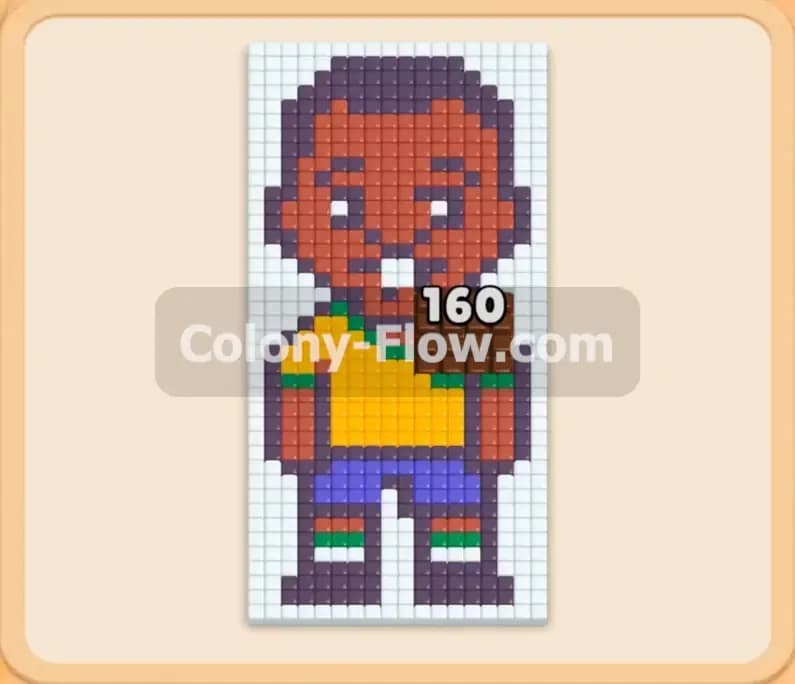
Colony Flow Level 443 requires you to balance a massive central obstacle while steadily clearing a pixel art character. You are presented with a colorful figure holding a high value box right in the middle of the chest. Success in this level depends entirely on setting up a continuous flow of ants to that central box without neglecting the outer edges of the picture. You have to keep the board moving at all times so your waiting slots never jam and cost you the game. The strategy involves careful planning and a disciplined approach to the block tray.
Colony Flow Level 443 Overview
What You Are Working With
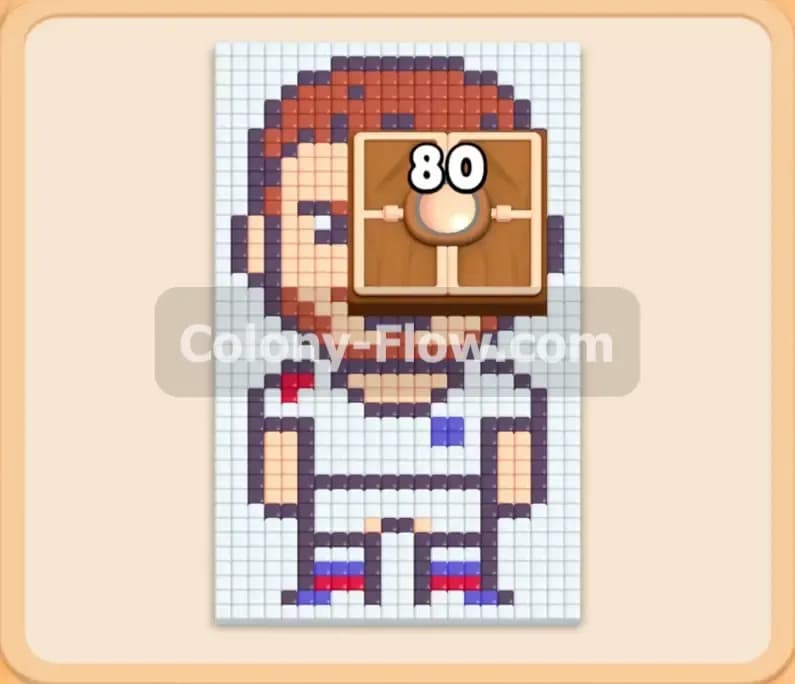
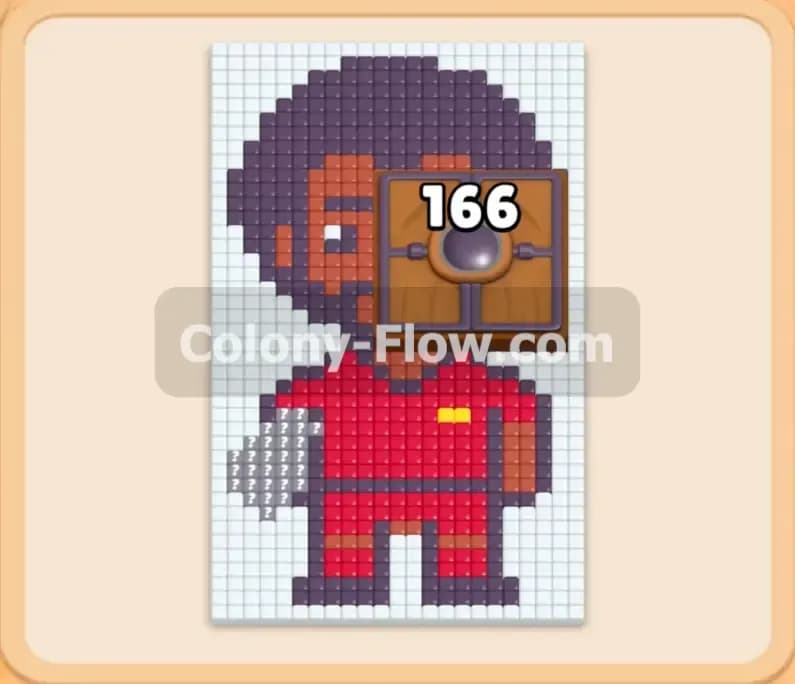
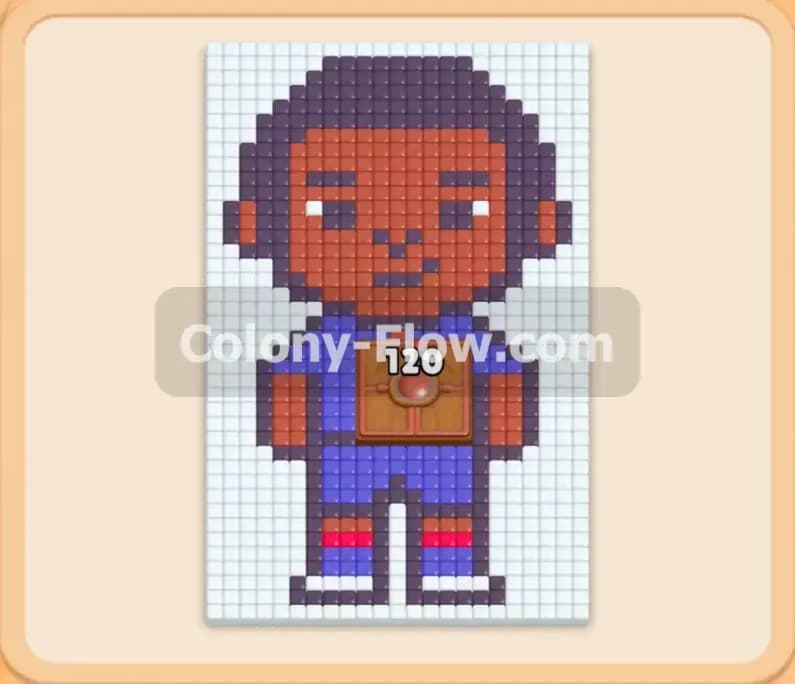
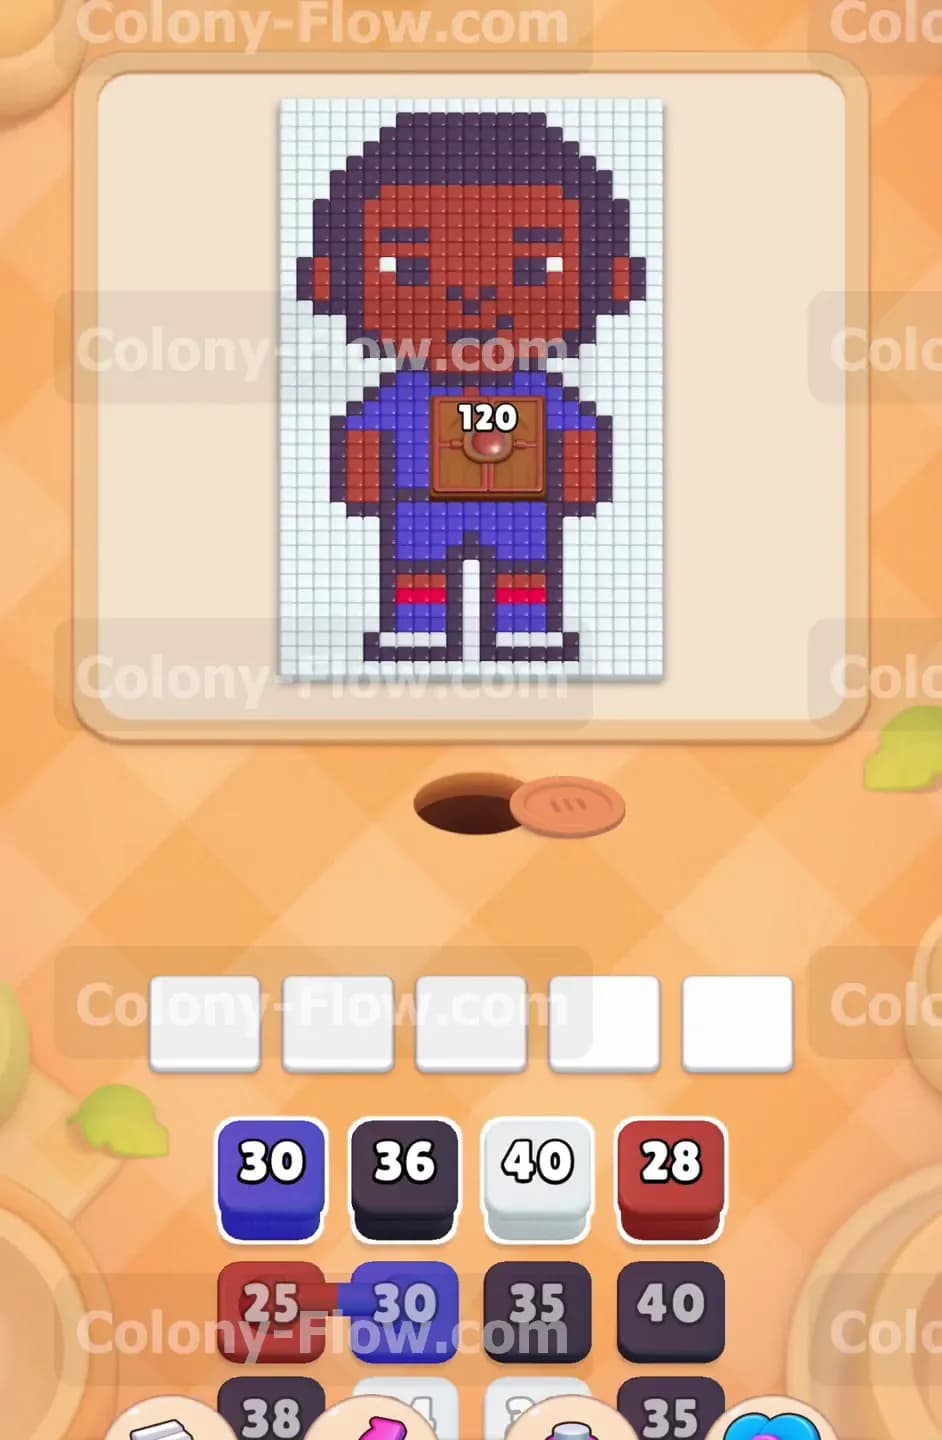
The board features a large pixel art picture of a person standing against a background. The character is wearing bright white shoes, dark purple and blue pants, and a blue shirt with magenta details on the sleeves. The face is solid red, and the hair is outlined in a very dark purple. Right in the center of the character sits a large brown central box displaying the number 120 and a red circle. This central box acts as a giant food tile that requires a constant supply of red ants to clear. Behind the main character is a massive background grid composed entirely of white Hidden Food tiles. These Hidden Food tiles remain locked and inactive at the start of the level. They only unlock and become available for your ants to eat when you clear the colored body parts directly adjacent to them. The tray at the bottom of the screen provides a long sequence of white, blue, dark purple, red, and magenta blocks.
What It Takes to Clear Level 443 Board
To win this level, you must completely consume both the main character and the background grid. The central box is your absolute biggest threat because it takes a staggering 120 red ants to disappear. You must start feeding red ants to that box as early as possible. If you leave the central box for too late, your waiting slots will fill up with other colors that have nowhere to go, and you will lose the level. You need to clear the character from the ground up, starting with the shoes and pants, to open clear walking paths to the upper body. As you systematically strip away the shirt and head, the white Hidden Food tiles in the background will activate. You will finish the level by deploying a massive swarm of white ants to consume the newly unlocked background grid.
Colony Flow Level 443 Step by Step Solution
Step 1: Open the bottom paths by clearing the white shoes.
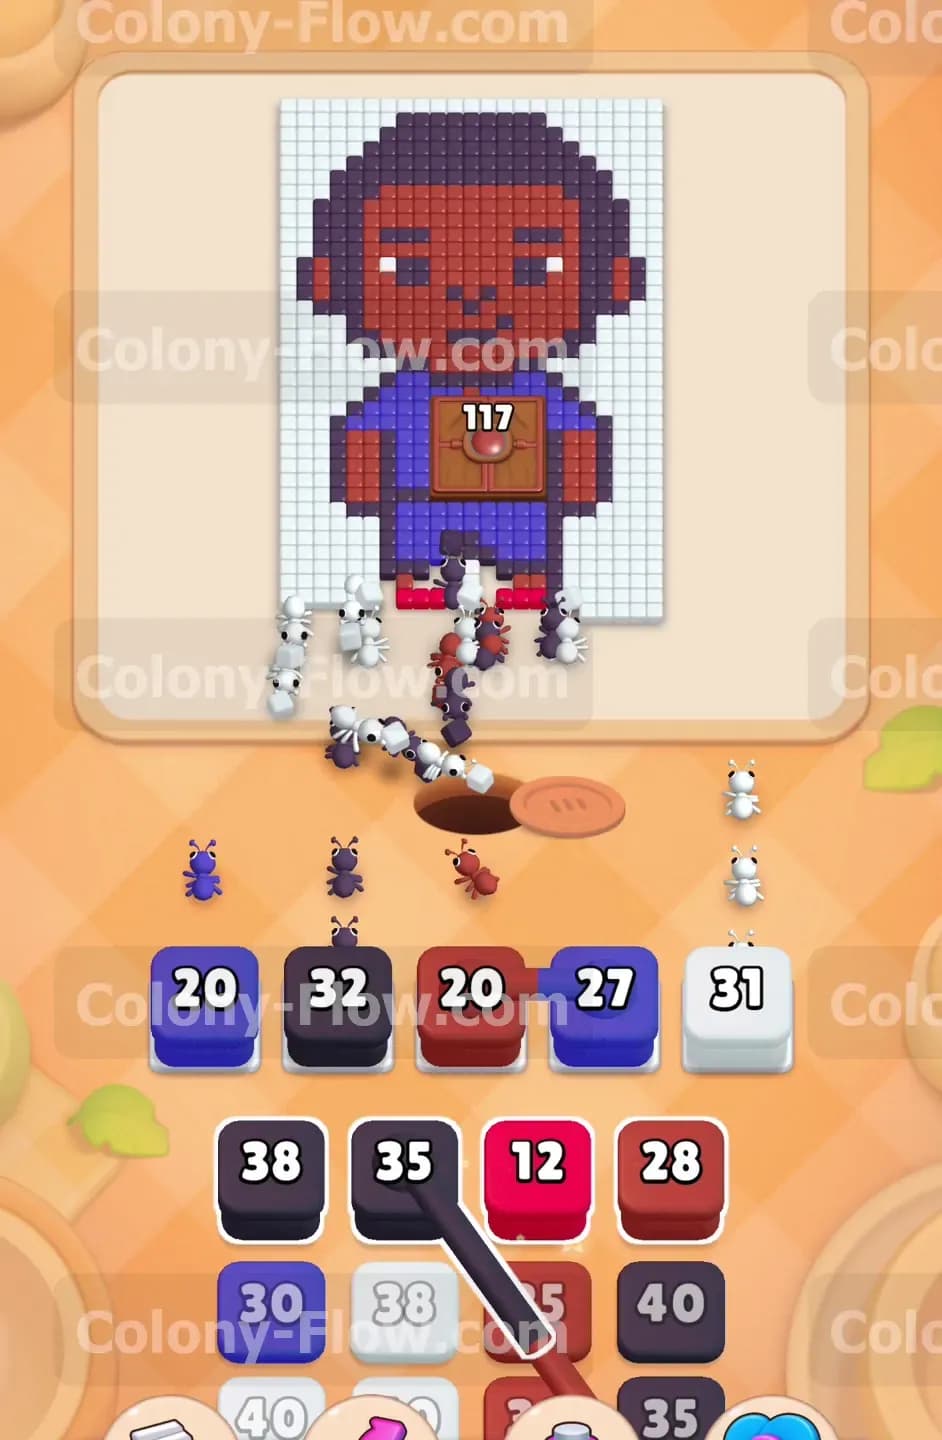
You must always start at the very bottom of the board so the ants have immediate access to their target colors. The character has white shoes resting just above the nest hole. Pull a white block from the tray to send your first wave of white ants to the shoes. Next, pull a blue block and a dark purple block into your waiting slots. These blocks will send ants to begin eating the blue and dark purple sections of the pants. The initial white block will quickly drop its count and leave the waiting area as the shoes completely disappear. This creates an open empty space at the bottom of the board and gives your future ants a clear path to walk up the legs toward the chest area. By clearing the shoes right away, you ensure your slots stay moving and never dead end.
Step 2: Send the first wave of red ants to the central box.
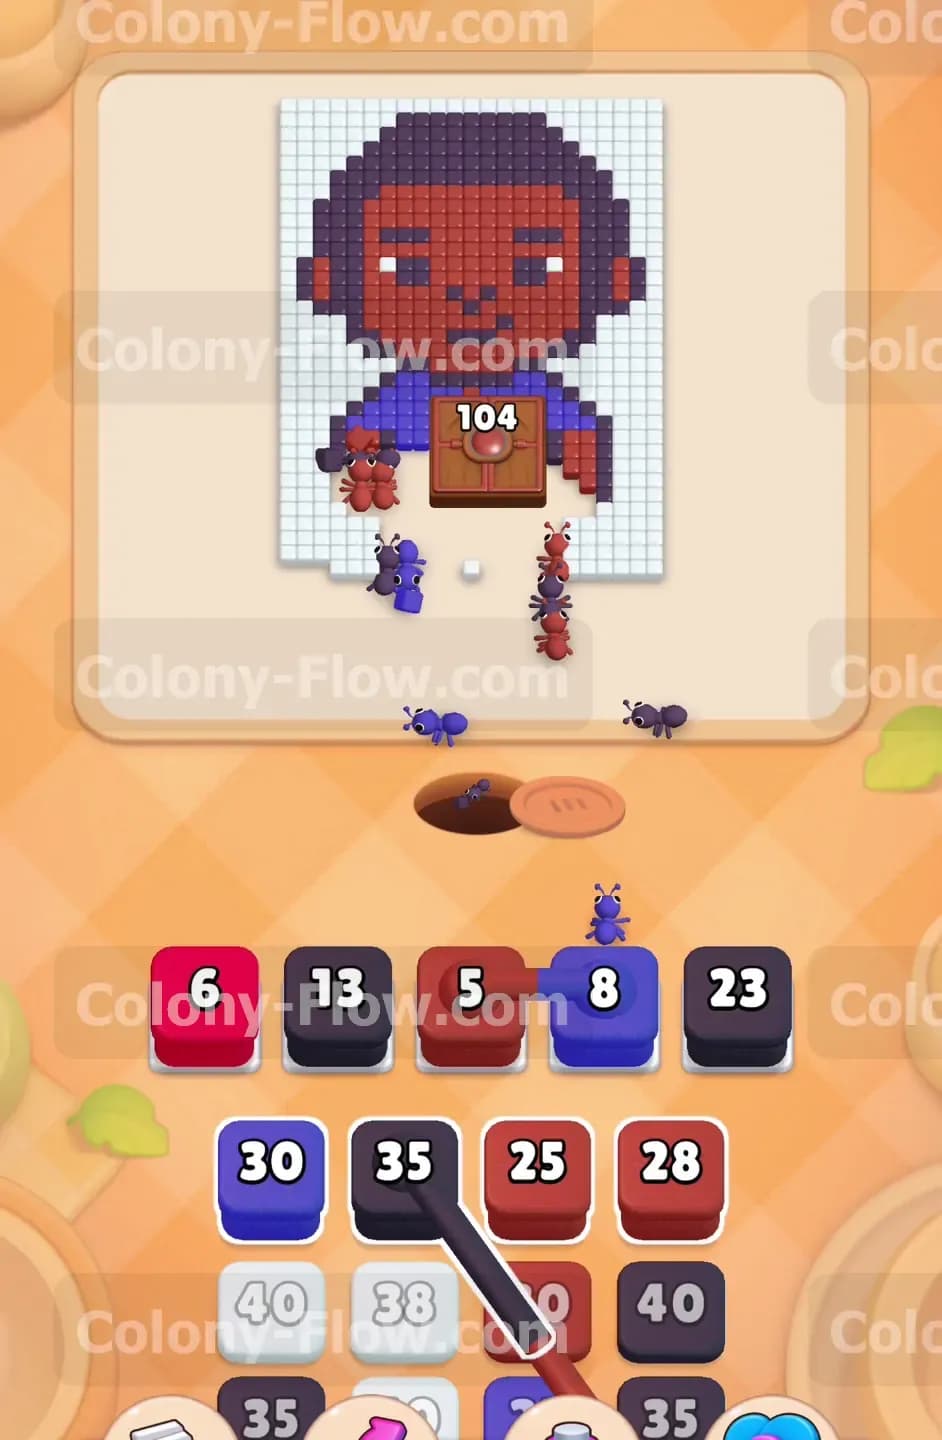
With the shoes gone and the pants clearing out, you now have a direct open path up the middle of the character. This is the perfect time to begin your attack on the large central box. Pull your first red block from the tray. The red ants will march straight up the open space between the legs and begin lowering the massive 120 count on the box. Fill your remaining open slot with another dark purple block to keep clearing the outer outline of the legs. You must watch your five waiting slots very closely during this early phase. Because the central box takes so long to clear, that red block will sit in your slots for a considerable amount of time. You must keep pulling colors that have open paths, like blue and dark purple, so the other four slots constantly empty out and refresh.
Step 3: Clear the blue and magenta shirt to unlock the background.
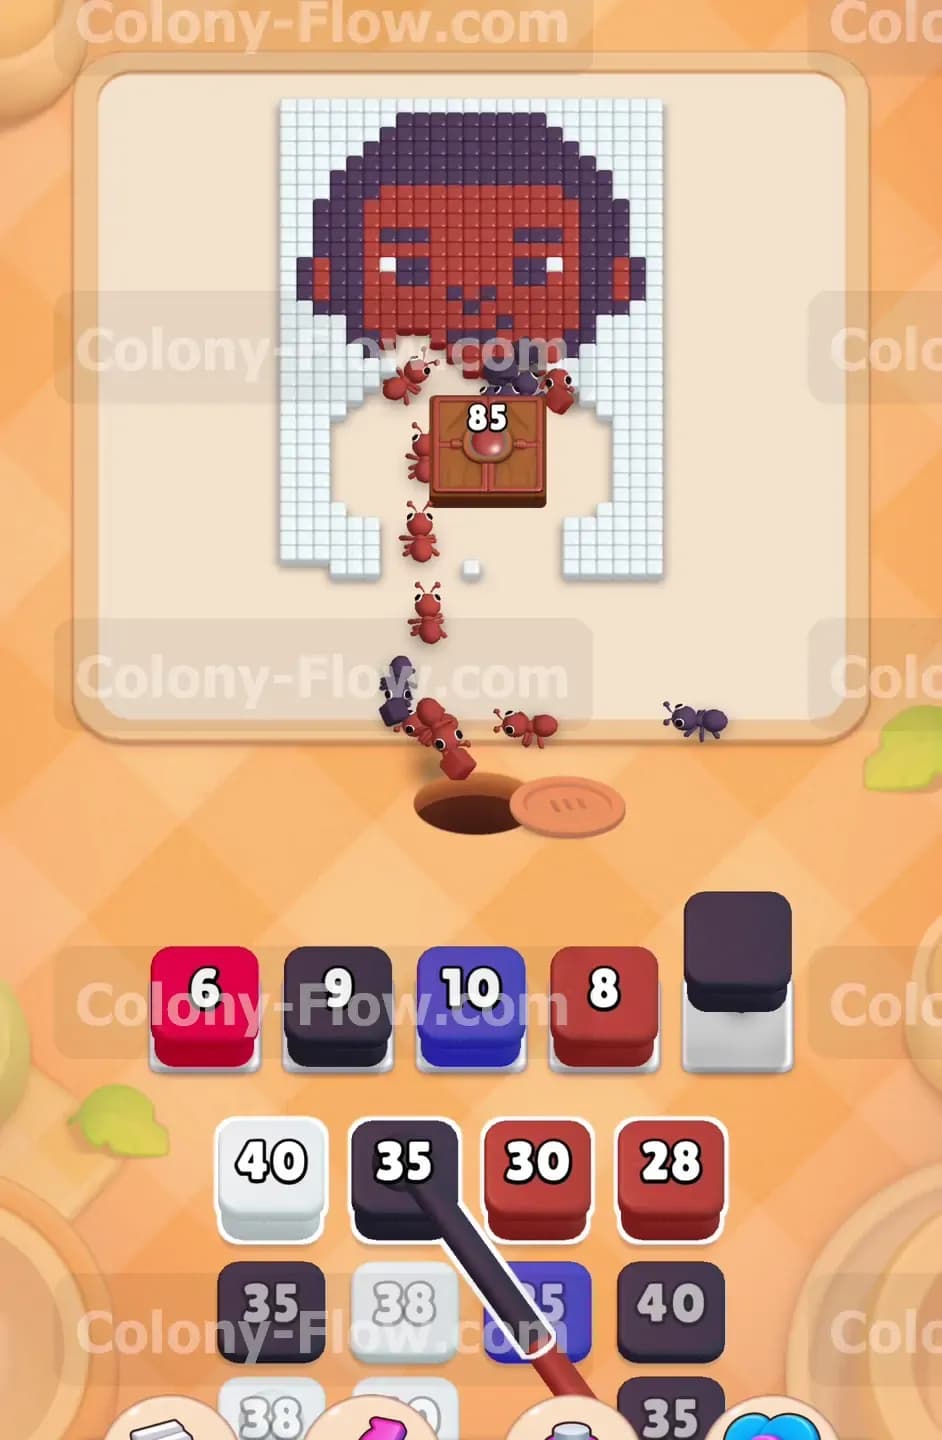
As your initial blue and dark purple blocks empty out of the slots, you need to move your attention up to the torso. Bring up a magenta block and another blue block from the tray to tackle the shirt. Pull another red block to maintain steady pressure on the central box. The blue and magenta ants will strip away the colored tiles surrounding the central box. As these outer edges of the shirt disappear, you will notice the white Hidden Food tiles in the background starting to unlock. You must resist the temptation to pull white blocks for the background at this stage. If you pull a white block now, it will likely jam your slots because the background is only partially open. Focus entirely on reducing the central box and clearing the main figure. Keep cycling blue, dark purple, and magenta blocks through your slots to keep the board highly active.
Step 4: Manage the split attention of the red ants.
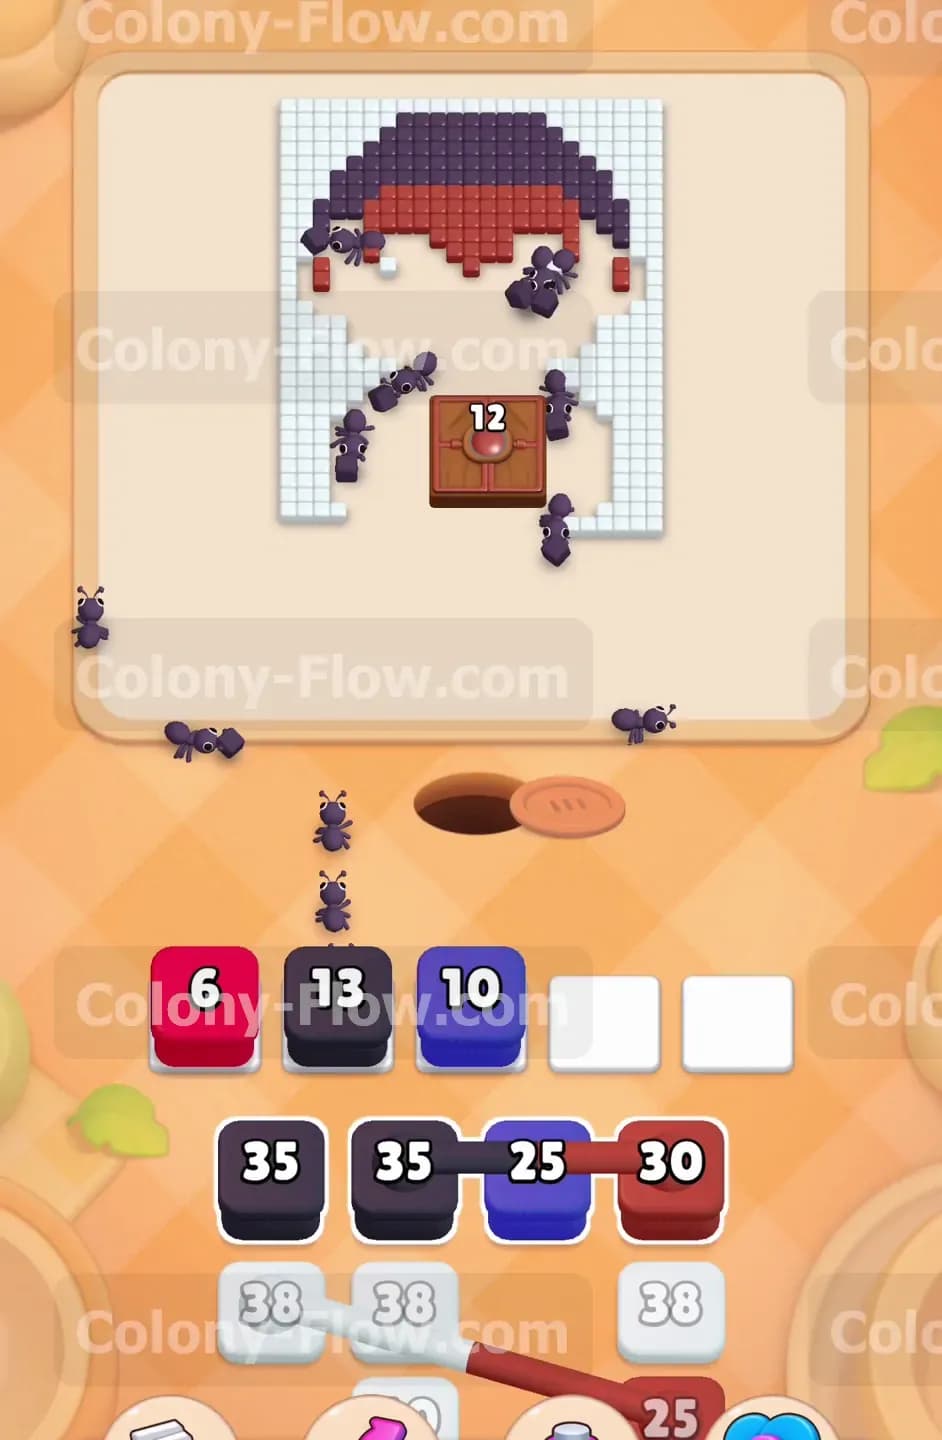
Once the shirt is mostly out of the way, your red ants will finally reach the upper section of the character. The face is made of red tiles, and the central box still requires plenty of red ants. When you pull red blocks now, the ants will automatically split their attention between eating the face and lowering the box count. This is exactly what you want to happen. Keep pulling red blocks from the tray to feed both targets simultaneously. Pull dark purple blocks to start clearing the hair and the dark outlines around the head. The central box count will soon drop below 50. Always make sure you have at least one dark purple block and one red block active in your slots. This guarantees that ants are always flowing out of the nest hole and your waiting area never jams.
Step 5: Finish the central box and consume the head.
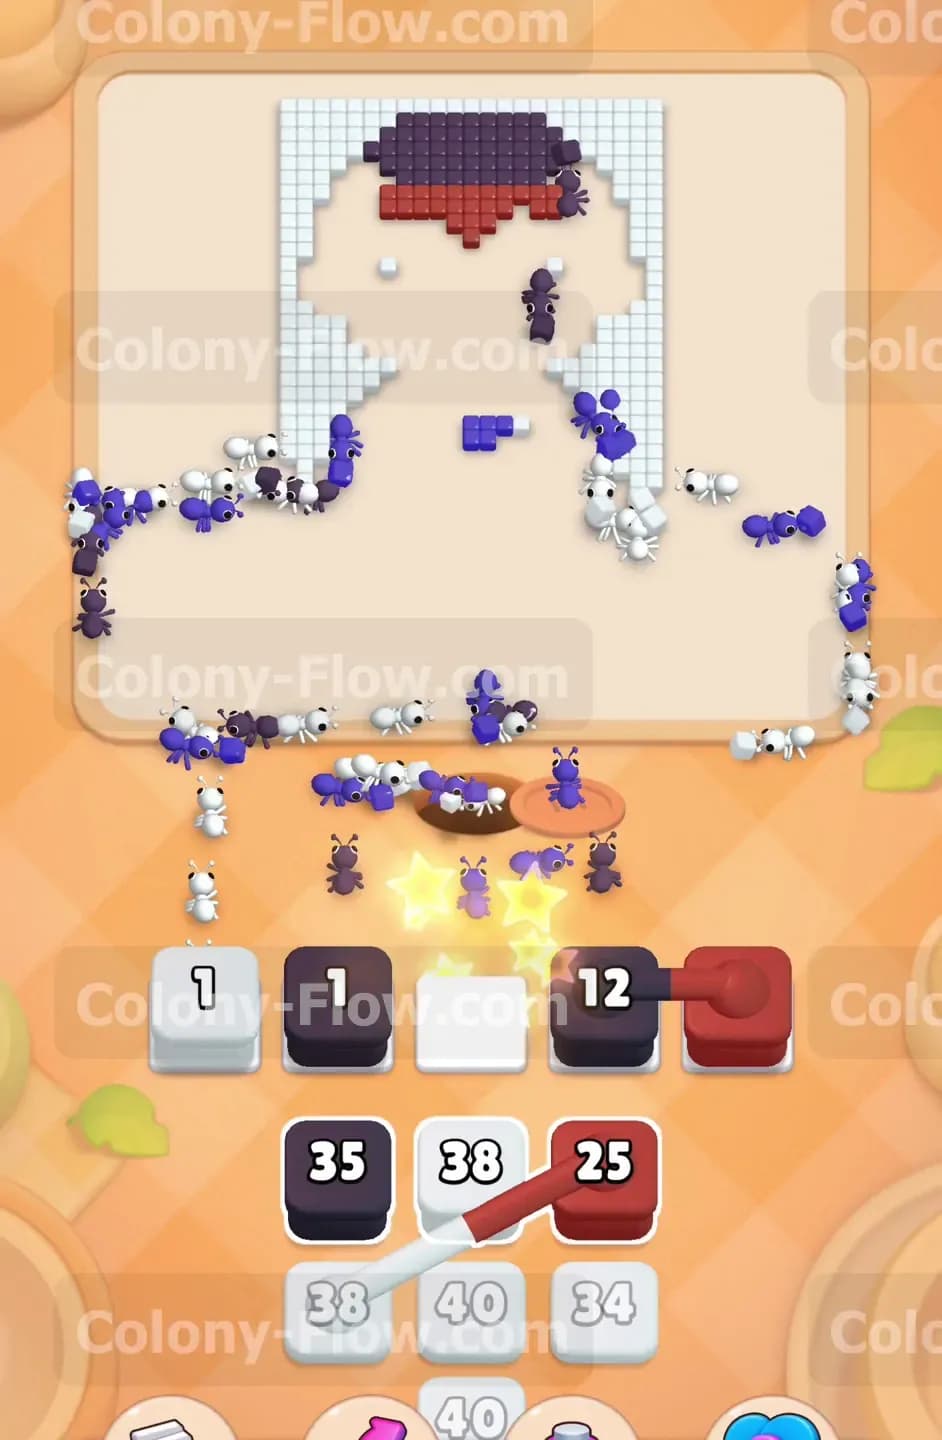
Keep a steady flow of red and dark purple blocks moving into your waiting slots. The red ants will finally bring the central box count down to zero, causing the giant block to disappear completely from the board. This is a major turning point for your slot management. With the central box out of the way, all remaining red and dark purple ants will swarm the face and hair without any distractions. Let them finish eating the top of the head. As the very last pieces of the dark purple hair vanish, the entire white Hidden Food background becomes fully unlocked. The board will look entirely empty in the middle, surrounded by a massive border of white squares.
Step 6: Unleash the white ants on the unlocked background grid.
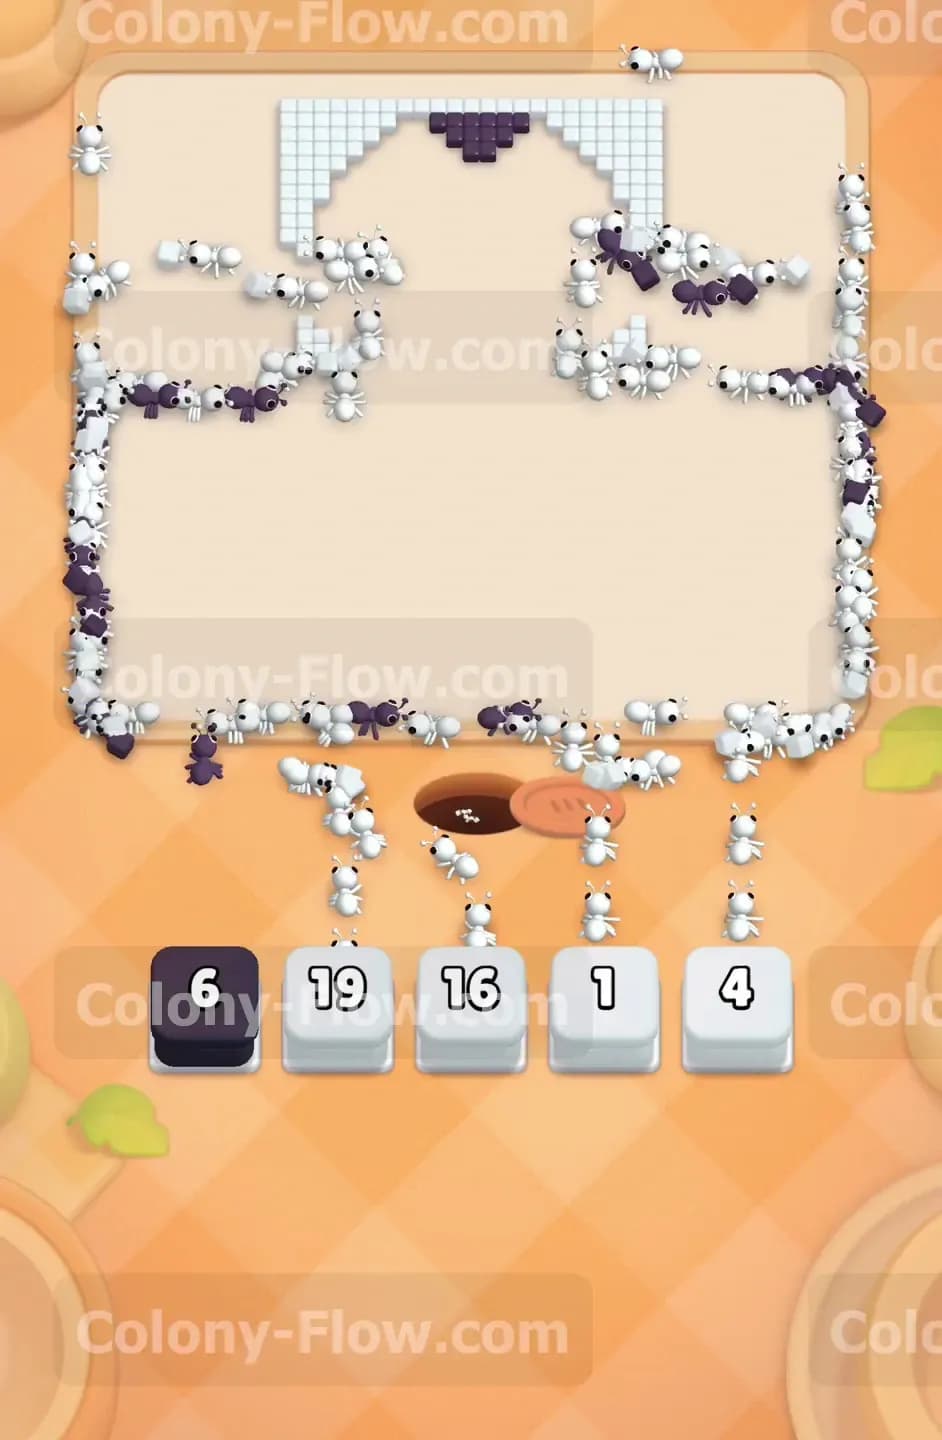
Now that the main character is completely gone, you are left with the massive white Hidden Food background. Look at your tray and you will see that almost all the remaining blocks are white. Pull multiple white blocks into your slots all at once. A huge swarm of white ants will pour out of the nest hole, spread across the board, and trace the empty space where the character used to stand. The white blocks hold large numbers, but the background has plenty of tiles to absorb them without causing a delay. Just keep pulling every single white block you see in the tray until the waiting slots are full. The white ants will systematically eat away the entire background grid from the bottom up. Once the final white tile disappears, you win the level.
Final Thought
Level 443 is a great test of your slot management and pathing skills. You have to handle a massive central target while slowly peeling away the outer layers of the board. The key is simply starting the red ants early and ignoring the background until the very end. If any of these steps are hard to follow in text, you should watch the video above this article to see exactly how to time your block pulls and keep your slots moving perfectly.