Colony Flow Level 326 Walkthrough Solution & Guides | How to solve Colony Flow 326

Guide By Liam Stone
Updated on July 17, 2026
You can jump straight to the video above and watch the full Level 326 solution instead of reading on.
Video doesn't match your screen?
Game updates frequently scramble layouts! Try our AI Screenshot Solver first to find your exact board instantly, or report broken guides to our team.
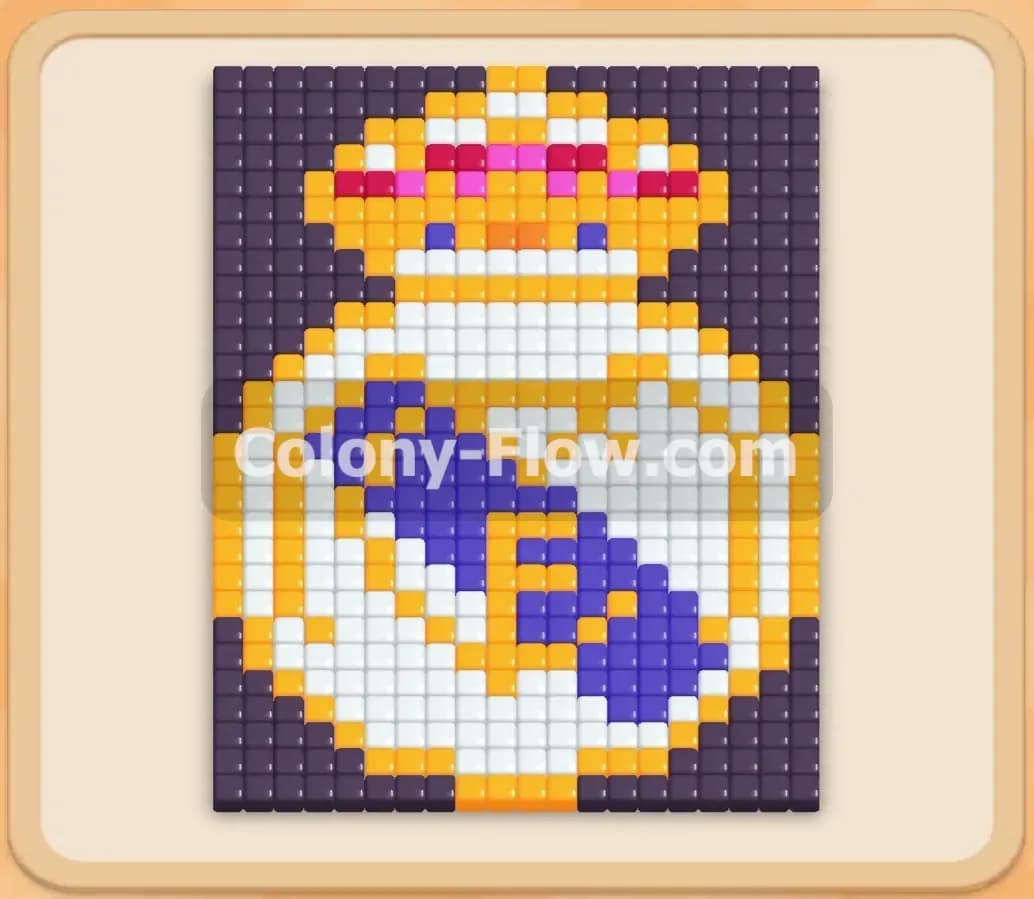
Colony Flow Level 326 presents a massive pixel art picture of the Arsenal crest complete with a cannon and text. This puzzle requires careful planning because locks in the tray restrict your moves right from the start. You will need to dig through the outer edges to grab keys before you can tackle the center of the board. Every move matters, and you must sequence your block pulls perfectly to avoid dead ends.
Colony Flow Level 326 Overview
What You Are Working With
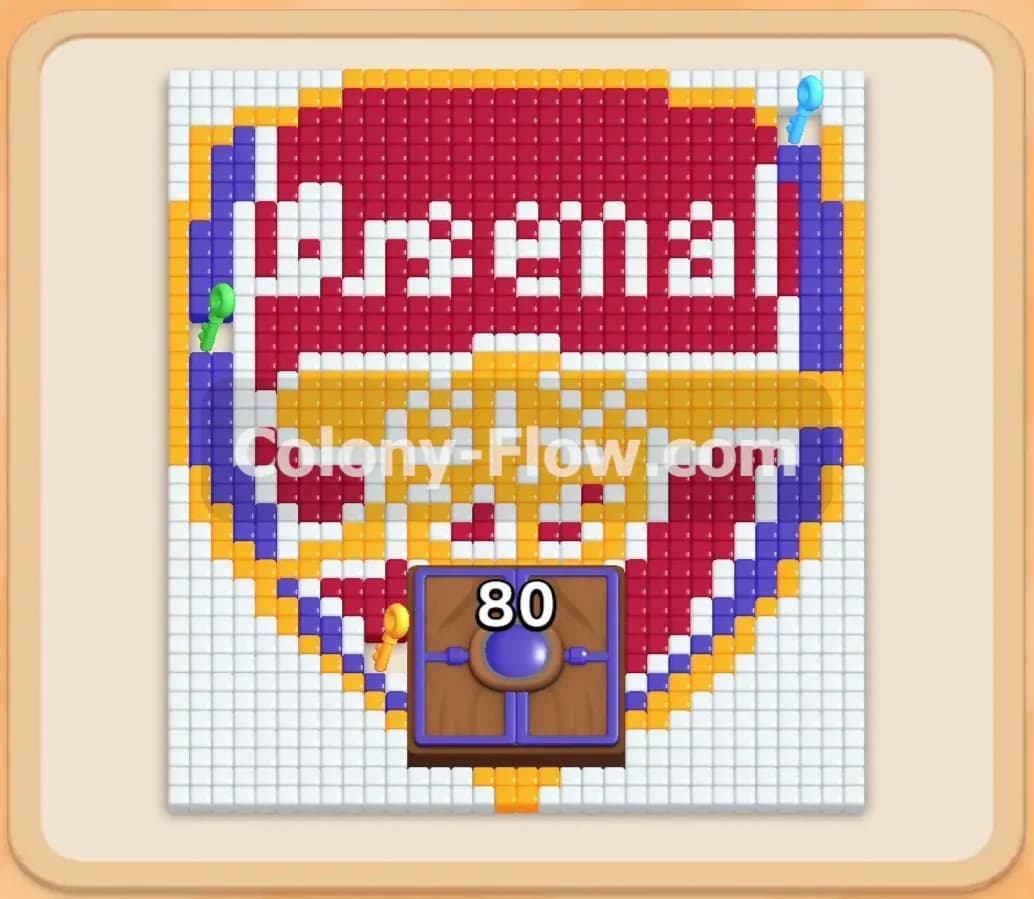
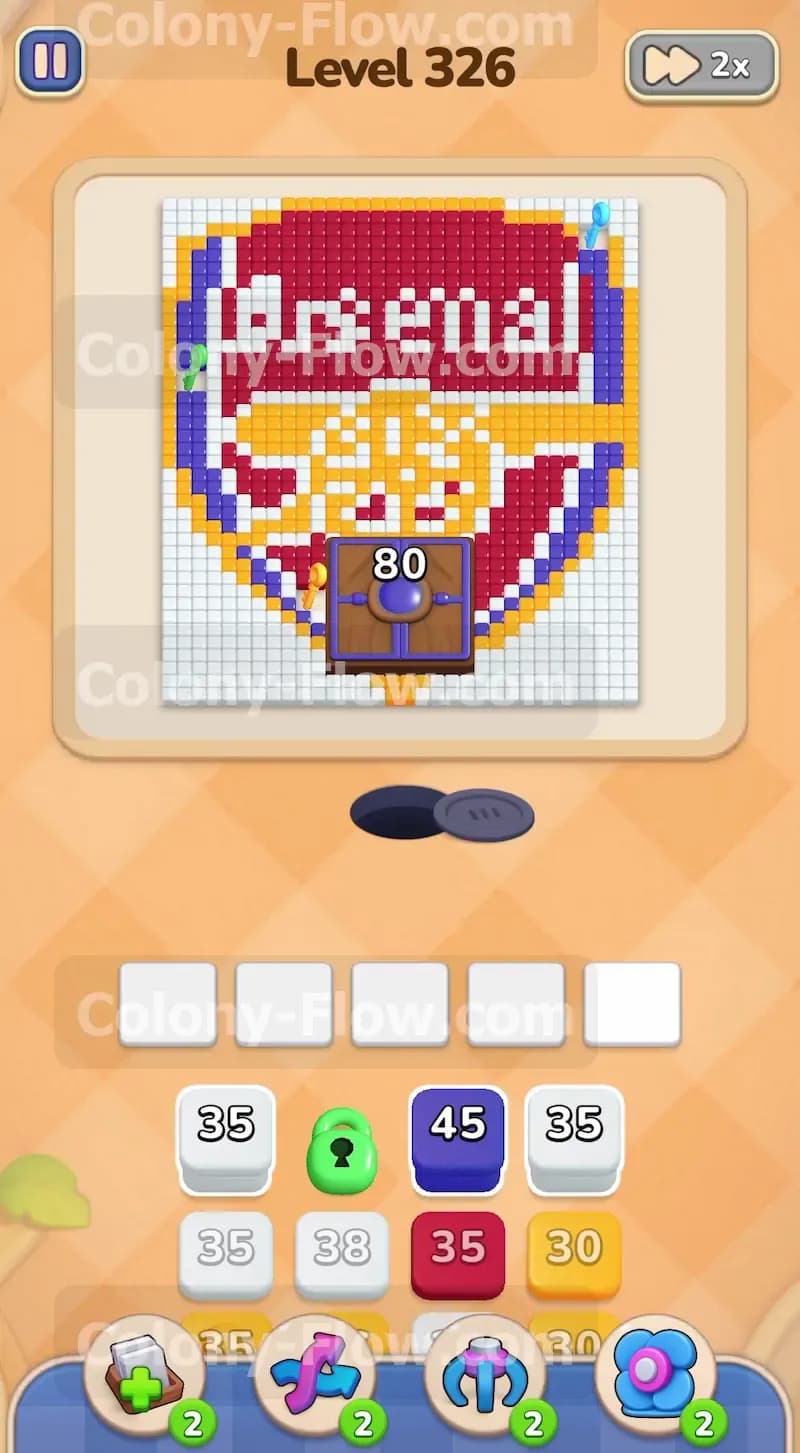
The board features a large detailed crest design with a bright red background, a yellow cannon placed right in the middle, and white text spelling out the word Arsenal across the top. A thick blue border and an outer yellow border surround the entire red crest shape. The whole crest design sits entirely on a large white background composed of many white tiles. At the very bottom center of the board, directly above the nest hole, a blue Hungry Door blocks the lower portion of the yellow cannon. This Hungry Door requires exactly eighty blue ants to open.
You will also spot two distinct keys embedded within the white background tiles. A small green key sits on the middle left side of the crest, completely surrounded by white tiles. A light blue key rests on the top right side of the board, also locked inside the white background. You absolutely need to collect these keys because the tray at the bottom of your screen contains a green lock and a blue lock. These locks sit right on top of your blocks, completely preventing you from using the blocks hidden underneath them. The tray offers a mixed variety of white, yellow, red, and blue blocks, but your choices are heavily restricted until you collect those two keys from the board.
What It Takes to Clear Level 326 Board
To win this level, you must clear every single colored tile on the board without ever jamming your five waiting slots. The main central obstacle is that massive blue Hungry Door. You simply cannot clear the bottom half of the yellow cannon until that door is completely gone. However, you cannot get enough blue blocks to feed the Hungry Door until you unlock the blue lock down in the tray.
Your overall strategy involves following a very specific sequence of actions. You must first clear the white tiles on the left side to get the green key. The green key opens the green lock in the tray, giving you access to more blocks and allowing you to start moving towards the right side of the board. Then you must clear the white tiles all the way up the right side to get the blue key. The blue key removes the blue lock in the tray, finally revealing the big blue blocks you desperately need to satisfy the blue Hungry Door. Throughout this whole process, you must carefully balance exactly which colors you pull into the five waiting slots. If you pull too many blocks of a color that currently has no open path to eat, your slots will completely fill up and you will instantly lose the level.
Colony Flow Level 326 Step by Step Solution
Step 1: Open the bottom yellow border and start the left side white background
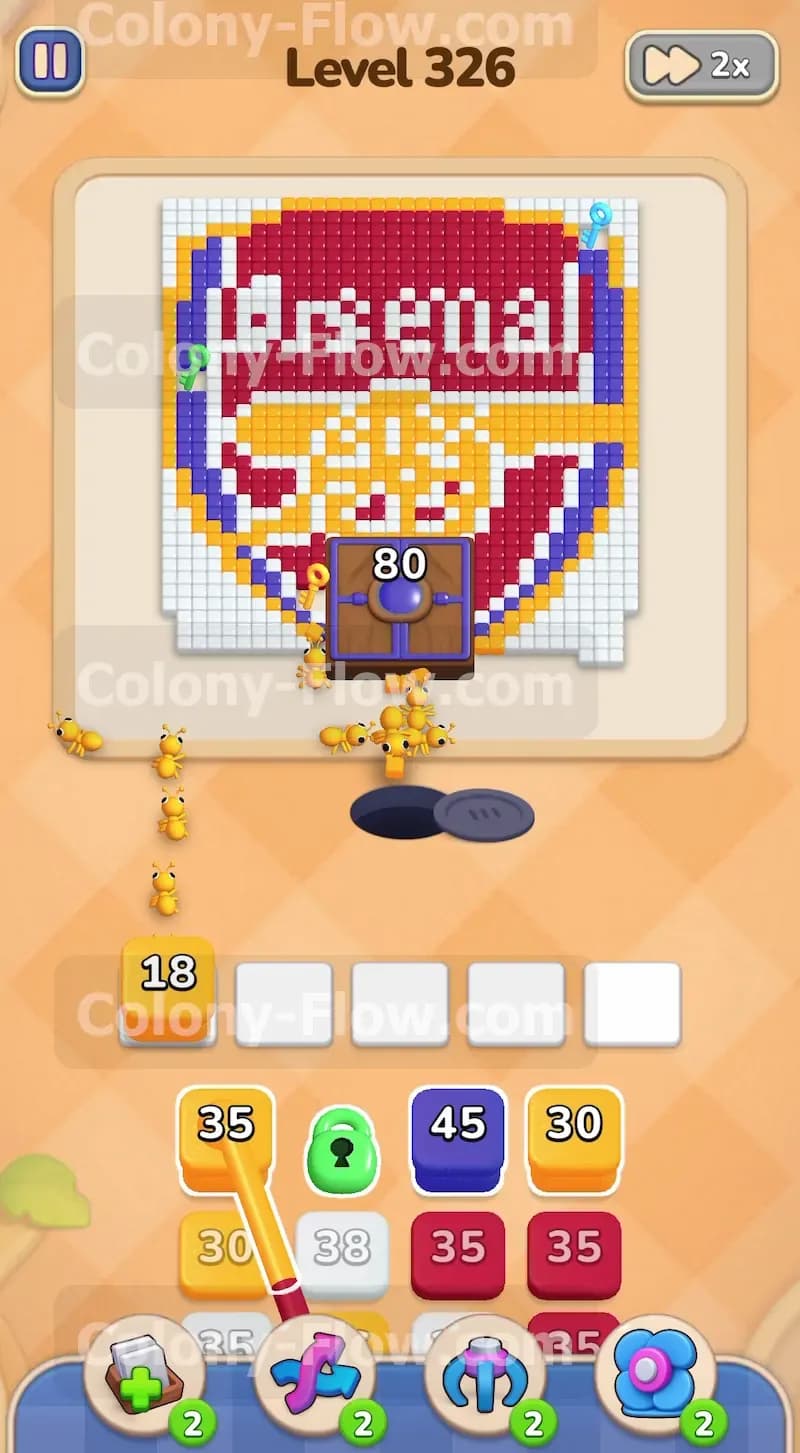
The level begins with very few open paths for your ants, so you must start your attack at the very bottom edge near the nest. Pull a yellow block holding thirty five ants from the tray into your waiting slots. These yellow ants will stream out of the nest hole and start eating the yellow border that runs along the bottom curve of the crest. This action opens up some vital breathing room for other colors to move. Next, pull a white block holding thirty five ants. The white ants will head up the left side of the board, eating the solid white background tiles. Your immediate goal here is to carve a clear path straight up the left side to reach the green key. Keep a very close eye on your five waiting slots during this phase. Only pull another white block if you see that the active white ants still have a continuous path to keep moving and eating. If they hit a dead end, stop pulling white blocks and wait for the yellow ants to clear more space along the bottom.
Step 2: Collect the green key and start feeding the blue Hungry Door
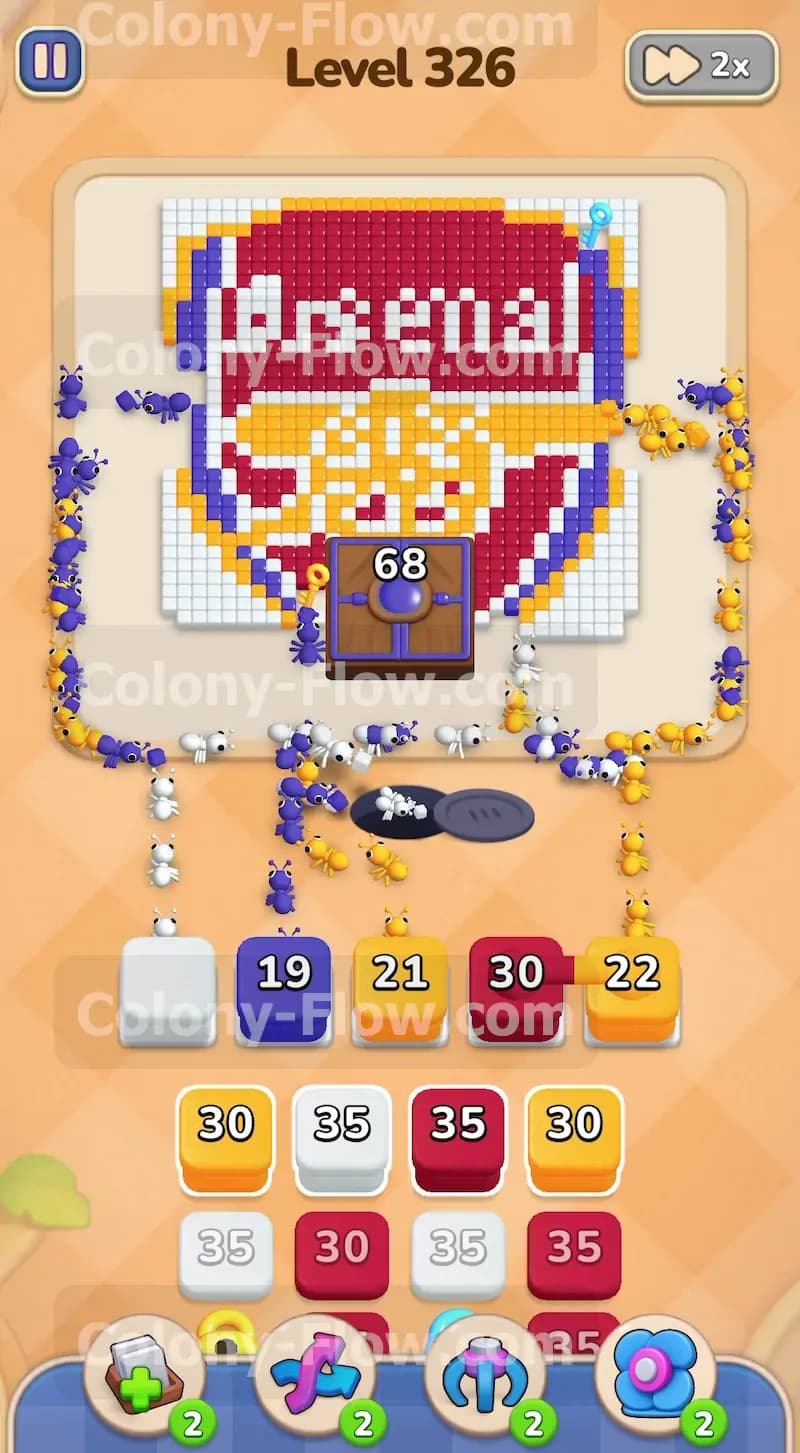
As the white ants chew their way steadily up the left side of the board, they will eventually reach and consume the specific tile holding the green key. The exact moment they grab the green key, the green lock resting in your tray will disappear in a flash. This is a crucial early milestone because it instantly frees up the useful blocks trapped beneath it. With the green lock completely gone, you can now safely pull a blue block. Pull a blue block from the tray to send your first wave of blue ants onto the board. They will begin eating the thick blue border wrapped around the red crest. More importantly, these blue ants will also start flowing directly into the blue Hungry Door located at the bottom center. You will see the required number on the door drop down from eighty to sixty eight. Do not pull too many blue blocks just yet, because their available path is still quite narrow. Mix in another yellow block to keep clearing the yellow outer border and pull a red block to start chipping away at the massive red background inside the crest.
Step 3: Push up the right side to reach the blue key
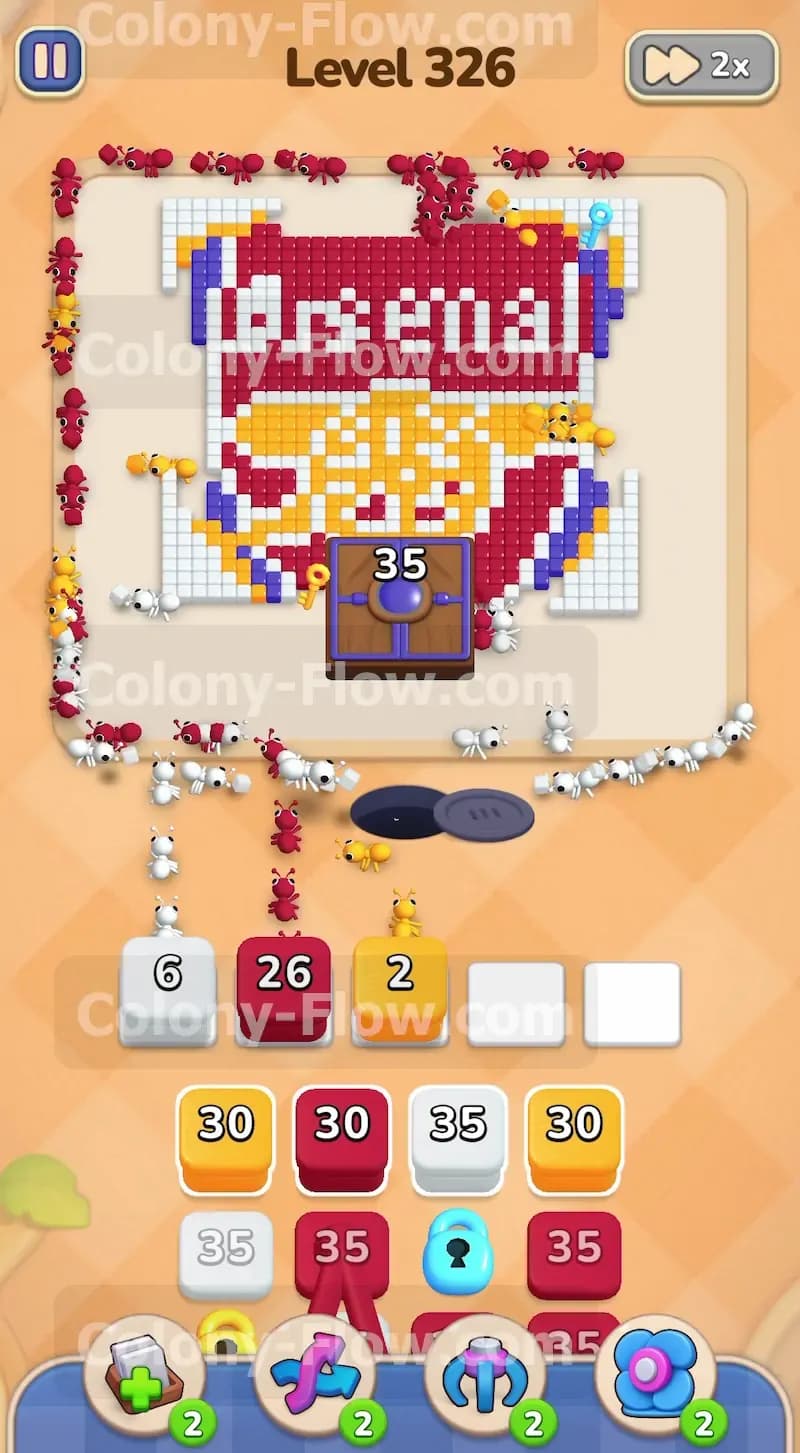
Now that the left side of the board is mostly clear of white tiles, you need to shift your primary focus to the right side of the board. The blue lock sitting in your tray is currently hiding the massive blue blocks you need to finish feeding the Hungry Door. To get that blue key, pull white blocks from the tray. Send the white ants up the right side of the white background tiles. While the white ants are making their long trek up the right edge, you must keep your other colors active to prevent the waiting slots from jamming. Pull red blocks to send red ants deep into the large red sections of the crest. Pull yellow blocks to clear the top portions of the yellow cannon and the upper yellow outline. You will have red, yellow, and white ants moving around the board simultaneously. This is the most dangerous part of the level for slot management. Always make absolutely sure each color has a fully open face to eat before you pull its block into the waiting area.
Step 4: Grab the blue key to unlock the final blue blocks
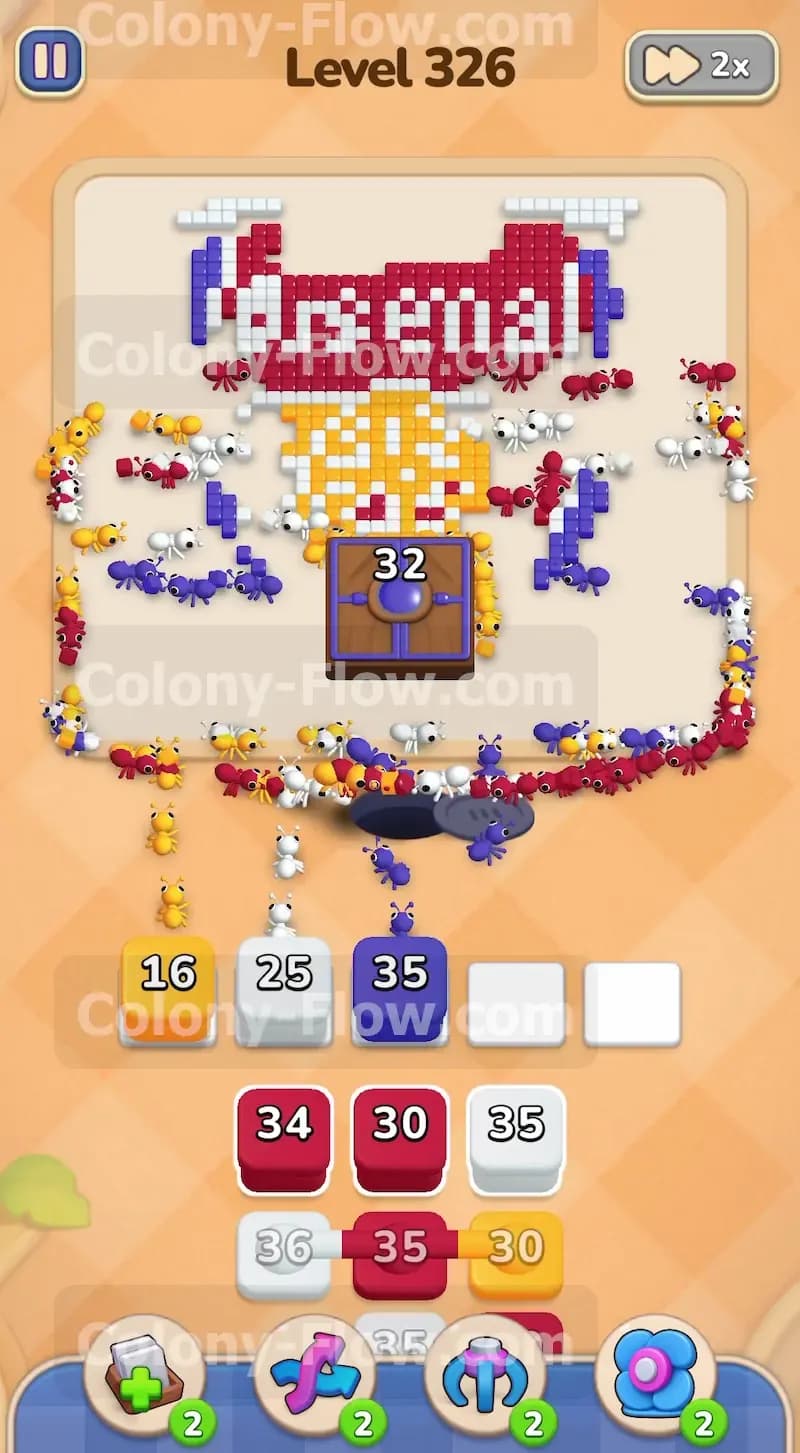
The white ants will eventually reach the top right corner of the board and consume the blue key tile. Keep pulling white blocks if they need more numbers to reach that specific spot. Once the blue key is successfully collected, the blue lock in the tray vanishes completely. This action reveals a large blue block holding thirty five ants. This block is exactly what you need to deal with the Hungry Door. Pull this big blue block into your waiting slots immediately. A huge swarm of blue ants will rush out of the nest and head straight for the blue Hungry Door and the few remaining blue border tiles. The required number on the door will plummet down to thirty two and then continue dropping even lower. During this massive rush of blue ants, keep pulling red blocks to steadily clear the red background surrounding the white text. The text spelling Arsenal will start to become very defined and clear as the surrounding red tiles disappear.
Step 5: Finish the Hungry Door to reveal the yellow cannon
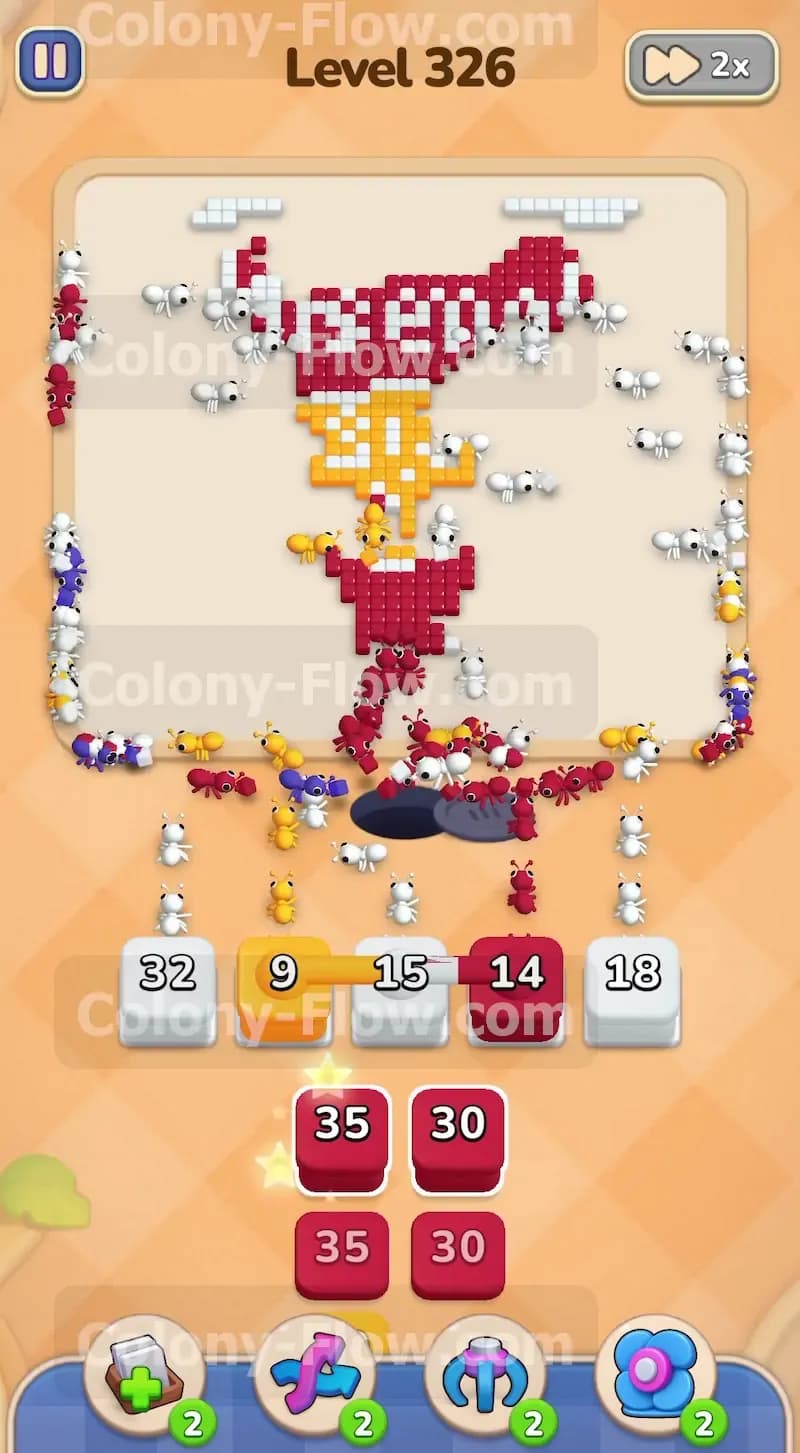
Continue pulling any remaining blue blocks from the bottom tray. The last wave of blue ants will hit the Hungry Door, bringing its required number all the way down to zero. The door will vanish entirely from the board. This event is a huge relief because the door was covering a very large section of the yellow cannon right in the center of the board. With the door finally gone, the bottom of the yellow cannon is fully exposed and ready to be eaten. Pull yellow blocks from the tray. The yellow ants will rush into the center area and quickly devour the newly revealed cannon tiles. At the exact same time, you can pull the last few white blocks to clear the very top edge of the white background located above the crest. Your board will now look very open and empty, and the risk of jamming your waiting slots is practically gone.
Step 6: Clear the red text and finish the board
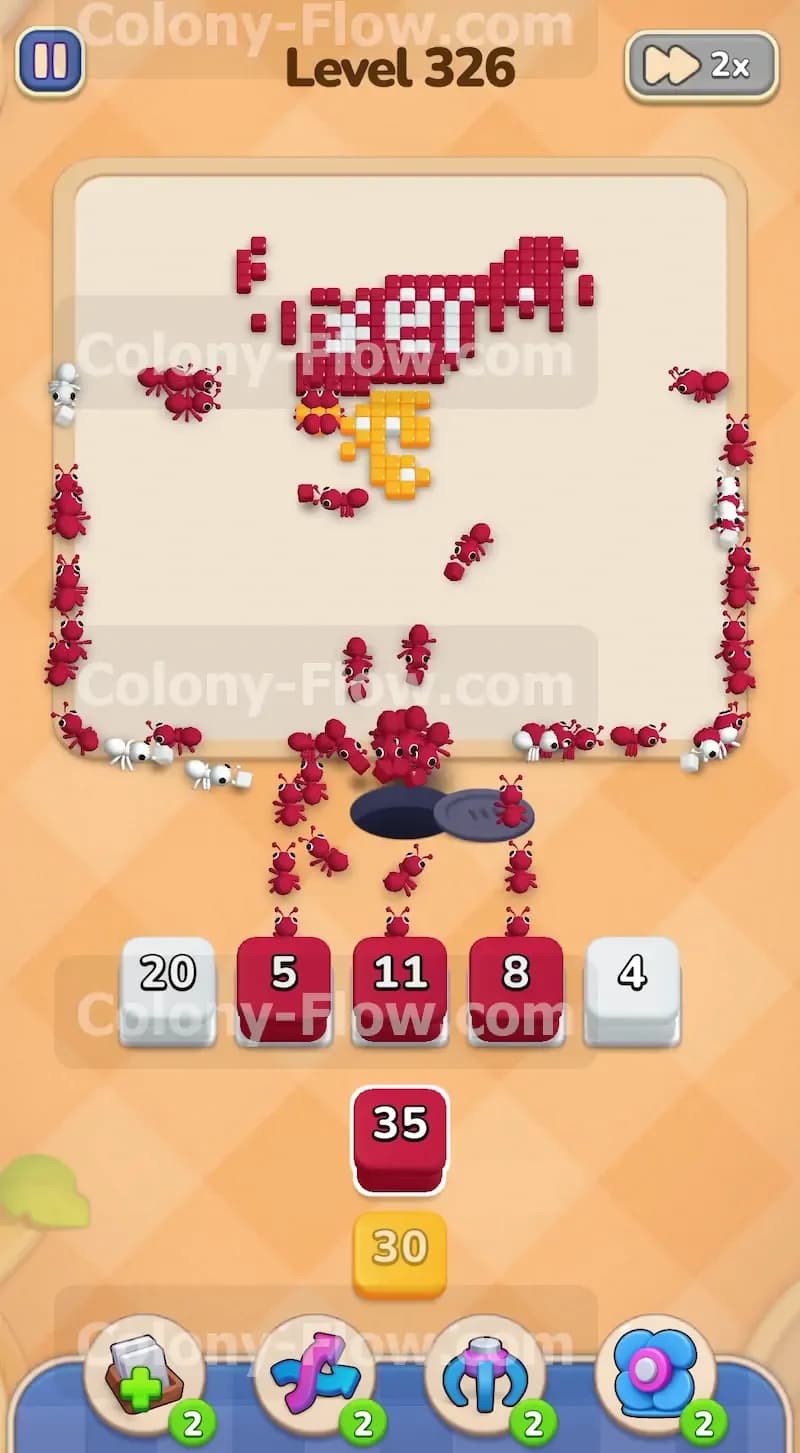
At this late stage, the only things left on the board are the remaining pieces of the red background, the red letters themselves, and a few scattered yellow pieces of the cannon. Your tray will mostly contain red blocks alongside a few yellow or white blocks. Pull the red blocks to send red ants into the intricate shapes of the letters. The red ants will easily clear these complex shapes out because they have plenty of open paths approaching from all directions. Pull the final yellow block to finish off the very last pieces of the cannon. Finally, pull any remaining white blocks to clean up the last few stray background tiles near the top. Once the final colored tile is eaten by the ants, they will return to the nest and you will successfully beat the level.
Final Thought
Level 326 demands extreme patience and a very strict order of operations. You simply cannot rush the Hungry Door before you get both keys, so you must focus entirely on those outer white edges first. Managing your waiting slots during the big push for the blue key is definitely the hardest part of the whole puzzle. If you ever feel stuck or if a specific step is hard to follow in text, I highly encourage you to watch the video above this article. Seeing the ants move in real time makes the whole strategy crystal clear.