Colony Flow Level 25 Walkthrough Solution & Guides | How to solve Colony Flow 25

Guide By Liam Stone
Updated on July 12, 2026
If reading isn't your thing, the video above walks you through Level 25 from start to finish.
Video doesn't match your screen?
Game updates frequently scramble layouts! Try our AI Screenshot Solver first to find your exact board instantly, or report broken guides to our team.
Getting through Colony Flow Level 25 takes careful slot management and a good eye for opening paths. You face a cute pixel art scene of a kitten inside a strawberry but the connected tray blocks make it a tough puzzle to crack. I played this board multiple times to find the perfect sequence that keeps the ants moving without jamming the waiting slots. You will need to balance clearing the inner details with eating away the massive outer background.
Colony Flow Level 25 Overview
What You Are Working With
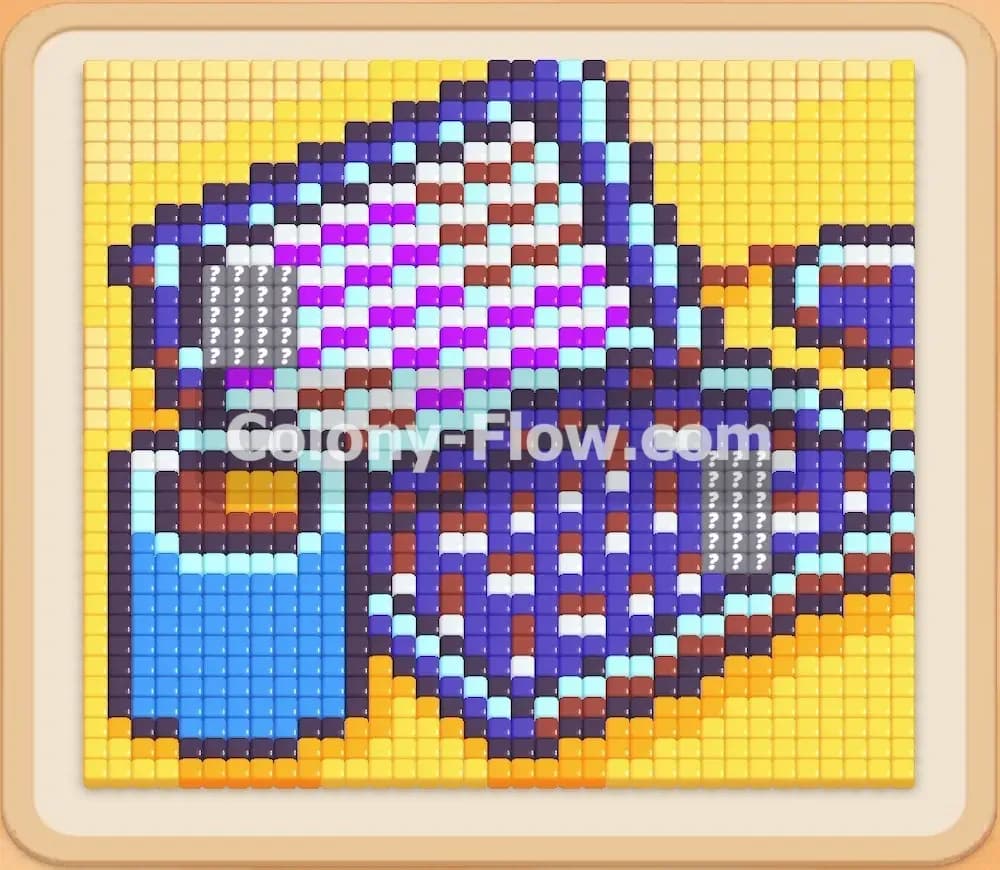
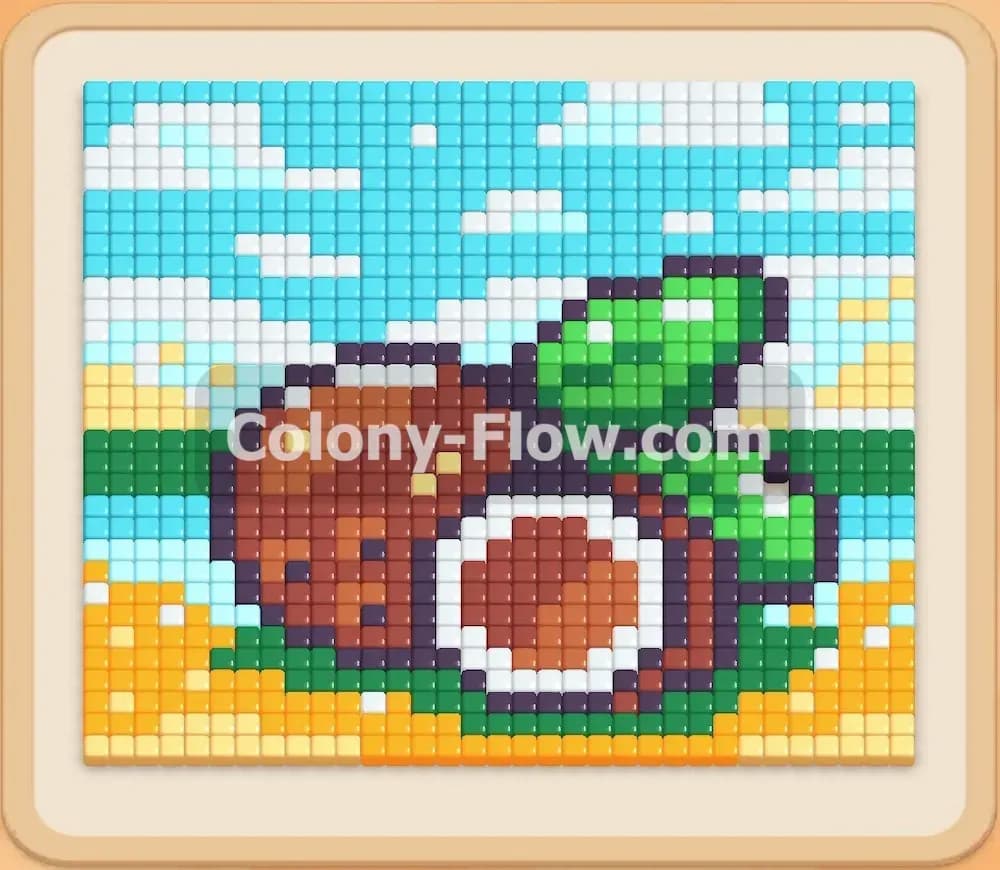
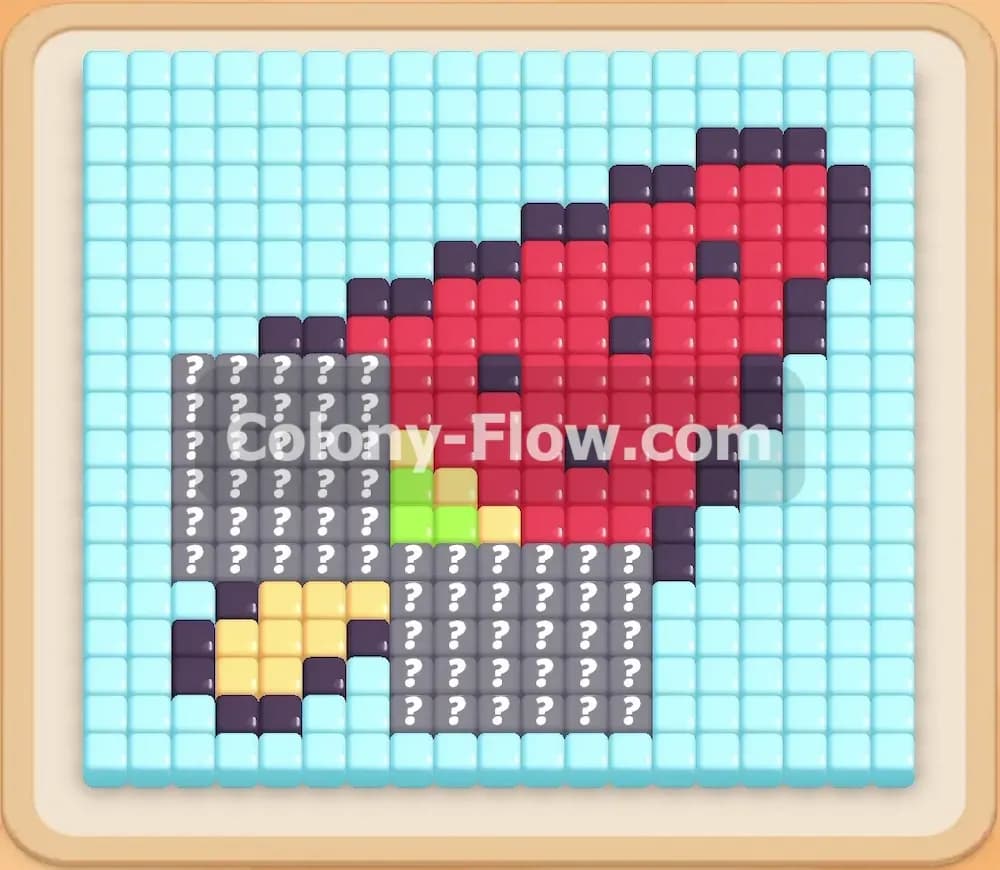
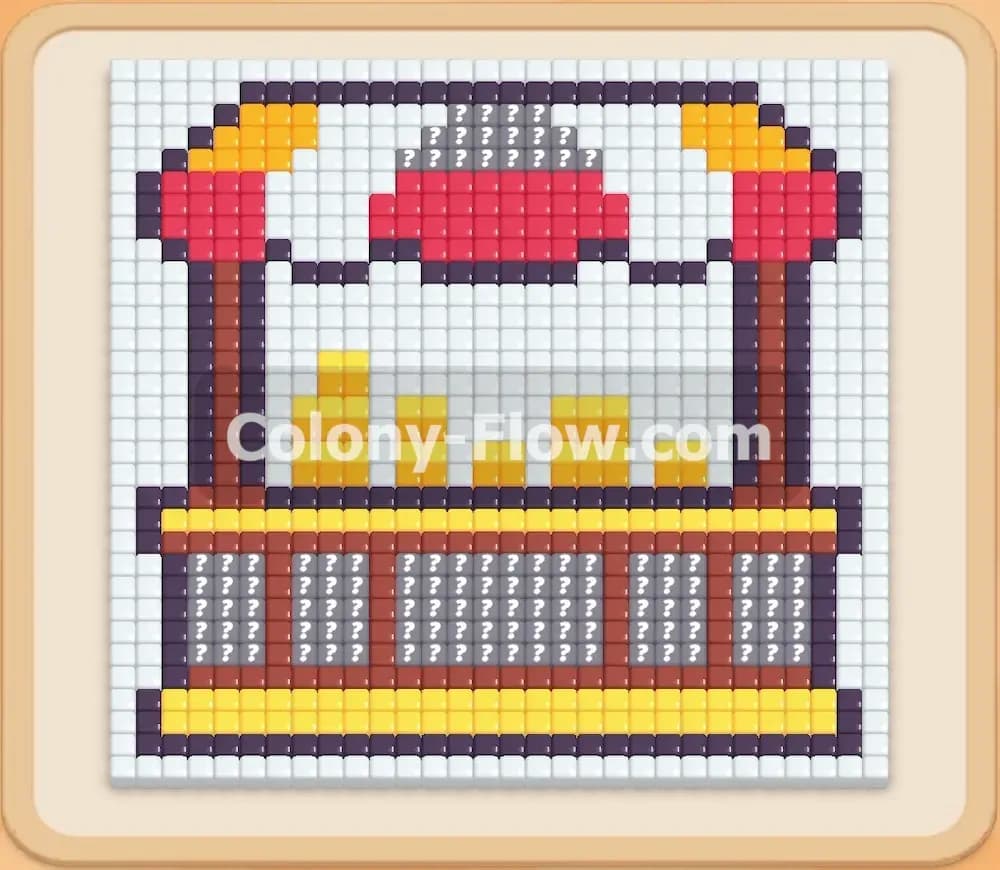
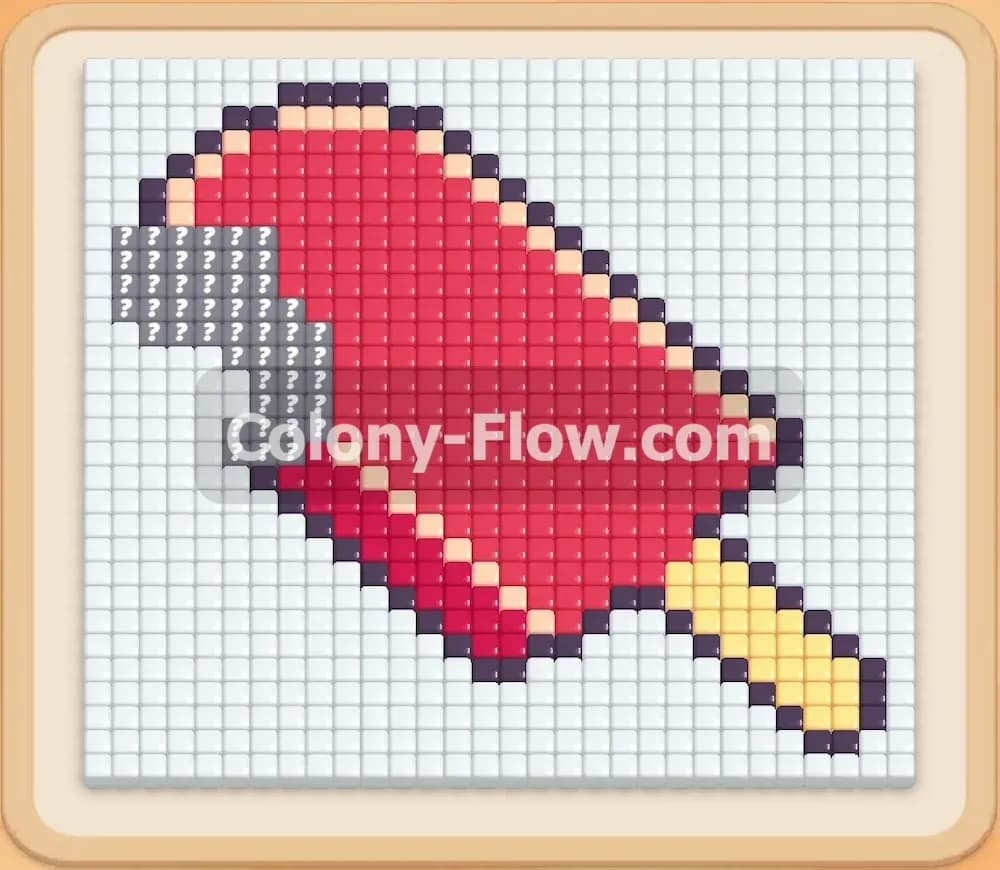
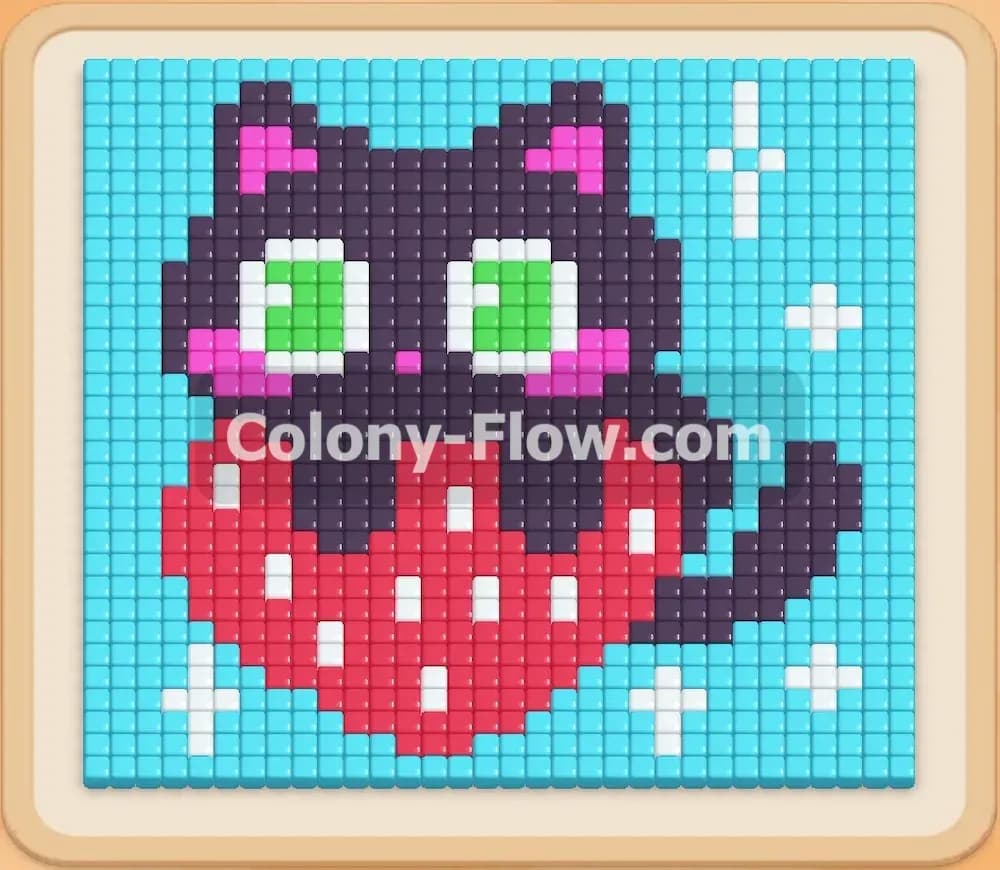
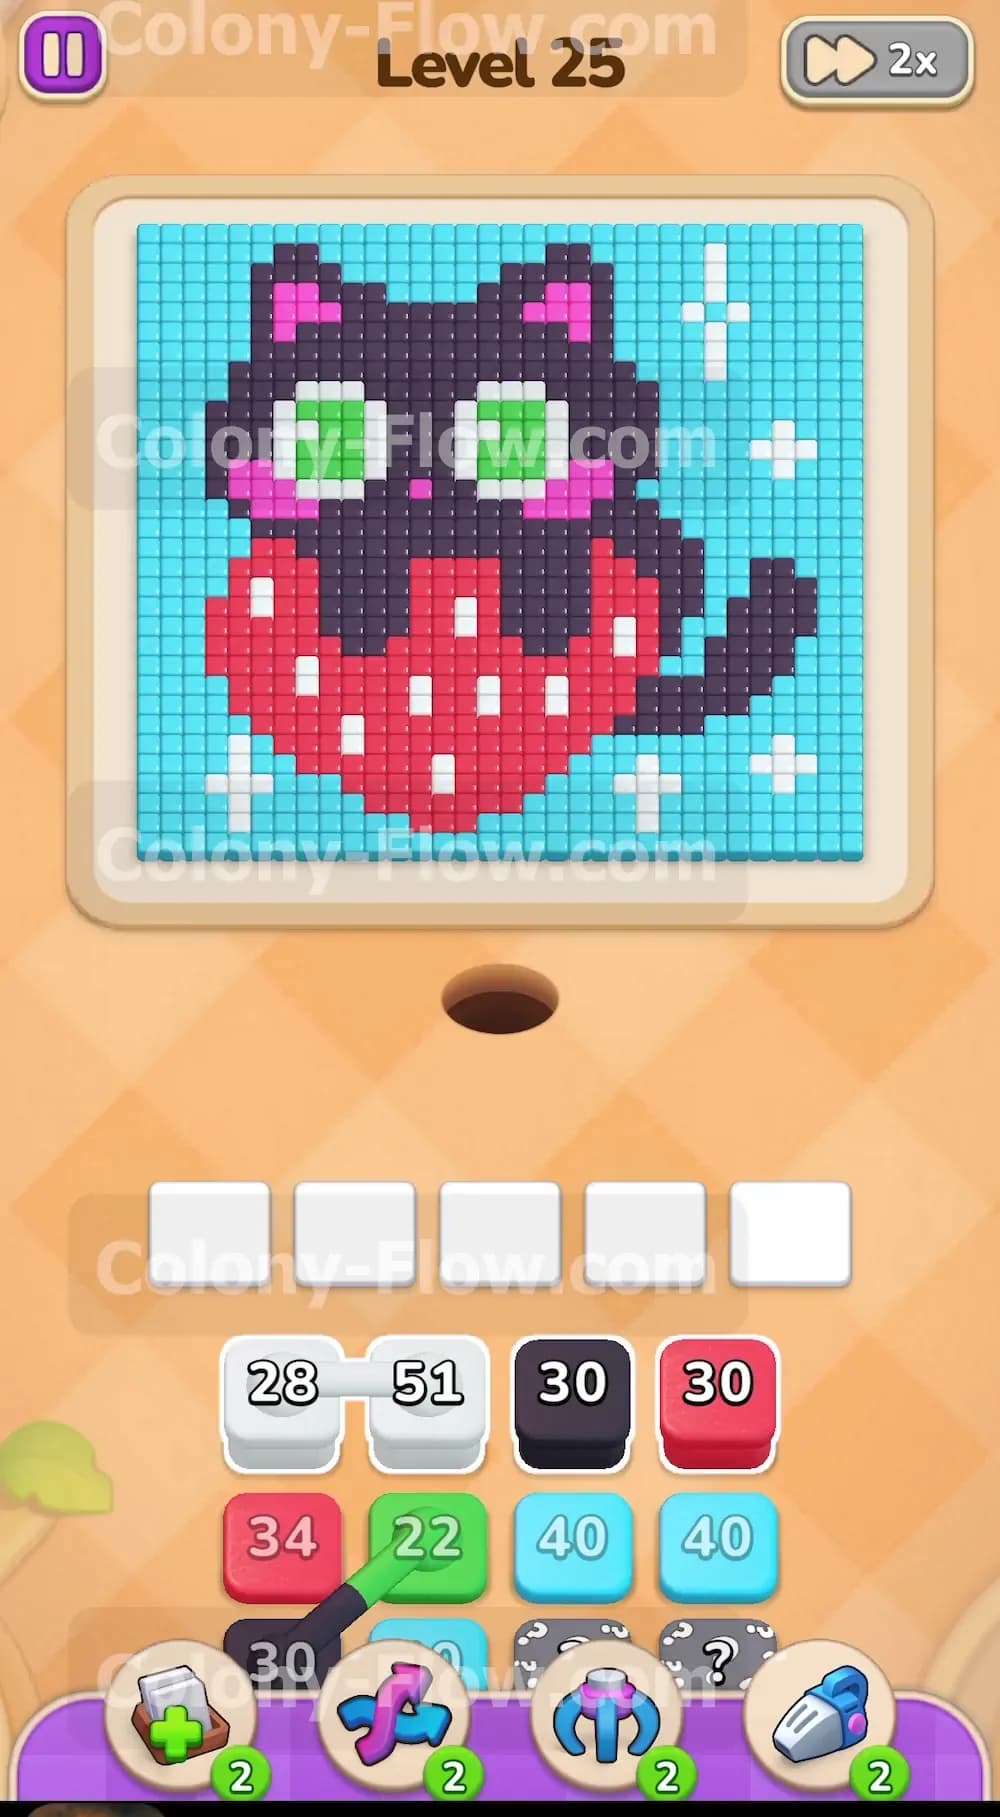
The picture at the top of your screen shows a black kitten tucked inside a giant red strawberry. The kitten has bright green eyes and cute pink blush on its cheeks. The strawberry features tiny white seeds scattered across its surface. The entire background is filled with solid blue tiles accented by four white sparkles. Down in your tray you face a unique challenge with connected boxes. Two blocks are physically tied together and move into your waiting slots as a pair. You also have hidden boxes marked with question marks in the bottom row. These hidden blocks conceal their color until the blocks above them clear out. You have five waiting slots available to hold the blocks while the ants do their work.
What It Takes to Clear Level 25 Board
Winning this level means eating every single colored tile on the board until the canvas is completely blank. The main danger is the game over condition. If you fill all five waiting slots and none of the ants can reach their matching colors the board jams and you lose. Because you are dealing with connected boxes that take up two slots at once you can run out of space very quickly. Your goal is to constantly rotate active blocks. You must always ensure that the ants currently in the waiting slots have a wide open path to their target colors.
Colony Flow Level 25 Step by Step Solution
Step 1: Start with the connected white blocks to clear the seeds and sparkles.
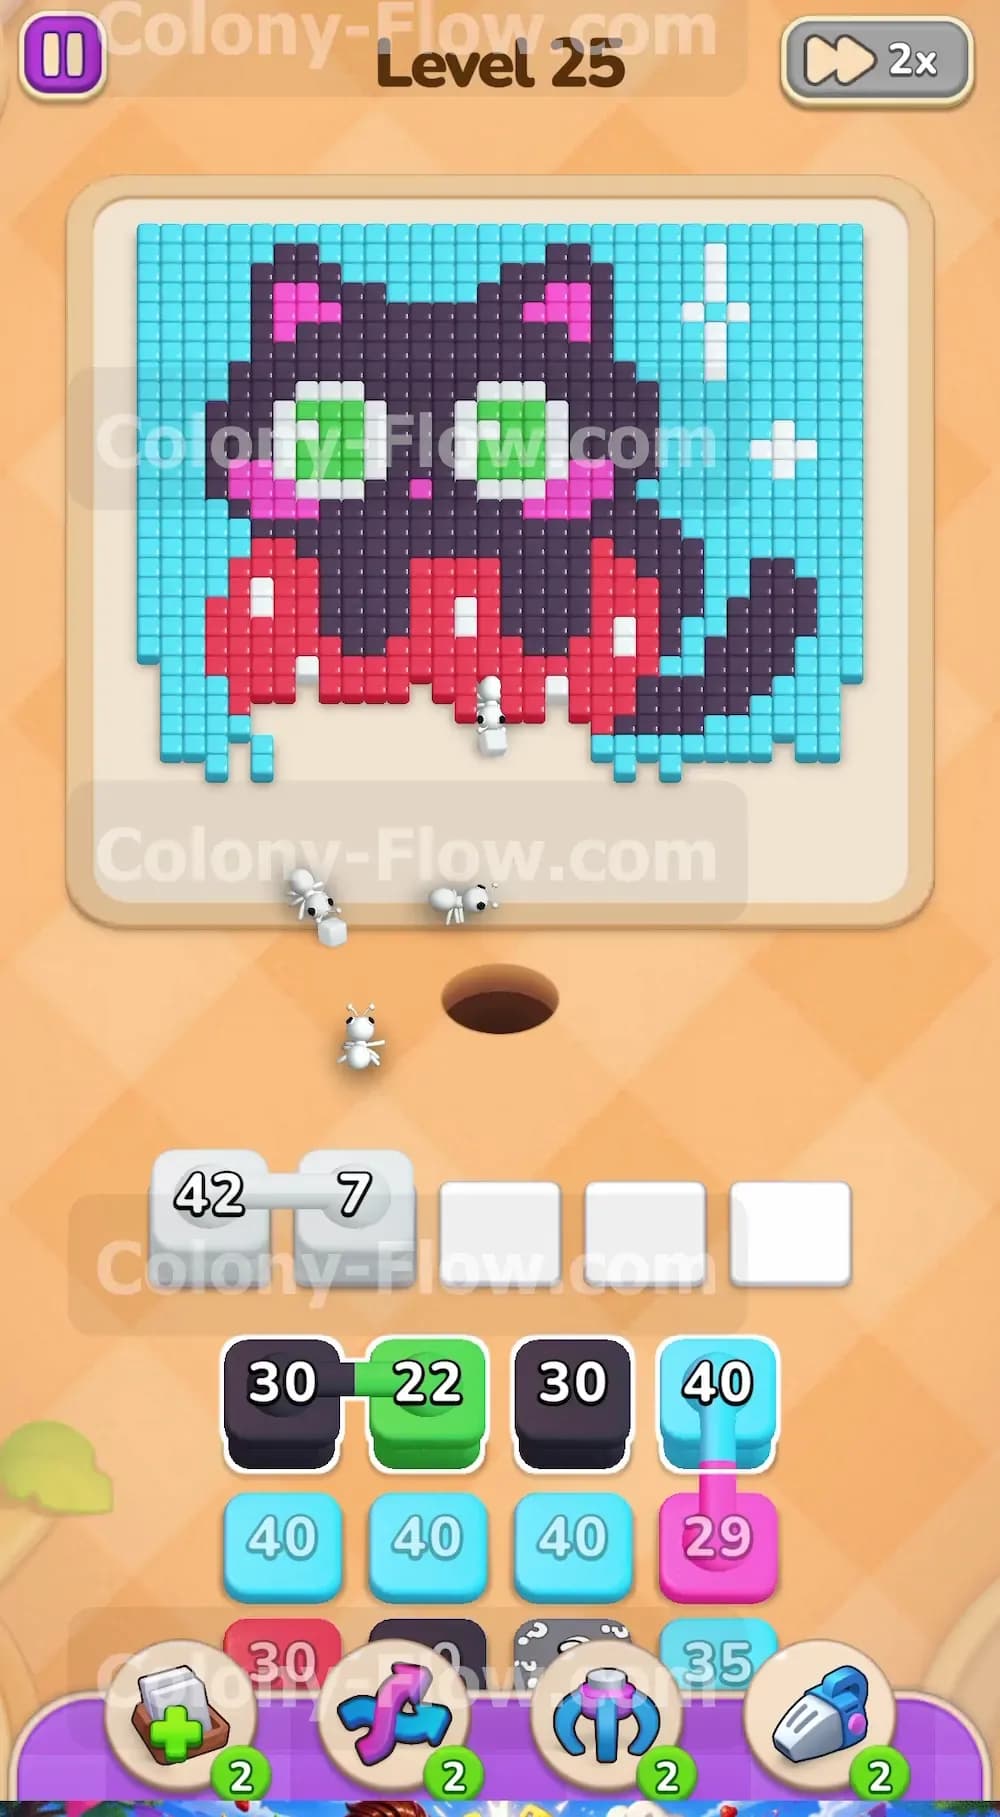
Your very first move sets the pace for the whole board. Look at your tray and select the connected pair containing the White 28 block and the White 51 block. Tapping this pair sends them both up to your waiting slots immediately. The white ants stream out of the nest hole and split up. Some head straight for the white stars in the blue background while others march into the center to eat the white seeds on the red strawberry. This is the perfect opening move because the white tiles are spread out across the board and easy to reach. The ants will not get stuck behind other colors. The numbers on your white blocks will steadily tick down as the ants consume the tiles.
Step 2: Bring out the red and green connected pair to open the center.
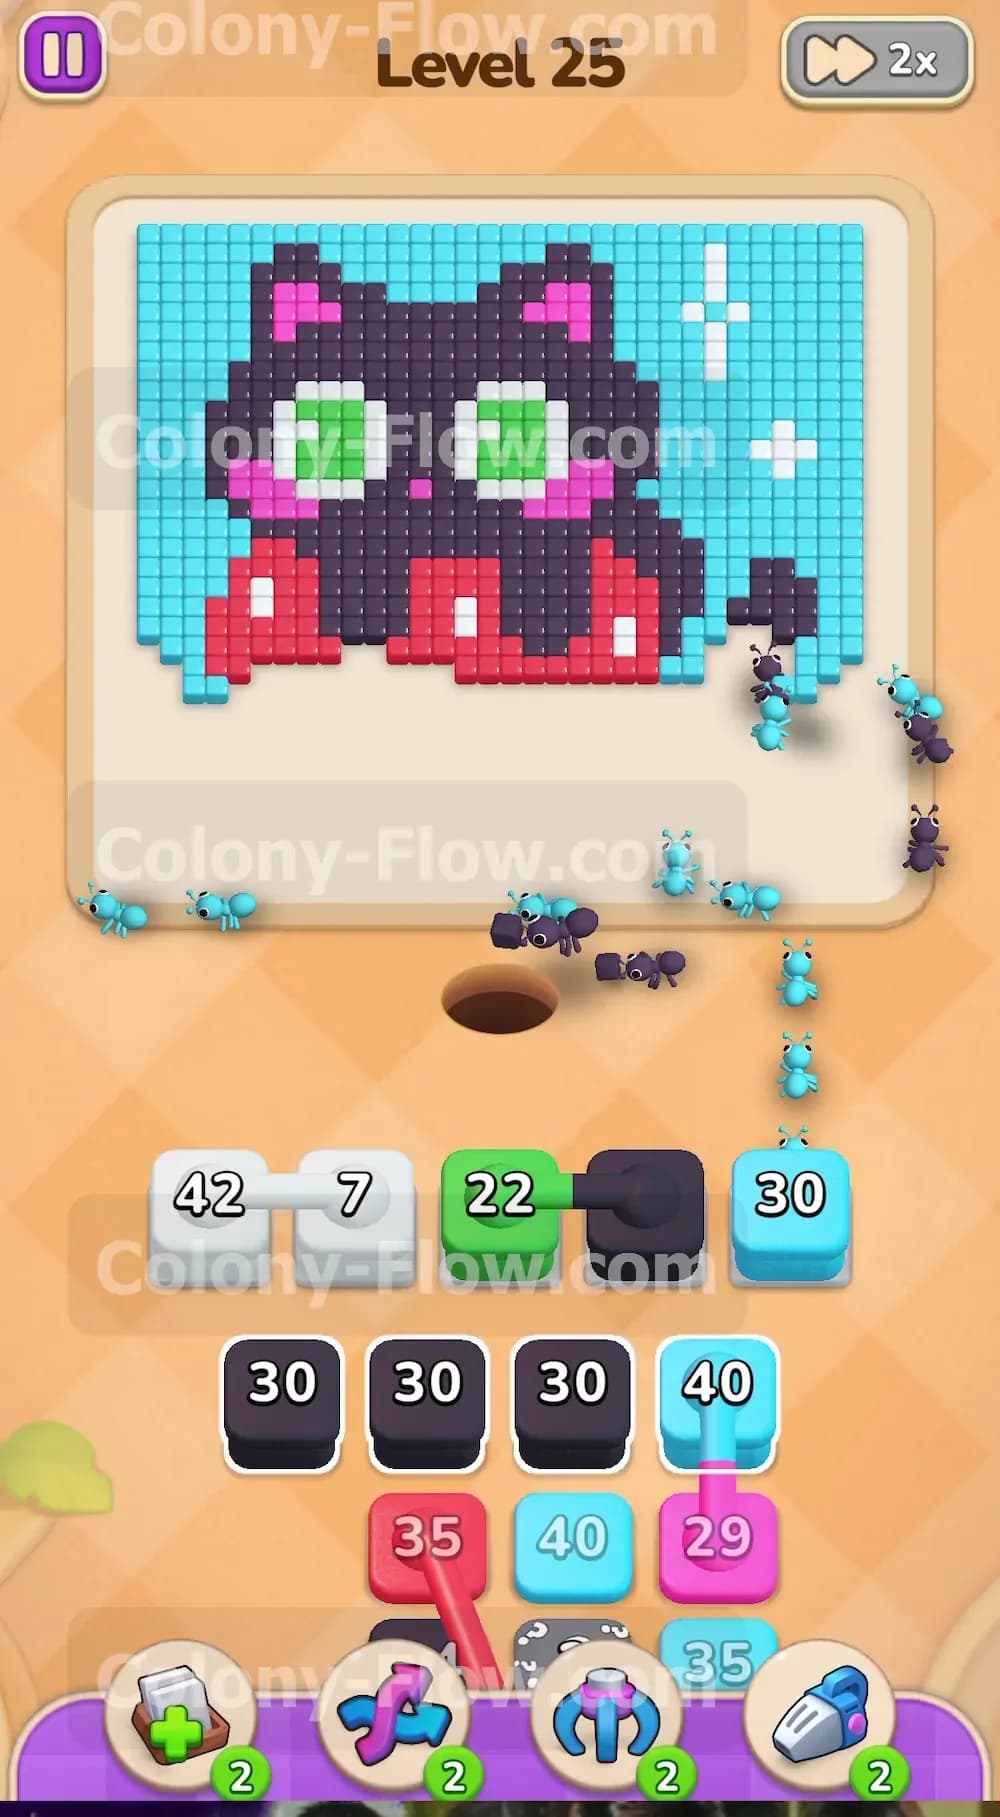
While the white ants are busy working on the seeds you need to start dismantling the strawberry and the cat face. Tap the connected pair holding the Red 34 block and the Green 22 block. This action fills two more of your waiting slots. You now have four slots full but the paths are completely clear. The green ants march straight up the middle to devour the bright green eyes of the kitten. The red ants spread out along the bottom edges of the strawberry. Keep an eye on the numbers in your tray. You want the green and red blocks to empty out fast so you can reclaim those valuable waiting slots for the next wave.
Step 3: Deploy the first set of black blocks for the kitten body.
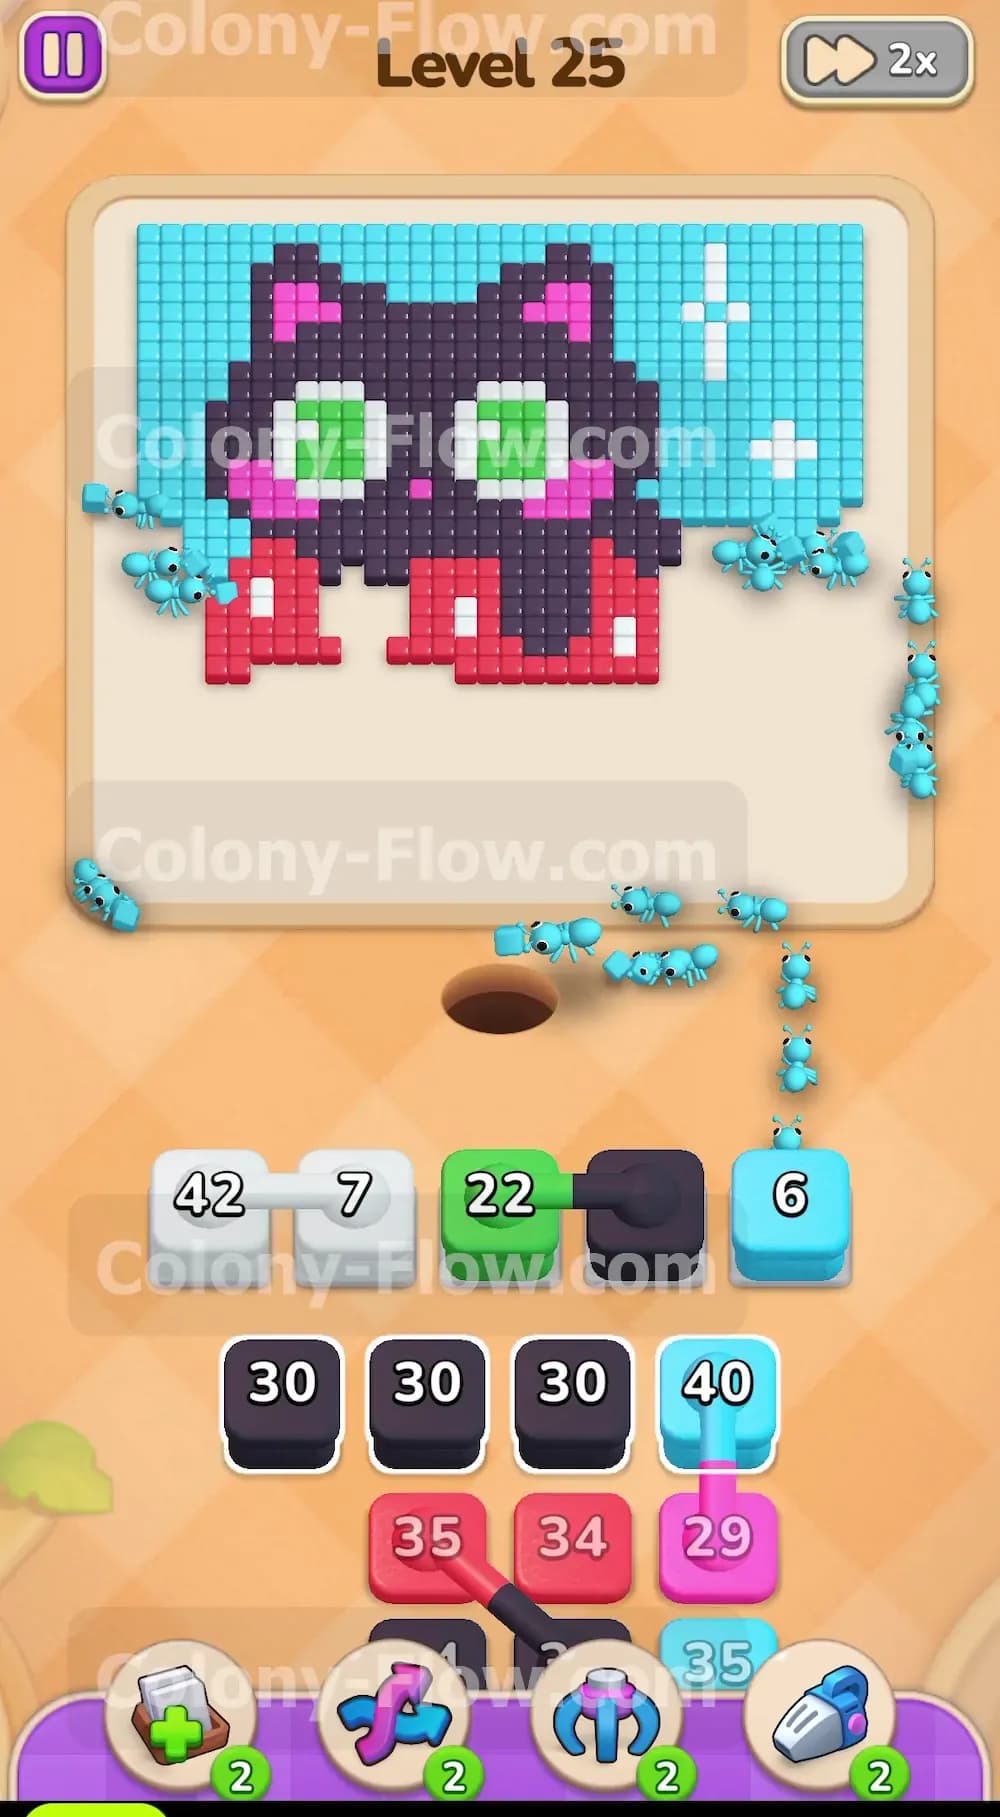
The outer edges of the cat are fully exposed now. Select the connected pair of Black 30 blocks from the tray. Pulling these blocks fills your fifth and final waiting slot. This is the danger zone I mentioned earlier. Your waiting slots are totally maxed out. You survive this moment because you carefully chose colors with open paths. The black ants rush the right side of the kitten and start eating the tail and the lower body. Because the black red green and white ants all have completely unobstructed paths to their food the board continues to flow smoothly. The blocks will count down and free up slot space before a jam occurs.
Step 4: Use a standalone red block to finish the left side of the fruit.
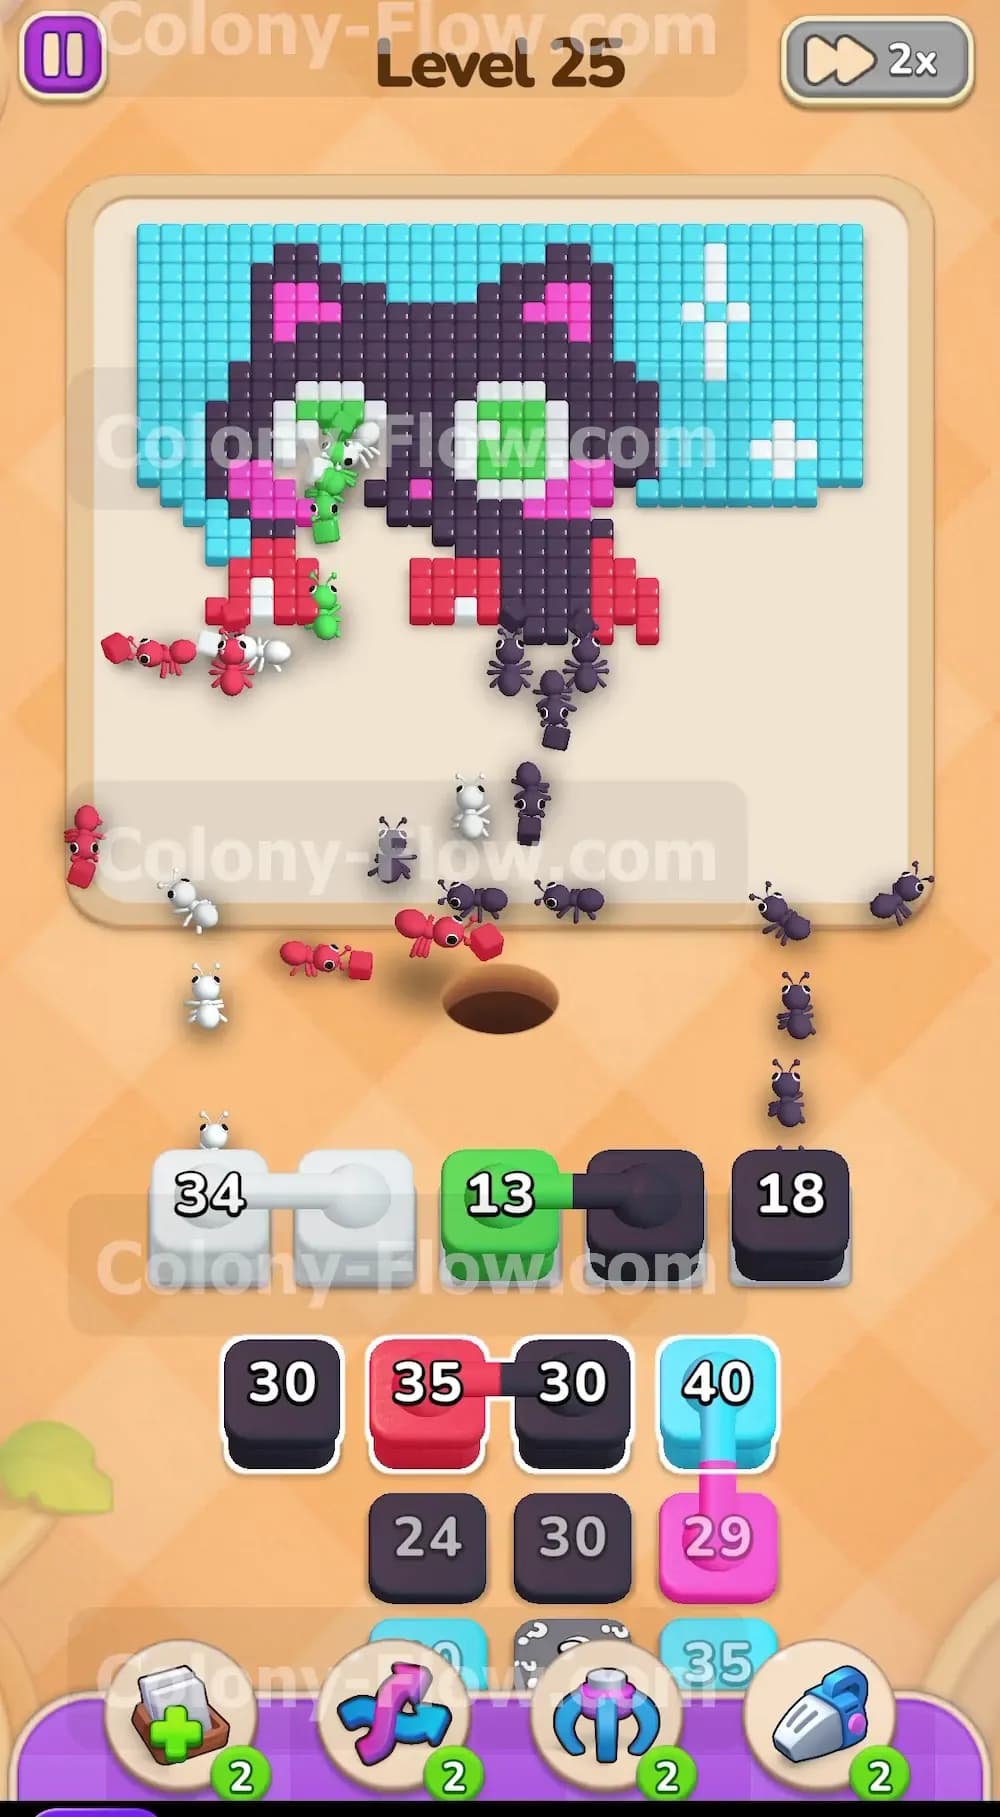
Once your first green and red blocks finish their countdowns you get some breathing room in your waiting area. You need to keep chewing through the giant strawberry. Tap the standalone Red 35 block in your tray. A fresh colony of red ants will stream toward the lower left portion of the fruit. They aggressively eat away the red boundary. At this point the original shape of the picture starts to break down. The bottom half of the canvas becomes wide open empty space. This empty space is exactly what you want because it gives your future ants a massive highway to reach the top corners of the board.
Step 5: Release another pair of black blocks to clear the face.
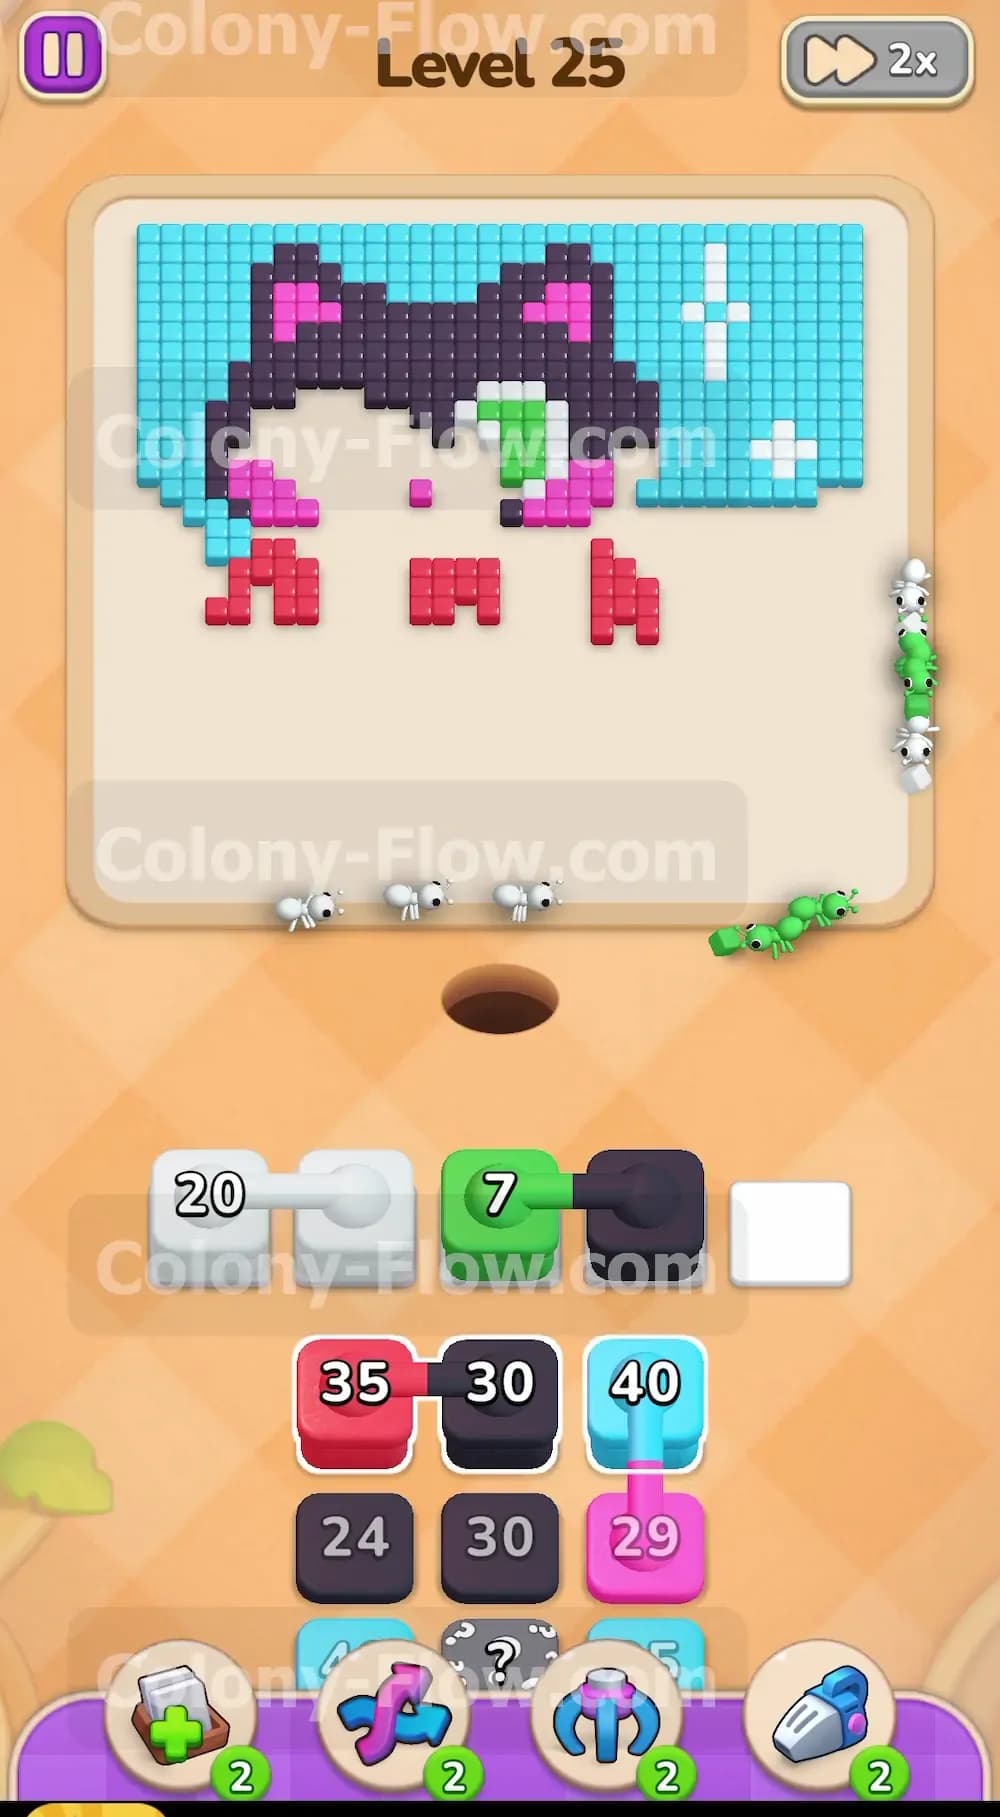
The kitten face requires a lot of ants to clear completely. As your tray opens up you will see another set of Black 30 blocks. Tap them and send them into the waiting slots. The black ants run through the newly opened empty space at the bottom of the board and climb straight up to the kitten face. They devour the chin and move toward the ears. You will notice the hidden boxes in the bottom rows of your tray are finally starting to wake up. As you clear the black and red blocks above them the question marks disappear and reveal pink and blue blocks.
Step 6: Send the pink ants to eat the cheek blush.
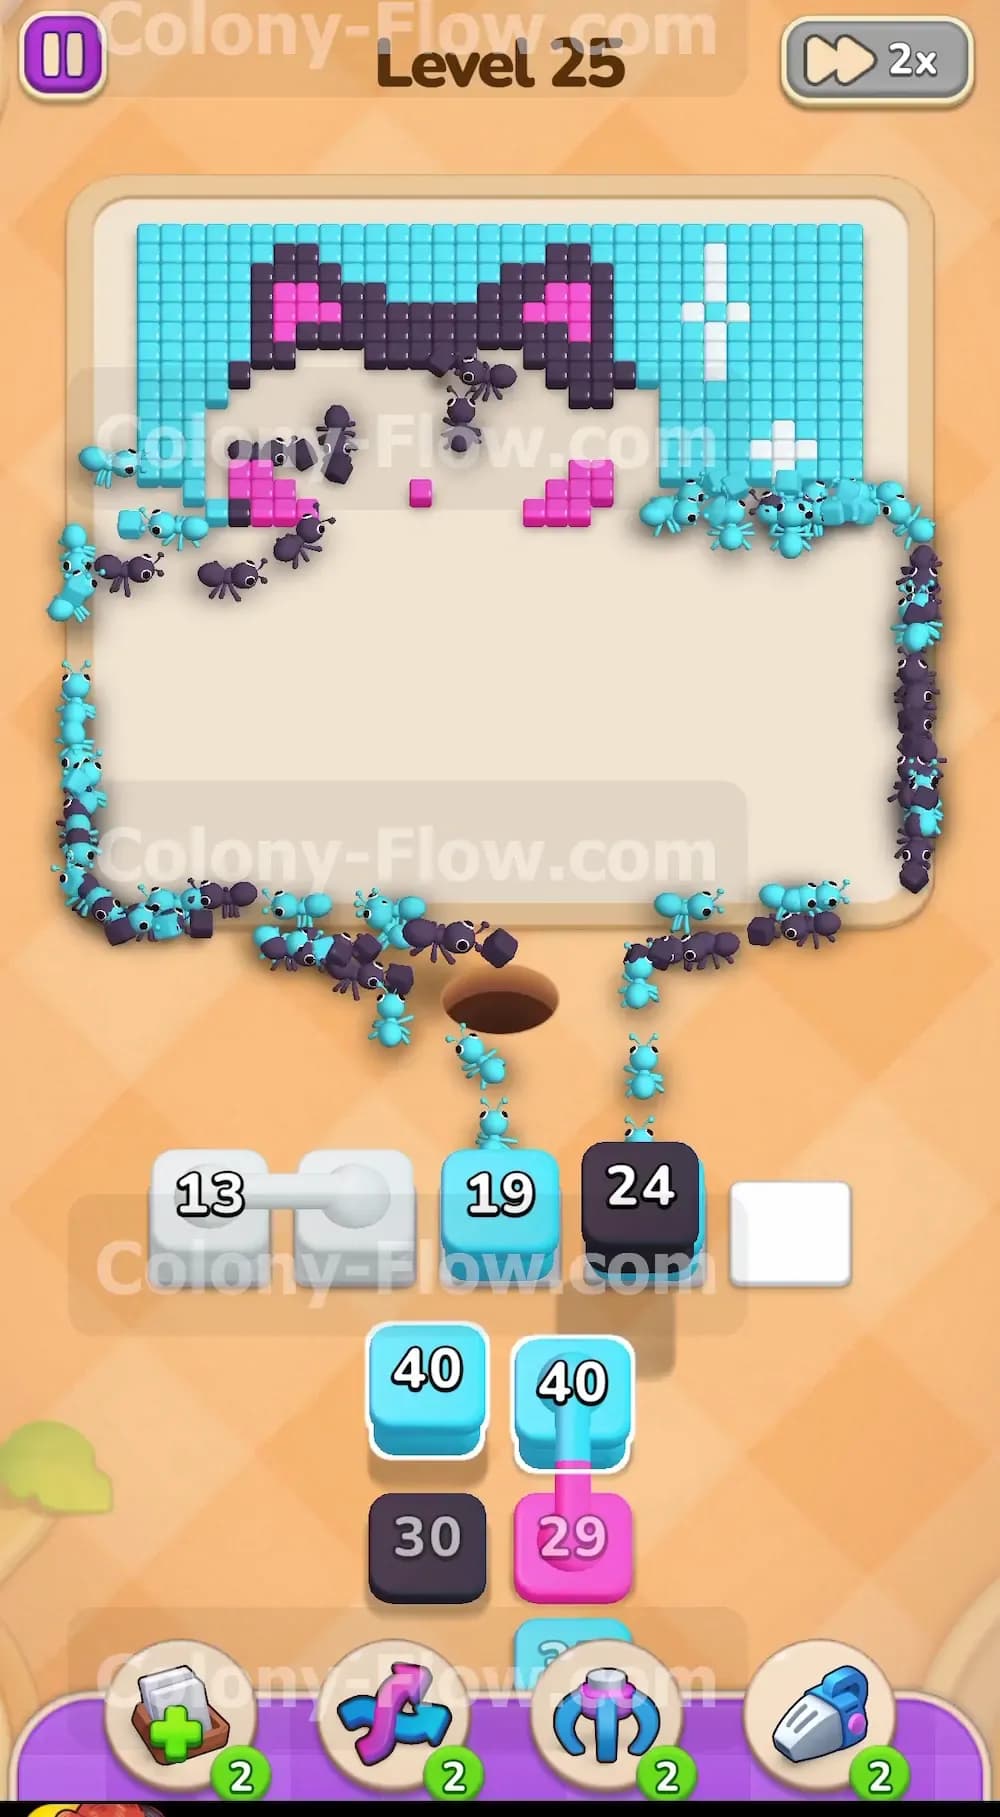
The kitten still has two small squares of pink blush on its cheeks. Tap the pink blocks that just revealed themselves from the hidden boxes. The pink ants have a very short trip. They run up the middle and quickly eat the remaining pink tiles. This removes the last of the inner details of the picture. The only things left on the board are the top of the black kitten head and the massive blue sky background. Because you cleared the center first your ants can now attack the borders from the inside out.
Step 7: Unleash the heavy blue blocks for the outer background.
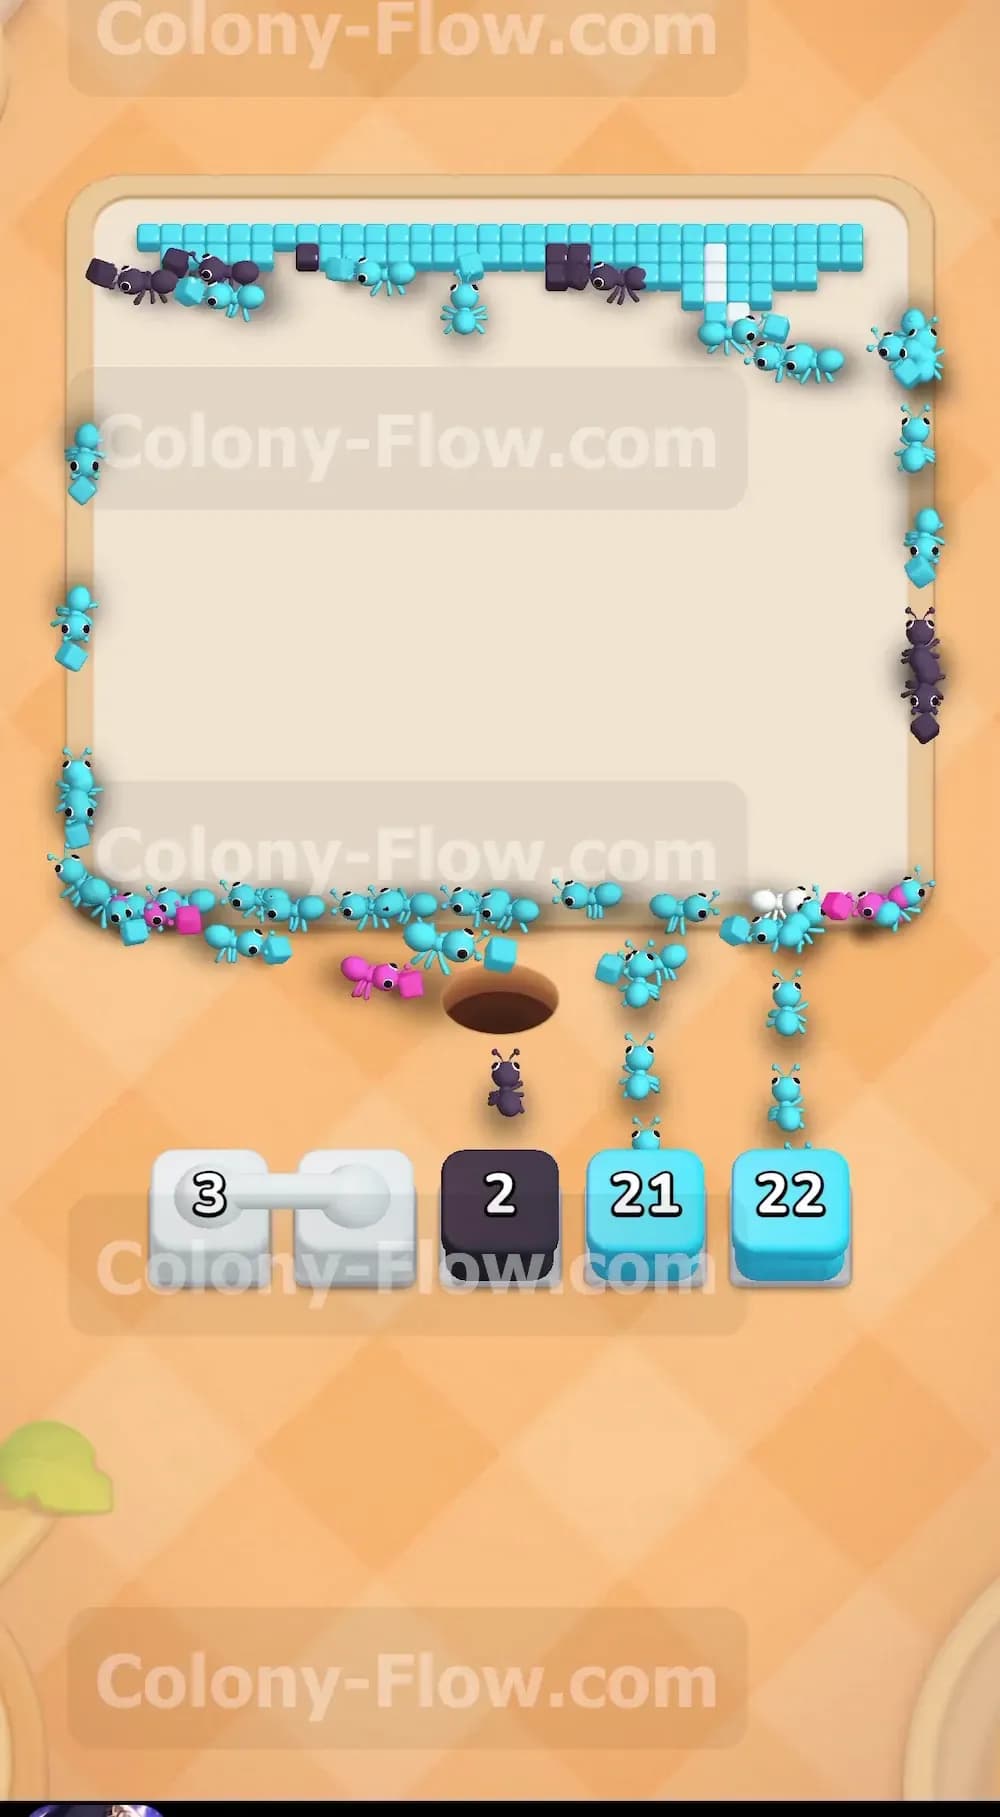
The blue background contains the most tiles on the entire board. You have multiple Blue 40 blocks waiting in your tray. Tap them and fill your slots. The blue ants flood the board. They wrap around the left side and eat a massive chunk of the outer border. They also sweep along the bottom edge and clear out the lower corners. You will see the blue blocks counting down very fast because the path is so wide and accommodates dozens of ants at the same time. Always prioritize pulling blue blocks whenever a waiting slot opens up during this phase.
Step 8: Sweep the final top border with the remaining ants.
You are now at the very end of the level. The bottom and middle portions of the canvas are entirely blank. The only tiles remaining form a thin strip of blue black and white along the very top edge of the board. Tap your final Blue 21 and Blue 22 blocks. Grab your last black and white blocks as well. The ants form a massive wave that washes over the top boundary. They eat the tips of the kitten ears and the last bits of the blue sky. The numbers in your waiting slots hit zero and the final tiles vanish. You have successfully cleared the board without causing a single jam.
Final Thought
Managing your five waiting slots is the true secret to beating this level. The connected boxes try to force you into a corner but pacing your moves keeps the board flowing. If you ever feel stuck on exactly when to pull a specific color go watch the video above this article. Seeing the ants move in real time helps make the slot strategy crystal clear. Keep your paths wide open and you will conquer this puzzle with ease.