Colony Flow Level 223 Walkthrough Solution & Guides | How to solve Colony Flow 223

Guide By Liam Stone
Updated on July 13, 2026
You can watch the full Level 223 walkthrough in the video above if you'd rather not read through every step.
Video doesn't match your screen?
Game updates frequently scramble layouts! Try our AI Screenshot Solver first to find your exact board instantly, or report broken guides to our team.
Welcome to another guide. Colony Flow Level 223 presents a beautiful night scene with a majestic deer standing in a snowy winter forest. You will need to carefully manage connected blocks and a hidden box to break this picture apart piece by piece. I play every single level myself to figure out the best strategies, and I will walk you through my exact method to solve this puzzle without clogging the waiting slots. Grab your device and follow along as we clear this board together.
Colony Flow Level 223 Overview
What You Are Working With
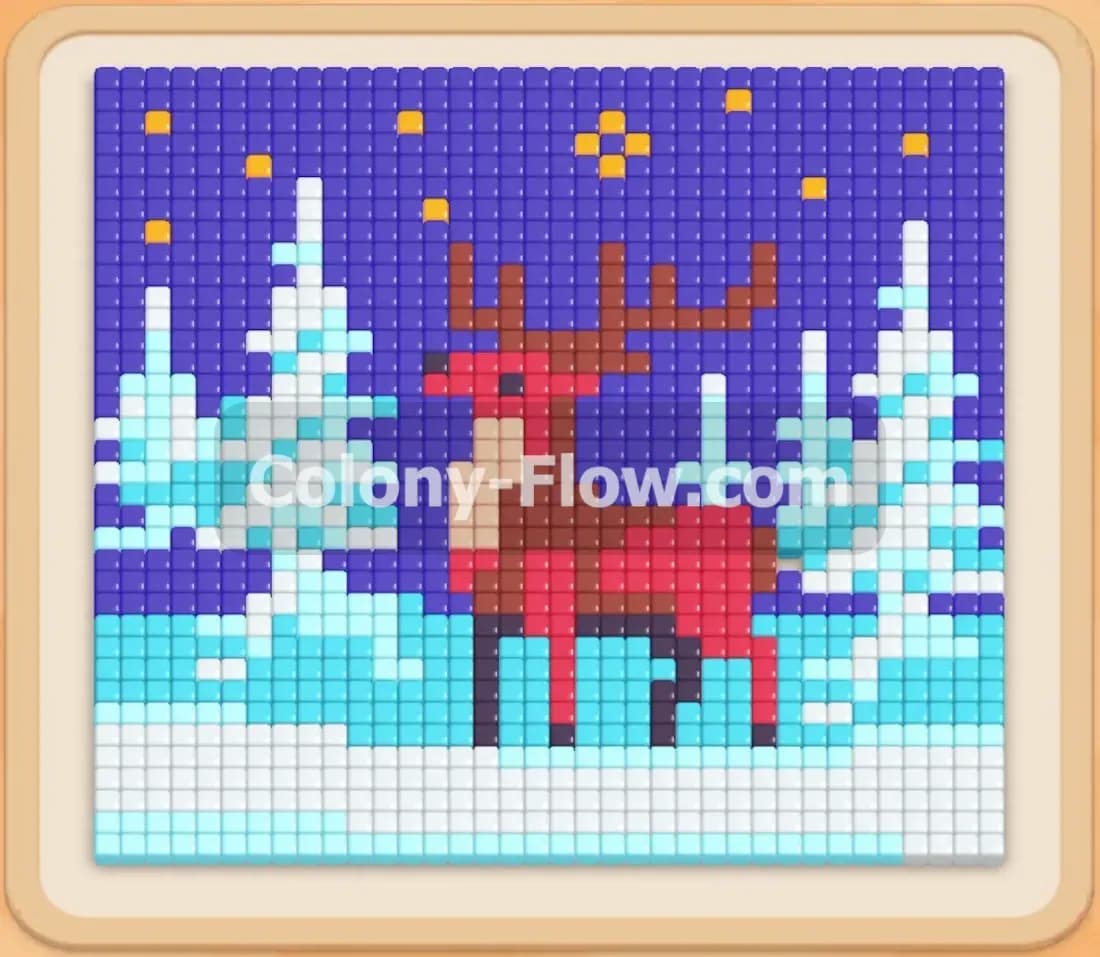
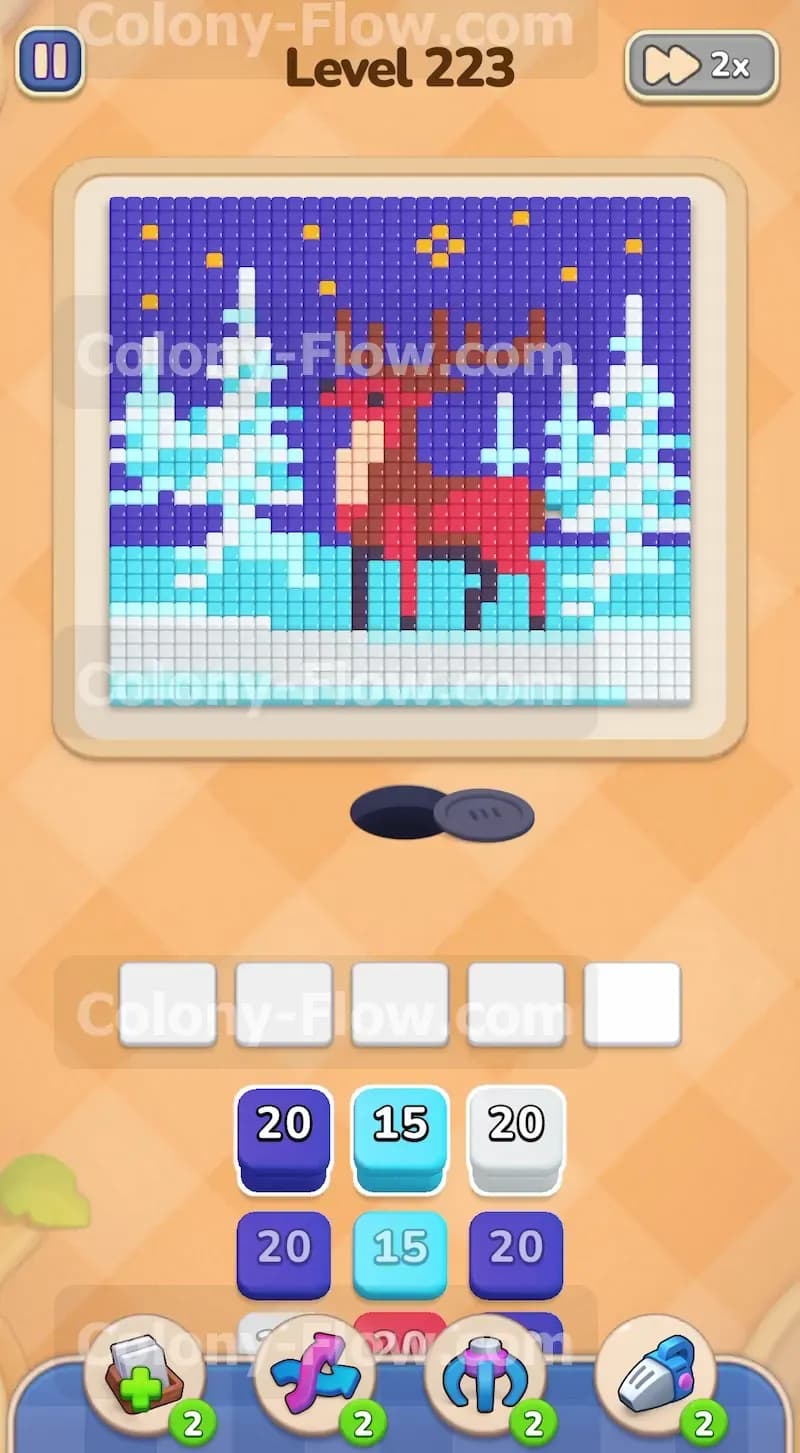
The pixel art for this level is a wonderfully detailed winter forest scene. You have a large dark blue night sky taking up the entire upper half of the board. Several yellow stars dot the sky, adding tiny specks of color that you will need to pick off carefully. A red and brown deer stands proudly in the middle of the screen. Tall white trees covered in thick snow frame the deer on both the left and right sides. The ground itself is made of white snow with light blue shading to give it depth.
Your tray introduces a couple of special mechanics right away. You will see Connected Boxes linked together by a thick solid line. When you pull one of these blocks into your waiting slots, its linked partner comes along with it automatically. You also have a Hidden Box sitting in the tray with a giant question mark on it. You will not know what color it holds until you create a valid path for it to move and reveal itself. These mechanics force you to think two steps ahead before you touch any block.
What It Takes to Clear Level 223 Board
Winning this level requires you to carefully balance the five waiting slots located at the bottom of your screen. If you fill all five slots with blocks that have no open path to their matching colored tiles, the ants stop moving entirely and you lose the level instantly. The core strategy is to always maintain at least one active flowing path.
Because you have Connected Boxes, pulling one block often forces a second block into your slots. This means you must plan your moves carefully. You need to make sure that at least one of those linked blocks can immediately send ants out onto the board. You clear the outer edges first, mainly focusing on the light blue snow and yellow stars, to create wide avenues for your ants. From there you slowly chip away at the massive dark blue sky and the red deer body in the center, constantly keeping an eye on your available tray space.
Colony Flow Level 223 Step by Step Solution
Step 1: Open the bottom paths and clear the first stars
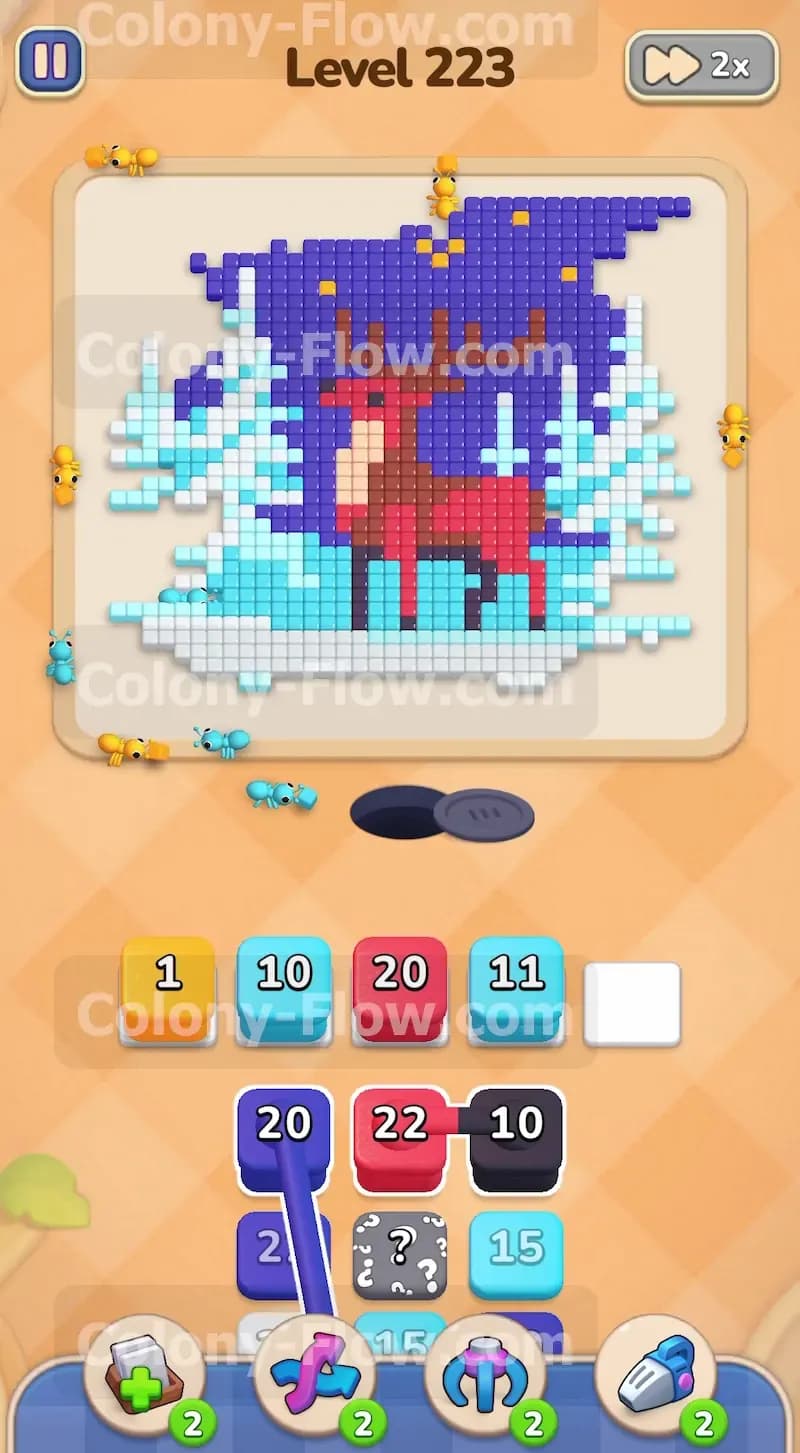
Start your run by targeting the easily accessible colors on the outer edges of the picture. Look at your tray and pull the first light blue block. This block holds a count of fifteen. Your light blue ants will rush out of the nest hole and start clearing the light blue shading scattered along the snowy ground. The bottom edge is wide open, making this a perfect safe move. Next, pull the yellow block with a count of one to clear the very first star shining in the upper left corner of the sky. Clearing the stars early prevents the yellow blocks from piling up in your tray.
You want to establish multiple active paths early on to keep the board dynamic. Pull the white block with a count of twenty to get your white ants working on the thick snow at the bottom edge and the lower hanging branches of the trees. The white snow covers a huge area, meaning your ants will have plenty of targets to eat. At this stage your waiting slots will hold a few different colors all working at once. Keep a very close eye on them and only pull a new block when you see an active ant path finishing up its meal. Overcrowding your slots early is a guaranteed way to fail, so exercise patience and let the ants do their job.
Step 2: Manage the Hidden Box and the first Connected Boxes
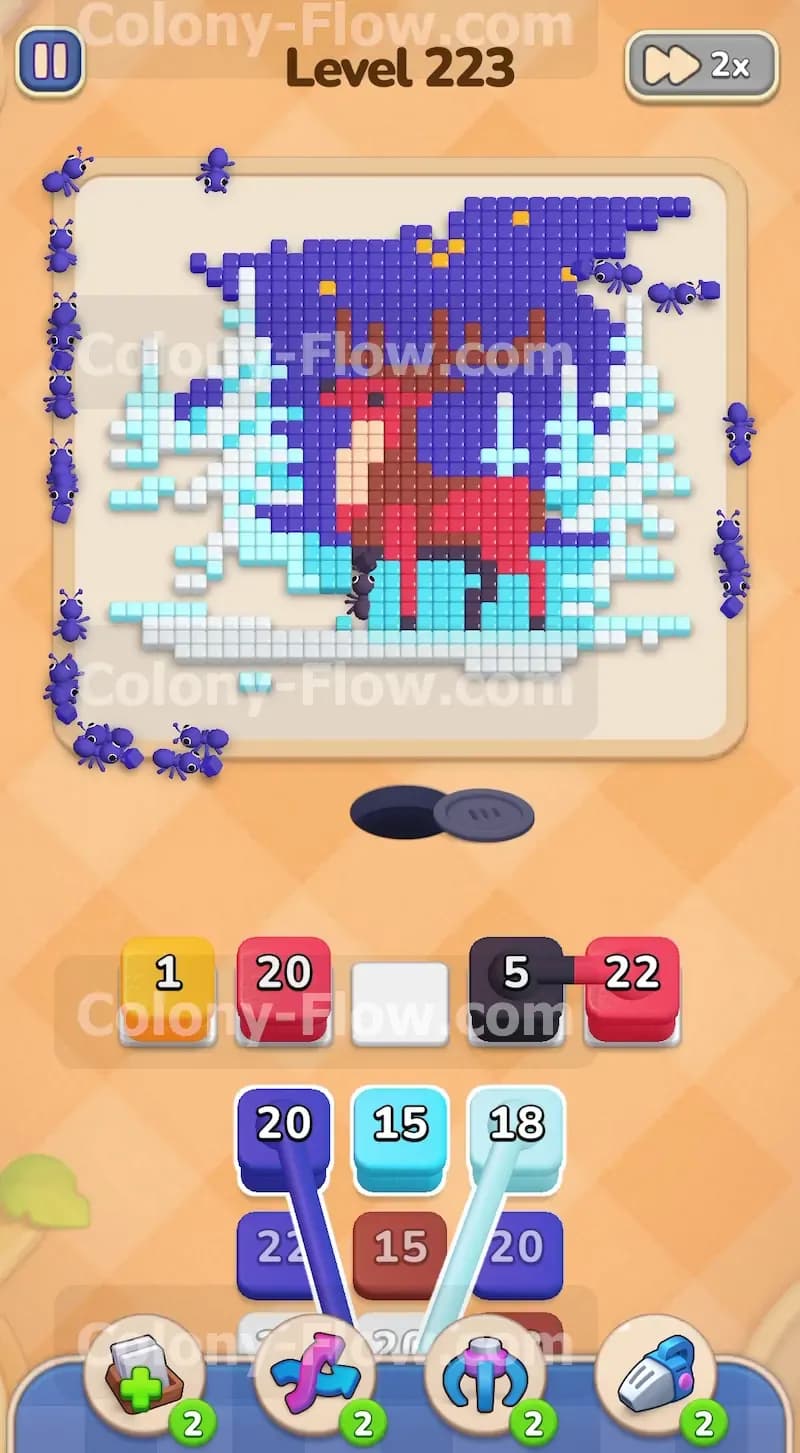
Once the initial bottom layer of snow clears away, you will see a block with a question mark sitting in your tray. This is the Hidden Box. Do not let it sit there ignoring it for too long. Try to pull the normal colored blocks around it to give it room to reveal its true color. You need to know what you are dealing with to plan your next moves properly. Soon you will encounter your very first set of Connected Boxes. You will see a dark blue block with a count of twenty linked directly to another dark blue block by a thick solid line.
Pull this dark blue connected set into your waiting slots. Since both blocks are dark blue, your ants will stream up the left side of the board and begin eating away the massive night sky. The sky takes up a huge portion of the board, so these blocks will drain quite quickly without jamming your slots. By clearing the left edge of the sky, you open up entirely new angles for the ants to reach the inner parts of the picture later on. It also gives you some breathing room in your slots to prepare for the heavier middle section of the puzzle.
Step 3: Clear the red body of the deer
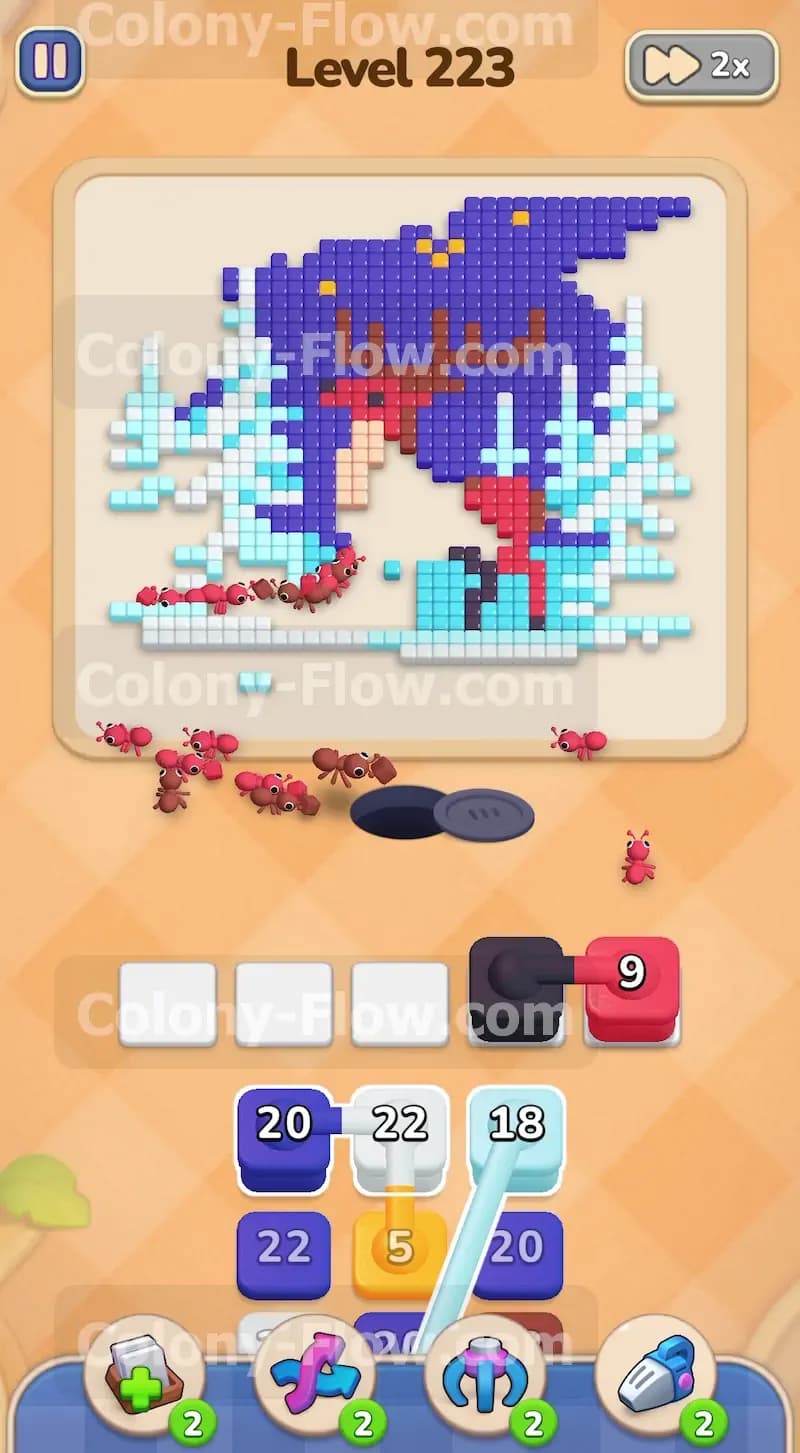
With the left sky opening up and the ground snow thinning out significantly, you now have a direct unobstructed path to the deer in the center of the board. Look for the red block with a count of twenty two in your tray. Pull it down into your active slots immediately. A swarm of red ants will march straight up the middle of the board and start devouring the bright red body of the deer. Getting the core of the picture cleared is essential for accessing the intricate pieces hidden behind it.
While the red ants are busy working, you might notice another connected set appearing in the tray. This time it is a black block linked to another color. Wait to pull this until the red block is almost completely empty. You want to make sure your waiting slots never fill up with blocks that cannot find an immediate path to their matching tiles. The red deer body forms a large solid chunk of tiles, so the red block will keep your ants busy and keep at least one slot actively counting down to zero. Keep your discipline and hold off on pulling extra blocks.
Step 4: Break down the white winter trees
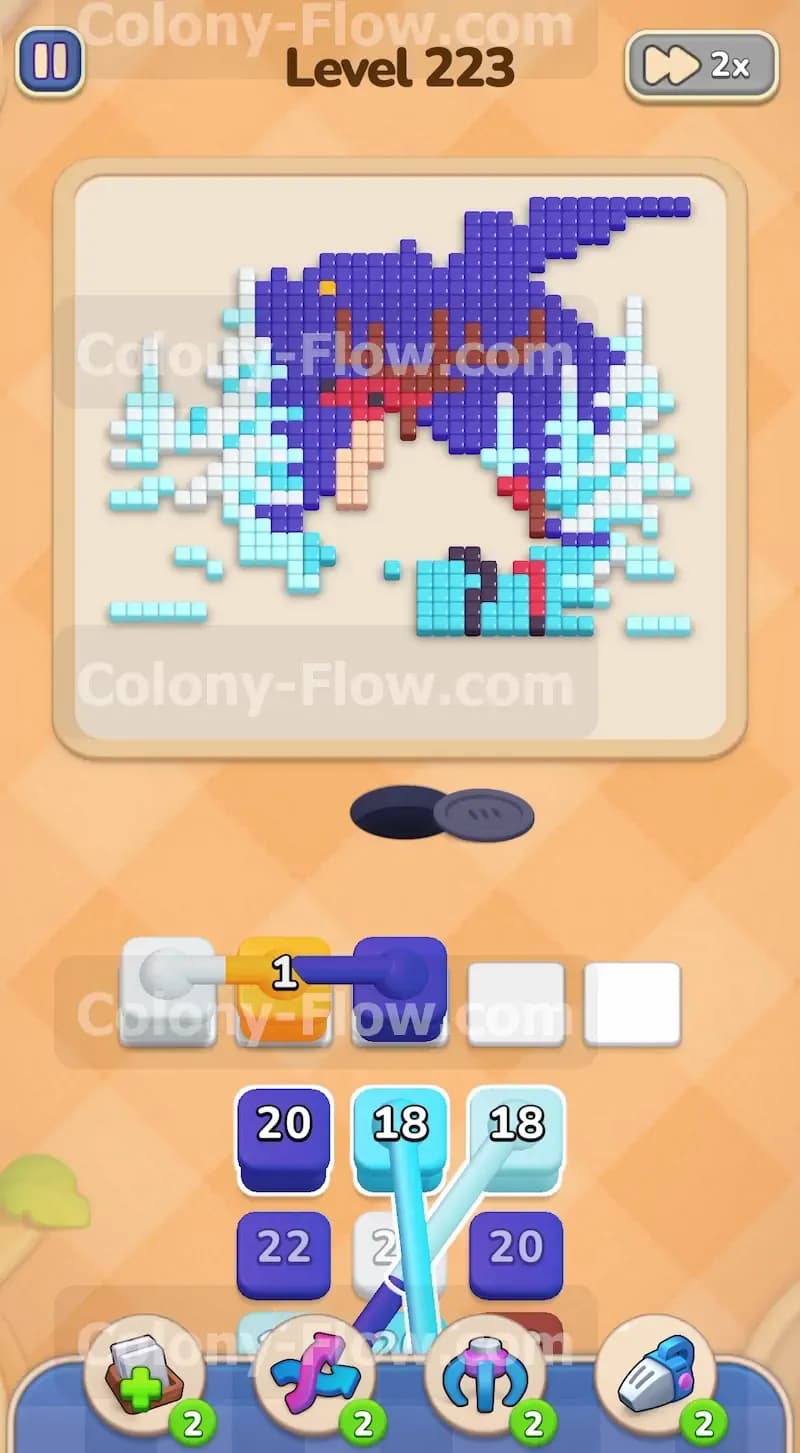
As the red deer body vanishes from the screen, you need to shift your focus to the tall white trees standing on the right side. Your tray will offer a white block with a count of eighteen linked to another block. Pull this white block now. The white ants will weave through the newly opened gaps left by the deer and start taking down the thick tree trunks and the snowy upper branches. Clearing the trees exposes the right side of the deer and creates a brand new path for the remaining colors.
The trees are a bit tricky because they interlock heavily with the dark blue sky behind them. You must alternate between pulling white blocks and dark blue blocks to make progress without hitting a dead end. Pull the next dark blue connected set to keep clearing the sky surrounding the trees. This back and forth rhythm prevents either color from getting totally blocked off by the other. Always ensure your ants have a continuous unbroken line to the specific tiles they need to eat, and never pull a block if its path is cut off.
Step 5: Tackle the brown antlers and legs
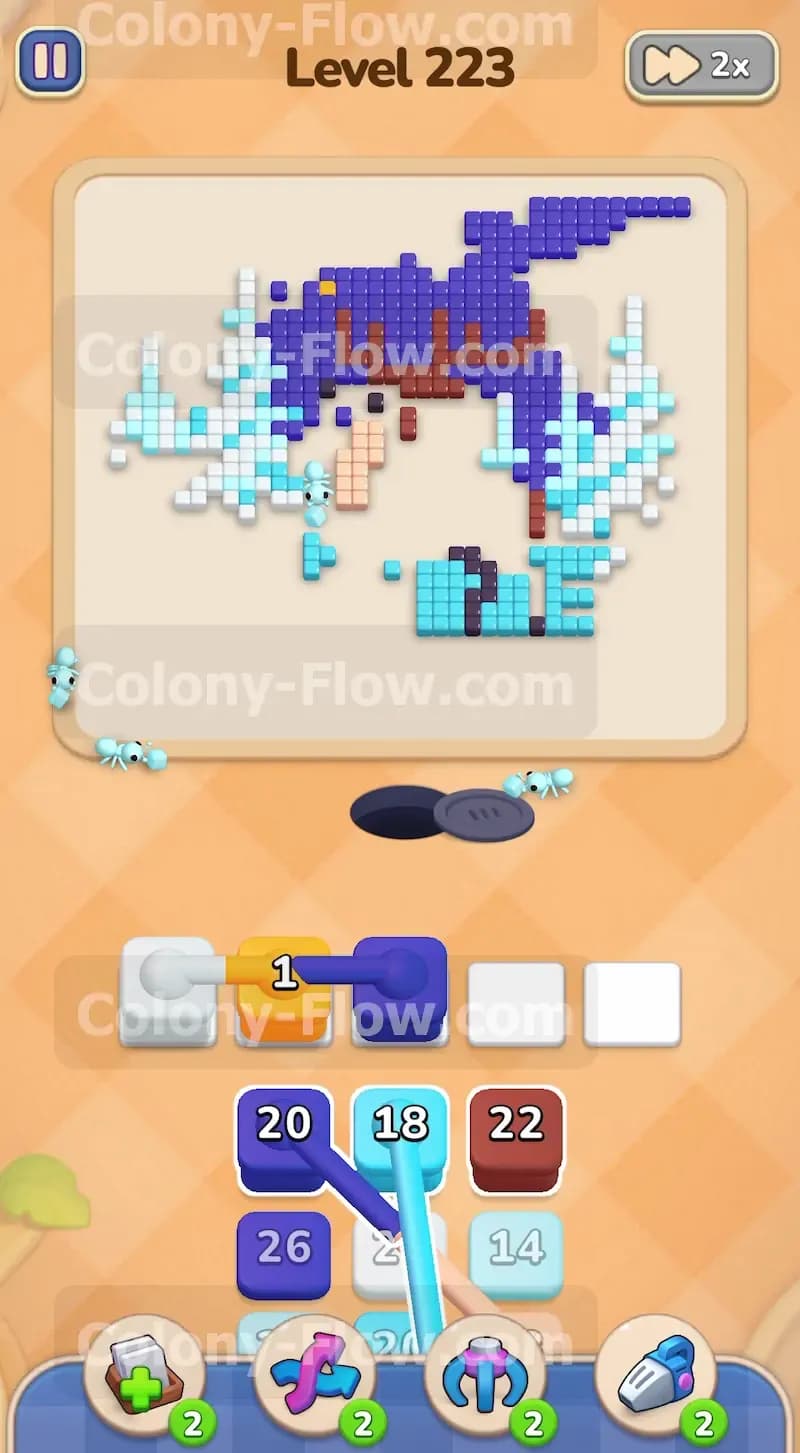
The deer still has brown legs planted in the snow and large brown antlers jutting high up into the sky. Once you clear enough of the surrounding white snow and the dark blue sky, these brown tiles become fully exposed to the outside edges. Find the brown block in your tray with a count of twenty two and pull it down into your active waiting slots. The brown tiles are scattered, so the ants will have to travel a fair distance to reach them.
The brown ants will split up into two distinct groups. Some will head to the bottom of the board to finish off the legs while others will climb all the way up to clear the intricate antlers. Since the antlers spread out far into the sky area, clearing them opens up even more dark blue tiles for later. Watch your slots very closely here. If you have any remaining yellow blocks for the last few stars, pull them now so they do not get trapped behind the larger blocks accumulating in your tray.
Step 6: Clear the deep sky and final snow patches
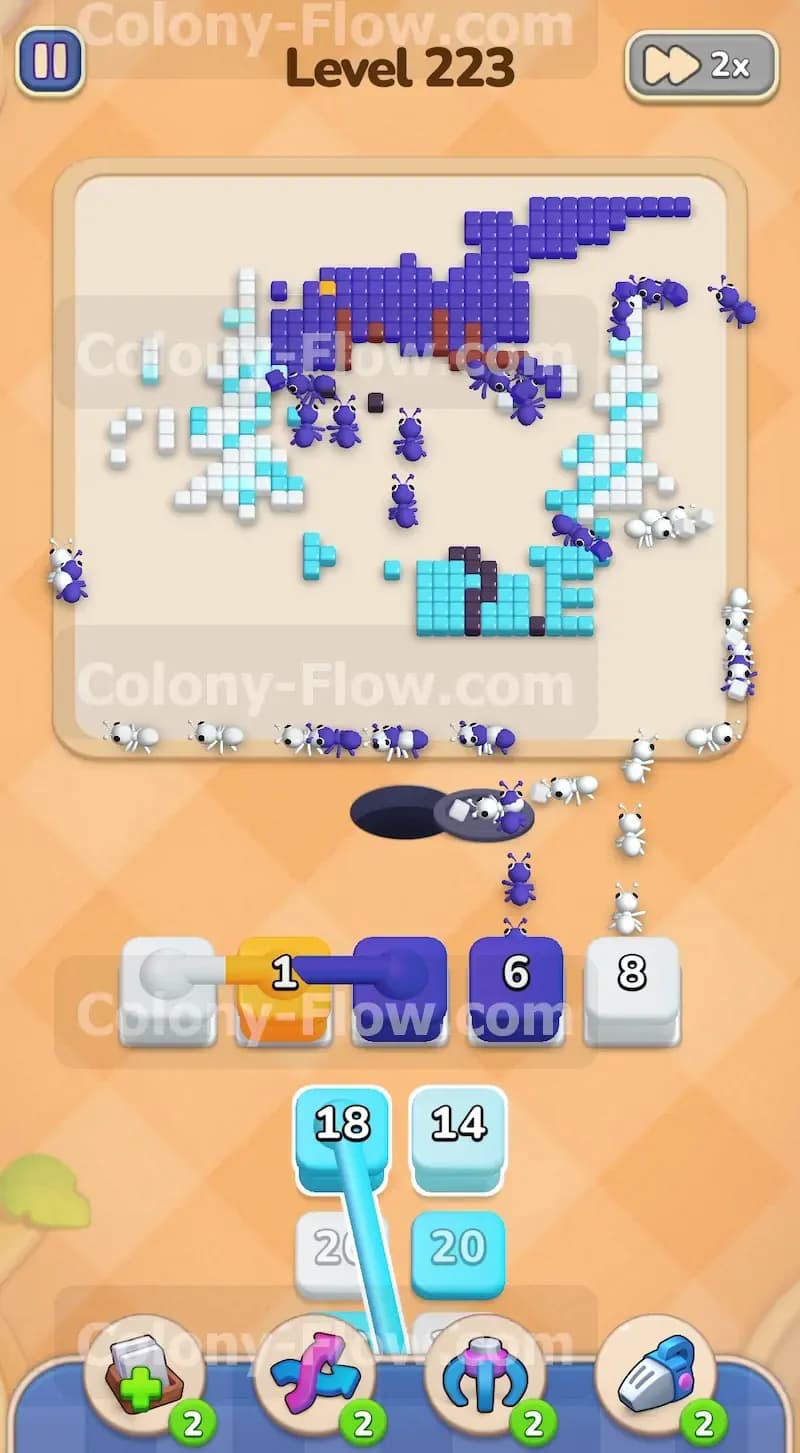
The board is now mostly empty, but a very large chunk of dark blue sky still remains anchored at the top right corner. You will see several dark blue connected sets waiting in the tray. One prominent set links a dark blue block with a count of twenty to a dark blue block with a count of twenty six. Pull this massive set down. The ants will flood the upper right corner and sweep away the vast majority of the remaining sky tiles. This clears huge amounts of space in your tray.
At the exact same time you will have a few isolated patches of light blue snow left near the center of the ground. Pull the light blue block with a count of eighteen linked to a light blue block with a count of twenty one. These ants will quickly clean up the final bits of ground shading. Keep alternating between the heavy dark blue blocks and the smaller light blue blocks to maintain a steady and safe flow of ants across the board. Balance is the key to surviving the late game.
Step 7: Manage the final dangerous cluster of blocks
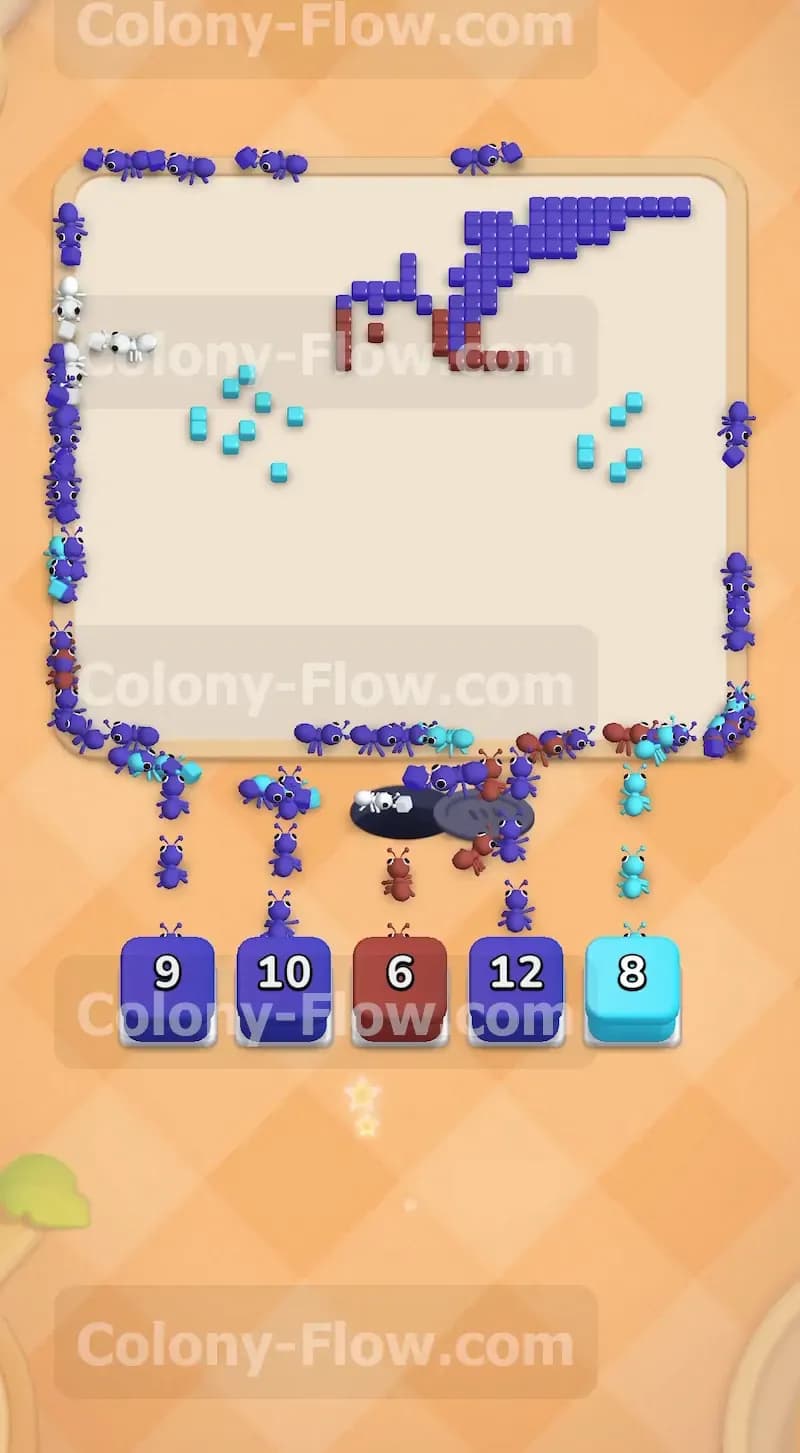
In the final critical phase of the level, your tray will fill up with multiple connected sets at once. You might see a dark blue block linked to a brown block or a light blue block linked to a white block. This is the most dangerous part of the entire level. If you pull a set where neither color can reach its remaining tiles, you will instantly jam your waiting slots and lose all your hard work. You must be completely sure of your next move before you tap the screen.
Look at the board and identify exactly which tiles are currently touching the open empty space. Only pull a connected set if you are absolutely certain that at least one of its blocks matches those newly exposed tiles. Pull the brown block with a count of fourteen to finish the very last tiny piece of the antlers. Then confidently pull the final dark blue block with a count of twelve to let the ants eat the last few pixels of the night sky. The board will look very sparse now.
Step 8: Complete the picture and finish the level
You are now down to just a tiny handful of tiles remaining on the screen. The final dark blue ants will march straight across the top of the board and eat the last solitary corner of the sky. The final light blue ants will clear the single remaining snow tile sitting near the bottom edge. These final moments are satisfying as the picture completely disappears piece by piece.
Once every single tile is gone and the very last ant returns safely to the nest hole, the level is officially complete. You have successfully navigated the tricky connected boxes and cleared the entire beautiful forest scene without a single jam. It takes patience to manage the five slots, but following this exact order guarantees a clean victory.
Final Thought
Level 223 demands your careful attention to the connected blocks waiting in your tray. By deliberately opening up the outer edges first and slowly working your way deep into the center, you keep your ant paths nice and wide and entirely prevent your waiting slots from jamming up. If you find yourself struggling with any specific sequence of moves or getting stuck on the antlers, I highly recommend watching the video above this article to see exactly how I time my block pulls and manage my board space.