Colony Flow Level 274 Walkthrough Solution & Guides | How to solve Colony Flow 274

Guide By Liam Stone
Updated on August 1, 2026
Rather watch than read? The video above walks through Level 274 step by step.
Video doesn't match your screen?
Game updates frequently scramble layouts! Try our AI Screenshot Solver first to find your exact board instantly, or report broken guides to our team.
Welcome to Colony Flow Level 274. This level features a massive pixel art picture of a dodo bird standing in a bright grassy field. You have to manage a tight tray filled with overlapping colors and one mysterious hidden box. I played through this board multiple times to find the safest path to victory.
Colony Flow Level 274 Overview
What You Are Working With
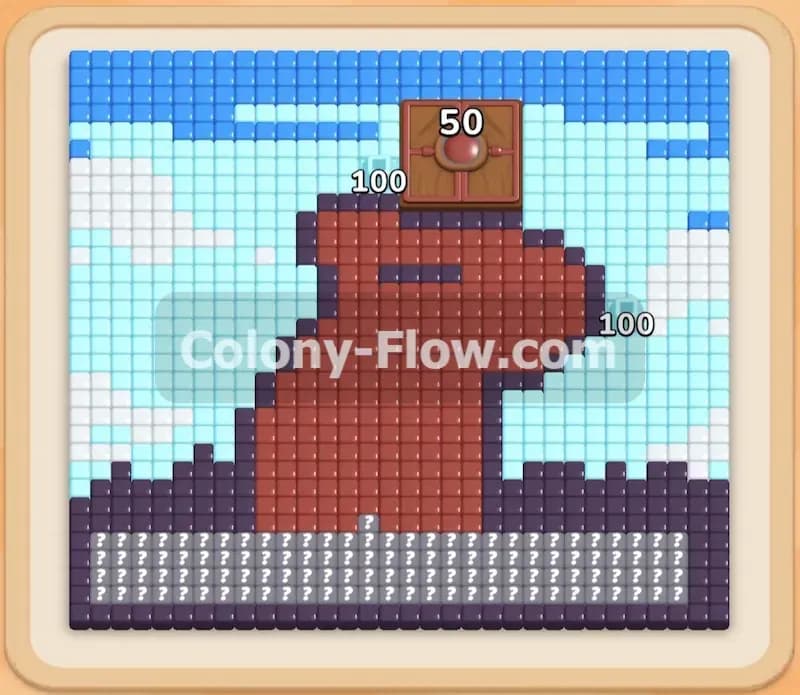
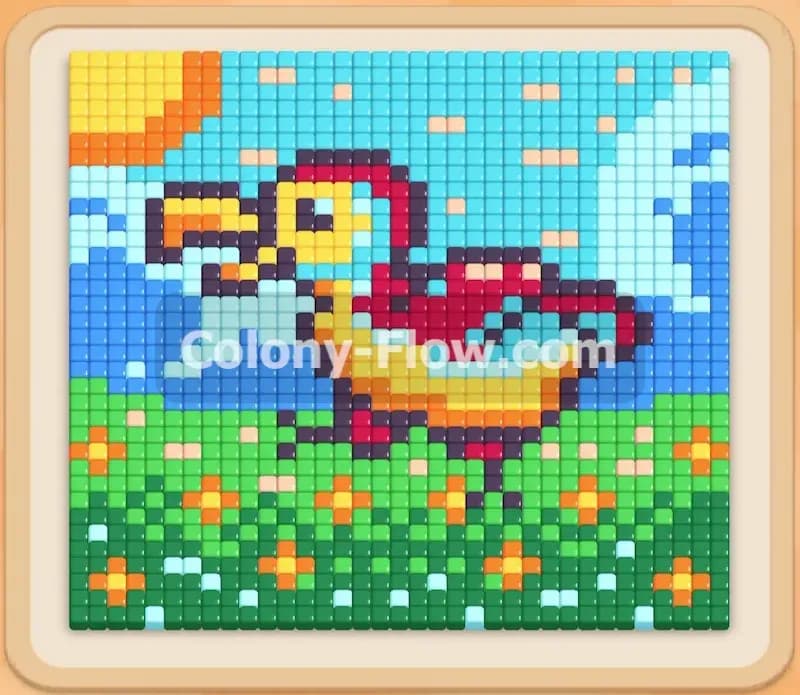
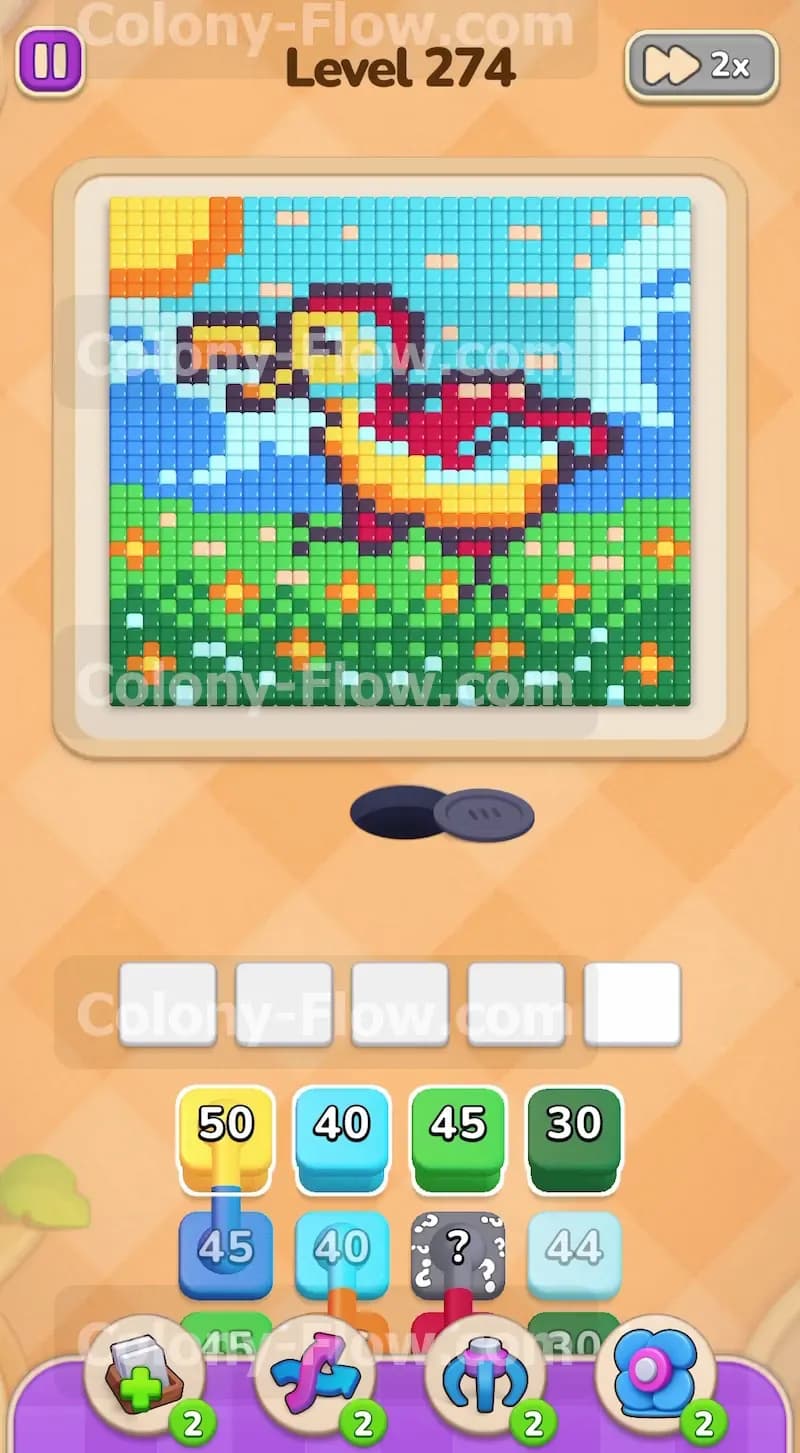
The picture at the top of your screen shows a colorful dodo bird walking through a vibrant green field. The bird itself consists of bright red body parts mixed with a prominent orange beak and a solid black outline. Dark blue tiles form the wing sections. A massive light blue sky fills the background behind the bird. A bright yellow sun sits prominently in the top left corner. The ground below features bright green grass decorated with small orange flowers and dark green shadow patches. Your tray holds multiple stacks of blocks including green, light blue, yellow, red, and black. A hidden box sits near the top of the tray. This grey block displays a question mark and hides its true color until you open a valid path for it. You must learn how these colors layer over each other to win.
What It Takes to Clear Level 274 Board
You win this level by breaking down the image layer by layer from the outside edges inward. You must clear the massive sections of green grass and light blue sky before you attempt to reach the intricate details of the bird. Your primary goal is to manage the five waiting slots at the bottom of the screen. If you pull colors in the wrong order and fill all five slots with blocks the ants cannot use yet, the board jams and you lose immediately. You must carefully watch the board to ensure every block you pull has an open path to its matching food tiles. Stripping away the background first gives your ants the room they need to reach the central parts of the puzzle safely. It takes discipline to hold back on pulling the bright center colors until the borders are totally gone.
Colony Flow Level 274 Step by Step Solution
Step 1: Clear the bottom green grass to open the lower board space
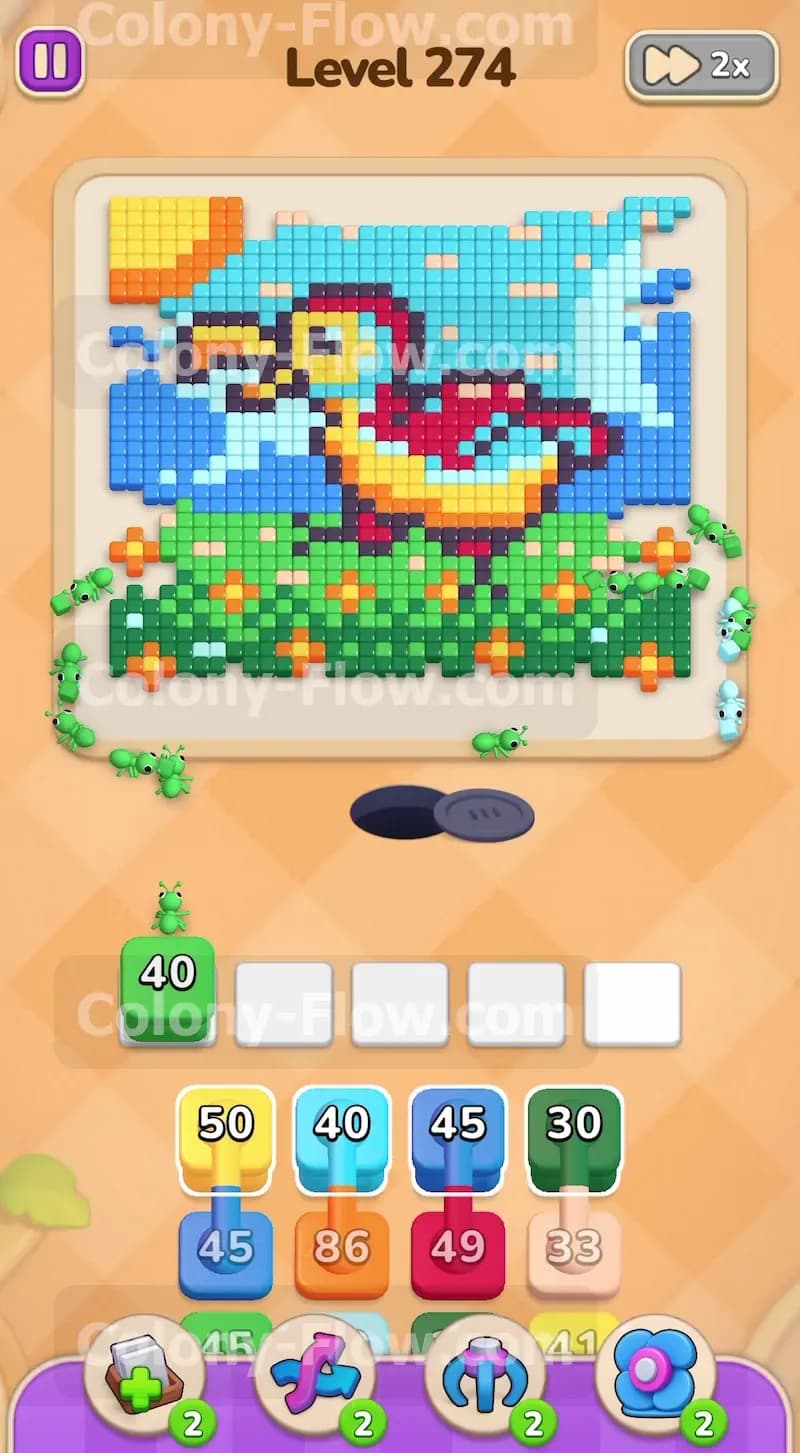
You need to create working space for your ants right at the start. The bright green grass forms a thick layer just above the nest hole. Pull the green 45 block from your tray into an empty waiting slot. Green ants will flow out and begin eating the lower edge of the grass. You will watch the number 45 count down rapidly to zero as the ants spawn. This opening move is incredibly safe. The green tiles sit completely exposed along the bottom edge. You never have to worry about blocked paths here. As the ants chew through the grass, they clear a wide empty space at the bottom of the screen. This new space becomes a broad highway for other ant colors to travel across later. Taking out this bottom layer also shifts the blocks in your tray and reveals new color options hidden underneath. You secure a strong foundation for the rest of the board by handling the green grass right away.
Step 2: Send up light blue blocks to dismantle the massive sky
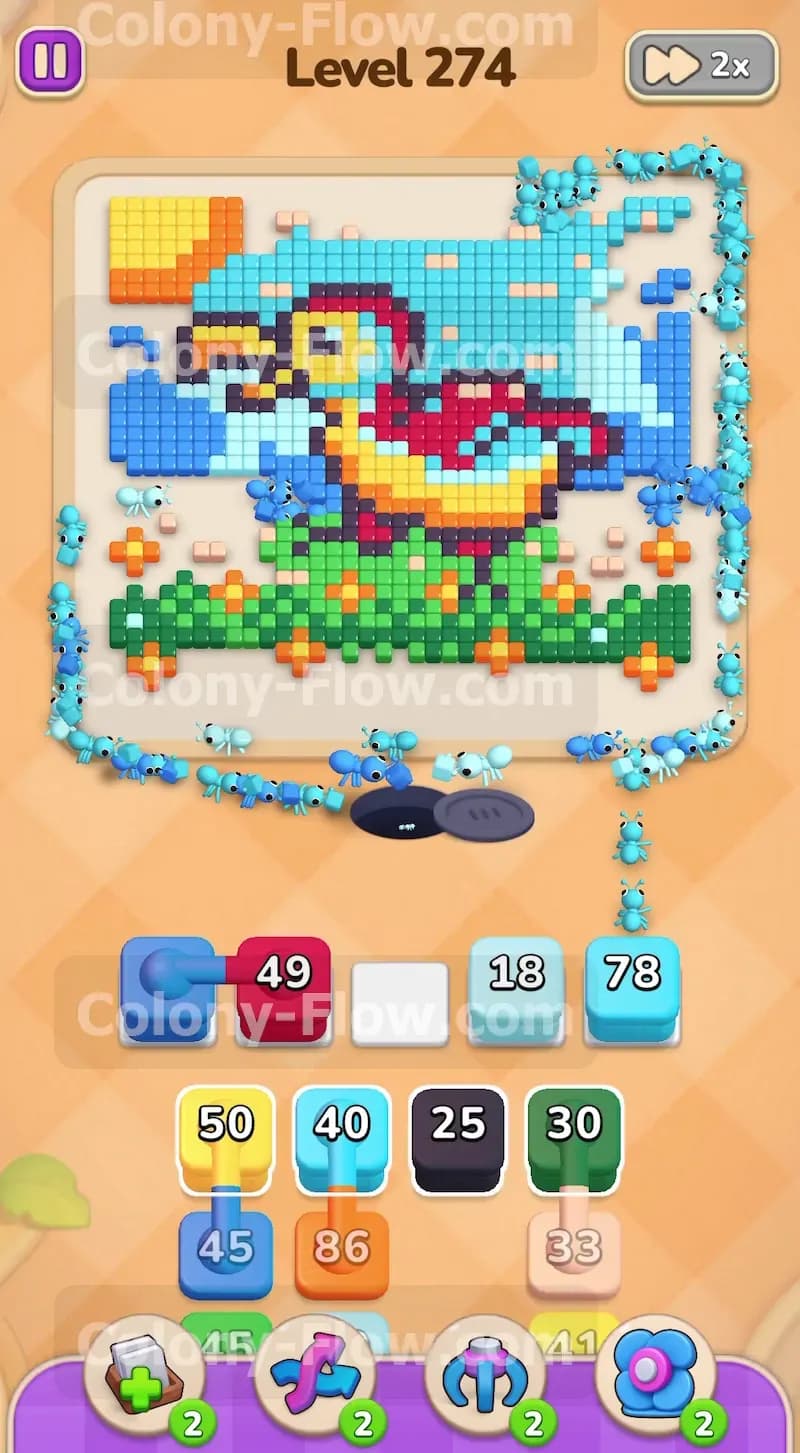
The light blue sky takes up a massive portion of the right side and top edge of the picture. Once the bottom grass begins to thin out from your first move, you gain access to the lower right corner of the sky. Pull your available light blue blocks up into the waiting slots. For example, pull the light blue 40 block and watch the number drain down to zero. You will watch a huge swarm of light blue ants surge up the right side of the screen and wrap entirely around the top border. Clearing the sky achieves two main goals for your board state. First, it completely separates the dodo bird from the background elements. Second, it rapidly cycles through your tray blocks. You use up several light blue blocks in this single step. This clears out tray congestion and brings fresh choices to the top. Keep a close eye on the right side path to ensure no other colors block the flow of your light blue ants. The sheer volume of sky tiles means this step takes time to finish.
Step 3: Target the red body parts of the bird
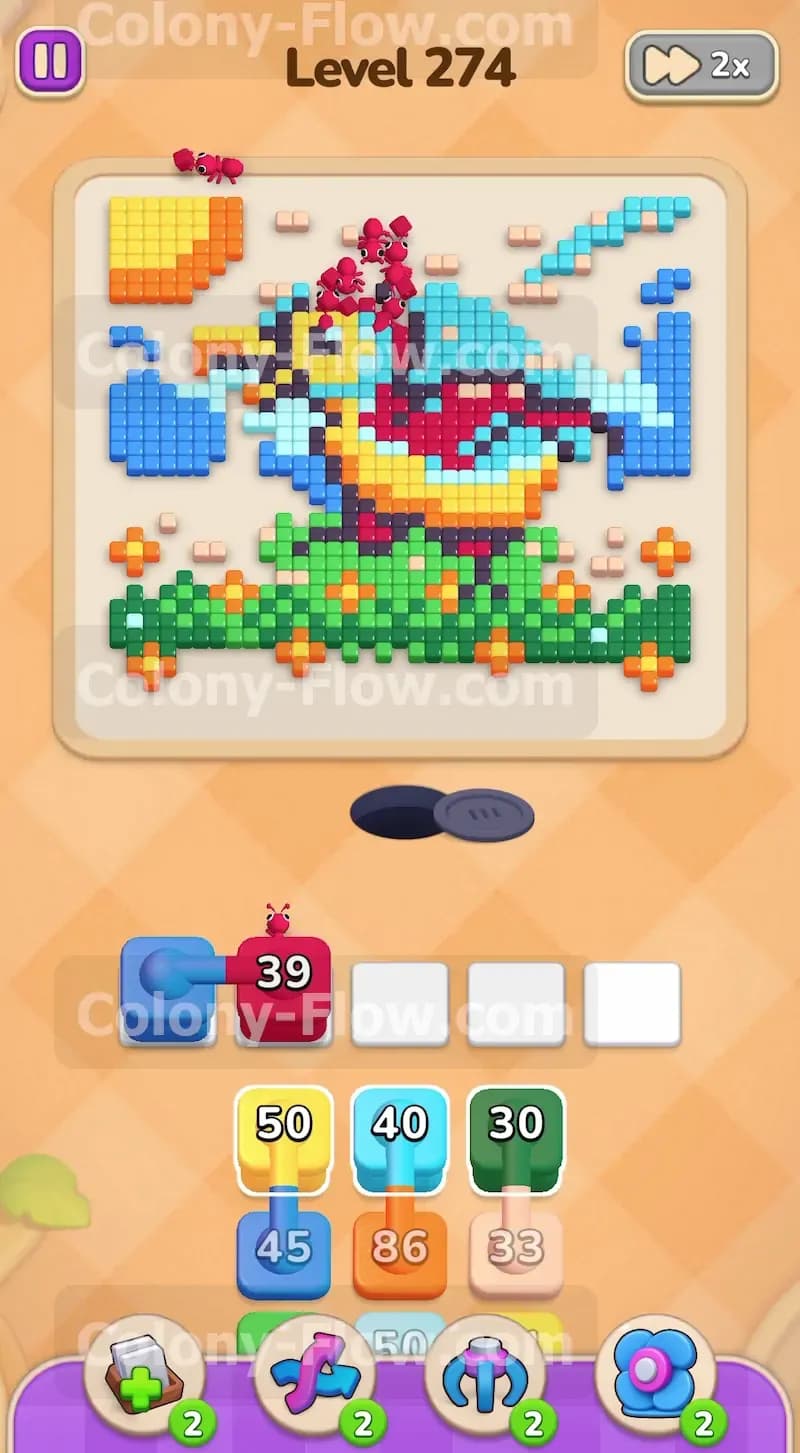
With the sky mostly out of the way, the top and back edges of the dodo bird stand fully exposed. This is your chance to start taking the core bird structure apart. Pull the red 49 block into your waiting slots. The red ants will march straight up the open right side and begin eating the red tiles that make up the back and head of the bird. The number on the red block drops steadily from 49 to zero as the ants empty out of the nest. You must wait for the light blue ants to finish their job before making this pull. Pulling the red block too early leaves it stuck in a waiting slot without a physical path to the red tiles. Timing this move correctly ensures a smooth handoff between the colors. The solid shape of the bird starts to collapse nicely as the red top half disappears into the colony. This reveals the darker colors buried deeper inside the animal.
Step 4: Clean up the yellow sun and the remaining left side grass
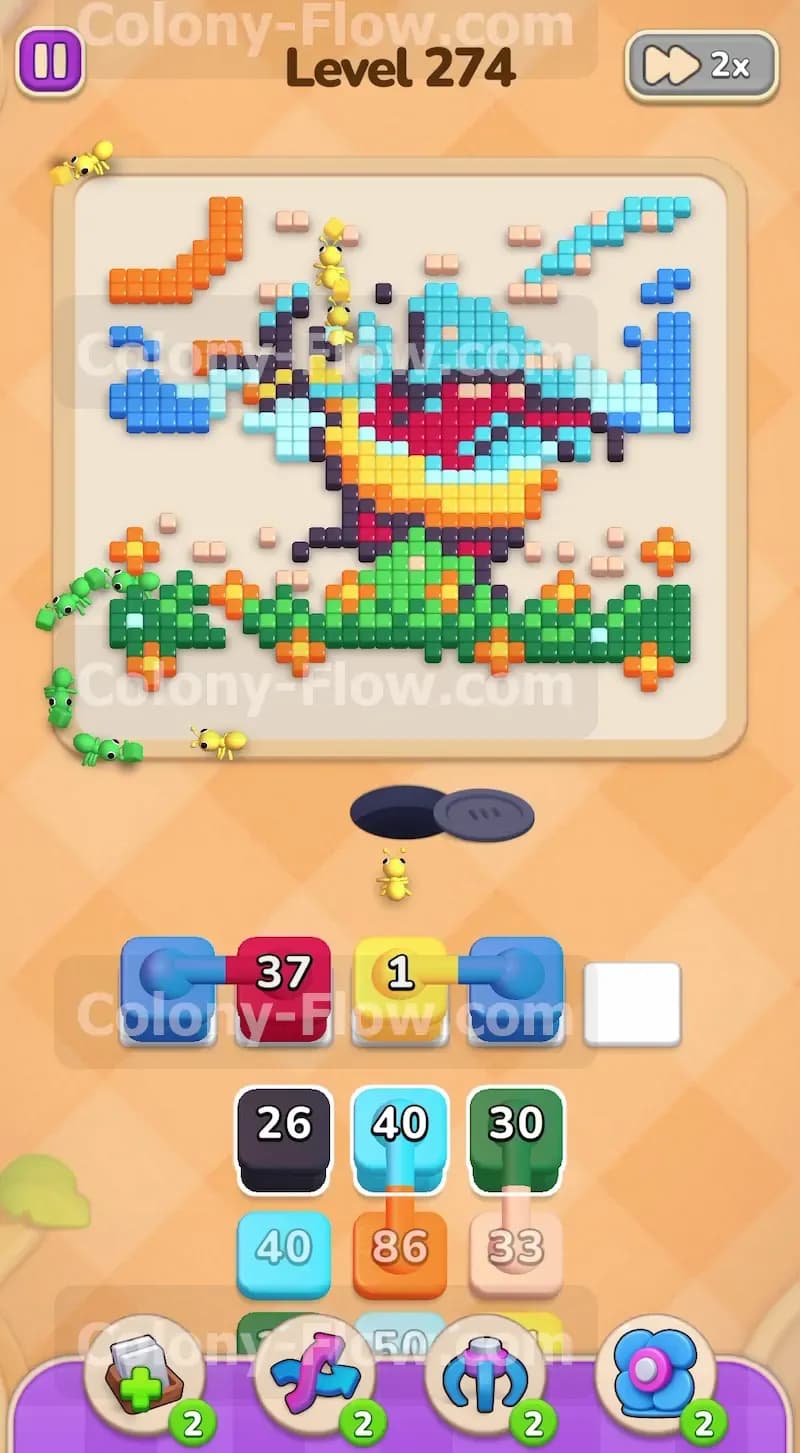
Your attention should now shift back over to the left side of the board. The bright yellow sun in the top left corner is entirely exposed now that the top sky is gone. Pull the yellow 50 block to send ants racing all the way up the left edge to consume the sun. The 50 drops quickly to zero. Around the exact same time, pull another green block showing 40 to finish off the thick patch of grass remaining on the middle left side. This green 40 block also counts down to zero as the ants deploy. Sending these two colors out together creates two independent and highly productive work zones. The yellow ants handle the high elevation target. The green ants sweep the lower left ground area. Working on two areas at once keeps your board moving fast. The ants will flow without stopping. This split approach also prevents any single color block from stalling your progress through the tray stacks.
Step 5: Break down the black outline and dark blue wing details
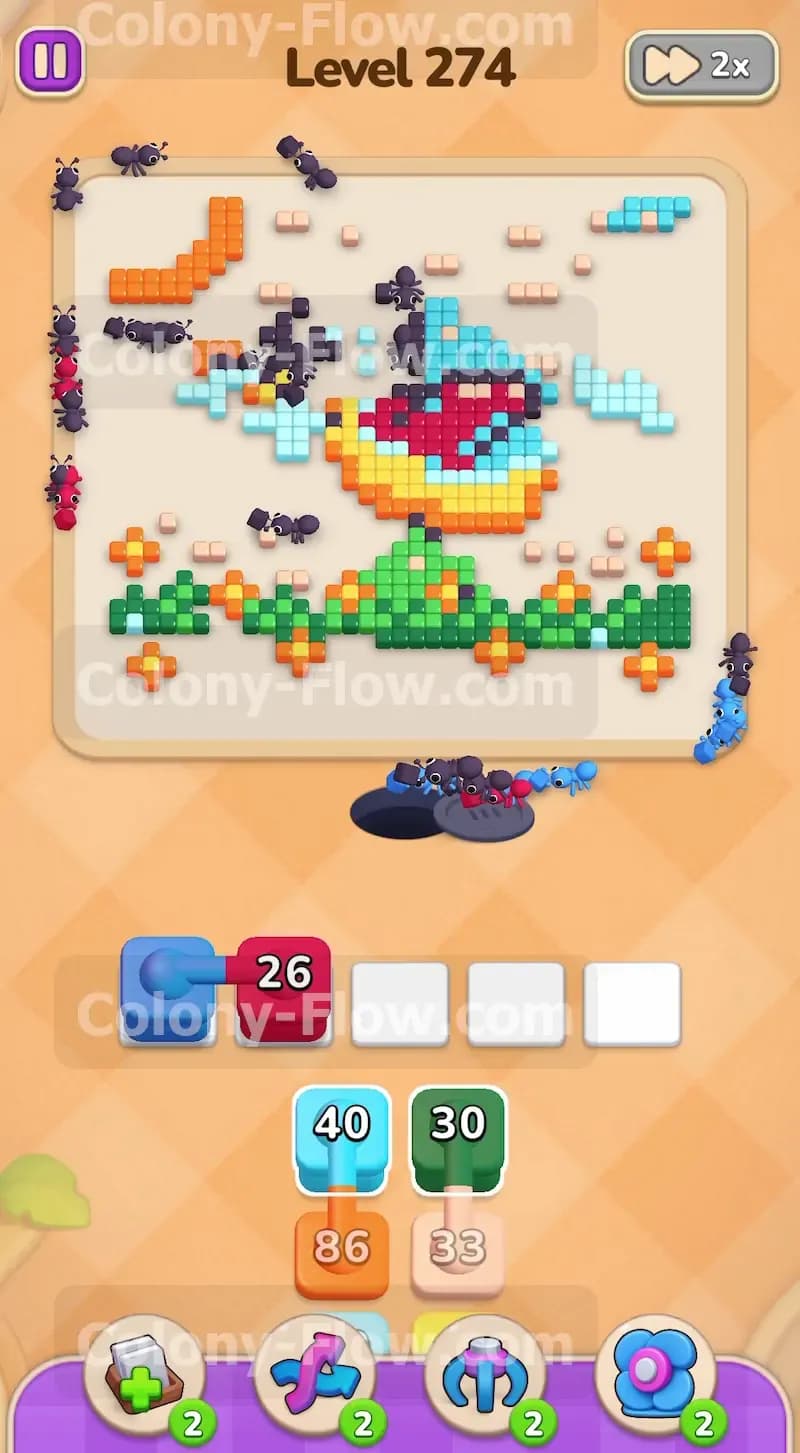
The dodo bird relies on a thick black outline to define its shape against the background. Because you already stripped away the surrounding sky and the red top half, this black border stands completely vulnerable. Pull the black 30 block to release ants that will chew through the lines wrapping around the beak, the main body, and the legs. The block number counts from 30 down to zero. You also need to pull the dark blue 45 block right now. The dark blue 45 block empties to zero as the ants form the wing shape and provide dark shading on the lower body section. The black outline and the dark blue pieces sit right next to each other. Clearing them together works perfectly and speeds up the dismantling of the bird. Always check your waiting slots before pulling both colors. You only want to commit these blocks when you clearly see the ants can reach the targeted tiles without bumping into walls.
Step 6: Handle the orange beak and the scattered ground flowers
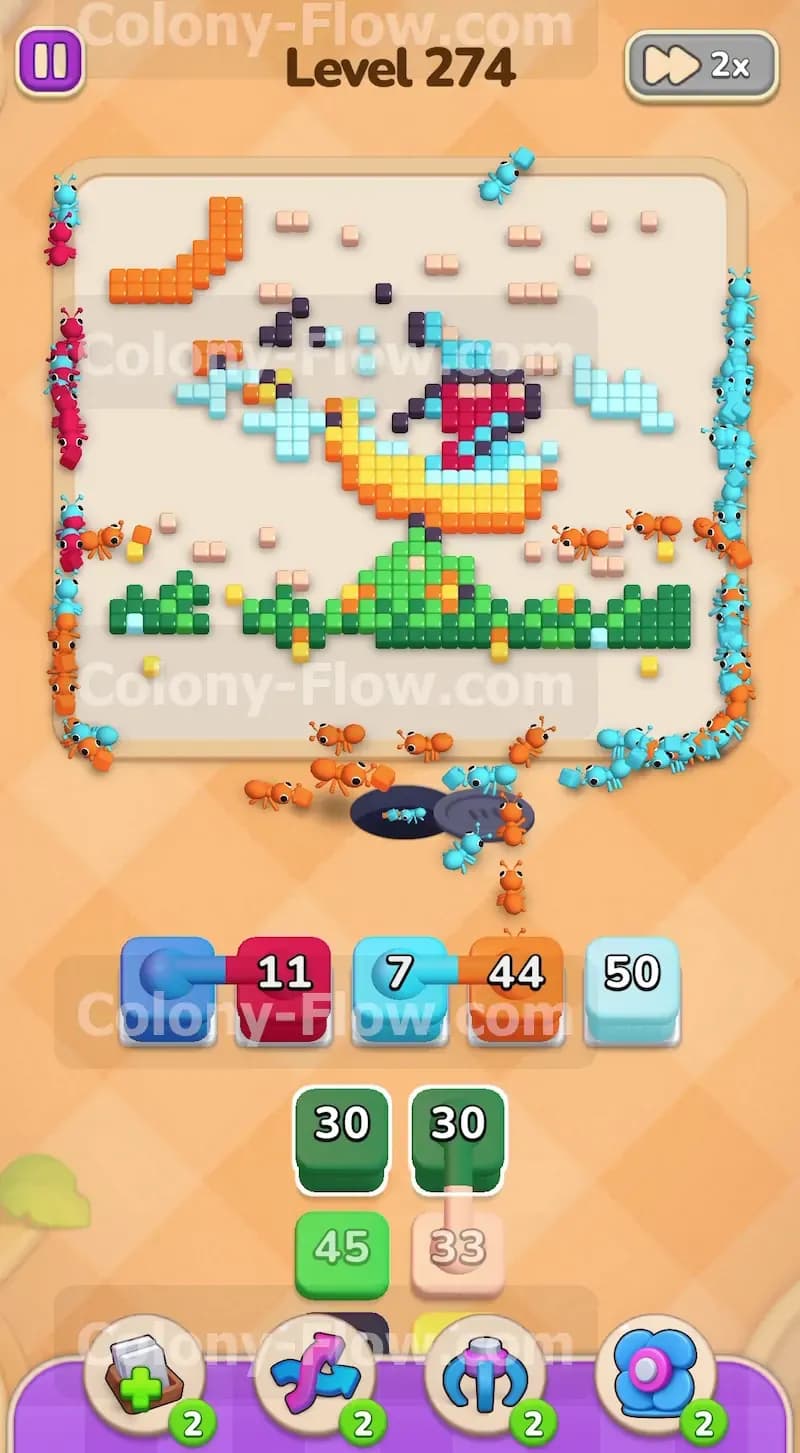
The board looks very sparse at this late stage of the game. The most prominent remaining features are the bright orange beak on the bird and the small orange flowers scattered across the lower ground section. Pull the orange 86 block up to the waiting slots. The number 86 plummets to zero as the massive wave of orange ants pours out of the nest and quickly splits their forces. One group will walk up to the head area to consume the thick beak. The rest of the ants will wander through the bottom area to seek out the isolated flowers. Because the flowers sit apart from each other in small clumps, the ants have to walk further to reach every single tile. Give them a moment to complete their walking routes without interrupting them. Clearing the orange tiles removes the final bright colors from the picture and leaves just the dark shadows and dirt clumps.
Step 7: Reveal the hidden box and clear the final pieces
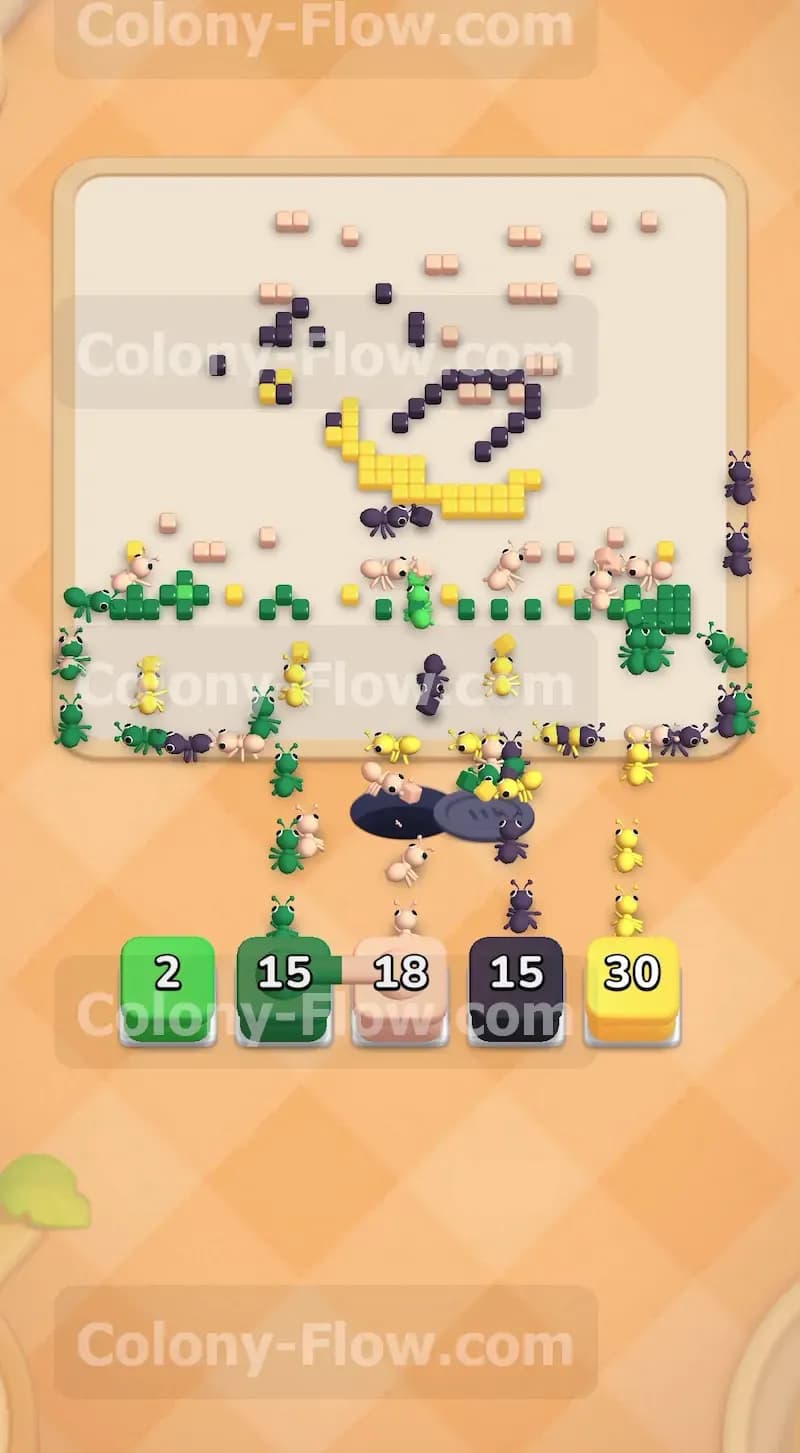
You have reached the final cleanup phase of the puzzle. The board holds only a few disjointed tan ground pieces, some dark green grass shadows, and maybe a stray black tile near the feet. Look at your tray to find the hidden box block. This grey block with a question mark will finally reveal its actual color and number since the board is wide open and multiple paths exist. It turns into a dark green 15 block. Pull this newly revealed block along with the remaining tan 33 block and dark green 30 block from your tray. Watch all these numbers count down to zero as the final waves of ants rush out to sweep up the scattered debris. The wide open board means the ants walk directly to their destinations without taking wrong turns or getting blocked. Your waiting slots will empty out rapidly as the final tiles vanish from the screen. The level ends in total victory once the last ant finishes its meal and returns home.
Final Thought
This puzzle heavily rewards a steady and methodical approach. You win by patiently peeling away the massive exterior sections like the thick grass and wide sky before rushing into the dense center details. Keep your waiting slots clear by only pulling colors that have an openly verified physical path. Do not rush. Rushing your pulls will jam your slots and ruin a perfect run. If you struggle to visualize exactly how the paths open up during the later stages of the clear, scroll up and watch the video above this article. It shows the exact flow of the board so you can mimic the timing perfectly.