Colony Flow Level 205 Walkthrough Solution & Guides | How to solve Colony Flow 205

Guide By Liam Stone
Updated on August 1, 2026
You don't need to read the article to solve Level 205. The video above shows you everything.
Video doesn't match your screen?
Game updates frequently scramble layouts! Try our AI Screenshot Solver first to find your exact board instantly, or report broken guides to our team.
Welcome to Colony Flow Level 205. You are about to tackle a beautiful pixel art picture that requires very careful tray management. In this level you command a hungry colony of ants to devour a cute yellow bug character resting on top of a massive red strawberry. The game challenges you to pull numbered blocks from your tray to feed the ants without clogging up your limited space. Every move requires a clear path on the board so your five waiting slots never jam. I will walk you through exactly how to strip away the background and crack the core of this puzzle.
Colony Flow Level 205 Overview
What You Are Working With
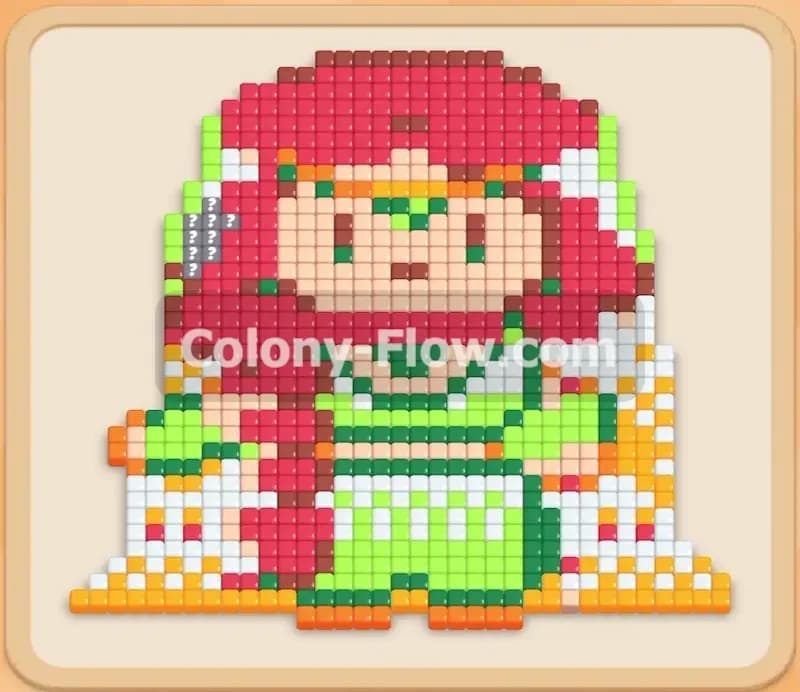
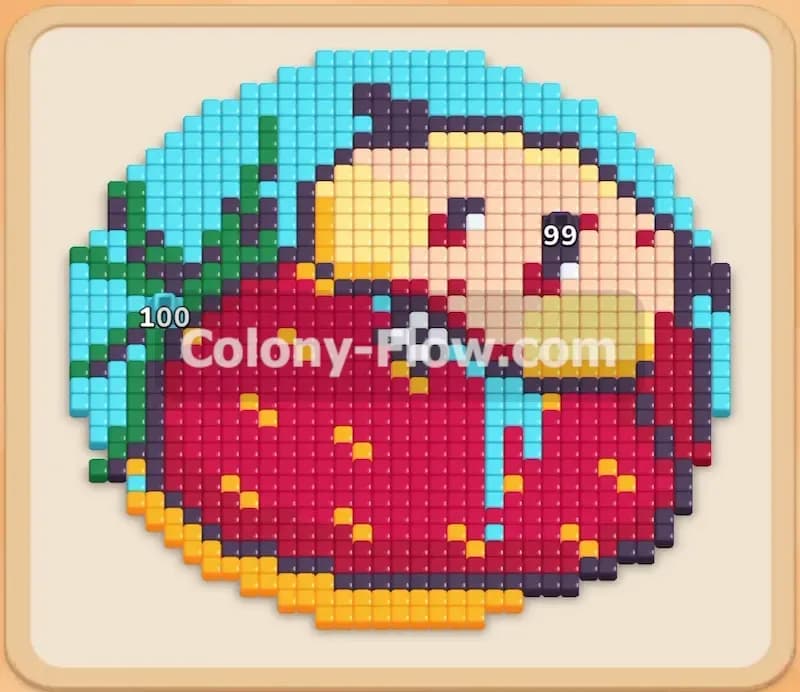
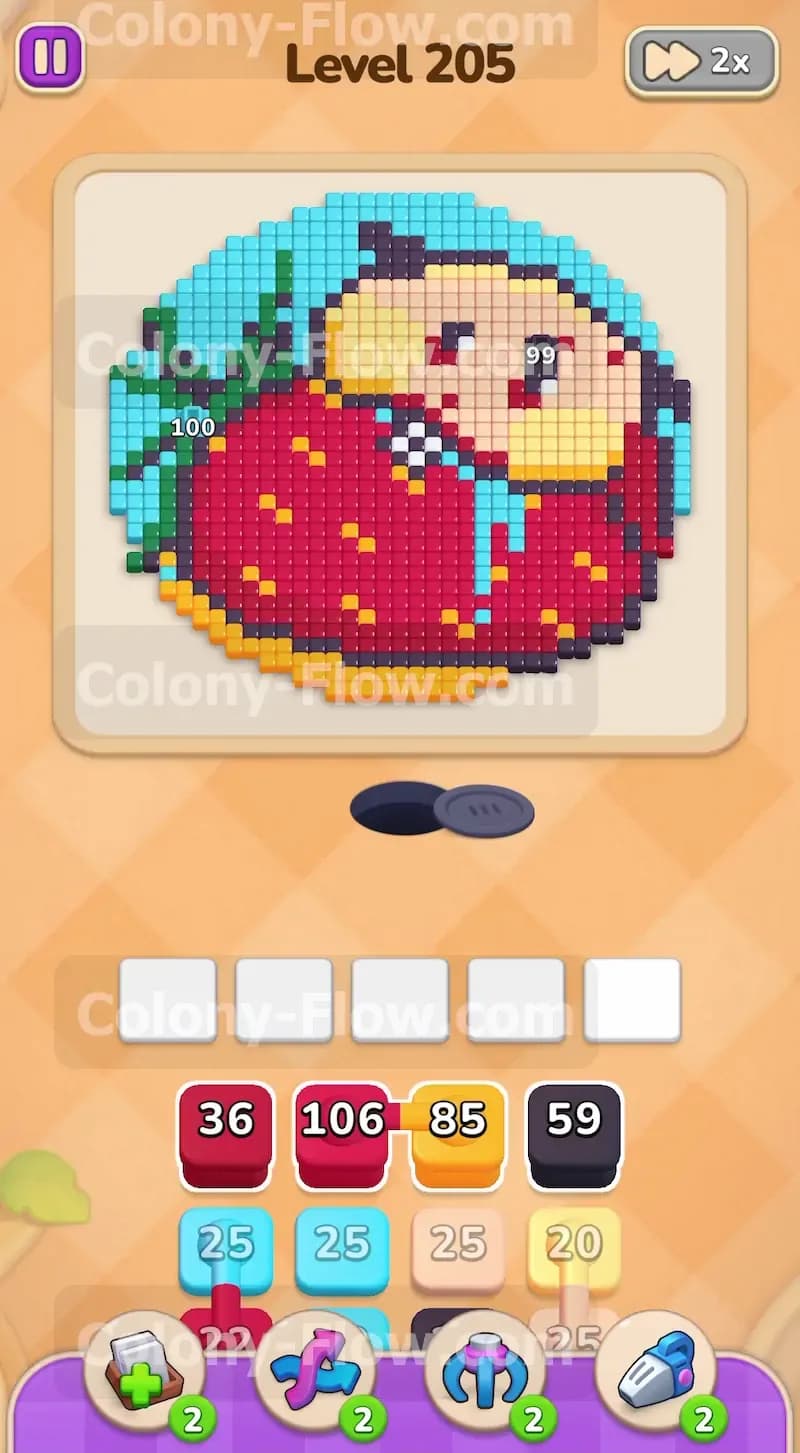
The pixel art presents a massive red strawberry dominating the bottom half of your screen. A pair of green leaves sprouts from the left side of the fruit. Sitting right on top of the strawberry is a yellow bug with a bright beige face. A heavy black outline wraps around the entire character and the fruit. A large light blue sky background surrounds the whole scene. Down in your block tray you have a wide variety of colors including red, yellow, black, light blue, beige, and dark green. You will also encounter Connected Boxes. These special blocks feature chain links and require you to pull them together so they can clear as a unified group. Hidden at the very bottom of your tray is a grey block with a question mark on it. This is a Hidden Box that conceals its true color until a valid path opens on the board.
What It Takes to Clear Level 205 Board
Clearing this board requires a strict outside to inside approach. You must peel away the massive light blue sky and the thick black borders before you can effectively attack the core fruit and the bug. The main threat to your success is the row of five waiting slots at the bottom of your screen. If you fill all five slots with blocks that have no open paths on the board, the ants stop moving and you lose the level instantly. Connected Boxes make this extremely dangerous because they occupy your slots while waiting for their group conditions to trigger. You must always keep at least one active color flowing to ensure your waiting slots constantly cycle new blocks and remain clear.
Colony Flow Level 205 Step by Step Solution
Step 1: Clear the light blue sky and the lower crust
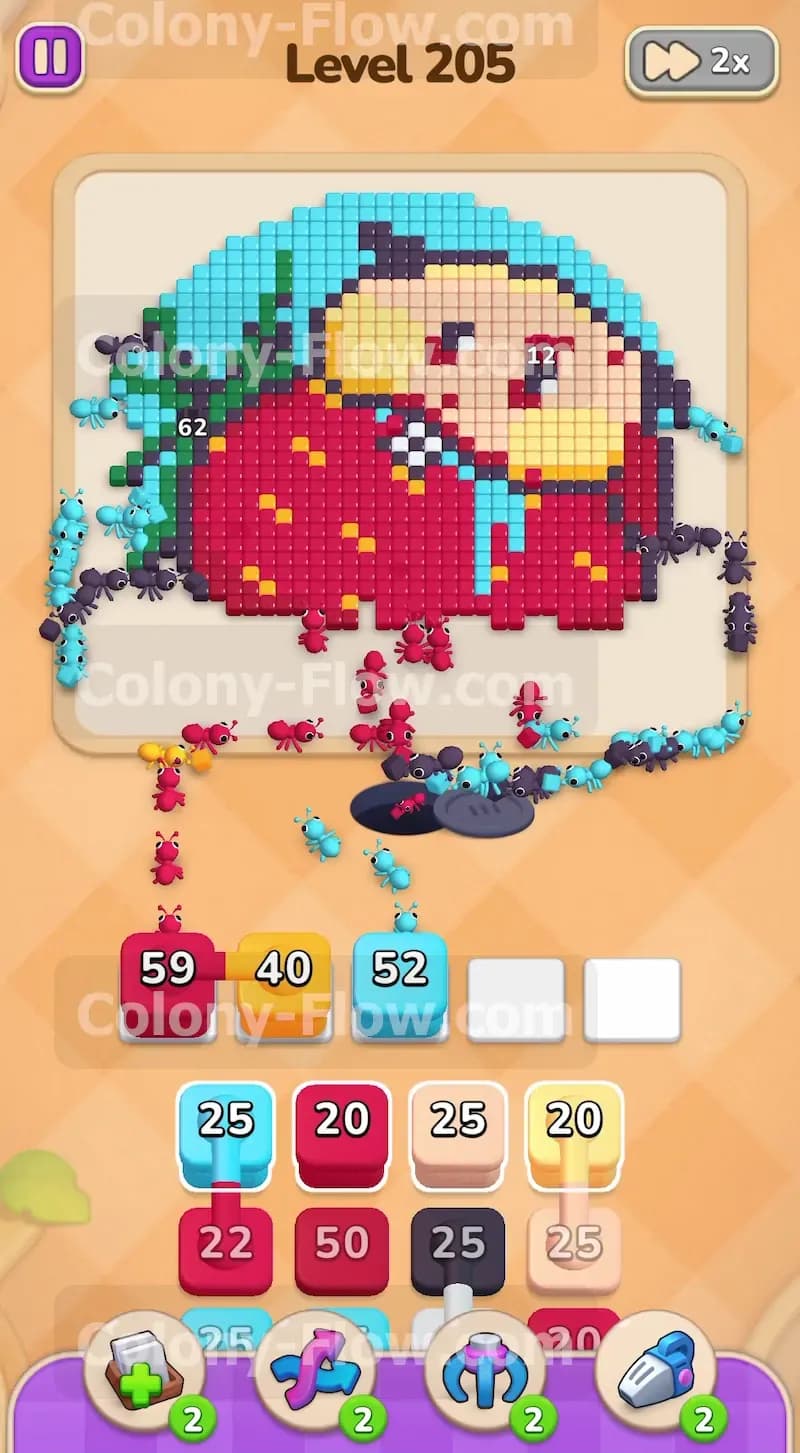
The outer perimeter of the picture is completely dominated by the light blue sky background. You also have immediate access to the very bottom edge of the red strawberry and its yellow crust. Start by pulling the large light blue blocks along with the initial red and yellow blocks into your tray. The ants will stream out and begin eating the sky from the top and the sides. The red and yellow ants will chew directly into the bottom edge of the fruit. Keeping the light blue path active is your absolute best strategy right now because the background tiles wrap all the way around the picture. This massive surface area guarantees your ants will not get stuck. You keep your waiting slots flowing freely while reducing the overall tile count on the board.
Step 2: Breach the black outline
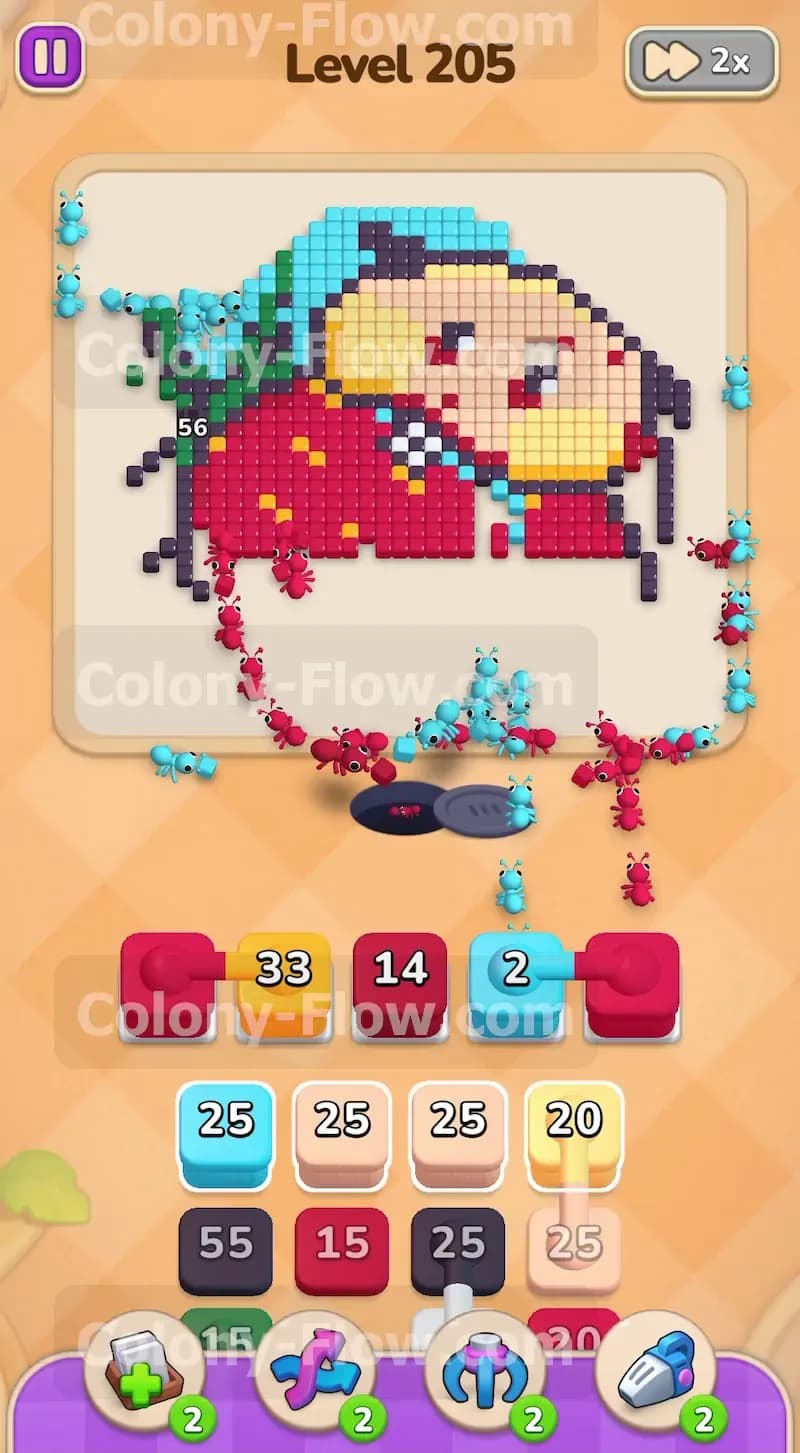
With the light blue sky fading away, the black outline wrapping the bug and the strawberry becomes fully exposed. Pull the large black block from your tray into the waiting slots. The black ants will march up the right side and across the top edge to dismantle the border. At the same time you want to keep feeding red blocks into the slots to maintain pressure on the giant strawberry. The black outline acts like a wall protecting the inner yellow and beige tiles of the bug character. Breaking this wall down early prevents your future moves from hitting a dead end. Always make sure the black ants have a continuous line of tiles to follow so your tray slot clears out quickly.
Step 3: Manage the red Connected Boxes
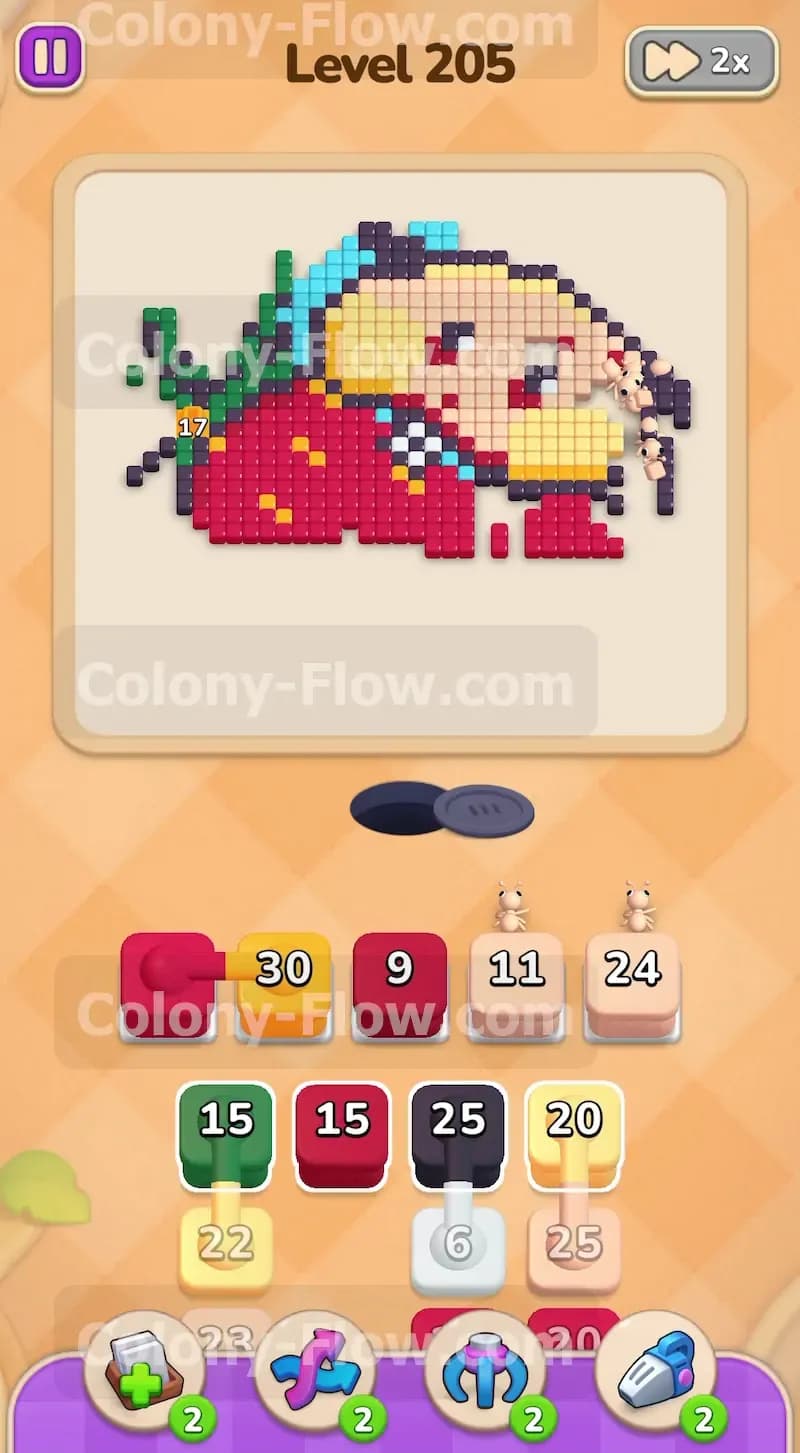
As you dig deeper into the tray you will encounter your first set of Connected Boxes. These are red blocks marked with a grey chain link. When you pull them they will sit in your waiting slots and wait for the rest of their group to arrive. They will not clear until their conditions are met. This is a very dangerous moment for your five waiting slots. Because the linked boxes just sit there unmoving, your available tray space shrinks. You must pull an active color like beige or yellow to keep a live path moving on the board. The red ants will eventually satisfy the grouped boxes and clear them out. Just be sure you do not pull any other blocked colors while the chained boxes occupy your tray.
Step 4: Devour the yellow body and beige face
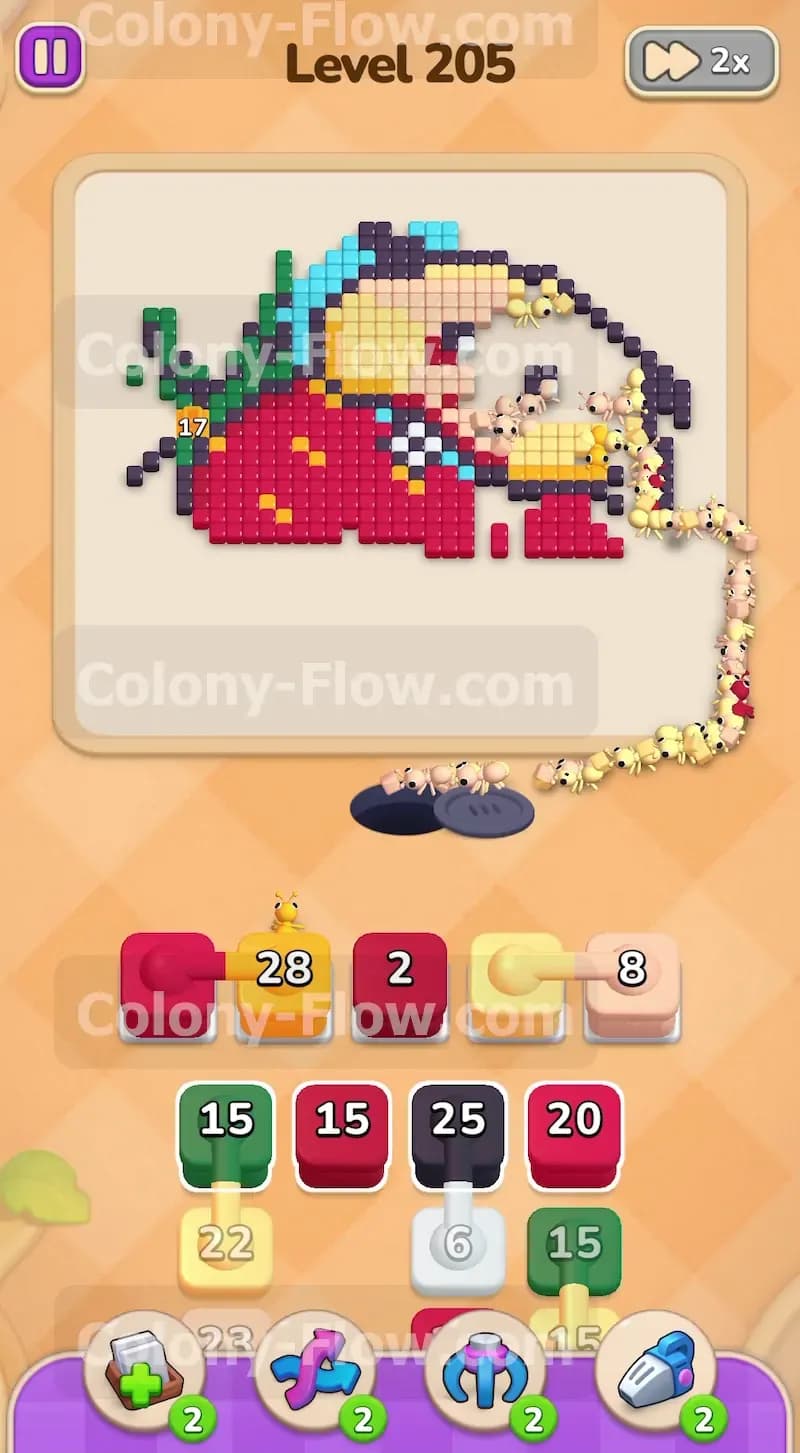
The black outline is finally gone and the top half of the board is wide open. Now you can focus your attention on the yellow body and the beige face of the bug character. Pull the beige blocks into your slots and watch the ants swarm the face tiles. Pull the remaining yellow blocks to clear out the main body. The red ants will still be working hard on the massive core of the strawberry below. The face and body tiles are clustered tightly together. This means the ants will eat them very quickly. You need to have your next blocks ready to pull the moment a slot opens up. Keep a close eye on the green leaves on the left side of the strawberry because they are about to become accessible.
Step 5: Eat the green leaves and maintain the red core
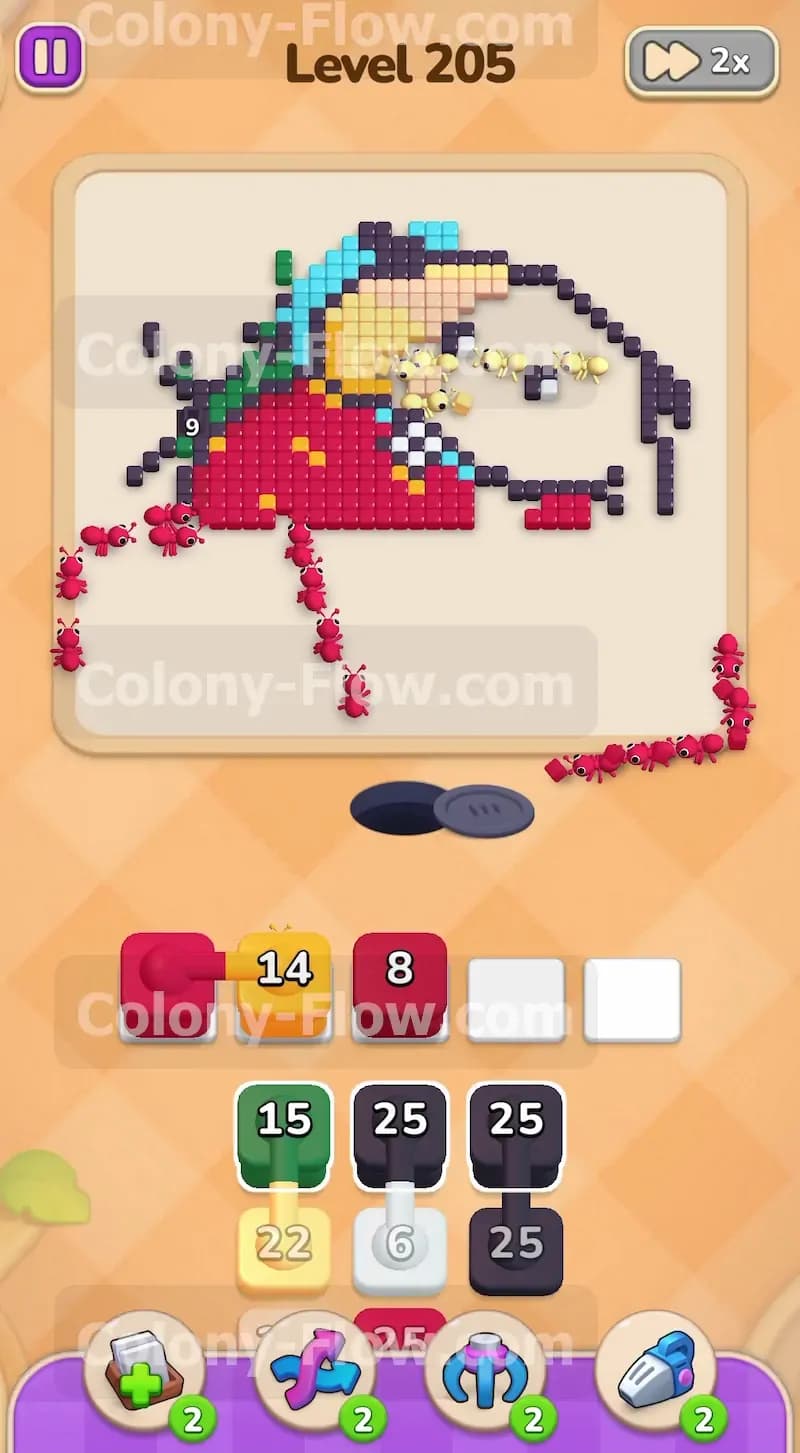
The left side of the board opens up enough to expose the green leaves. Pull the dark green block from your tray. The green ants will rush over and clear the leaves in one quick wave. This provides an excellent relief valve for your tray because the green path is completely unobstructed. While the green ants work you must continue pulling red blocks to chip away at the giant strawberry. The red section is the largest solid color block in the entire picture. You will need multiple red blocks to finish it completely. Alternate between the green blocks and the red blocks to ensure you always have at least two active paths moving at the exact same time.
Step 6: Navigate the yellow Connected Boxes
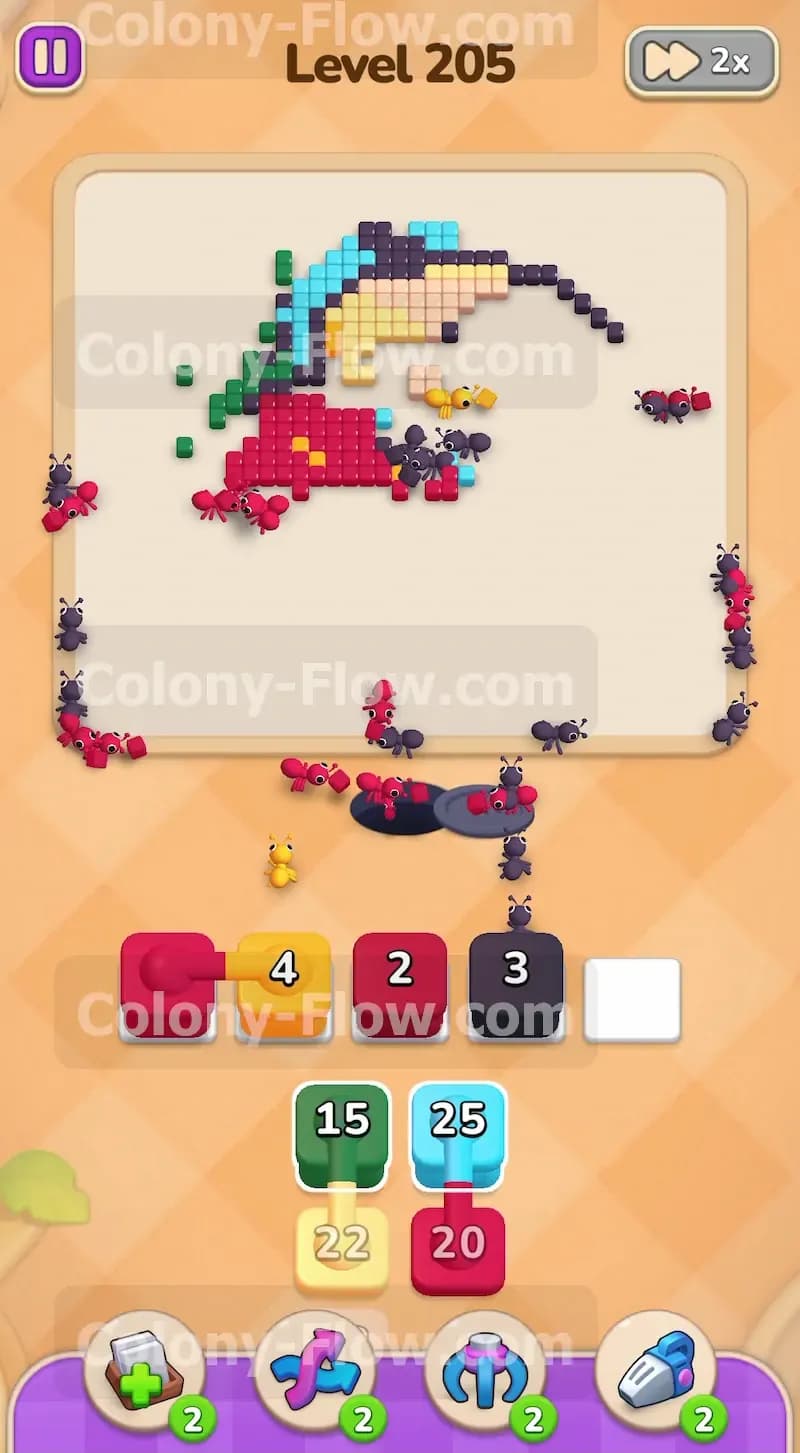
Near the end of the main puzzle you will face another set of Connected Boxes. This time they are yellow blocks. Pull them into your tray just like you did with the red ones earlier. They will occupy your slots and wait for the group to clear. By now the board is getting very small. You only have a few scattered black tiles and a small chunk of the red strawberry remaining. Pull your final standard red and black blocks to keep the ants moving. The yellow chained blocks will clear out once the final few yellow tiles on the bug vanish. Your main goal here is total patience. Do not pull random blocks trying to rush the end. Let the active ants finish their paths so you do not accidentally trigger a slot jam right at the finish line.
Step 7: Reveal the Hidden Box and finish the board
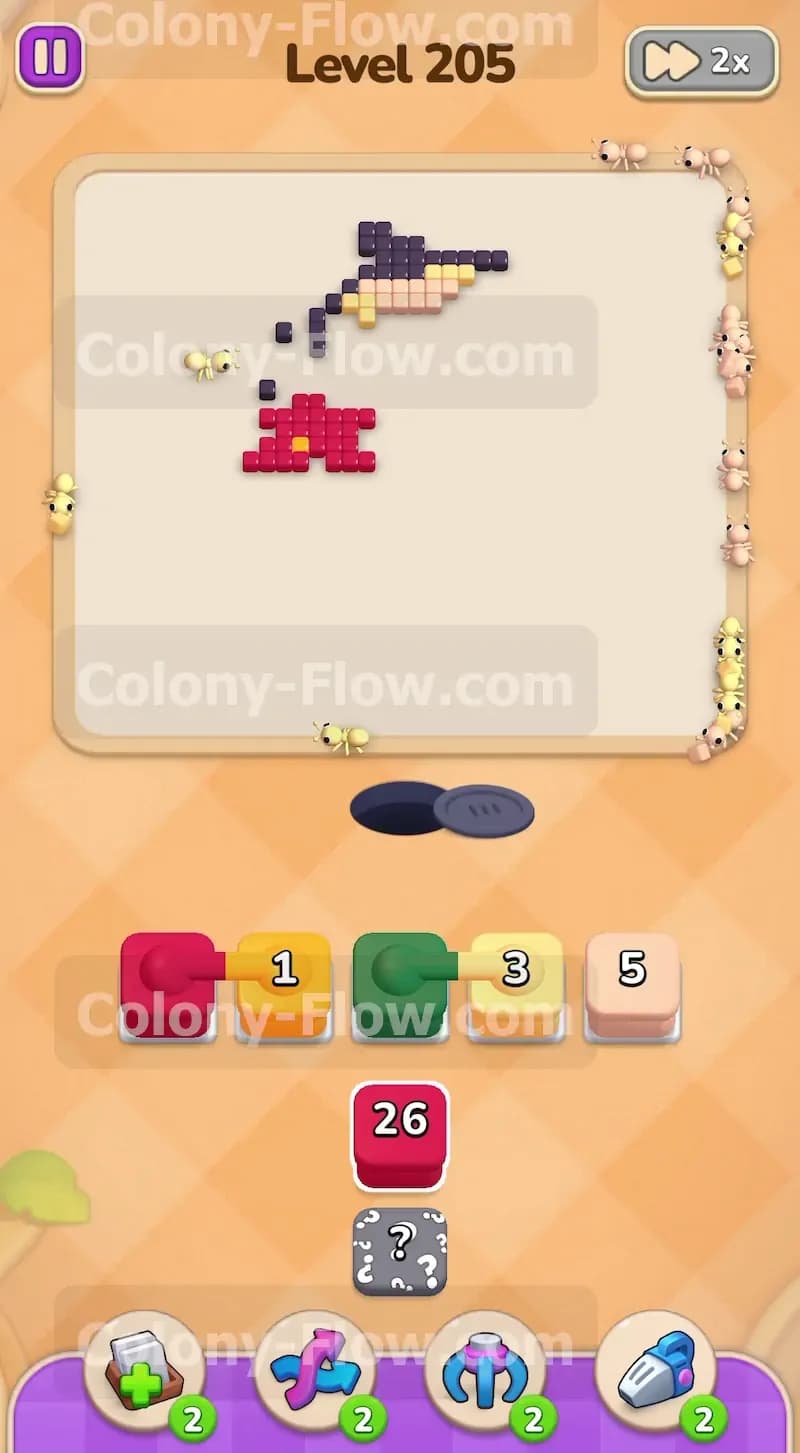
Only a tiny cluster of tiles remains on the board at this point. Look at the very bottom of your tray to find a grey block stamped with a question mark. This is the Hidden Box. It hides its true color until a valid path opens up on the board. Now that you have cleared away all the surrounding obstacles, the Hidden Box will activate. Pull it into your tray. It will reveal its color and send out the final swarm of ants to eat the last remaining tiles. The picture completely disappears and your ants march off the screen. You have successfully cleared the board and avoided any slot jams.
Final Thought
Level 205 tests your patience and your ability to manage limited tray space under pressure. The key to winning is always leaving yourself an out when those Connected Boxes clog up your waiting slots. If any specific move feels confusing in text, please scroll up and watch the video above this article. Seeing the ants clear the paths in real time makes the timing much easier to understand. Keep your paths open and you will clear this board with ease.