Colony Flow Level 664 Walkthrough Solution & Guides | How to solve Colony Flow 664

Guide By Liam Stone
Updated on August 8, 2026
The written guide below covers Level 664 in depth, but you can watch the video above for the same solution.
Video doesn't match your screen?
Game updates frequently scramble layouts! Try our AI Screenshot Solver first to find your exact board instantly, or report broken guides to our team.
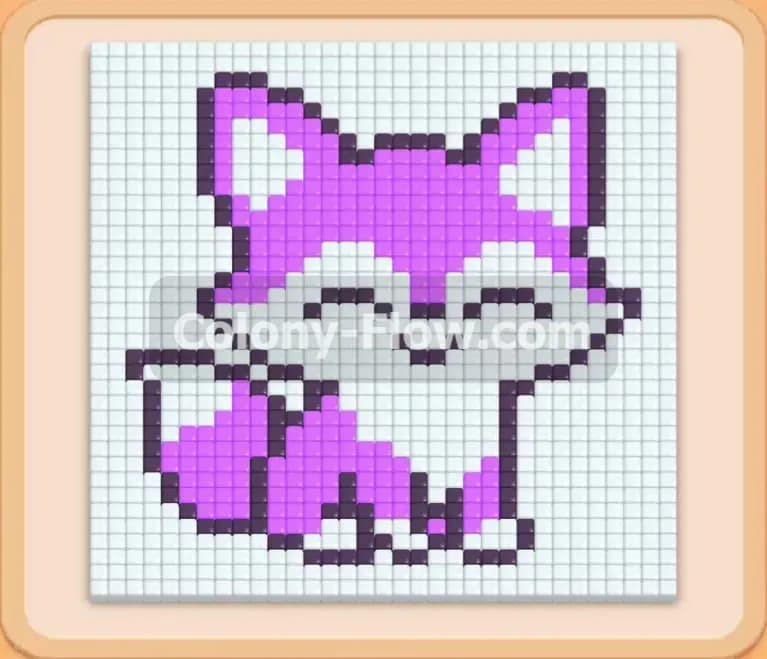
Colony Flow Level 664 features a great looking pixel art fox that you have to feed to your swarm. I am Liam Stone and I spend my days testing these puzzles to write guides that actually help you win. I play every single stage myself and map out the safest route to an empty board. The fox design here is highly layered and the tray hides quite a few surprises that can ruin your run. You need to keep your focus strictly on opening paths so your colony never stops moving.
Colony Flow Level 664 Overview
What You Are Working With
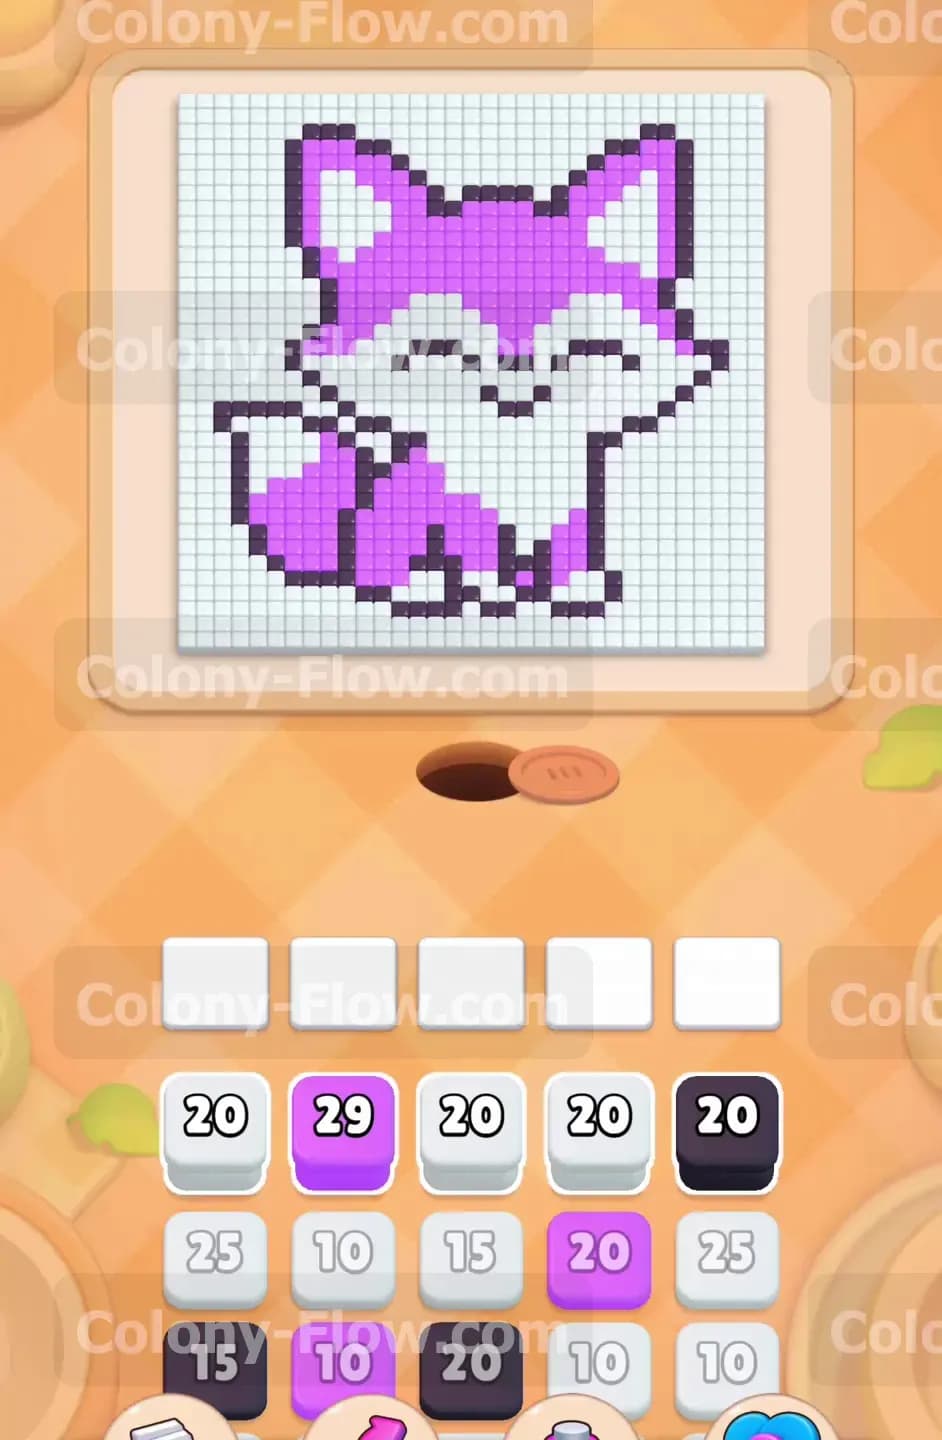
You start with a large pixel art picture of a smiling fox. The color palette is limited to purple, white, and black. The fox sits squarely in the middle and a massive wall of white food tiles surrounds the entire character. Down in the lower section of your screen you will see a deep tray filled with numbered blocks. These blocks match the colors on the board above. As you pull blocks from the tray they go into your five empty waiting slots. The ants emerge from their nest hole and consume the numbers on the blocks as they carry the corresponding food tiles away. You will also uncover connected boxes in the tray. These linked blocks move together and immediately claim multiple waiting slots when you pull them. Hidden boxes wait in the deeper layers and conceal their values until they reach the front row.
What It Takes to Clear Level 664 Board
To beat this stage you have to erase every single tile of the fox and the white background. You win when the board is totally empty and the ants return to the nest. The core challenge comes down to managing the limited space in your waiting slots. The game will punish you if you pull blocks without thinking ahead. If you fill all five waiting slots with colors that the ants cannot physically reach, the swarm will stop moving and you lose the level. You must methodically carve away the outer white boundary to expose the inner purple and black shapes. Keep a close eye on the physical routes the ants take. You always want to pull colors that have a direct and open route from the nest hole to the target tiles.
Colony Flow Level 664 Step by Step Solution
Step 1: Clear the bottom white boundary to create an initial open path.
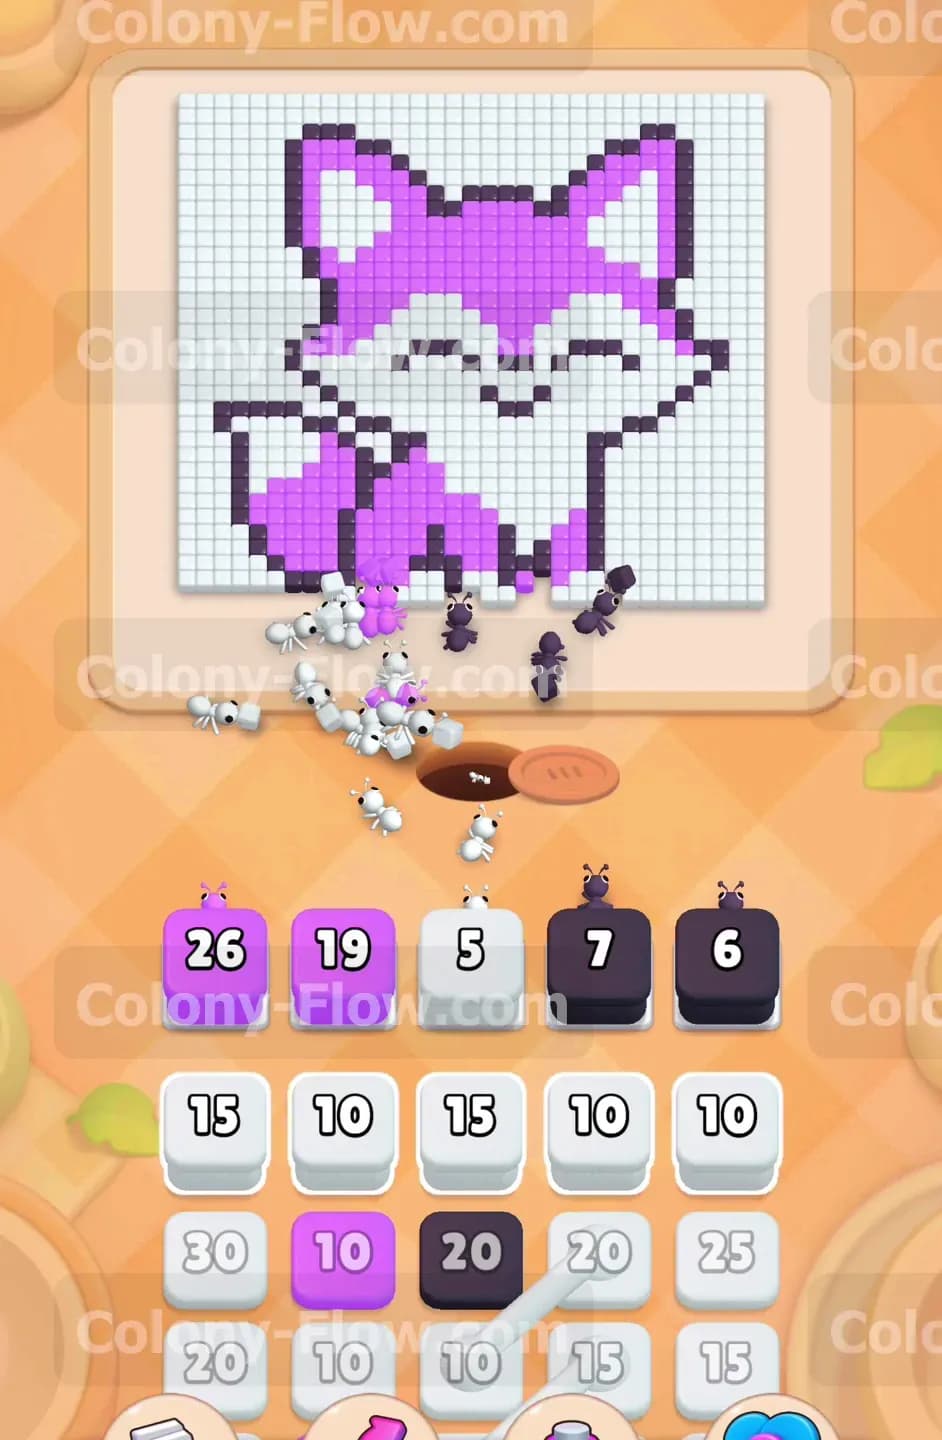
The opening layout presents a solid wall of white background tiles blocking the fox from the nest hole. You must begin by pulling the white blocks from the very top layer of the tray. Place a few of these white blocks into your empty waiting slots. The colony pours out of the hole and immediately attacks the white boundary at the bottom of the screen. You watch the numbers on the white blocks drop steadily as the ants carry the tiles away. Do not touch the purple or black blocks in the tray yet. Pulling them now clogs your waiting slots because the ants cannot walk through the white wall to reach the inner colors. You have to maintain your focus on the white background until a large gap opens up directly underneath the fox.
Step 2: Feed the bottom paws and tail to the swarm.
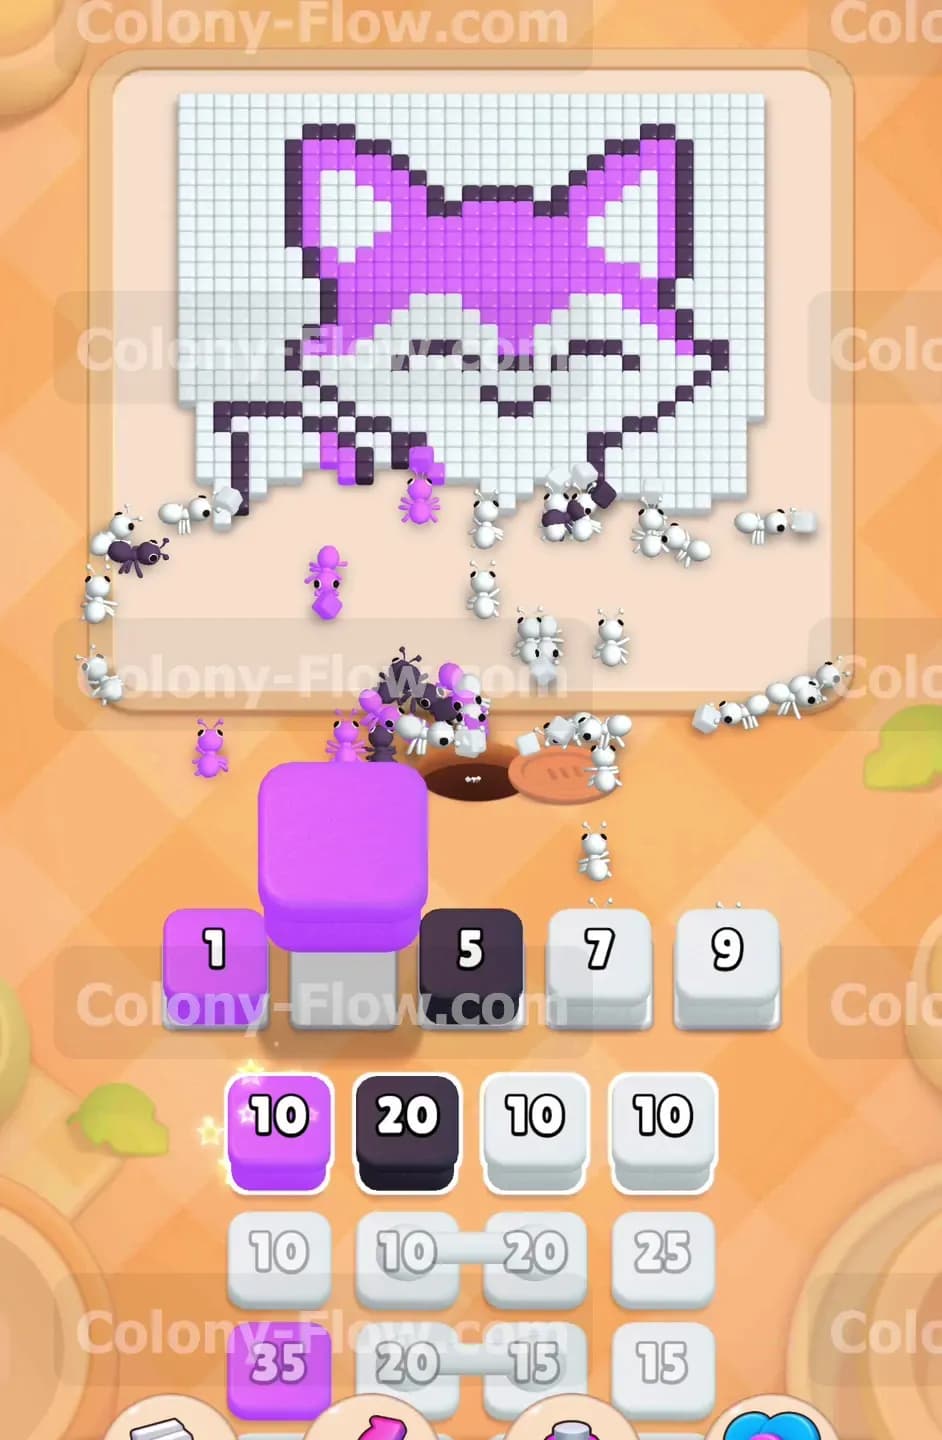
The ants chew away enough white tiles to expose the bottom edges of the fox. You can now safely pull the first few purple blocks from the tray and place them into your waiting slots. The swarm immediately redirects and marches towards the purple paws and the large purple tail resting on the left side of the board. The purple tiles are dense in this area so your blocks count down quickly. Pull another white block alongside the purple ones. Mixing your block colors allows the ants to split their attention and keeps the traffic flowing smoothly from the nest hole. Keeping the swarm divided across different colors prevents a traffic jam and ensures your waiting slots empty out at a steady pace.
Step 3: Destroy the lower black outline to expose the body.
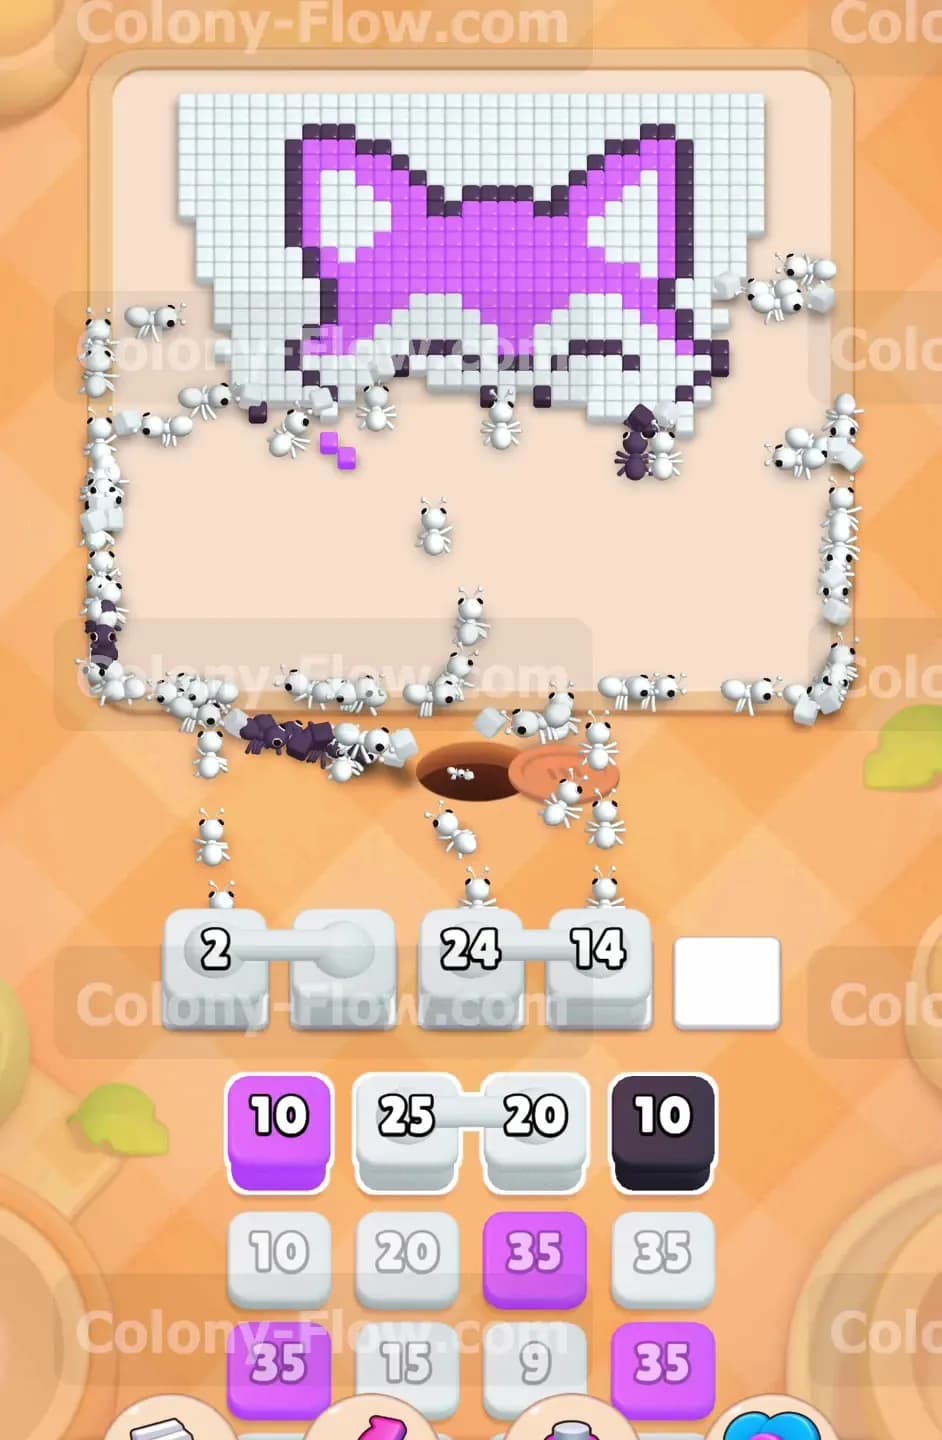
With the paws and tail completely removed the ants bump into the black outline that borders the bottom half of the fox. You need to pull a black block from the tray to deal with this barrier. Make absolutely certain you have an empty slot ready before you move the black block up from the tray. The ants swarm the lower black tiles and break the seal protecting the inner purple body. Breaking this outline is a mandatory step. The massive purple sections of the body remain totally blocked until this black line falls. Wait for the black block to finish its countdown and disappear from your waiting slots entirely. You want your slots completely clear before you attempt to pull the large purple blocks waiting in the next tray layer.
Step 4: Handle the connected white boxes in the middle layers.
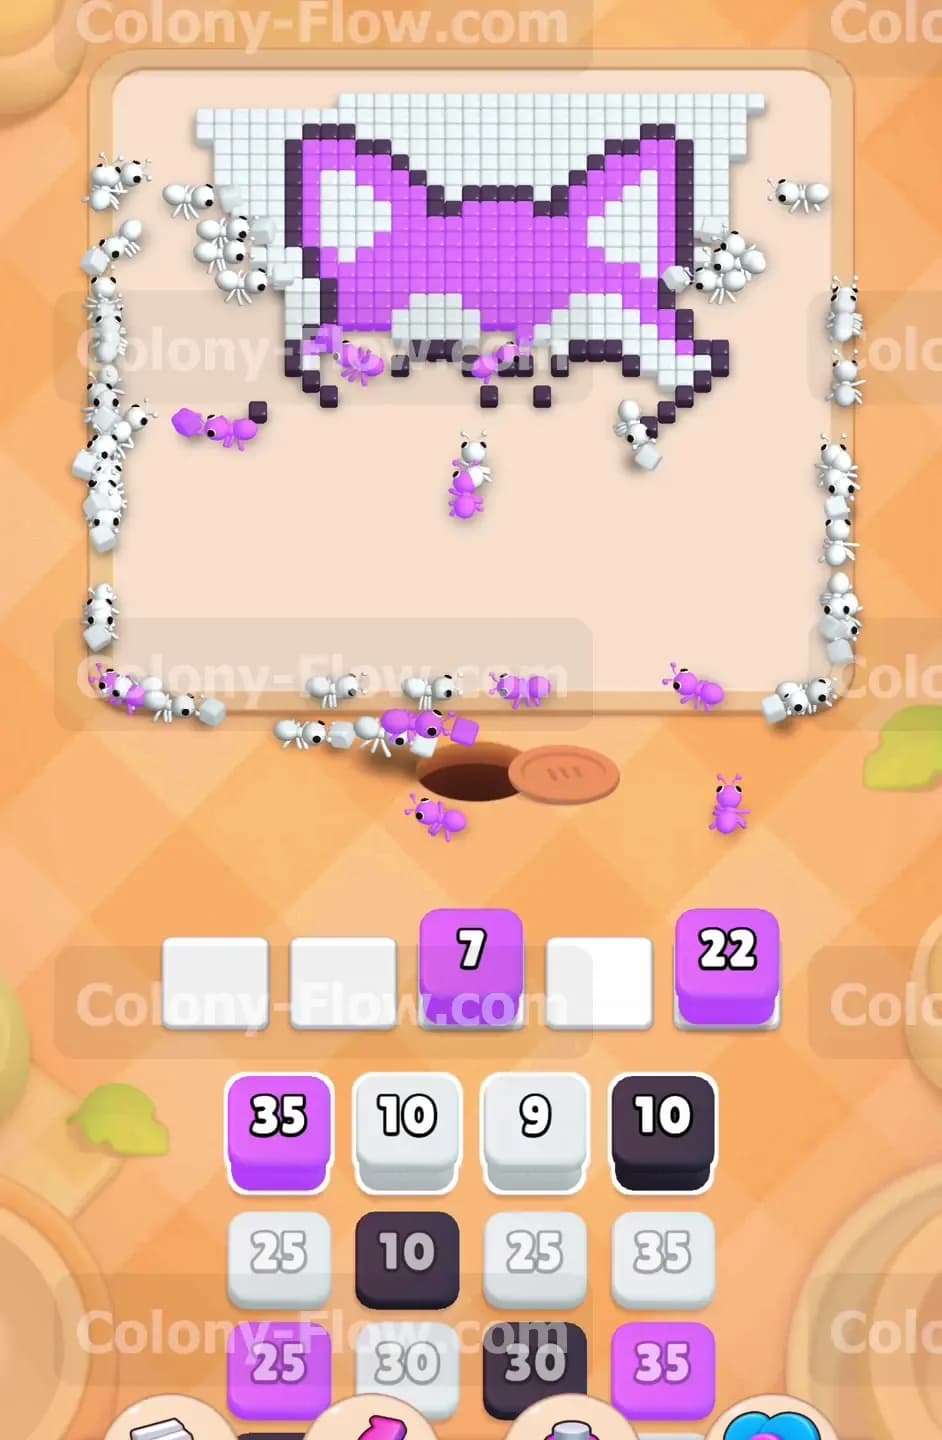
As you dig deeper into the tray stack you uncover a set of connected white boxes. These blocks are chained together and you must pull them as a single unit. Moving them instantly fills multiple waiting slots at the exact same time. You have to be extremely careful when deploying these connected blocks. Ensure your other slots are empty and the ants have a wide open path to the remaining white background tiles. The colony aggressively targets the white tiles located around the middle section of the fox head. You cannot afford to pull any other colors while the connected boxes sit in your slots. Let the ants drain the numbers on these white boxes completely so you can regain control of your waiting area.
Step 5: Clear the large purple face and the white cheeks.
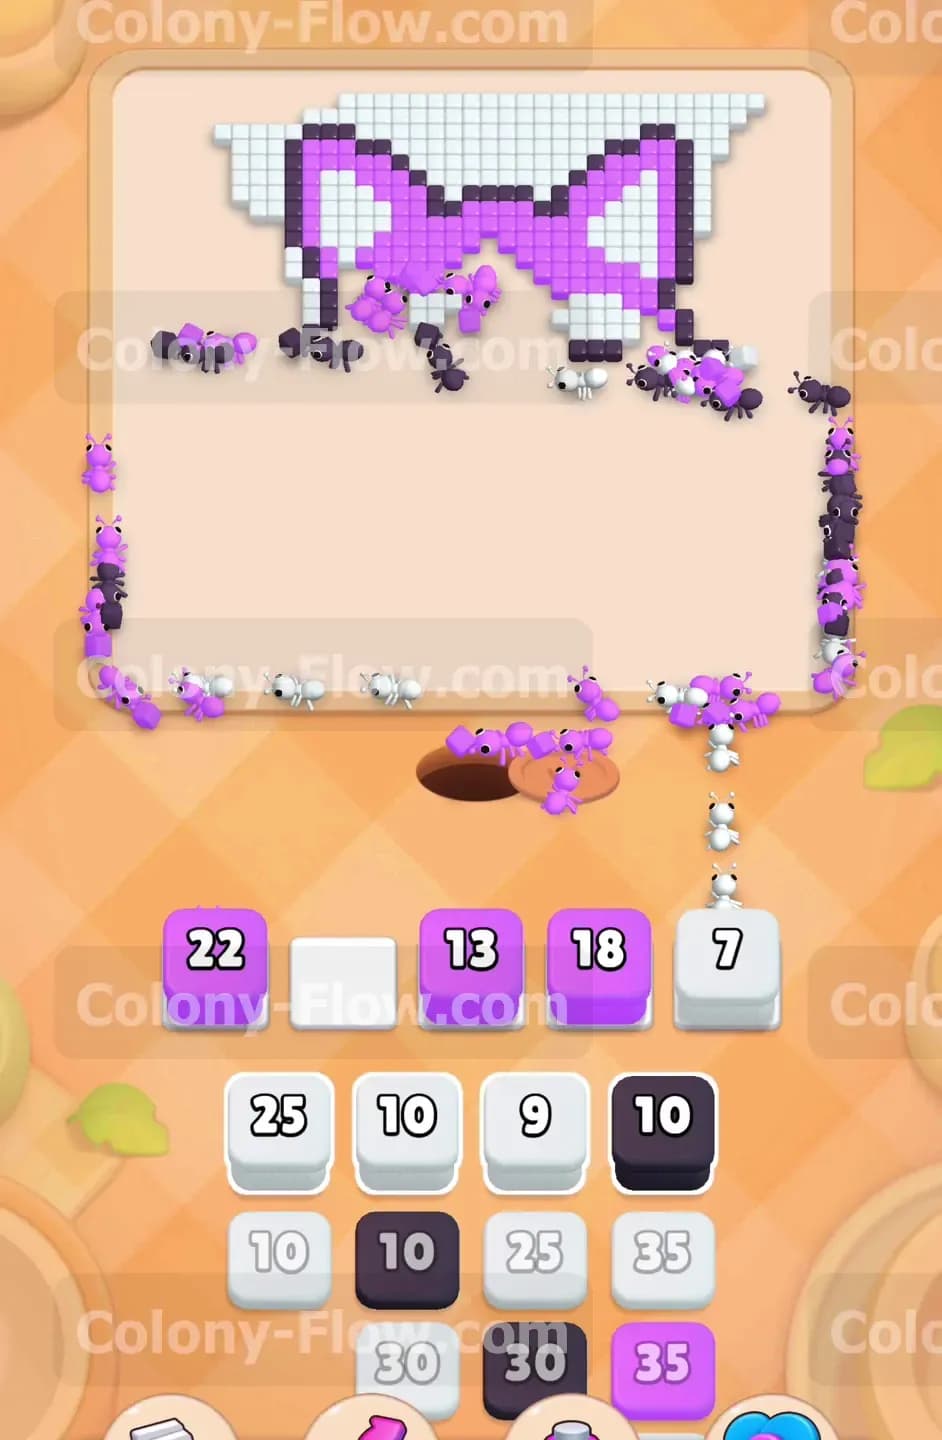
The lower half of the board is completely clear by this point and the ants push upward into the main face of the fox. You see several high number purple blocks waiting in the tray. Pull these purple blocks to feed the swarm. The ants march up and begin erasing the huge blocks of purple making up the head. You also spot white cheek sections trapped inside the boundaries of the face. Pull a white block from the tray to give the ants a target for those inner white tiles. You must alternate your pulls carefully here to prevent dead ends. The ants eat their way vertically and occasionally leave isolated islands of tiles behind. A steady mix of white and purple blocks ensures the swarm clears the face evenly without stalling.
Step 6: Break the upper black outline guarding the ears.
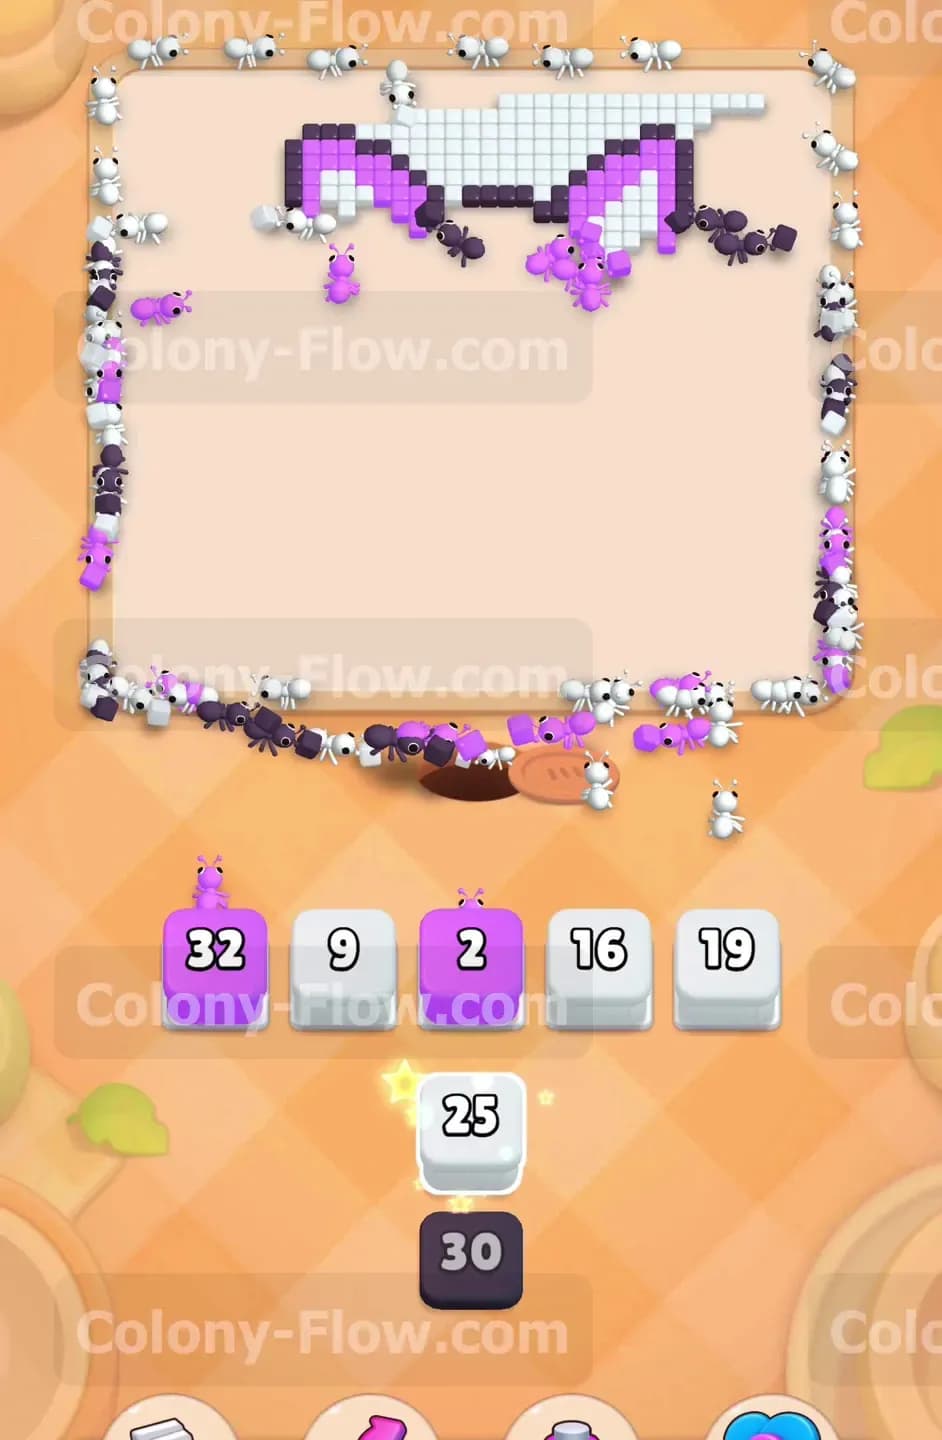
The board is now reduced to just the top of the head and the two pointed ears. Another thick black outline protects the purple tiles inside those ears. You need to pull the next available black block from the tray to break this final defense. The ants travel all the way from the bottom nest hole up to the very top corners of the screen. This long travel distance means the black block sits in your waiting slot for a slightly longer time than usual. You must exercise patience and let the swarm finish the job. Do not pull the final purple blocks too early. Wait until the upper black outline is completely gone and the paths directly into the purple ear tips are fully open.
Step 7: Empty the remaining blocks to finish the puzzle.
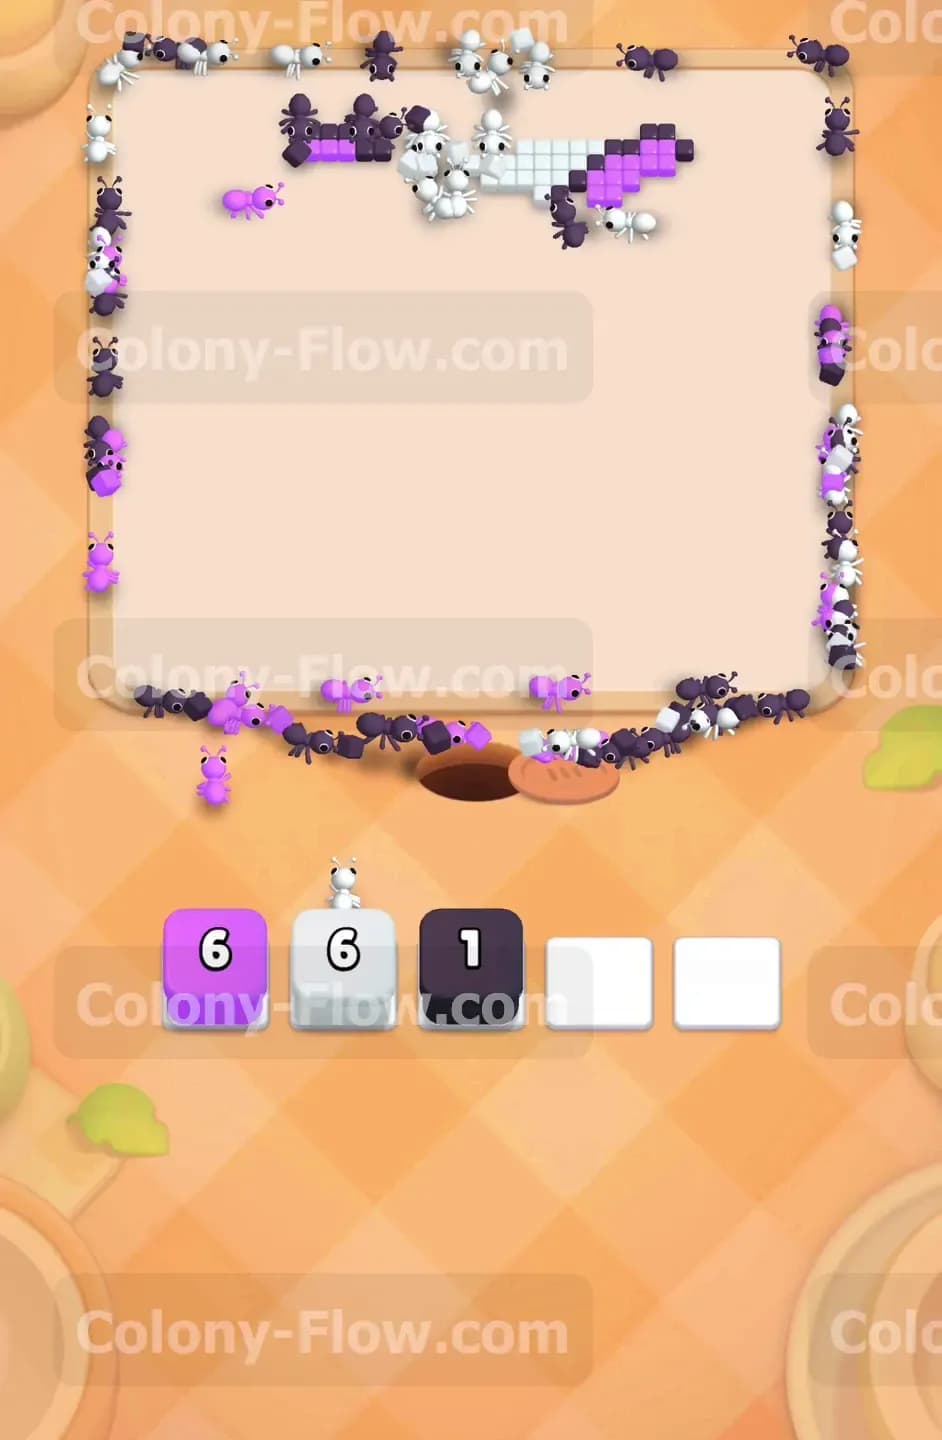
You are left looking at a few purple tiles inside the ear tips and a thin sliver of white background tiles along the top edge of the board. You can now freely pull the last remaining purple and white blocks from the tray. The colony splits into two massive groups and rushes the top corners of the board. The numbers on your final waiting blocks rapidly tick down to zero. You do not have to worry about slot management at this specific stage because the paths are completely clear and nothing blocks the food. The final few ants grab the last pieces of purple and white. Your blocks vanish and the screen celebrates your victory.
Final Thought
Patience and strict slot management get you straight through this puzzle without a single failure. You always have to clear those protective outer layers before rushing the inner colors. I strongly encourage you to watch the video located above this article if any step feels hard to follow in text form. Keep your paths open and the swarm does the hard work for you.