Colony Flow Level 244 Walkthrough Solution & Guides | How to solve Colony Flow 244

Guide By Liam Stone
Updated on July 13, 2026
The Level 244 walkthrough video above shows every step, so feel free to skip the article and watch instead.
Video doesn't match your screen?
Game updates frequently scramble layouts! Try our AI Screenshot Solver first to find your exact board instantly, or report broken guides to our team.
Welcome to Colony Flow Level 244. This level presents a bright and colorful rainbow landscape that you must clear away completely. The board is dense with tight corners and requires careful sequencing to keep your ants moving without getting stuck. You will need to manage connected boxes and locked tray items while keeping your waiting slots strictly open.
Colony Flow Level 244 Overview
What You Are Working With
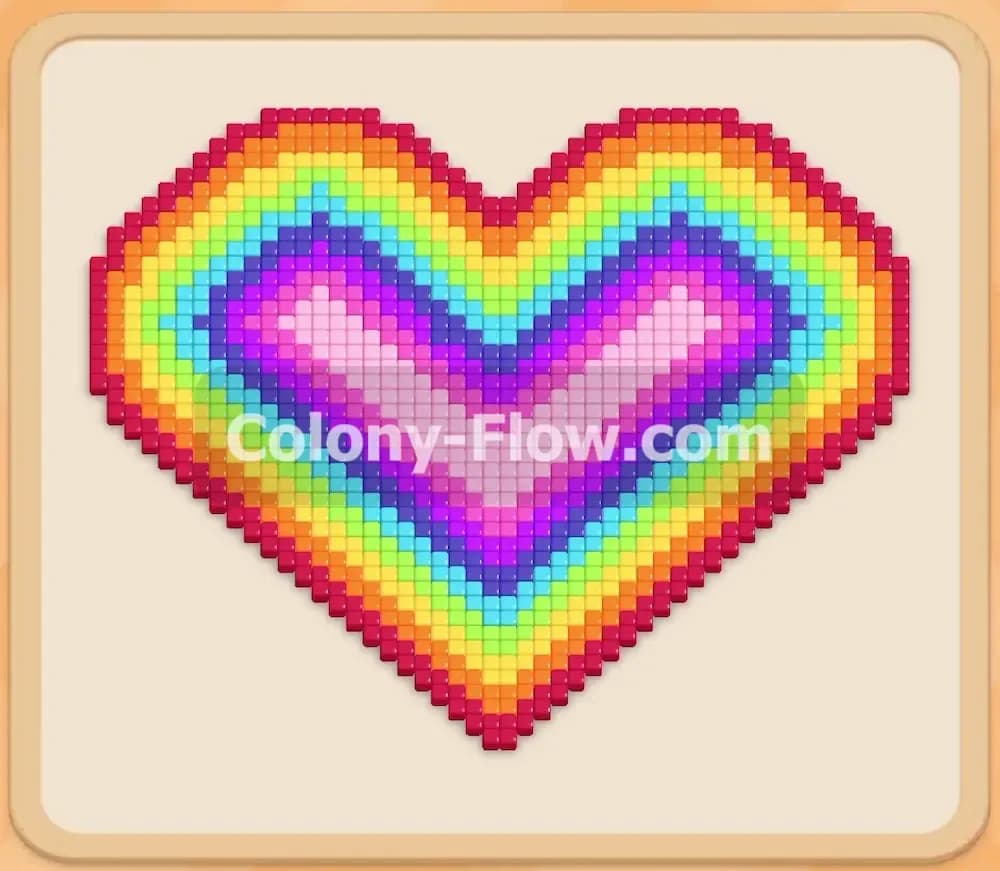
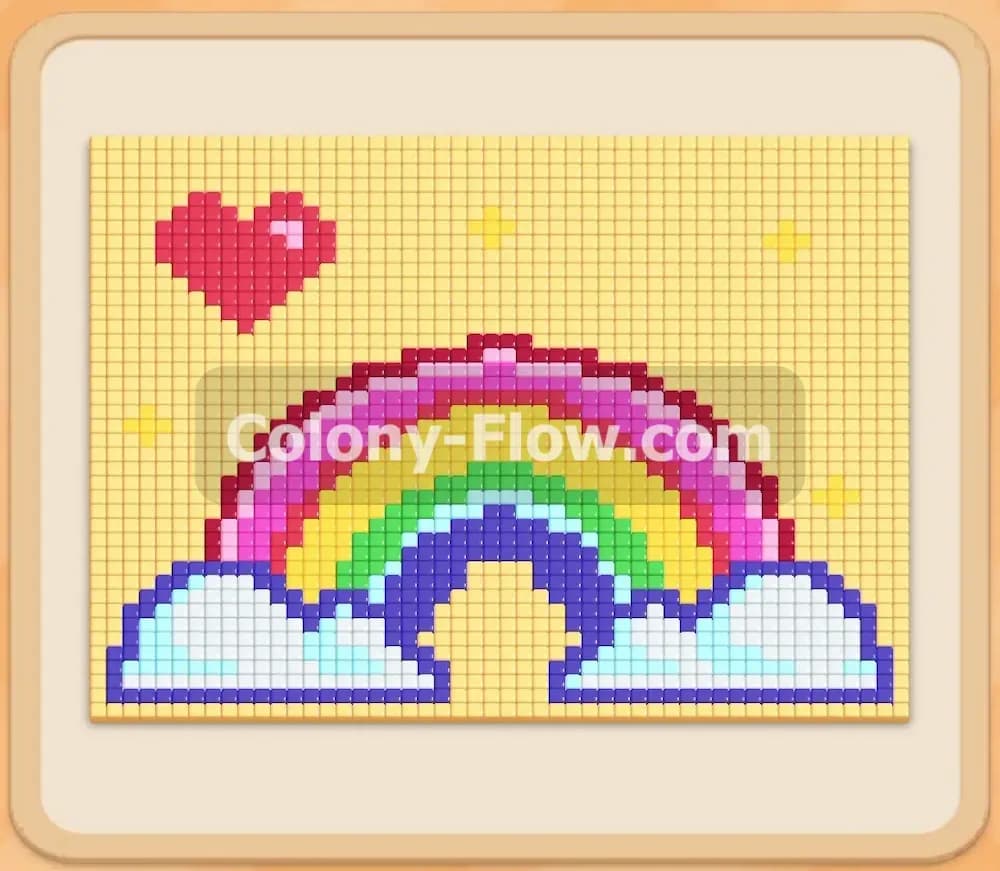
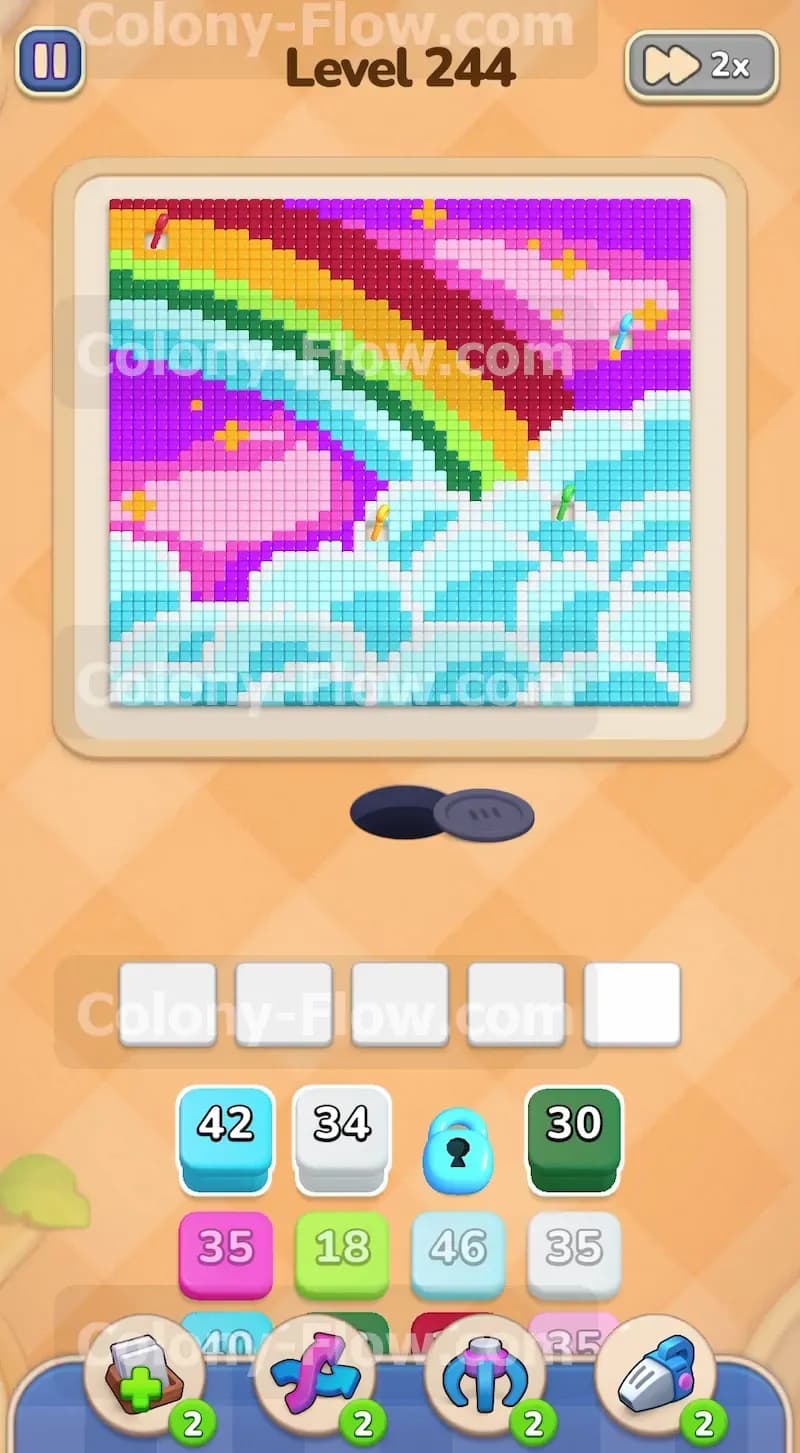
The picture shows a large beautiful rainbow arcing across the top with red orange yellow green and purple stripes filling the sky. Below the rainbow sits a bright pink shape resting on fluffy white clouds and light blue waves. The tray holds a massive stack of colored numbered blocks that you will pull to feed your colony. Some blocks sit alone while others are linked together tightly as connected boxes. You will also see colored blocks featuring keyhole icons. These lock and key elements require you to find keys hidden on the board to unlock them before they can be pulled down.
What It Takes to Clear Level 244 Board
Clearing the board means directing your ants to eat every single colored pixel food tile on the screen. You start at the very bottom edge where the white and light blue clouds block access to the rest of the picture. By pulling matching colored blocks into your five empty waiting slots you send the ants out to clear those specific tiles. Your main goal is to avoid filling all five waiting slots with blocks that have no open path to their matching colors on the board. If the waiting slots fill up completely and the ants stop moving you lose the level entirely. You must keep a valid path open at all times.
Colony Flow Level 244 Step by Step Solution
Step 1: Clear the bottom white and light blue cloud border
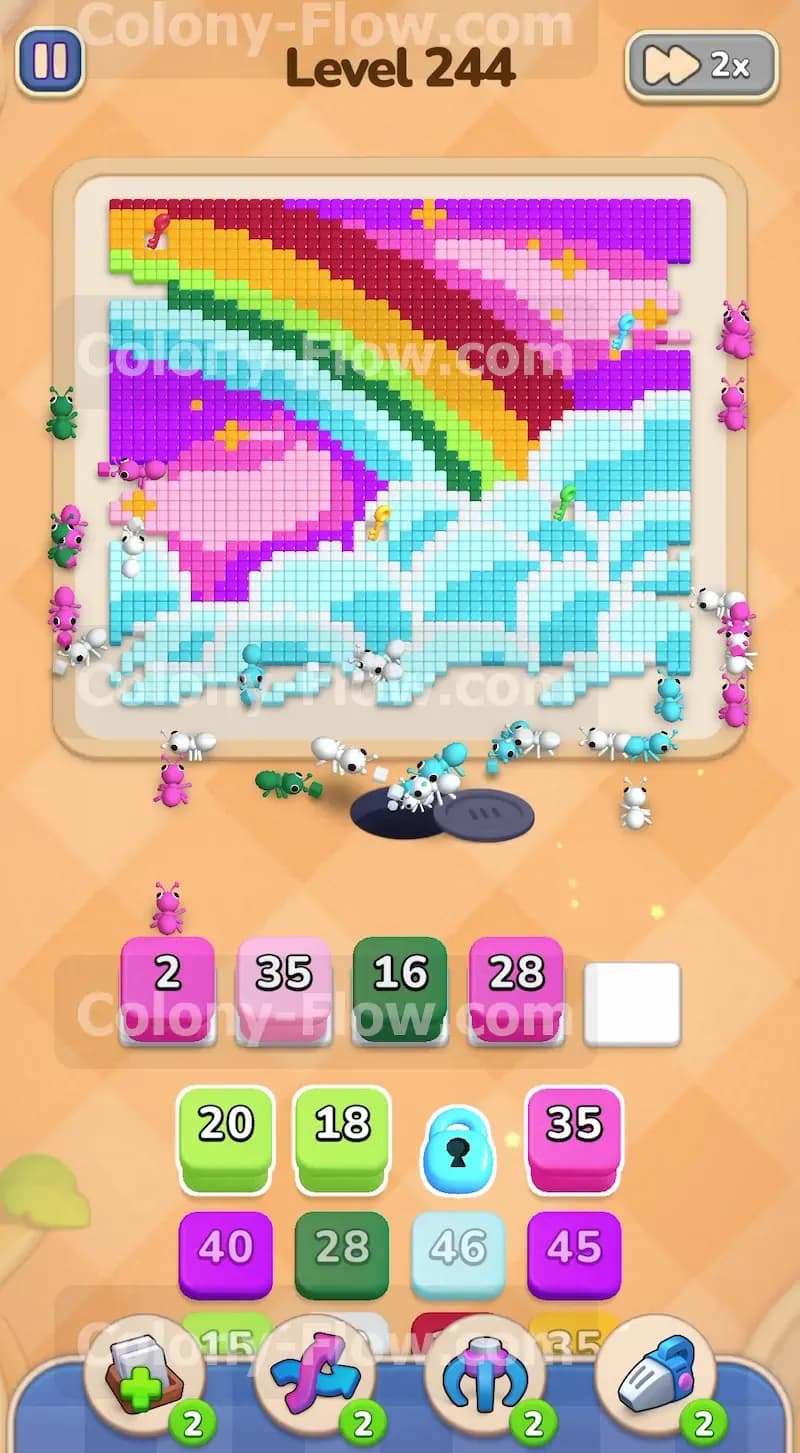
Begin the level by pulling the light blue 42 block and the white 34 block into your waiting slots. The ants will flood out of the nest hole and start eating the white and light blue tiles at the bottom edge of the board. This action is critical because the bottom border physically blocks every other color in the picture. As the ants consume the white and light blue tiles they carve open paths to the pink center and the lower stripes of the rainbow. Watch your five waiting slots closely right here. Only pull new blocks when you know the ants can reach the matching color immediately. You will also pull the pink 35 block to start working on the large pink center shape.
Step 2: Open the pink section and gather keys for the locked blocks
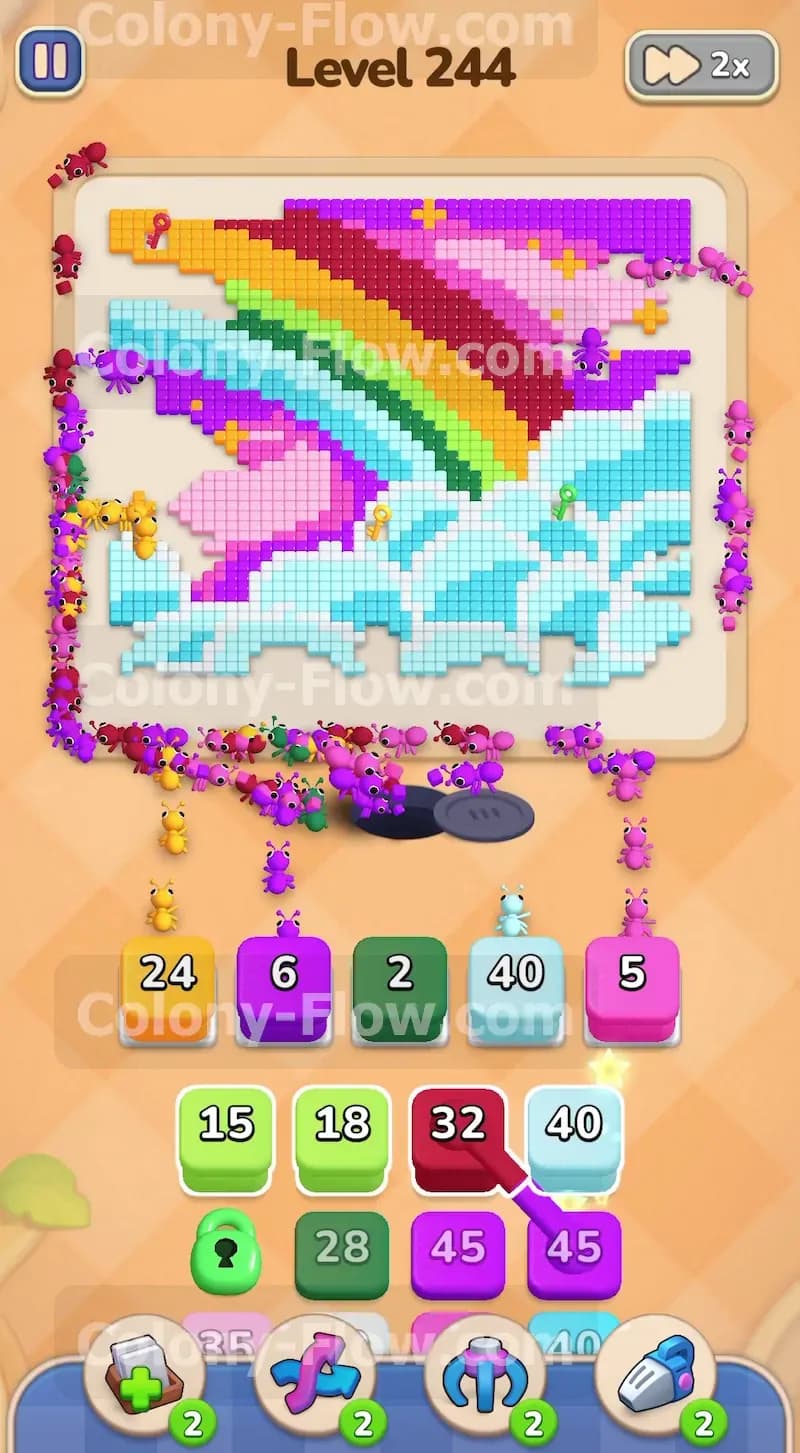
With the bottom clouds safely out of the way you can focus on the giant pink shape in the middle. Pull the pink 2 block and the second pink 35 block from the tray. The ants will swarm the pink area and reduce its size rapidly. During this phase you will notice certain tiles on the board hold invisible keys. As the ants eat these specific tiles you collect the keys needed to open the locked blocks sitting in your tray. You have a green locked block and a light blue locked block waiting to be used. By clearing the pink tiles and the nearby light green tiles you gather the necessary keys automatically. Once unlocked those green and light blue blocks become available to pull into your slots. Keep feeding the pink and light green blocks into the waiting slots to maintain the flow of ants and prevent any dead ends from forming.
Step 3: Pull the first set of connected boxes to clear the purple rainbow stripe
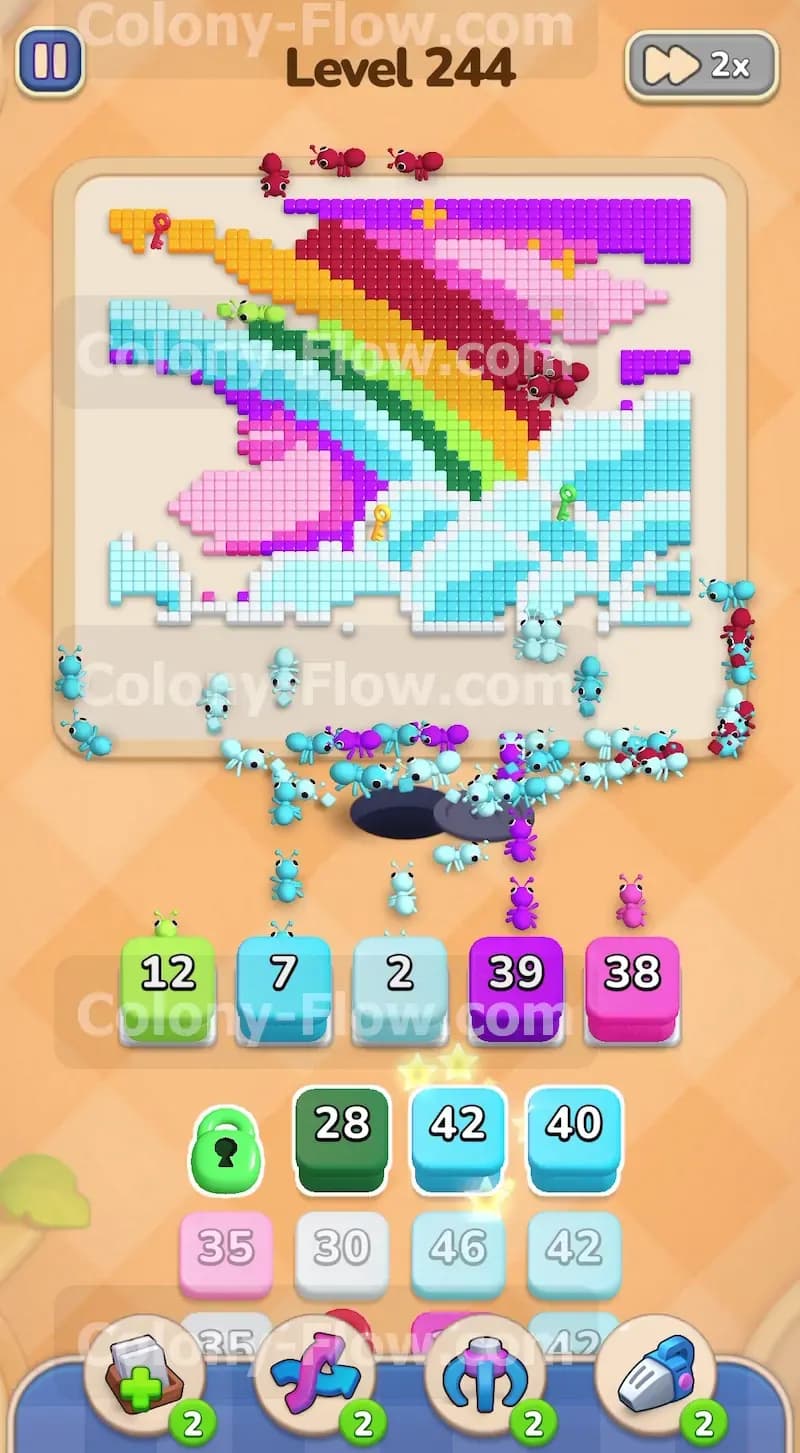
Your tray now reveals a dark red 32 block linked directly to a purple 45 block. These form your very first set of connected boxes for the level. Before you pull them you must ensure you have at least two empty waiting slots because they will move down together as a single unit. Tap the connected boxes to pull them down. The ants will rush to the top right side of the board to devour the thick purple stripe of the rainbow. Simultaneously another group of ants will start attacking the dark red stripe right next to it. This simultaneous clearing is highly efficient but dangerous if you miscalculate your available space. Let the ants finish eating the purple tiles completely before you pull any more large numbers into your limited space.
Step 4: Deploy the unlocked green and light blue blocks
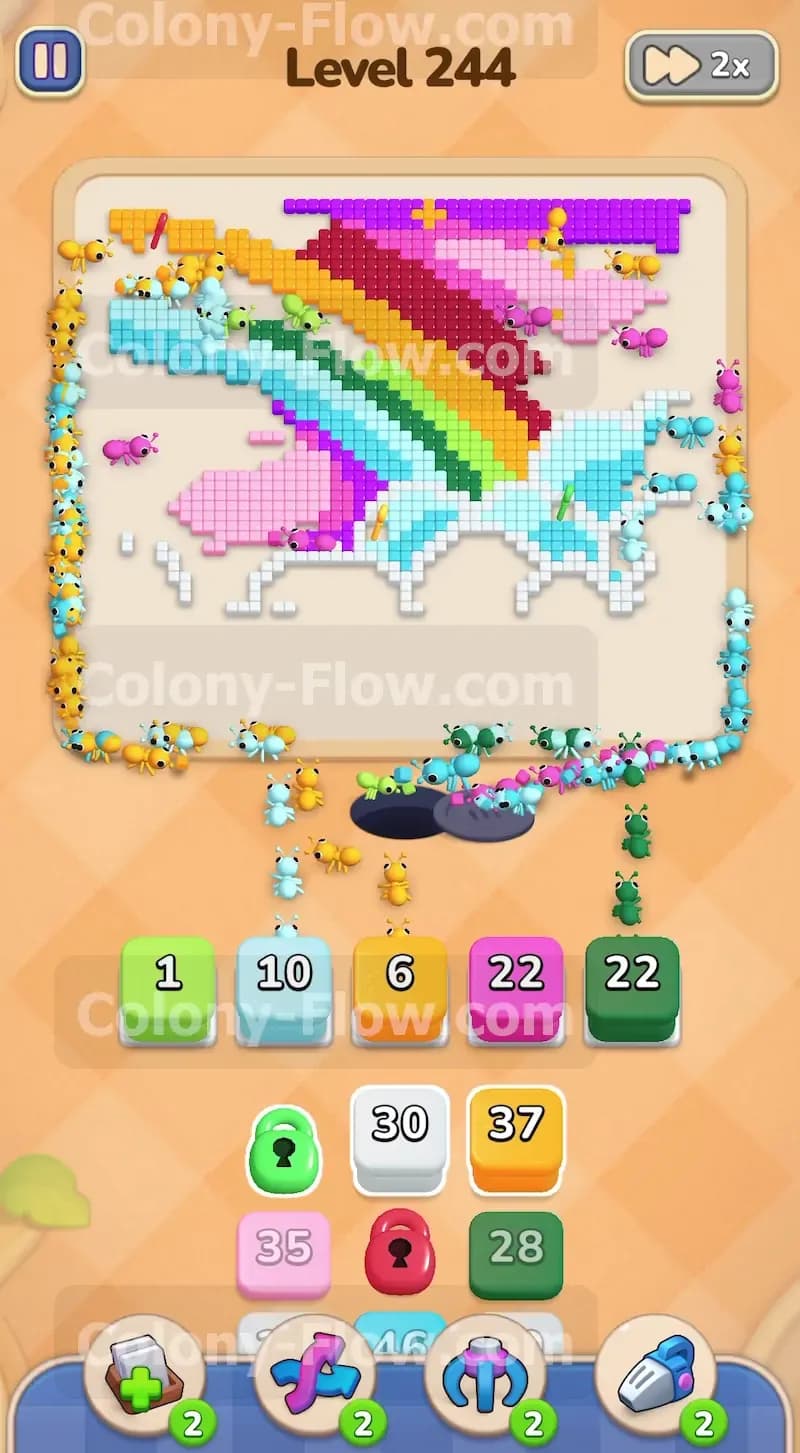
Now that you collected the required keys earlier your green and light blue locked blocks are free to use. Pull the green 28 block and the light blue 40 block into your waiting slots. The green ants will target the bright green stripe of the rainbow while the light blue ants finish off the remaining cloud shapes on the right side of the screen. This step opens up the middle area of the rainbow entirely and gives you access to the orange and yellow sections. You also need to pull a light blue 42 block when you have the empty space. Make sure to watch the pathing closely. The ants need a direct line to the green tiles so do not block their way with other colors. Keeping the board clear prevents your tray from jamming up and failing the level.
Step 5: Chip away the small leftover patches of orange and pink
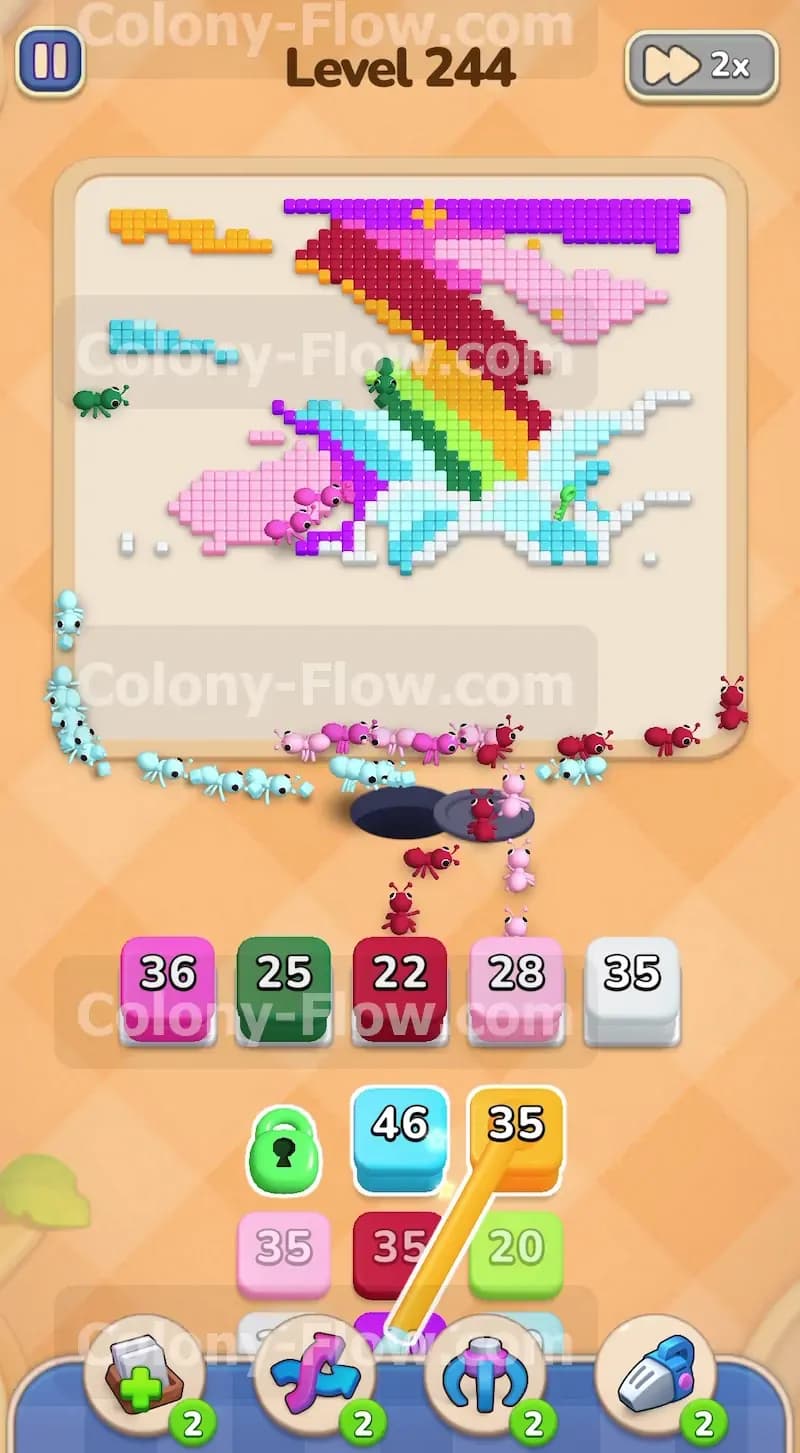
At this point the board looks scattered with small leftover sections of color. You will see an orange 37 block and a white 30 block waiting in the tray. Pull the smaller numbers first like the light green 1 block and the orange 6 block to clean up the tiny scattered fragments on the left side. Then pull the pink 35 block to eliminate the rest of the large pink shape completely. This targeted approach cleans up the messy middle area and prepares the board for the final massive tray pulls. Always verify that your waiting slots have plenty of room. Pulling a block with no matching exposed tiles will trap it in the tray and push you closer to a loss.
Step 6: Execute the massive four block connected chain
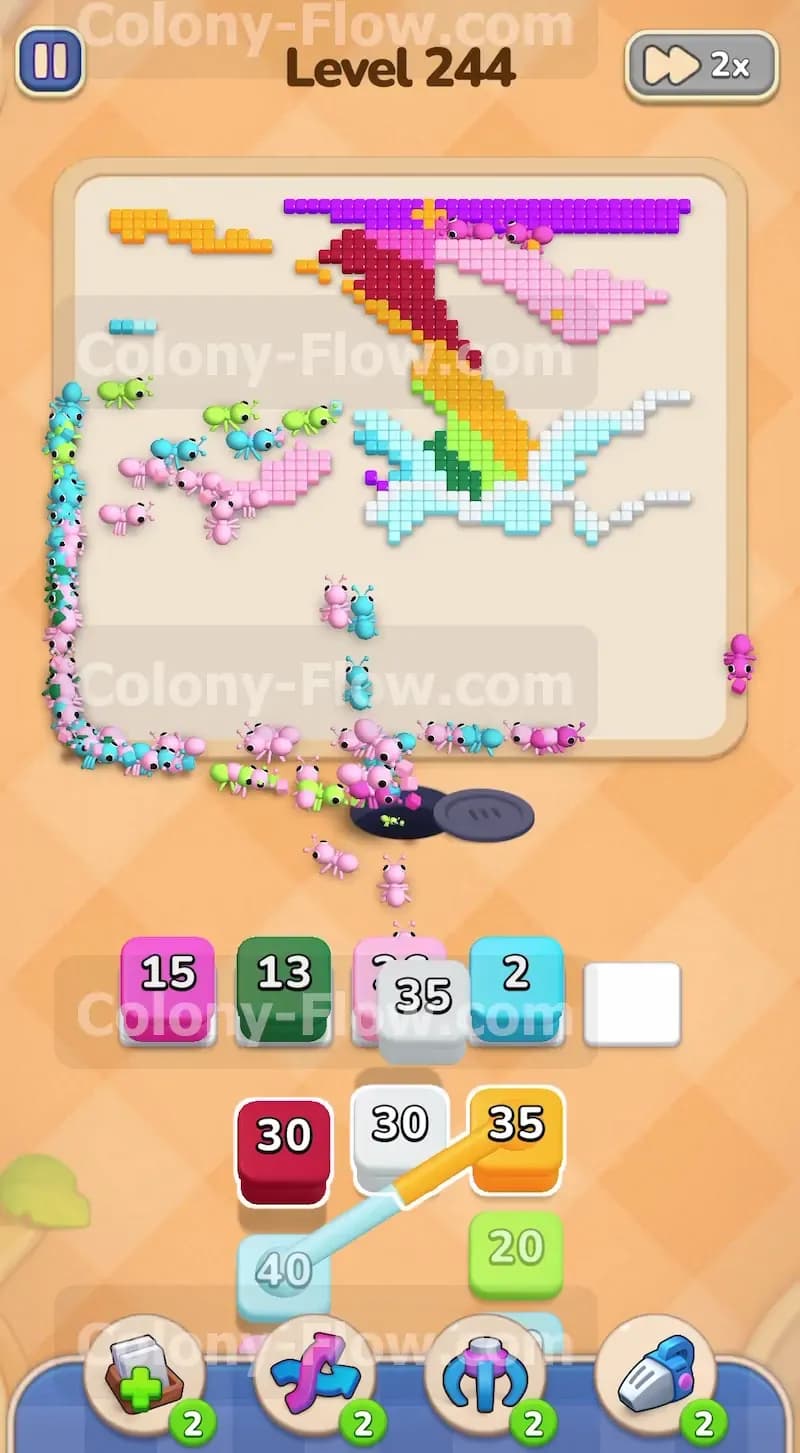
The tray now presents a massive chain of connected boxes that you must handle perfectly. You will see a dark red 30 block linked to a white 30 block linked to an orange 35 block and finally a light blue 40 block. This is the absolute most dangerous move of the level. You must have four empty waiting slots before you tap this chain. Wait until your current ants finish their meals and clear out of the tray completely. Once you have the space pull the chain. The ants will explode across the board hitting the dark red stripe the orange stripe the remaining white clouds and the last light blue water tiles all at once. This massive wave of clearing destroys almost all the remaining tiles in the center of the picture.
Step 7: Clear the final purple and yellow border tiles
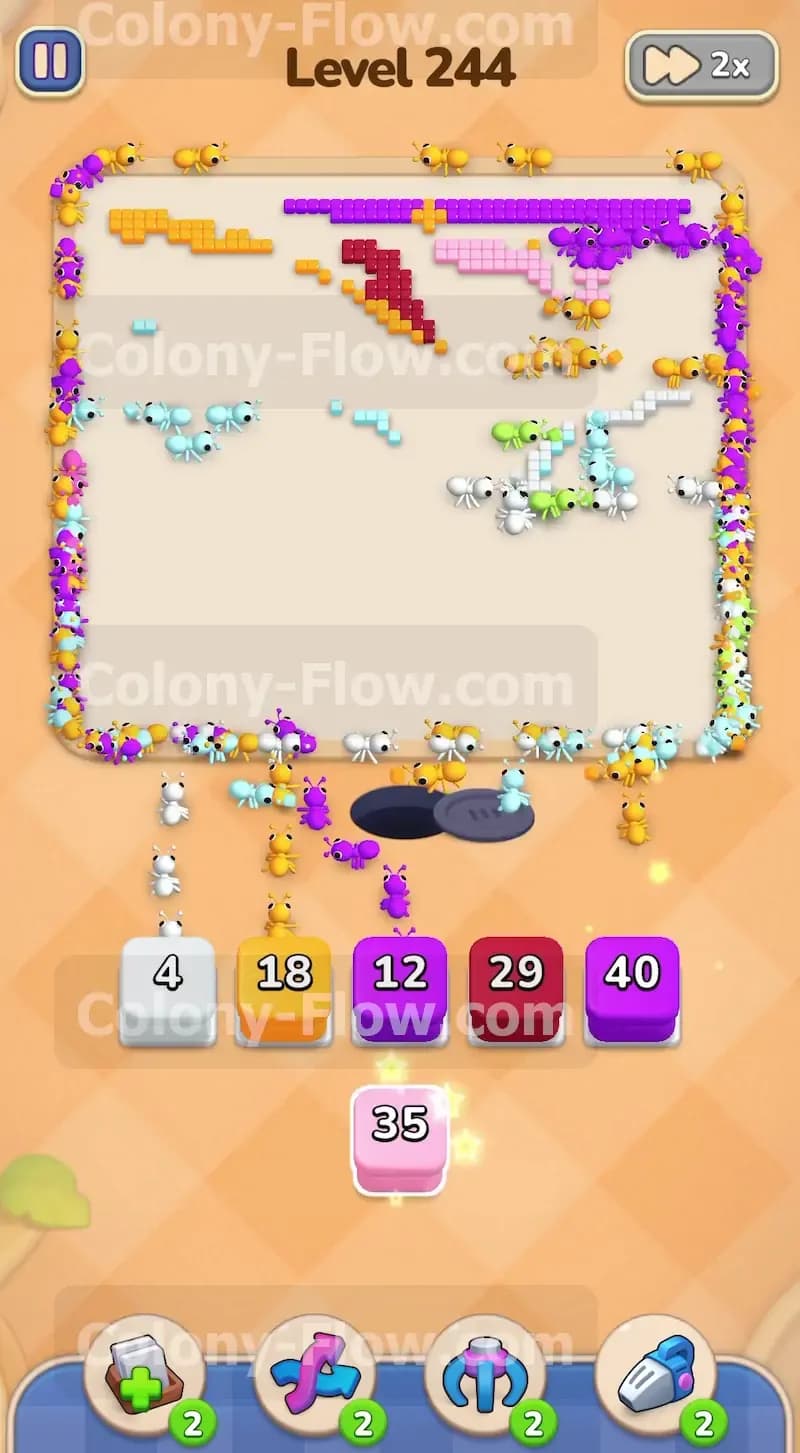
Only the thin outer border of the picture remains on the screen. You will see purple blocks white blocks and dark red blocks left in your final tray layout. Pull the white 4 block and the orange 18 block to clean up the top left corner. Then pull the purple 12 block and the purple 40 block into your slots. The ants will trace the very edges of the screen to eat the final purple frame and the tiny yellow star shapes. Ensure you pull the colors in the exact order that they are exposed on the board. Since it is the end of the level the paths are very narrow and easily blocked. One wrong pull will easily jam your last slot. Watch the ants finish the final bite and the level is complete.
Final Thought
Level 244 demands serious patience and careful tray management. The connected boxes and locked items easily trick you into filling your waiting slots too early. Always prioritize keeping a clear open path for your ants to travel. If you find any of these steps hard to picture in your mind I highly encourage you to watch the video above this article. Seeing the ants move in real time will help you understand the exact timing needed to win.