Colony Flow Level 228 Walkthrough Solution & Guides | How to solve Colony Flow 228

Guide By Liam Stone
Updated on July 13, 2026
The video above shows the complete Level 228 solution in real time, so you can skip straight to watching if you want.
Video doesn't match your screen?
Game updates frequently scramble layouts! Try our AI Screenshot Solver first to find your exact board instantly, or report broken guides to our team.
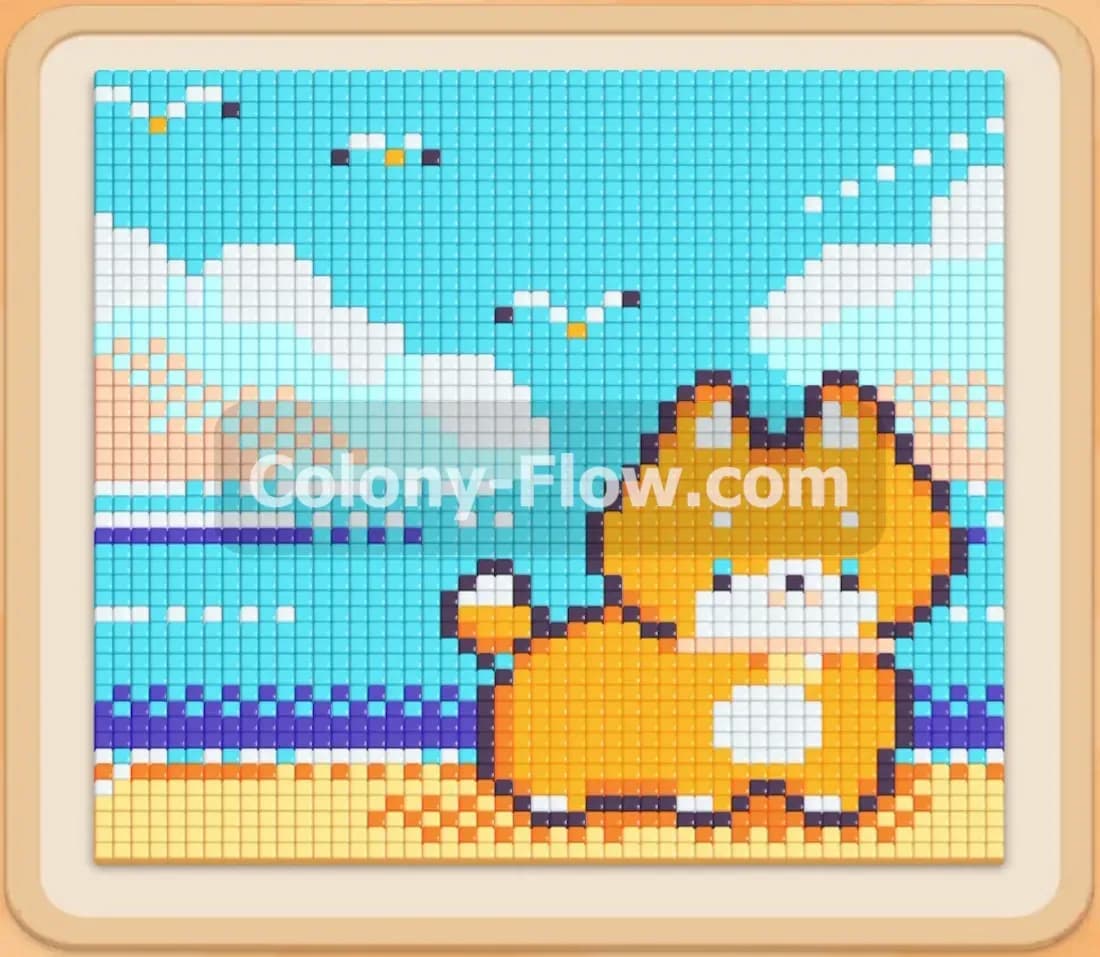
Welcome to Colony Flow Level 228. This puzzle features a highly detailed pixel art picture of an adorable dog sitting right on a sunny beach with an ocean horizon in the background. You play the game by matching colored numbered blocks from your bottom tray to the exact colors shown in the picture above. I played this exact board myself to verify the correct sequence of moves and I will guide you through the entire solution.
Colony Flow Level 228 Overview
What You Are Working With
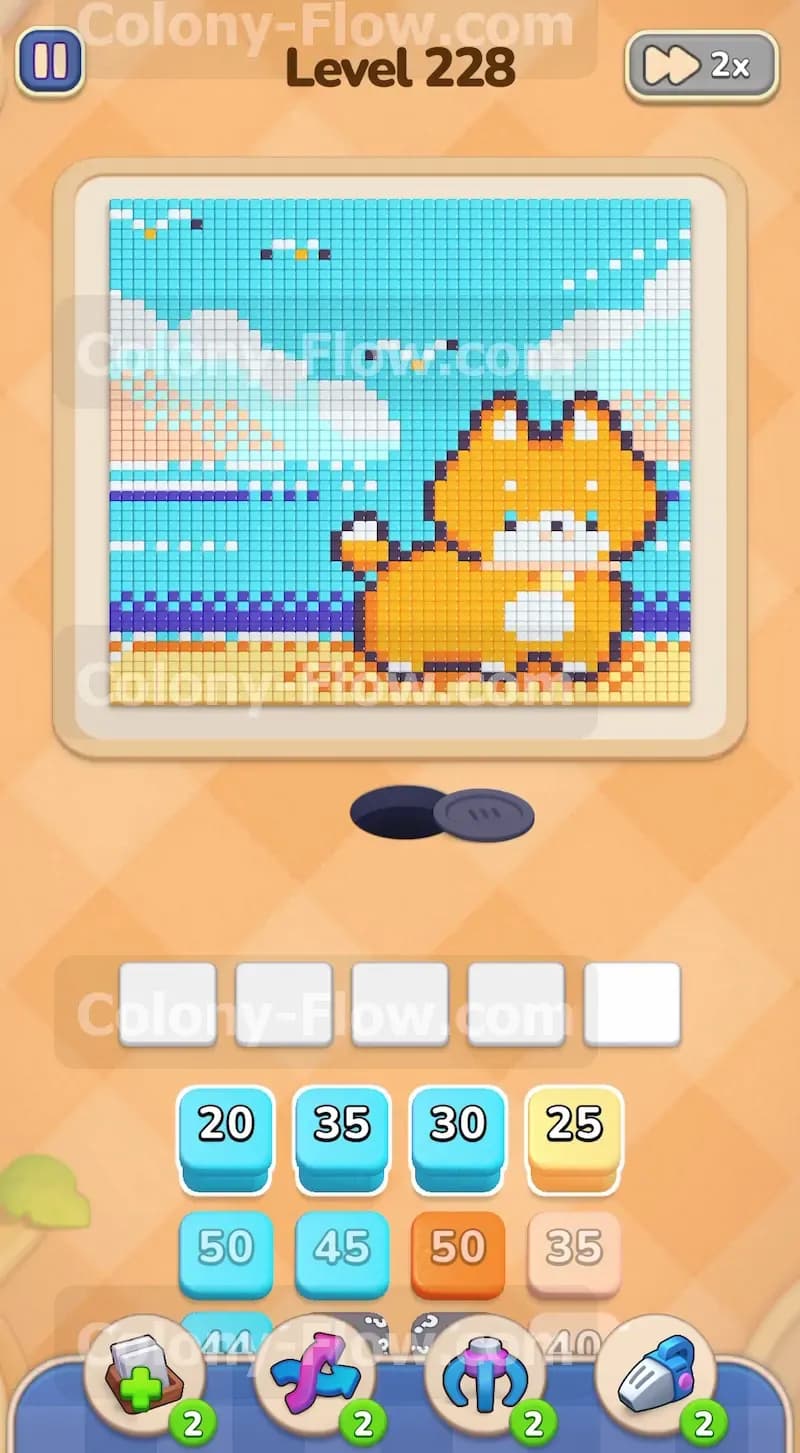
The picture presented in this puzzle contains several massive color zones. You see a vast sky blue and cyan sky filling the entire top half of the screen. Giant fluffy white clouds stretch across the sky background. The main subject is a dog featuring a vibrant orange coat with bright white markings on its belly and face. Just behind the dog sits a strict dark purple line that creates the ocean horizon. Down at the very bottom, a thick layer of orange sand anchors the whole image. The tray resting below the nest hole contains numbered blocks matching all these exact colors. You will encounter several connected boxes in this specific level. Connected boxes permanently link multiple colored blocks together in a strict chain. You have to pull the entire chain into your waiting area all at once. You will also uncover a hidden box later in the puzzle. This hidden box conceals its true color with a question mark until you clear the normal blocks sitting directly on top of it.
What It Takes to Clear Level 228 Board
Winning this level requires you to feed every single pixel from the picture to your hungry ant colony. You pull numbered color blocks from the bottom tray into the five available waiting slots. Once a block lands in an open slot, ants matching that specific color run out of the dark nest hole. They travel up the board and start eating any exposed pixels of the same color. The number on your tray block drops by one for every single pixel eaten. When the number finally hits zero, the block completely disappears from the waiting slot. You instantly lose the game if you fill all five waiting slots with blocks that have no open path. The ants will just stand there and the board will completely freeze. You must constantly ensure that at least one block in your waiting area has a valid open target on the board. Your overall strategy involves breaking down the outer sky frame first. This action gradually opens up the inner paths to the clouds, the dog, and the stubborn ocean horizon line.
Colony Flow Level 228 Step by Step Solution
Step 1: You pull the initial blue blocks to break down the outer sky frame and open the board
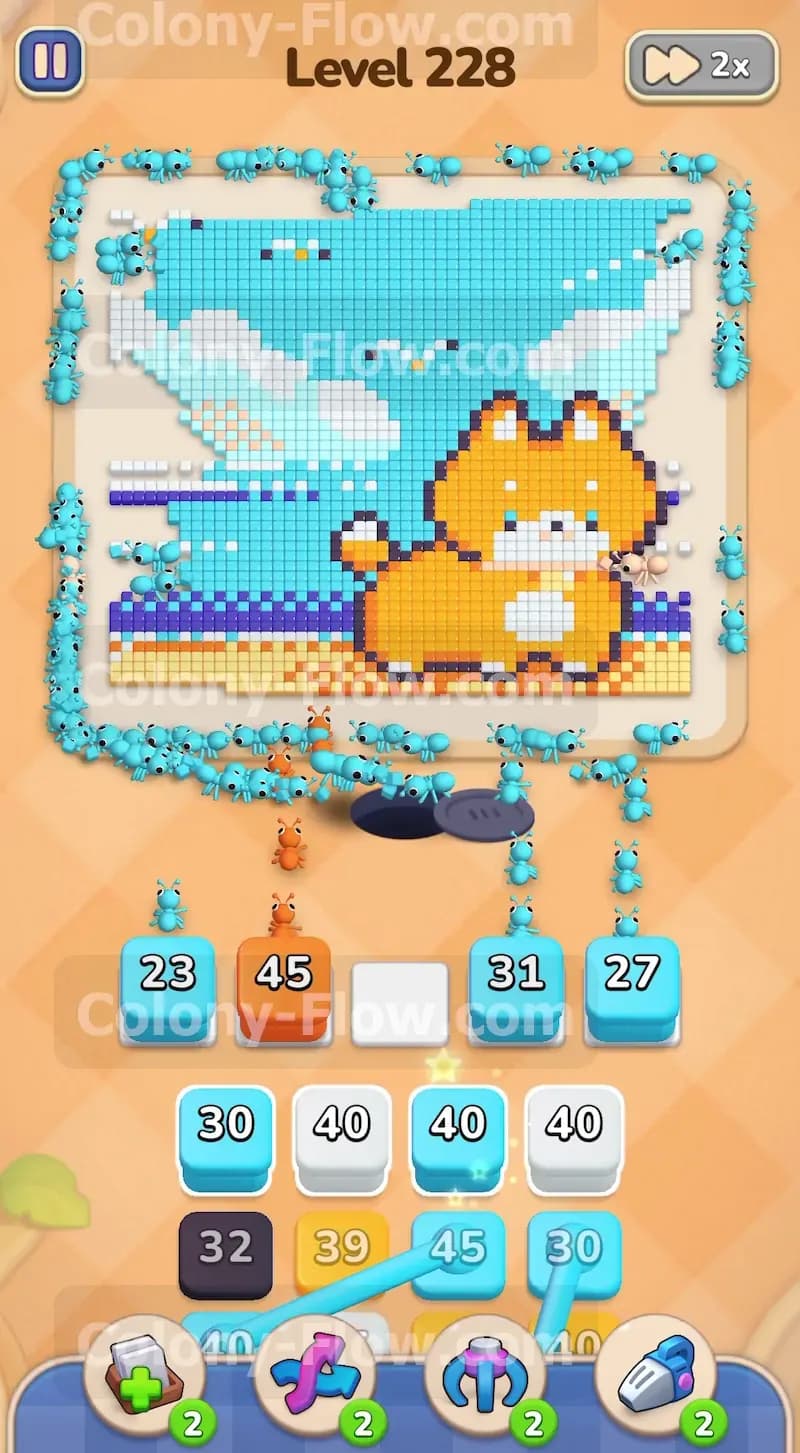
You begin the level facing a completely solid pixel picture. The only open paths exist on the extreme outer edges of the sky. You pull the top 20 value sky blue block from the tray into your first waiting slot. You immediately follow that move by pulling the 35 value cyan block and the 30 value cyan block. The bright blue ants stream out of the nest hole in a massive line. They march straight up the far left and far right sides of the screen. They begin eating away the thick blue frame surrounding the dog and the clouds. By pulling these three blocks right away, you keep the ants actively feeding and moving. You still leave two waiting slots completely empty. This protects you from the main lose condition. The outer frame of the picture begins to shrink and pull back toward the center.
Step 2: You send orange and white ants to eat the exposed sand and fluffy clouds
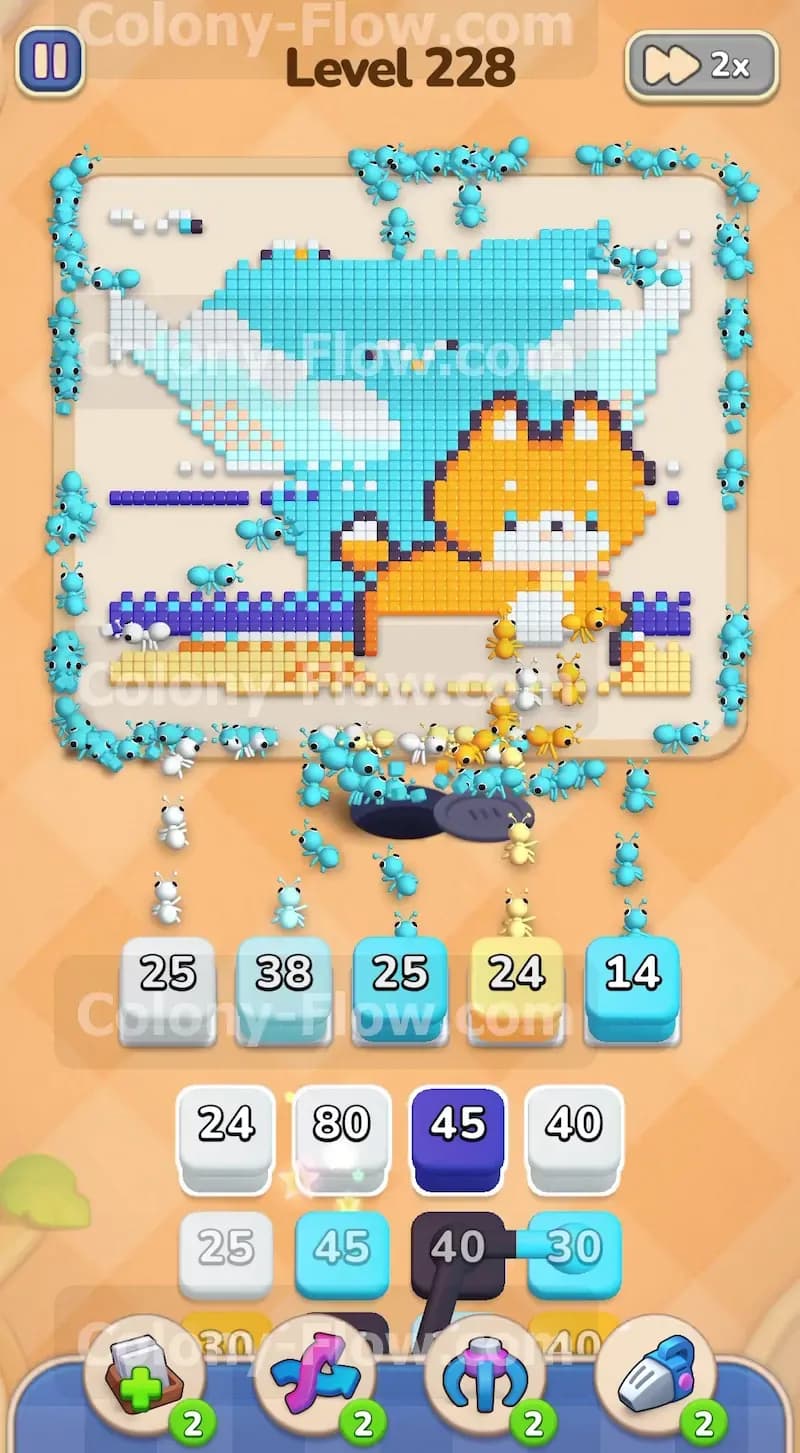
The destruction of the outer sky border creates brand new paths into the middle of the picture. You can finally reach the white clouds floating in the sky and the orange sandy beach resting at the bottom. You pull a massive 45 value orange block into your tray. A huge swarm of orange ants floods out of the nest and heads straight down to the bottom of the picture. They consume the long lines of sand pixels. At the exact same time, you pull a 31 value sky blue block and a 27 value sky blue block into the open waiting slots. The sky blue ants continue eating the upper corners of the sky. This action fully exposes the edges of the big white clouds. You pull a 25 value white block to send a line of white ants traveling up toward the clouds. You maintain a perfect balance between clearing the top of the board and the bottom of the board.
Step 3: You bring the first chain of connected boxes into the waiting slots to clear the birds and clouds
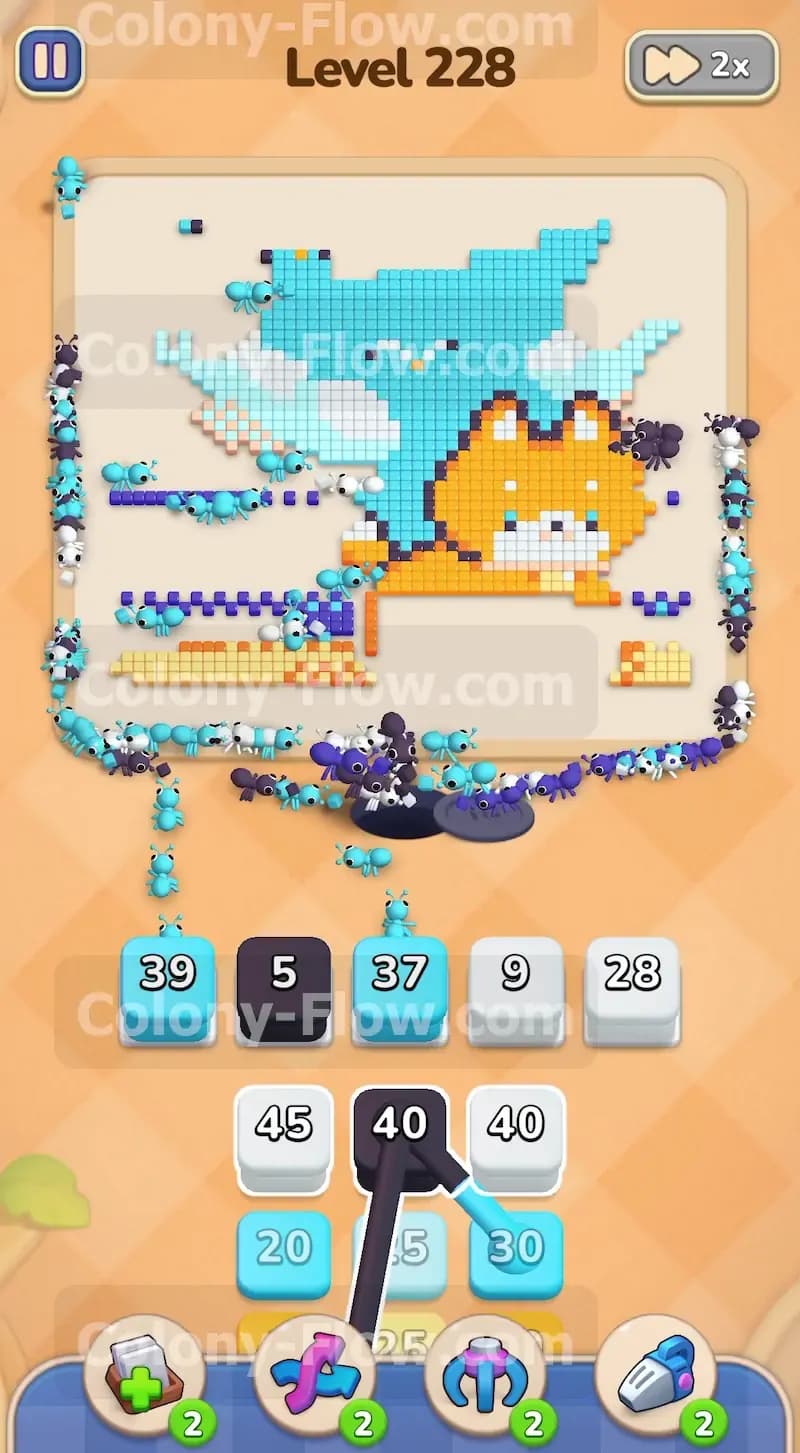
You now encounter the first dangerous elements in your tray stack. You see a set of connected boxes linking a 30 value cyan block directly to a 40 value white block. You have to pull them up into the waiting slots as a paired unit. Because you spent the early moves opening wide paths to both the sky and the clouds, you can safely pull this chain. Both colors have immediate access to their required pixels on the board. The cyan ants run up to eat the remaining blue space and the tiny birds flying in the sky. The white ants swarm the large fluffy cloud formations on the left side of the screen. This dual feeding action drains the numbers on the connected boxes very quickly. The blocks vanish and open your waiting slots back up for the next moves.
Step 4: You deploy the dark purple blocks to destroy the stubborn ocean horizon line across the middle
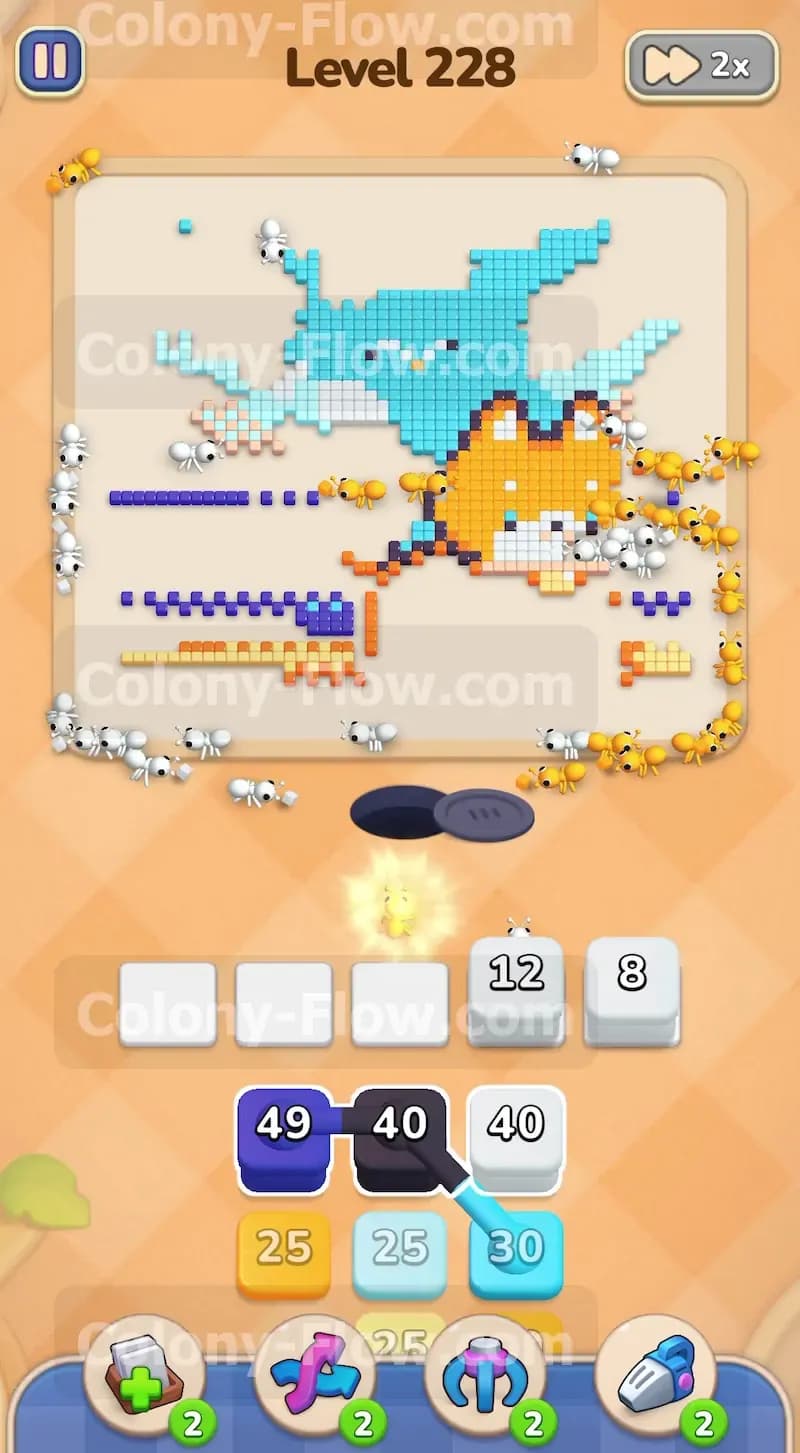
A solid line of dark purple pixels forms the ocean horizon right across the middle of the picture. You cannot touch this line until the sand below it and the clouds above it are gone. Since your earlier moves cleared the surrounding areas, the dark purple line is finally exposed. You pull a massive connected chain containing an 80 value white block and a 45 value dark purple block. The white ants have plenty of cloud pixels to eat so the 80 value block starts counting down without delay. The dark purple ants rush the center of the board to devour the ocean line. You also bring up another connected chain featuring a 45 value sky blue block and a 40 value dark purple block. The horizon line rapidly disappears as the dark purple ants bite completely through it. Breaking this line splits the remaining picture pixels into completely separate floating islands.
Step 5: You pull orange and white blocks to consume the large main body of the dog
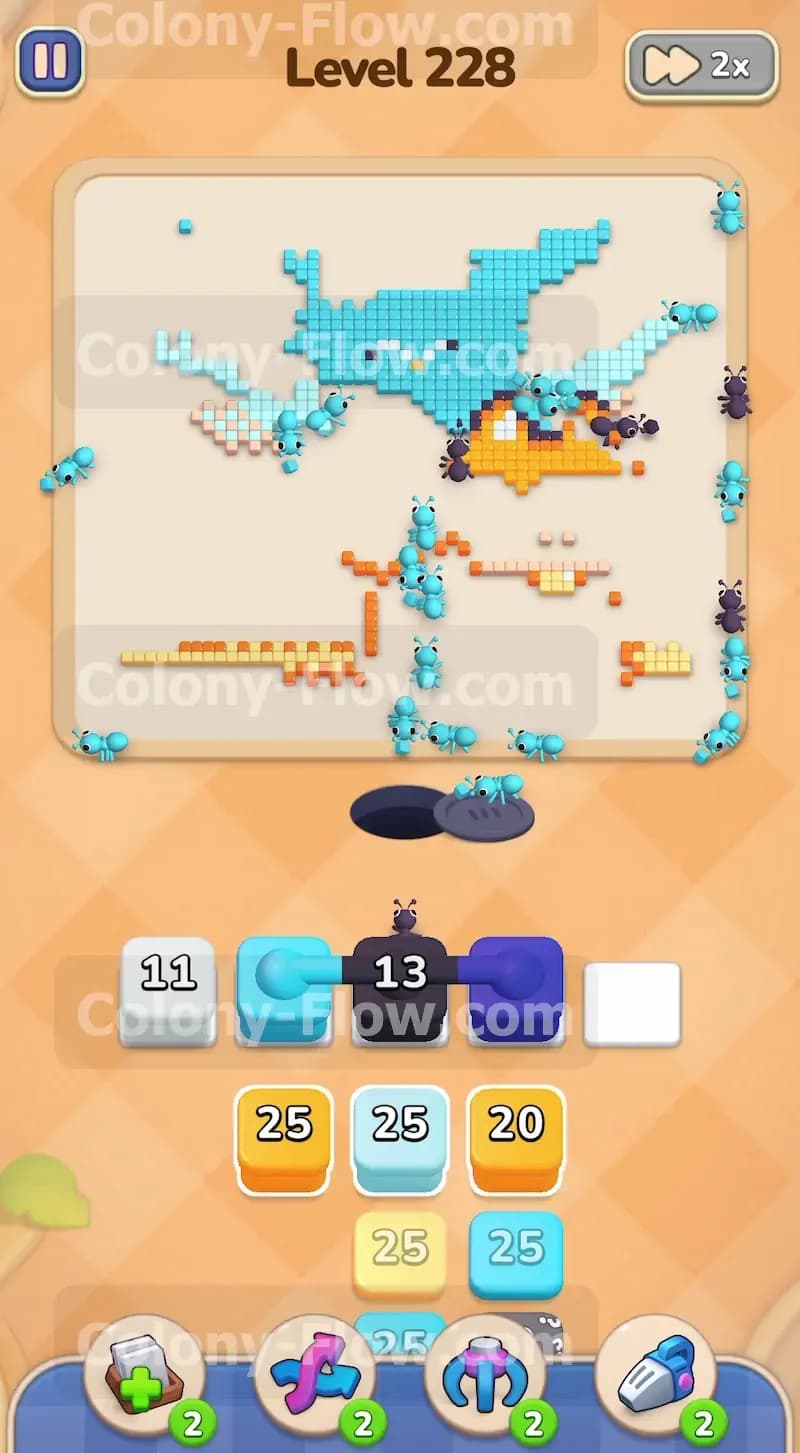
With the ocean horizon completely gone, only the dog and a few scattered pieces of the sky remain. You shift your full attention to the large orange body of the dog sitting in the center. You pull a 39 value orange block and a 45 value white block into your available waiting slots. The orange ants swarm the head, the back, and the legs of the dog. The white ants target the lower belly area and the bright markings on the face. You also pull a 24 value yellow block to clear out the last remaining patches of sand directly underneath the paws. Your five waiting slots remain totally safe because the dog offers a massive open surface area. Hundreds of ants feed at the exact same time and the numbers on your blocks drop at an incredible speed.
Step 6: You pull the final connected chains to finish the ocean water and the tiny face details
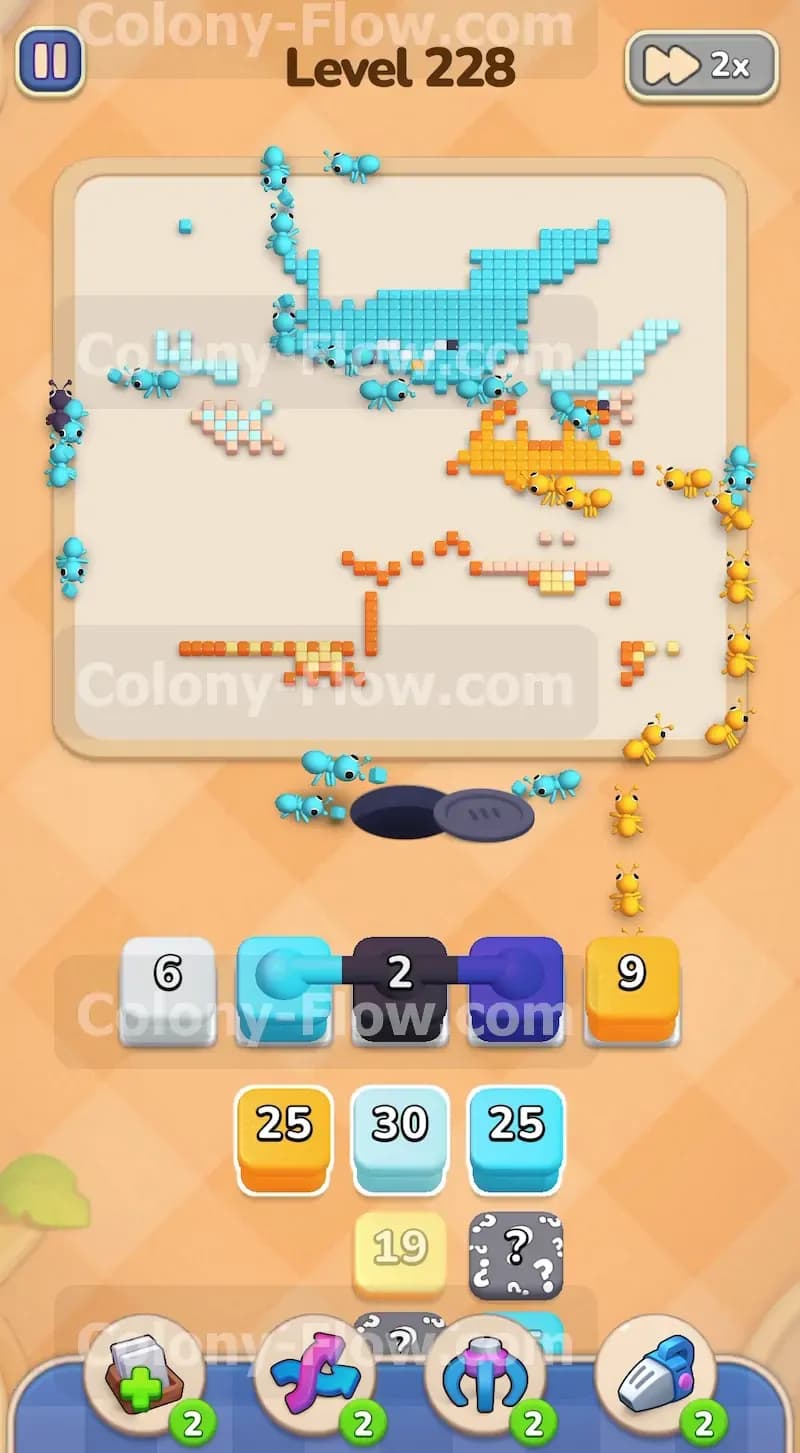
You reach another set of tricky connected boxes deep down in the tray stack. This particular chain features a 49 value dark purple block attached to a 40 value dark purple block. You pull them up into your open waiting slots. The dark purple ants rush out to finish off the very last segments of the ocean water hiding right behind the right side of the dog. While they feed, you pull a 12 value white block and an 8 value white block into the tray. The white ants run out to consume the final tiny white markings on the nose and face of the dog. You just need to wait a few seconds for the dark purple ants to finish their massive meal. The tray stays perfectly balanced because you only pull blocks that exactly match the active open paths on the board.
Step 7: You clear the blocks resting on the hidden box to reveal its color and finish the puzzle
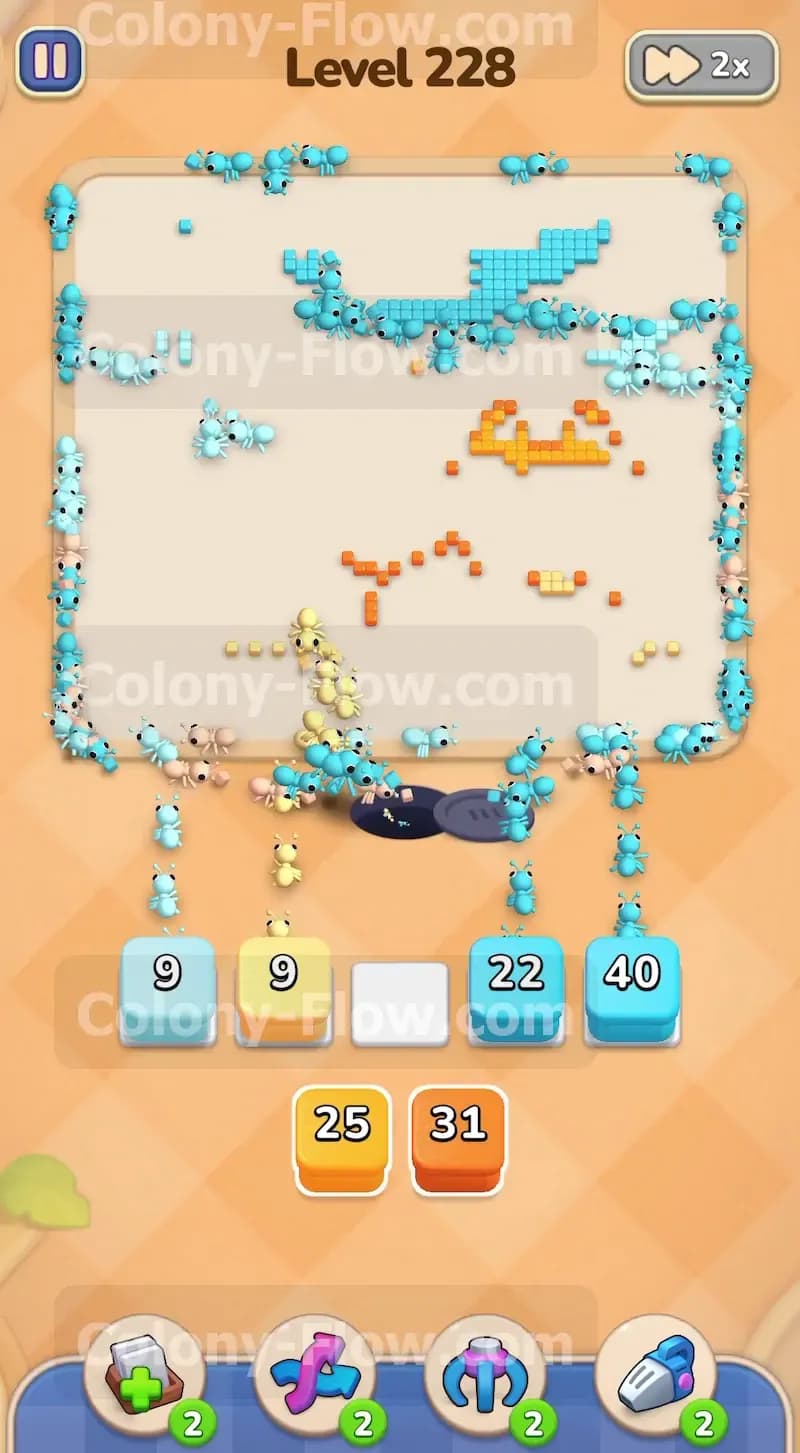
You spot a hidden box marked with a mysterious question mark sitting at the very bottom of the tray stack. You cannot use it or see its true color until you clear the regular blocks resting directly above it. You pull the 30 value cyan block and the 25 value cyan block to clear out the final blue pixels floating in the empty sky. Once those specific blocks leave the tray stack, the hidden box flips over and reveals its true color. You pull the newly revealed block into your waiting slots alongside the last remaining 40 value sky blue block and 31 value orange block. The final wave of ants streams out of the nest hole. They sprint across the empty board to eat the last scattered pixels. The very last pixel vanishes from the screen and you win the level.
Final Thought
You just conquered a massive pixel art puzzle by managing your tray perfectly from start to finish. Keeping your paths wide open prevents the five waiting slots from locking you out of the game. Planning around the connected chains ensures your ants always have food to eat. Watch the video above this article if you want to see exactly how the ants navigate the board. Keep pulling blocks strategically and you will never run out of moves.