Colony Flow Level 280 Walkthrough Solution & Guides | How to solve Colony Flow 280

Guide By Liam Stone
Updated on August 1, 2026
Want the shortcut? Watch the video above for the full Level 280 solution.
Video doesn't match your screen?
Game updates frequently scramble layouts! Try our AI Screenshot Solver first to find your exact board instantly, or report broken guides to our team.
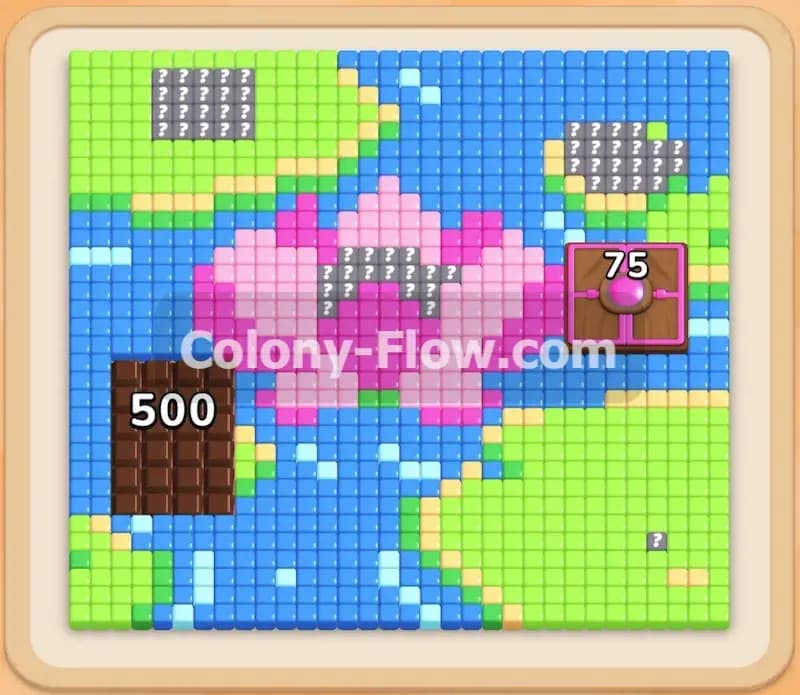
Colony Flow Level 280 presents a beautiful pixel art picture of a frog resting on a lily pad. You will need to carefully disassemble this framed image from the outside in to secure a win. I played through this board to find the safest path for your ants. Here is exactly how you can clear the picture without jamming your waiting slots.
Colony Flow Level 280 Overview
What You Are Working With
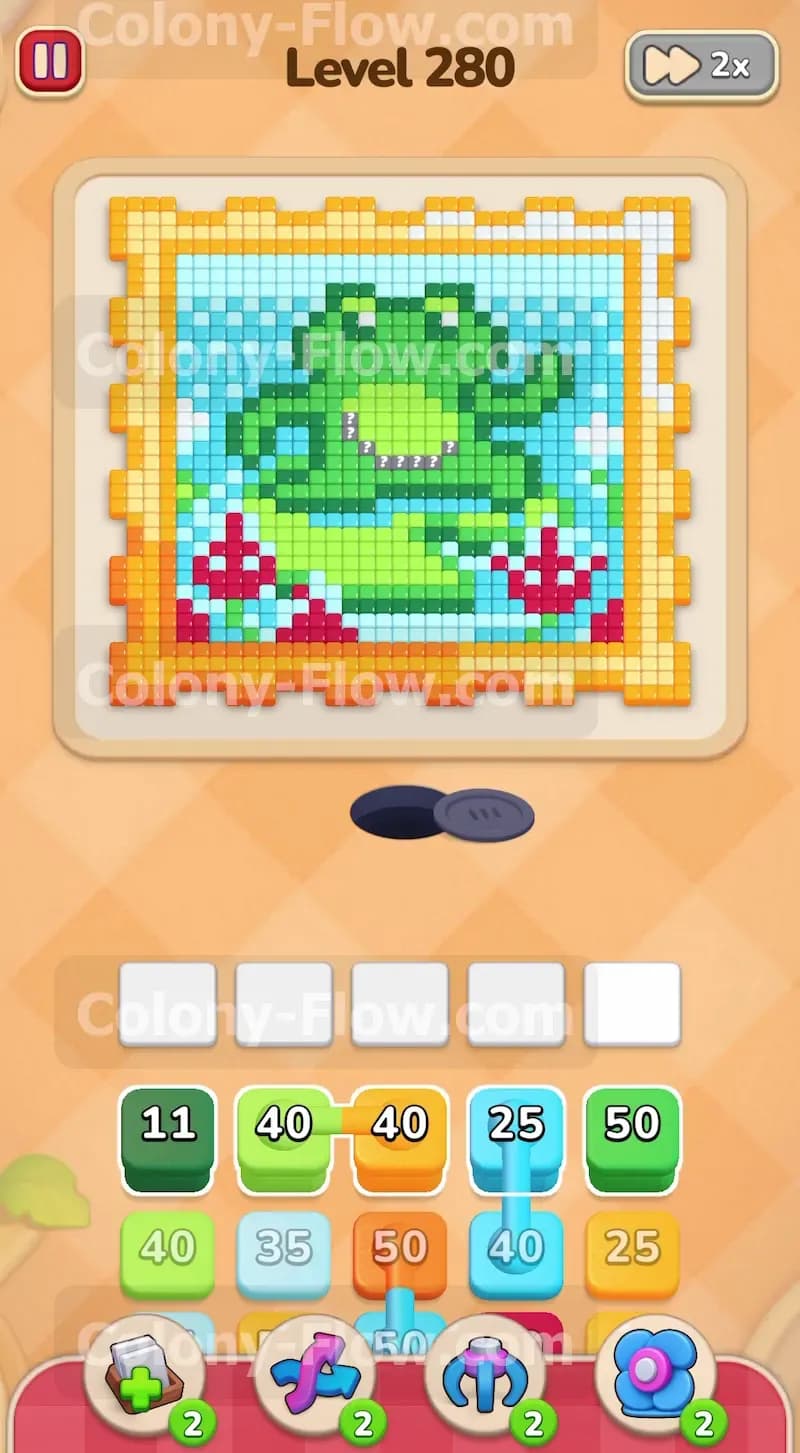
The picture at the top of your screen features a bright green frog sitting on a light green lily pad. A beautiful background of light blue water fills the space behind the frog. Red flowers decorate the bottom edge of the scene near the lily pad. A thick outer border made of yellow and orange pixels frames the entire picture. Your tray at the bottom contains high numbered blocks in yellow, orange, light blue, green, light green, dark green, red, and white. You will immediately notice connected boxes sitting in your tray. A yellow block connects directly to an orange block. A light blue block connects to a green block. These linked boxes move together into your waiting slots when you tap either one of them. You have five empty waiting slots above the tray to manage all these colors.
What It Takes to Clear Level 280 Board
You win this level by clearing every single colored pixel from the board without letting your five waiting slots fill up completely. The ants enter the board from the nest hole at the bottom center and need an open path to reach their matching color. You must eat the picture from the outside moving inward. The bottom frame blocks your access to the inner frog and the water. You have to send yellow and orange ants first to break down that lower protective wall. Every move you make needs to open a new path for the next color in your tray. If you pull up a color that is trapped behind other solid pixels, that block will sit in your waiting slots and take up valuable space. Since connected boxes take up two slots at once, making a mistake with them will quickly fill your five slots and end your run. You lose the level if all five slots fill up and no ants can move.
Colony Flow Level 280 Step by Step Solution
Step 1: Open the bottom border using the connected yellow and orange blocks
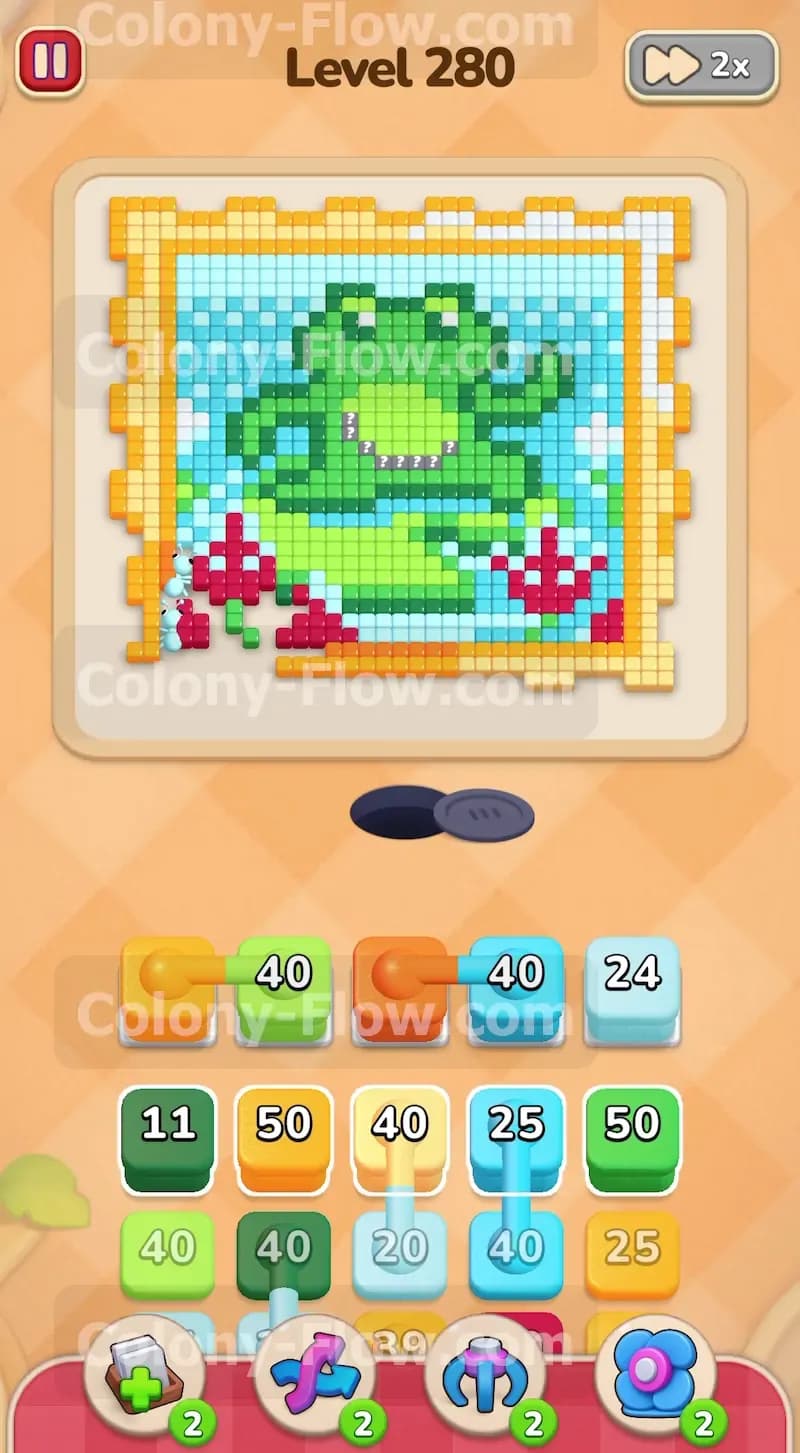
Your absolute first priority is removing the solid wall at the bottom of the picture. The yellow and orange pixels form the thick outer frame. Look at your tray and tap the connected pair holding the 40 yellow block and the 40 orange block. Both blocks will jump into your waiting slots at the exact same time. Because the bottom edge of the frame is fully exposed to the nest hole, both the yellow ants and the orange ants have an immediate open path. They will stream out of the hole and start eating away the bottom border. The numbers on your yellow and orange blocks will count down steadily as the ants consume the frame. This action clears the way to the red flowers and the lower part of the lily pad. Your waiting slots will empty out completely once the numbers drop to zero and the ants finish those bottom pixels.
Step 2: Send out light green ants to consume the lily pad
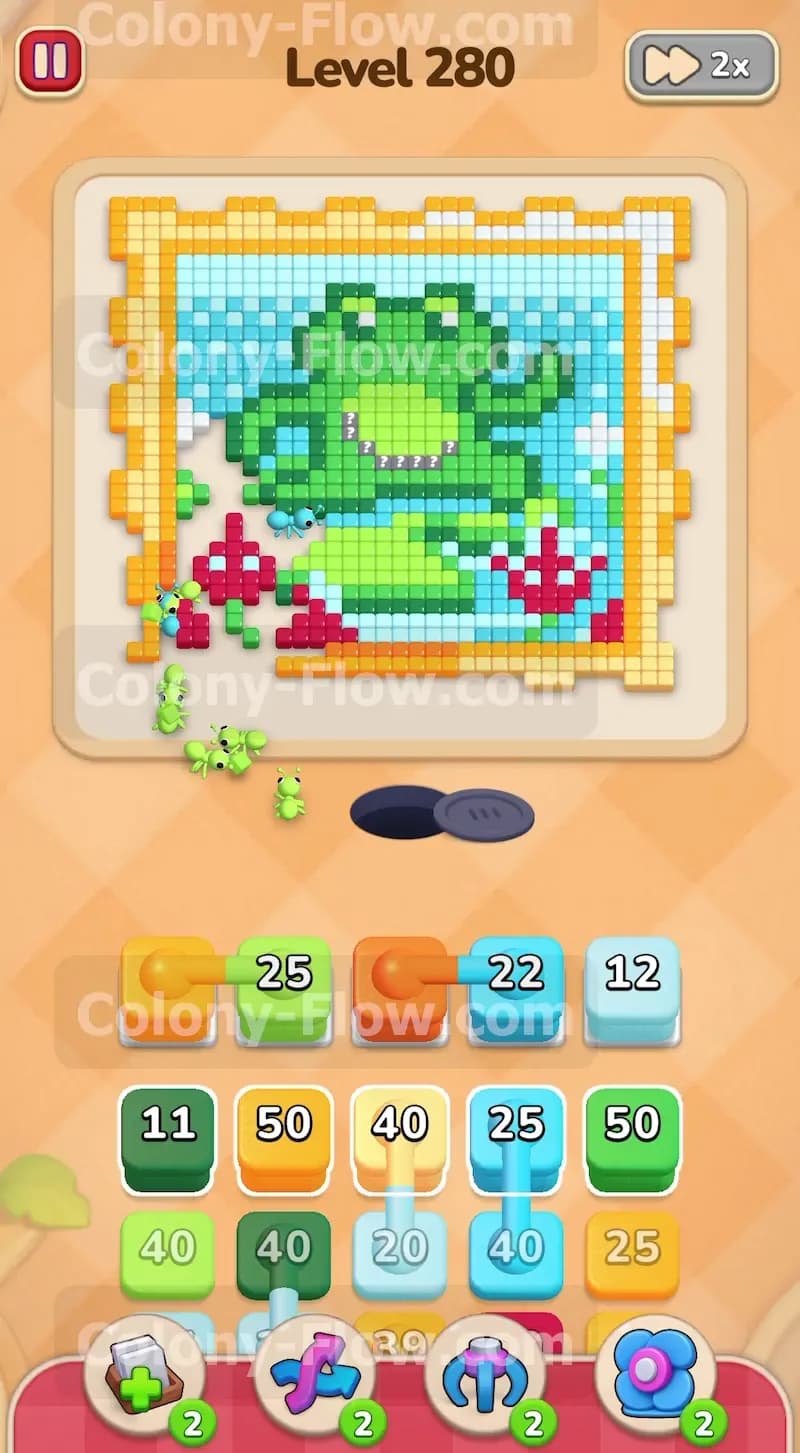
With the bottom frame completely gone, the light green lily pad is now fully exposed to your ants. Tap a 40 light green block from your tray to move it into your waiting slots. The light green ants will march straight up the screen and target the broad leaves sitting under the frog. This step is crucial because the lily pad blocks your access to the main frog body and the surrounding water. Watch the ants clear the wide light green section. The block number will drop rapidly to zero as the ants swarm the exposed pixels from multiple angles. Keeping the light green block active ensures your waiting slots stay clear while you wait for the red flowers to become fully accessible. You always want to keep the ants moving and eating.
Step 3: Clear the red flowers near the bottom corners
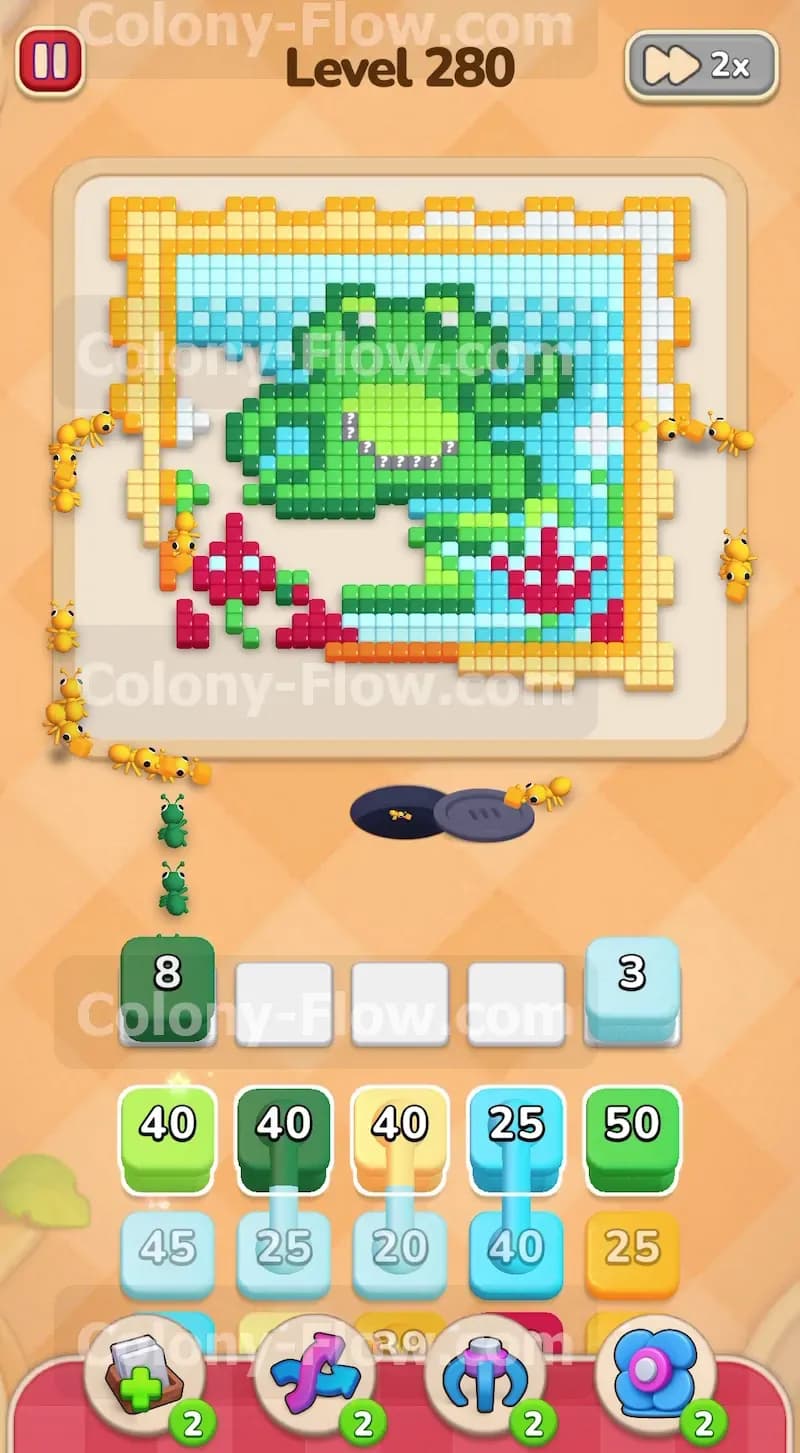
The red flowers sit on the left and right sides near the bottom of the picture. Now that the surrounding border and lily pad parts are mostly gone, the red pixels have wide open paths. Tap a 40 red block from your tray. The red ants will divide into two separate streams and head toward both bottom corners. They will quickly eat the flower shapes piece by piece. Removing these red pixels creates much wider entry paths on the left and right sides of the board. You need these wide gaps to let your future ants reach the upper parts of the orange frame and the blue water later on. Wait for the red block number to hit zero and disappear from your waiting slots.
Step 4: Chip away at the sides of the orange frame
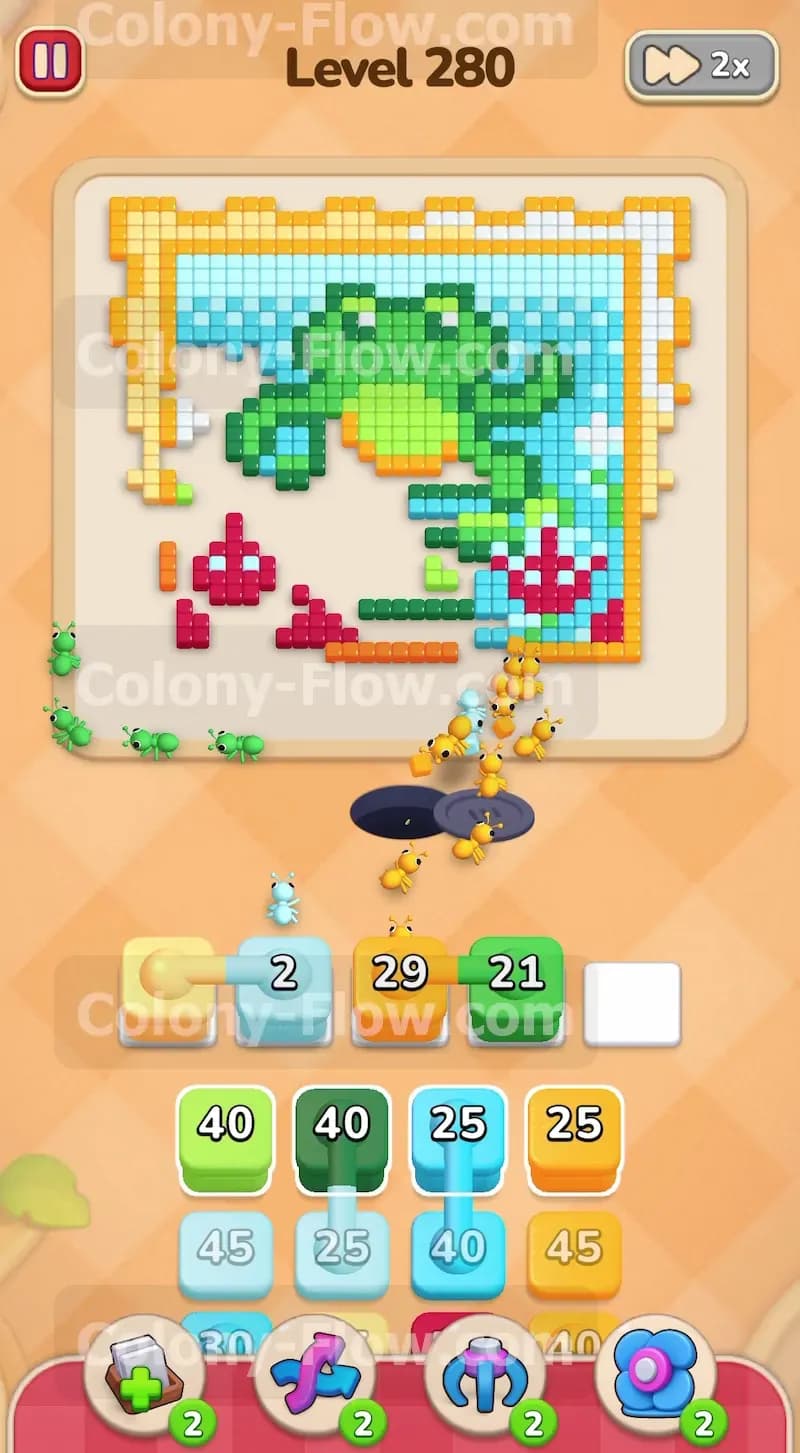
You still have a large number of orange pixels forming the vertical sides of the picture frame. Bring up a 50 orange block into your waiting slots to handle this section. The orange ants will crawl up the left and right edges of the board to eat the side borders. This takes a little more time because the ants have to travel much further up the screen from the nest hole. Let them work their way up the sides patiently. The high number on your orange block will slowly count down to zero as the ants travel the long distance. Clearing the side borders removes the final barriers protecting the light blue background water and the dark green outlines of the frog. Your waiting slots remain perfectly safe during this time because the orange ants constantly have open targets to eat.
Step 5: Tackle the green frog body and dark green outline
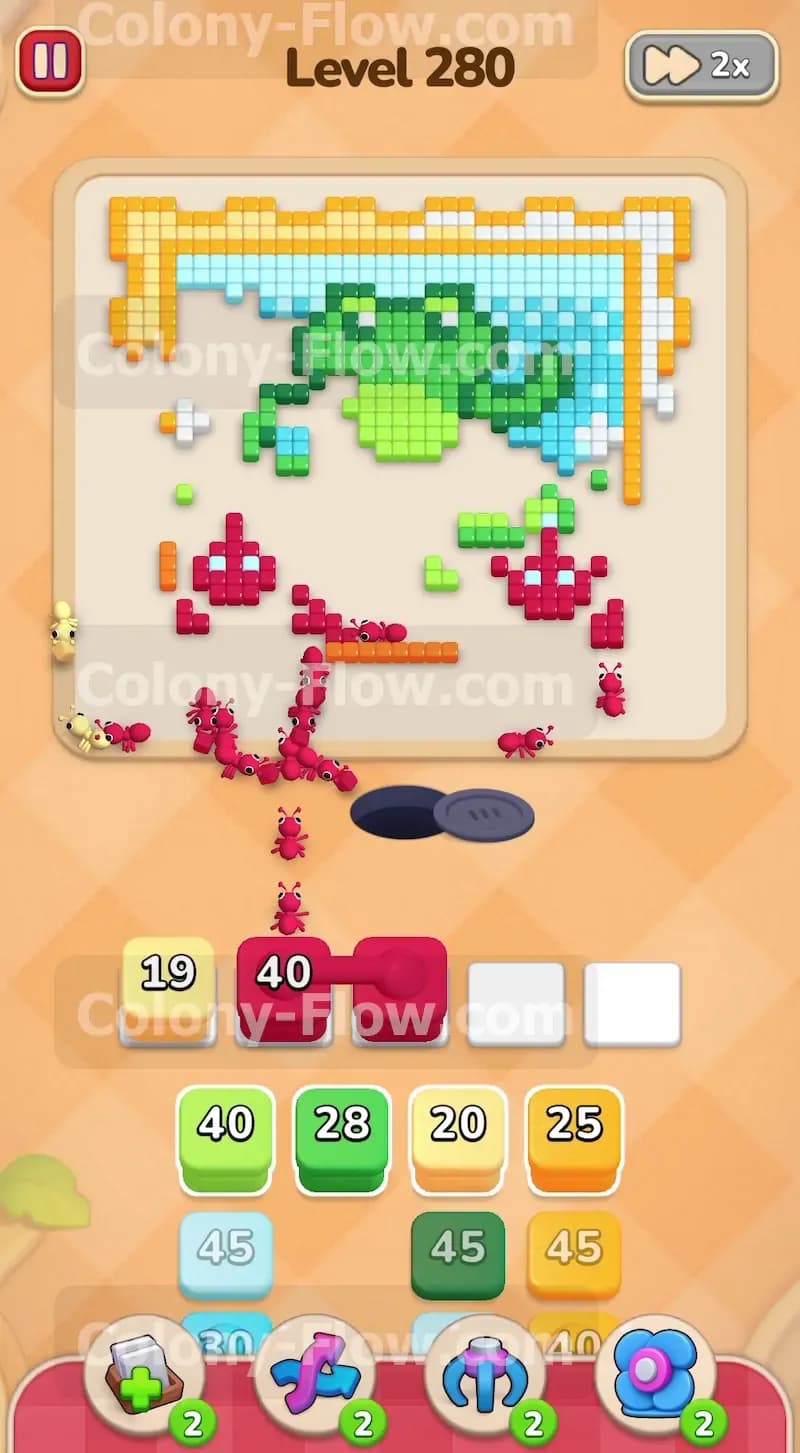
The frog serves as the centerpiece of the entire board. Tap a 50 green block to send ants directly after the solid green body of the frog. Once the green ants clear a good portion of the main body, bring up an 11 dark green block from your tray. The dark green pixels form the outline of the frog and the small facial details. The dark green ants will stream into the center and eat the outline pieces. You can easily run the green and dark green blocks at the very same time if you have enough open slots available. The green block number will decrease quickly. The dark green block will follow suit and drop to zero. The different colored ants will weave around each other to eat the frog from the outside in. This totally clears the center of the board and leaves only the water and the top frame for you to deal with.
Step 6: Clear the light blue water background
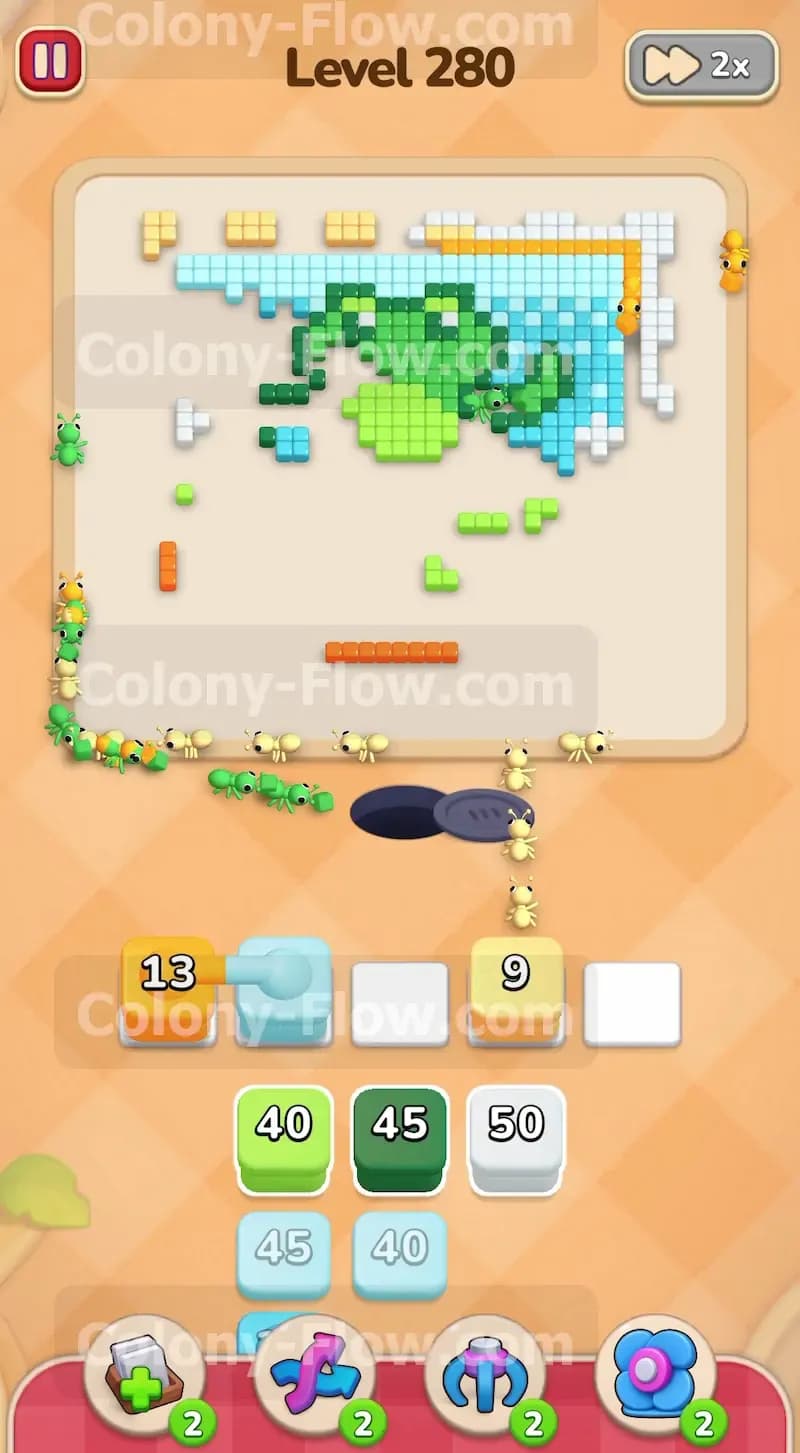
The background behind the frog consists of many light blue pixels forming the water. You have connected boxes in your tray that include the color light blue. Make sure the light blue pixels are easily accessible before you tap those specific connected boxes. Once you bring up a connected pair containing a 25 light blue block, the ants will flood the upper half of the board. They will eat the water filling the space between the former frog area and the top frame. The block numbers are quite high, but they will count down quickly as the ants make quick work of the large water sections. Your screen will start to look very empty as the blue background disappears pixel by pixel.
Step 7: Send white ants to clear the water highlights
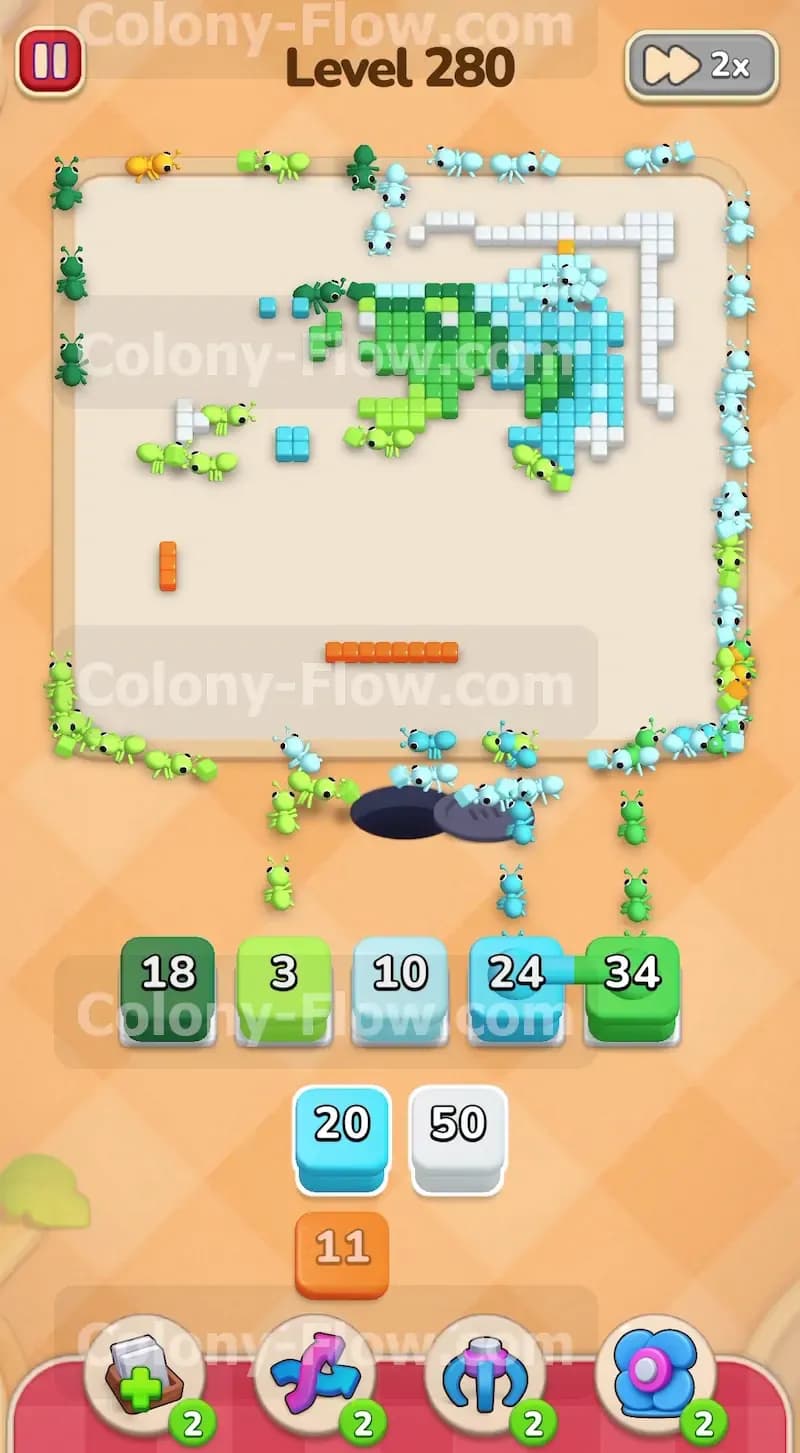
There are small white details scattered high up in the upper water area. Tap a 12 white block from your tray to send out the white ants. The white ants will travel high up the empty sections of the board to eat these specific pixels. Always check that the white pixels are not trapped behind the remaining light blue water before you pull the white block into your slots. Pulling a blocked color will cause it to sit stuck in your waiting area. The white ants will finish off the remaining background details quickly. The small white numbers drop to zero in a flash. This leaves just the very top of the frame waiting for you.
Step 8: Finish the top frame to complete the picture
The absolute final pieces of the puzzle are the yellow and orange pixels making up the top border of the frame. Tap your remaining yellow and orange blocks from the tray. The ants will take a long walk all the way up the empty board to reach the top edge. They will eat the final yellow corners and the solid orange top bar. When the last block hits zero and the ants clear the final pixel, you win the board. Keeping your slots managed properly throughout the whole process ensures you reach this final push without any jams or dead ends.
Final Thought
Level 280 demands very good timing with your connected boxes. You always want to make sure the outer layers are completely gone before you pull colors meant for the inner picture. Keeping a close eye on the pathing prevents your five slots from ever filling up. Please watch the video above this article if any step is hard to follow in text. Seeing the ants clear the paths in real time will help you understand exactly when to drop each block into your waiting slots.