Colony Flow Level 216 Walkthrough Solution & Guides | How to solve Colony Flow 216

Guide By Liam Stone
Updated on July 13, 2026
The video above solves Level 216 step by step, so you can skip the article entirely if you prefer watching.
Video doesn't match your screen?
Game updates frequently scramble layouts! Try our AI Screenshot Solver first to find your exact board instantly, or report broken guides to our team.
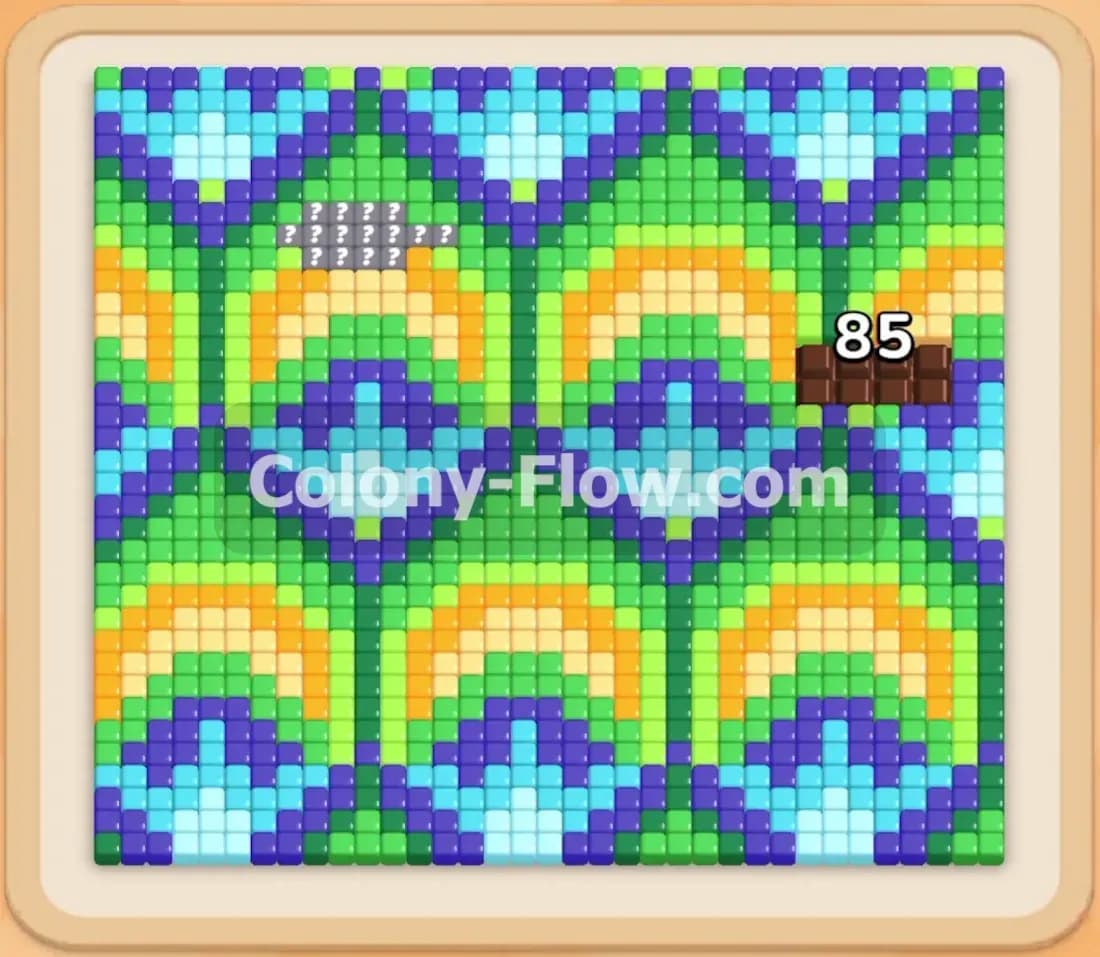
Welcome to Colony Flow Level 216. This board presents a dense overlapping pattern that looks like colorful feathers or scales covering the entire screen. You will need to carefully manage your sequence of colors to chip away at the outer edges without jamming your five waiting slots. I will walk you through exactly how to break this dense board down step by step so you can secure a win.
Colony Flow Level 216 Overview
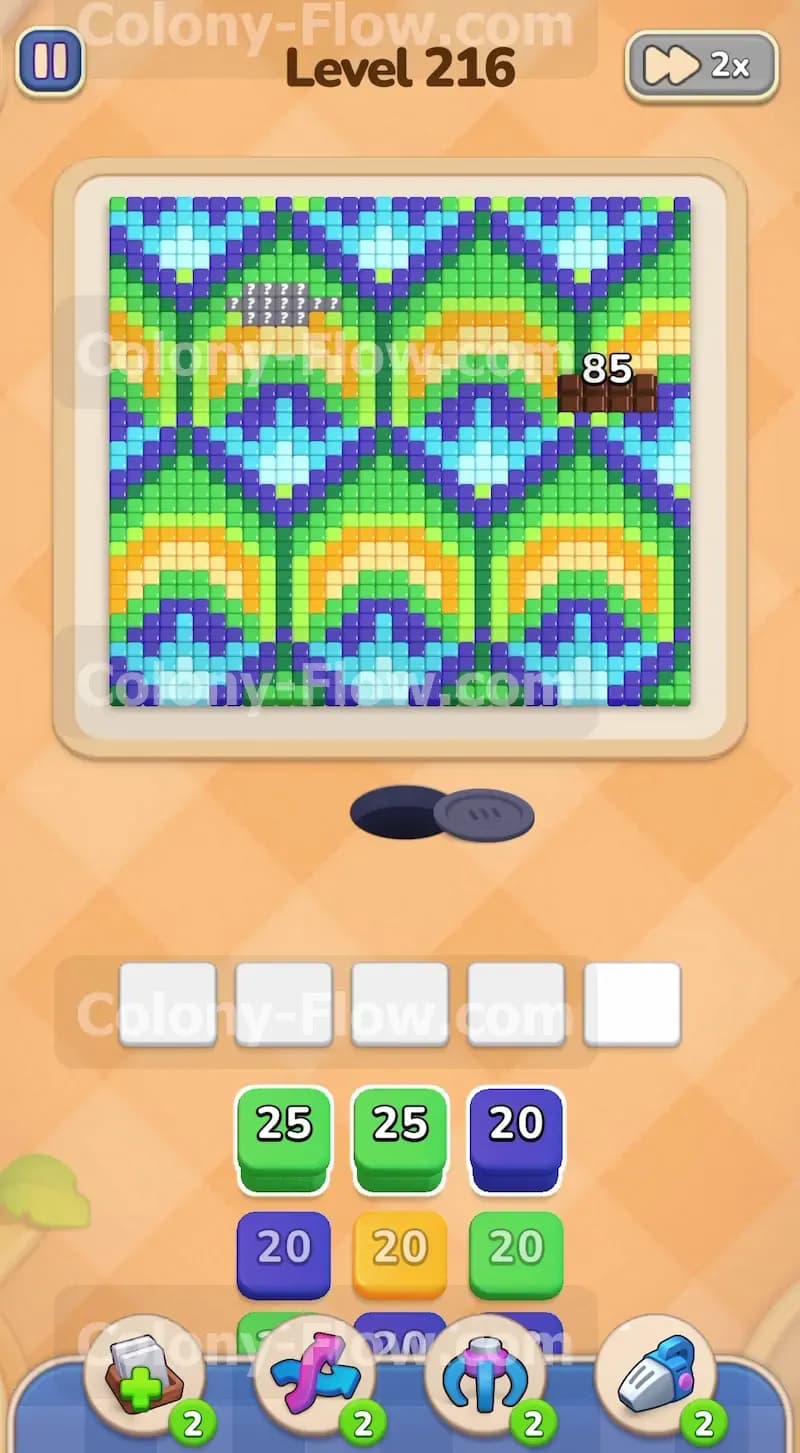
What You Are Working With
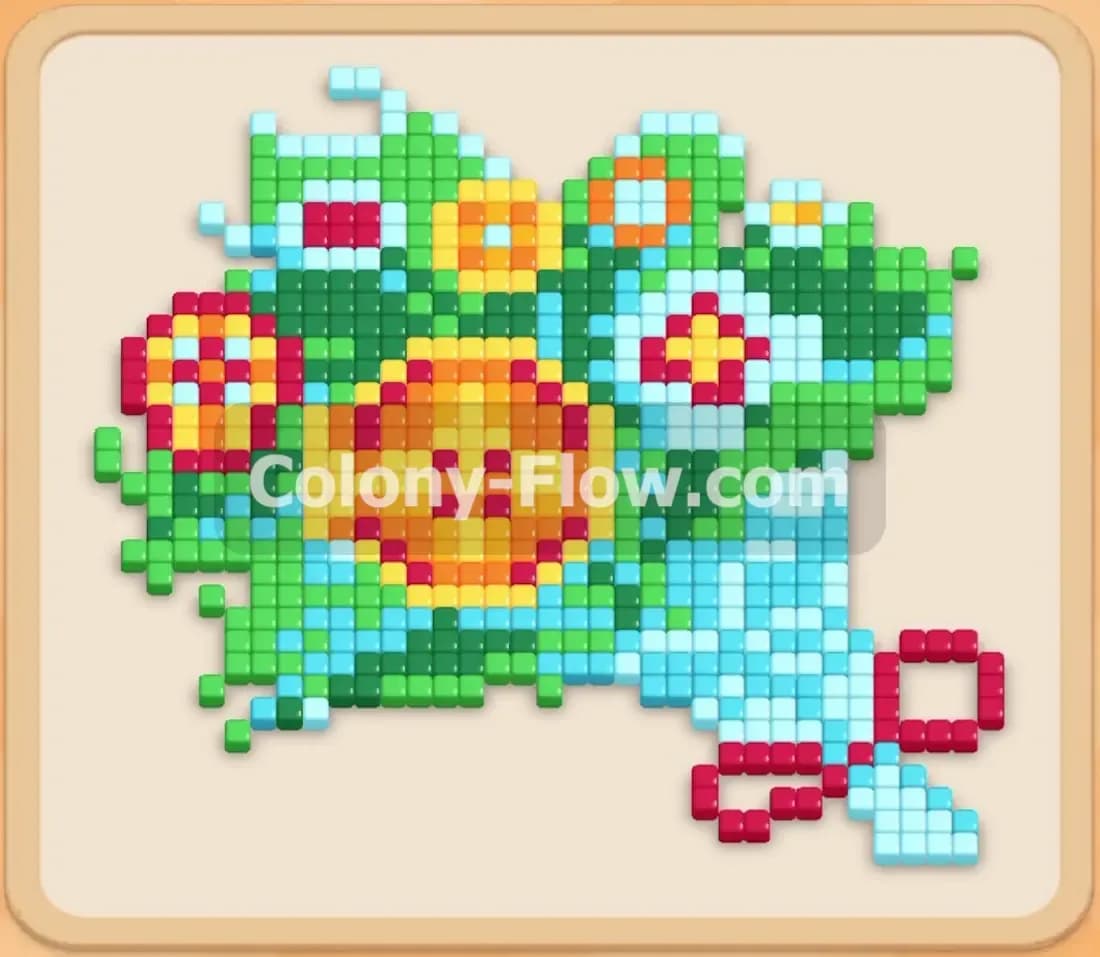
The main puzzle features a beautiful repeating pattern made of dark blue, light blue, dark green, light green, and yellow tiles. These tiles overlap in multiple thick arches that span from the top of the screen all the way down to the nest hole. Your tray at the bottom holds tall stacks of numbered blocks in matching colors. The initial paths are very tight and only the very bottom row of tiles is completely open to your ants.
What It Takes to Clear Level 216 Board
Winning this level requires you to completely dismantle the overlapping arches from the bottom up until the entire screen is perfectly clear. You do this by pulling numbered blocks from the bottom tray into your five waiting slots. The ants then march out of the nest and consume the matching colored tiles on the board. The most critical rule to remember is that you lose the game if your five waiting slots fill up with blocks that the ants cannot use. You must always guarantee that every block you pull has a valid open path to matching tiles on the board.
Colony Flow Level 216 Step by Step Solution
Step 1: Open the very bottom row of the board to create early space
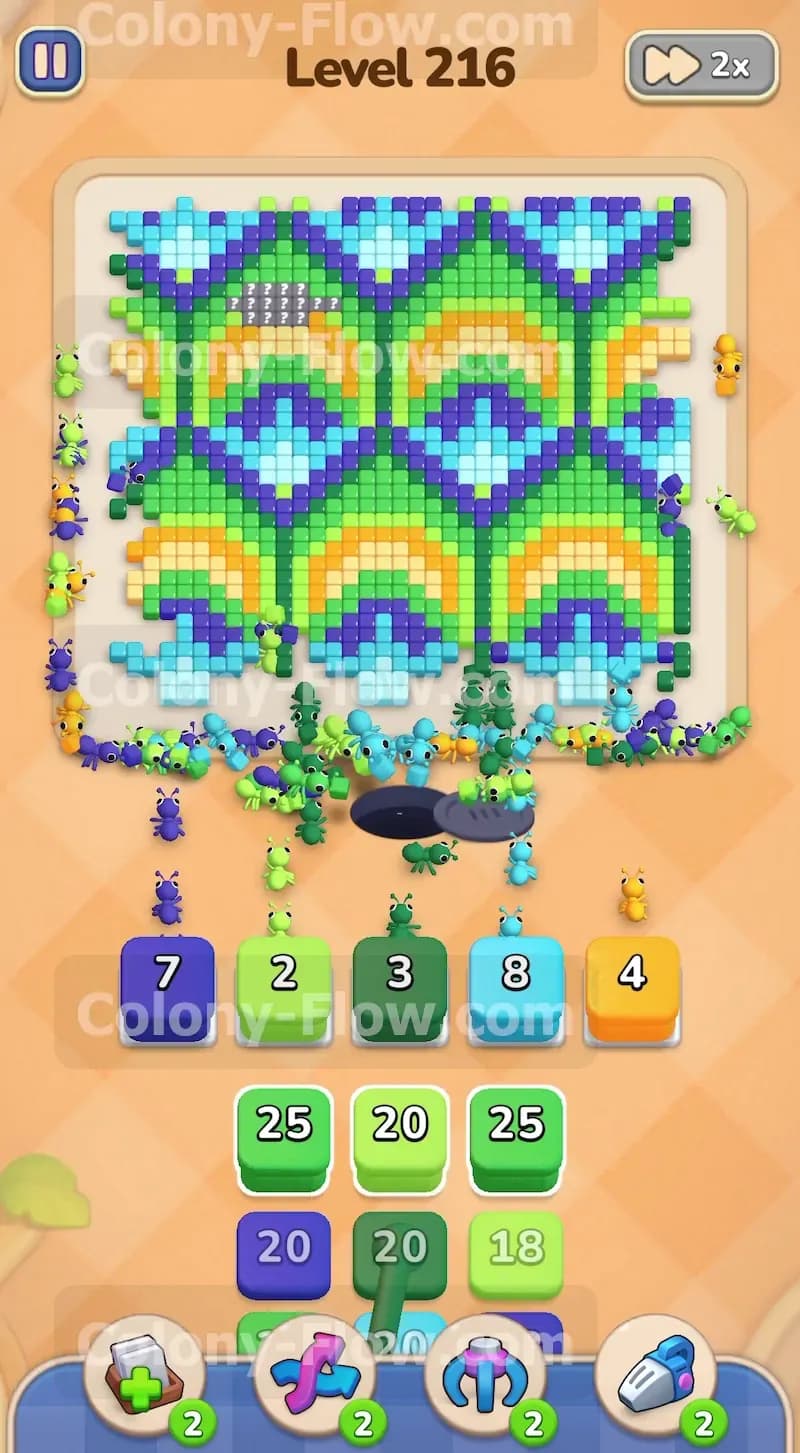
Look closely at the very bottom edge of the board directly above the ant nest hole. The tiles here form the foundation of the repeating arch pattern. You will see light green, dark blue, and yellow tiles completely exposed and ready to be eaten. Your first move is to pull the corresponding blocks from the tray at the bottom of the screen. Bring up a light green block and a dark blue block into your five waiting slots. The ants will immediately stream out of the nest and start eating those lowest tiles. Watch the numbers on your blocks decrease as the ants consume the food. The blocks will disappear from your slots entirely once the numbers hit zero. This early move creates much needed physical space on the board and prevents a sudden jam in your waiting area. Never pull a color that is buried deep inside the pattern during this opening phase.
Step 2: Peel back the first layers of light green and dark blue arches
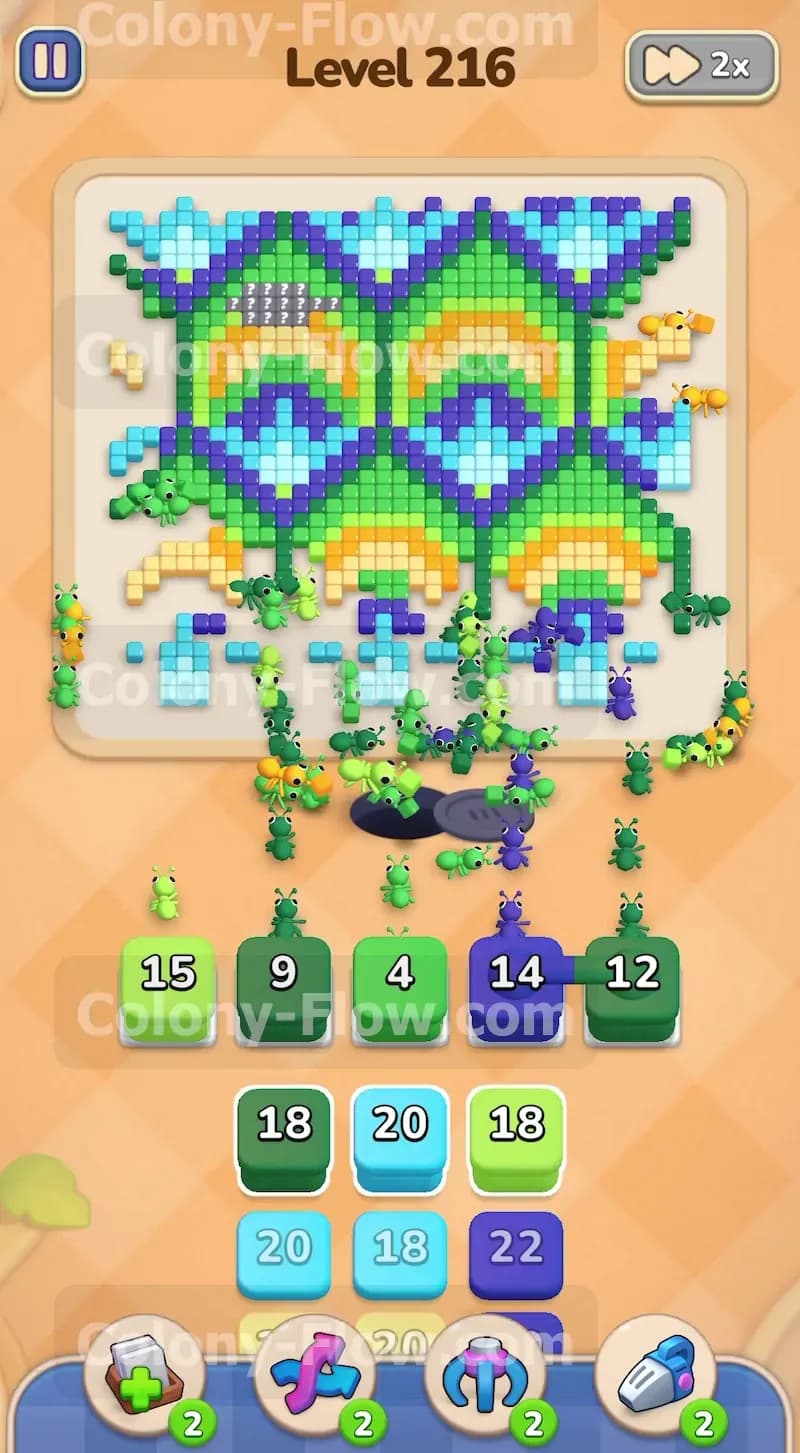
Once the initial bottom row is completely gone, the next layers of the arches open up to your swarms. You will see large sections of dark blue and light green tiles forming the lower curves. Pull the corresponding dark blue and light green blocks from your tray into the waiting area. The ants will stream out and clear these thick bands of color in massive waves. As the ants chew through the tiles, your block numbers drop and your waiting slots clear out very quickly. This fast turnover guarantees you always have empty slots ready for the next set of blocks. It also exposes the deeper yellow and dark green layers hidden underneath those initial arches.
Step 3: Tackle the lower yellow and dark green middle sections
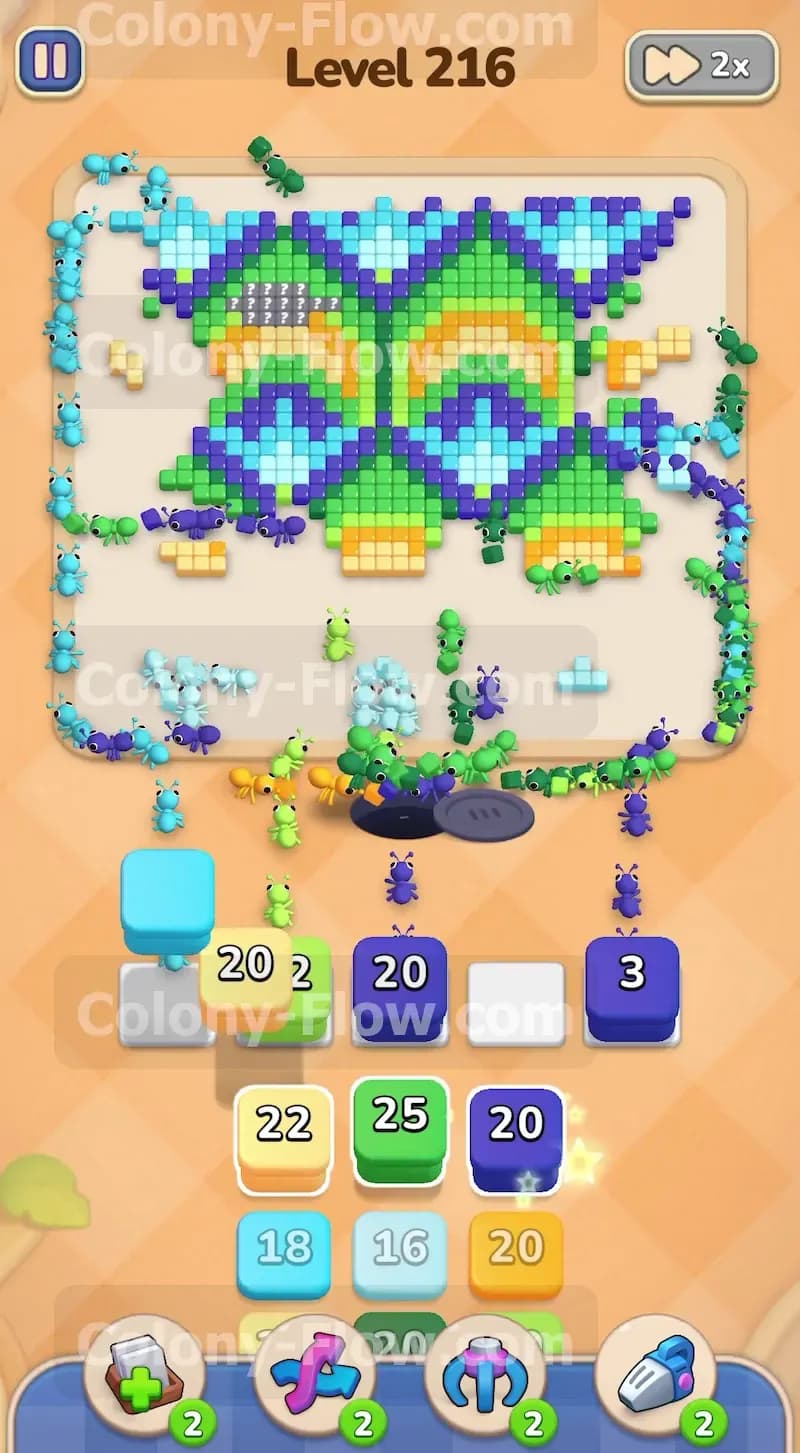
The overlapping arches consist of thick alternating bands of color. With the bottom edges successfully removed, the yellow and dark green tiles in the lower half of the screen become fully accessible. Bring those specific yellow and dark green blocks up into your waiting slots now. The ants will march slightly higher up the board and devour these middle sections with ease. This clears out a huge portion of the central mass and opens up brand new travel paths leading to the far sides of the board. Keeping these paths open is exactly how you avoid dead ending your puzzle.
Step 4: Send the swarms up the outer left and right walls
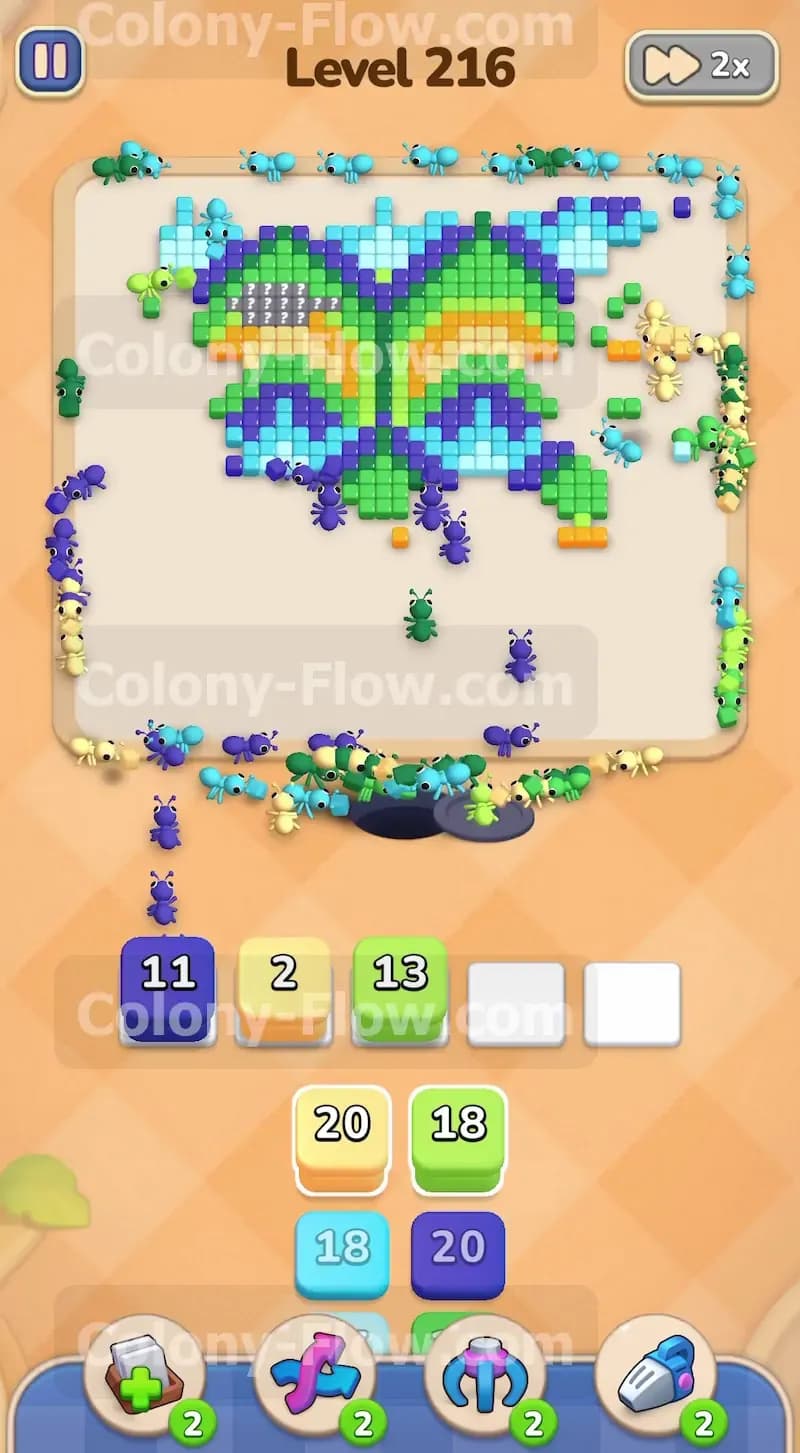
As the lower center completely clears out, the outer edges become your next logical target. You have long chains of light blue and dark blue tiles running vertically up both sides of the screen. Pull your twenty count blue blocks into the waiting area to trigger the next phase. The ants will exit the nest and immediately split off into two separate streams to travel up the left and right walls. This move is absolutely crucial because it removes the side barriers and gives your ants direct access to the top corners of the board later on in the level. Your waiting slots remain completely safe because the ants have a clear highway to their targets.
Step 5: Hollow out the lower half of the screen completely
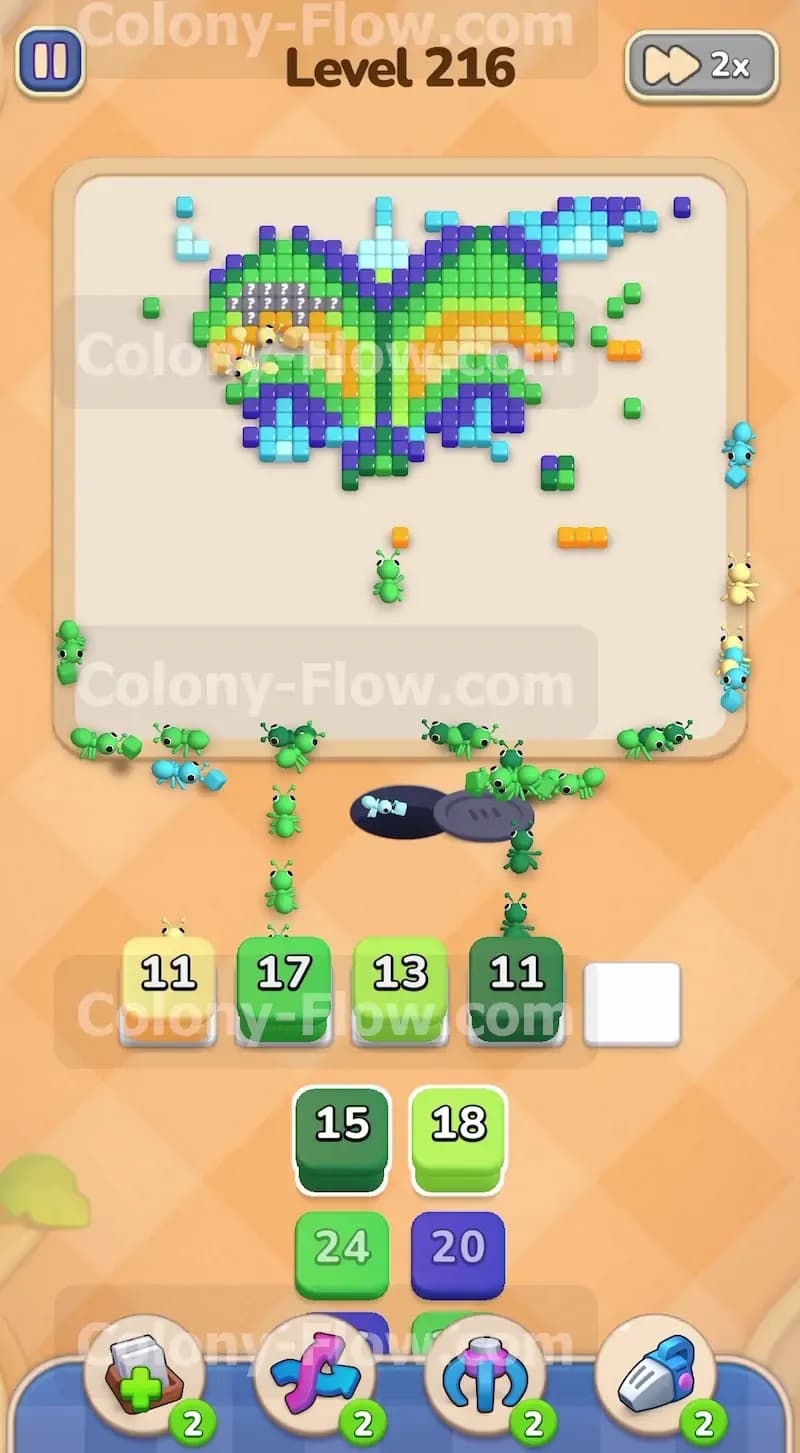
There are still some lingering dark green and light green tiles scattered across the lower half of the screen. You want to completely clear them out right now. Pull the necessary green blocks from the tray and let the ants finish off the bottom section entirely. By completely hollowing out the bottom half of the board, you ensure the ants have a wide open and unobstructed floor plan. They can now reach the top half of the board without getting stuck on random leftover pieces. This smooths out their travel time and empties your waiting slots much faster.
Step 6: Focus on the large blue bands near the upper edges
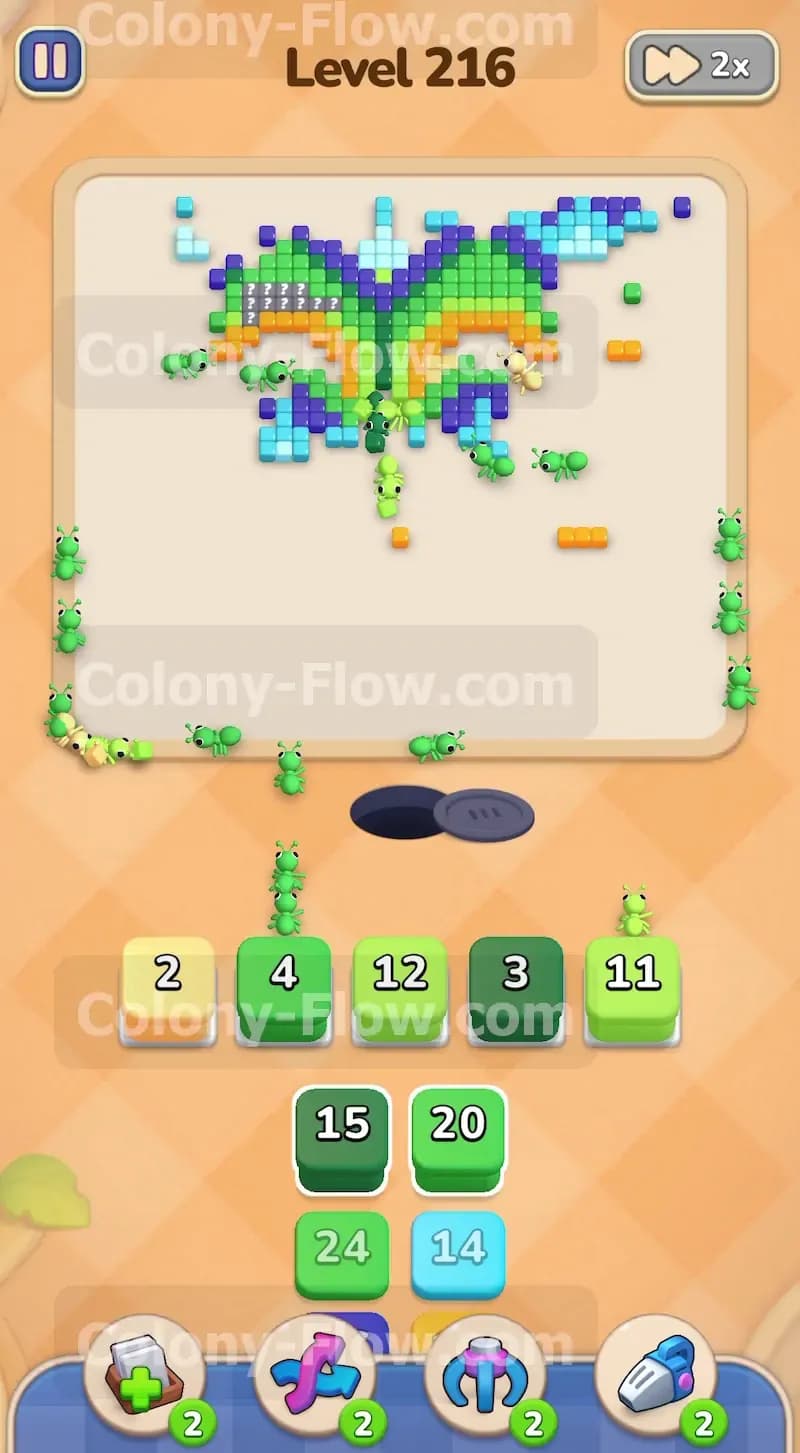
The upper half of the board features massive sweeping bands of light blue and dark blue tiles. Since your side paths are wide open from your earlier moves, you can safely pull the heavy blue blocks from your tray. The ants will march straight up the empty sides and begin chipping away at these top blue bands. Your waiting slots remain secure because the ants have direct and immediate access to the required colors. Do not touch the yellow blocks in your tray just yet because the yellow tiles are still trapped behind the green and blue layers.
Step 7: Break down the upper green arches and central structures
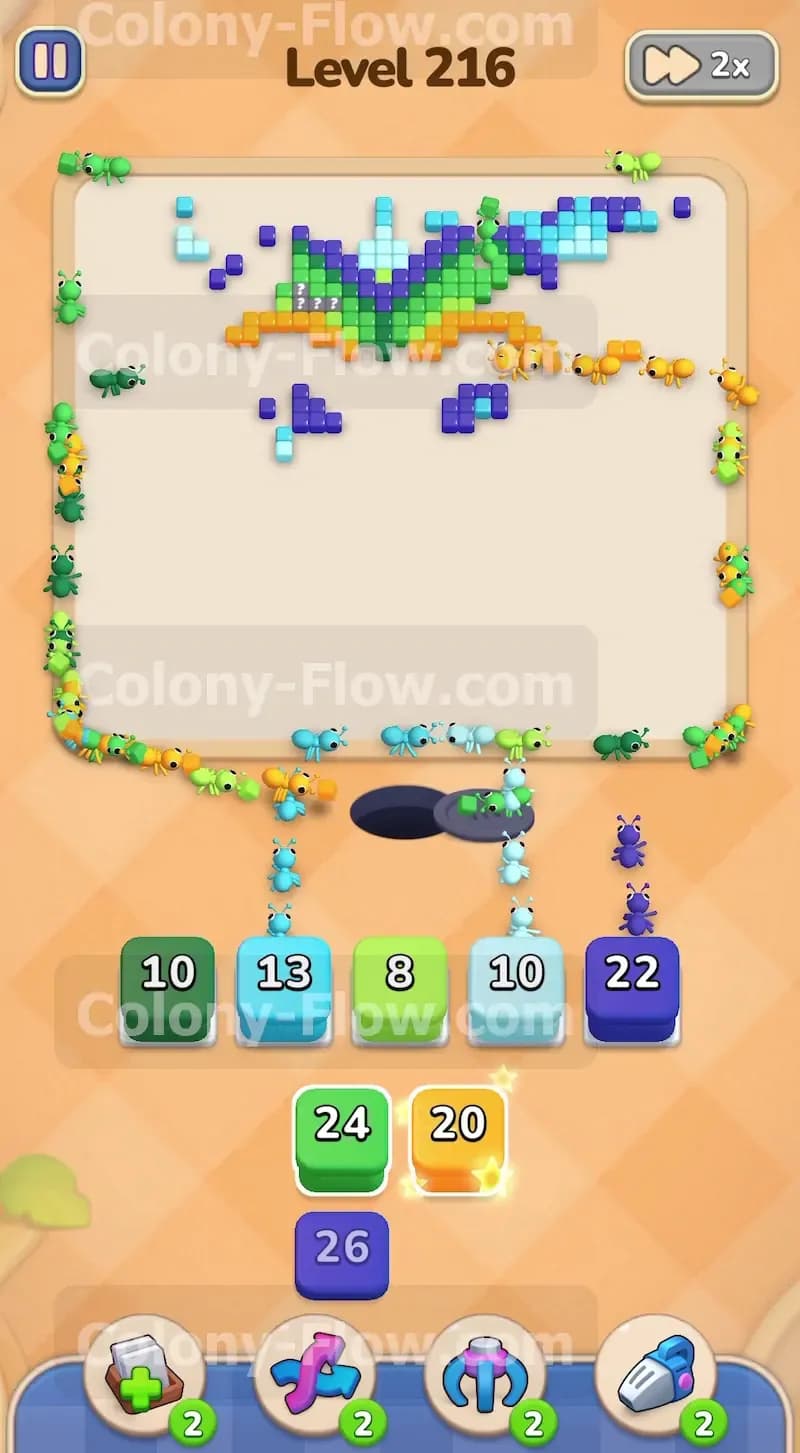
Underneath the blue bands at the top of the screen, you will find thick sections of light green and dark green tiles. Bring your green blocks into the waiting slots next. The ant swarms will naturally transition from the blue outer edges into these green inner arcs. The overall board begins to look much smaller and resembles a butterfly shape at this stage. You must watch your waiting slots closely here and only pull colors that actively connect to the open paths. Pushing too many blocks at once can cause a fatal jam if the ants take too long to travel.
Step 8: Clear the remaining side clusters of blue and yellow
You will start to notice small isolated clusters of yellow and dark blue tiles hanging out on the far left and right edges of the remaining shape. Do not leave these stray pieces behind. Pull the corresponding yellow and blue blocks to send your ants out to the perimeter one last time. Clearing these stray clusters prevents them from blocking access to the final central tiles later on. It also uses up some of the awkward blocks sitting in your bottom tray and frees up your future options.
Step 9: Shrink the core down to a small central triangle
The main board now resembles a small inverted triangle in the top center of the screen. The primary colors remaining are mostly light green, dark green, and yellow. Pull your large green blocks first to strip away the outer green layers of this final shape. The ants have a very short trip from the nest straight up the middle to reach these tiles. Because the travel distance is so short, your blocks will empty very quickly and keep your waiting slots entirely clear.
Step 10: Target the final yellow and dark green central tiles
The core structure is almost completely gone at this point. You have a few yellow and dark green tiles left clustered tightly together. Pull the matching blocks from your tray into the waiting area. The ants will swarm the exact center of the board and chew through the last remaining green and yellow pieces. Your waiting slots are completely safe at this stage because the paths are incredibly wide open and the distances are very short. The board is now reduced to just a tiny handful of tiles.
Step 11: Sweep the very last blue tiles at the top peak
Only a handful of light blue and dark blue tiles remain at the very top edge of the screen. Pull your final blue blocks into the waiting area to initiate the finishing sequence. The last wave of ants marches straight up the middle to the top and eats the remaining tiles. Watch the final numbers drop to zero and disappear. The board is now totally clear and the puzzle is finished.
Final Thought
This level requires careful attention to the overlapping layers so you never trap your swarms or fill your slots with the wrong colors. If you follow the sequence above, you will keep your paths open and easily break down the massive arch structures. I highly encourage you to watch the video above this article if any step is hard to follow in text. Seeing the ants clear the paths in real time makes the correct block sequence incredibly easy to understand.