Colony Flow Level 236 Walkthrough Solution & Guides | How to solve Colony Flow 236

Guide By Liam Stone
Updated on July 13, 2026
The article below explains Level 236 in detail, but the video above gets you there faster.
Video doesn't match your screen?
Game updates frequently scramble layouts! Try our AI Screenshot Solver first to find your exact board instantly, or report broken guides to our team.
Welcome to Colony Flow Level 236. This board features a giant red octopus surrounded by a sea of blue water. You will deal with massive clusters of tiles and tricky connected blocks that can easily fill your waiting slots and end your run. You will need to think a few moves ahead to keep the paths flowing smoothly. I have played this level multiple times to find the safest route. By following my sequence, you will keep your board open and your waiting slots safe. I will show you exactly how to navigate this puzzle and keep your ants moving from start to finish.
Colony Flow Level 236 Overview
What You Are Working With
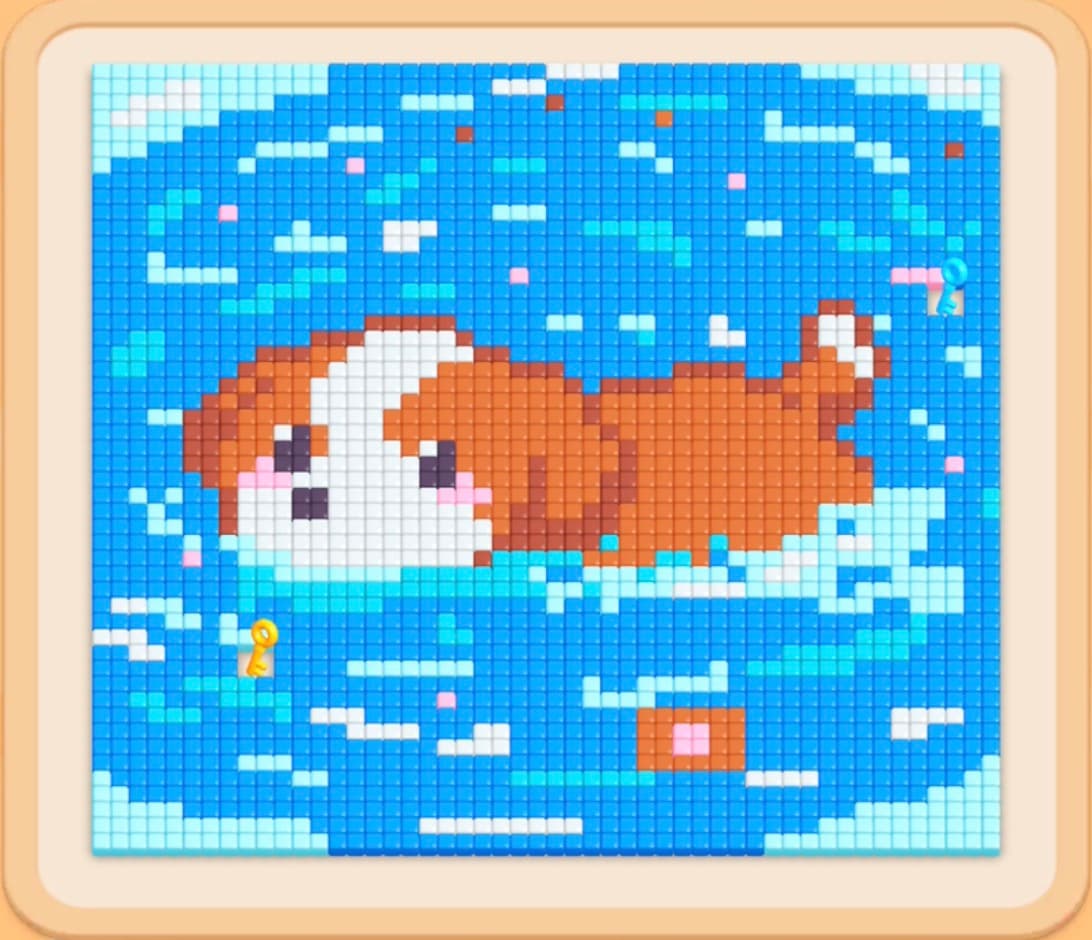
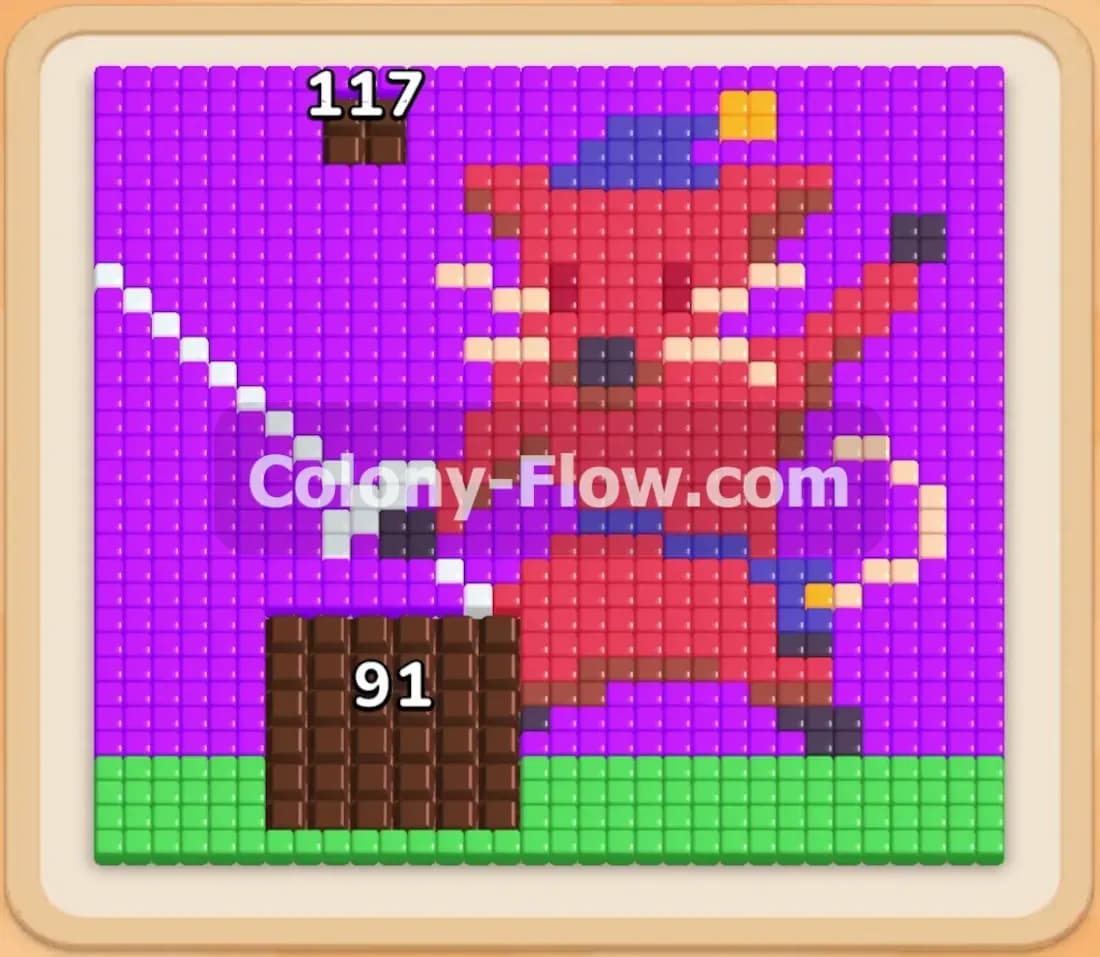
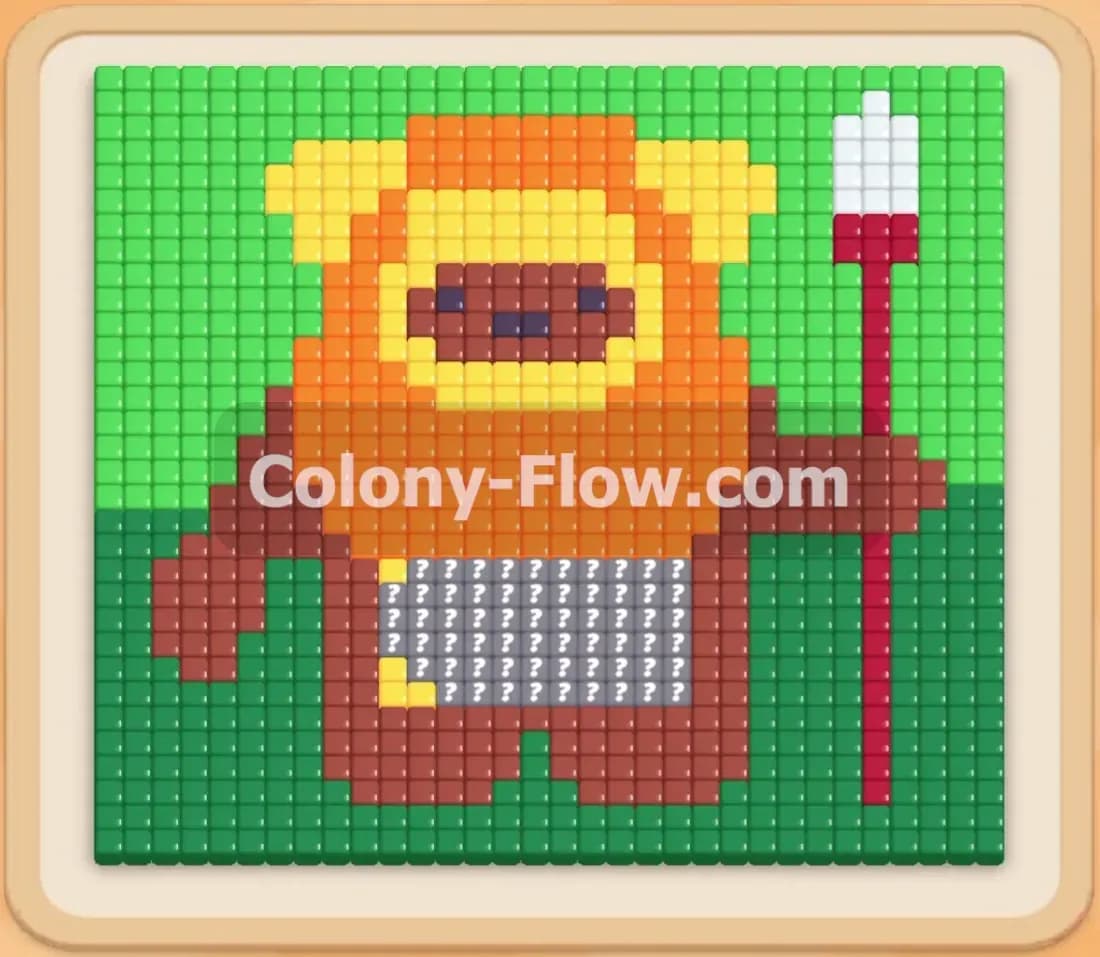
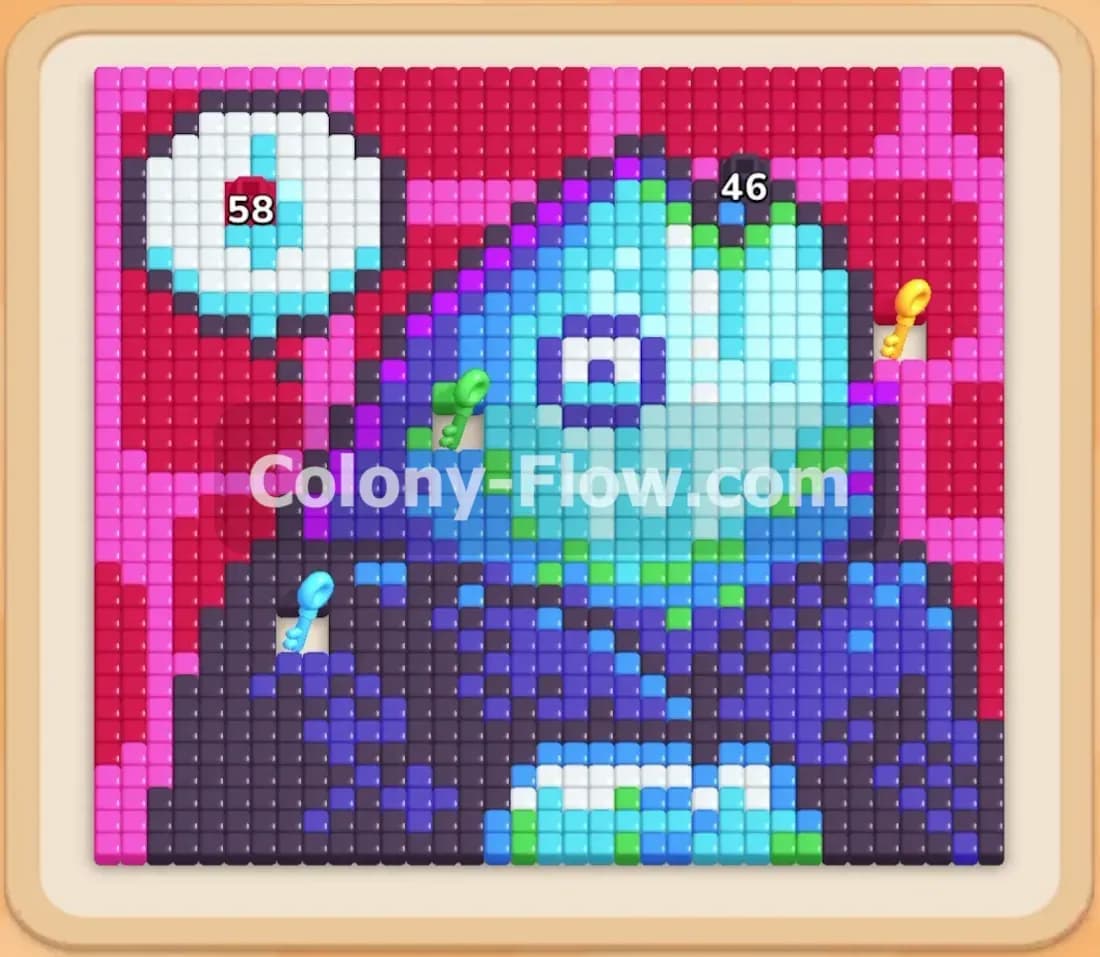
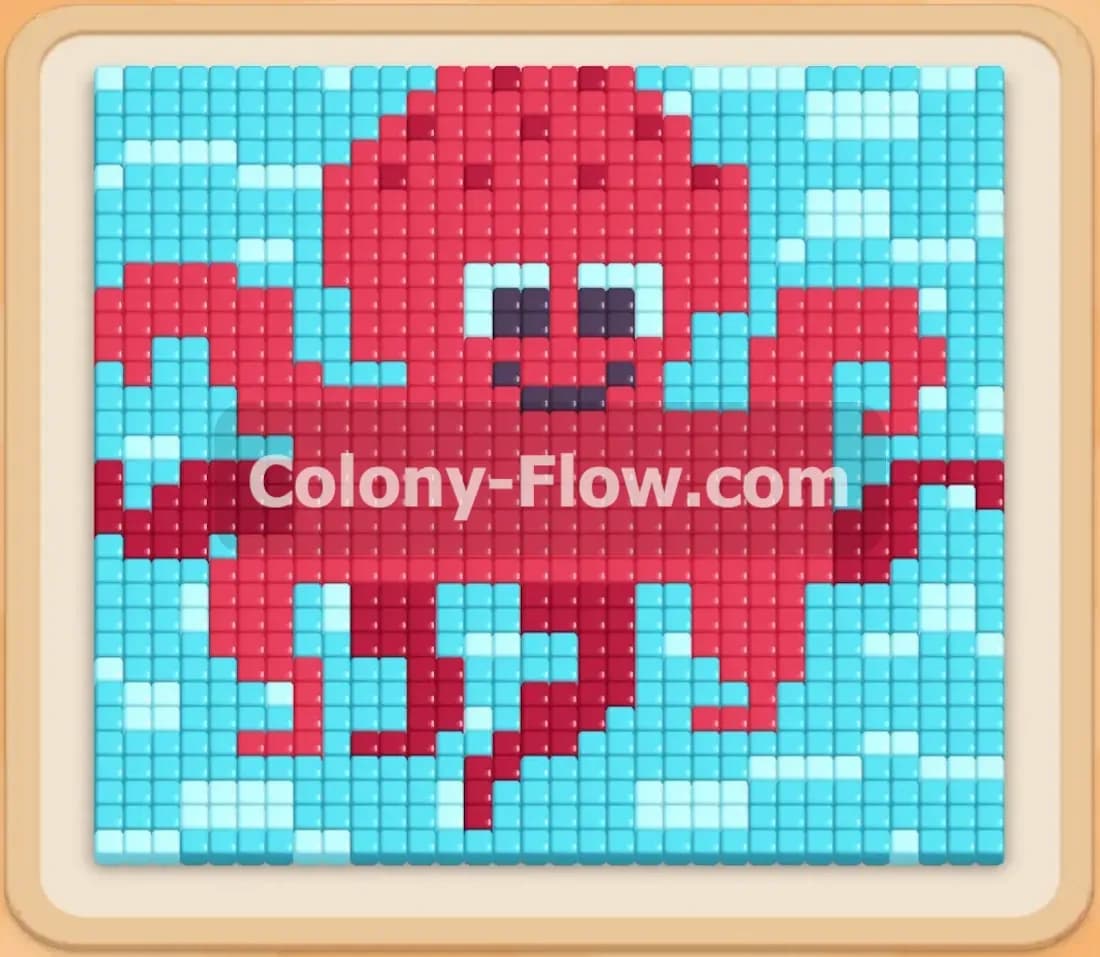
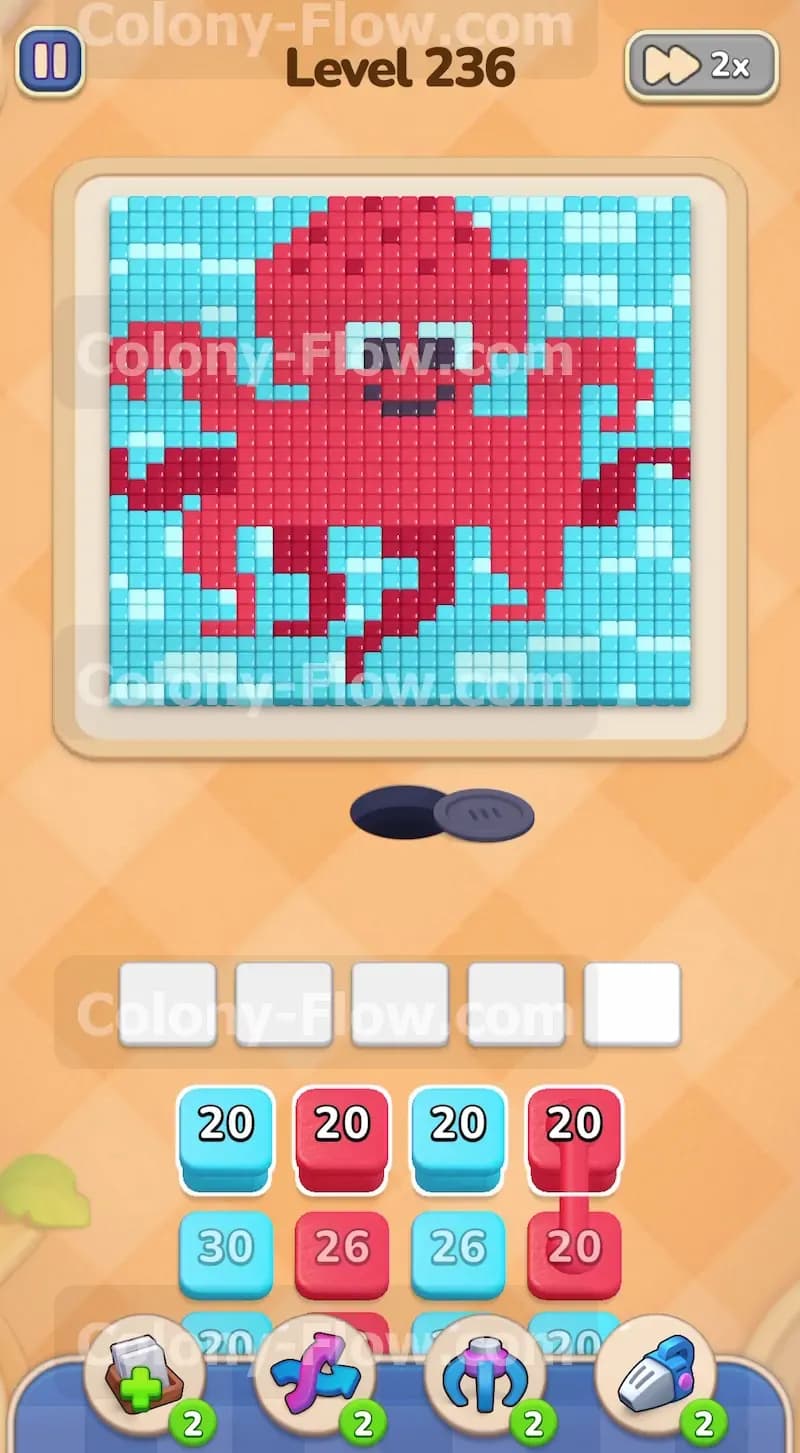
The picture at the top of your screen is a large pixel art octopus. The main body and tentacles consist entirely of bright red tiles. The tentacles stretch out in all directions and block direct access to the upper water. Dark red tiles run along the bottom edge of the tentacles to create a shadow effect. You will notice that the dark red shadow tiles are nestled deep inside the curves of the tentacles. This makes them hard to reach early on. A few black tiles sit in the center to form the eyes and a small smiling mouth. Light blue water tiles fill the rest of the board and completely surround the octopus. The water tiles are stacked several rows deep on the left and right sides. The nest hole is located directly at the bottom center of the screen. You will watch your entire colony stream out of this single hole.
Your tray at the bottom holds a large stack of numbered blocks. You will find a mix of light blue, dark red, red, and black blocks. The numbers on these blocks are quite high. Many start at twenty or higher. This level also introduces several sets of connected blocks. Connected blocks are linked together by a thick colored line. When you tap one of these blocks, every block attached to that line moves up into your waiting slots at the exact same time. This takes up multiple spaces in your five slot waiting area. You have to treat connected blocks with extreme caution.
What It Takes to Clear Level 236 Board
You win the level by matching colored blocks to every single tile on the board until the picture is completely gone. You lose if your five waiting slots fill up with blocks that have no open paths to their matching tiles. The light blue water creates a solid barrier around the entire octopus. You have to clear this water away first to expose the side and top edges of the red body. Your main goal is to carve out enough space so that you can safely pull the large sets of connected blocks without jamming your slots. Every move must open a new path for the next color. You have to manage the flow of ants carefully. If you rush and pull a massive connected group too early, the ants will run out of exposed tiles to eat. The blocks will freeze in your slots with numbers still left on them. Once all five slots are frozen, the game ends immediately. You must maintain a steady rhythm of clearing outer tiles to reveal inner tiles.
Colony Flow Level 236 Step by Step Solution
Step 1: This step opens the bottom of the board by clearing the water and the lower tentacles.
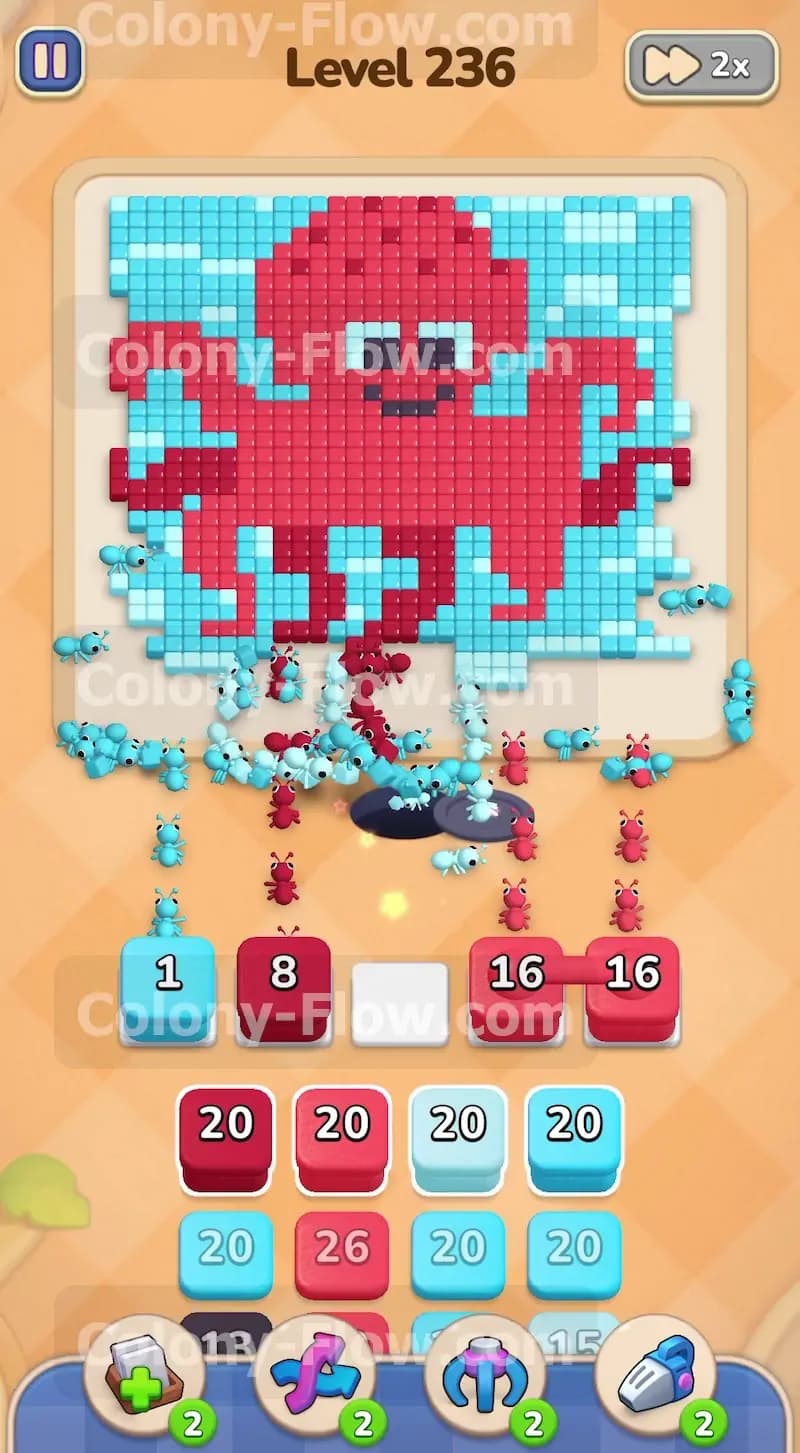
You need to create some breathing room right above the nest hole. The very first moves set the pace for the entire level. You want to get the ants moving out of the nest hole as quickly as possible. The bottom water is the only thing standing between your ants and the main body. Start by pulling the first light blue block and the first dark red block from the tray. The light blue block sends a stream of ants to eat the water tiles along the bottom edge of the board. The dark red block targets the shadow tiles at the tips of the lowest tentacles. Next, pull the first set of connected red blocks. These two red blocks move up together and find immediate paths to the lower red tentacles. The ants quickly consume the bottom sections of the octopus. This creates a wide open space above the hole and allows your ants to travel left and right without traffic jams.
Step 2: This step removes the side water to expose the giant red head.
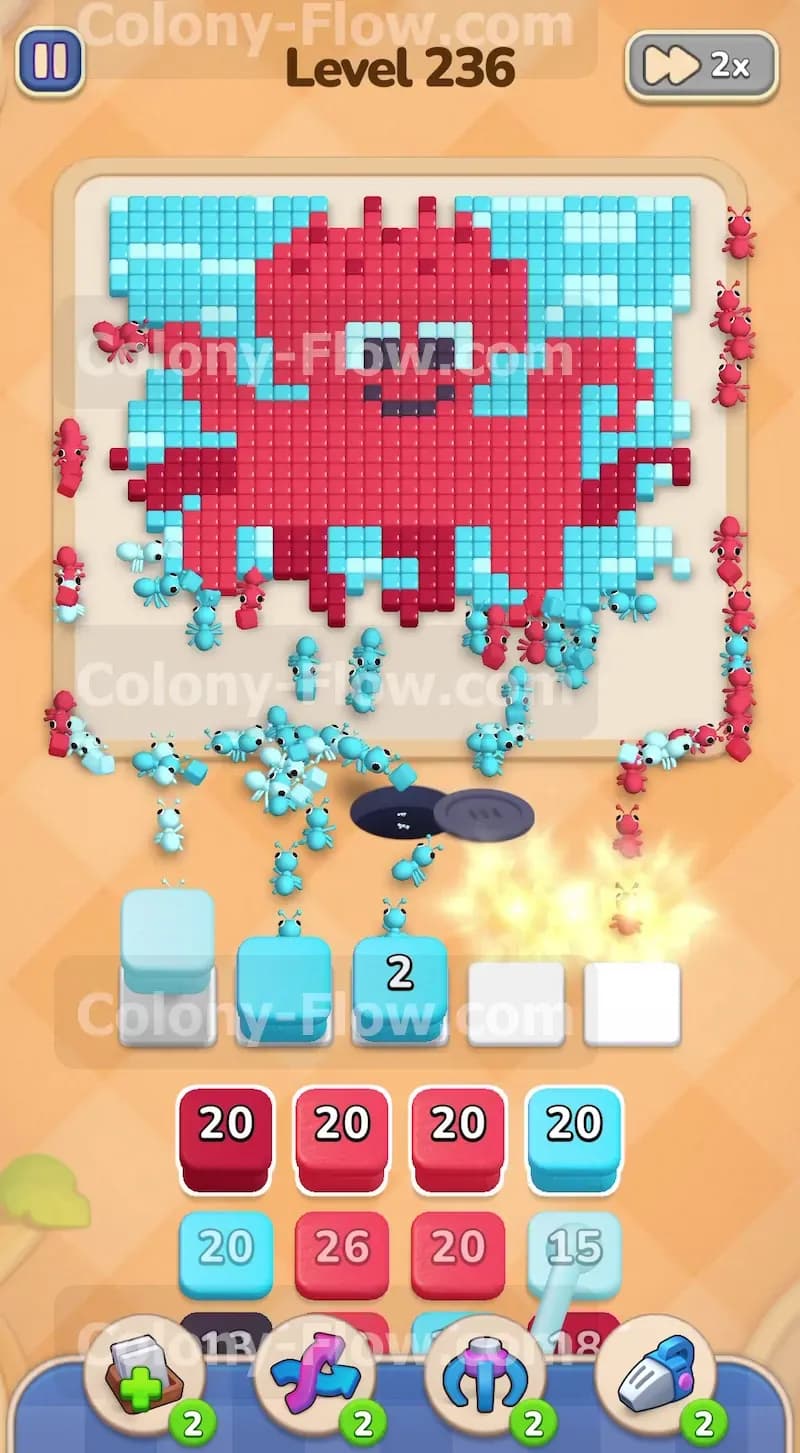
With the bottom clear, you must now focus on the large columns of water on the left and right sides of the board. The tray contains massive light blue blocks with numbers near thirty. Pull these large light blue blocks into your waiting slots. The ants march up both sides of the screen and systematically dismantle the blue water barrier. The ants will form long lines as they travel to the outer edges of the screen. Watch the numbers on the light blue blocks drop steadily as the side water vanishes. You need to be patient here and resist the urge to pull other colors. You must let these ants finish their job. Removing this side water is absolutely necessary. The water blocks your access to the massive red octopus head. Once the light blue tiles disappear, the entire left and right sides of the red body become completely exposed and ready for your red ants.
Step 3: This step unleashes your red blocks to consume the main octopus body.
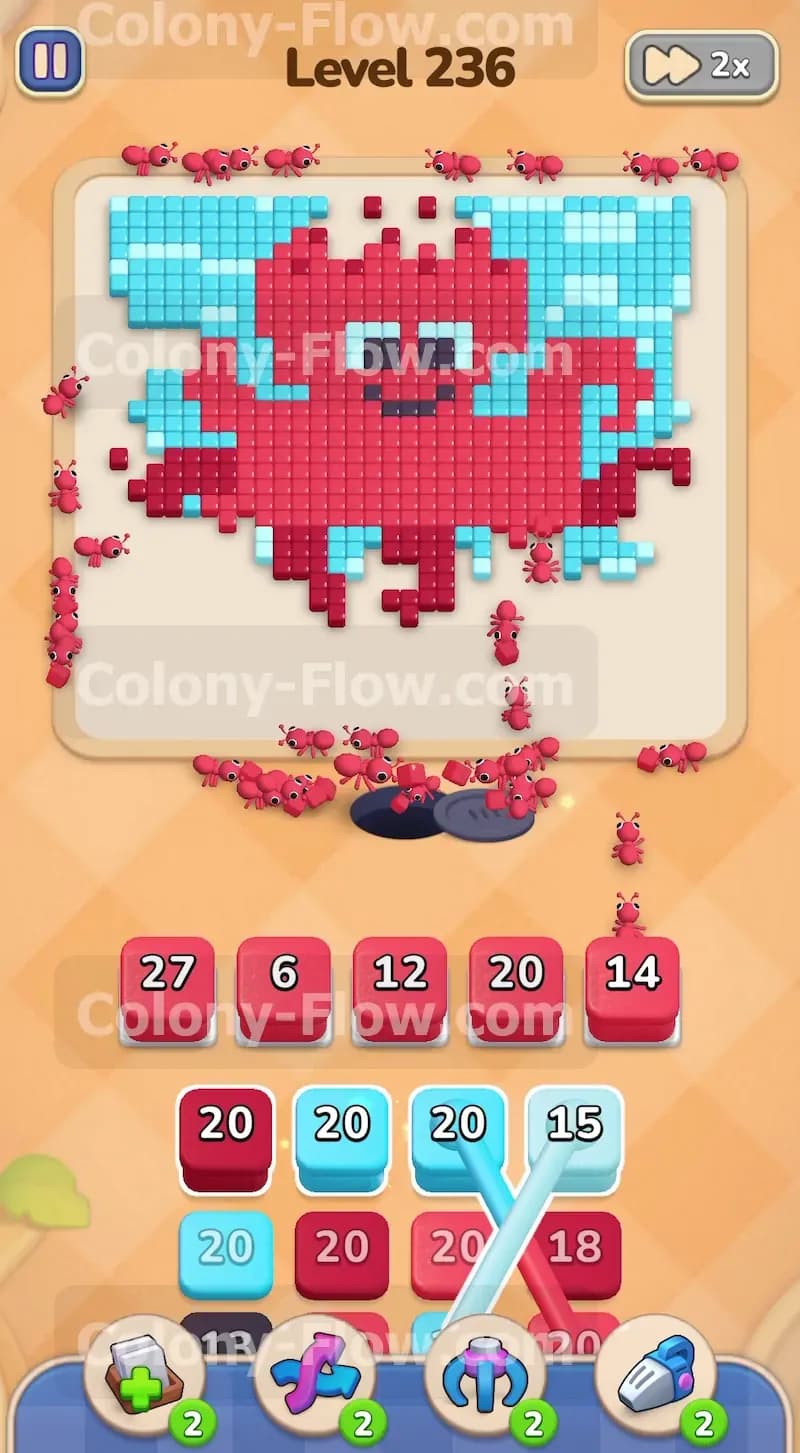
The tray now reveals a long sequence of large red blocks. You have spent the early game preparing for this exact moment. Because you cleared the side water, you have maximum surface area exposed on the red octopus. The red octopus head is huge and provides dozens of open contact points for your ants. This means you can stack multiple red blocks in your slots without any fear of jamming. You can confidently pull these red blocks one after another into your waiting slots. Do not worry about filling your slots with red blocks here. The exposed red area is so gigantic that every single red block will find a valid path to a tile. The ants swarm the center of the board and eat away the giant red head in a matter of seconds. The numbers on your red blocks will plummet rapidly as the ants chew through the bulk of the octopus.
Step 4: This step manages the connected light blue blocks to clear the top corners.
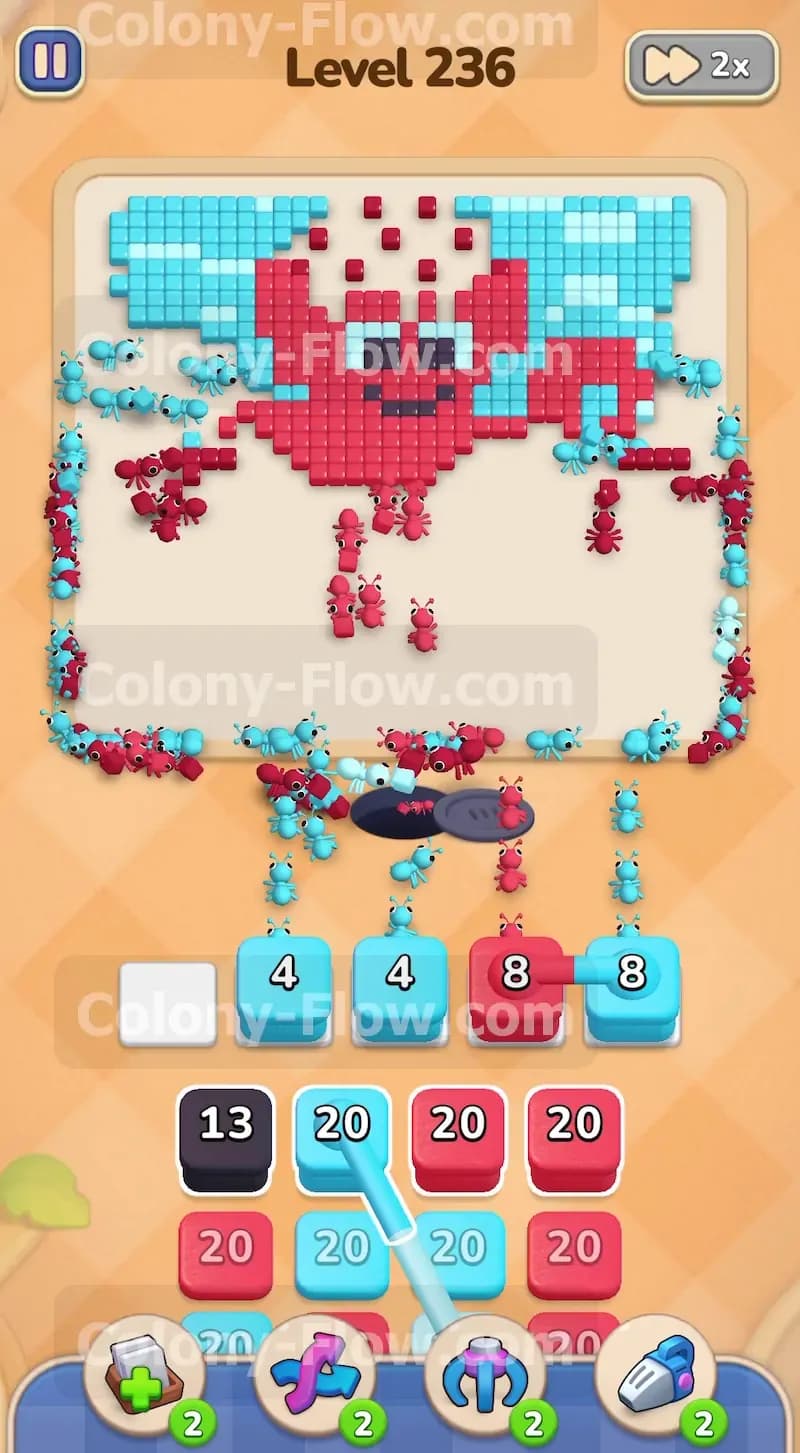
As the giant red head disappears, the upper water tiles become fully accessible. The tray will now present you with a complex set of connected light blue blocks. Connected blocks are the most dangerous element on this board. A three block group instantly takes up over half of your available slot space. This group includes three separate blocks tied together by a blue line. Pulling this group will instantly consume three of your five waiting slots. You must wait until the red head is fully gone before you even touch this light blue group. You must ensure you have plenty of light blue tiles exposed at the top corners of the board before you tap this group. Pull the connected light blue blocks and watch the ants travel straight to the top left and top right corners. They will clear away the remaining water tiles and leave the top section of the board completely empty.
Step 5: This step cleans up the remaining dark red shadow patches scattered on the board.
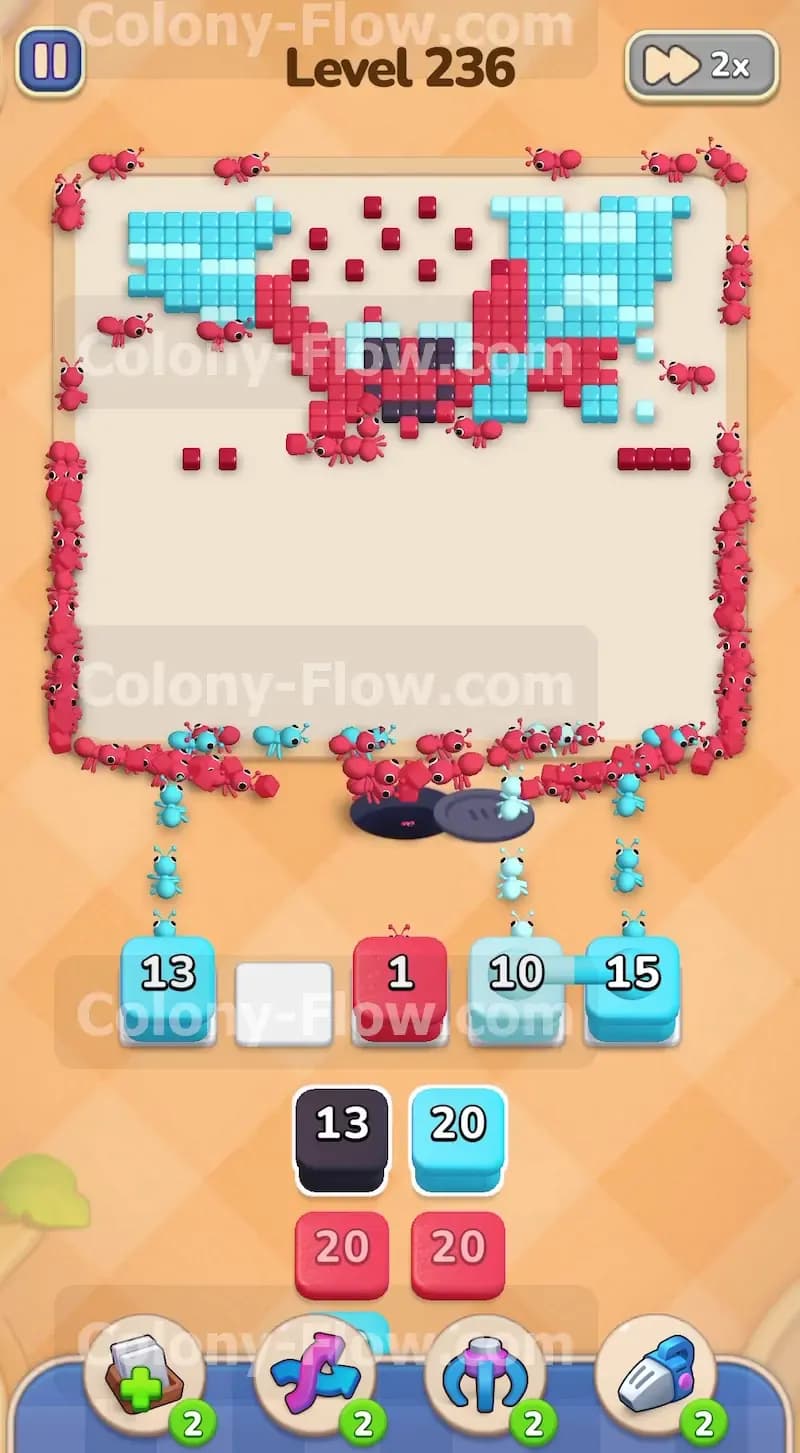
You will notice scattered patches of dark red tiles left behind on the upper tentacles and near the top of the head. The board will look very chaotic right now with ants running in multiple directions. The dark red tiles are the last remaining pieces of the main octopus body. They are scattered in tiny groups of two or three tiles each. Your tray has a few remaining dark red blocks waiting to be used. Pull these dark red blocks now. The ants will navigate through the empty spaces and target these isolated shadow tiles. Because these dark red clusters are small and spread out, the blocks will take a little longer to count down to zero. Be patient and let the dark red ants finish their routes. This ensures your waiting slots stay clear for the final moves of the level.
Step 6: This step clears the black face tiles to completely finish the level.
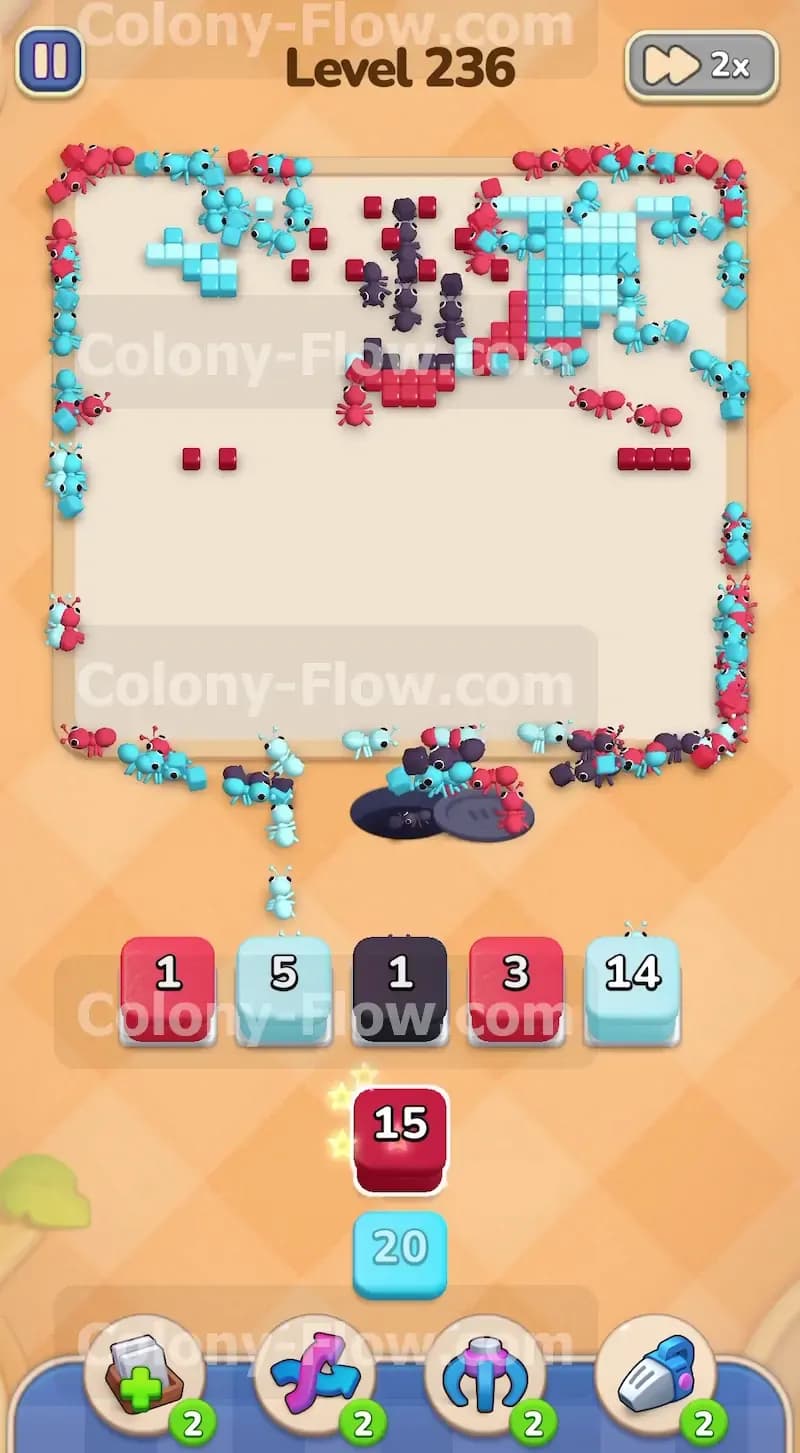
The board is now almost completely empty. You have successfully navigated all the major hazards. The only tiles remaining are the black eyes and mouth in the very center, along with one or two stray blue or red tiles. You will see a black block in your tray with the number thirteen. The black block is the final piece of the puzzle. Pull this black block into your waiting slots. The ants will run straight up the middle of the board and consume the cute little octopus face. The black tiles disappear and the block drops to zero. Pull any final light blue or dark red blocks left in your tray to clean up the last few stragglers. The entire picture vanishes and the ants retreat into the nest hole. You have successfully cleared the board.
Final Thought
Level 236 teaches you how to respect connected blocks and manage your waiting slots under pressure. This level is a great test of your patience and your ability to read the board. You always have to look ahead and make sure you open enough surface area before you pull a massive block group. Never force a block into the tray if you do not see a clear path for it. Keep your paths open and let the ants do the heavy lifting. Keep practicing your timing and you will master these connected block challenges. I encourage you to watch the video above this article if you want a visual guide on exactly how to time your block pulls.