Colony Flow Level 209 Walkthrough Solution & Guides | How to solve Colony Flow 209

Guide By Liam Stone
Updated on July 13, 2026
Some readers just want to watch. The video above covers Level 209 from start to finish.
Video doesn't match your screen?
Game updates frequently scramble layouts! Try our AI Screenshot Solver first to find your exact board instantly, or report broken guides to our team.
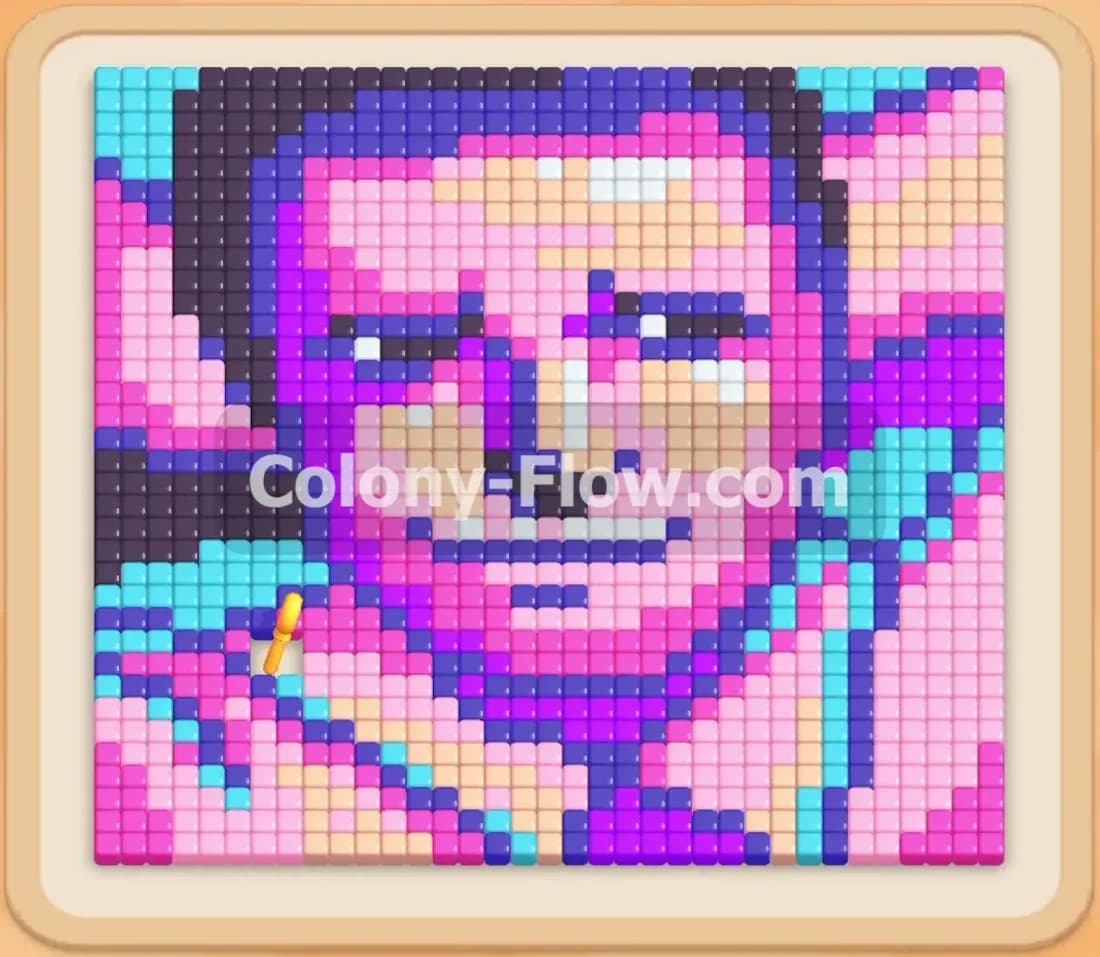
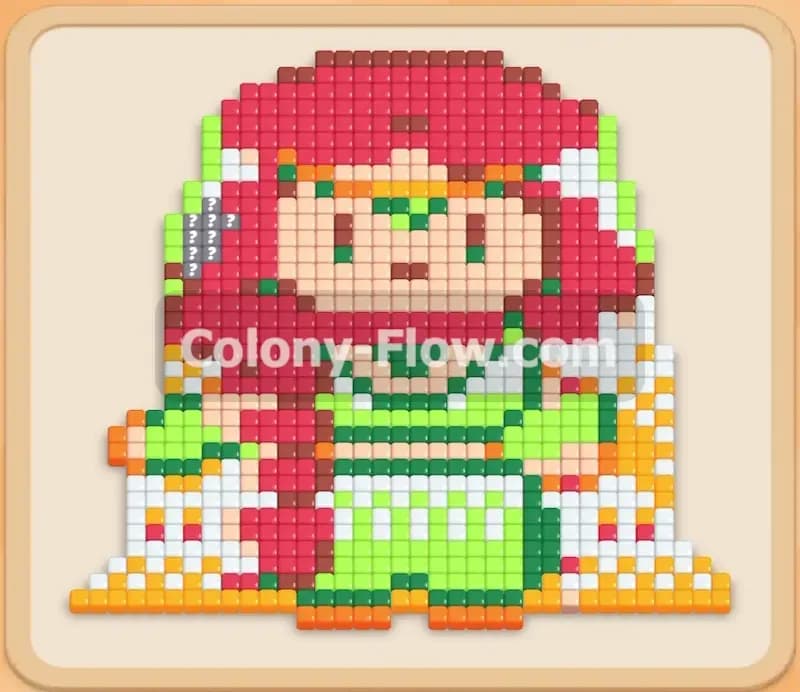
Welcome to Colony Flow Level 209. This board presents a very colorful pixel art character featuring a bright green outfit and a massive head of dark red hair. You need to carefully strip away the outer protective layers before you can reach the core colors of the picture. I will walk you through exactly how to feed your colony and clear every single tile from the board.
Colony Flow Level 209 Overview
What You Are Working With
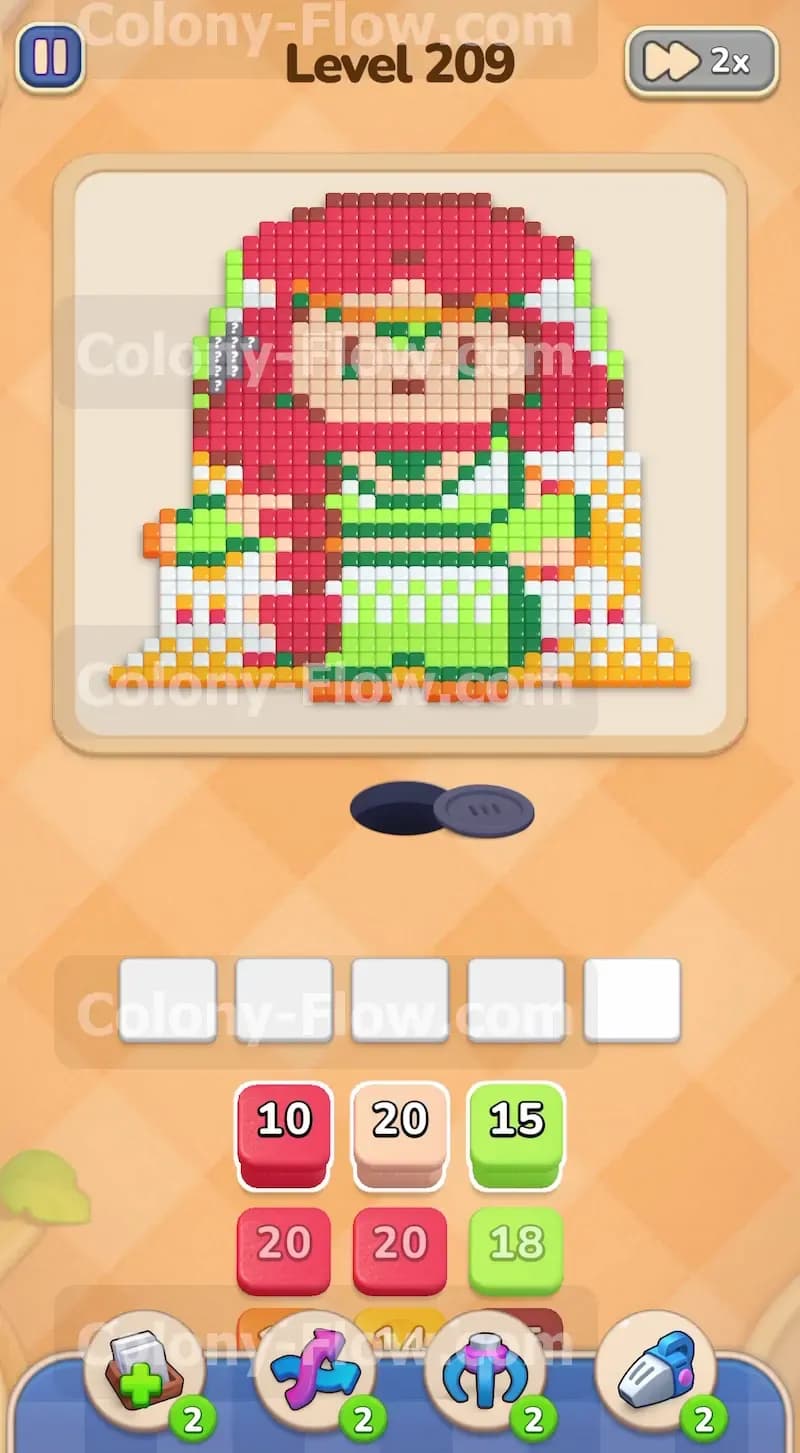
The board features a large character portrait built from multiple tile colors. The design includes a bright green and light green dress, deep red hair, and peach colored skin tones. A solid white border frames the entire character shape. An outer rim made of bright orange and yellow tiles surrounds the very bottom and side sections of the picture. Your tray holds multiple numbered blocks including red, pink, green, dark green, light green, white, beige, brown, and orange. You have no special obstacle tiles on this board. You simply have a solid mass of colored blocks that you must peel away layer by layer.
What It Takes to Clear Level 209 Board
You clear this board by working strictly from the outside edge toward the center. The orange and yellow tiles block all access to the white border. The white border blocks all access to the character. You must pull the correct color blocks from the tray to match the exposed outer tiles. When you select a block, the ants leave the nest and travel along open paths to eat the matching color. The number on your block drops as the ants consume the tiles. You win when the ants eat the entire picture. You lose if you pull colors that are trapped deeply inside the picture. Pulling blocked colors fills your five waiting slots. If all five slots fill up and no ants can reach a matching color, your game ends instantly. You must always verify an open path before pulling a block into your tray.
Colony Flow Level 209 Step by Step Solution
Step 1: Pull the yellow and orange blocks to break the bottom corners.
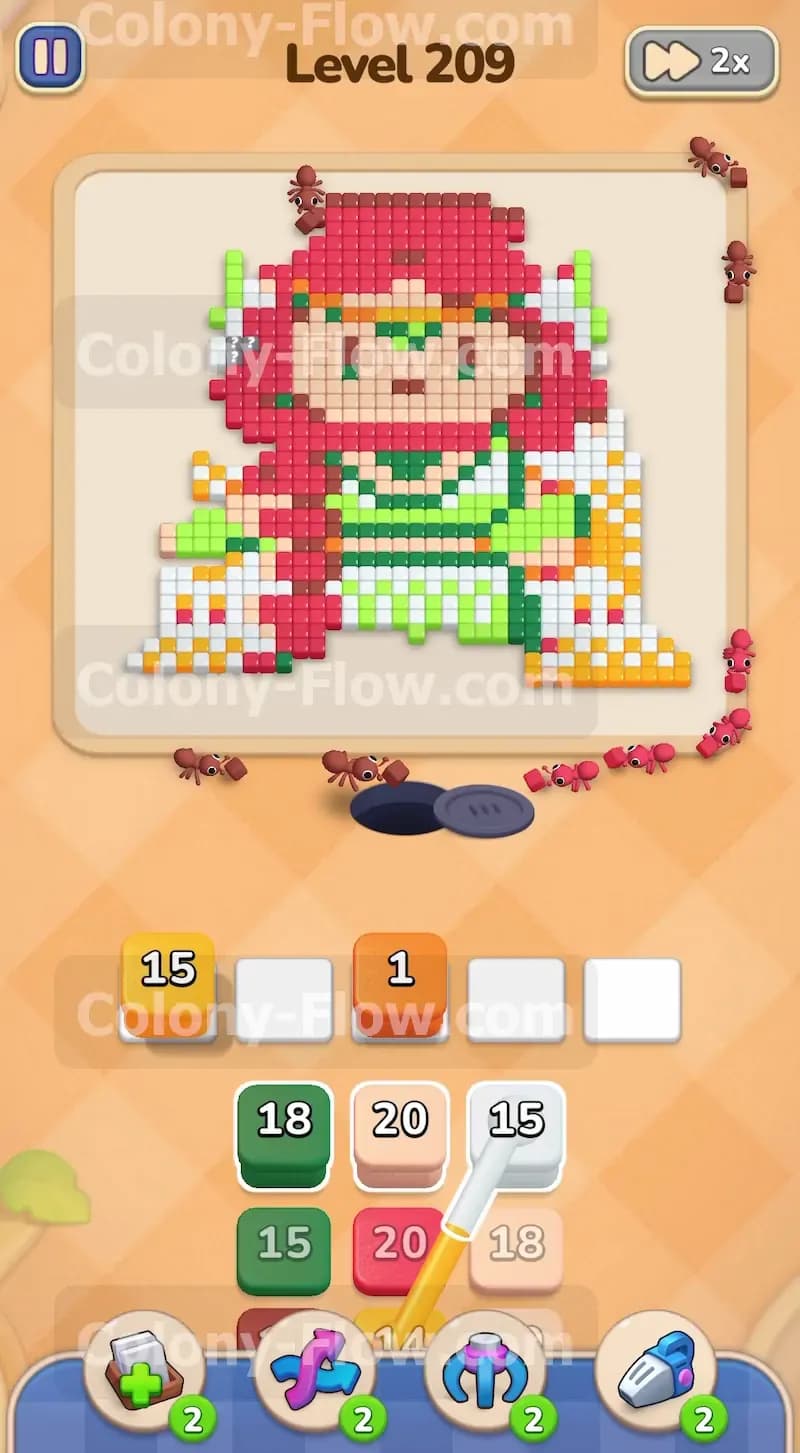
Your very first move requires breaking the protective outer rim. The bottom corners of the pixel art consist of bright orange and yellow tiles. You pull a yellow block numbered fifteen and an orange block numbered one into your waiting slots. The ants immediately march out of the nest hole and head straight for the exposed bottom edge. The orange and yellow tiles dissolve very quickly as the ants eat them. This opens a direct path to the white tiles sitting just behind the rim. By starting on the extreme outside, you ensure your first blocks do not get stuck in the waiting slots.
Step 2: Send your ants into the white framing tiles to expose the core.
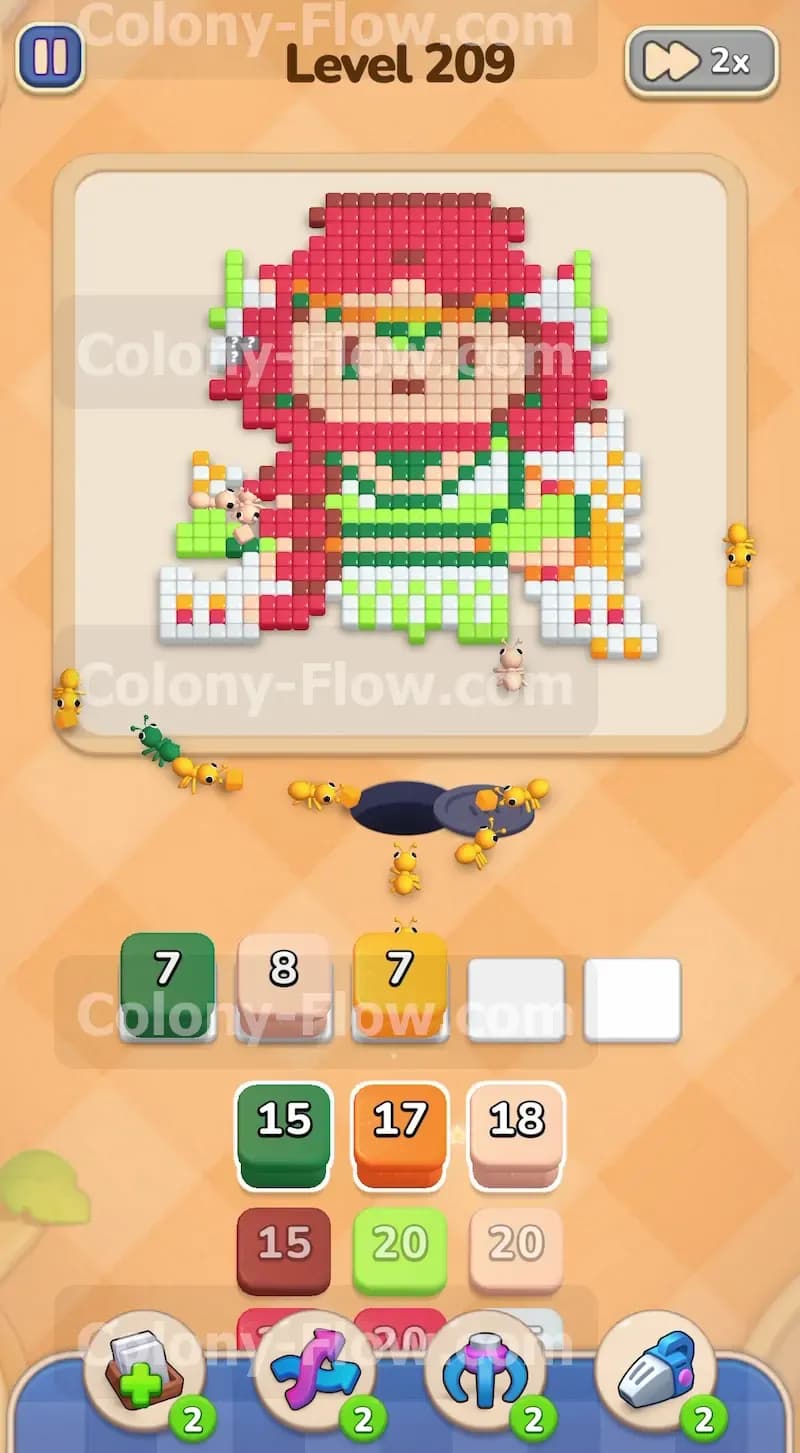
With the orange and yellow corners completely cleared, the white border is now exposed. You pull a white block numbered fifteen from the tray. The ants stream toward the bottom left and right sides of the character. They eat their way up the sides of the picture. The number on your white block counts down to zero and the block vanishes from your slot. This move is absolutely required because the white frame acts as a solid wall protecting the inner colors. Stripping the white tiles away exposes the green dress and the red hair. You keep your slots open by feeding the ants colors that are immediately available on the exterior.
Step 3: Tackle the bright green dress and the initial peach skin tones.
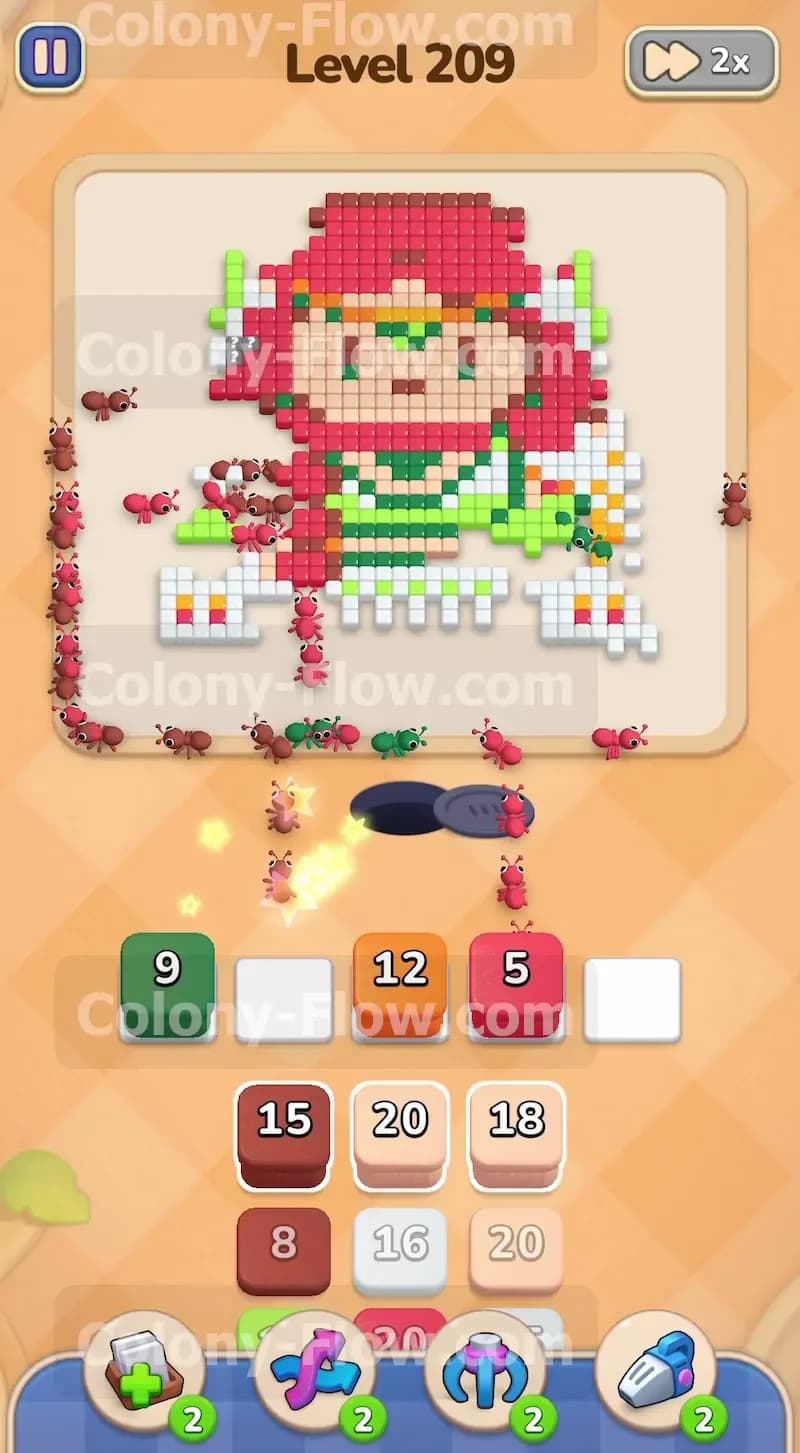
Now that you have a clear path into the main body, you pull a green block numbered seven. The ants swarm the lower half of the character and consume parts of the bright green dress. You follow this up by pulling a beige block numbered eight and a yellow block numbered seven. The beige block targets the hands and face of the character. The yellow block takes care of the remaining trim pieces on the outfit sleeves. The ants split up and clear multiple sections at the exact same time. Your waiting slots remain perfectly safe because you only pulled colors that had direct exterior exposure.
Step 4: Break into the darker shadows and the background accents.
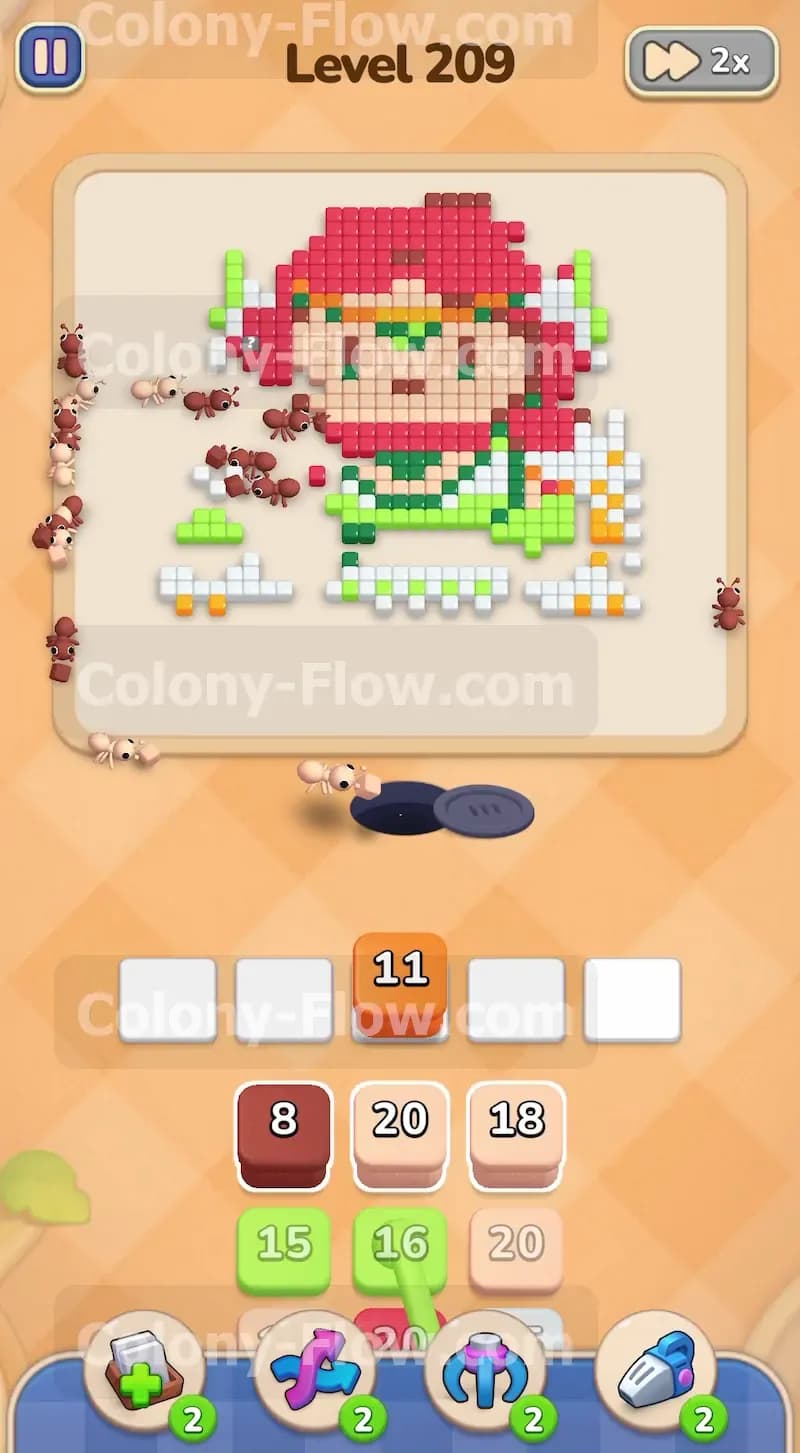
The top half of the board contains a massive block of deep red hair. You cannot reach the red tiles safely yet. You pull a dark green block numbered nine to finish the darker shadows of the dress. Then you pull a pink block numbered five to clear the accents near the head. Finally you bring up a beige block numbered twelve to continue clearing the face. The ants chew through the center of the picture. This hollows out the middle of the board and exposes the interior edges of the red hair. You must always wait until the outer colors disappear before bringing these deeper colors into your slots.
Step 5: Clear the brown shadow details around the neck and shoulders.
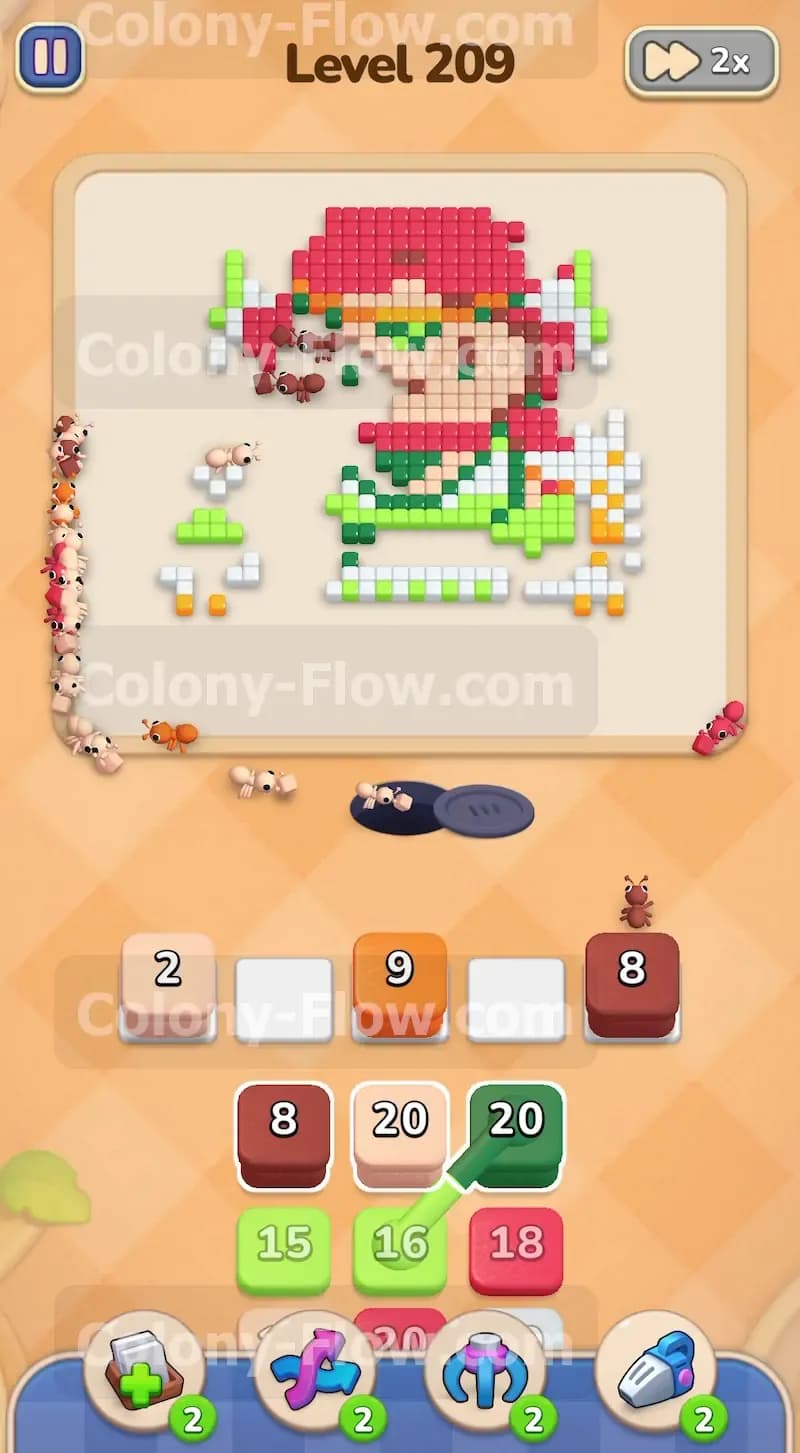
The portrait includes dark brown tiles that form shadows directly under the chin and around the neck. You pull a brown block numbered eight and an orange block numbered eleven. The ants navigate through the empty space left by the cleared dress and consume the brown pieces. You also pull a light green block numbered sixteen to clear the remaining light green sections of the skirt. At this stage the picture begins to break apart into separate islands of color. You have to watch your pathing very carefully. Only pull the brown block when you clearly see exposed brown tiles.
Step 6: Flood the board with ants to clear the massive red hair section.
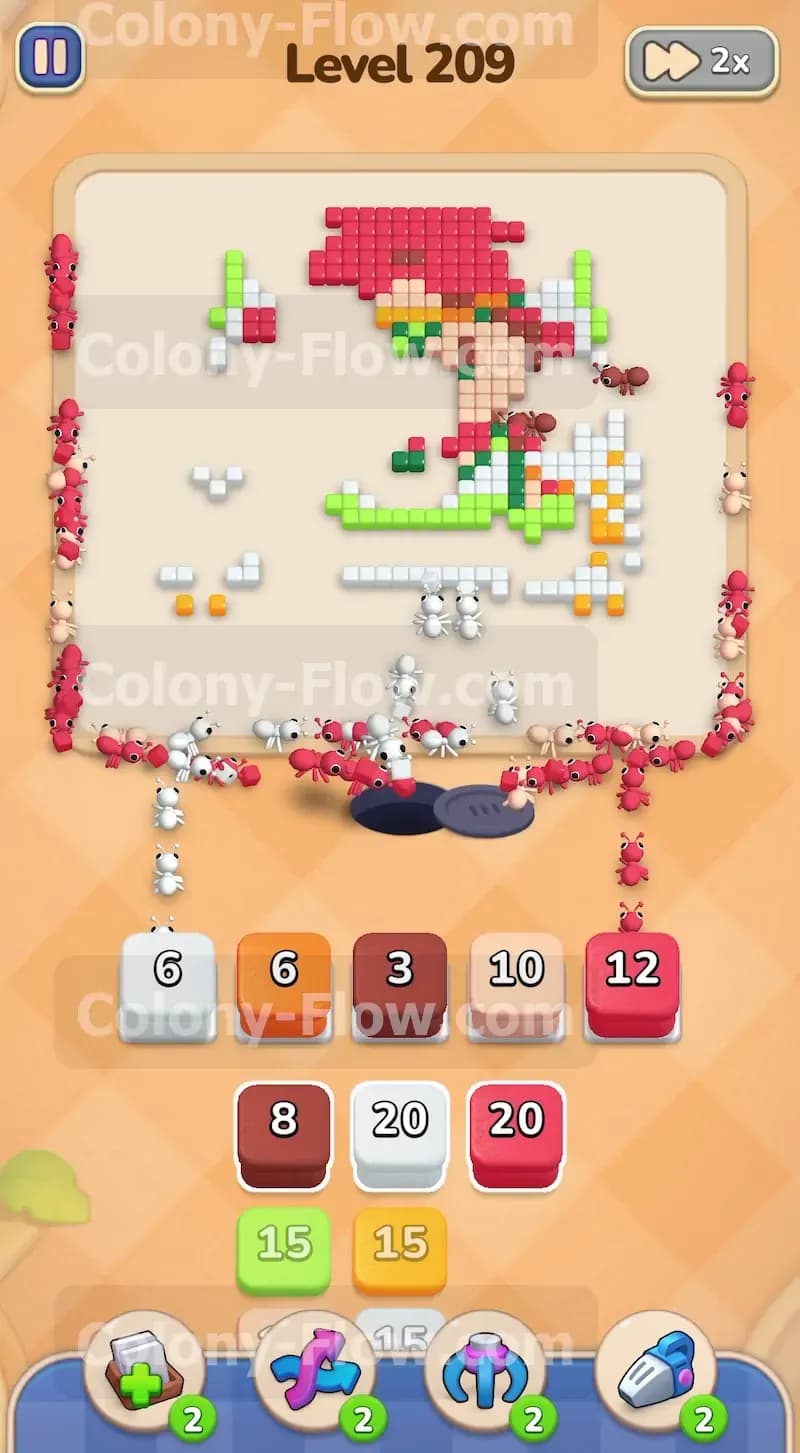
Your remaining tiles are heavily concentrated in the top red section. You pull a massive red block numbered twelve into your tray. You also bring out a white block numbered six and an orange block numbered six. Your waiting slots get quite full during this sequence. You might see four or five blocks sitting in the tray at once. However the red tiles are completely open from the bottom and sides now. The ants swarm the massive red shape and the numbers count down rapidly. As long as the red tiles remain accessible the twelve block will clear out and free up your tray space.
Step 7: Sweep up the scattered green and light green fragments.
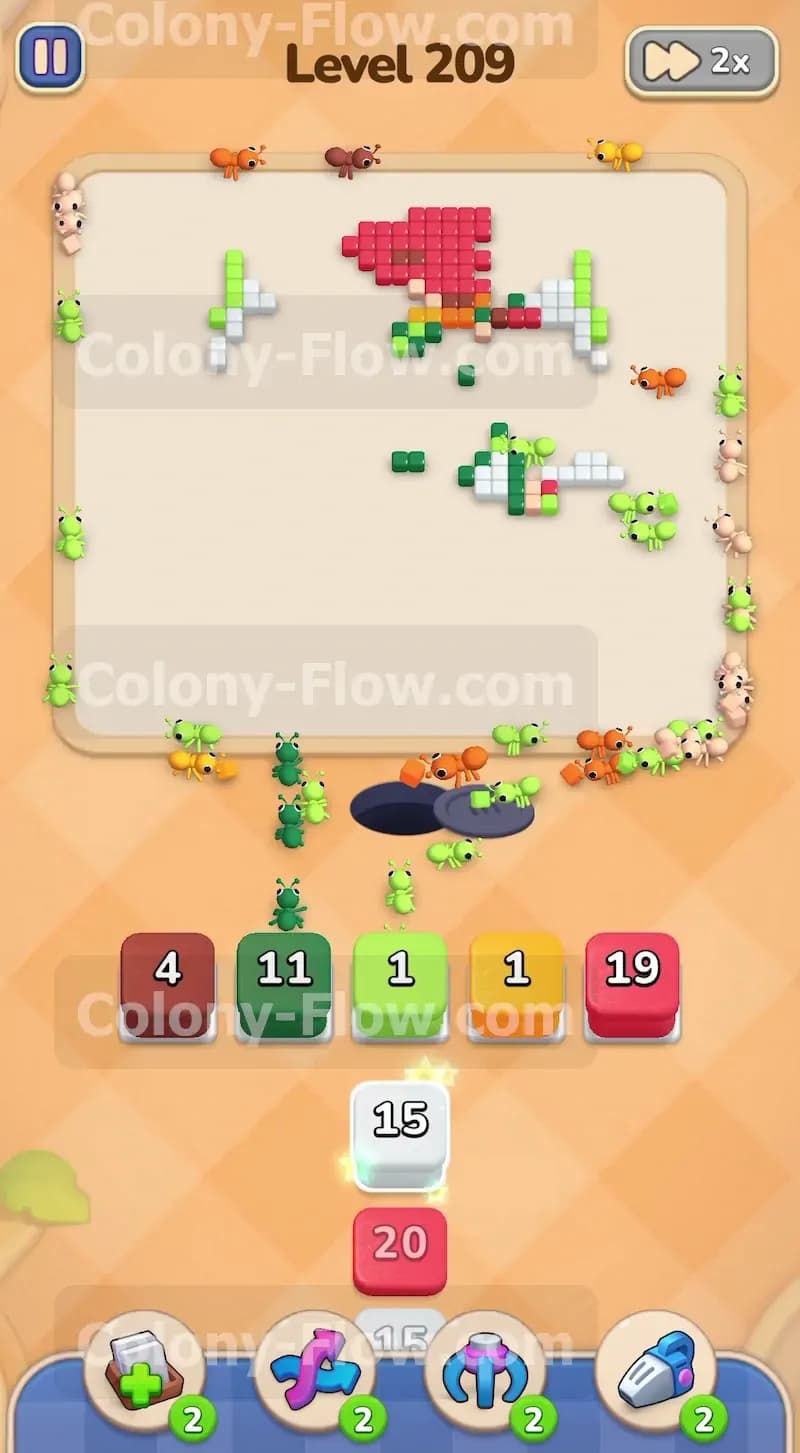
The main character shape is completely gone at this point. You are left with scattered fragments and floating islands of color. You pull a dark green block numbered twenty and a light green block numbered sixteen. The ants rush across the empty board and hunt down these isolated green patches. Pathing is completely open now. The ants simply walk straight to their targets without any detours. You just need to make sure you pick the exact colors left on the board. Do not pull a color that is completely missing from the remaining islands.
Step 8: Wipe out the final pink and white tiles to win the board.
The very last pieces on the board consist of stray pink and white tiles scattered near the edges. You pull a white block numbered fifteen and a pink block numbered nineteen. You also pull a final red block for twenty ants and a dark green block for eleven ants. The final wave of ants leaves the nest hole and sweeps over the remaining pixels. The countdown numbers drop steadily as the ants eat the very last pieces of the puzzle. Once the final tile disappears the level concludes. You kept your waiting slots flowing smoothly and successfully broke down the entire portrait.
Final Thought
This board requires patience and a strict focus on the outside edges. You must resist the temptation to pull the bright red blocks too early in the level. Just stick to the outer layers and peel the picture like an onion. If you find any part of this written guide hard to follow, please watch the video above this article. The visual demonstration will show you exactly how to manage your tray and keep your ants moving.