Colony Flow Level 75 Walkthrough Solution & Guides | How to solve Colony Flow 75

Guide By Liam Stone
Updated on July 13, 2026
You don't have to read the whole guide. The video above shows you exactly how to clear Level 75.
Video doesn't match your screen?
Game updates frequently scramble layouts! Try our AI Screenshot Solver first to find your exact board instantly, or report broken guides to our team.
Colony Flow Level 75 is a beautiful but tricky puzzle that requires careful planning to solve. You get to clear a lovely pixel art picture of two bright pink flowers while managing a very tight queue. I found this level highly engaging because it forces you to think ahead before pulling any blocks from the tray. Every single decision matters when you only have five slots to work with and a massive colony of ants waiting for your command.
Colony Flow Level 75 Overview
What You Are Working With
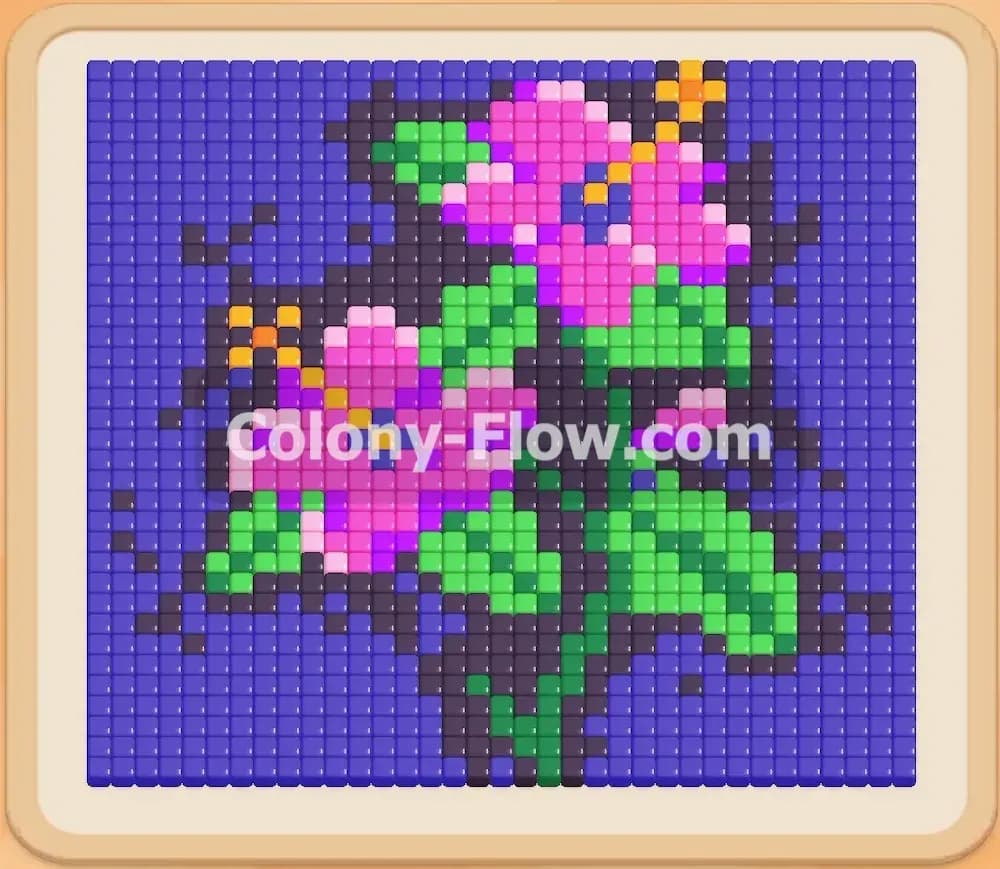
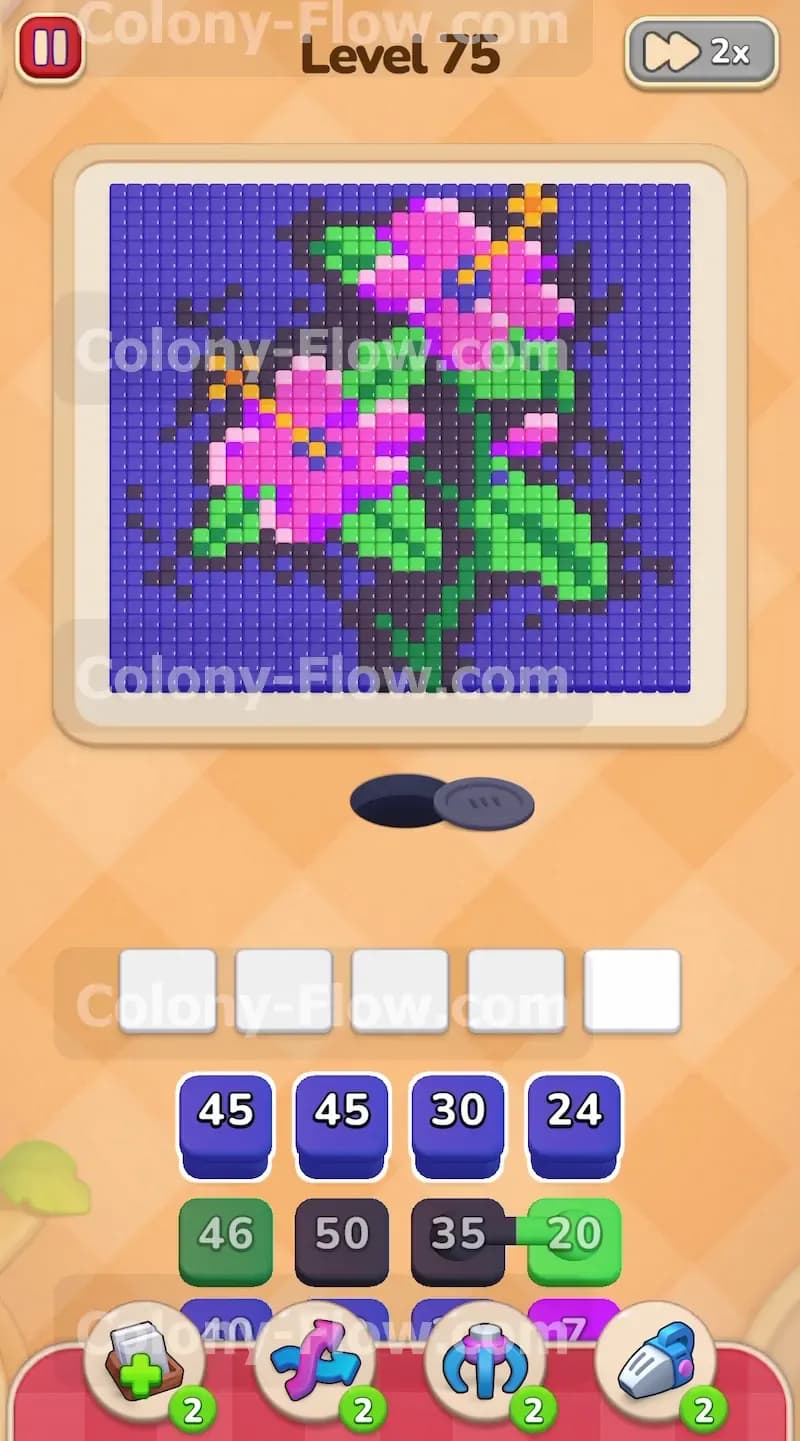
The picture for this level features two large pink flowers with bright orange centers. These flowers are surrounded by green leaves and a thick black outline that gives the art a stained glass look. The entire background is filled with solid blue tiles. Your tray at the bottom holds a large mix of blue, black, green, pink, and orange blocks. These blocks display numbers that show exactly how many ants they will release onto the board. This level also introduces connected boxes to the mix. You will see certain blocks in the tray linked together by a solid visible line. When you pull one connected box, the linked box comes with it automatically. You must handle both blocks at the exact same time which takes up two of your precious waiting slots instantly.
What It Takes to Clear Level 75 Board
To clear the board you need to match the colored blocks from your tray to the corresponding colored tiles in the picture. You have exactly five waiting slots located just below the board. When you pull a block from the tray, it goes straight into an empty slot and sends a stream of ants out of the dark nest hole. The ants march up the open paths to reach the matching tiles and eat them away piece by piece. The number on your active block counts down until it reaches zero and then the block disappears from the slot. If you fill all five waiting slots and the ants have no open path to reach their specific colors, the board jams completely and you lose the level. You must always maintain a wide open path for your active ants to keep the slots cycling properly.
Colony Flow Level 75 Step by Step Solution
Step 1: Start clearing the bottom blue background and black outlines.
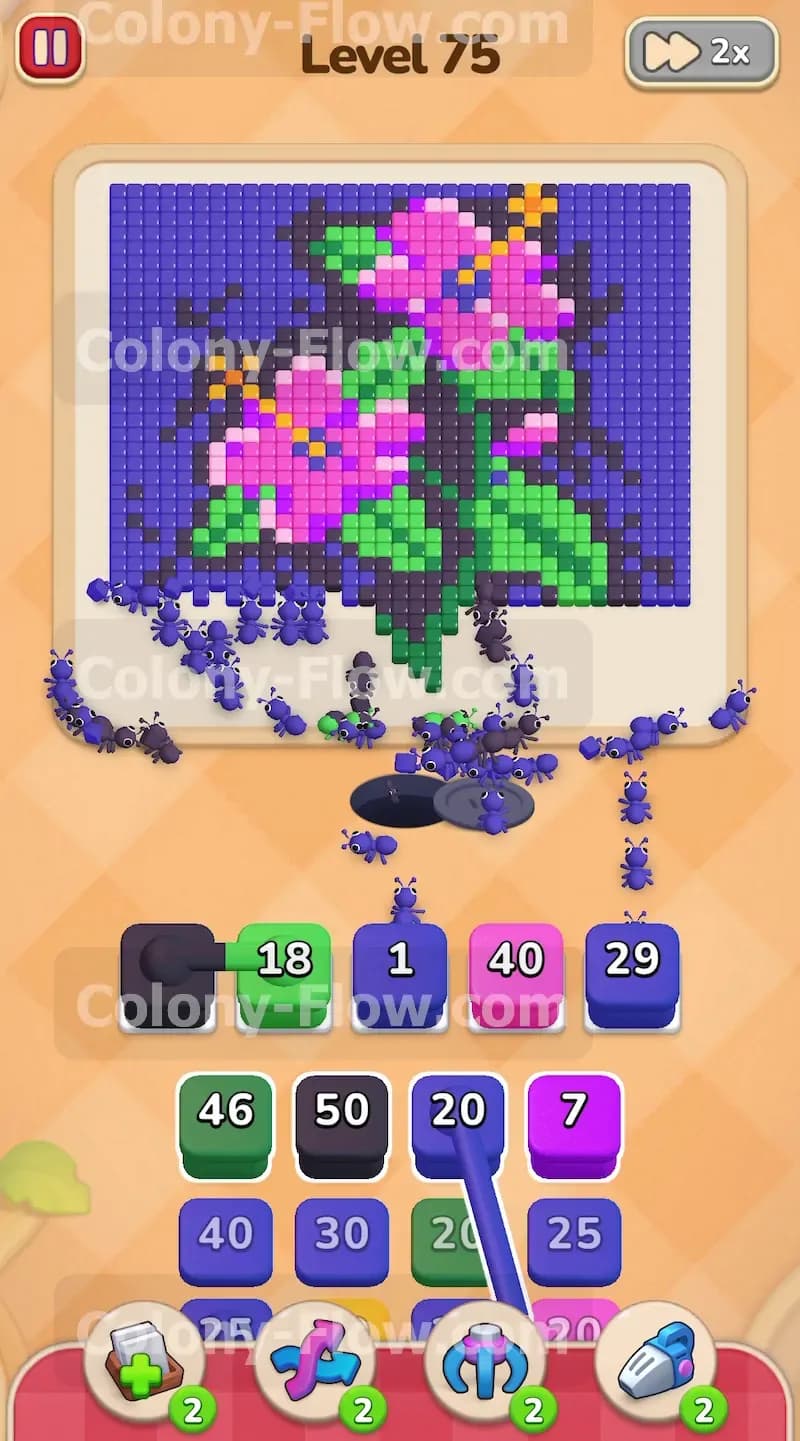
The lowest part of the picture consists entirely of blue background tiles and the black outline of the flowers. You need to open a wide path right down the middle so ants can reach the inner sections later. Pull a blue block and a black block from the top row of your tray. The ants will stream out of the nest hole and begin eating away the bottom edge of the board. Watch the numbers on your blocks count down steadily as the ants do their work. Wait until these blocks are almost completely empty before you pull another one. This patience keeps your waiting slots free and prevents early jams. The bottom section clears out fairly fast but you must resist the urge to pull too many blocks at once. Let the ants finish their current job before you give them more work to do.
Step 2: Access the bottom flower petals and lower stem.
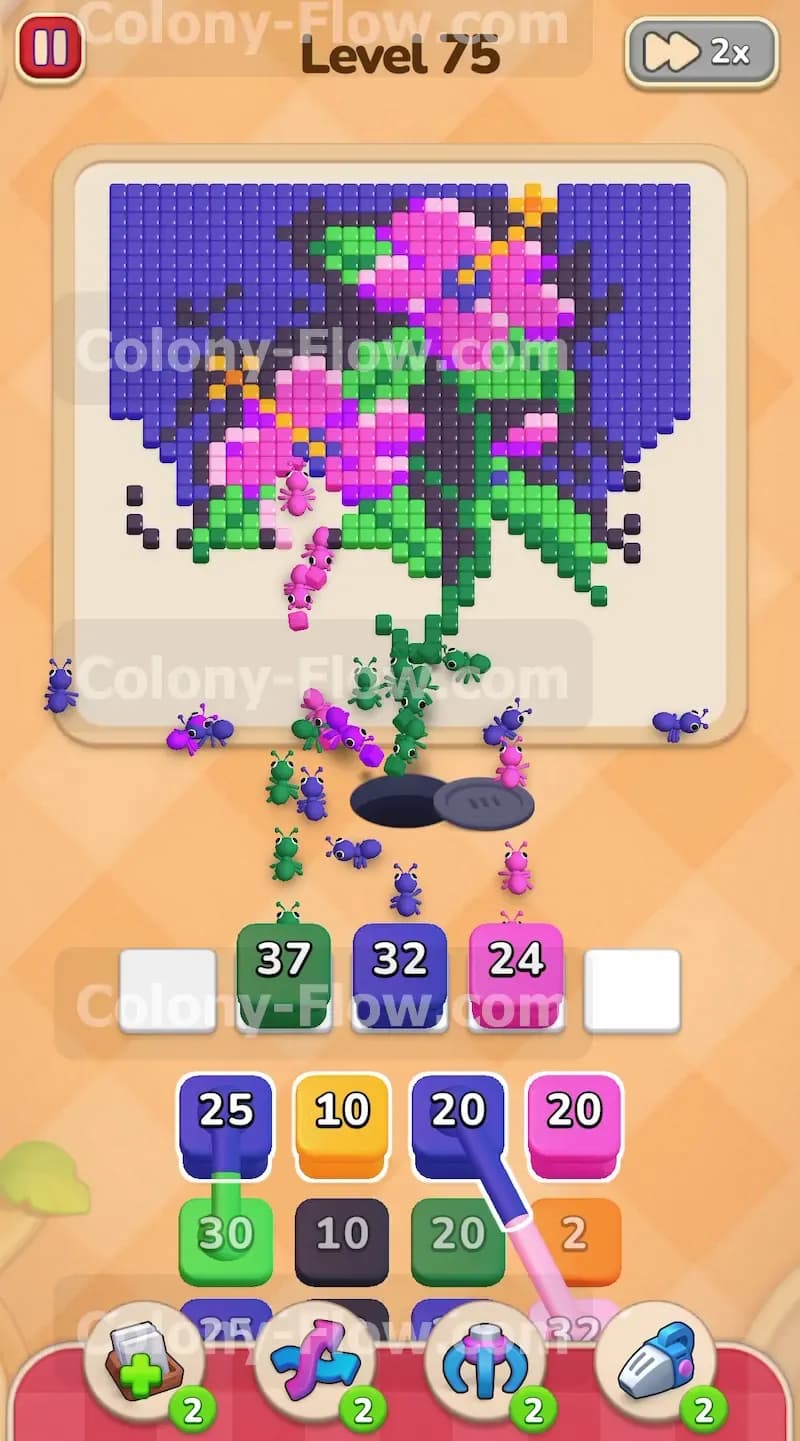
With the bottom edge cleared away, you now have an open route directly to the first pink flower and its green stem. Pull a pink block and a green block from the tray to get things moving. The pink ants will rush up the newly created path and start clearing the lower petals of the first flower. The green ants will tackle the stem and the bottom leaves located just to the right. Keep a close eye on the waiting slots during this phase. You want these blocks to empty out completely so they vanish from the queue. If the ants run out of exposed pink or green tiles to eat, the blocks will sit stuck in your slots and take up valuable space. Always ensure a color is fully exposed and ready to be eaten before you pull its block into the queue.
Step 3: Clear the lower orange center and handle the first connected boxes.
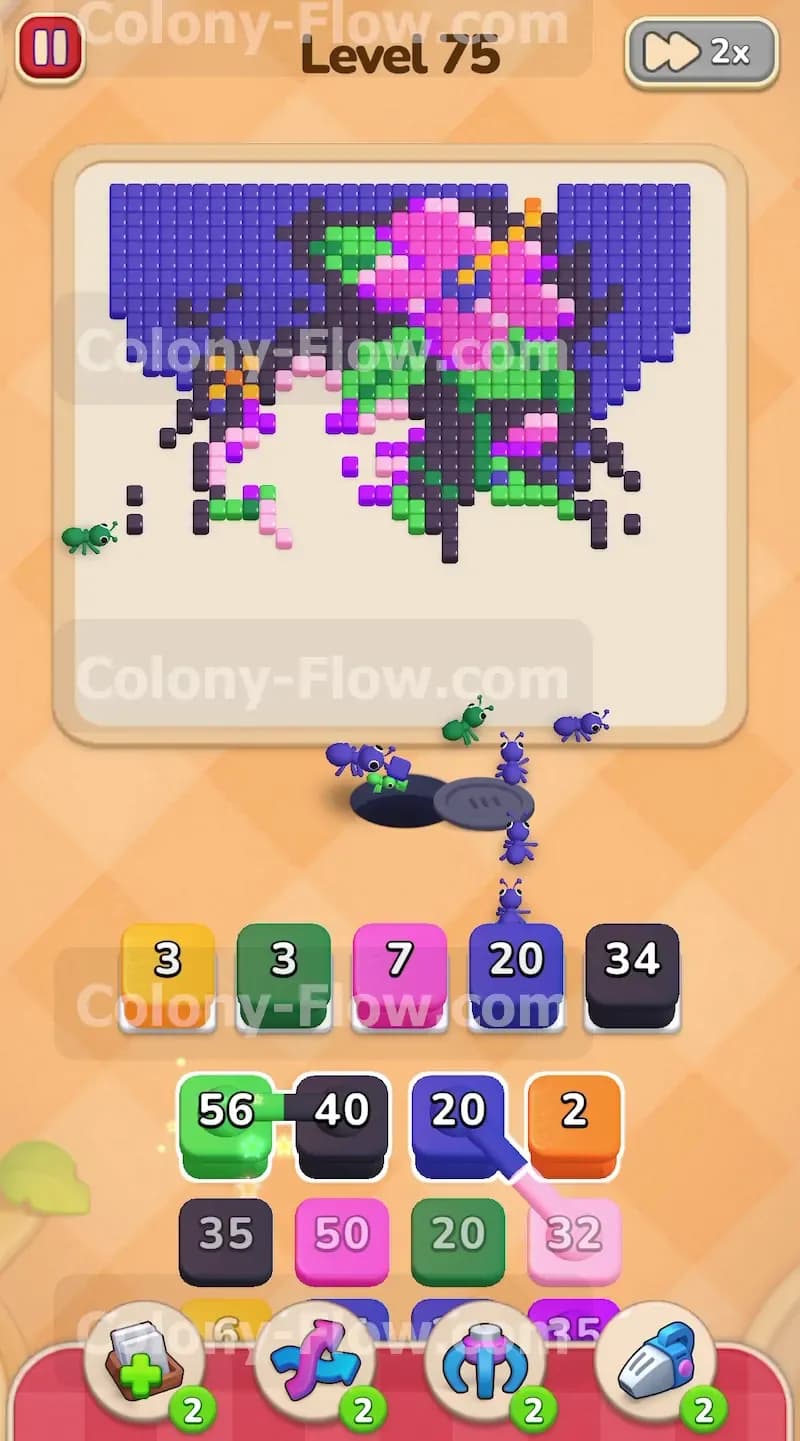
The bottom flower needs its orange center cleared to open up the middle of the board completely. Pull an orange block to send ants directly to that center spot. Around this time you will face your first set of connected boxes sitting in the tray. You will see a green block linked directly to a black block. Because they are permanently joined, pulling one brings the other into your waiting slots immediately. Before you make this move, look closely at the board and verify that both green leaves and black outlines are fully accessible to the ants. Pull the connected pair and watch both colors of ants march out to clear the middle section of the picture. If one color lacks an open path, that block will jam your queue and threaten your entire run.
Step 4: Push upward through the middle leaves and surrounding background.
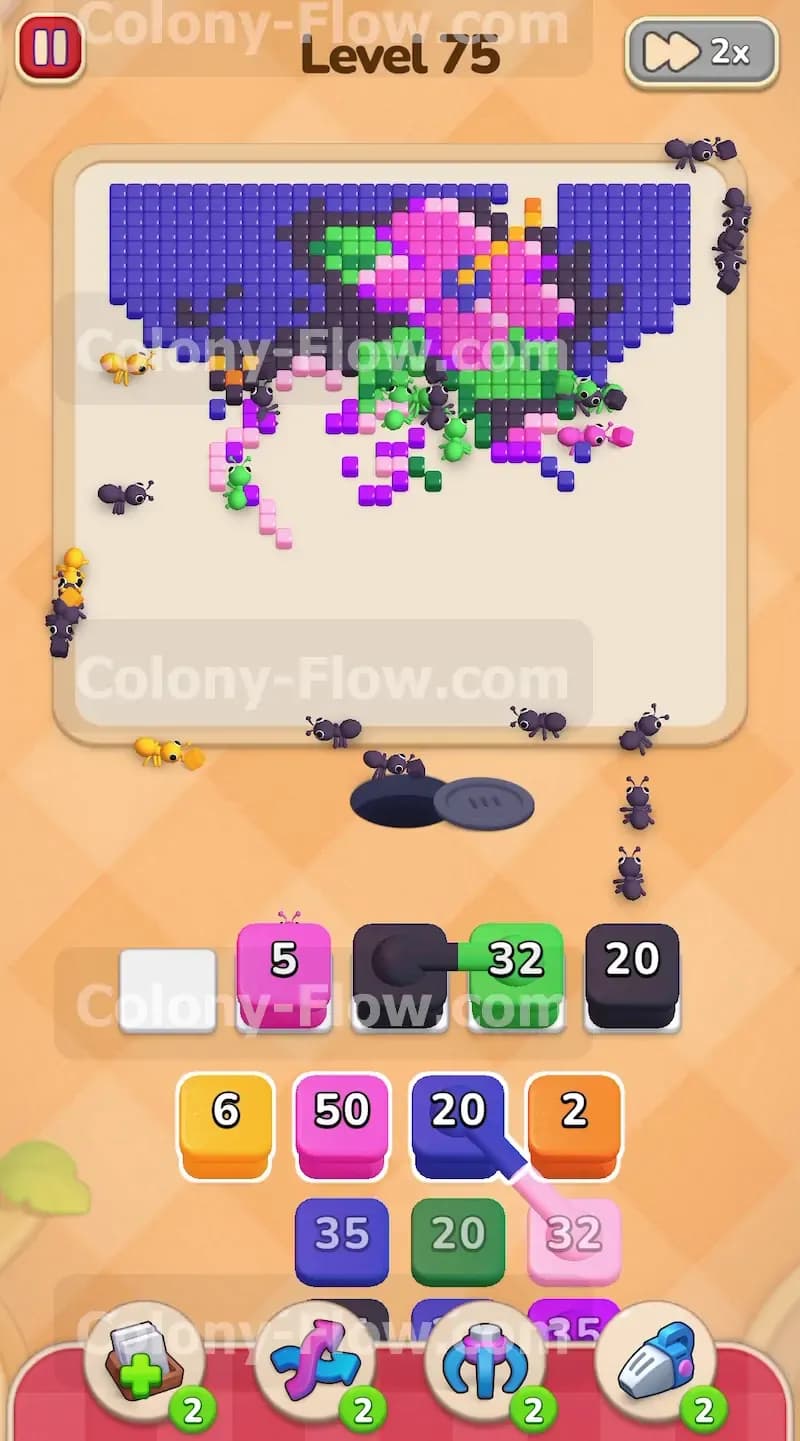
The bottom flower is mostly gone and you need to push your way higher into the picture. The middle section has a large amount of black outline and blue background trapping the top flower from all sides. Pull black blocks to clear the remaining vines and outlines located in the center. Then pull blue blocks to eat away the blue background on the left and right sides of the artwork. Balancing your blue and black pulls is extremely crucial here. Do not overload your slots with just one single color. Alternate your pulls carefully so ants flow smoothly up both sides of the board without getting stuck behind each other. Keeping a steady rhythm here prevents the ants from bunching up and blocking the main pathways.
Step 5: Attack the large top flower petals and manage more connected boxes.
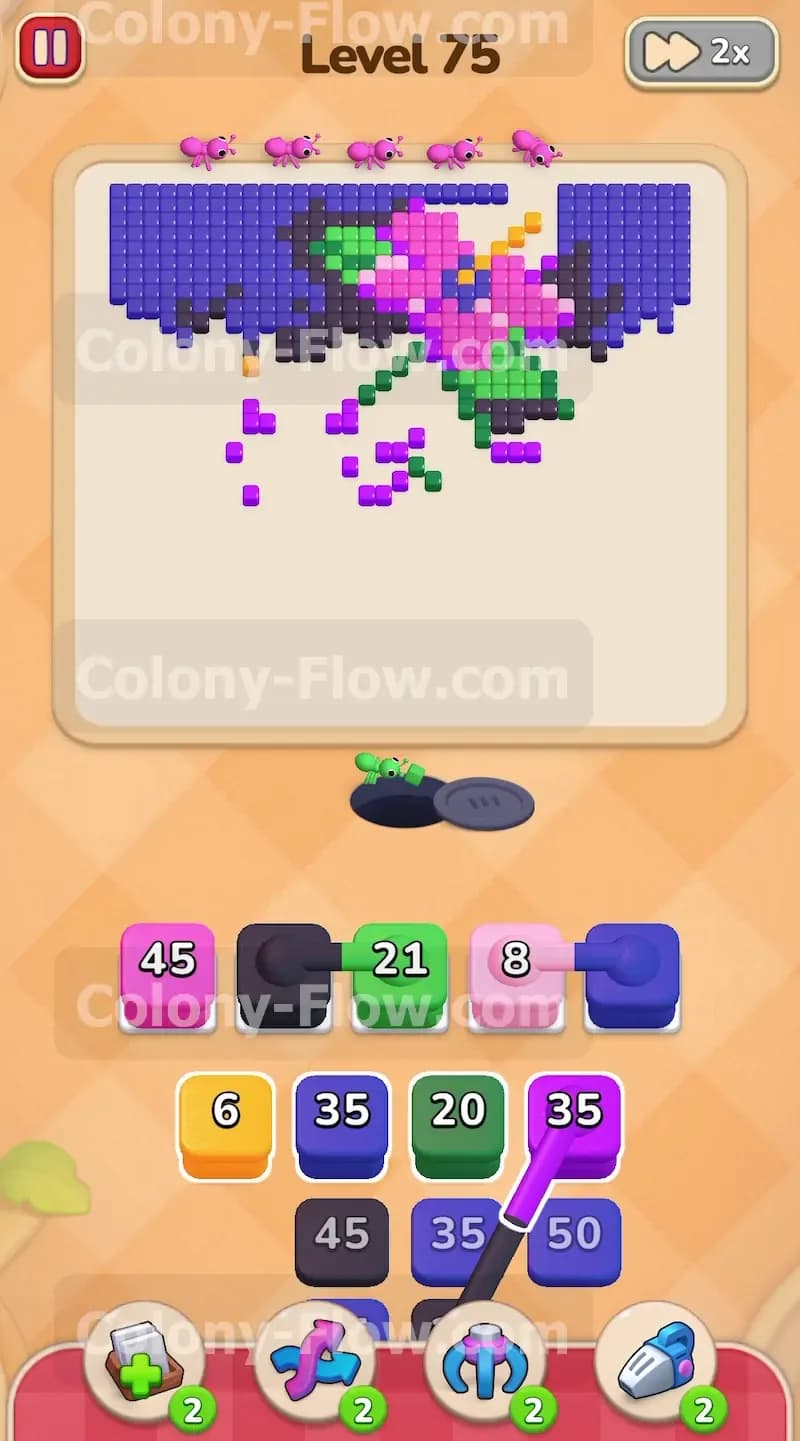
You have finally exposed the large pink flower located at the very top of the picture. Start pulling the larger pink blocks from your tray to clear these massive petals. The pink ants will travel all the way up the middle path and consume the top flower very quickly. You will encounter another challenging pair of connected boxes in your tray right around this moment. This time you will find a blue block linked directly to a black block. Just like before, you must ensure both colors have a valid target on the board before you make your move. Check that the top blue background and top black outlines are completely reachable by the ants. Pull the pair carefully to keep your queue moving without a single hitch.
Step 6: Clear the top orange center and the remaining green leaves.
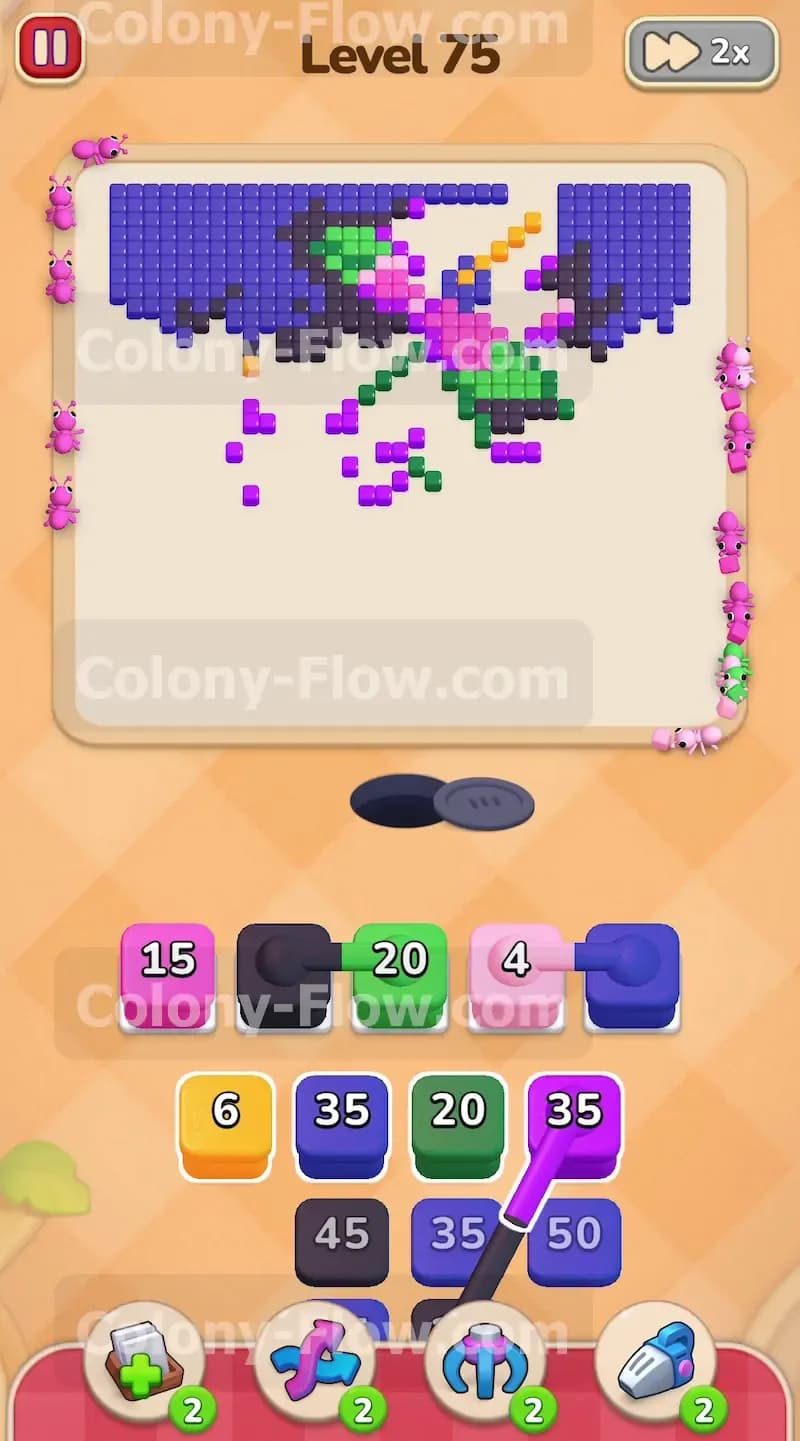
The top flower is almost completely cleared except for its bright orange center. Pull your next orange block to send ants up to finish off that exact spot. You also have a few green leaves remaining near the top right corner of the picture. Pull a green block to send green ants up the right side of the board to handle those specific leaves. At this late stage your tray is getting very empty and the picture is shrinking incredibly fast. Do not rush your moves now. Always verify that a clear path exists before you pull any color. A reckless pull right now will fill a slot and ruin your progress. Take an extra second to trace the path from the nest hole to the target tiles.
Step 7: Finish off the final blue background corners to win the level.
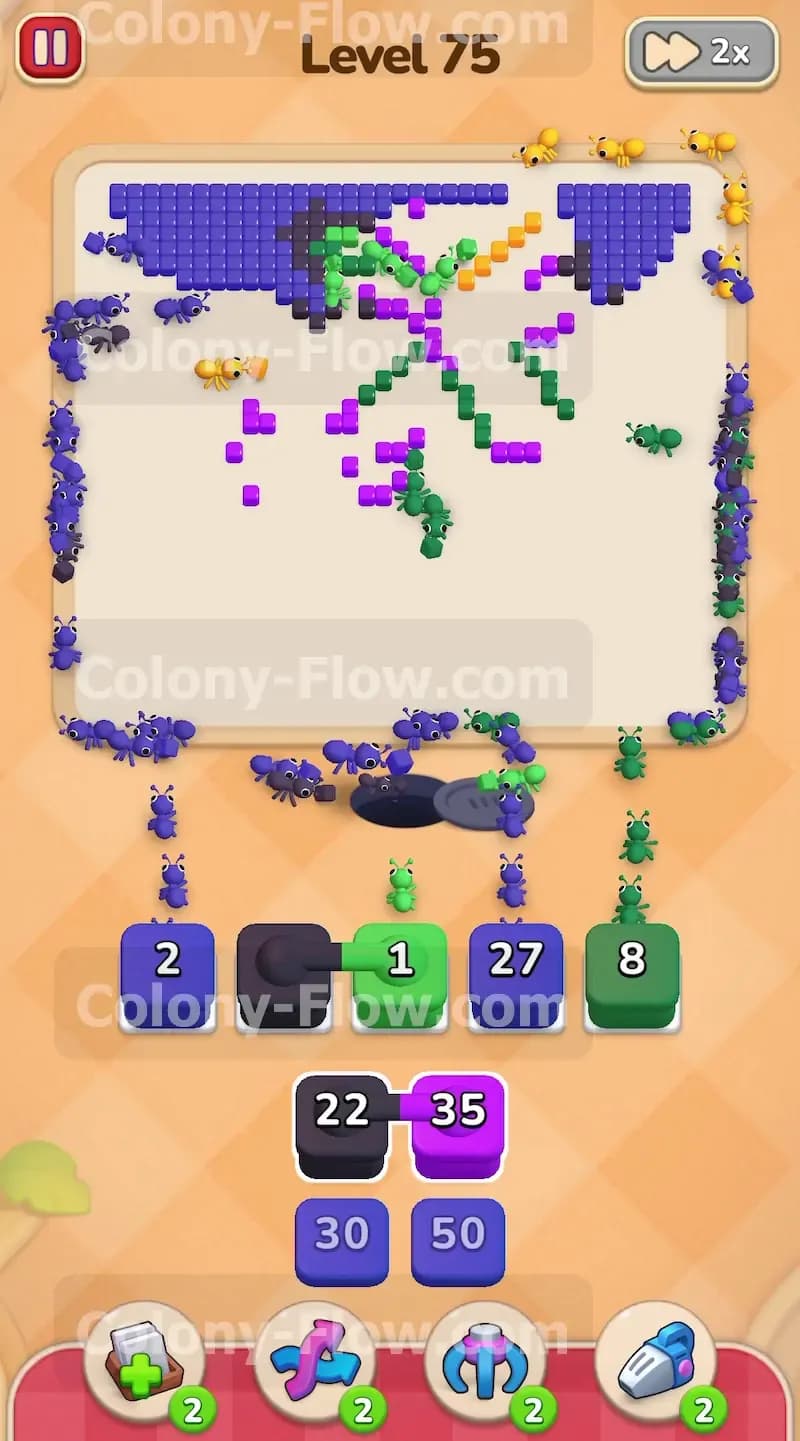
Only a few scattered pieces remain on the entire board. You will see some blue background tiles left in the top right corner and a couple of stray black outline pixels near the edges. Pull your final blue blocks and black blocks directly from the tray. The board is completely wide open now so the ants will travel extremely fast across the empty space. They will sweep across the remaining distance and eat the very last tiles in a matter of seconds. Watch your waiting slots empty out one final time as the pixel art picture completely disappears from the screen. You have successfully beaten the level and proved your puzzle skills.
Final Thought
This puzzle thoroughly tests your ability to manage limited space while working through a complex and colorful picture. Staying completely patient and reading the board carefully will definitely get you through the toughest moments. Managing those connected boxes without jamming the queue feels incredibly rewarding. If you find any part of this written guide hard to picture, I highly encourage you to watch the video above this article to see exactly how the moves play out in real time.