Colony Flow Level 1010 Walkthrough Solution & Guides | How to solve Colony Flow 1010

Guide By Liam Stone
Updated on August 8, 2026
Prefer to watch rather than read? The Level 1010 walkthrough video sits right above this guide.
Video doesn't match your screen?
Game updates frequently scramble layouts! Try our AI Screenshot Solver first to find your exact board instantly, or report broken guides to our team.
Welcome to Colony Flow Level 1010. This particular level features a bright video game controller resting in a patch of tall grass. You will need a careful strategy to break apart the solid color blocks and handle the connected boxes waiting in your tray. Follow along to feed your colony the exact colors they need to tear down the pixel art. Managing your waiting slots is your top priority to secure a win without jamming the board.
Colony Flow Level 1010 Overview
What You Are Working With
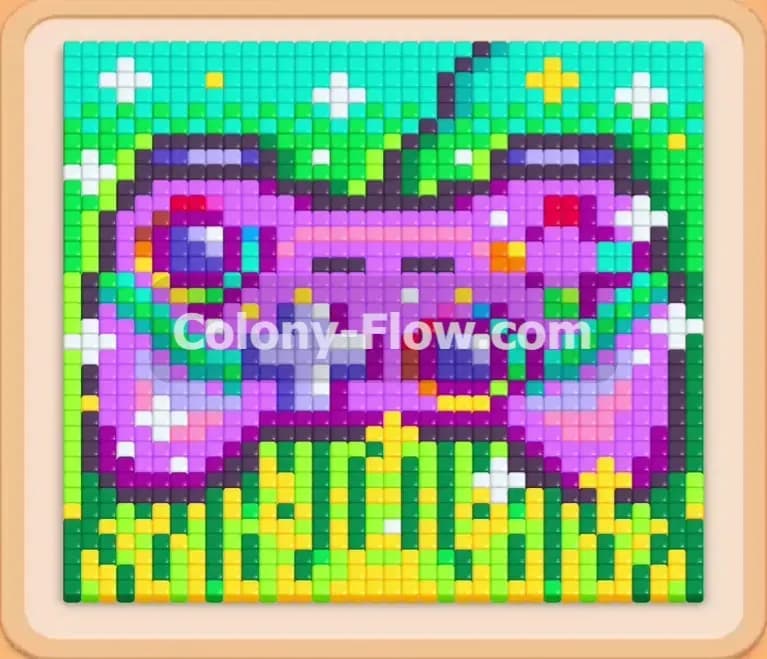
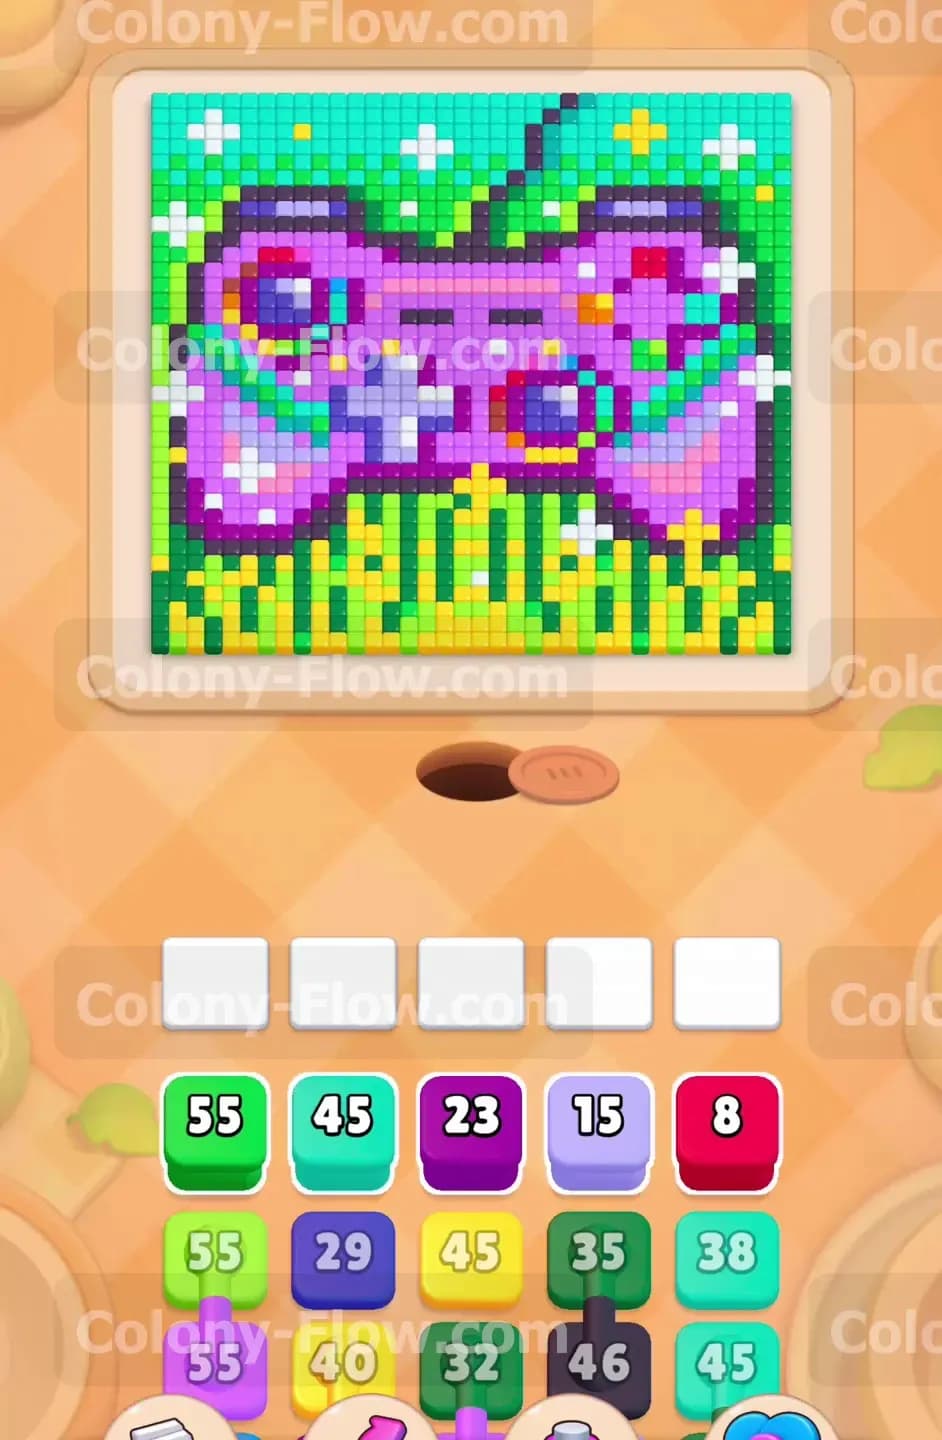
The pixel art presents a bright purple gaming controller surrounded by green leaves at the top and yellow grass at the bottom. The picture uses large patches of light purple for the main body and solid dark blue tiles for the thick outer outline. You will also see white plus signs representing a directional pad and teal circles for the action buttons. The tray at the bottom holds your numbered color blocks. Many of these blocks function as connected boxes linked together in pairs. Pulling a connected pair pulls both blocks at the same time and requires two empty spaces in your five waiting slots.
What It Takes to Clear Level 1010 Board
Winning this level means slowly dismantling the outer layers of the picture before you reach the core. The top green leaves and the dark blue controller outline are your first targets. By feeding the ants the exact colors they need to eat the borders, you expose the inner pink and light purple tiles. You must balance the single blocks and the connected boxes constantly. If you pull too many unrelated colors at once, the five slots will fill completely. If blocks fill all five waiting slots and no ants can clean the board, you lose the level. Keeping at least one active ant path open at all times is the only way to survive.
Colony Flow Level 1010 Step by Step Solution
Step 1: clear the top green leaves to open the initial pathways
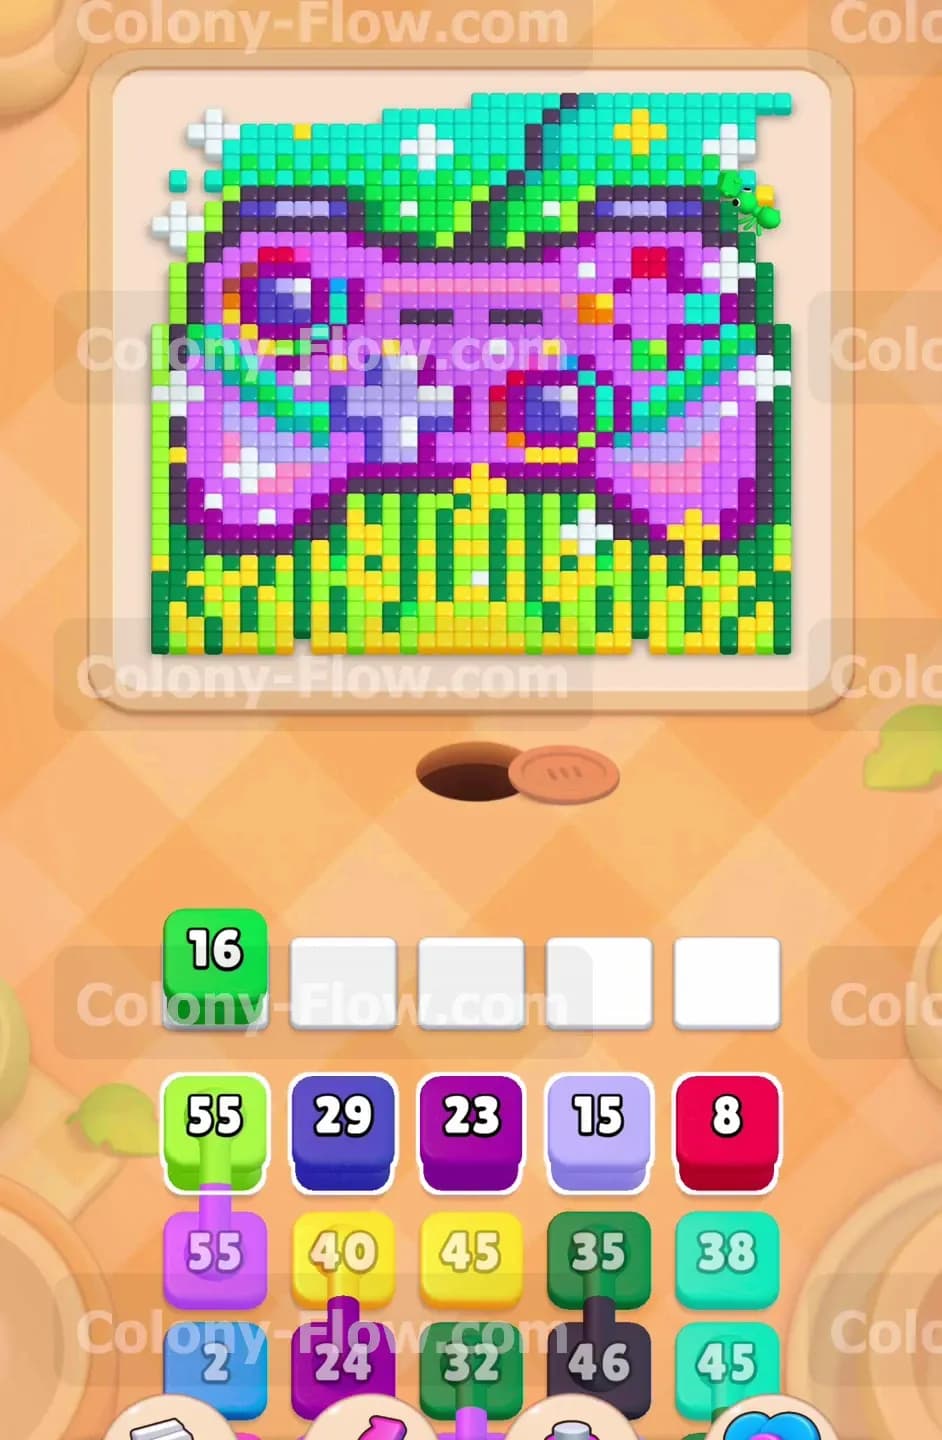
Start the level by tapping the green block showing the number 55. This sends your ants straight to the large green leaves covering the top edge of the controller. You want to establish a strong flow right away so the board opens up. The ants march up the sides and begin eating away the green pixels rapidly. The number on the green block drops fast as the ants consume the tiles. This move creates crucial breathing room around the upper perimeter of the board. You keep your waiting slots mostly clear because the green block quickly empties out and disappears. Opening this top area gives your next colors clear access to the main body of the puzzle.
Step 2: attack the dark blue outline to expose the inner purple tiles
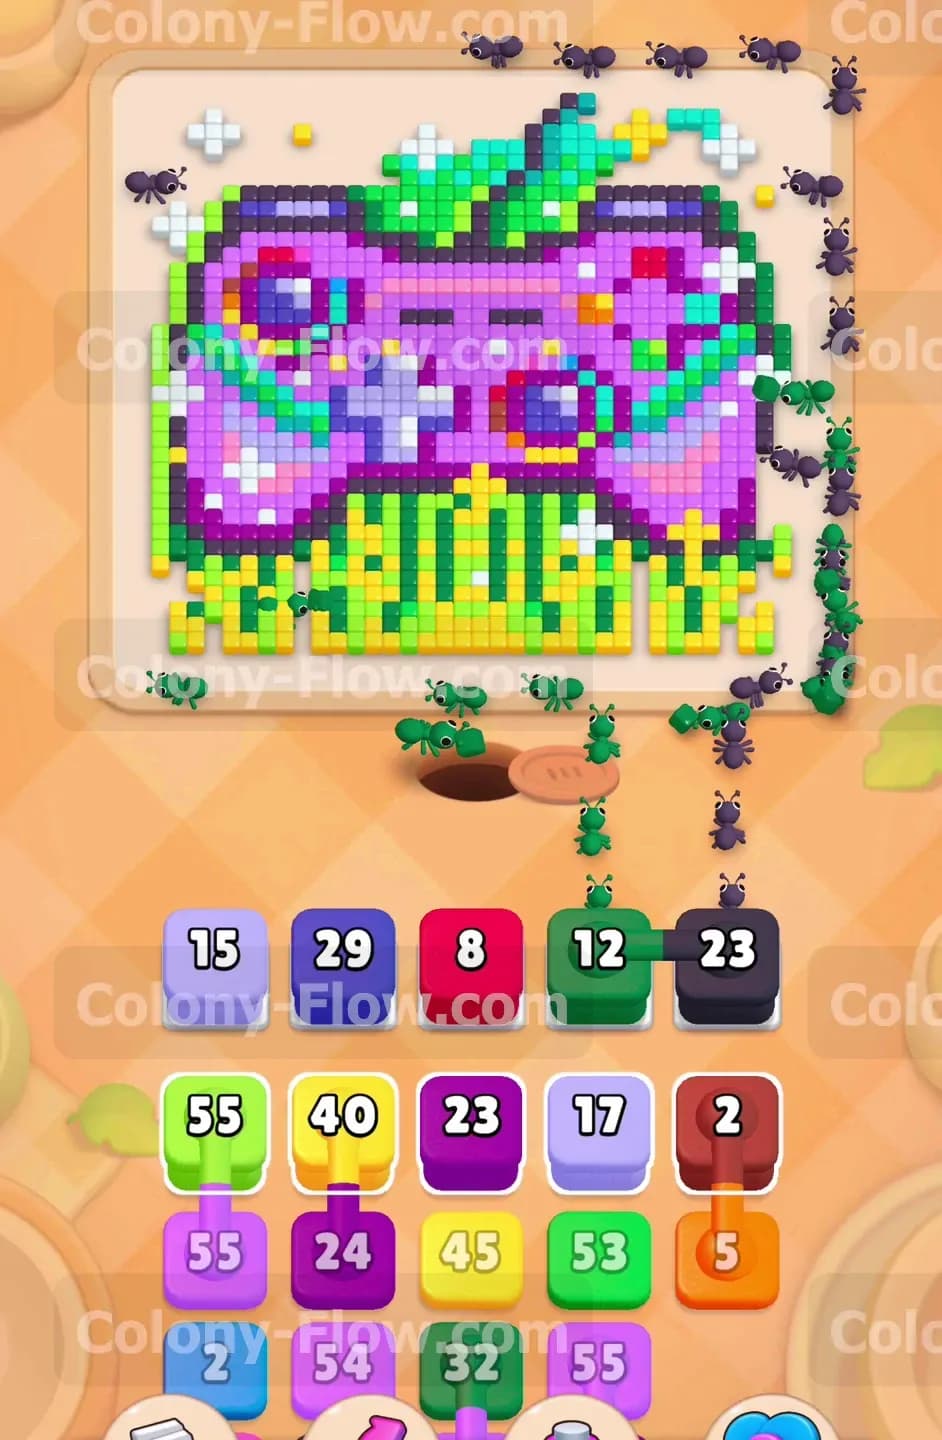
With the top green leaves shrinking, you should focus your attention on the thick dark blue outline bordering the entire controller. Pull the dark blue block to start clearing this protective perimeter. The ants will swarm the outer edges and chew through the solid border. This outline protects the softer inner colors and blocks direct paths to the center. Breaking it down is completely necessary to reach the light purple core. You must watch your waiting slots closely during this phase. Only pull a secondary color like pink or light purple if you have an open path for it. The dark blue outline runs all the way around the shape, giving your ants plenty of surface area to work on.
Step 3: manage the first set of connected boxes to avoid slot jams
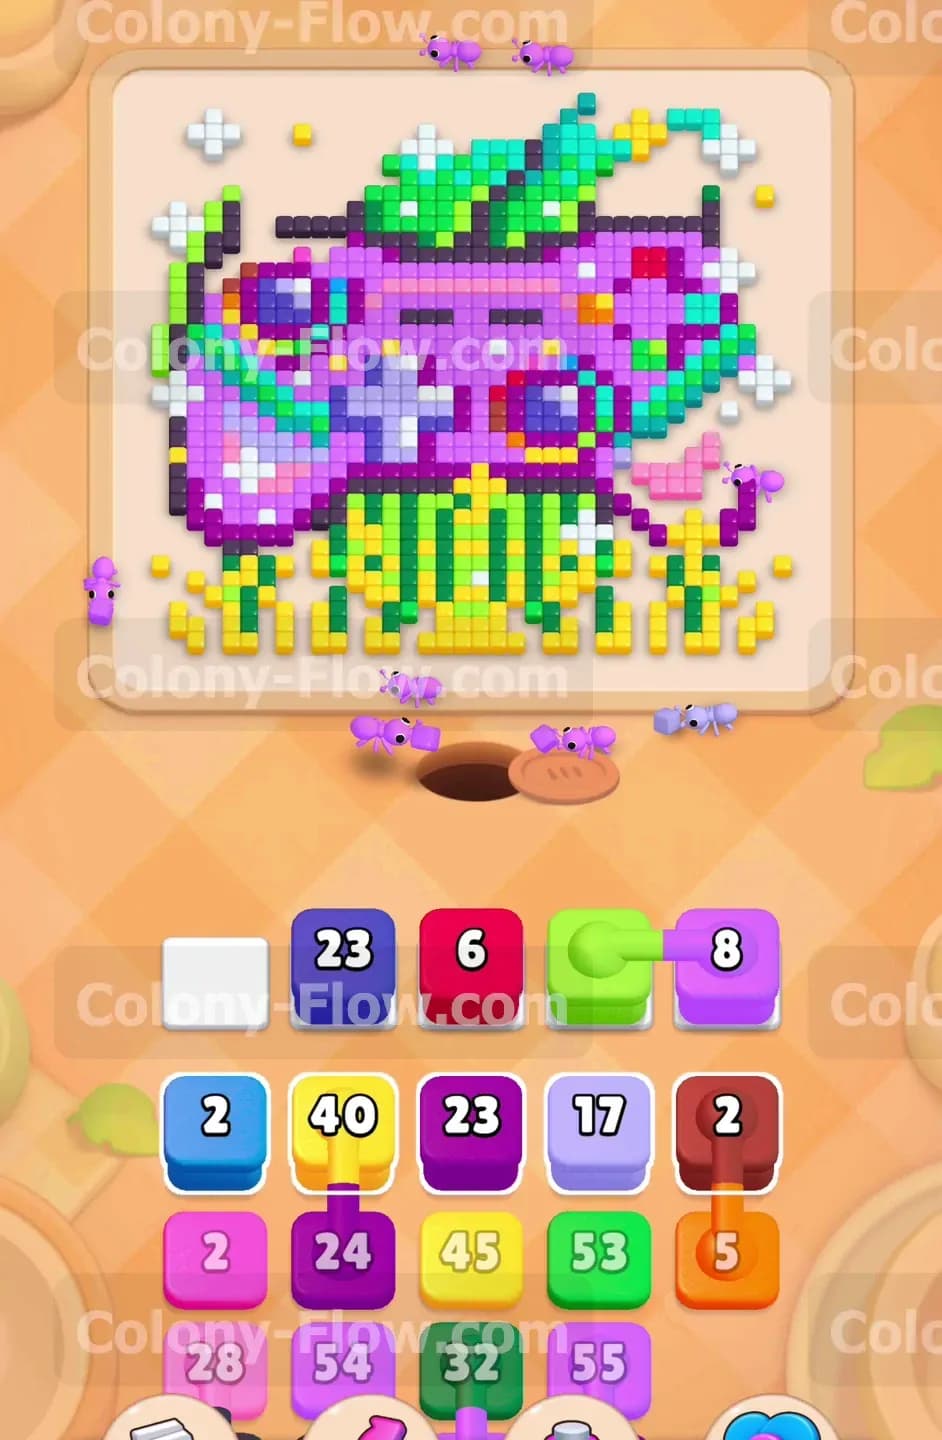
Now you face the connected boxes resting in the lower section of your tray. These linked blocks drop into your waiting slots together as a pair. You need at least two empty slots to pull any vertical connected pair. Look for the linked light purple and dark purple blocks in the tray. Make absolutely sure your ants are actively clearing the dark blue outline before you pull this pair. Once you bring them up, the ants target the corresponding purple areas inside the controller face. If you pull these connected boxes while your slots are mostly full, you will dead end the board and lose immediately. Keep the ants moving so the numbers on the waiting blocks continue ticking down.
Step 4: break down the main light purple body of the controller
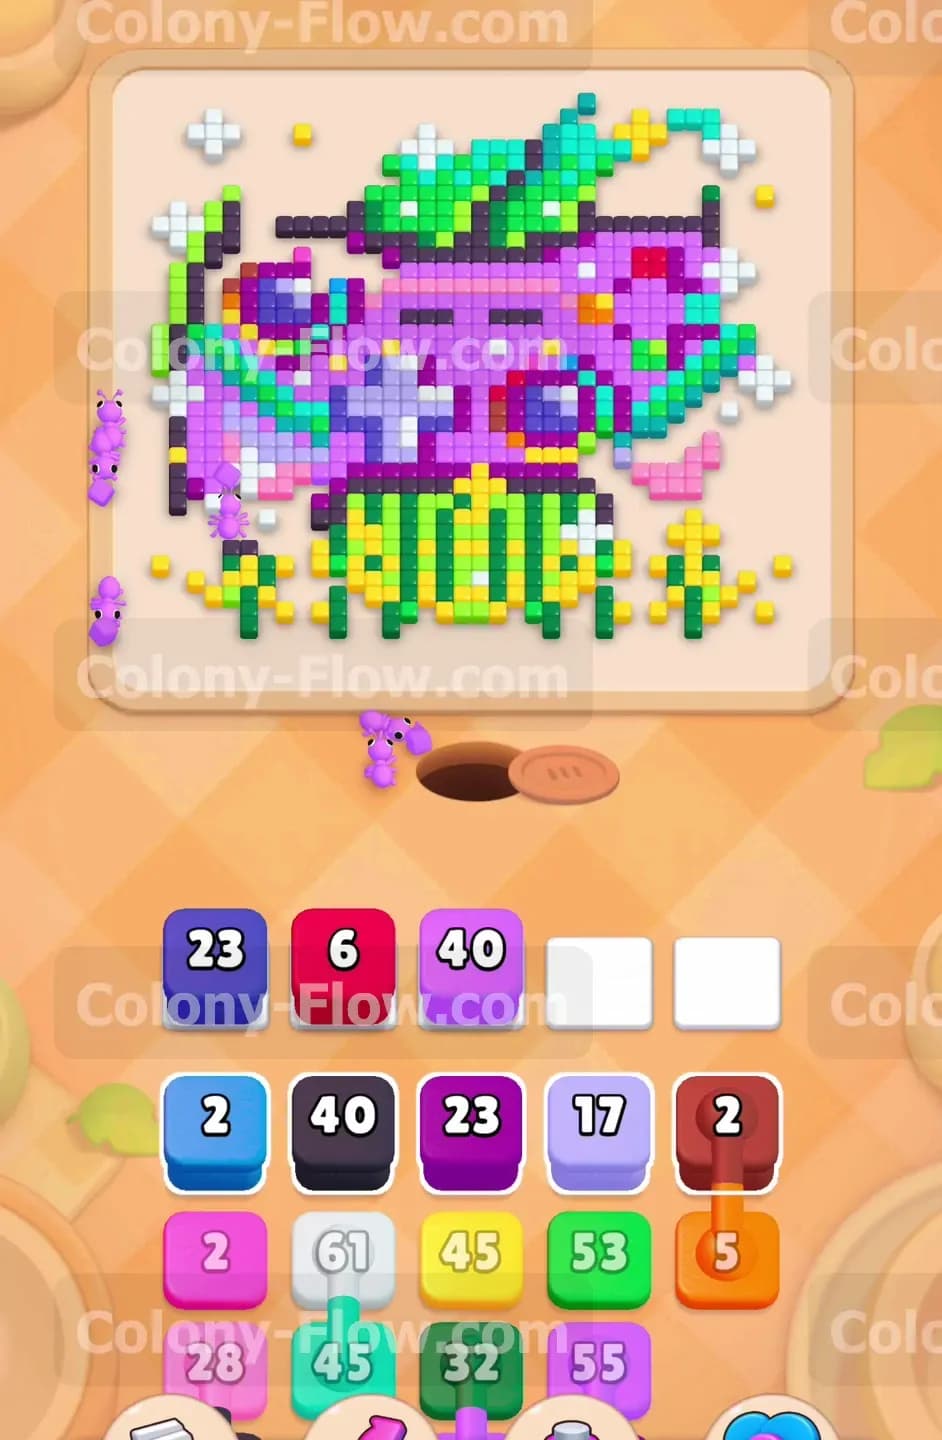
The center of the controller contains a massive pool of light purple pixels. Bring up the large light purple blocks to unleash your ants on this central mass. The screen will soon fill with ants marching straight into the middle of the board. The light purple sections act as the main structural core of the pixel art. Removing them shatters the entire middle section into smaller isolated islands of color. You will see the shape of the controller completely break apart during this stage of the game. Let the ants work through the light purple blocks until the numbers drain down to zero. This massive clearing action frees up your slots for the next crucial set of colors.
Step 5: clear the yellow and green grass at the bottom of the board
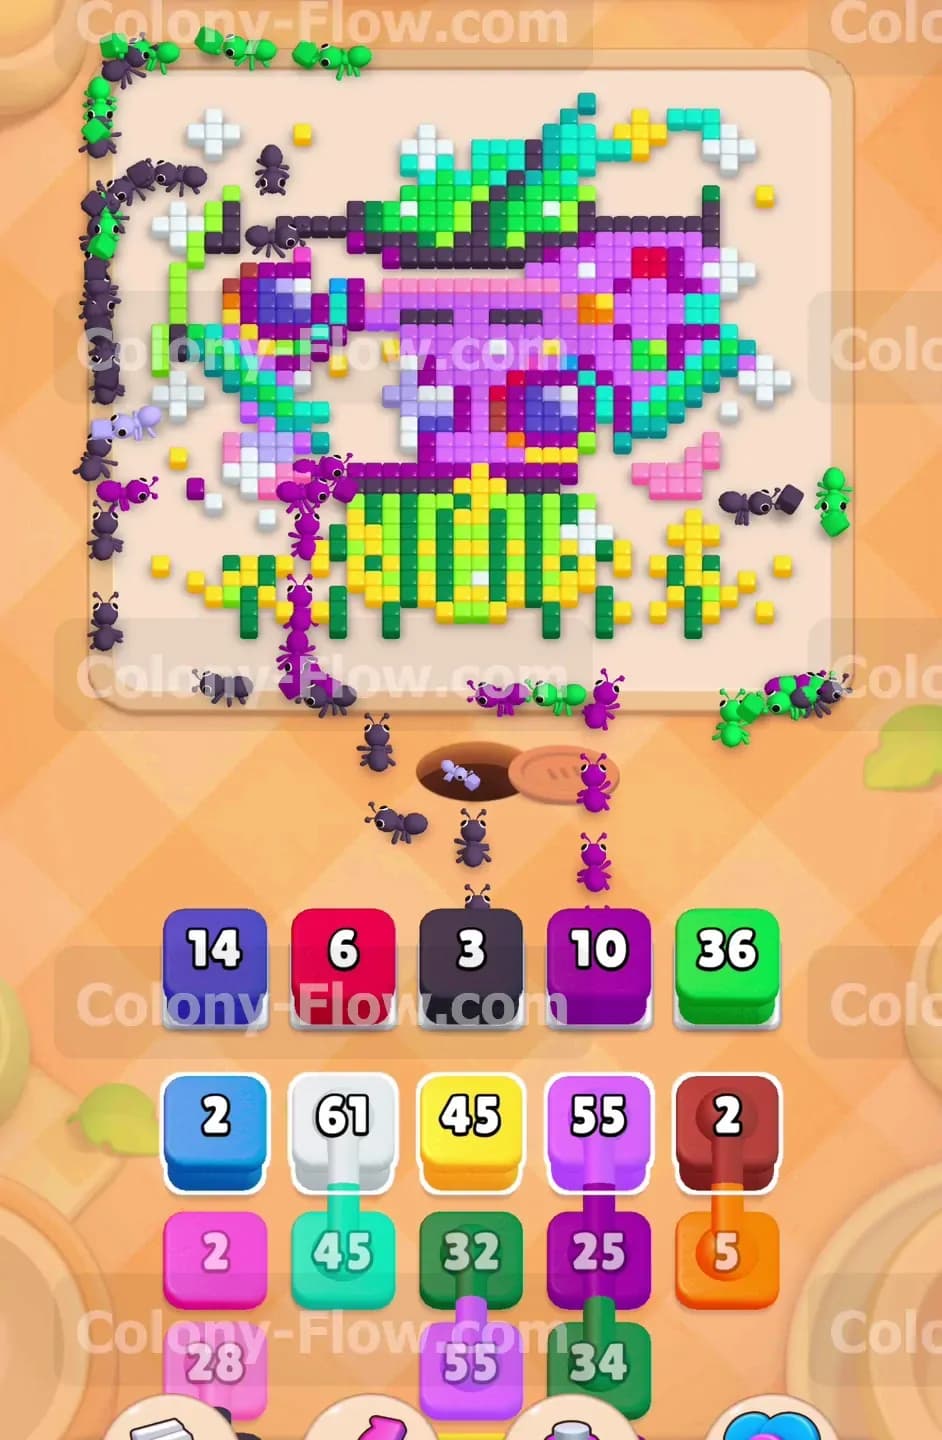
Shift your strategy to the yellow and light green grass tiles resting at the base of the picture. These tiles form a thick barrier near the ant nest hole. Pull the yellow blocks and the light green blocks from the tray. The ants pour out and immediately begin eating the grass right above their spawn point. Clearing the bottom area opens up incredibly short paths for your ants. Short paths mean the ants reach their food instantly and the block numbers count down much faster than before. This rapid flow helps keep your waiting slots empty and manageable. Let the ants completely sweep the yellow grass before pulling any unrelated colors into the tray.
Step 6: target the bright white plus signs and teal action buttons
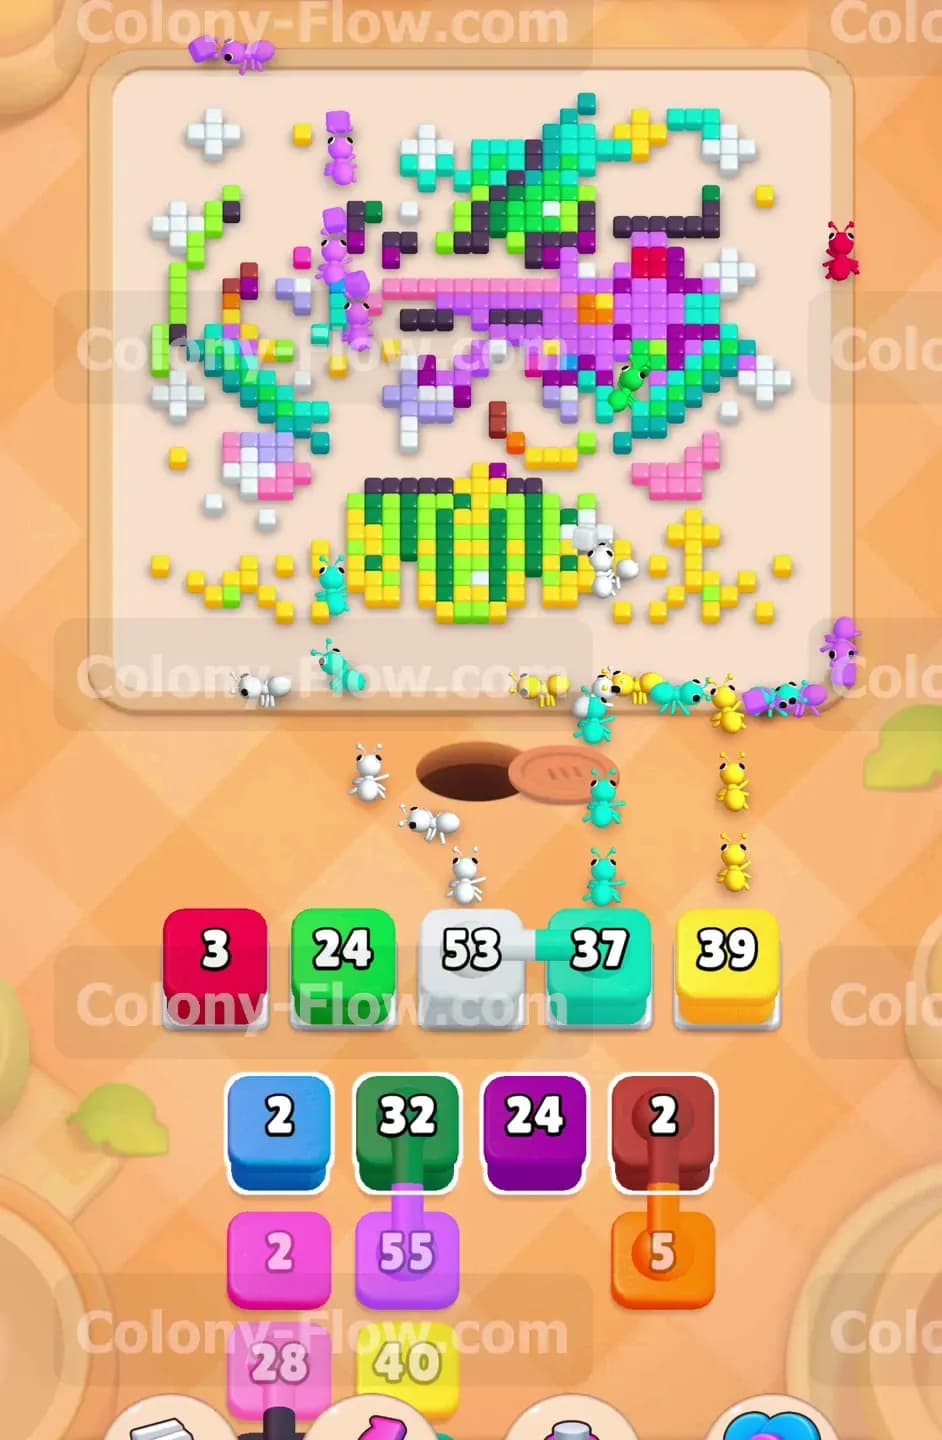
The controller features several small visual details like white directional pads and bright teal action buttons. These small details become fully accessible once the main purple body is gone. Pull the white block showing the number 53 to target the plus signs scattered around the art. Follow up by pulling the teal block to clear the remaining circular buttons. Because these are scattered tiles, the ants will split into multiple smaller groups to hunt them down across the board. You must ensure no other major blocks are clogging your tray during this precise detail work. The waiting slots need to stay open for the final cleanup phase.
Step 7: sweep the remaining pink accents and isolated pixels
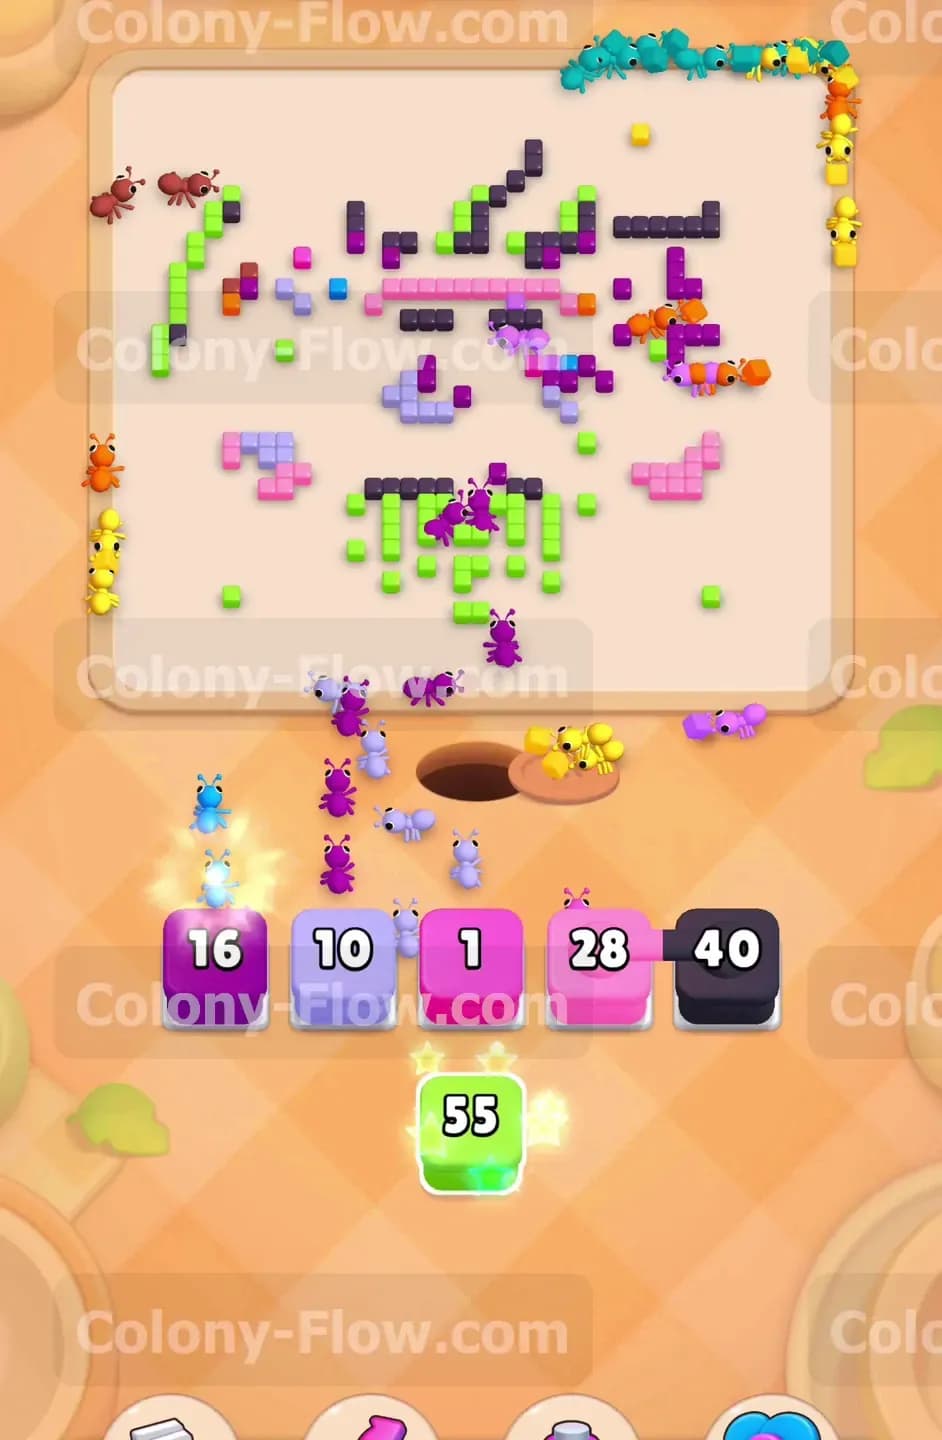
Your board is now mostly empty aside from a few scattered pink tiles and leftover outline fragments. Pull the remaining pink blocks to clear these final colorful accents. The ants will run across the empty board to consume the last few colored squares. You are almost finished with the puzzle at this point. Watch the tray for any remaining connected boxes. Only pull what matches the exact colors left on the screen. Keeping your moves precise right now prevents any accidental jams at the very end of the level. The pink tiles will vanish quickly and leave just a few stubborn specks behind.
Step 8: deploy the final connected blocks to finish the level
You will see a final pair of connected boxes in your tray featuring a light green block. Bring this last connected pair up to the waiting slots. The ants will surge forward to consume the very last green tiles on the board. Since you saved these connected blocks for the end, you have plenty of room in your slots to accommodate them safely. The final wave of ants will clear the remaining pixels and trigger the win screen. You successfully navigated the tricky connected boxes and kept the flow moving perfectly from start to finish.
Final Thought
Good job finishing this complex pixel puzzle. Managing the connected boxes is the real trick to keeping your slots open and surviving the flow without a jam. Feel free to watch the video above this article if you want to see exactly how these moves play out in real time.