Colony Flow Level 130 Walkthrough Solution & Guides | How to solve Colony Flow 130

Guide By Liam Stone
Updated on July 16, 2026
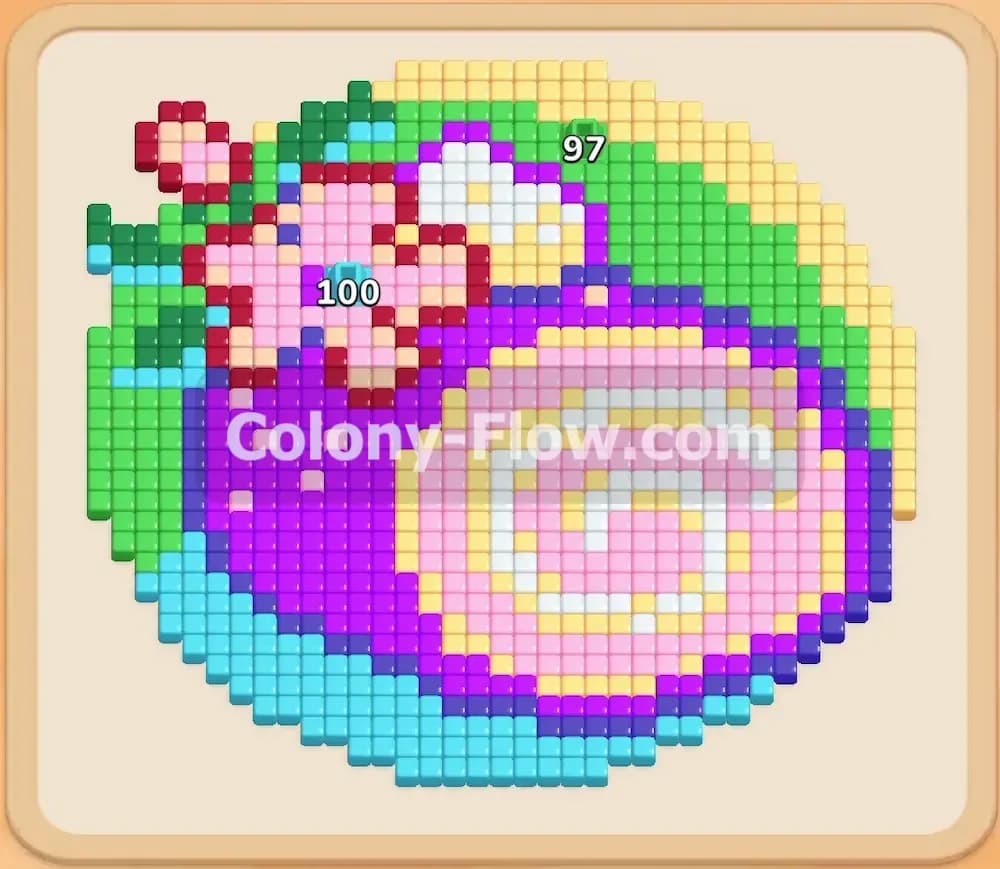
Some players learn faster by watching. The video above walks through Level 130 move by move.
Video doesn't match your screen?
Game updates frequently scramble layouts! Try our AI Screenshot Solver first to find your exact board instantly, or report broken guides to our team.
Welcome back to another puzzle guide. Today we are looking at Colony Flow Level 130 and the board is packed with vibrant color. You face a large circular cake design topped with a bright flower. This board requires careful block management to keep the ants moving and the waiting slots completely clear of gridlock.
Colony Flow Level 130 Overview
What You Are Working With
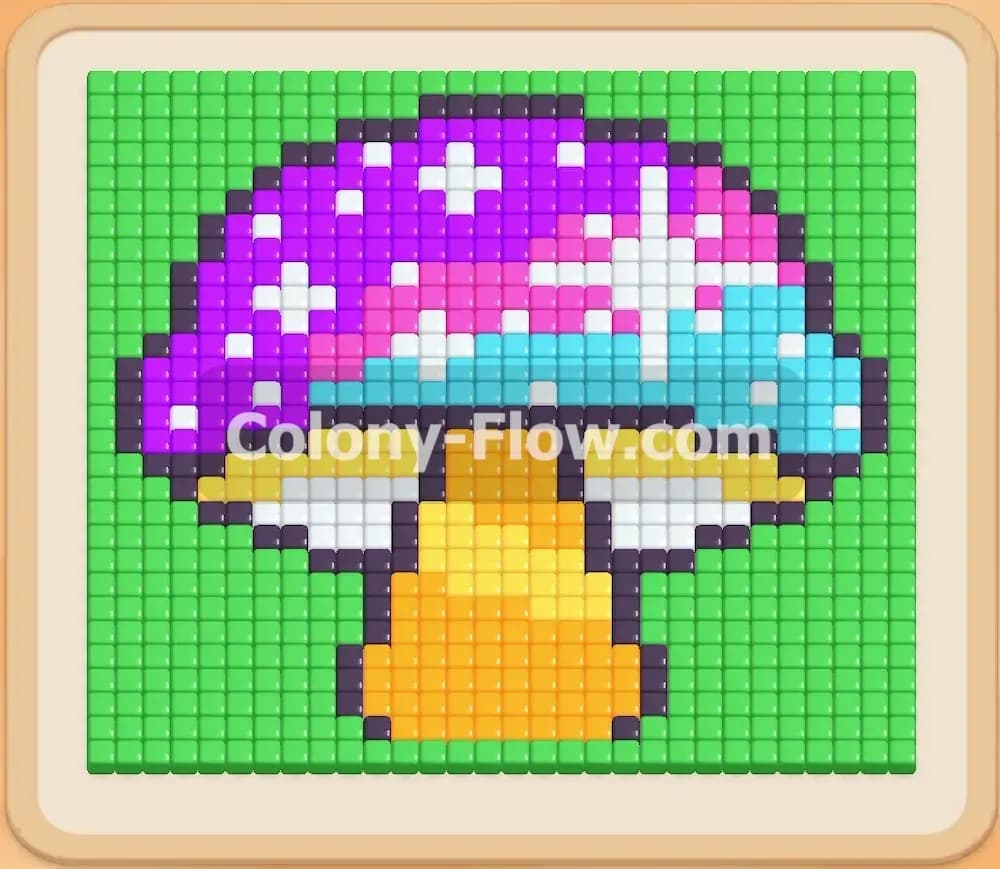
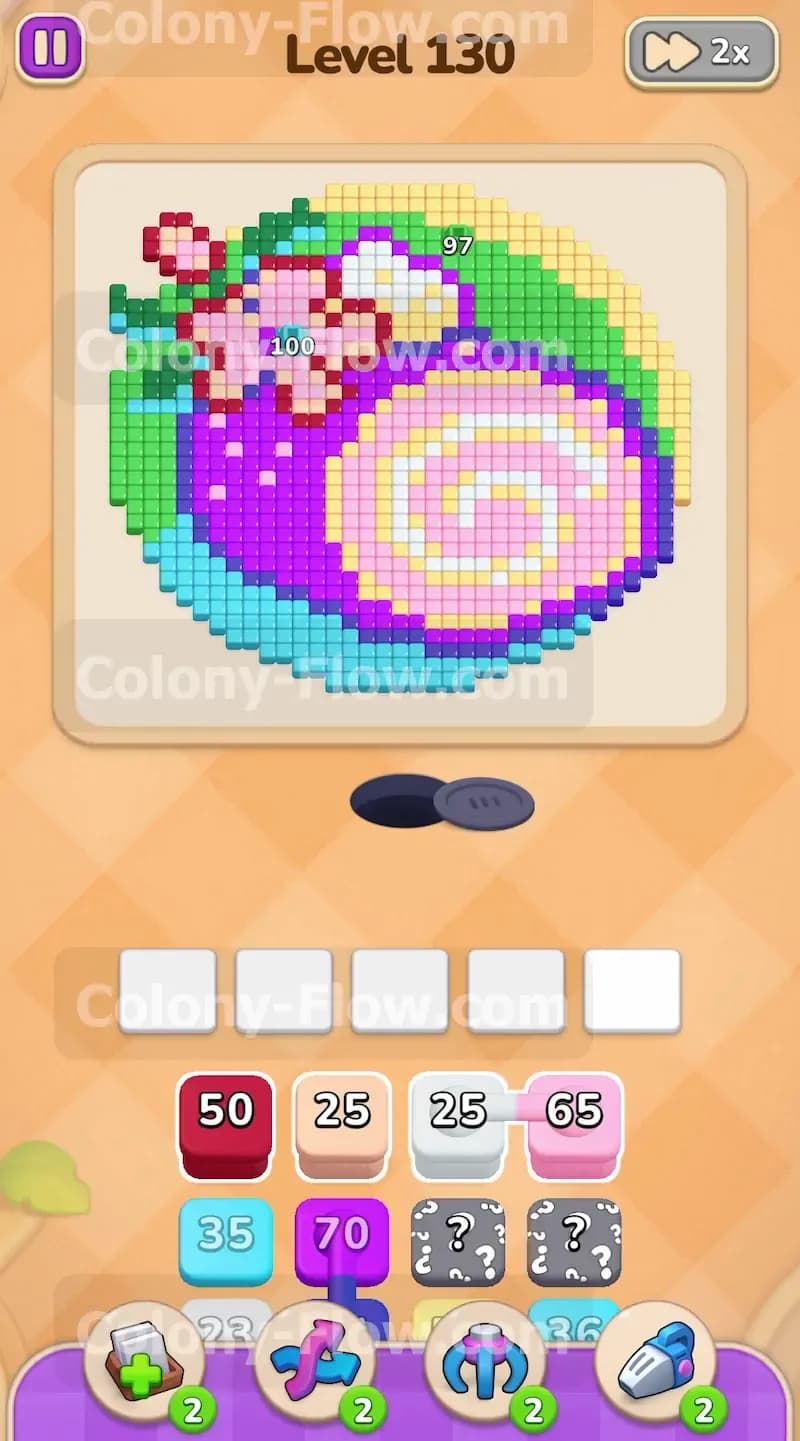
The pixel art design looks exactly like a slice of a round roll cake. It features a green leaf border along the top edge and the left edge. A bright cyan rim wraps entirely around the bottom half of the circle. The center of the cake features a swirling pattern made of tan and light pink tiles. A huge solid purple background fills the negative space behind the cake swirl. A detailed flower sits near the top left corner made of red tiles white tiles pink tiles and dark blue outline tiles.
Your tray starts with a nice variety of colored blocks waiting to be played. You have a red fifty block and a tan twenty five block. You also start with a connected pair. That specific pair links a white twenty five block directly to a pink sixty five block. Below them in the tray you can see a cyan thirty five block and a giant purple seventy block. Next to the purple block are two hidden boxes covered in question marks. Those hidden boxes keep their true color a complete secret until they have a valid path to move. You also have that connected box pair which forces you to pull both the white block and the pink block at the exact same time. Pulling a connected pair takes up two of your five precious waiting slots instantly so you must plan ahead.
What It Takes to Clear Level 130 Board
To win this level you must clear every single pixel art tile from the screen. You guide your hungry colony of ants by pulling the numbered color blocks from the bottom tray up into the five waiting slots. The ants stream out of the dark nest hole and search for an open path to the matching colored food tiles. If they find an open path they eat the tiles and reduce the number on the active block. The block completely vanishes when the number hits zero.
Your biggest threat in this game is total gridlock. If you fill all five waiting slots with blocks that have no open path to their matching tiles the ants stop moving entirely. When no ants can clean the board and the slots are totally full you lose the level immediately. You must always plan your moves to keep at least one active color eating away at the design. You need to constantly balance opening new paths while allowing the active blocks to count down to zero.
Colony Flow Level 130 Step by Step Solution
Step 1: Open the right side of the cake swirl using the tan block
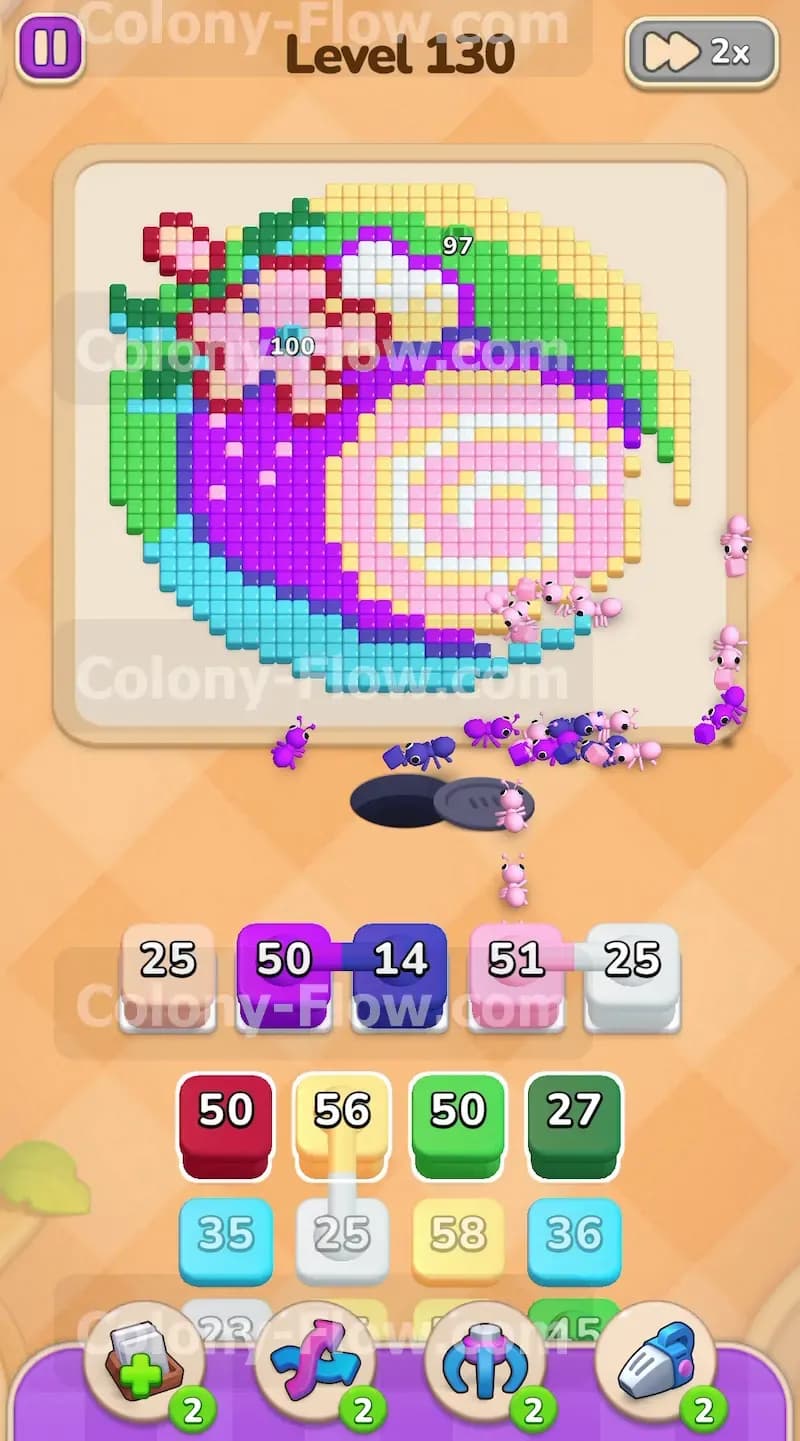
You need to create a clear entry point for your colony on the right edge of the board. The outer edge of the central swirl is made of tan tiles. Tap the tan twenty five block to pull it into your very first waiting slot. The tan ants will exit the nest and travel up the right side of the screen to start eating the outer tan layer of the swirl. This is a very safe opening move because the tan tiles sit right on the exposed outer boundary of the shape. The ants have direct access and immediately begin dropping the number on your tan block. Keeping the first move simple ensures your board starts flowing without any risk of an early jam.
Step 2: Pull the first purple block to attack the right side background
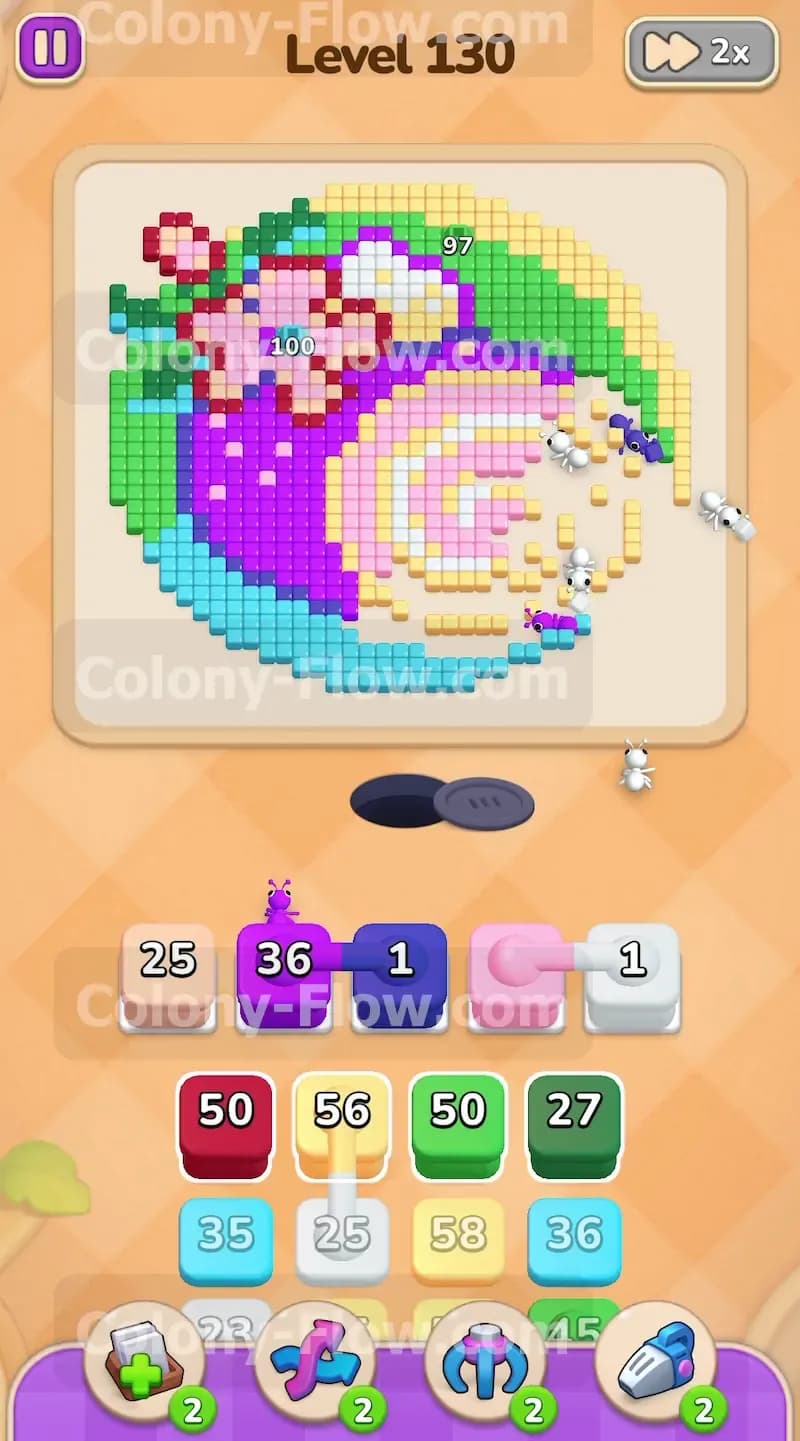
While the tan ants work you want to introduce a second active color to increase your clearing speed. A smaller purple block sits in the tray and the right edge of the purple background is perfectly exposed. Move the purple fifty block into your second waiting slot. The purple ants will march out of the hole and target the exposed purple tiles near the middle right area of the cake. Having two active colors at the exact same time prevents the board from stalling. This dual action makes sure your slots keep cycling and freeing up space for future moves.
Step 3: Clear the dark blue edge to expose more of the interior
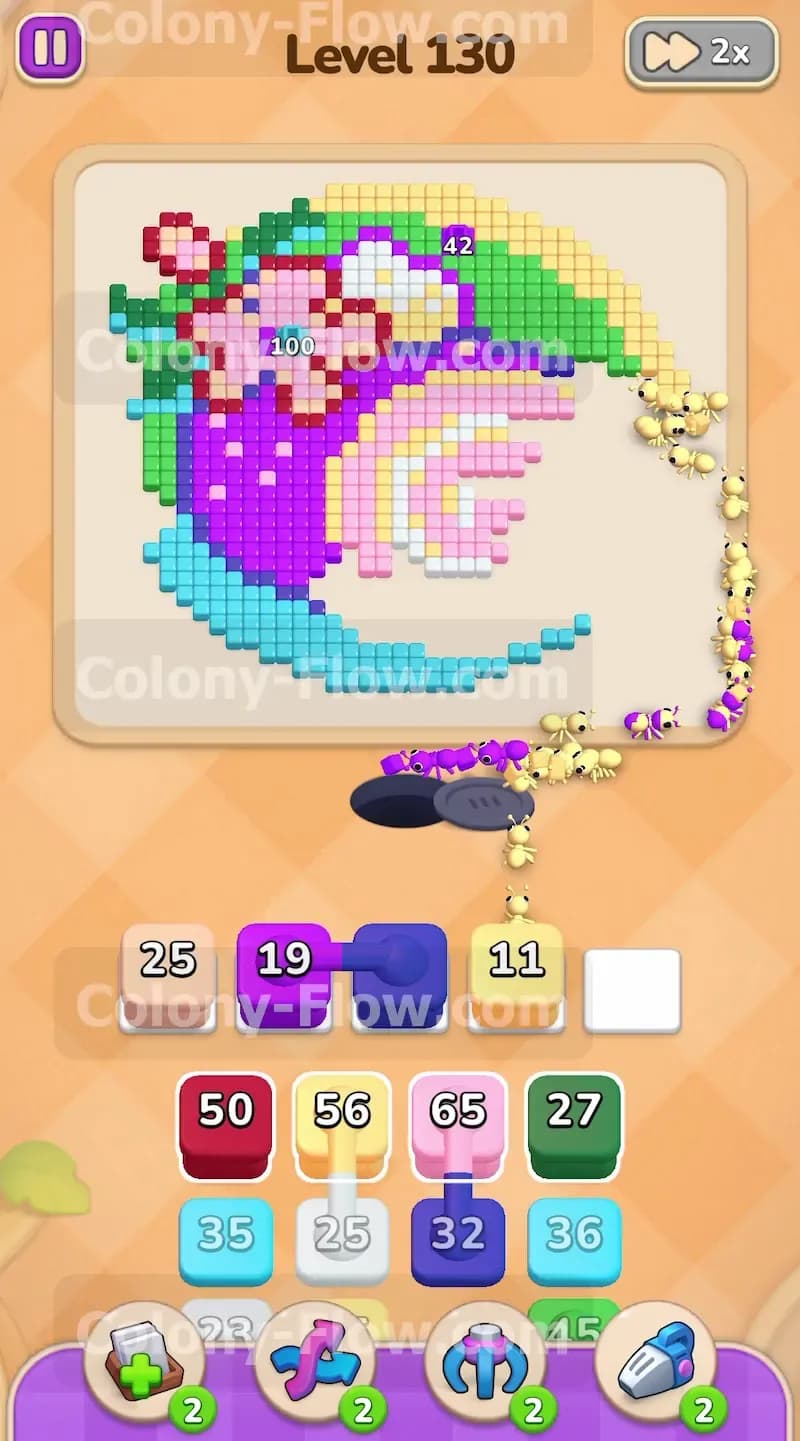
The right edge has a very thin outline of dark blue tiles blocking part of the inner pink swirl. You must remove this physical barrier to keep your future paths wide open. Bring up the dark blue fourteen block into your third waiting slot. The dark blue ants will quickly chew through that small outline. This specific move is absolutely crucial because it opens up the deeper interior layers of the cake swirl. The dark blue block has a very low number so it will vanish fast and free up its waiting slot before things get crowded. Getting rid of thin outlines early stops them from blocking your bigger blocks later on in the level.
Step 4: Bring up the connected white and pink blocks
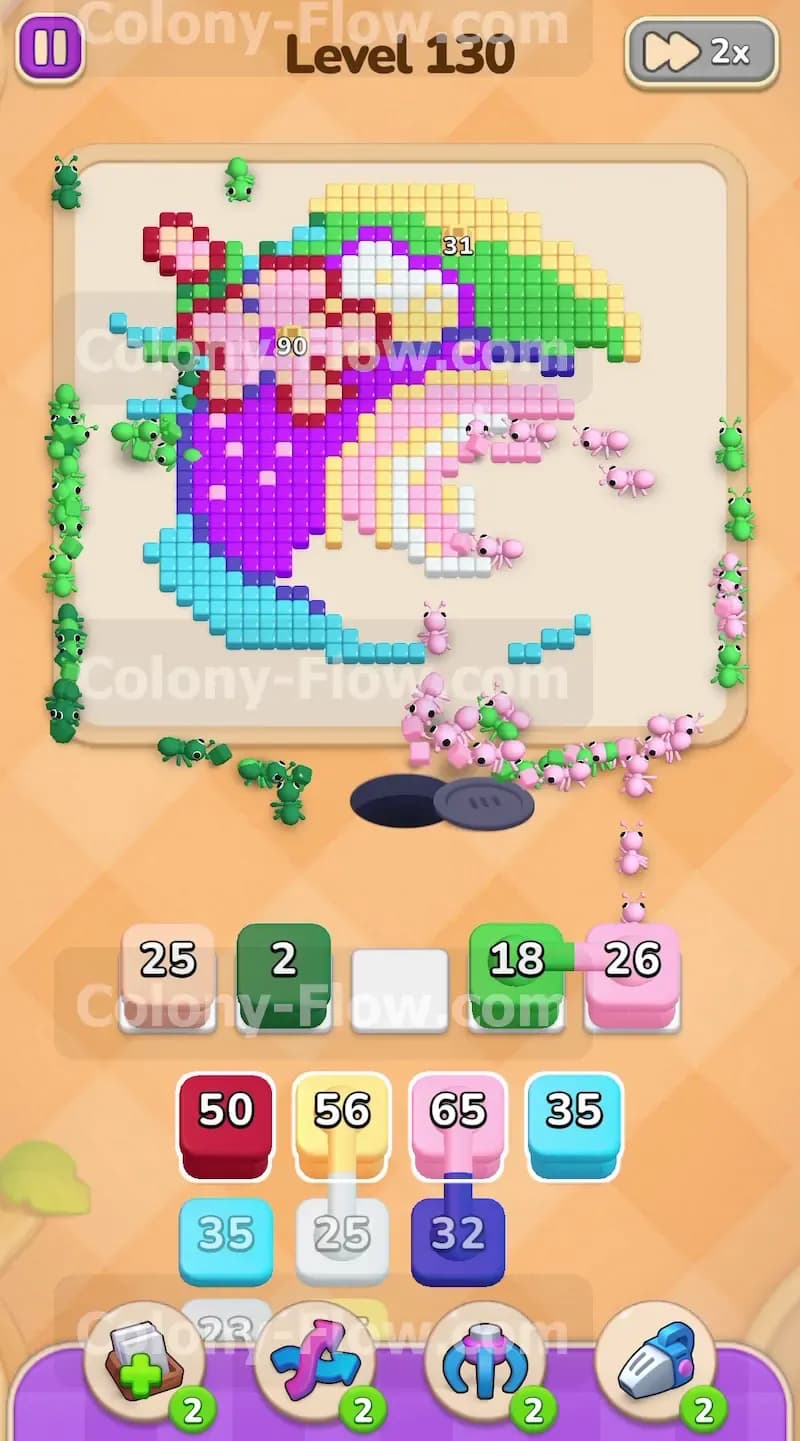
With the right side opening up nicely it is time to deploy your first set of connected boxes. Tap the linked white twenty five block and pink sixty five block. Because they are permanently connected they pull together and take up your fourth and fifth slots. This action maxes out your waiting area completely so you must be absolutely sure the ants have paths. The light pink ants will flood the right side of the pink swirl since the dark blue outline is now completely gone. The slots are totally full right now but the tan ants and the purple ants and the light pink ants are all actively eating. The numbers on those blocks are dropping steadily which means a slot will empty very soon. You remain safe from the gridlock trap as long as the ants keep eating.
Step 5: Unleash the green block on the top border
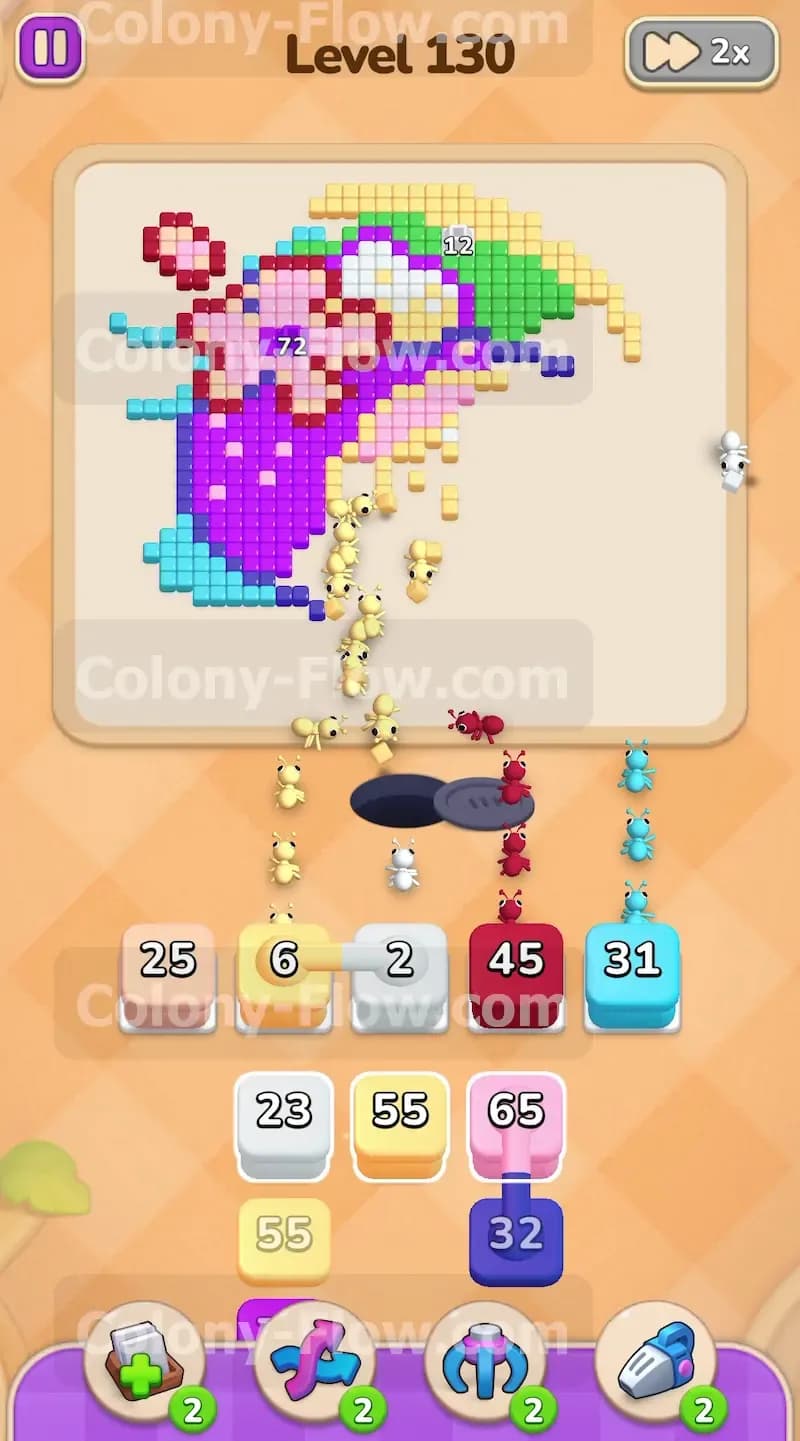
Once the dark blue block empties you regain a free slot in your tray. The left edge and the top edge of the design feature a large green leaf border. You have a green twenty seven block ready and waiting in the tray. Pull it up now to utilize your newly freed space. The green ants will stream up the extreme left side of the screen and begin devouring the outer green border. This creates a massive new opening on the left flank of the pixel art shape. The green block will eventually empty out and make room for the next major phase of your clearing strategy.
Step 6: Deploy the cyan block to sweep the bottom rim
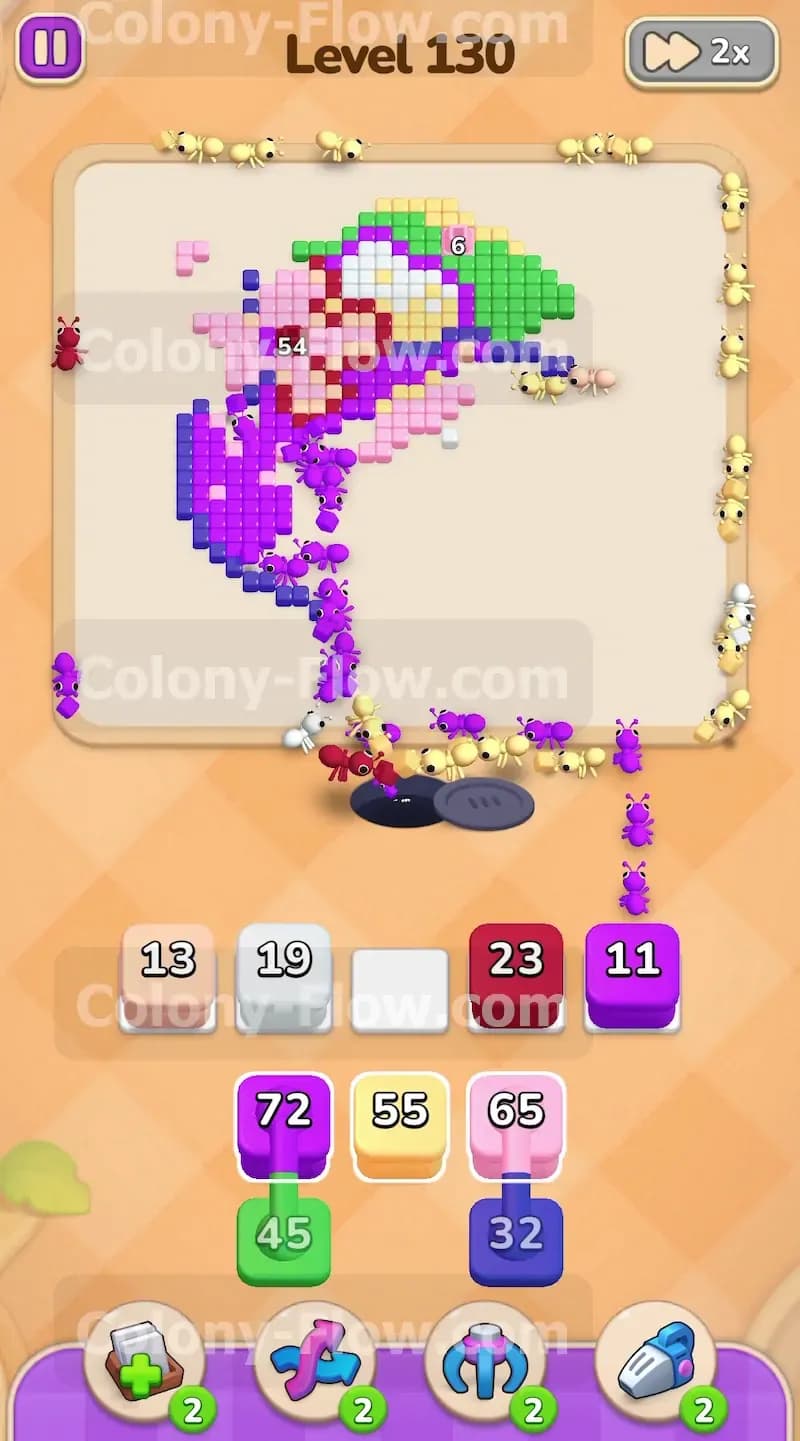
The entire bottom edge of the cake design is made entirely of cyan tiles. Now that your first wave of blocks is clearing out you have plenty of room in your waiting slots again. Bring up the cyan thirty five block from the lower tray. The cyan ants will surge out of the nest hole and sweep left along the bottom rim. This continuous action strips away the entire bottom boundary of the shape. Clearing this cyan rim fully exposes the lower sections of the huge purple background making it vulnerable to your next attack.
Step 7: Activate the red block for the top flower
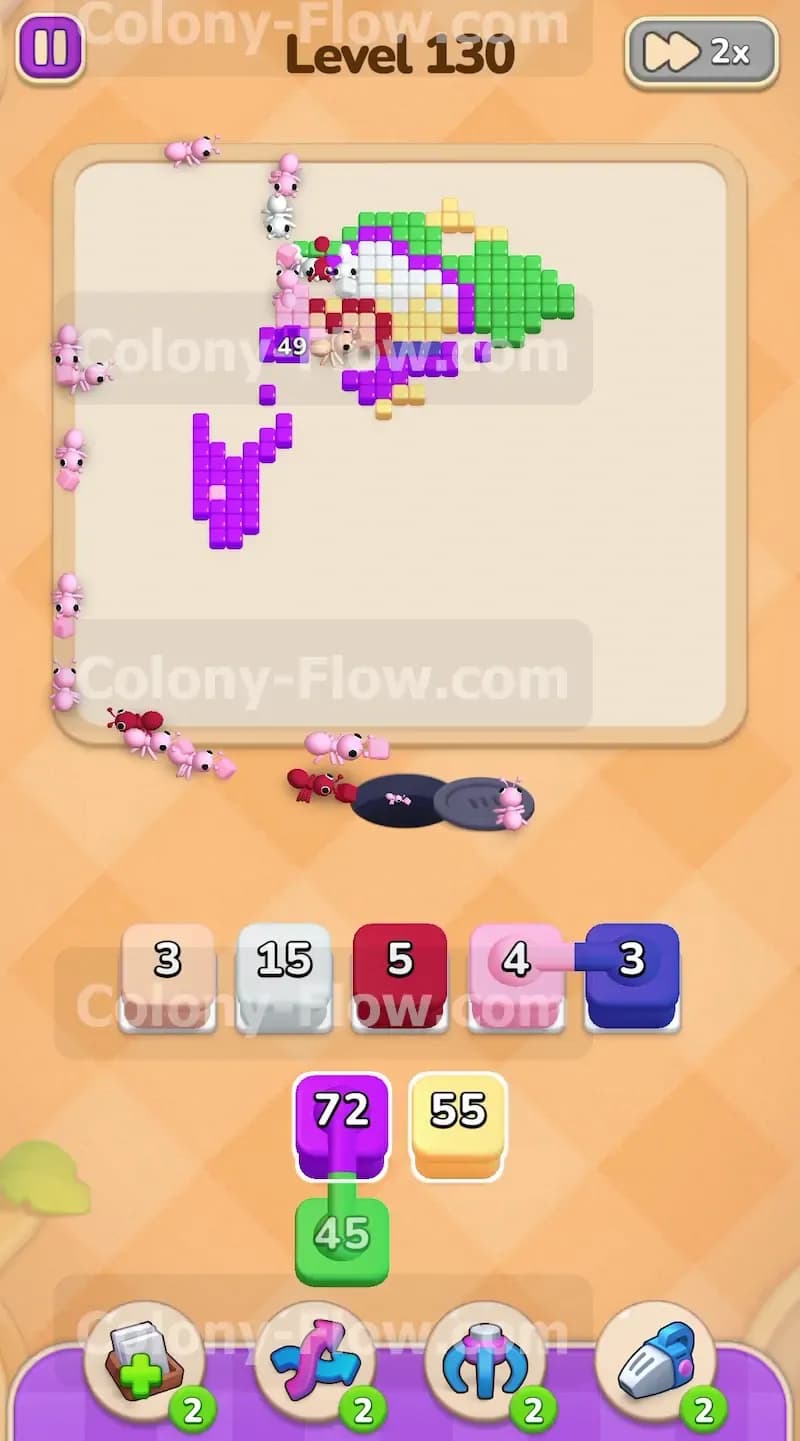
The top left corner holds a large red flower that is now fully accessible since the green leaf border is out of the way. Tap the red fifty block to move it into an available waiting slot. The red ants will climb all the way to the top left and start breaking down the bright red flower petals. You want to start this specific process early because the flower contains many red tiles. By getting the red ants moving right now you prevent the massive flower from becoming a stubborn roadblock later on in the level.
Step 8: Pull the massive purple block to clear the main background
The absolute biggest chunk of color on this board is the dark purple background. You cleared a small section of it earlier but the bulk of it remains untouched. Now you have a giant purple seventy two block available in the tray. Pull it up into an empty slot. The purple ants will swarm the center of the board and eat away the large purple section. The bottom side and the right side are wide open now so the purple ants have a massive surface area to attack. The number on the big purple block will drop rapidly because so many ants can eat at the exact same time.
Step 9: Reveal and use the hidden boxes to finish the center
As you clear the outer blocks the hidden boxes in your tray finally reveal their true colors. They hide their identity until they have a valid path to move but now the board is wide open. They turn out to be the additional blocks needed for the inner swirl and the top flower. You will see a new white block and another connected pair featuring pink and dark blue. Pull the new white block up to let the white ants eat the white center of the flower and the remaining white pieces of the inner swirl. Keep a close eye on your waiting slots and make sure you do not pull the connected pink and dark blue pair until you are absolutely certain both colors have an open path to their targets.
Step 10: Clear the final flower details to win the level
Only a few scattered colored tiles remain on the screen at this very late stage. The entire core of the board is completely empty. Pull the final connected pink block and dark blue block into your available slots. The pink ants will march up and clean up the last few pink petals on the top flower. The dark blue ants will eat the final dark blue outline tiles near the top edge. Since you saved these connected blocks for the very end the ants have direct and clear paths to their final targets. The blocks count down to zero and the last tiles vanish from the empty screen. The board is completely clear and you win the level.
Final Thought
Level one hundred thirty is all about managing your connected blocks and keeping your active paths wide open. You just need to work from the outside edges inward and never fill your waiting slots with blocked colors. The hidden boxes add a layer of mystery but careful path management handles them easily. If you find any of these written moves hard to follow in text please watch the video above this article. The video shows the exact sequence of moves to keep the ants flowing freely and conquer the board without ever hitting a deadly gridlock.