Colony Flow Level 167 Walkthrough Solution & Guides | How to solve Colony Flow 167

Guide By Liam Stone
Updated on July 12, 2026
Some players learn faster by watching. The video above walks through Level 167 move by move.
Video doesn't match your screen?
Game updates frequently scramble layouts! Try our AI Screenshot Solver first to find your exact board instantly, or report broken guides to our team.
Welcome to Colony Flow Level 167. This board gives you a bright pixel art snake to feed to your hungry colony. You face a thick outer background and multiple layered colors that require strict tray management from the very first second. I played through this board to figure out the exact sequence so you avoid a waiting slot jam. This level tests your ability to read the board and plan your pulls ahead of time. You will need to balance clearing the massive exterior borders with chipping away at the detailed inner picture. Let me walk you through exactly how to beat this stage without dead ending your progress.
Colony Flow Level 167 Overview
What You Are Working With
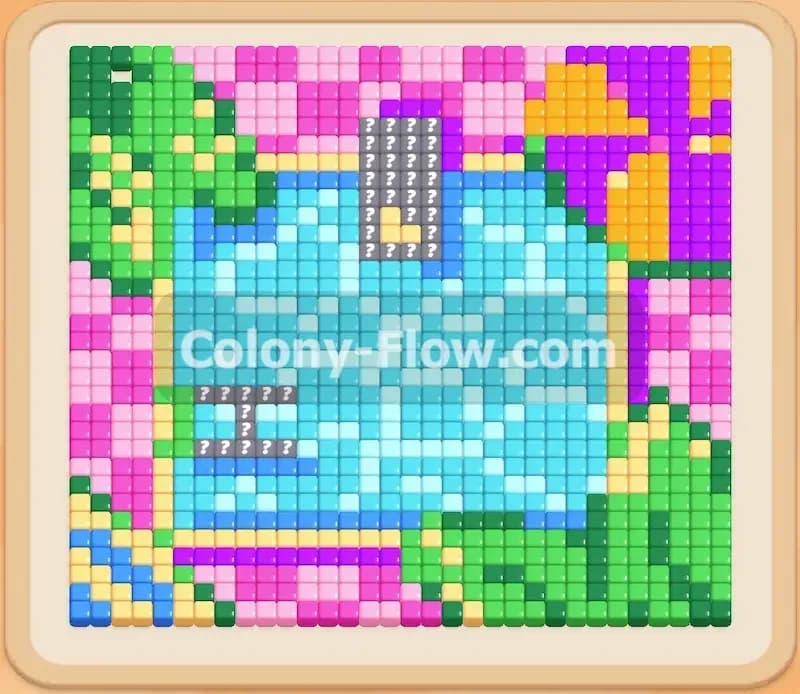
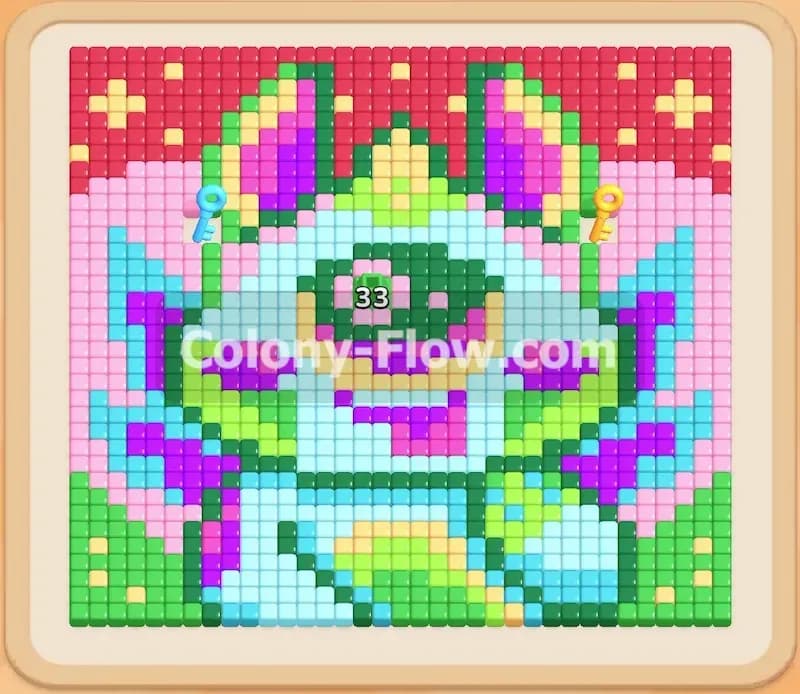
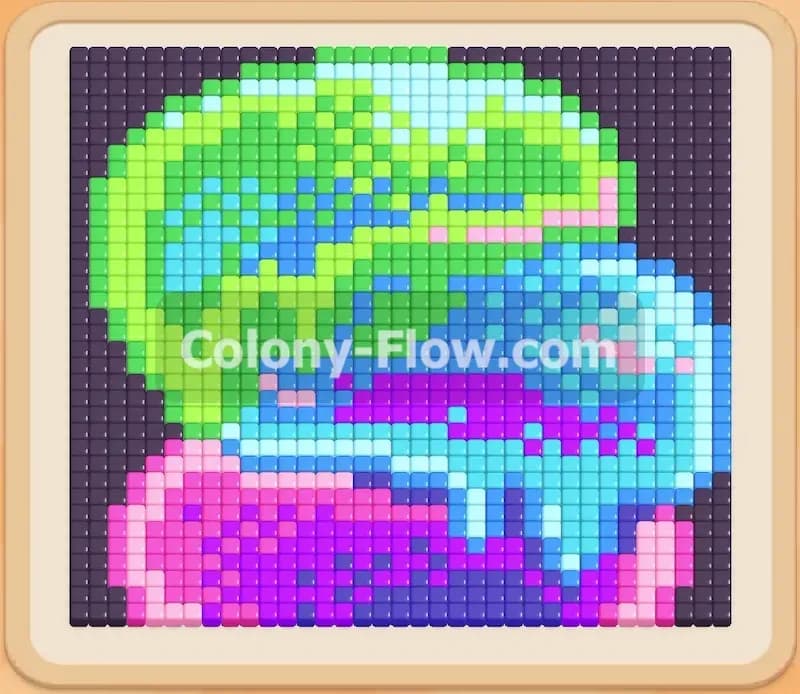
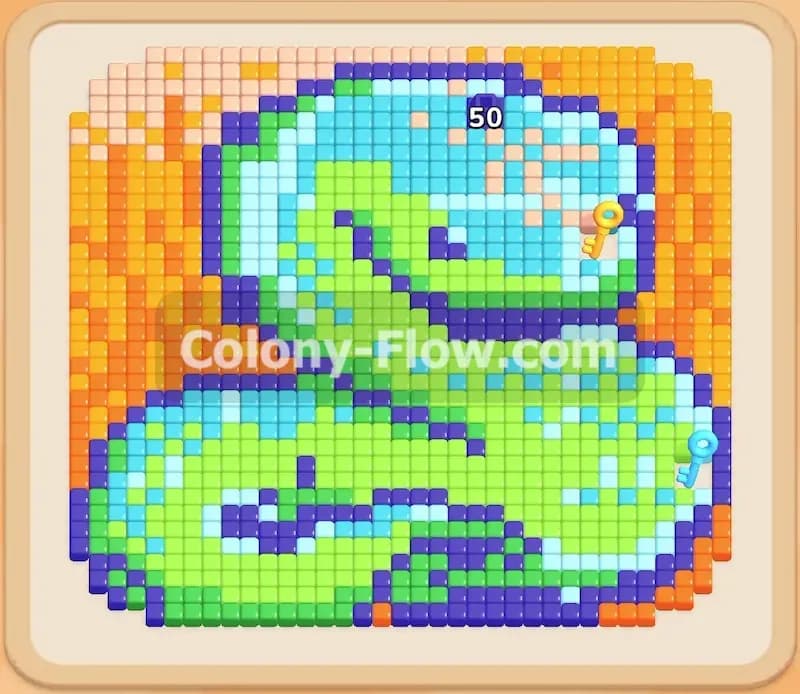
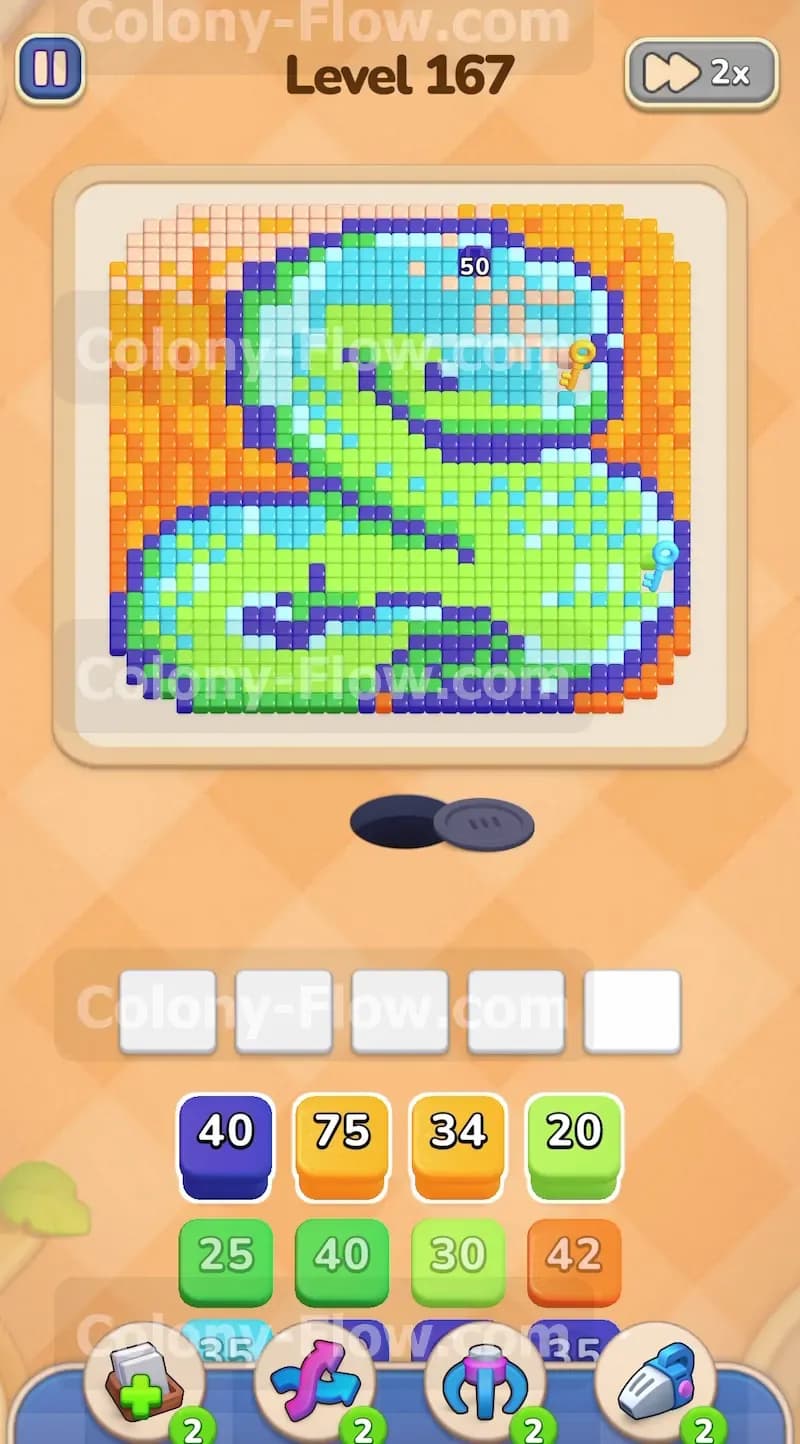
The picture is a large coiled snake taking up the entire center of the board. The body uses bright green and light blue tiles. A thick dark blue outline separates the snake from a massive orange background that fills the rest of the square. You will also see scattered pink and purple accent tiles hiding inside the design. Down in the tray you have a mix of single number blocks and Connected Boxes. Connected Boxes are linked by a solid line and pull into your active slots together when you tap either one of them. The open paths start from the single bottom nest hole and wrap completely around the outer edges.
What It Takes to Clear Level 167 Board
You win the level by clearing every single colored tile from the snake picture and letting the ants finish the board. The primary challenge here is the sheer volume of orange background tiles blocking the inner picture paths. Extremely large blocks sit in your tray early on. You must drop them into the waiting slots and let the ants slowly chip away at the high numbers over time. If you pull too many mismatched colors at once your five waiting slots will jam completely. You lose the level immediately if the slots fill up with colors the ants cannot physically reach. Every single move you make must expose a fresh tile color so at least one block keeps counting down and frees up slot space.
Colony Flow Level 167 Step by Step Solution
Step 1: Clear the outer background edges first to open initial paths
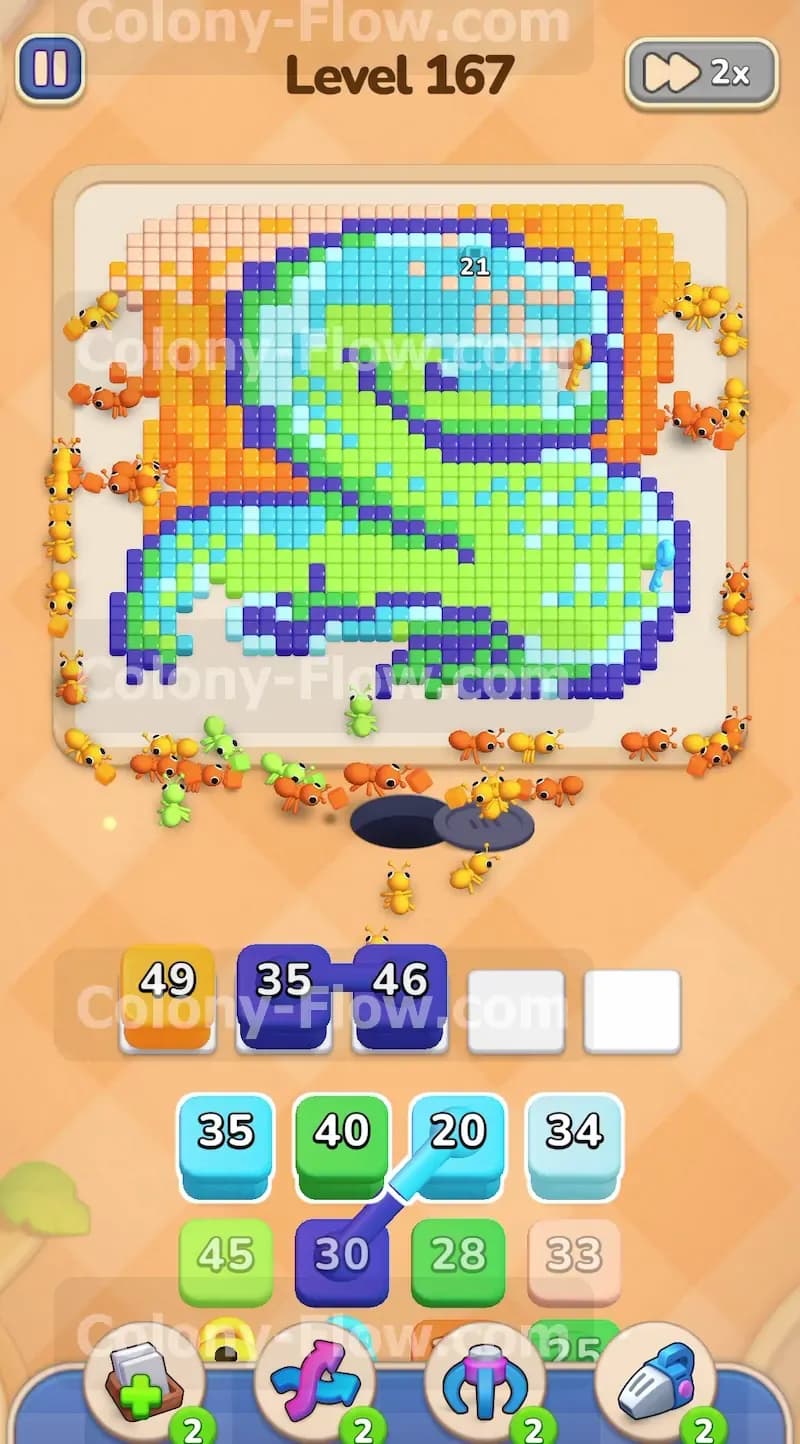
You start the level facing a solid wall of orange and dark blue tiles that completely block the inner snake picture. Go straight to the tray and pull the heavy orange 75 block along with the dark blue 40 block. These two colors make up the entire outer shell of the picture. The ants will stream out of the nest hole at the bottom and split into two massive groups to tackle the left and right borders. Letting these massive blocks sit in the waiting slots early gives the ants plenty of time to drain their numbers. You keep the center paths open for later moves by stripping away the exterior borders right away. The dark blue 40 block specifically handles the thick outline wrapping around the snake body. You need that outline gone so the ants can eventually step inside the actual picture area.
Step 2: Maneuver the first set of Connected Boxes into the active slots
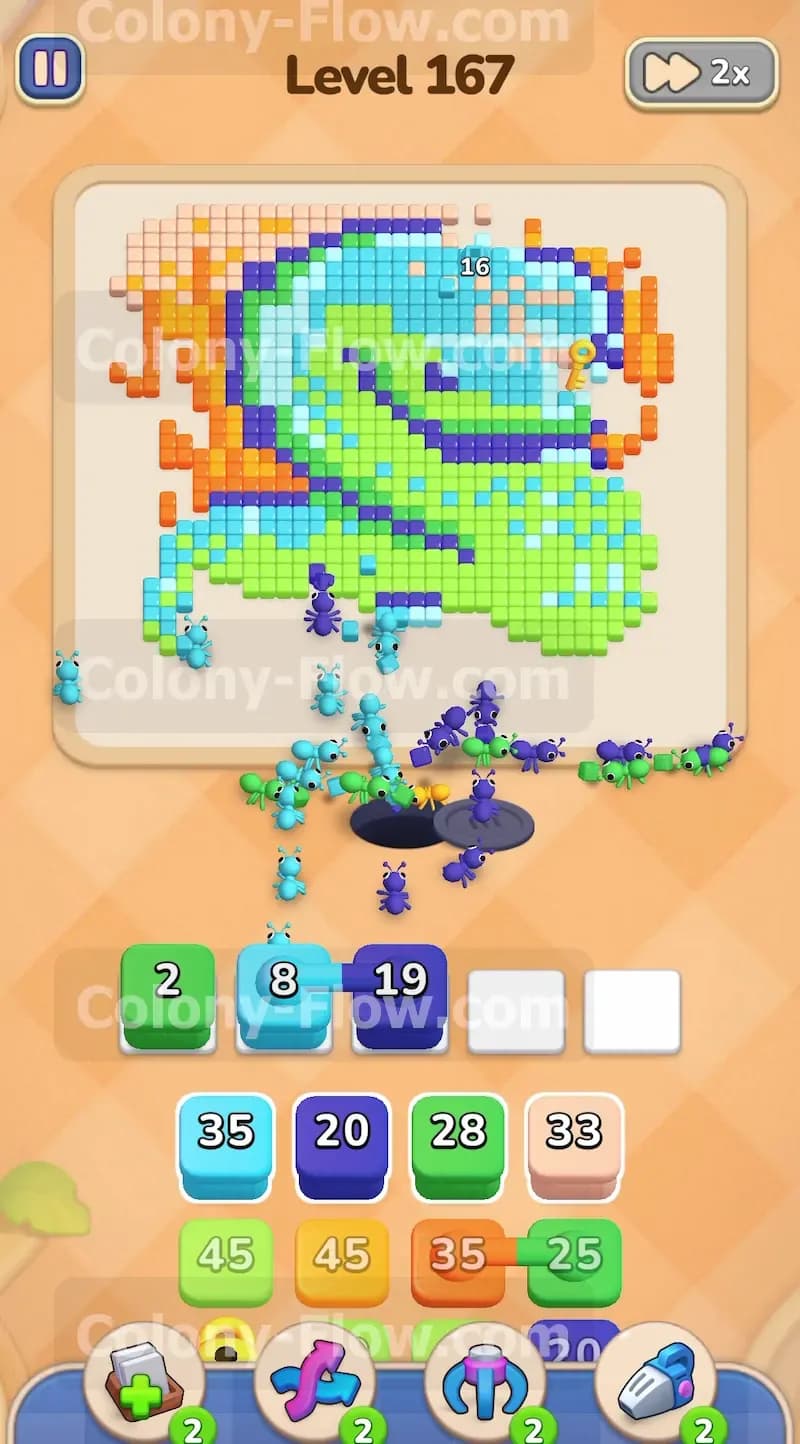
Once the ants chew through the bottom layers of the dark blue outline they expose the inner body of the snake. Look at your tray and find the purple 30 block connected by a physical line to the light blue 20 block. Tap this linked pair to bring both boxes into the waiting slots at the exact same time. The ants now have a clear path to the purple accent tiles resting near the bottom curve of the snake. As the purple block drains its numbers it uncovers more of the light blue inner body. This sequential clearing keeps your waiting slots moving smoothly and prevents a sudden jam. Connected Boxes take up two waiting slots instantly so you must ensure the board has active tiles for at least one of those colors before you pull them.
Step 3: Attack the dense lower green coil of the snake body
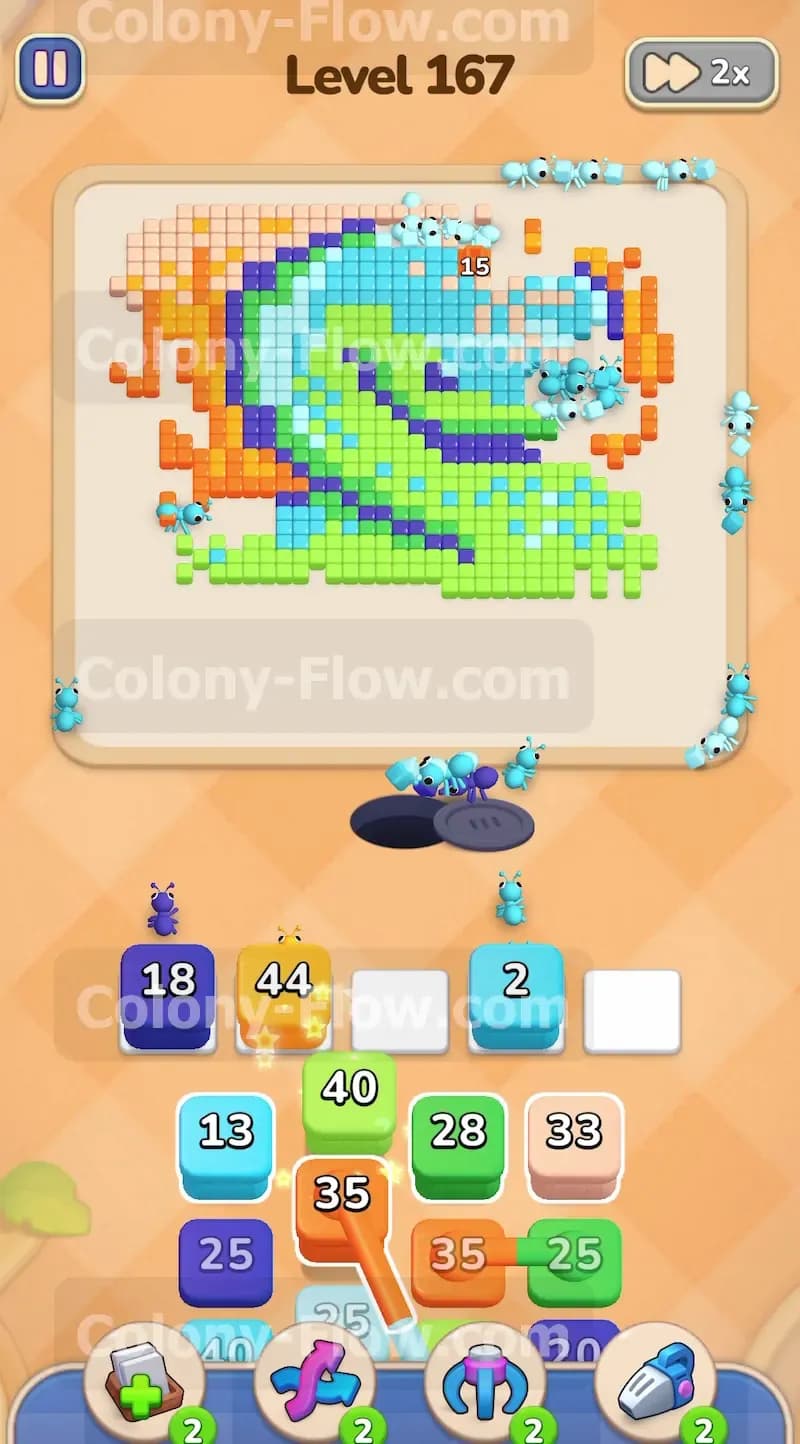
The bottom section of the snake consists mostly of bright green tiles tightly packed together. You need to clear this bulky section entirely to open vertical walking paths toward the head. Pull the green 40 block and the green 25 block from the tray. Your ants will rush the bottom area and quickly eat away the lower body. Keep an eye on the waiting slots as the ants work. You should have a healthy mix of orange dark blue and green numbers active at this stage. The ants will switch between the outer background and the inner green body depending on which specific path is shortest. This natural splitting of the colony keeps multiple blocks draining at once and ensures you never run out of room.
Step 4: Bring up the vertical connected blocks to feed the upper edges
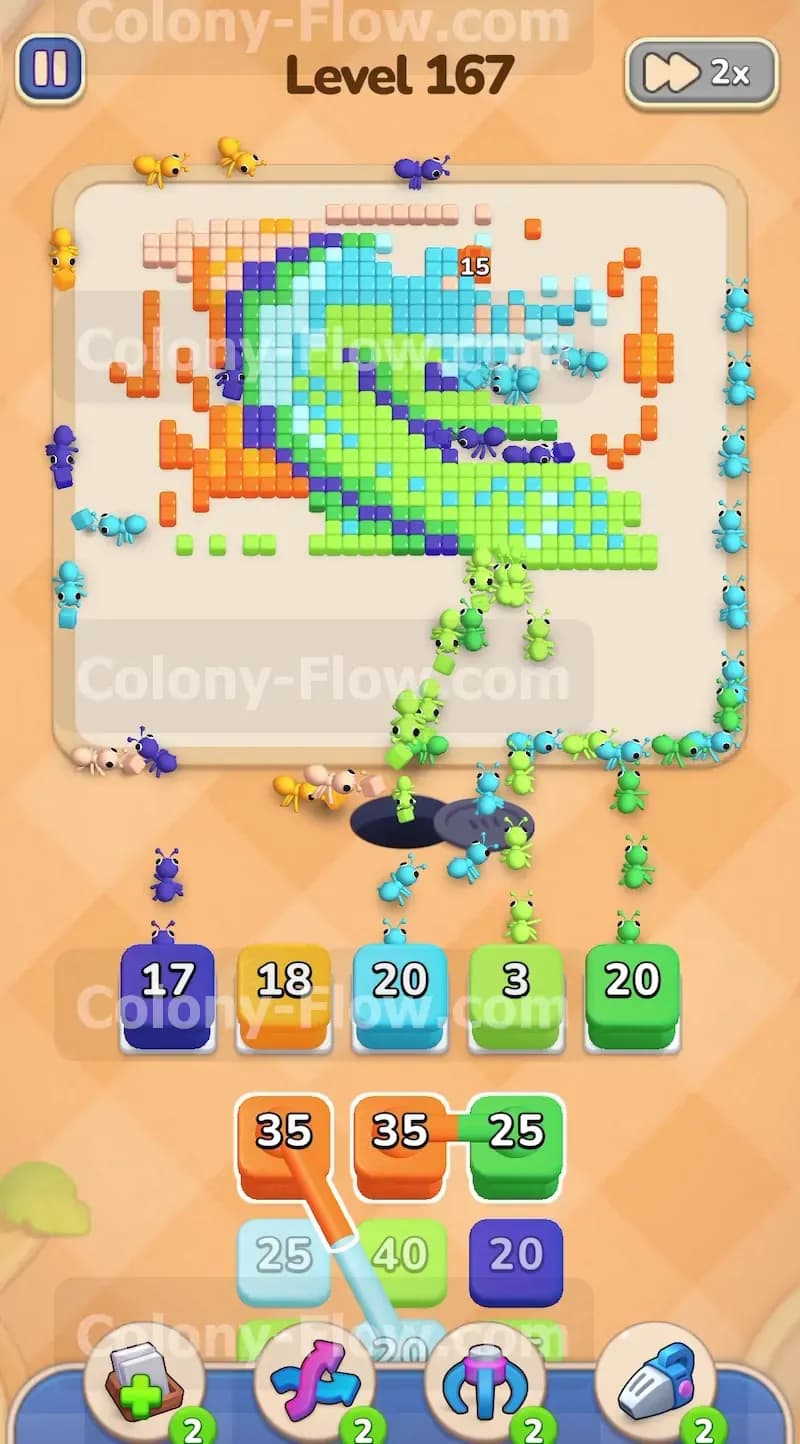
As the lower half of the board empties you will reveal new tray blocks waiting underneath. You will spot an orange 35 block permanently connected to a green 40 block. Tap the screen to pull this specific pair. The orange block will feed the ants working on the upper left background while the green block feeds the ants working on the middle snake coil. You want to time this pull right as the initial orange blocks finish counting down to zero. Overlapping the new orange block ensures the ants on the outer edge never stop moving for even a single second. Continuous forward movement is the ultimate key to keeping the waiting slots empty and preventing a level failure.
Step 5: Clear the middle light blue sections to open the upper paths
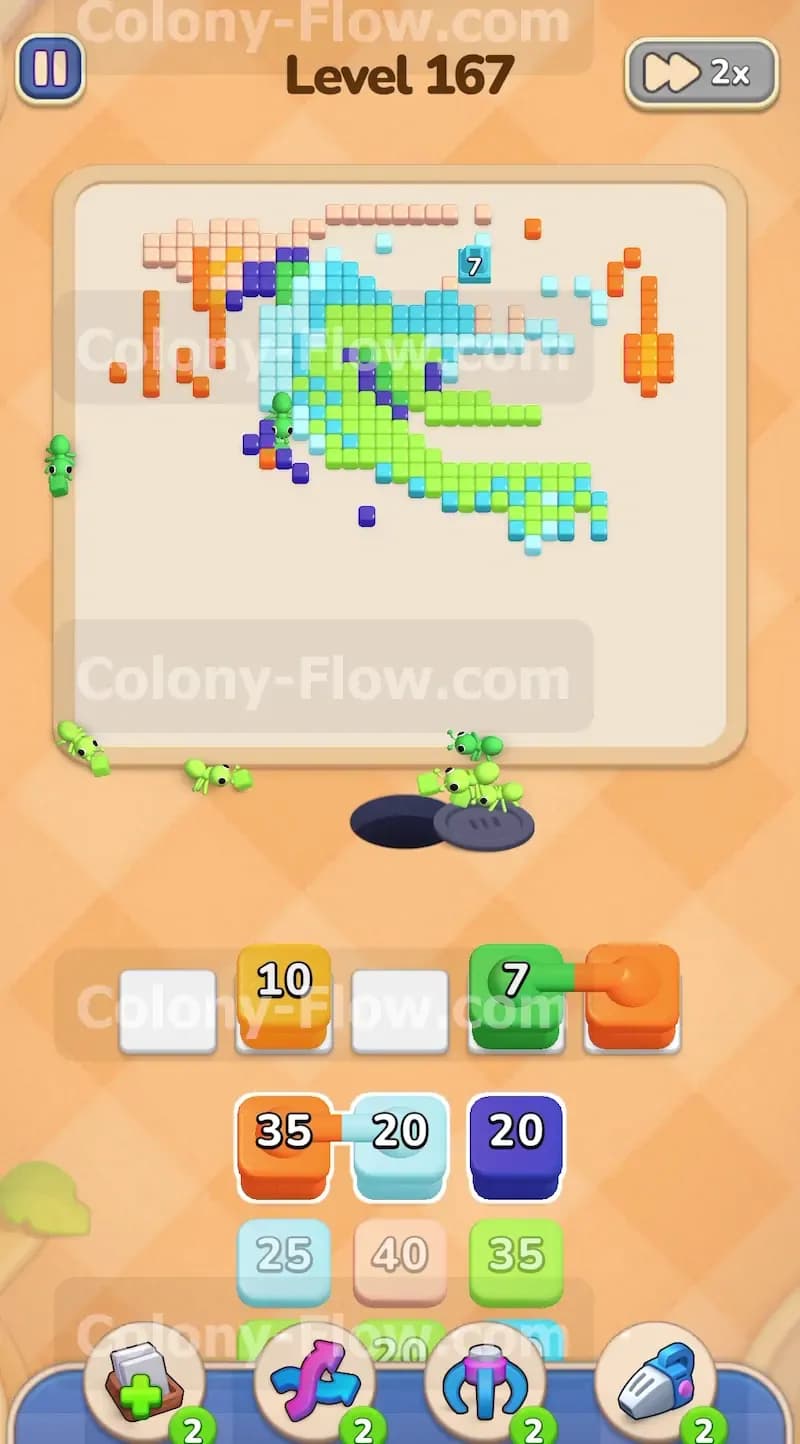
Before you reach the top of the snake you must carve out the middle section of the body. You will notice several light blue tiles trapped behind the green outer curves. Pull the light blue 35 block to send a fresh wave of ants into the center of the board. They will march past the empty bottom spaces and target these specific tiles. Clearing the light blue sections creates a wide open corridor straight up the middle of the screen. Having a center path is incredibly helpful because it gives your colony a direct shortcut to the top tiles later on. Taking the shortcut means the ants spend less time walking and more time eating the remaining numbers.
Step 6: Navigate a nearly full waiting slot tray without panicking
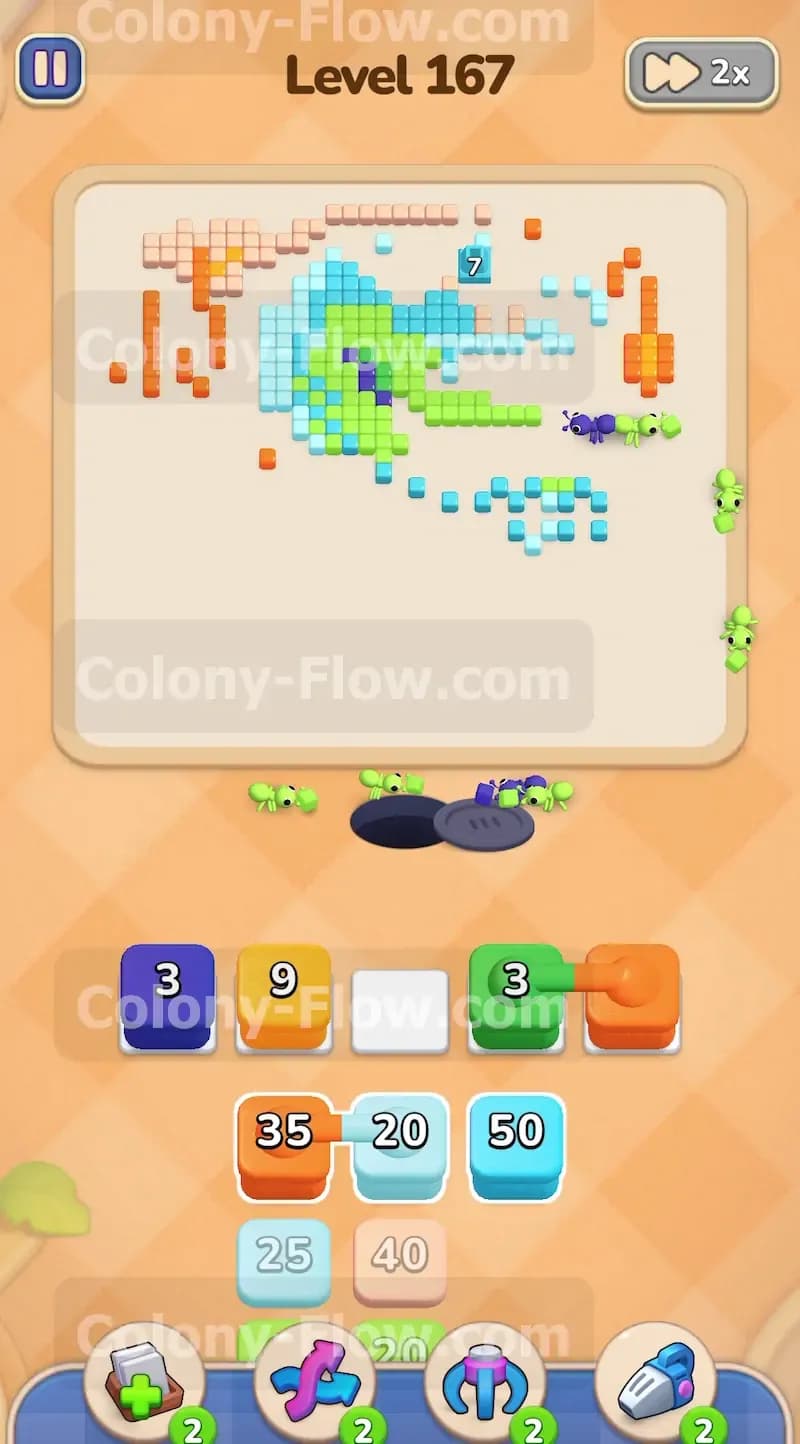
You will reach a tense moment where your waiting slots hit maximum capacity during the middle phase of the level. You will see a dark blue 17 an orange 18 a light blue 20 a green 3 and a green 20 all sitting in the slots at once. Do not panic when the tray fills up completely. As long as the ants have an open path to at least one of those specific colors the board will not dead end. Focus your attention on the ants clearing the green body pieces in the center. Those single digit green numbers will hit zero incredibly fast. Once a single slot opens up you regain total control of the board flow and can breathe easy again.
Step 7: Break down the complex upper snake head piece by piece
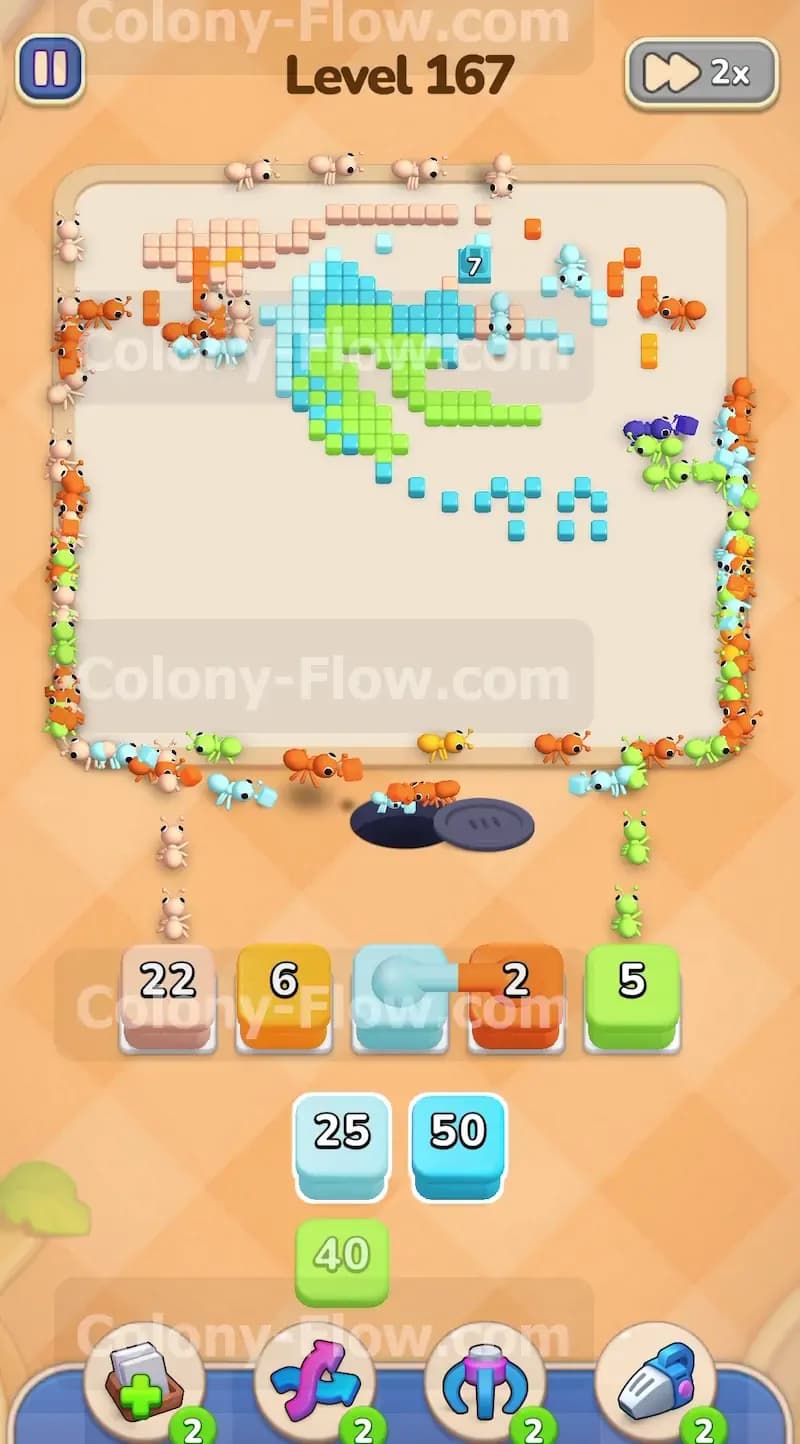
With the bottom completely empty the ants will march a long distance toward the top half of the screen. The snake head is a dense mix of green light blue and dark blue outline tiles. Pull the remaining dark blue blocks to strip the protective outline away from the head. Next pull the light blue blocks to hollow out the inner face of the character. You must clear the dark blue barrier completely before the light blue tiles become accessible to the colony. Sequence your pulls carefully so the dark blue blocks drain first. If you pull light blue too early it will sit in your waiting slots and take up valuable space that you desperately need for other colors.
Step 8: Clean up the final background pieces to finish the board
The last remaining tiles on the board are scattered across the top left and top right corners of the screen. You will see a few isolated orange background pixels and some standalone pink tiles. Pull the pink 22 block and the small orange blocks from your tray to trigger the final phase. The ants will take a long walk from the bottom nest all the way to the extreme top corners. Because the board is mostly empty they will reach these final tiles without any pathing issues blocking their way. Wait for the last number to hit zero and the ants to finish eating the final picture tile. The picture dissolves and you win the level.
Final Thought
Level 167 demands patience and careful tray sequencing to survive the massive outer background. Trust the process of letting the large numbers drain while you manage the connected blocks underneath. If any step above feels hard to picture in text I highly encourage you to watch the video above this article to see exactly how I moved through the board.