Colony Flow Level 273 Walkthrough Solution & Guides | How to solve Colony Flow 273

Guide By Liam Stone
Updated on July 15, 2026
The video above shows the complete Level 273 solution in real time, so you can skip straight to watching if you want.
Video doesn't match your screen?
Game updates frequently scramble layouts! Try our AI Screenshot Solver first to find your exact board instantly, or report broken guides to our team.
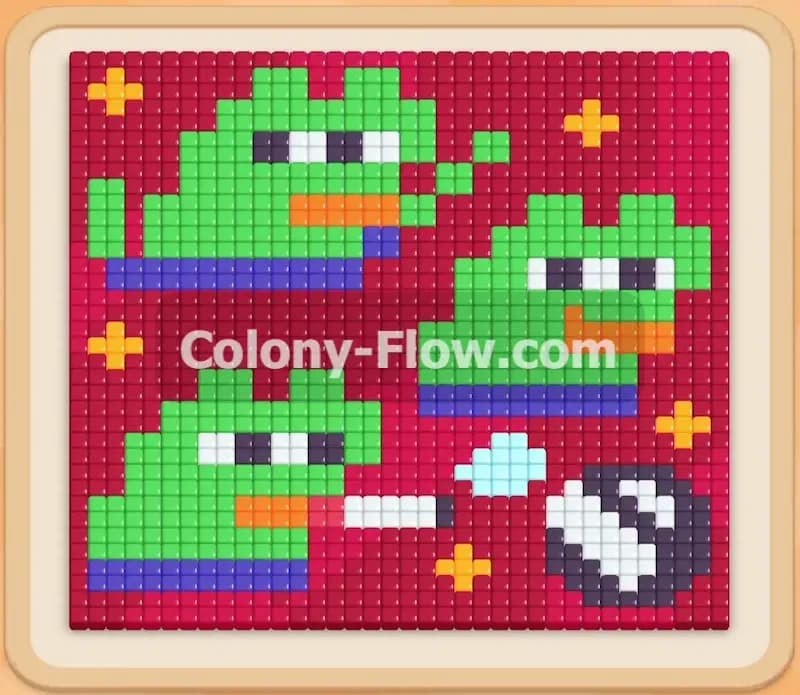
Welcome back to another puzzle guide from your favorite game content creator. Colony Flow Level 273 is a massive pixel art challenge that requires patience and careful tray management. I play every single level myself to figure out the exact order of operations so you do not have to guess. This board features four green frog characters on a huge dark red background with one of them holding a black bomb. I will explain exactly how to guide your ants through this maze without jamming your slots and losing the game.
Colony Flow Level 273 Overview
What You Are Working With
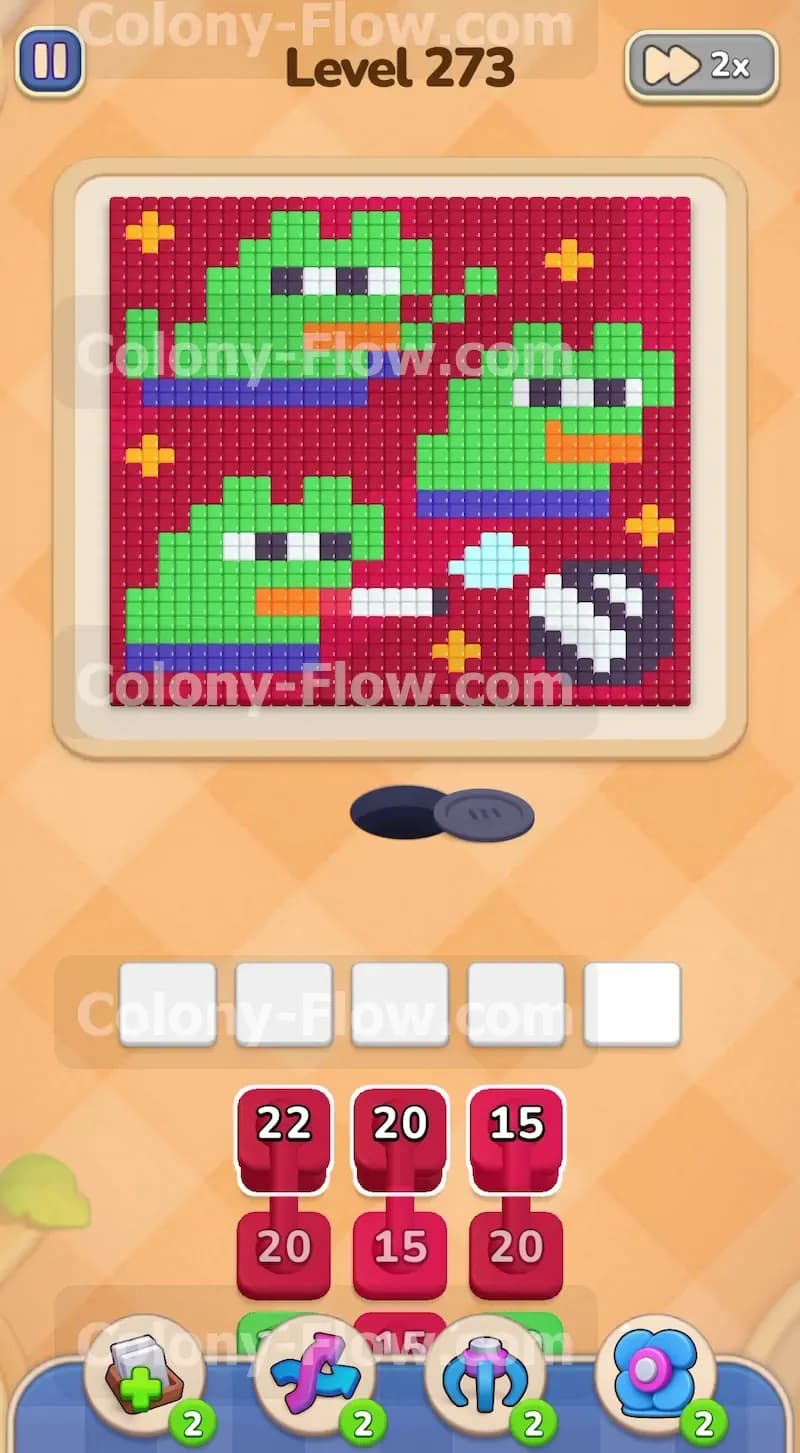
The picture at the top of your screen shows a classic pixel art scene. You have four green frog heads looking to the right. They are positioned against a solid dark red background that covers most of the board. There are small yellow plus signs floating around the background space. One of the frogs is holding a round black bomb that features a bright light blue highlight and a puff of white smoke. The characters also wear dark blue shirts with white eyes and orange mouth details.
Down at the bottom of the screen is your block tray. You start the level staring at a wall of very high capacity dark red blocks. You have numbers like twenty two and twenty stacked right at the top. Deep down in the tray you will find a special tile element called connected boxes. Connected boxes are two or more blocks linked together physically. When you tap one they all move into the waiting slots as a group. You have to clear them out just like normal blocks but they take up multiple slots at once.
What It Takes to Clear Level 273 Board
Winning this level comes down to managing the five waiting slots located just above the block tray. Your ants enter the board from the dark nest hole below the picture. They will walk up to the picture and eat the colored tiles that match the blocks sitting in your waiting slots. You must always maintain an open path from the nest hole to the target tiles.
If you fill all five waiting slots with colors that cannot reach their matching tiles you will jam the board. A jammed board means no ants can spawn and you lose the level instantly. Clearing this board requires you to peel away the massive dark red background first. You have to strip away the outer layers before you can safely deploy the green or black ants to handle the frogs and the bomb. You will systematically work your way from the outside borders inward to the center characters.
Colony Flow Level 273 Step by Step Solution
Step 1: Clear the bottom edge of the dark red background to open the board.
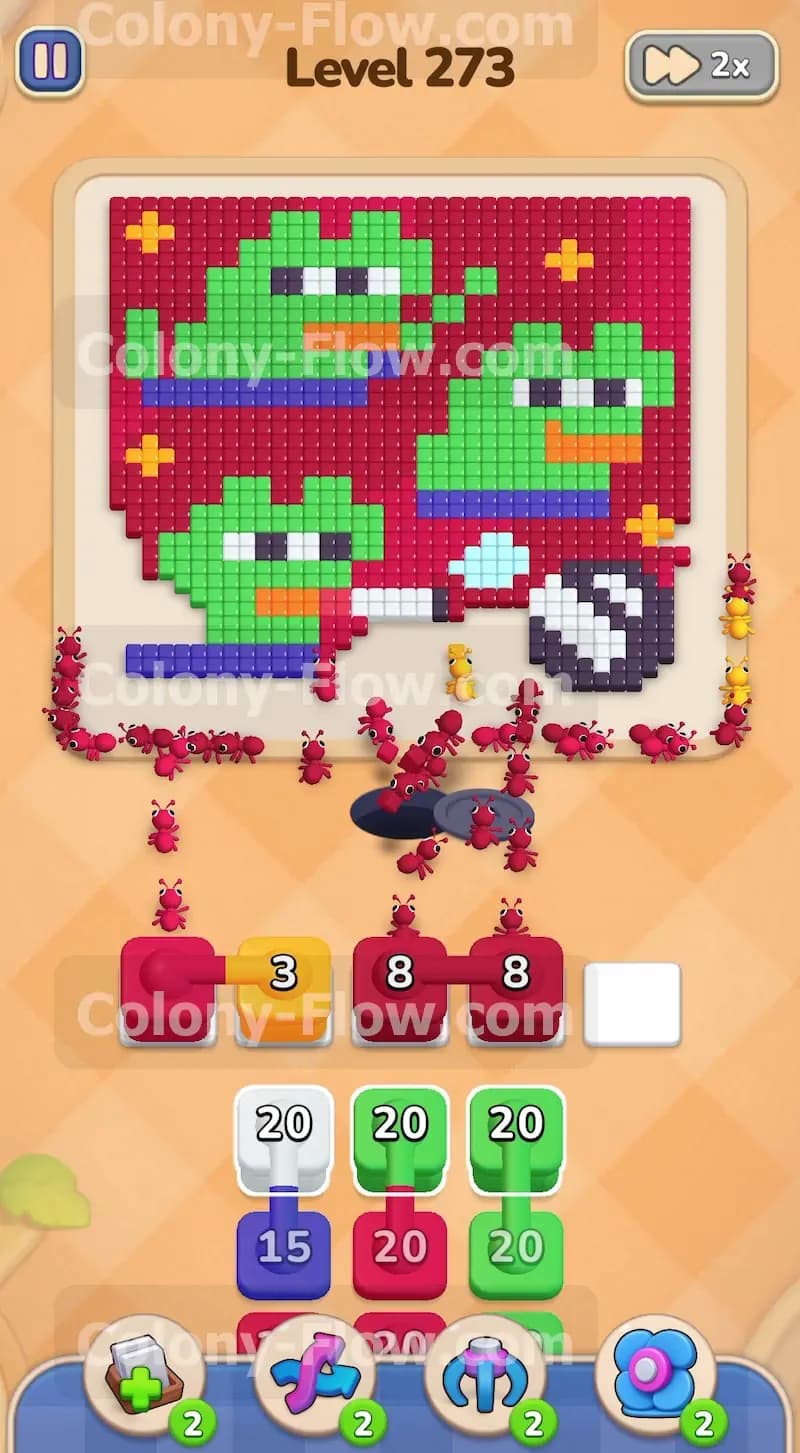
You must start by attacking the massive dark red background that blocks every other part of the picture. Look at your tray and tap the top row of dark red blocks to move them into the waiting slots. You have a block with a twenty two count and two blocks with a twenty count. The dark red ants will swarm out of the nest hole and begin eating the bottom edge of the red square. Let these ants work until they completely clear the space underneath the frog characters. You will watch the numbers on your blocks slowly drop to smaller counts like eight and three. Do not tap any other colors into the slots until the bottom area is totally empty.
Step 2: Deploy the dark blue ants to consume the shirt collars.
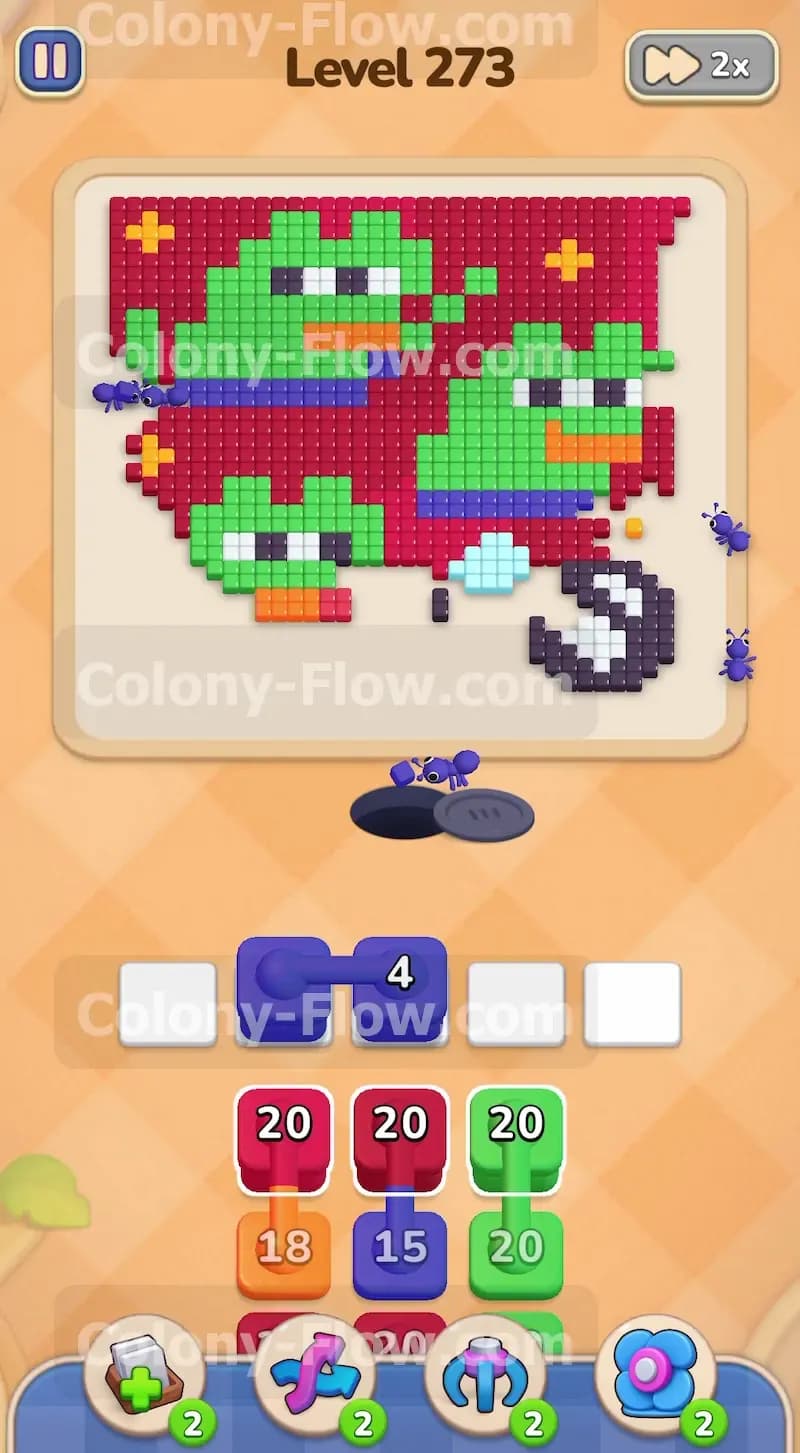
Once the dark red ants clear out the bottom foundation of the board you will see the dark blue tiles exposed. These tiles make up the straight lines of the shirts and collars beneath the green frog heads. Tap the dark blue blocks from your tray into the empty waiting slots. You will see a dark blue block with a fifteen count along with a smaller four count block. The dark blue ants will march straight up the newly opened paths and eat the shirt lines. This is a vital move because removing the shirts creates a clean gap between the background and the main faces. Your ants now have multiple angles of attack for the next phase.
Step 3: Release the green and white blocks to clear the faces and smoke.
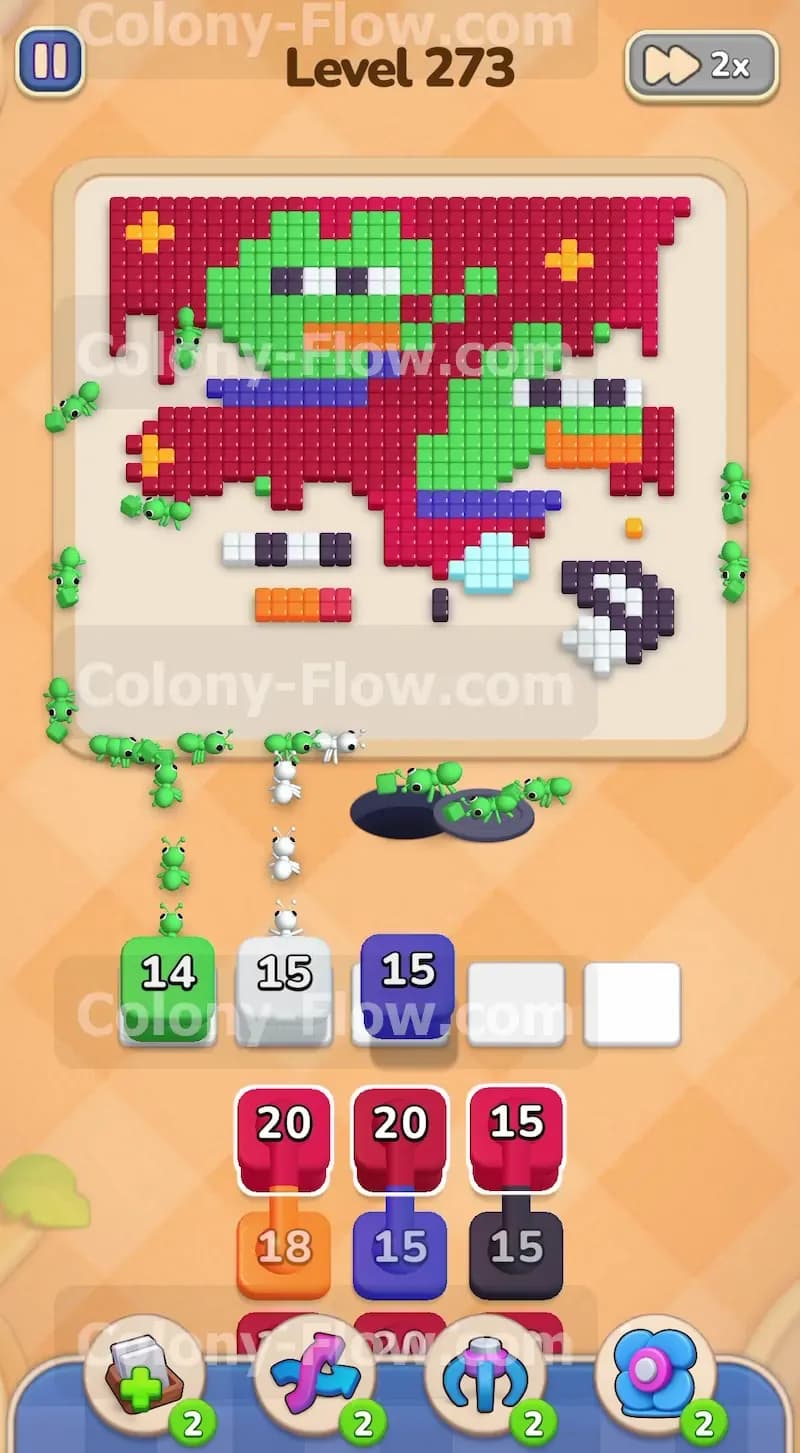
Now that the lower borders are wide open you have direct paths to the green frog heads. Direct your attention to the tray and pull the green blocks up into the active waiting area. You have several large twenty count green blocks available. Bring up the white fifteen count blocks at the same time. The green ants will flood the main portion of the frog faces and begin rapidly reducing the green pixels. The white ants will split up to target the large white eyes and the puffy white smoke cloud located near the bomb. Because the board is wide open at the bottom these different colored ants will easily pass each other without causing any traffic jams.
Step 4: Send in the orange ants to define the mouth shapes.
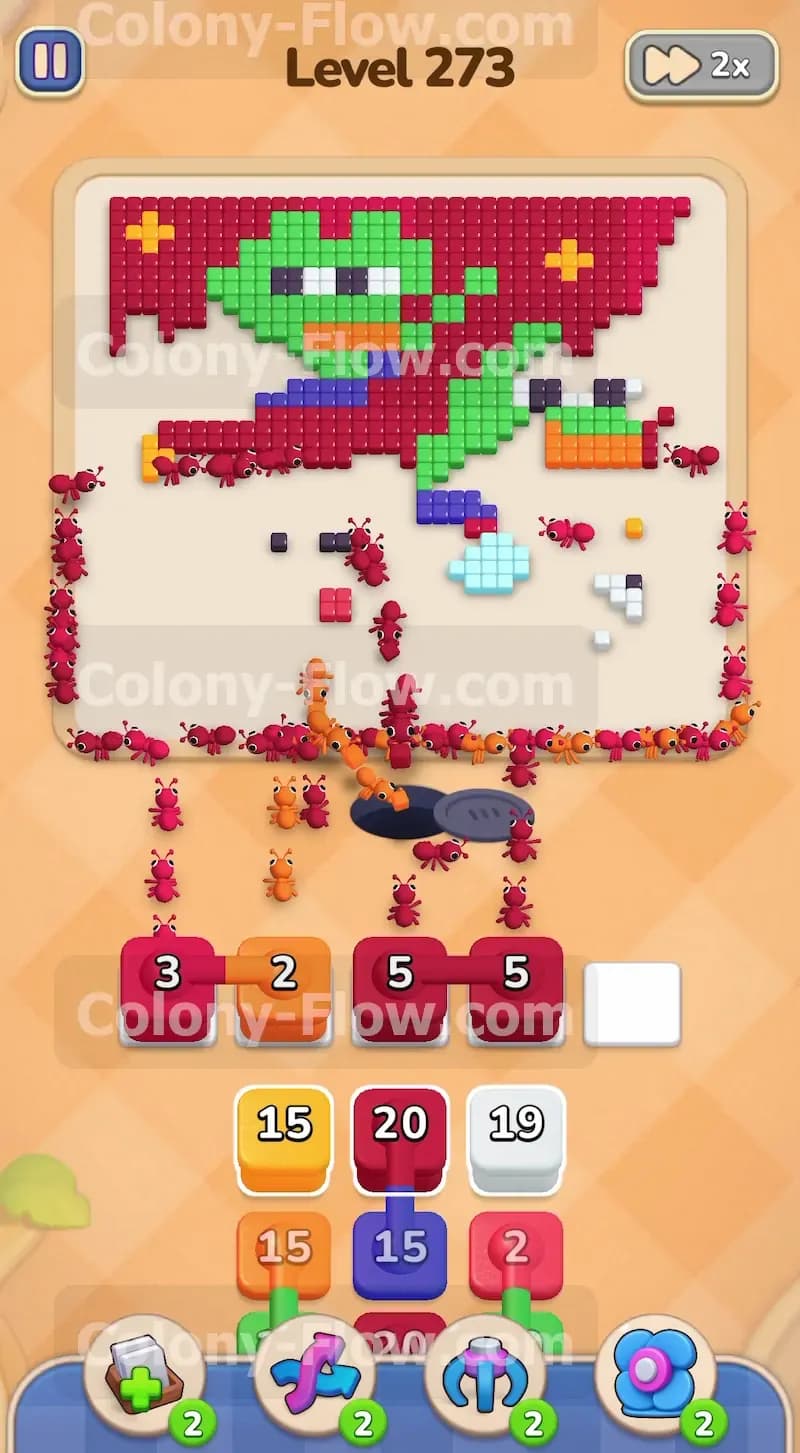
As the green ants eat away the outer layers of the frog faces they will expose the orange mouth details. You can now safely pull the orange blocks from the tray. Tap an eighteen count orange block into a waiting slot and let the orange ants go to work. They will travel up the open pathways and consume the lips and mouth sections on all four frog characters. You will notice your block numbers dropping to counts like eleven and seven as the orange ants finish their assigned sections. This move breaks up the solid blocks of color and opens up even more pathways into the center of the picture.
Step 5: Target the yellow plus signs and peel back more background.
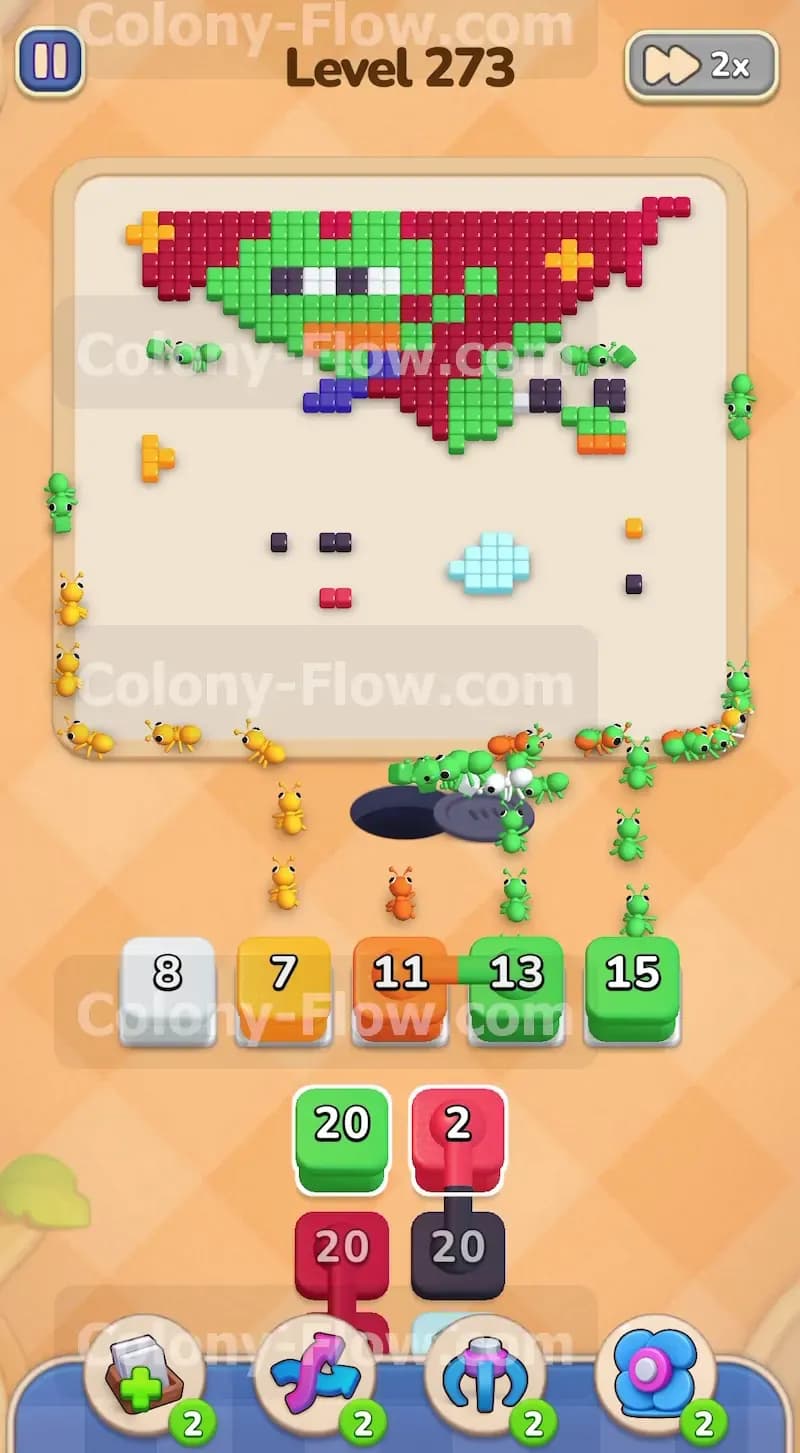
You will notice several yellow plus signs scattered across the remaining dark red background. Tap the yellow fifteen count block into a waiting slot along with another round of dark red blocks. The yellow ants will easily track down the plus signs since the red borders around them have been eaten away. The new wave of dark red ants will continue to eat the top and side edges of the background square. Your waiting slots might show red counts of five and three alongside a yellow five count. This combination is perfectly safe. The ants have completely open paths around the outside perimeter of the board and will not block each other from reaching their destinations.
Step 6: Carefully manage the connected dark red boxes from the tray.
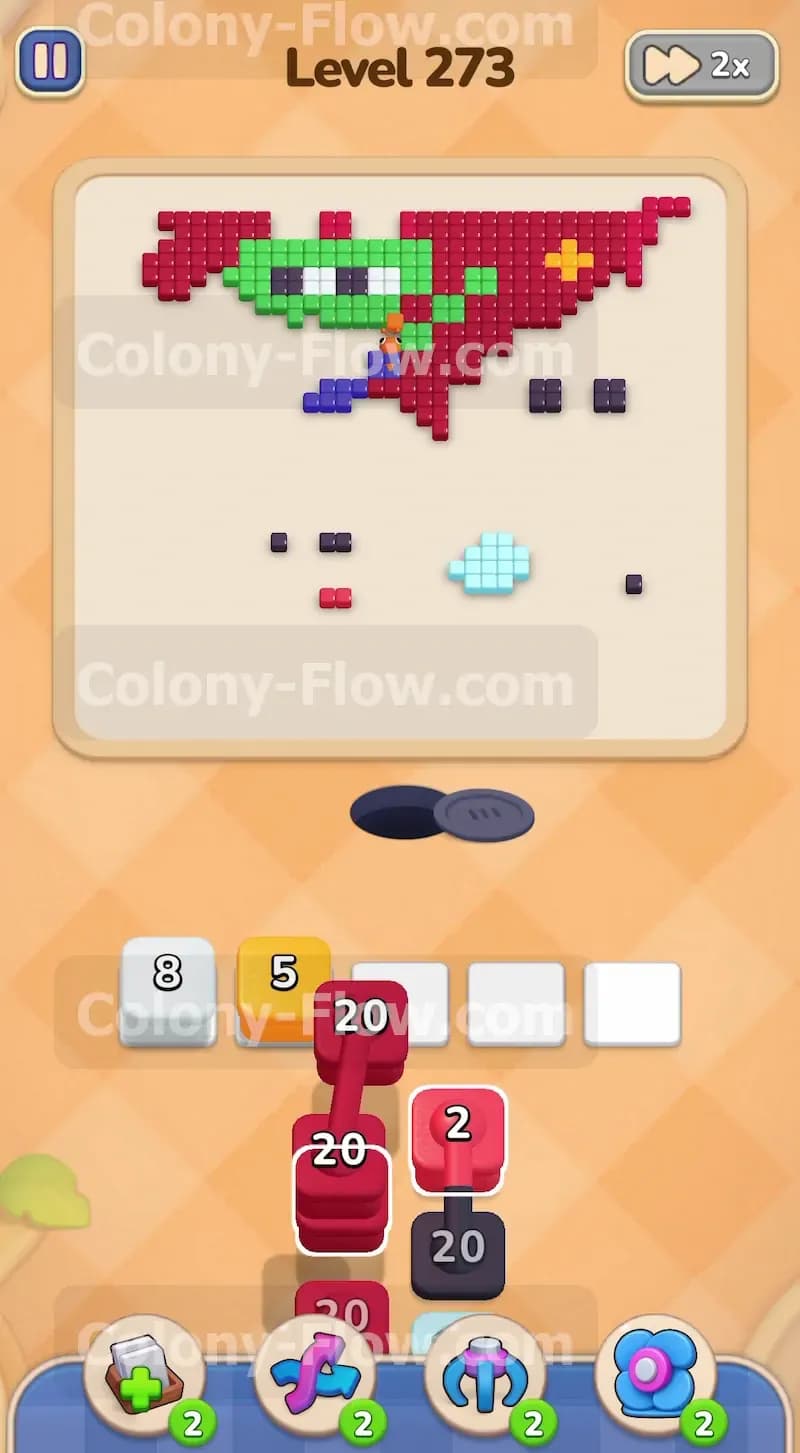
As you dig deeper into the block tray you will uncover the connected boxes. These are dark red twenty count blocks that are physically linked together. You must be extremely careful when pulling connected boxes into your active area. They take up multiple waiting slots at the exact same time. Ensure that the paths to the upper right section of the dark red background are completely clear before you tap these connected blocks. Once you move them up the red ants will flood the board in a massive continuous wave. They will surge around the top and right sides of the picture to consume the final huge chunks of the background. Wait patiently for these linked slots to completely empty out before you try to pull anything else.
Step 7: Clear the black bomb and the light blue highlight sections.
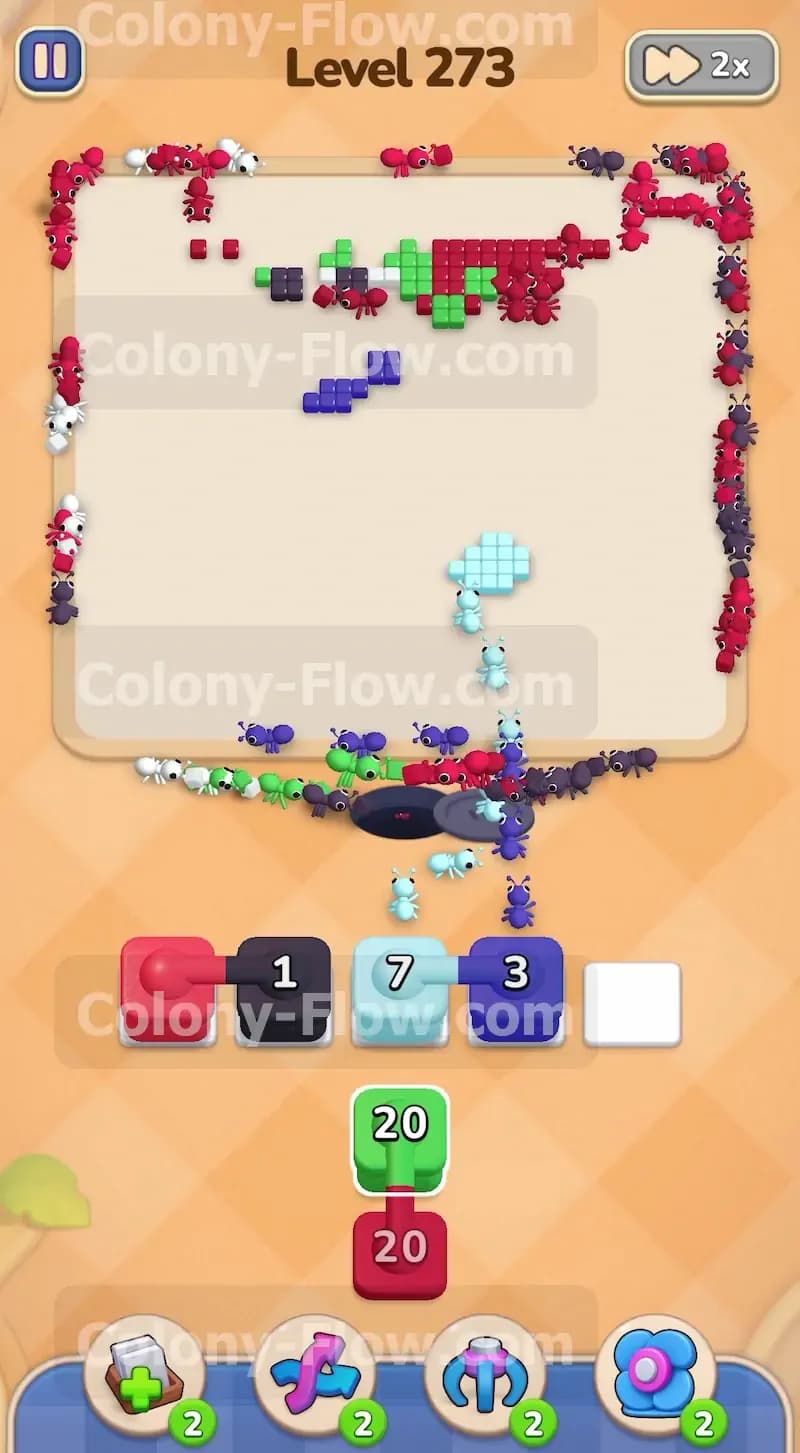
The final large obstacle remaining on the board is the round bomb held by the bottom right frog. It is constructed from black tiles and features a bright light blue highlight shine. Tap the black fifteen count block and the light blue block into your available waiting slots. The black ants will quickly surround the bomb and eat the outer circular outline. The light blue ants will head straight for the highlight shape. You will watch the slot numbers drop down to a black one count and a light blue seven count. Let the ants finish eating these tiles completely. Removing the bomb clears the entire right side of the screen.
Step 8: Sweep up the final scattered pixels to finish the level.
You are now in the final cleanup phase of the puzzle. Only a few scattered green blue and dark red pixels remain floating on the board. Your tray holds the exact final blocks needed to finish the job. Tap the last green twenty count block and the final dark red and dark blue blocks into the slots. The board is completely empty now so the ants will take the shortest and fastest paths directly to their targets. You will see a dark blue three count and a red one count linger for just a second as the very last ants consume the final tiles. The screen will clear completely and you will win the level.
Final Thought
This board looks intimidating at first glance because of the massive background but breaking it down from the outside edges makes it very manageable. Just remember to always keep your slots open and never pull the connected boxes until you have plenty of room. If you find any part of this written guide hard to visualize please scroll up and watch the video play through above this article. The video shows exactly how the ants move and will help you perfect your strategy.