Colony Flow Level 440 Walkthrough Solution & Guides | How to solve Colony Flow 440

Guide By Liam Stone
Updated on August 1, 2026
You'll find the complete Level 440 walkthrough in the video above if reading isn't what you're after.

Video doesn't match your screen?
Game updates frequently scramble layouts! Try our AI Screenshot Solver first to find your exact board instantly, or report broken guides to our team.
Welcome to Colony Flow Level 440 where we tackle a beautiful cabin scene hidden behind a massive obstacle. This stage tests your ability to balance your waiting slots while breaking down a huge door that blocks the center of the board. I play every single level myself to figure out the best routes and I know exactly how frustrating this specific layout can be. I will walk you through exactly how I clear this puzzle without getting stuck or filling up the tray.
Colony Flow Level 440 Overview
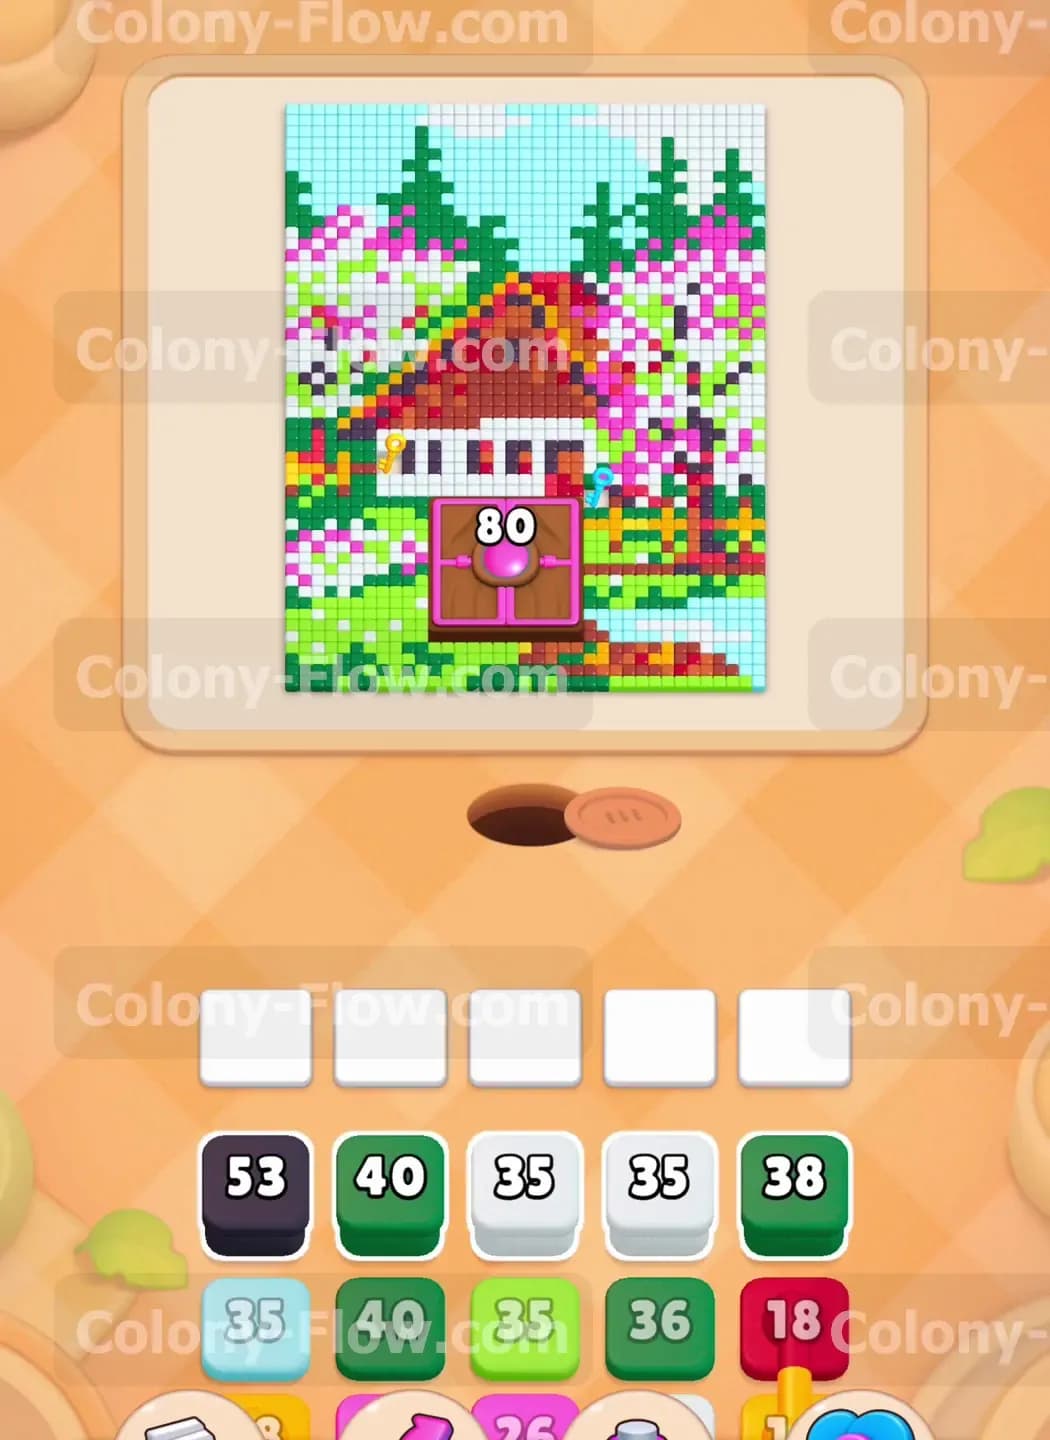
What You Are Working With
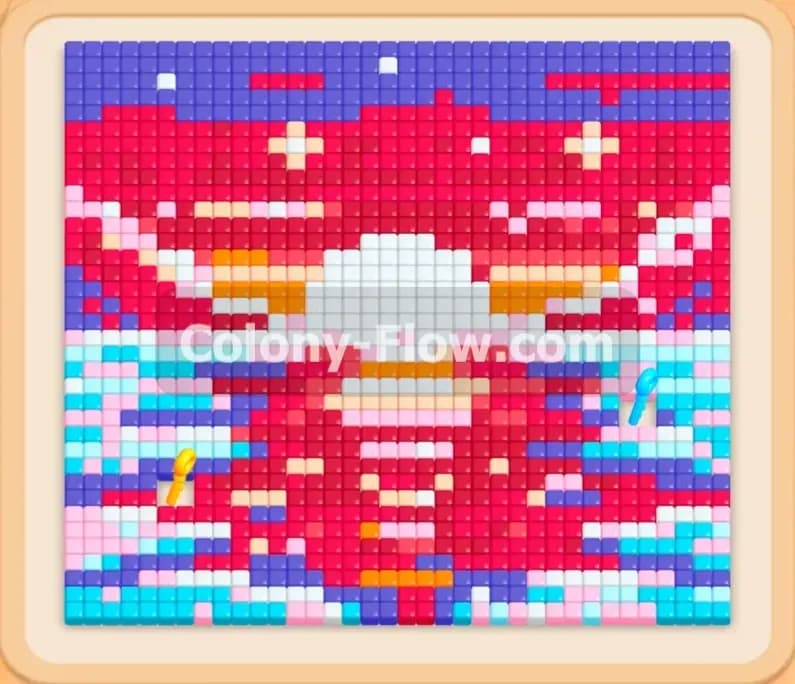
The puzzle board features a vibrant pixel art picture of a house nestled in a lush forest environment. You will see a large red roof, a brown wooden cabin structure, dark green trees on the right side, pink flowering trees on the left side, and a beautiful light blue sky with puffy white clouds at the very top. Right at the bottom center of the picture sits a massive Hungry Door. This brown door starts with the number 80 clearly printed on it and it physically blocks the lower half of the house from your ants. You absolutely cannot reach the middle tiles until you deal with this giant obstacle.
Down in your tray you have blocks with very large numbers which means you are dealing with a massive swarm of ants. You will start with a black 53 block, a light green 40 block, two white 35 blocks, and a dark green 38 block. The numbers mean you have plenty of resources to deploy but you have to find viable paths for them. Later in the puzzle you will encounter connected boxes. These are two distinct blocks physically linked together by a colored bar. They require special attention because they restrict your flexibility.
What It Takes to Clear Level 440 Board
Winning this stage requires you to clear every single colored tile from the picture while managing your limited space. The main challenge revolves around the five waiting slots located directly at the bottom of your screen. If you pull a block from the tray and the ants cannot find an open path to their matching color that block sits in a waiting slot taking up precious room. If all five slots fill up and the board is dead ended you instantly lose the game.
To succeed here you must clear the outer edges of the forest scene first. Eating the outer tiles slowly reduces the large number on the Hungry Door. You have to chisel away at the perimeter colors until the door number drops all the way to zero and completely shatters. Once the door breaks open you gain access to the center of the house and can easily finish the remaining tiles. Everything revolves around surviving long enough to break that door.
Colony Flow Level 440 Step by Step Solution
Step 1: Send ants to the outer edges to lower the door count
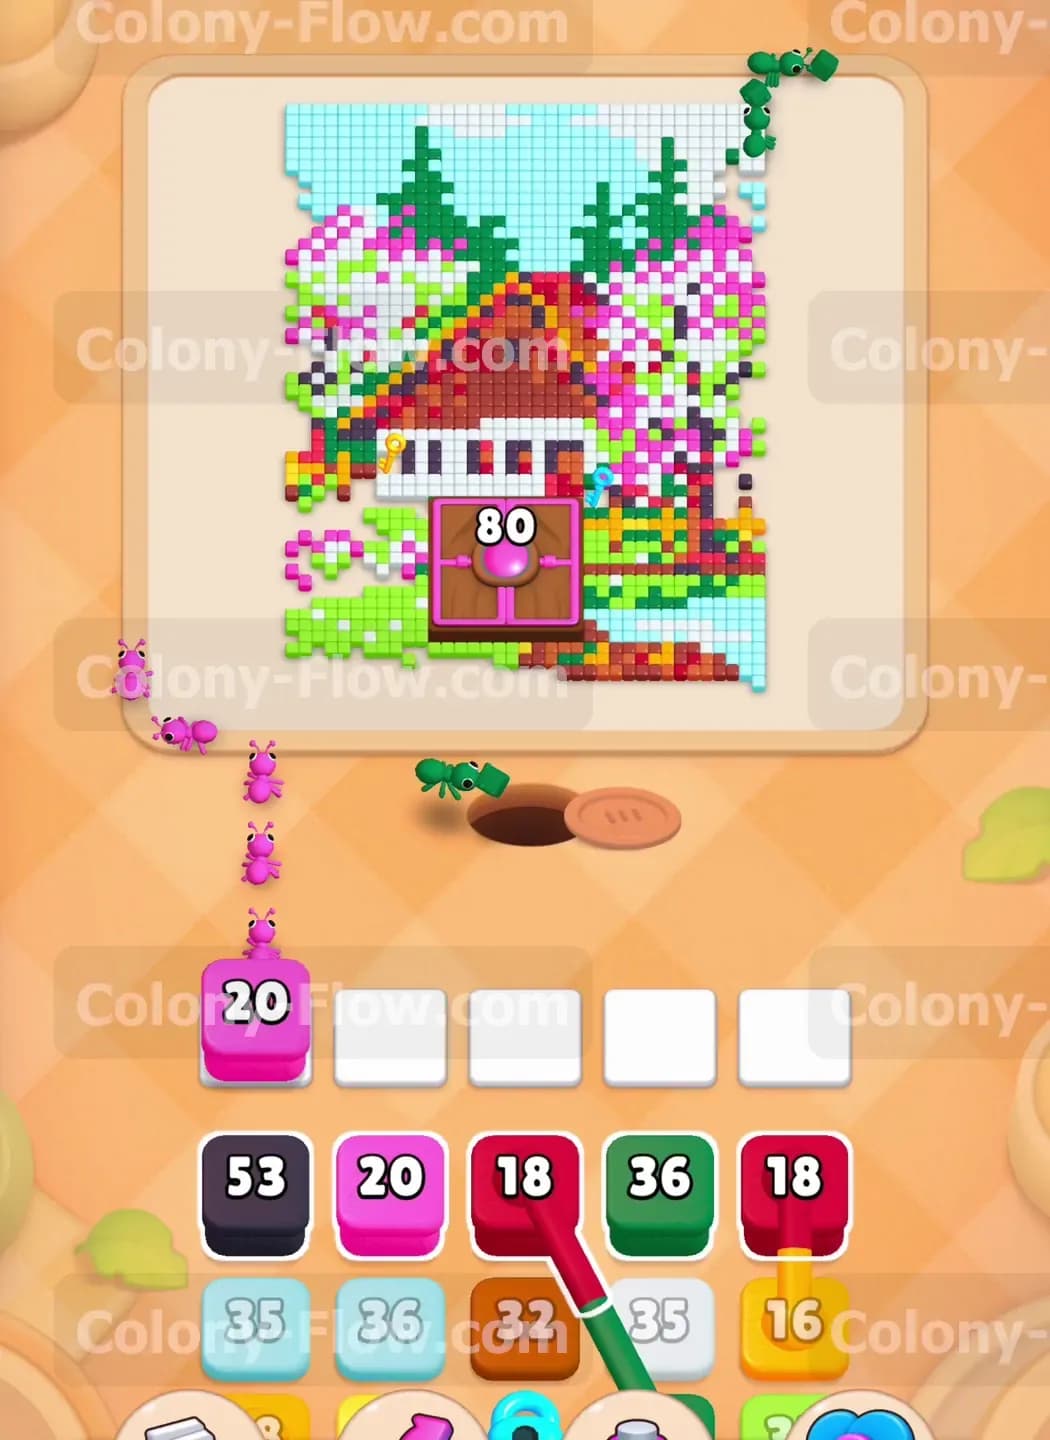
You want to start by attacking the bottom left and bottom right corners of the picture where the paths are wide open. Pull the pink 20 block and the dark green 38 block from your tray into the waiting area. The pink ants will march out of the nest hole and head to the far left side to eat the pink flower tiles scattered around the trees. The dark green ants will head out and take a sharp right to start clearing the dense forest edge. Sending ants to the outer edges is the only safe move early on because the Hungry Door entirely blocks the middle path. Every time your ants clear a section of the border you will notice the number on the Hungry Door starts to drop steadily. Keeping the ants moving on the outside prevents your waiting slots from jamming right at the beginning when space is incredibly tight.
Step 2: Push black and white ants up the sides to build momentum
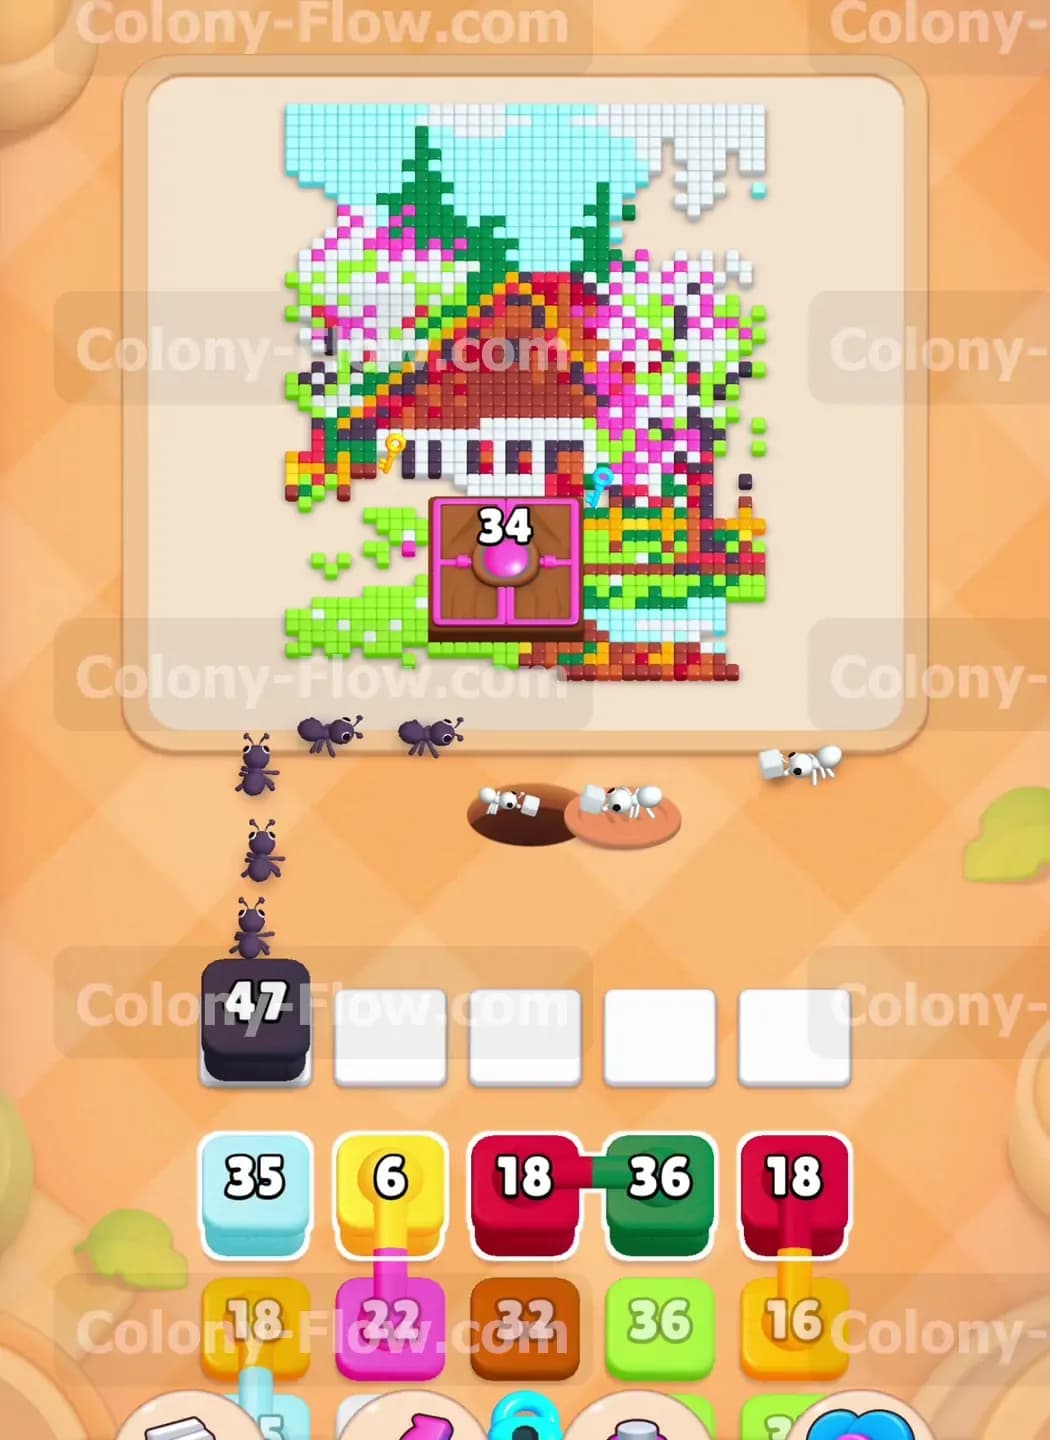
With the bottom corners slightly cleared you can bring out the heavier blocks to push further up the board. Pull the black 53 block and one of the white 35 blocks into your empty waiting slots. The black ants will stream up the left side of the house targeting the dark outlines while the white ants find paths along the right side and reach the very top edges. You will see the black block number drop to 47 as the ants deploy rapidly and find their targets. Keep pulling red 18 blocks as they appear in your tray to start chipping away at the red roof tiles near the top canopy. As these ants eat the upper sections the Hungry Door number will fall from 80 down into the thirties. Always make sure you leave at least one waiting slot completely empty so you can cycle a new color if the current ants run out of valid paths.
Step 3: Manage the connected blocks while attacking the top canopy
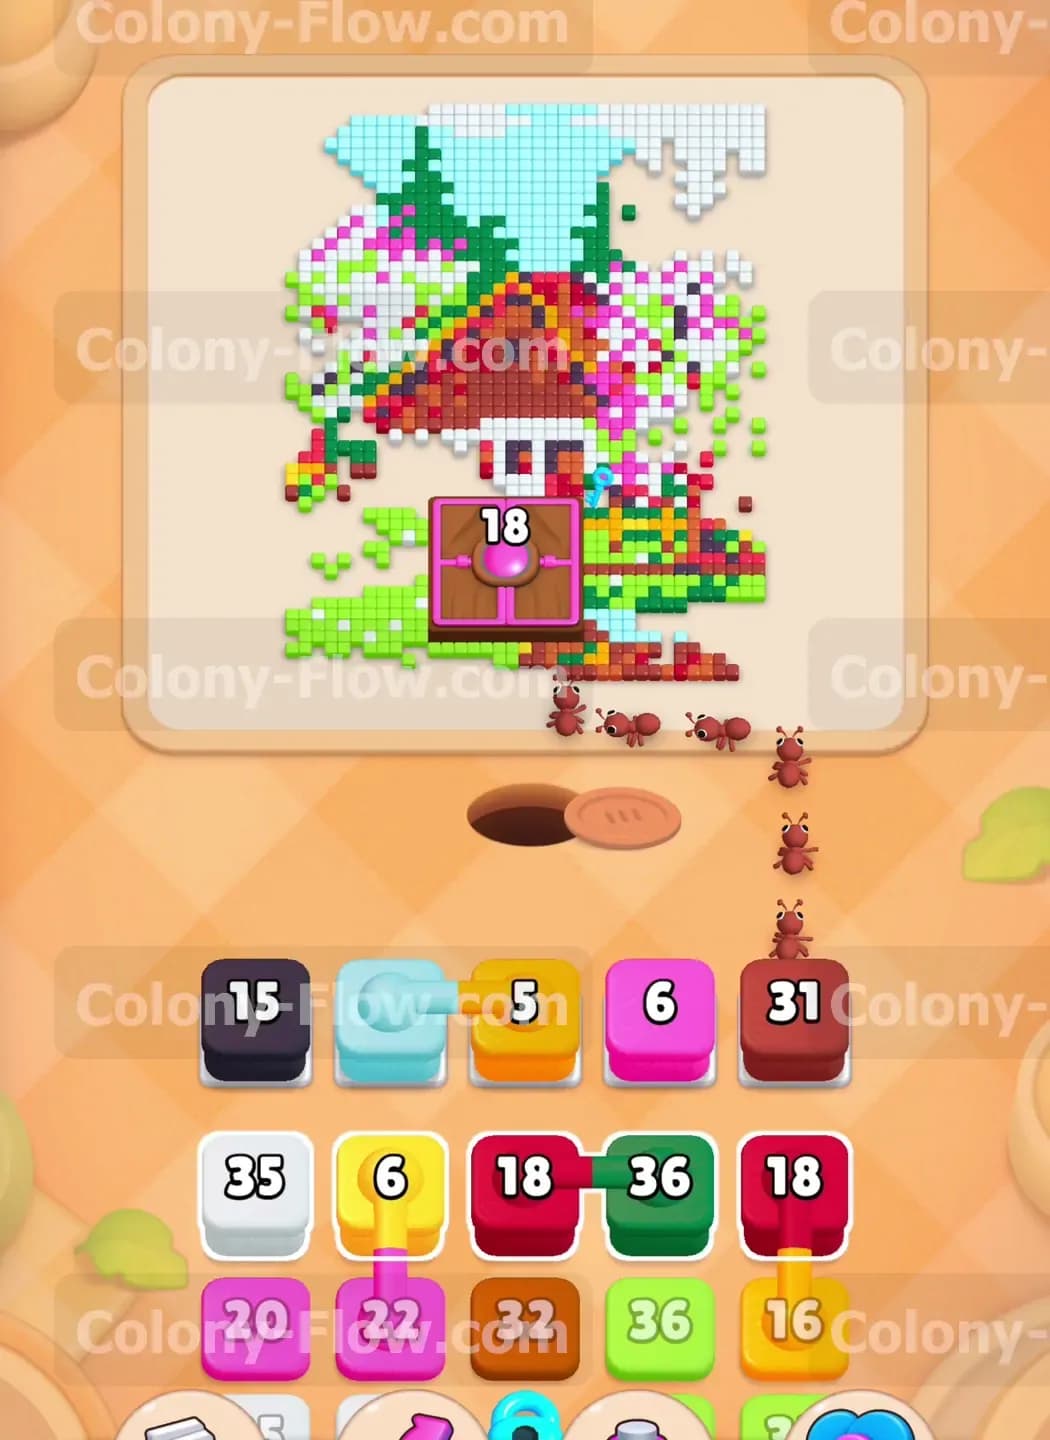
This is the exact moment things get tricky because the connected boxes show up in your tray to complicate your strategy. You will see a light blue block connected directly to a yellow block via a solid bar. When you pull these linked blocks they take up two spaces in your waiting slots at the exact same time. Before you pull them you must visually verify that both light blue and yellow tiles are exposed on the board. Pull the connected block pair along with another red 31 block to keep the pressure on. The red ants will aggressively eat the huge red roof section towering over the door. The yellow ants will clear the small sun or window details while the light blue ants start eating the sky. By this point the Hungry Door number will be down to 18. The intense clearing on the roof is exactly what you need to finally break that frustrating door.
Step 4: Break the hungry door to access the inner cabin structure
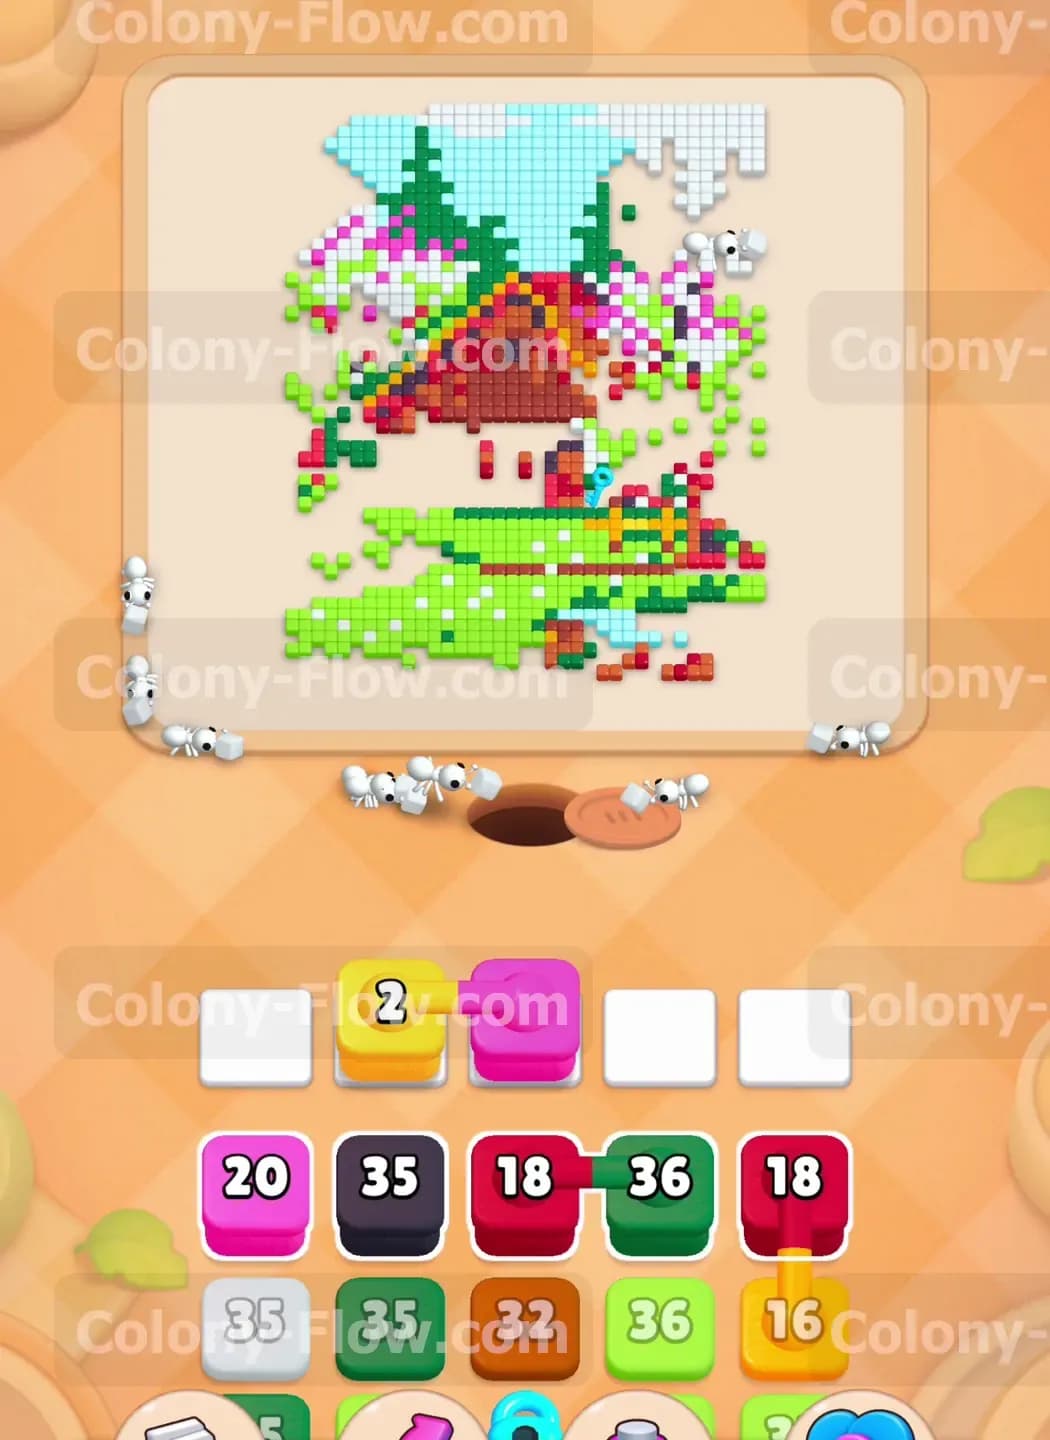
Keep feeding red and black blocks into the waiting slots to finish off the roof outline and the upper walls. Once the ants clear enough adjacent tiles the Hungry Door will finally break and disappear entirely from the board. This is the best moment in the entire puzzle because the lower half of the cabin is now fully exposed to your colony. You no longer have to route all your ants the long way around the outside edges just to reach their targets. The ants can march straight up the middle of the screen. You will have a pink block and a yellow 2 block sitting in your slots right as the door shatters. Let them finish their current paths and prepare to flood the newly opened middle of the board with your remaining heavy blocks.
Step 5: Flood the bottom grass with a massive swarm of light green ants
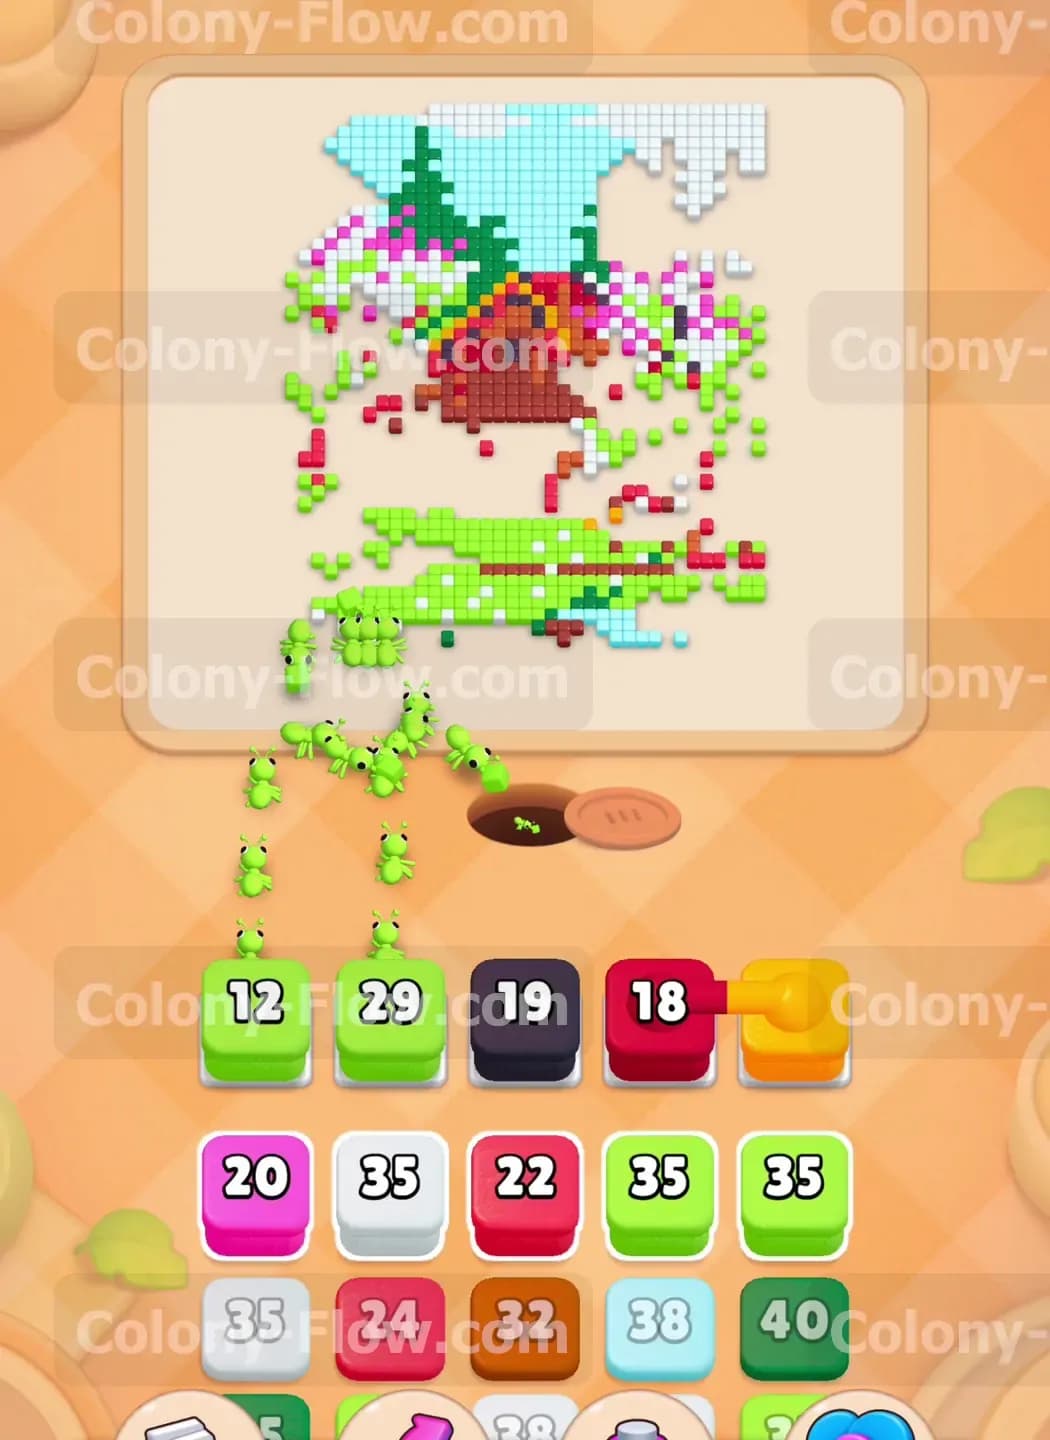
Now that the door is gone you have a direct path to the large patch of grass at the very bottom of the picture. Your tray will be full of light green blocks including a light green 12 block and two massive light green 35 blocks. Pull these into your waiting slots immediately to take advantage of the open space. A huge swarm of light green ants will pour out of the nest and devour the entire bottom lawn section in seconds. While the grass disappears you should also pull the black 19 block and the red 18 block to clean up the newly exposed wooden walls and lower roof tiles of the cabin. The board opens up significantly here so you do not have to worry as much about dead ending your slots. Just keep pulling blocks that match the colors exposed in the wide open center.
Step 6: Wrap up the sky and the remaining structural pieces of the house
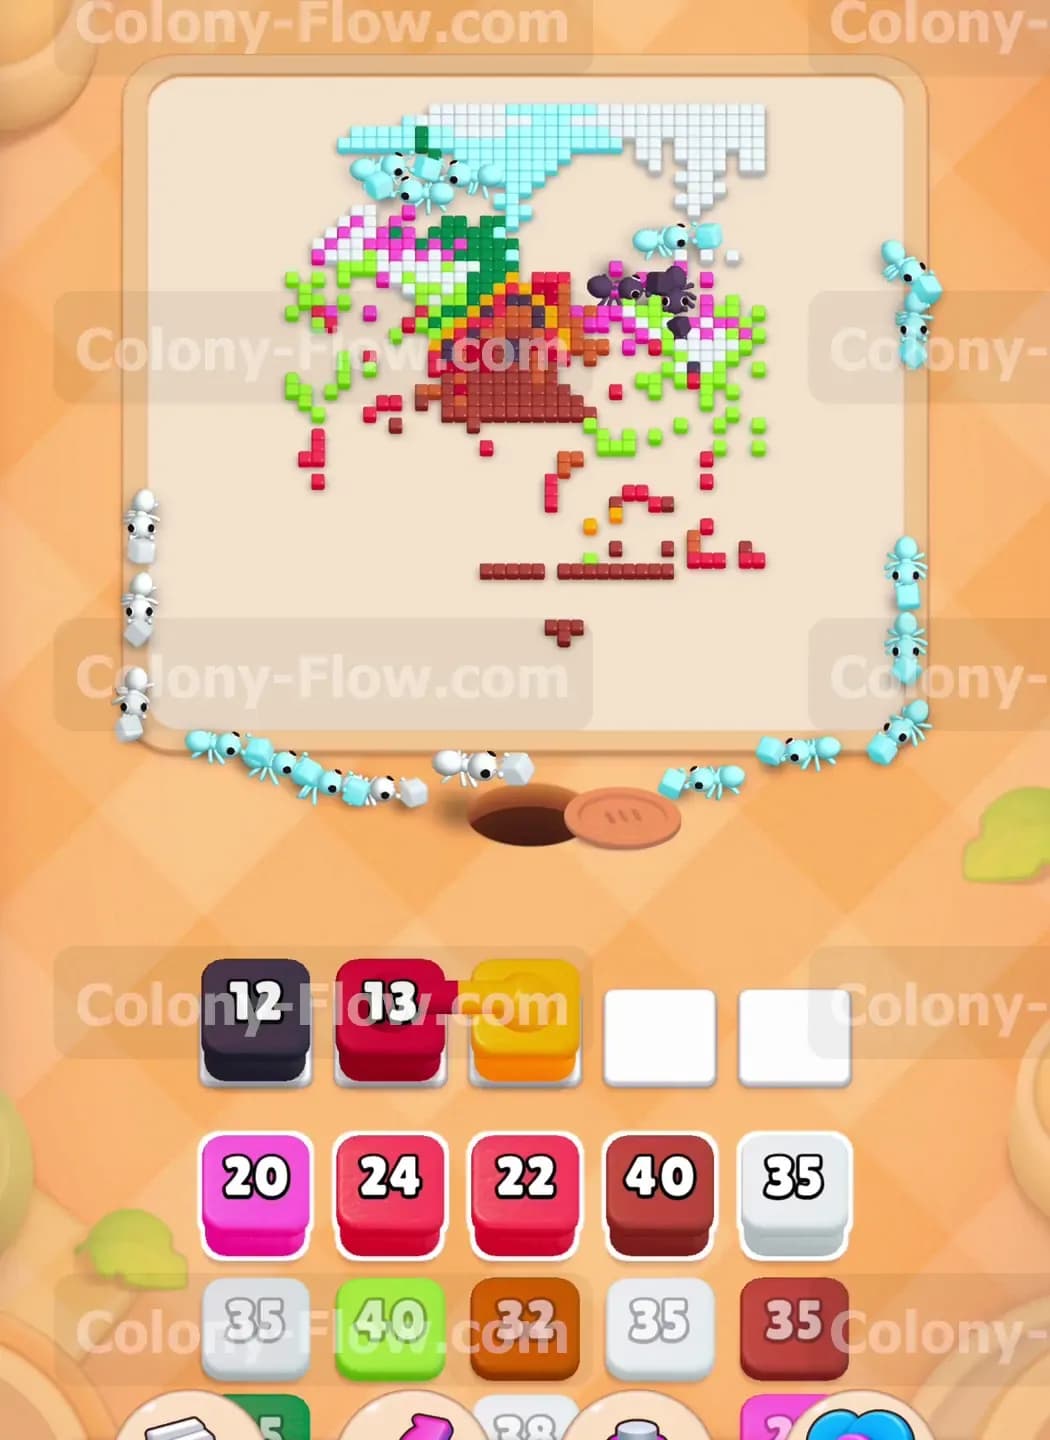
The board is mostly empty now except for the light blue sky at the top and a few scattered structural pieces on the sides. Bring out the light blue 35 block and the brown 40 block from your tray. The light blue ants will stream all the way up the sides and fan out across the top to eat the huge sky background. The brown ants will target the remaining wooden logs and window frames of the house structure. You might encounter another set of connected blocks here featuring yellow and pink colors. Pull them safely knowing you have plenty of room in your slots to accommodate their dual nature. Let the white ants finish the snowy cloud areas around the chimney while you prepare for the final cleanup phase.
Step 7: Empty the final tray blocks carefully to complete the puzzle board
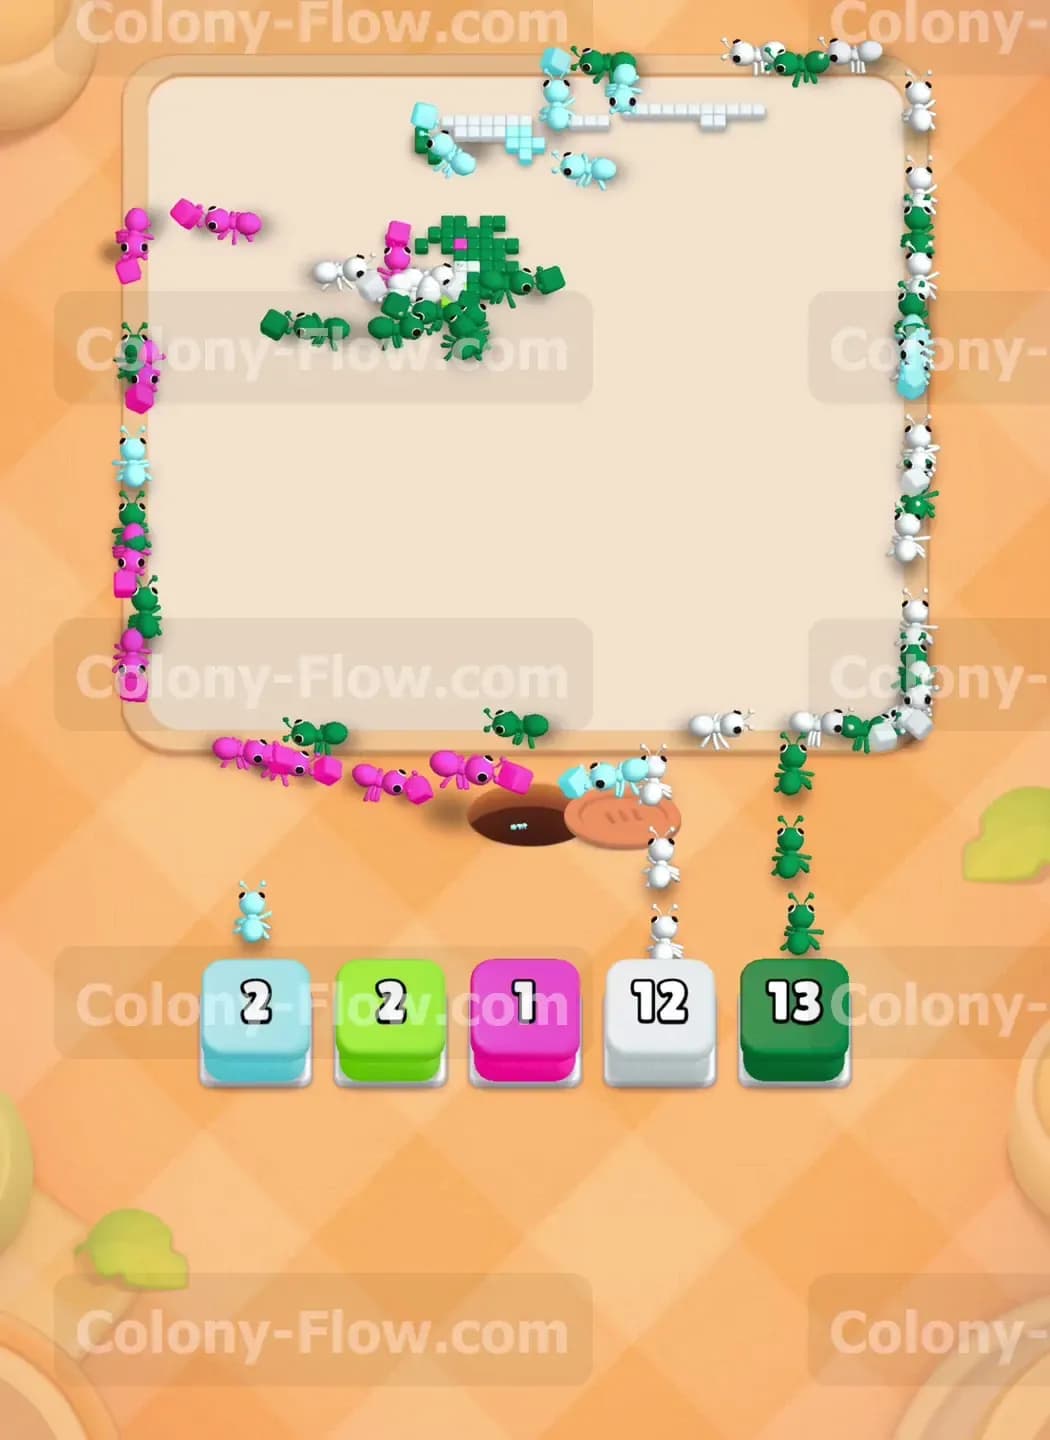
You are now in the final stretch with only a few scattered pixels remaining along the extreme outer boundary of the level. Look down at your tray to see a handful of small numbers left to play. You will have a light blue 2 block, a light green 2 block, a pink 1 block, a white 12 block, and a dark green 13 block waiting for you. Pull them carefully one after another rather than all at once. The ants will take a very long walk around the empty board to reach those final isolated tiles. Make sure you do not pull all five blocks at the exact same second just in case one color blocks the path of another near the nest hole. Wait for the dark green ants to eat the last remaining leaves and the white ants to clear the final outer rim of the picture. Once the last tile vanishes from the screen the puzzle is complete.
Final Thought
Clearing this board is incredibly satisfying once you understand how to break that massive center obstacle properly. Keeping your ants moving around the perimeter is the absolute key to success here because it prevents the dreaded slot jam early in the game. I really enjoyed figuring out the exact timing for those tricky connected blocks so they never ruined my run. If any of these steps are hard to picture in text I highly encourage you to watch the video above this article. Seeing the exact paths the ants take around the door makes the entire strategy crystal clear and will help you master this stage on your very first try.