Colony Flow Level 297 Walkthrough Solution & Guides | How to solve Colony Flow 297

Guide By Liam Stone
Updated on August 1, 2026
If you'd rather see it than read it, the video above walks through Level 297 from start to finish.
Video doesn't match your screen?
Game updates frequently scramble layouts! Try our AI Screenshot Solver first to find your exact board instantly, or report broken guides to our team.
Colony Flow Level 297 drops you into a massive crystal structure surrounded by a glowing white aura. You start facing a heavy barrier right at the main entrance. You need to crack this barrier before your ants can really spread out and start eating the main picture. I found this board requires careful tray management because the sheer number of different colors can easily jam your waiting slots. Managing your pulls is the only way to survive.
Colony Flow Level 297 Overview
What You Are Working With
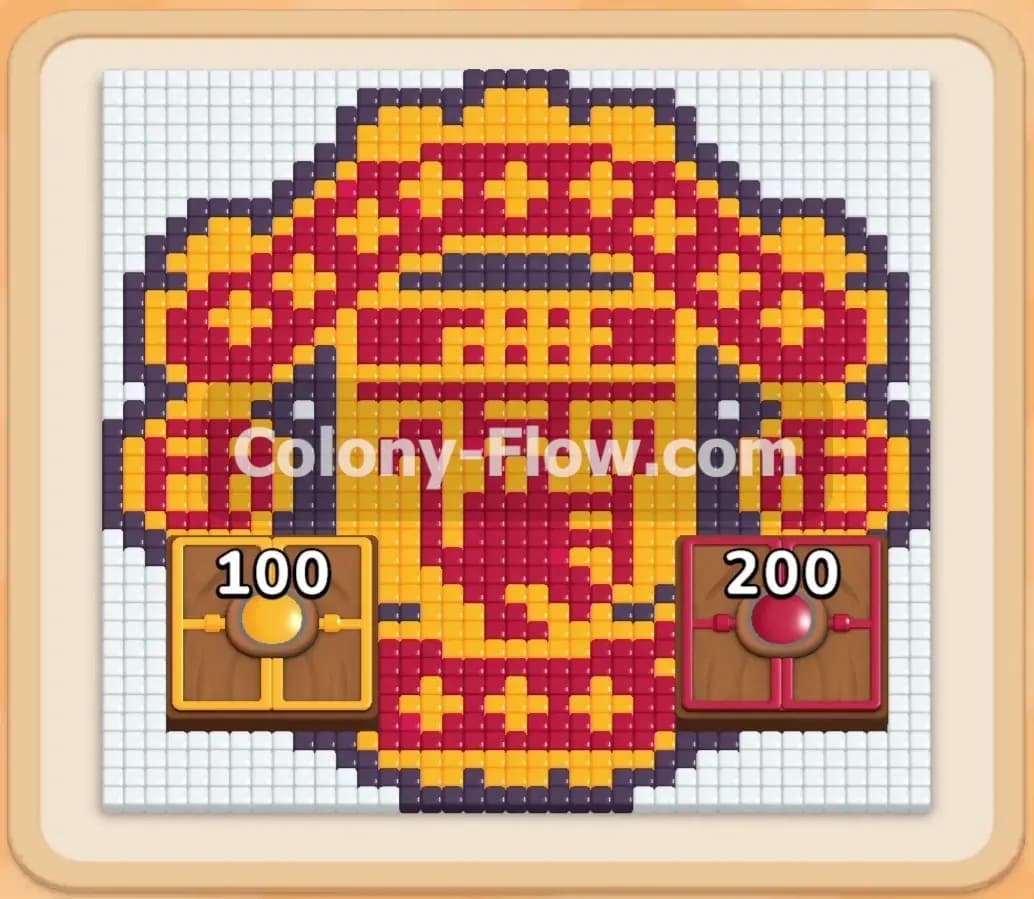
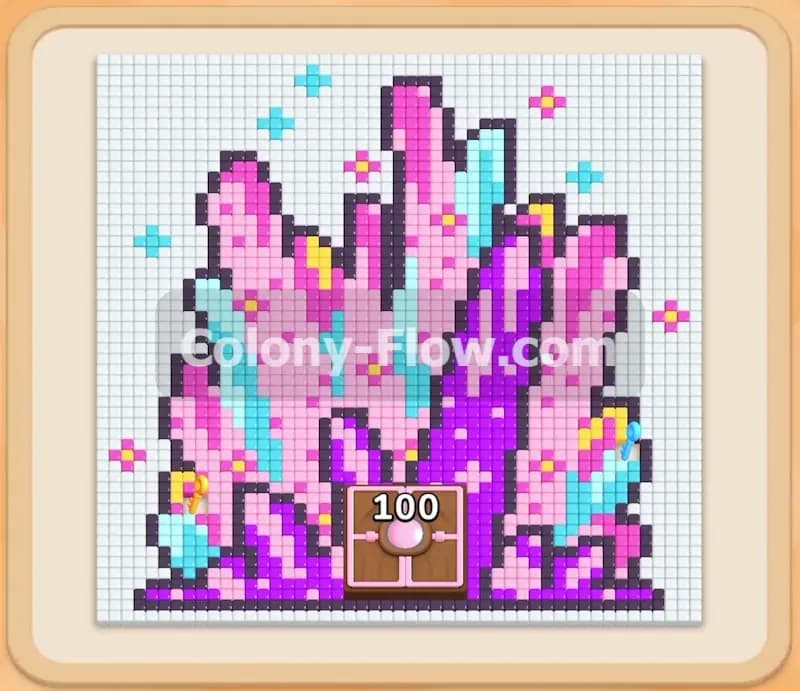
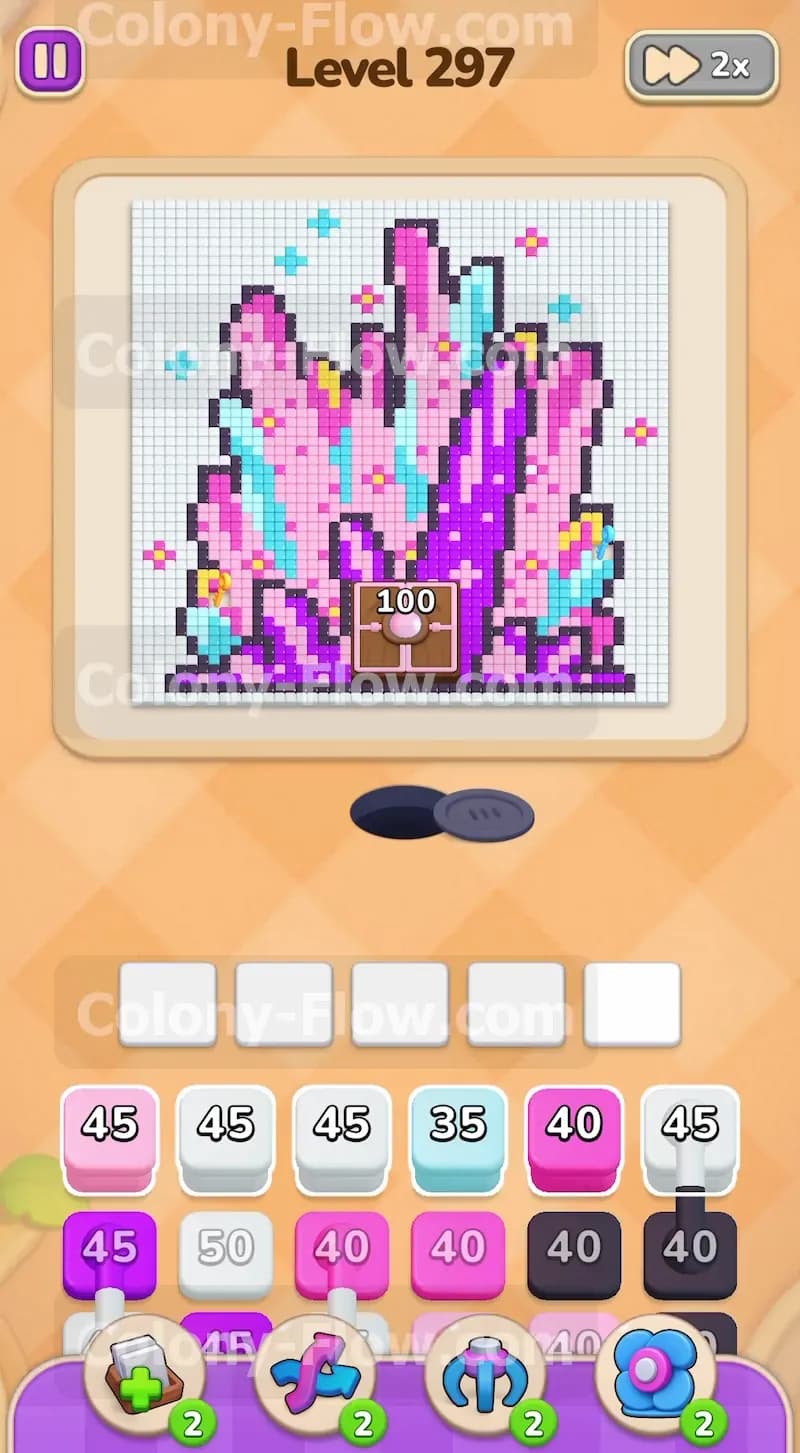
The picture is a large cluster of tall crystals. The design features tall vertical sections of pink and purple tiles. A wide background of white tiles frames the upper half of the crystal cluster. Small light blue and yellow star accents sit around the edges and between the crystal pillars. Right at the bottom center you see a Hungry Door tile with a requirement of one hundred points. This door entirely blocks the main entry point to the lower crystal base. The tray at the bottom holds multiple layers of colored blocks. You have high capacity white blocks along with stacks of pink purple black light blue and yellow blocks. Every block displays a number showing exactly how many tiles it can hold.
What It Takes to Clear Level 297 Board
To win this board you must feed the Hungry Door first. Taking down the door opens the bottom edges of the tall crystals. From there your ants stream upward and outward to carve through the pink and purple pillars. You need to constantly match blocks from the tray to the exposed tiles to keep your ants moving. The core rule of the game applies heavily here. If you pull too many colors at once without an open path you will fill your five waiting slots and lose the level completely. Clearing the board means completely dismantling the crystal pillars and the white background aura without ever causing a dead end.
Colony Flow Level 297 Step by Step Solution
Step 1: Focus your initial moves on breaking the one hundred point Hungry Door.
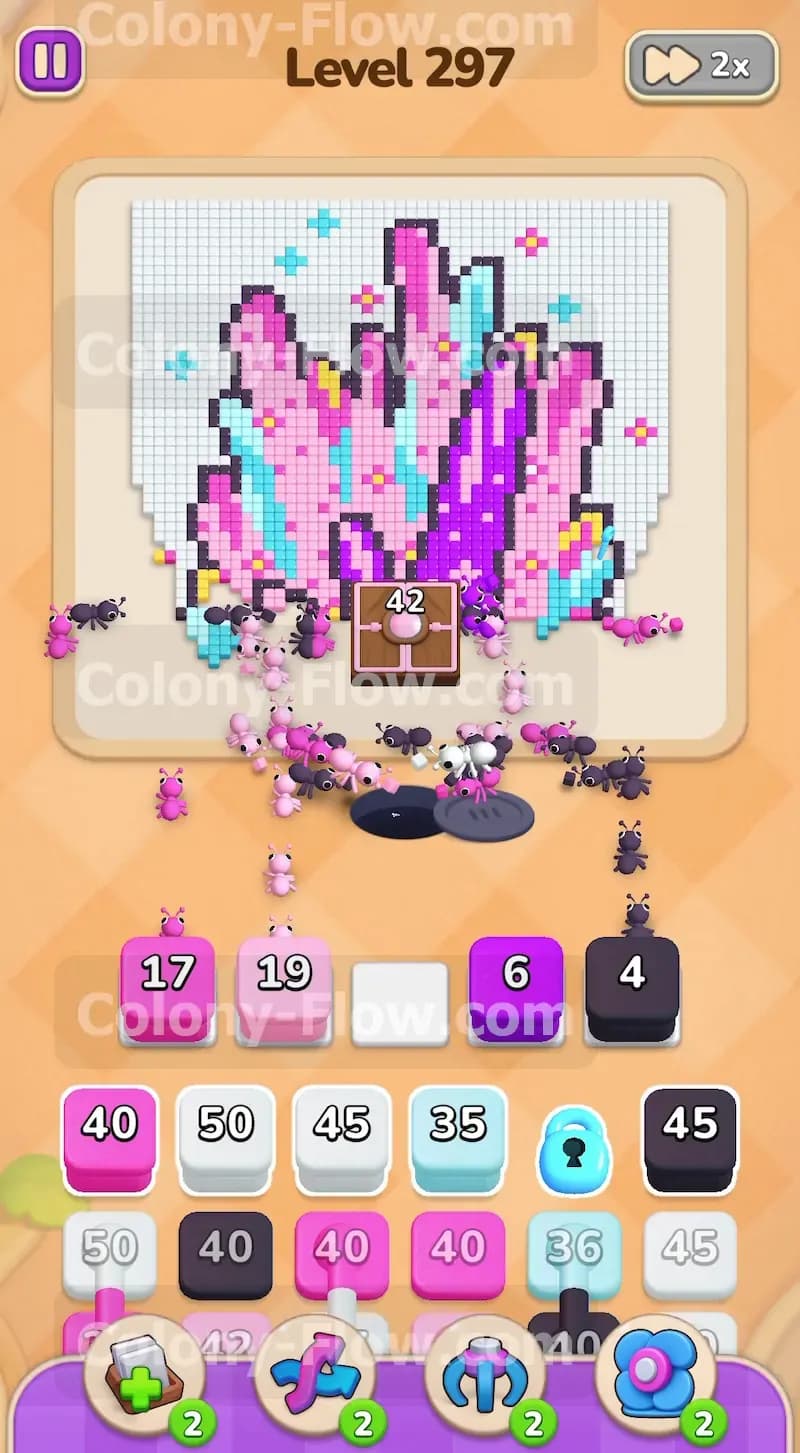
The very first obstacle you face is the large Hungry Door blocking the central path. This door requires one hundred points of food before it opens. You must look at the bottom edges of the picture right next to the door to see which colors your ants can currently reach. Pull the first few blocks from your tray that match these exposed edge tiles. I used black white pink and purple blocks to start feeding the door. The ants stream out of the nest and grab these lower tiles. Every single tile they eat subtracts points from the door requirement. You must keep feeding these initial colors until the door counter hits zero and the door completely vanishes from the board.
Step 2: Clear the bottom horizontal base of the crystal cluster.
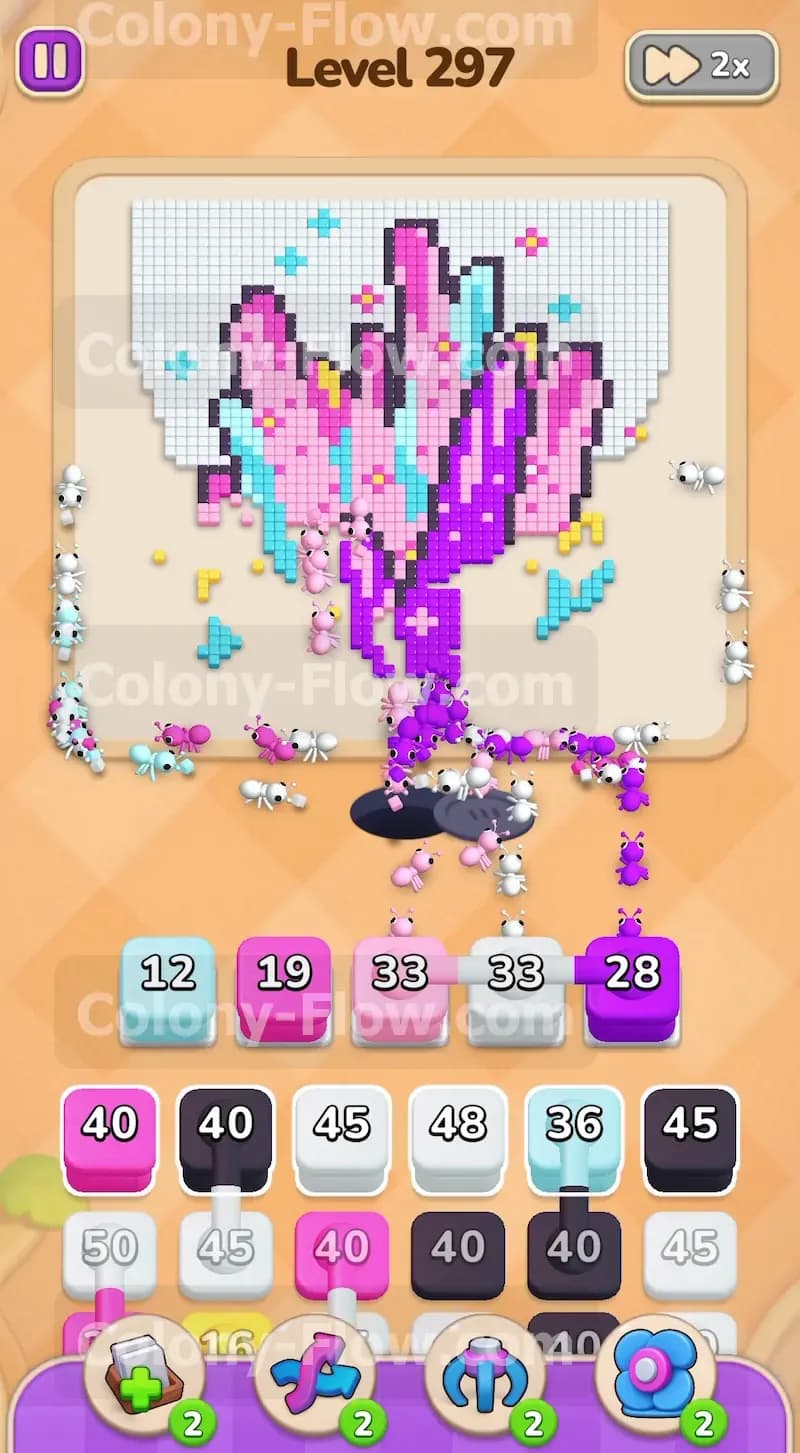
With the Hungry Door out of the way the entire bottom section of the picture becomes exposed. You now have a very wide horizontal path to work with. Your ants can reach the bottom edges of the main purple and pink pillars. Pull a purple block and a pink block from the tray to let your colony start eating the base. Watch the block numbers drop as the ants carry the food away. When a block empties it leaves the waiting slot entirely. This clears space for you to pull new colors. Make sure you let at least one block finish completely before you pull something completely different so you protect your open slots.
Step 3: Attack the large white background sections on the lower sides.
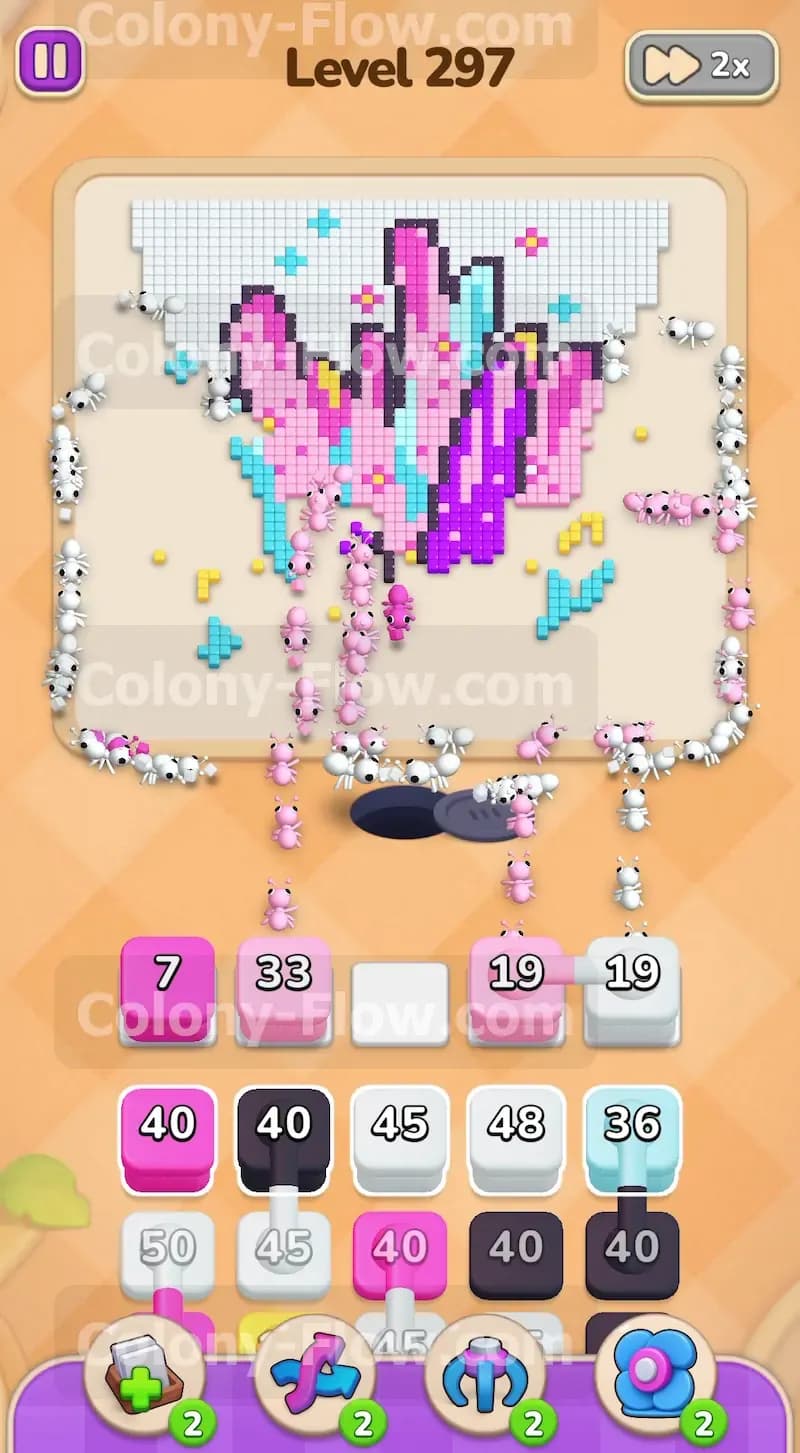
As the ants chew through the bottom of the crystal they expose the white background tiles on the left and right sides. You will notice several large white blocks in your tray with values of forty five and fifty. Pull one of these large white blocks into your waiting slot area. The ants will split up and march up both sides of the board to eat the white tiles. This action creates a massive open space on the flanks of the crystal. Having open flanks is incredibly useful because it gives your ants multiple angles to reach new colors deep inside the picture.
Step 4: Chip away at the outer pink crystal layers.
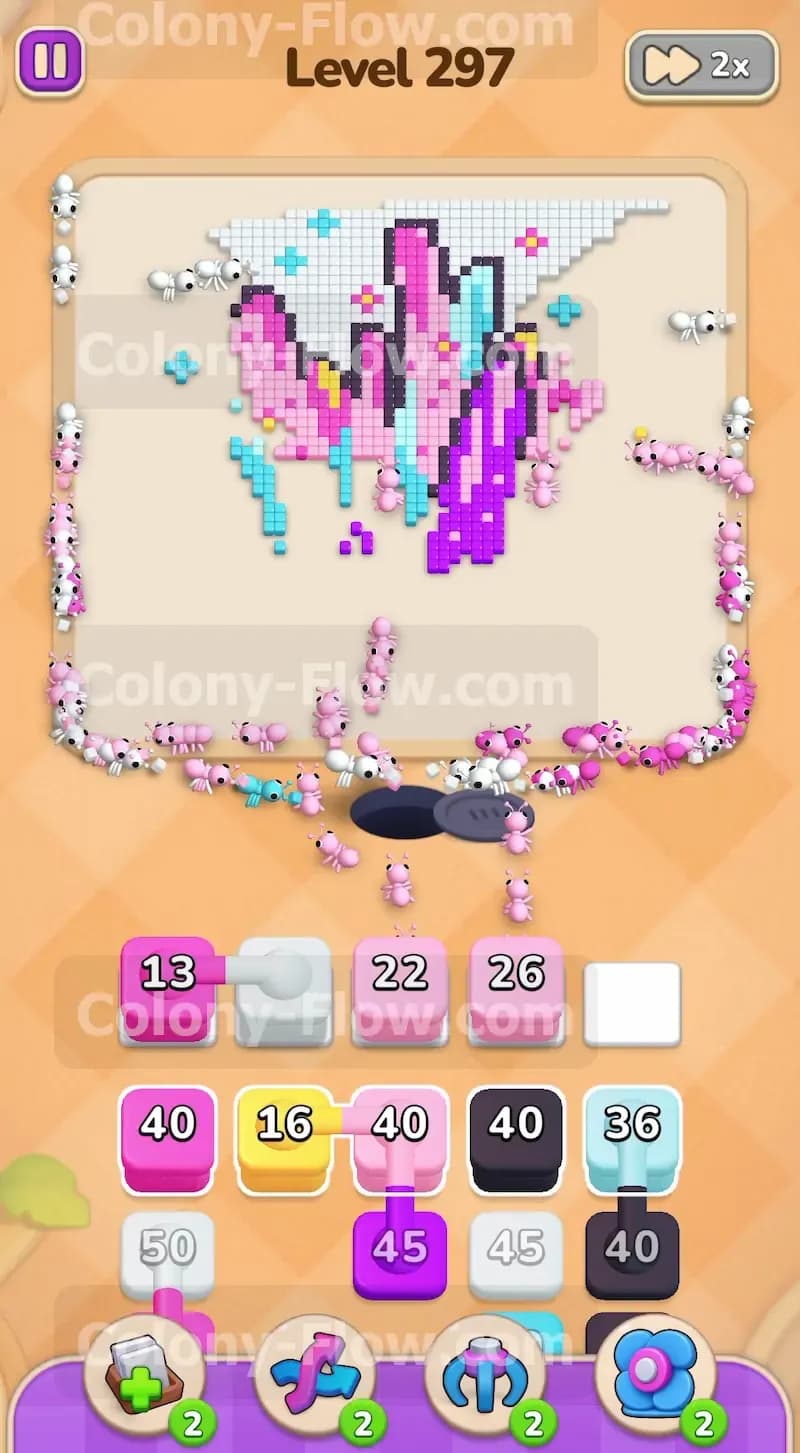
The outer edges of the tall pillars consist of bright pink tiles. Now that the white background is partially cleared your ants can easily walk up the sides and attack these pink layers. Pull a pink block from your tray. You might need to bring up a light blue block as well to clear the small star accents touching the pink sections. Always check the corners where the pink meets the purple. You want to peel the pink tiles away from the outside moving inward. This methodical approach ensures your ants never get stuck behind a wall of unreachable tiles. Keeping the flow steady is exactly how you beat the level.
Step 5: Dismantle the central purple pillars.
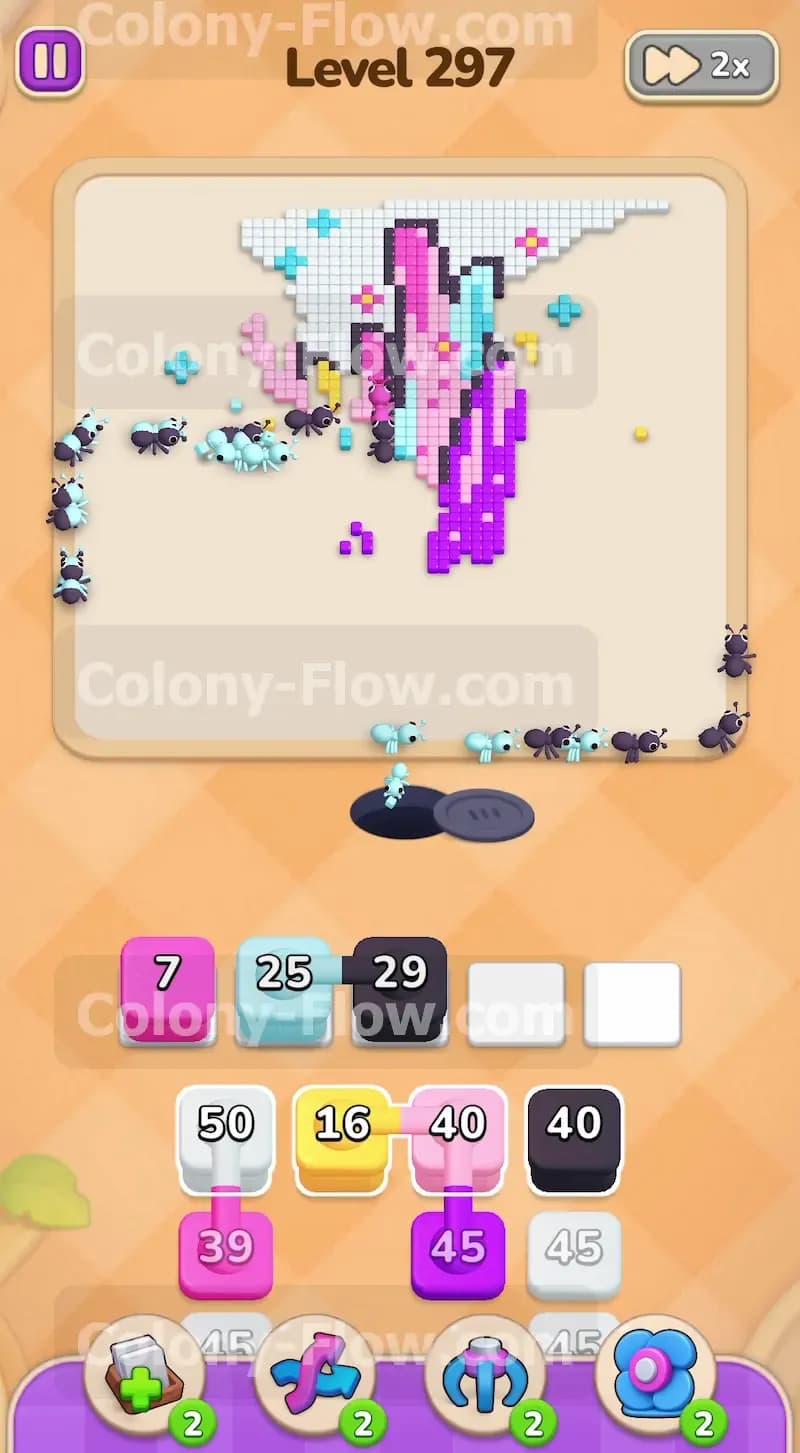
The core of the picture is made of deep purple tiles forming the tallest vertical shards. You need to pull your large purple blocks to start bringing these towering pillars down. The purple sections are very thick so it takes a lot of ants to clear them completely. Pull a purple block and let the ants swarm the middle of the board. You will see them carving deep vertical channels into the crystal. While they do this you must keep an eye on your waiting slots. Do not pull new colors just because they look tempting in the tray. Wait until the purple block is almost completely empty before adding a different color to the slots.
Step 6: Clear the upper white background aura.
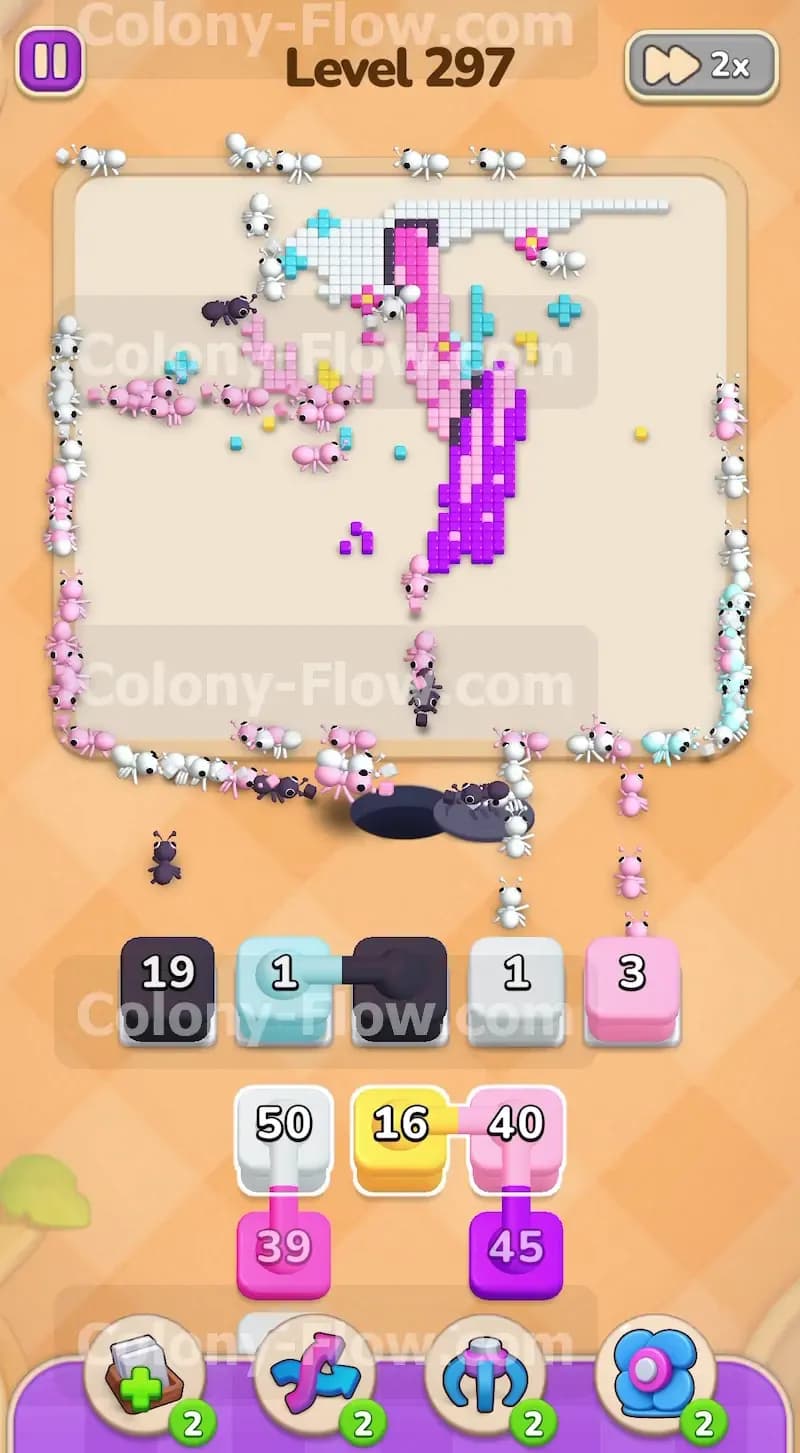
Once the purple pillars are significantly shorter the top section of the white background opens up entirely. Your ants now have a straight path to the very top of the board. Pull another massive white block from the tray. The ants will flood the upper area and clear away the remaining white tiles. This action drastically shrinks the overall size of the picture. Clearing the top white section also exposes the absolute tips of the remaining crystal shards. You are now setting up the final phase of the board and securing your victory.
Step 7: Target the small yellow and light blue star details.
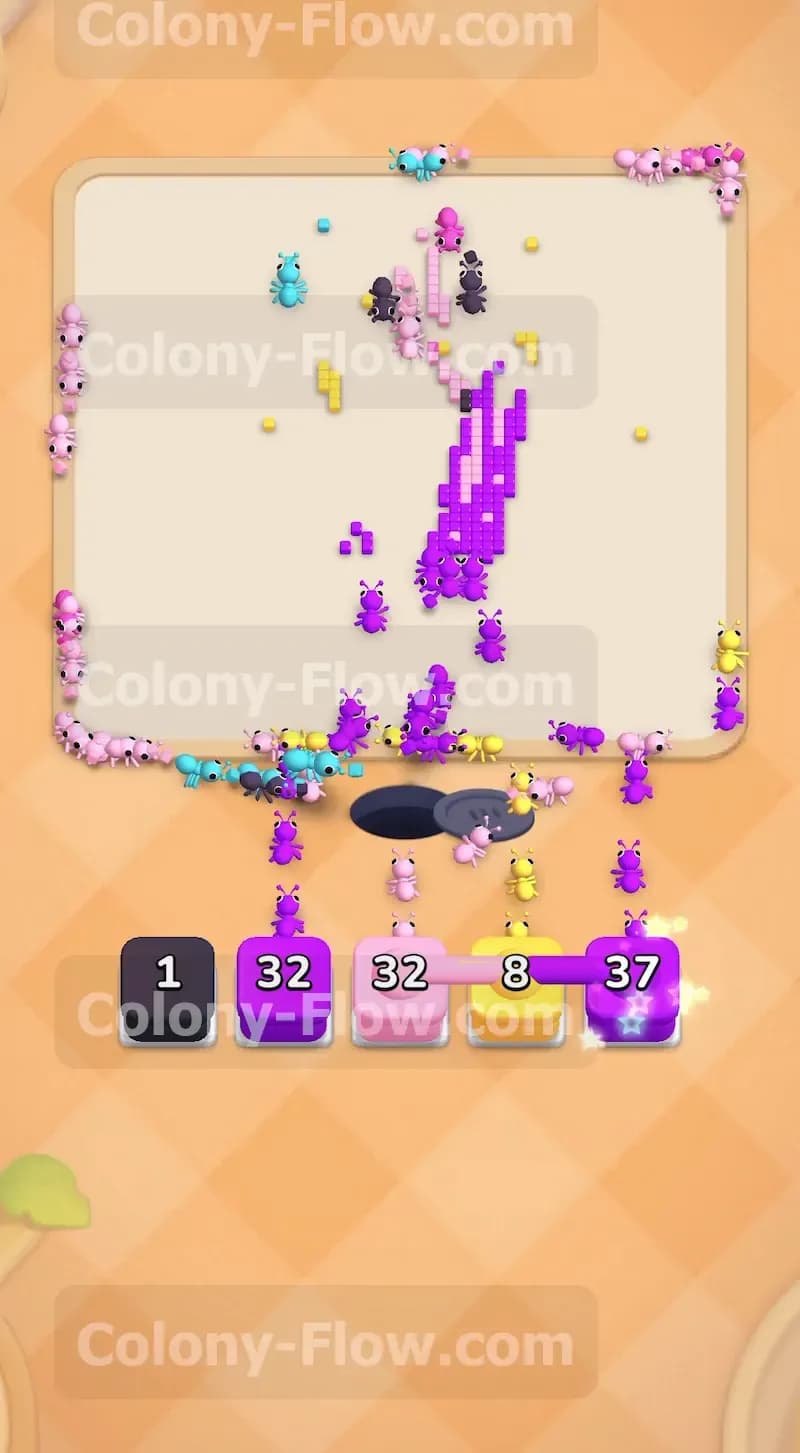
Hidden among the remaining pillars are small clusters of yellow and light blue tiles. These look like tiny stars or sparkles scattered on the crystal. Pull the yellow block and the light blue block from your tray. These blocks have smaller numbers so they will clear out of your waiting slots very quickly. The ants will clean up these scattered details in a few quick moves. Getting these small colors out of the way prevents them from blocking access to the final structural tiles. Taking care of the details now keeps your path completely clear for the final push.
Step 8: Finish off the last remaining pillar fragments.
The board is now mostly empty space with just a few scattered purple pink and black tiles left near the center. Look at exactly which colors are still standing. Pull the corresponding black purple and pink blocks to match these final pieces. Your ants will rush to the last remaining tiles and finish them off. The final blocks will count down to zero and disappear from your waiting slots. You have successfully cleared the entire crystal and won the level without jamming your slots.
Final Thought
Winning this board comes down to respecting the Hungry Door and carefully dismantling the tall pillars from the outside inward. Taking your time with the large white blocks gives your colony the room they need to maneuver. If you find yourself struggling to visualize how the ants move around the crystal pillars you should watch the video above this article. The video shows the exact sequence of moves needed to keep the paths open and beat the board.