Colony Flow Level 824 Walkthrough Solution & Guides | How to solve Colony Flow 824

Guide By Liam Stone
Updated on August 8, 2026
Some players learn faster by watching. The video above walks through Level 824 move by move.
Video doesn't match your screen?
Game updates frequently scramble layouts! Try our AI Screenshot Solver first to find your exact board instantly, or report broken guides to our team.
Welcome to Colony Flow Level 824. I am Liam Stone and I have spent plenty of time figuring out the precise sequence to beat this exact board. This puzzle features a massive pixel art cat with some very demanding connected blocks hiding in the tray. You have to peel the picture away layer by layer without crowding your waiting slots. I will walk you through the precise strategy I used to clear every single tile and keep the board moving.
Colony Flow Level 824 Overview
What You Are Working With
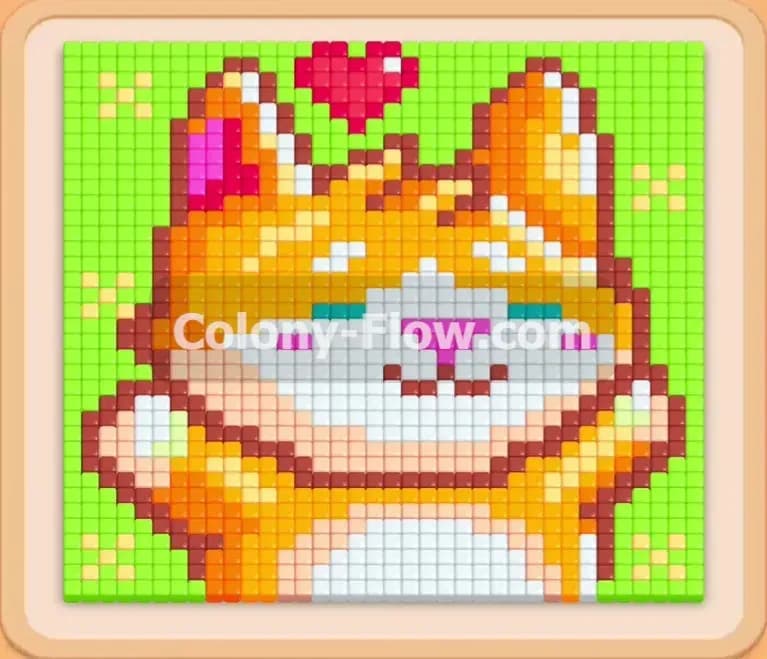
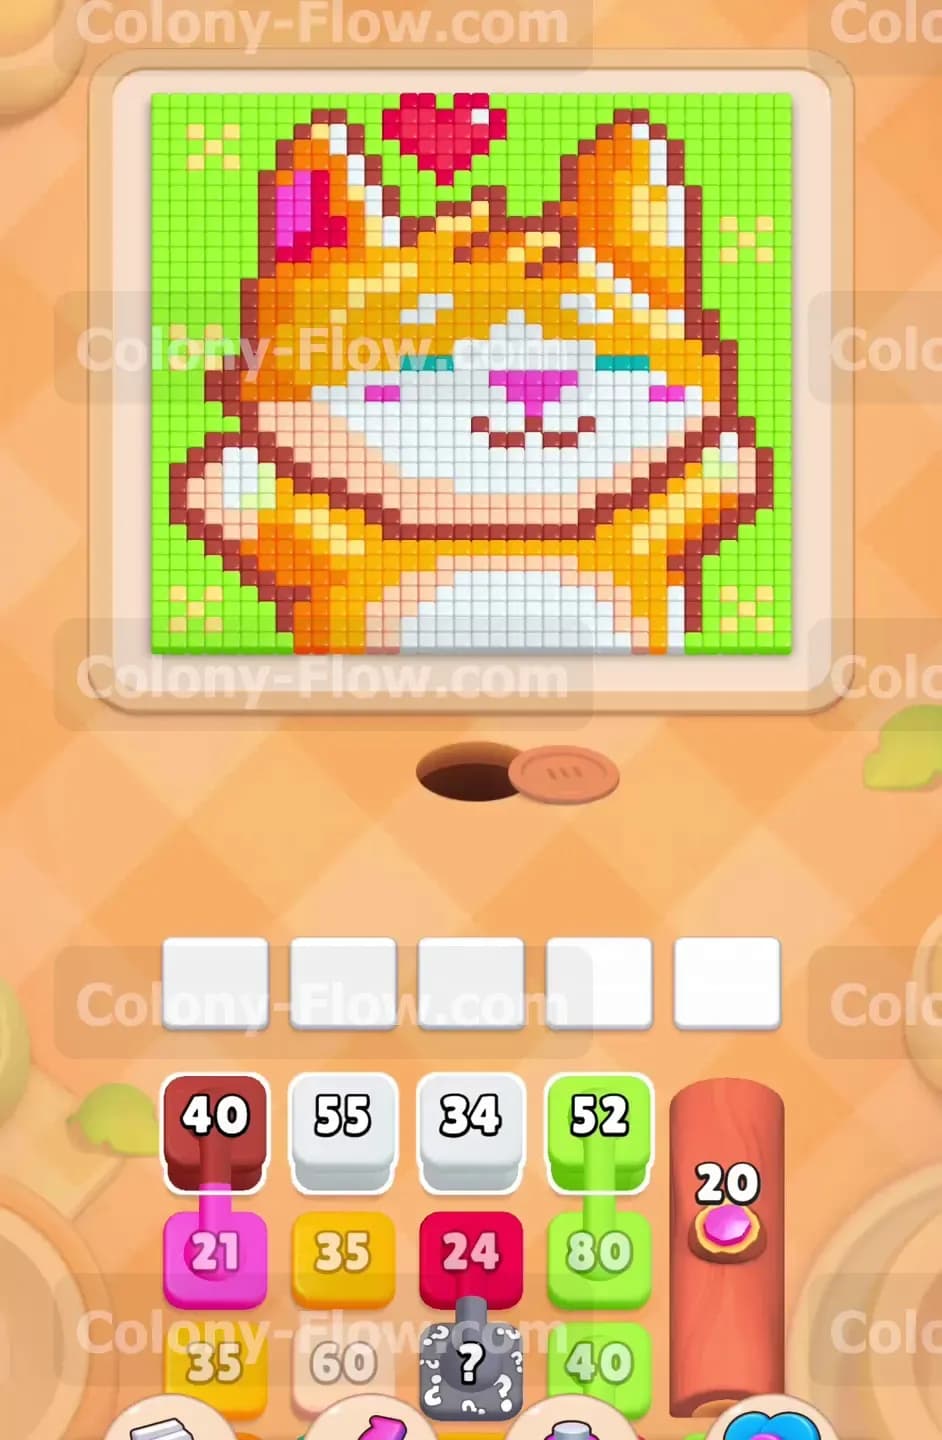
Level 824 drops a giant cat portrait right in the middle of your screen. The picture sits over a bright light green background. The cat itself features a thick dark brown outline, solid orange fur, a broad white face, and pink inner ears. There is also a small red heart floating right above the head and bright cyan eyes in the center of the face. The nest hole sits directly below the picture. The tray at the bottom is packed with some heavily loaded blocks. You will see a white block with a fifty five count and a light green block holding eighty. You will also deal with connected boxes in this level. These are two separate color blocks joined by a thick physical line. When you pull one into your active waiting area, the connected partner comes with it automatically. They take up two slots at the exact same time. There is also a hidden box resting deep in the middle columns. This gray block has a large question mark on it and will not reveal its true color until you clear the blocks resting on top of it.
What It Takes to Clear Level 824 Board
To win Level 824 you must completely erase the cat picture and the green background. The core rule of Colony Flow always applies to your moves here. You have five empty waiting slots above the tray. Every time you pull a block from the tray it goes into a slot. The ants stream out of the nest hole to find matching food tiles on the board above. When an ant grabs a tile, the number on your block drops by one. When the number reaches zero the block vanishes and frees up the slot. If you fill all five slots with colors that the ants cannot currently reach, you jam the board and lose the level immediately. Your entire goal is to keep the flow moving without pause. You must always have at least one active block that has a wide open path to its matching food tiles. This ensures your slots continuously empty out so you can safely pull the next color.
Colony Flow Level 824 Step by Step Solution
Step 1: Start by pulling the heavy white block to open the bottom pathways.
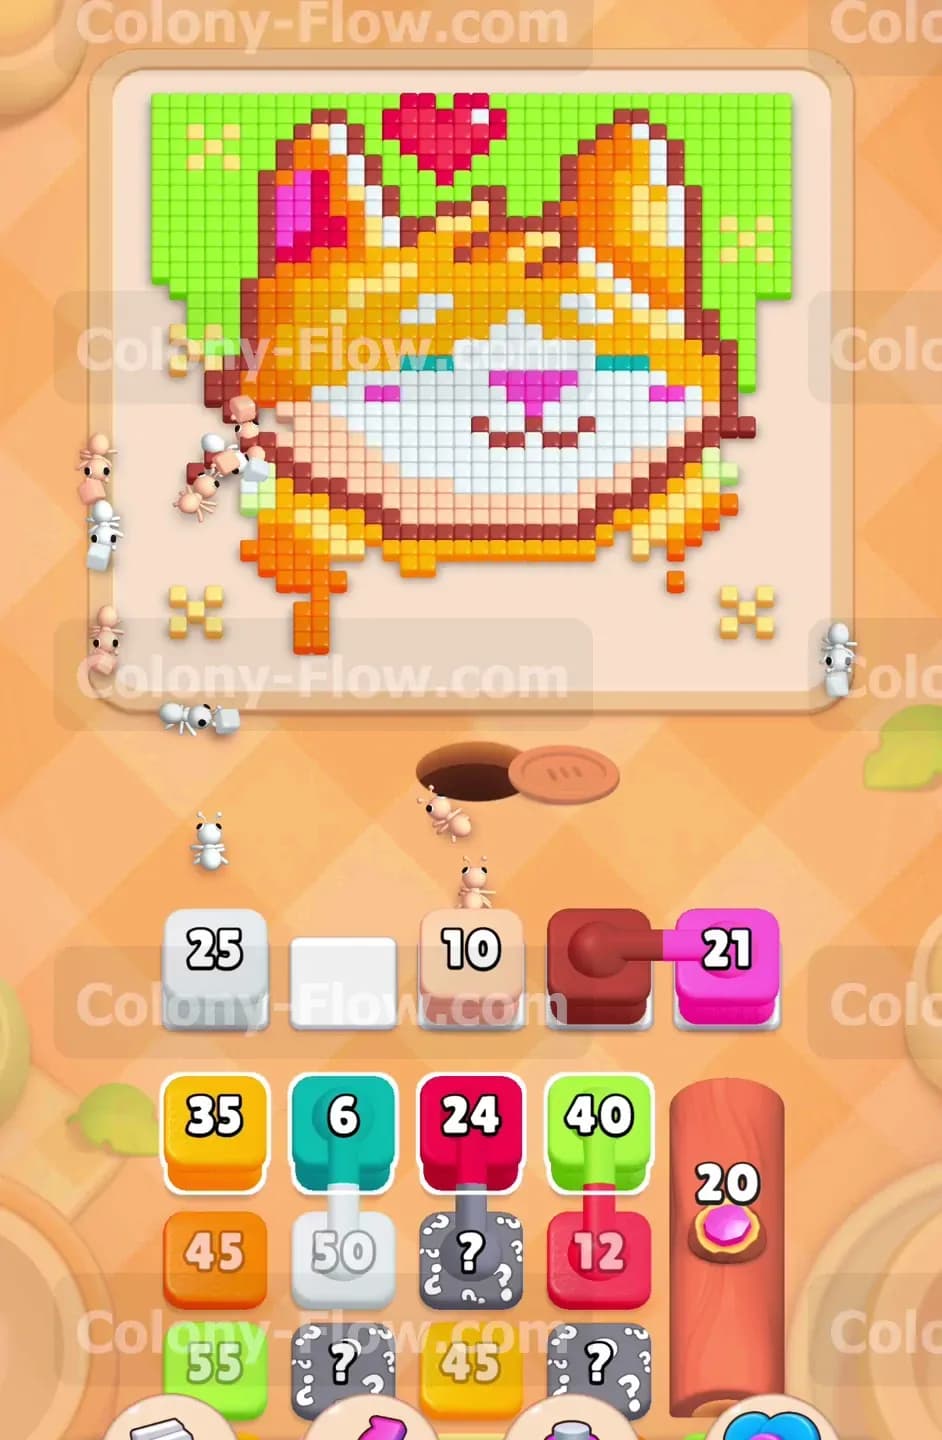
The bottom edge of the cat picture blocks all access to the orange fur and the dark brown outline higher up the board. You need to carve a channel right up the middle to open the map. Look at your tray and pull the white block carrying the number fifty five. The white ants will burst out of the nest hole and march straight up into the cat belly. They will start eating the bottom rows of white tiles. Watch the number count down rapidly. While the white ants are working you can also pull the pink block showing twenty. The pink ants will slip past the white workers and target the small pink nose and the lower sections of the inner ears. You want these two colors working at the same time to widen the open space at the bottom of the board. Do not pull any other colors right now. You need to keep your remaining three waiting slots completely empty for the connected boxes coming up next.
Step 2: Bring up the connected dark brown and magenta blocks to tackle the outline and the heart.
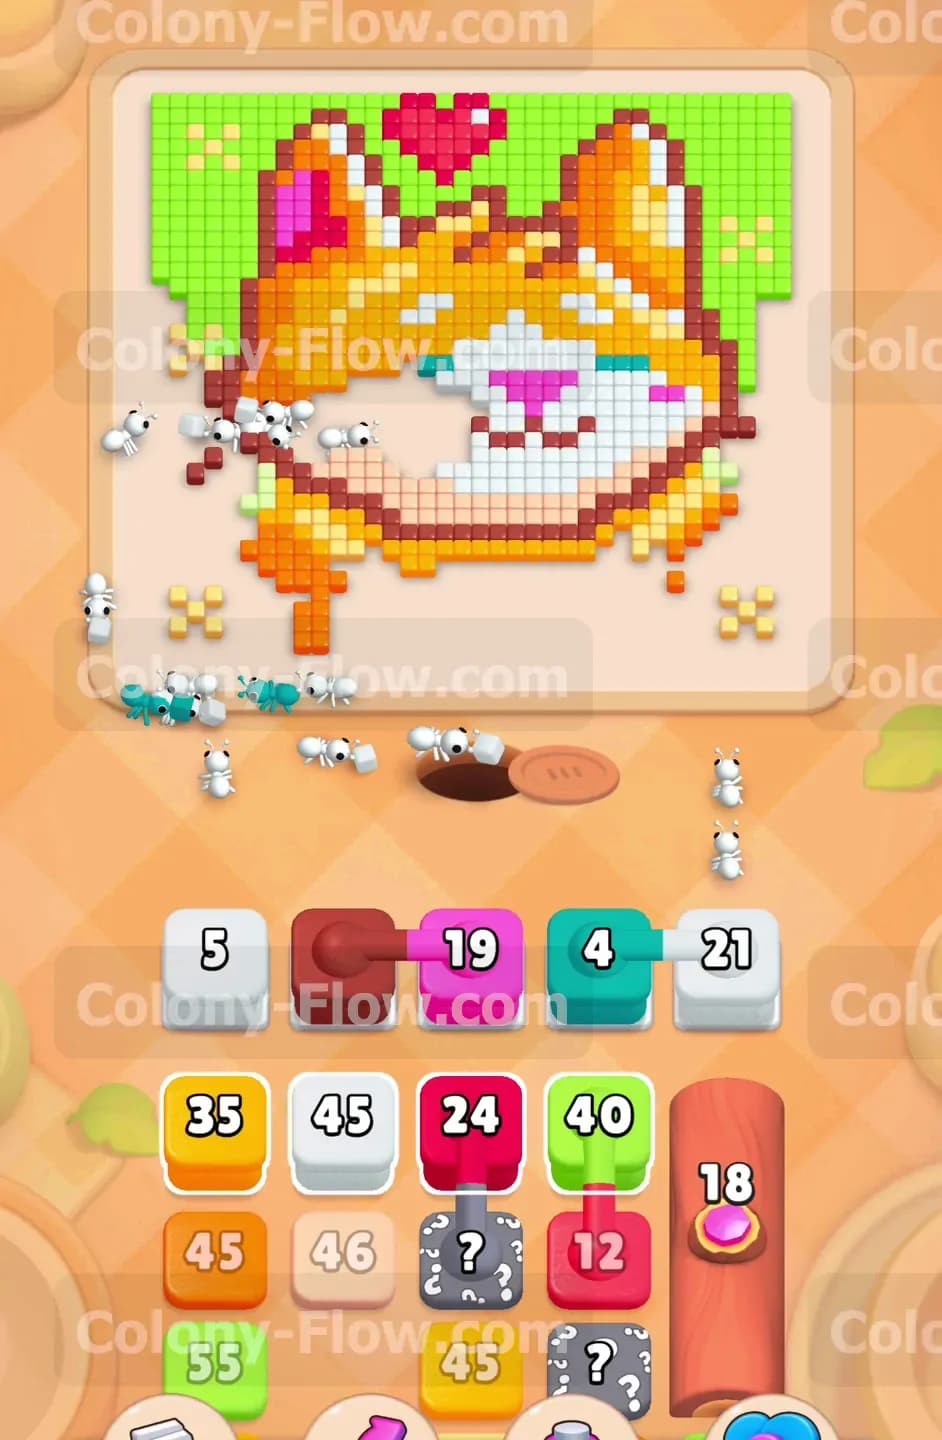
Once the white ants clear a decent chunk of the bottom face, you will expose a set of connected boxes in the tray. This pair links a dark brown block and a magenta block together with a visible line. Pull either one of them and both will jump up into your active waiting slots at the same time. Now you have two new colors feeding into the board. The dark brown ants immediately run to the left and right outer edges. They begin eating the thick outline that surrounds the cat. The magenta ants run straight up the middle channel you created in the first step. They completely bypass the face and start devouring the red heart floating above the head. Because connected boxes consume two precious slots at once, you must ensure they both have open paths before you pull them. Thanks to the white ants from the previous move, both the brown and magenta ants have totally clear roads to their food. Let them work and watch the numbers drop.
Step 3: Feed the orange fur and grab the cyan eyes with the teal block.
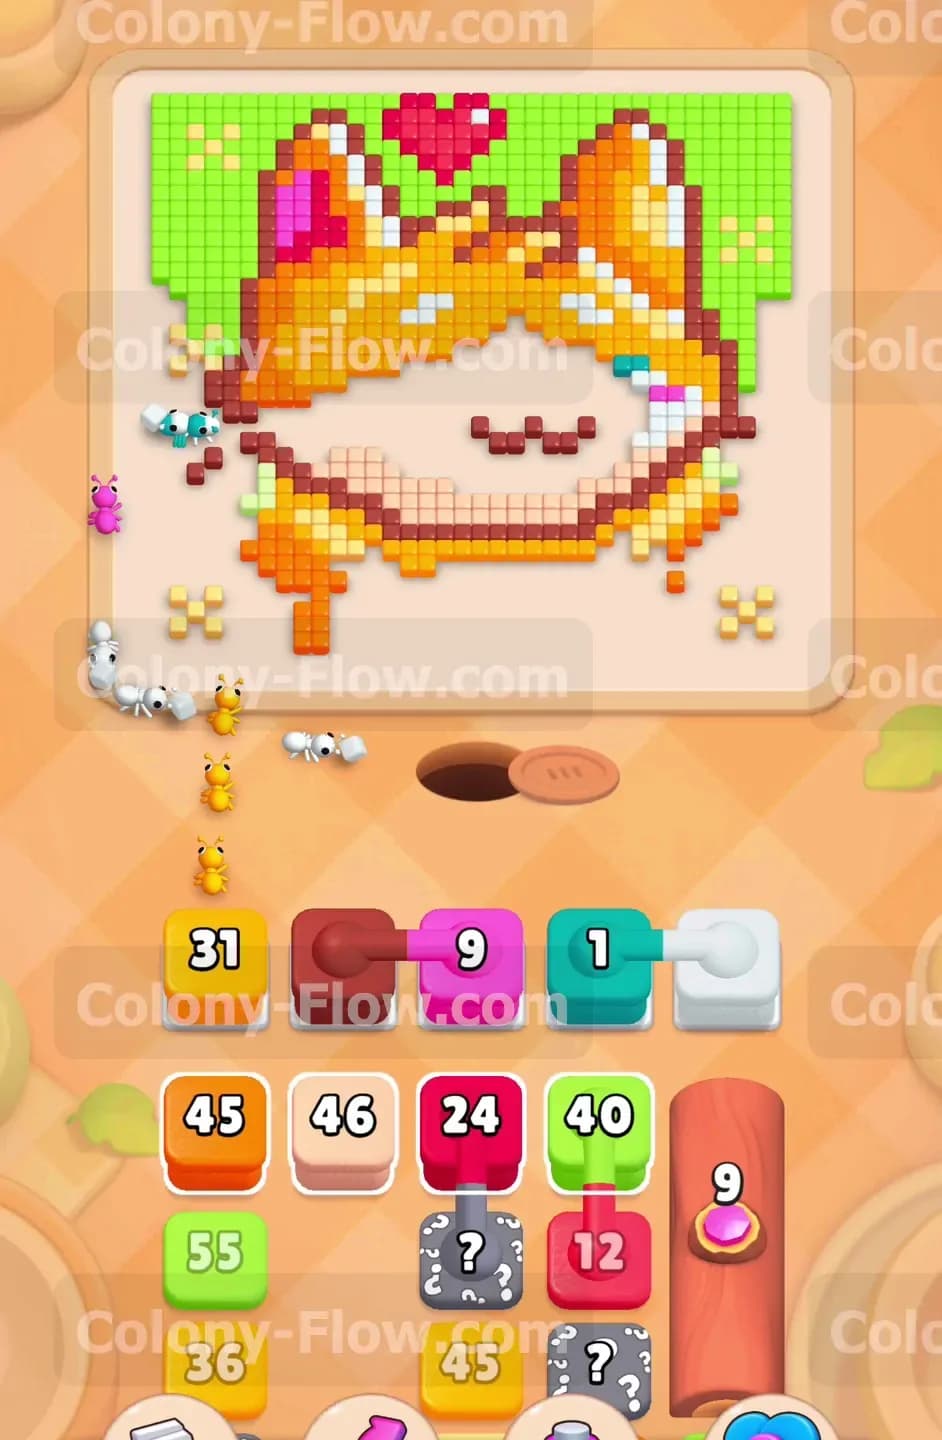
The orange fur covers more area than anything else on the cat portrait. You have a massive orange block with thirty five waiting in the tray. Pull it into one of your open slots now. The orange ants will stream out and head for the lower left and right corners of the body. They chew through the fur very quickly because the surface area is so large and accessible. Around this time you will notice the gray hidden box with a question mark sitting in the middle of your tray. Keep ignoring it for now and focus on the visible colors. Pull the teal block holding the number six. The teal ants will run up and eat the cyan tiles making up the eyes. This is a very fast process. The teal block will hit zero and vanish from your slot in just a few seconds. This rapid clear gives you your slot back immediately and keeps your board perfectly safe from a jam.
Step 4: Unleash the light green ants to start clearing the massive background.
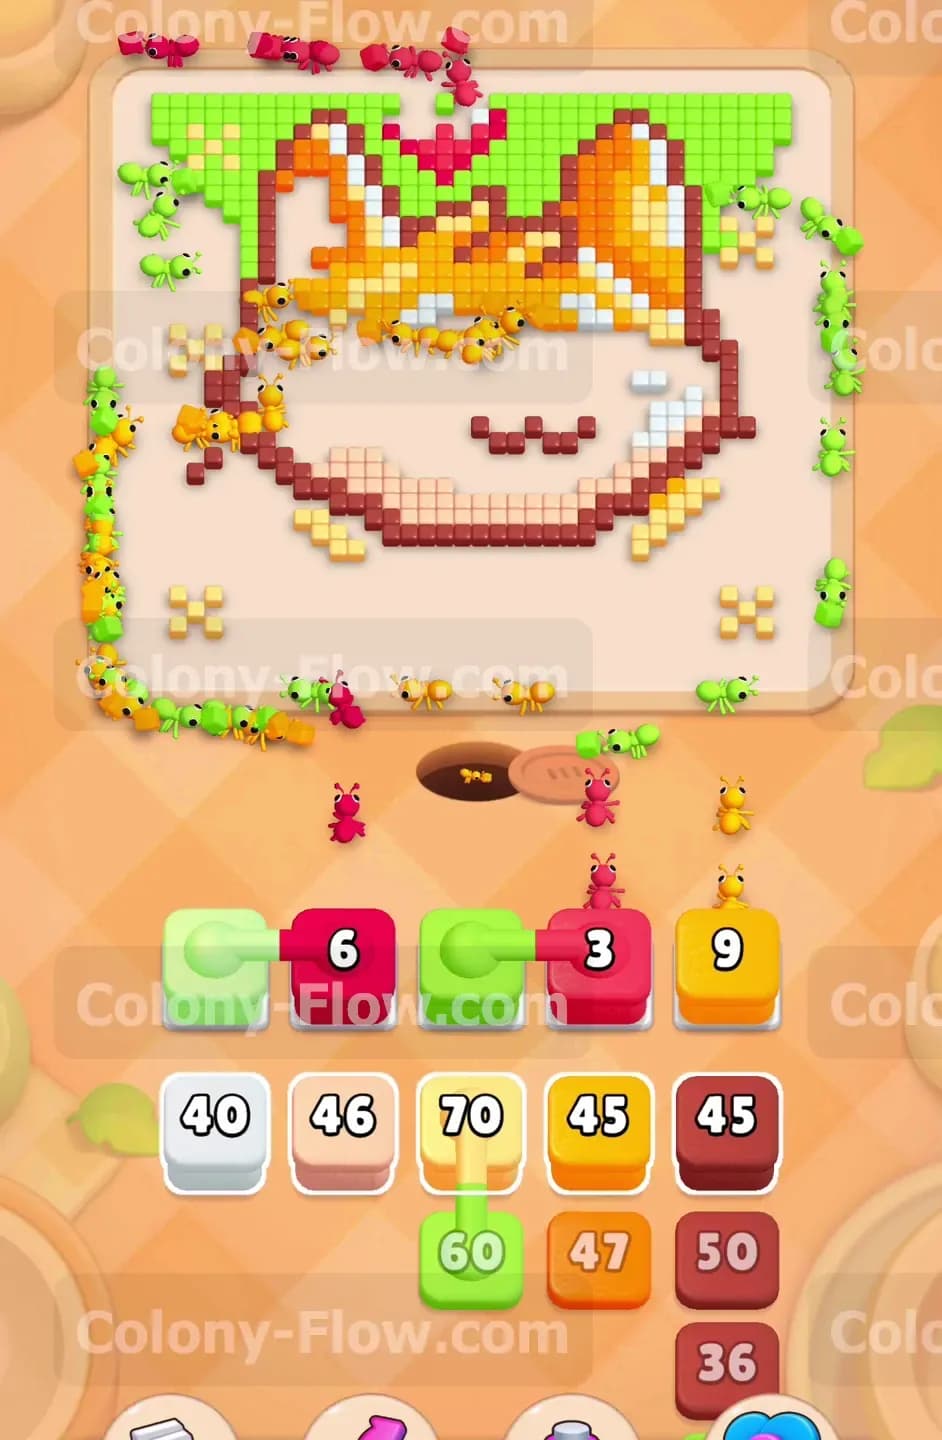
The background of the picture is entirely light green and requires a huge number of ants to clear out. You have a light green block with fifty two ready to go in the tray. Pull it into your active area. The dark brown ants from earlier have eaten enough of the outline to let the green ants slip through the outer gaps. The green ants will run to the outer bottom edges of the picture frame and start eating the background tiles. A block with fifty two takes a very long time to reach zero. It will sit in your waiting slot and act like a heavy anchor. This is exactly why you kept your slot management so tight in the previous steps. You can afford to have one slot tied up for a while as long as your other slots are actively clearing. Pull the next white block with thirty four to keep the face clearing along the middle path. Keep your eyes on the paths and make sure the ants never bump into blocked walls.
Step 5: Reveal the hidden box and push into the upper ears.
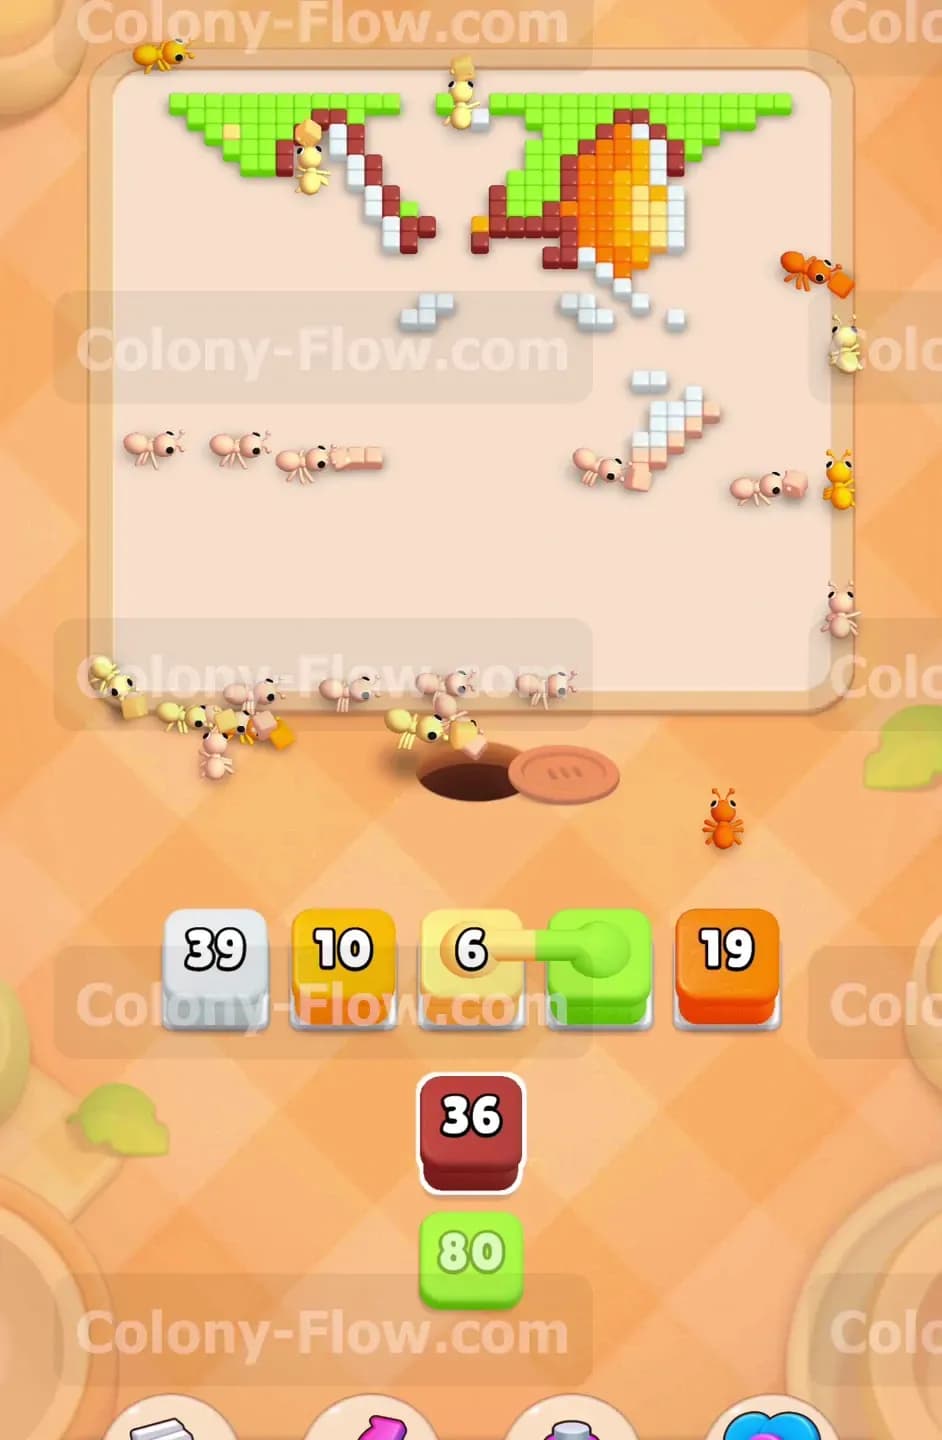
By pulling the white and orange blocks from the middle columns you finally uncover the hidden box in the tray. The gray shell falls away and reveals another magenta block. Pull it up to finish off the remaining pieces of the red heart at the very top of the board. Now you need to focus your attention on the upper half of the cat head. Pull the white block with forty six and the orange block with forty five. The white ants will climb high up the board to finish the forehead and the upper cheeks. The orange ants will split up and attack the left and right pointy ears. The ants have to travel much further from the nest hole to reach these top tiles. The walking distance is very long now. This means your numbers will tick down much slower than they did at the start of the level. Do not panic and do not crowd the tray. Just let the ants walk. Wait for the white and orange blocks to finish their work before making any sudden moves.
Step 6: Deploy the final connected boxes to finish the top edge.
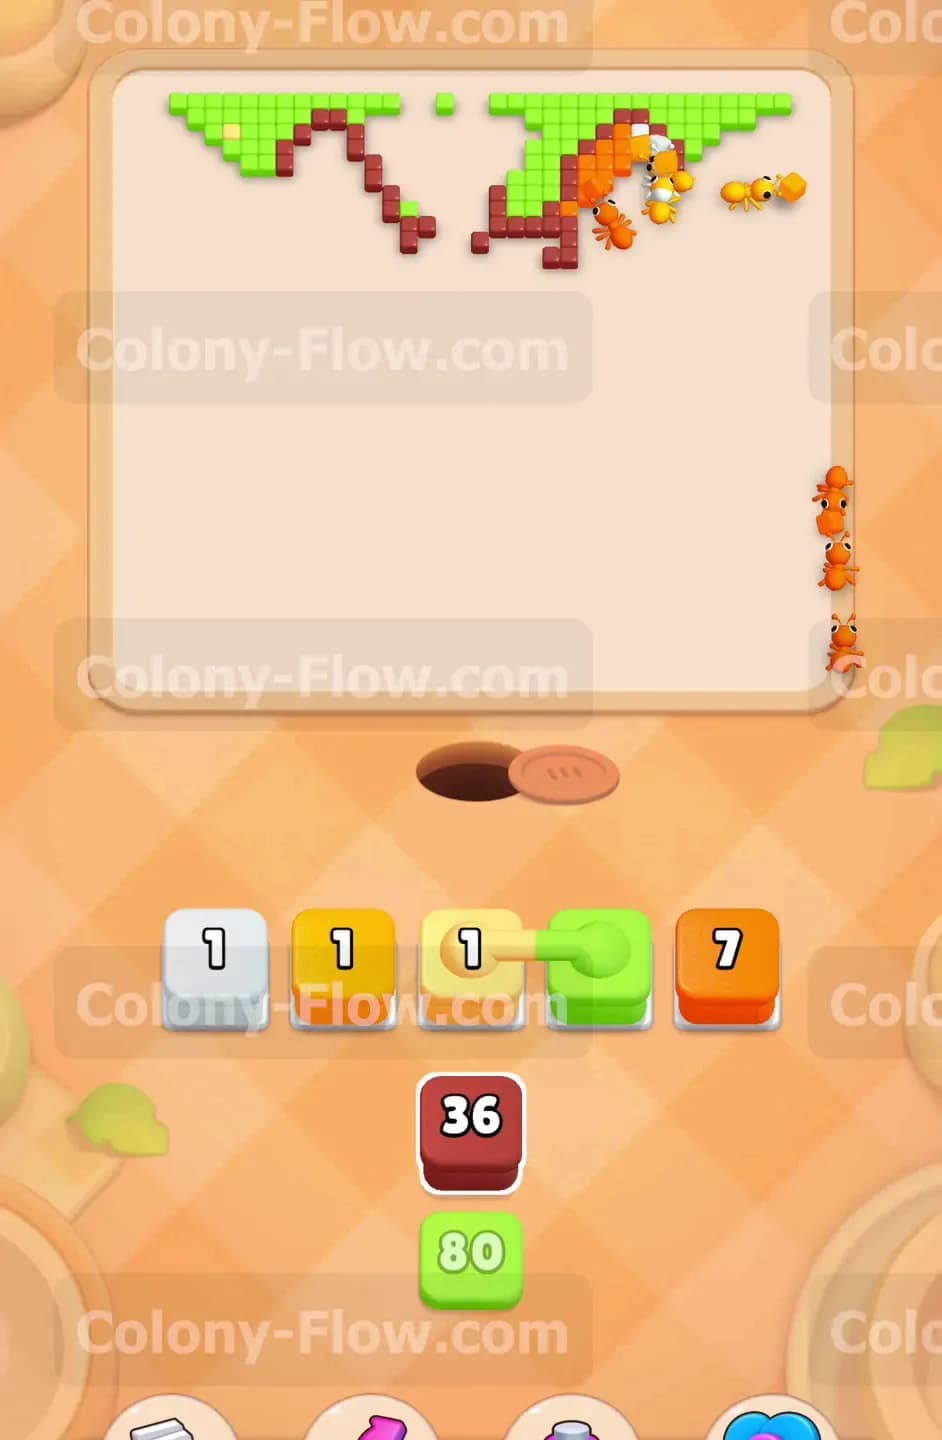
Deep in the bottom of your tray you will find the final set of connected boxes. This pair links a light green block with an orange block holding nineteen. Once your slots open up from the previous step, pull this connected pair into the active area. The green ants will surge out and run all the way to the top left and top right corners of the background. The orange ants will hunt down the very last orange tiles at the absolute tips of the ears. Pull the final dark red block with thirty six to clean up the last few pieces of the brown outline along the top edge. The board is completely open now. The ants will swarm the top rows without any obstructions slowing them down. The final numbers will drop to zero in unison. The last blocks will vanish from your slots and the board will be completely clean. You have successfully beaten the level.
Final Thought
Level 824 throws some massive numbers and tricky connected boxes your way. The secret to winning is simply controlling the flow of ants and never letting those five waiting slots fill up with trapped colors. Always clear the bottom paths first so your workers can reach the top of the picture freely. If you found any of these movements confusing in text, please scroll up and watch the video above this article. Seeing the exact timing of the connected box pulls in action makes a huge difference. Good luck and keep those ants moving.