Colony Flow Level 561 Walkthrough Solution & Guides | How to solve Colony Flow 561

Guide By Liam Stone
Updated on August 1, 2026
The video above shows the complete Level 561 solution in real time, so you can skip straight to watching if you want.
Video doesn't match your screen?
Game updates frequently scramble layouts! Try our AI Screenshot Solver first to find your exact board instantly, or report broken guides to our team.
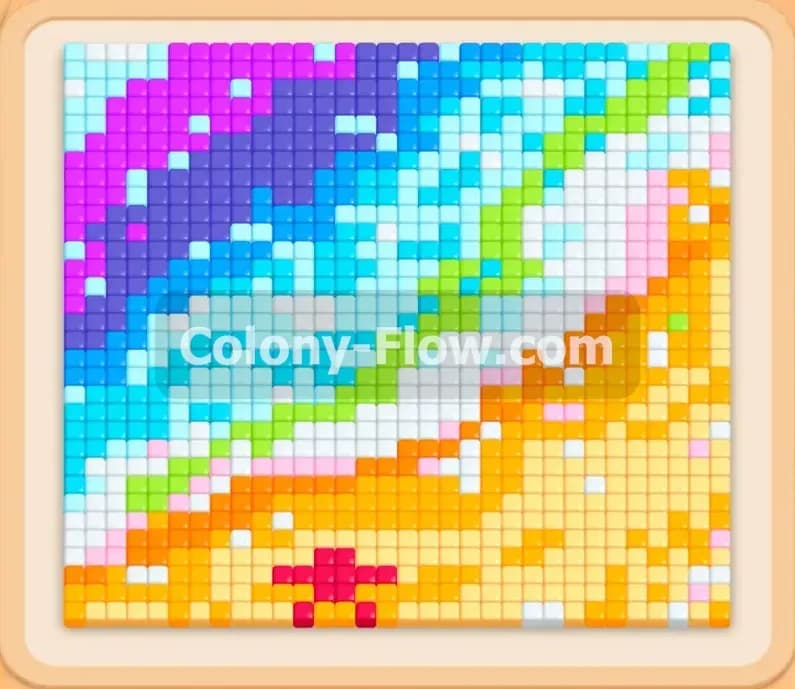
Welcome to Colony Flow Level 561. This puzzle presents a vibrant pixel art picture of a sunny summer beach scene right in the middle of your screen. The image features a bright ocean meeting a sandy shore with a tiny red crab resting near the bottom edge. You need to carefully unpack this picture by feeding the correct colored blocks to your hungry ants without letting your five waiting slots jam up. I played through this board multiple times to map out the exact order of moves and test the best possible route. You will find everything you need to know to beat this stage right here.
Colony Flow Level 561 Overview
What You Are Working With
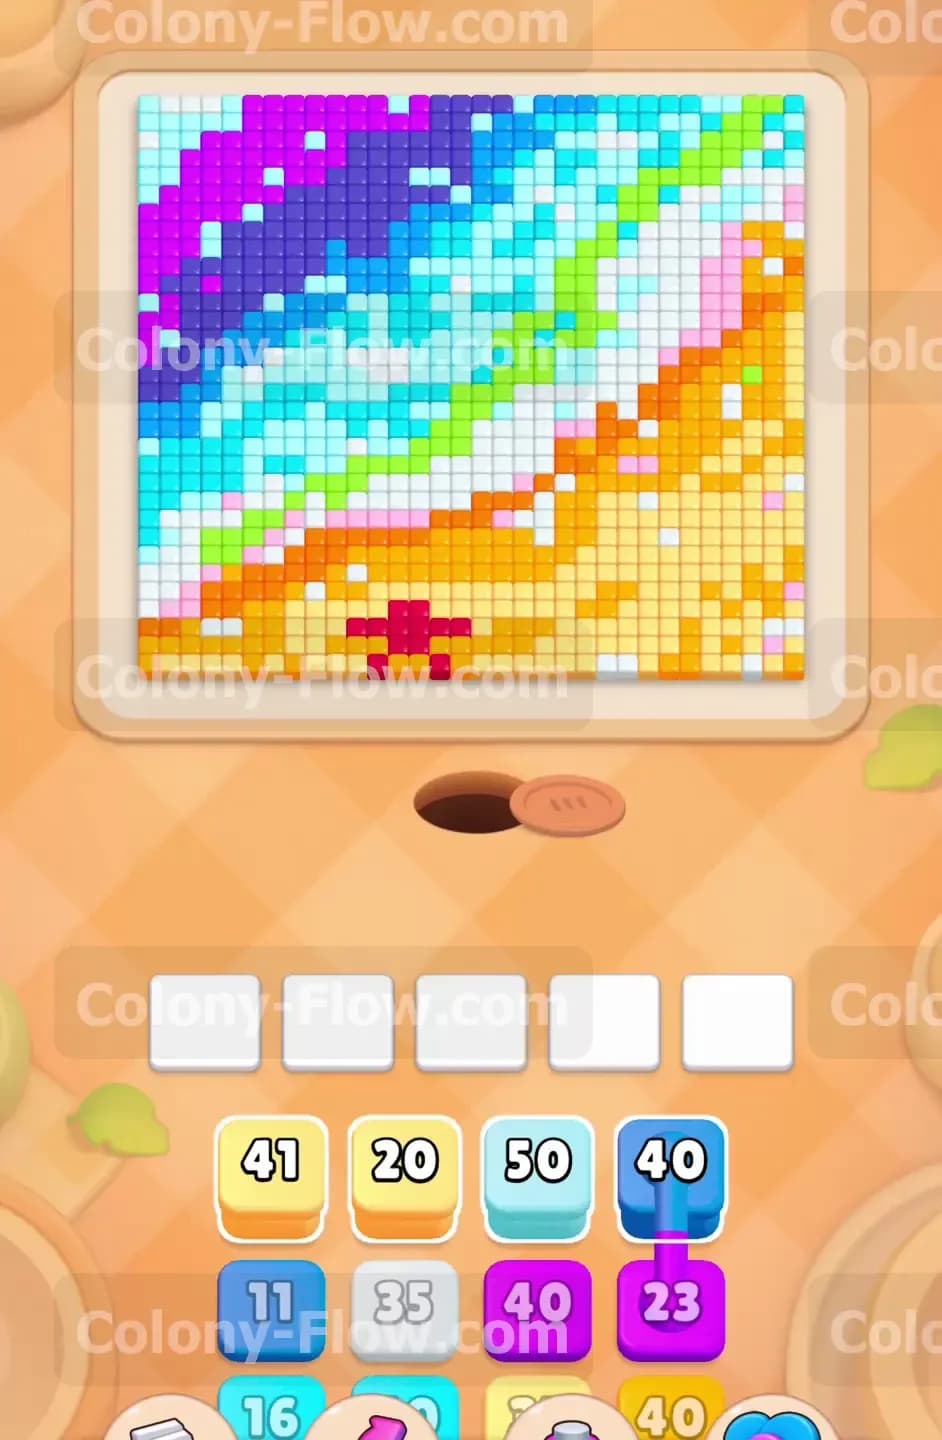
The board features a diagonal layout composed of colorful thick stripes. You see a massive section of bright purple and dark blue filling up the entire upper left corner. Below that deep water section you will find wavy diagonal lines made of cyan and white tiles. A vibrant light green stripe separates the water from the beach. The bottom right area holds thick heavy bands of bright orange and pale yellow sand. A small red crab sits right at the bottom edge of the sand. The tray at the bottom of the screen holds all the numbered colored blocks you need to feed your marching ants. This level also features connected boxes in the tray. You will see a dark blue block permanently tied directly to a purple block. These connected boxes must move from the tray into the waiting slots together as one single unit.
What It Takes to Clear Level 561 Board
You win this level by chipping away at the exposed outer edges of the picture first and slowly working your way toward the center. Your ants always need open paths to reach the colored tiles. If you pull colors that are buried deep inside the middle of the picture the ants cannot reach them. Those inaccessible blocks will just sit trapped in the five waiting slots at the bottom of the board. If you make a mistake and fill all five slots with blocked colors you lose the level instantly. You must balance pulling blocks for the top left ocean corners and the bottom right sand corners. This strategy keeps multiple ant streams moving at once and completely prevents a dead end.
Colony Flow Level 561 Step by Step Solution
Step 1: Open the bottom sand section and clear the small red crab.
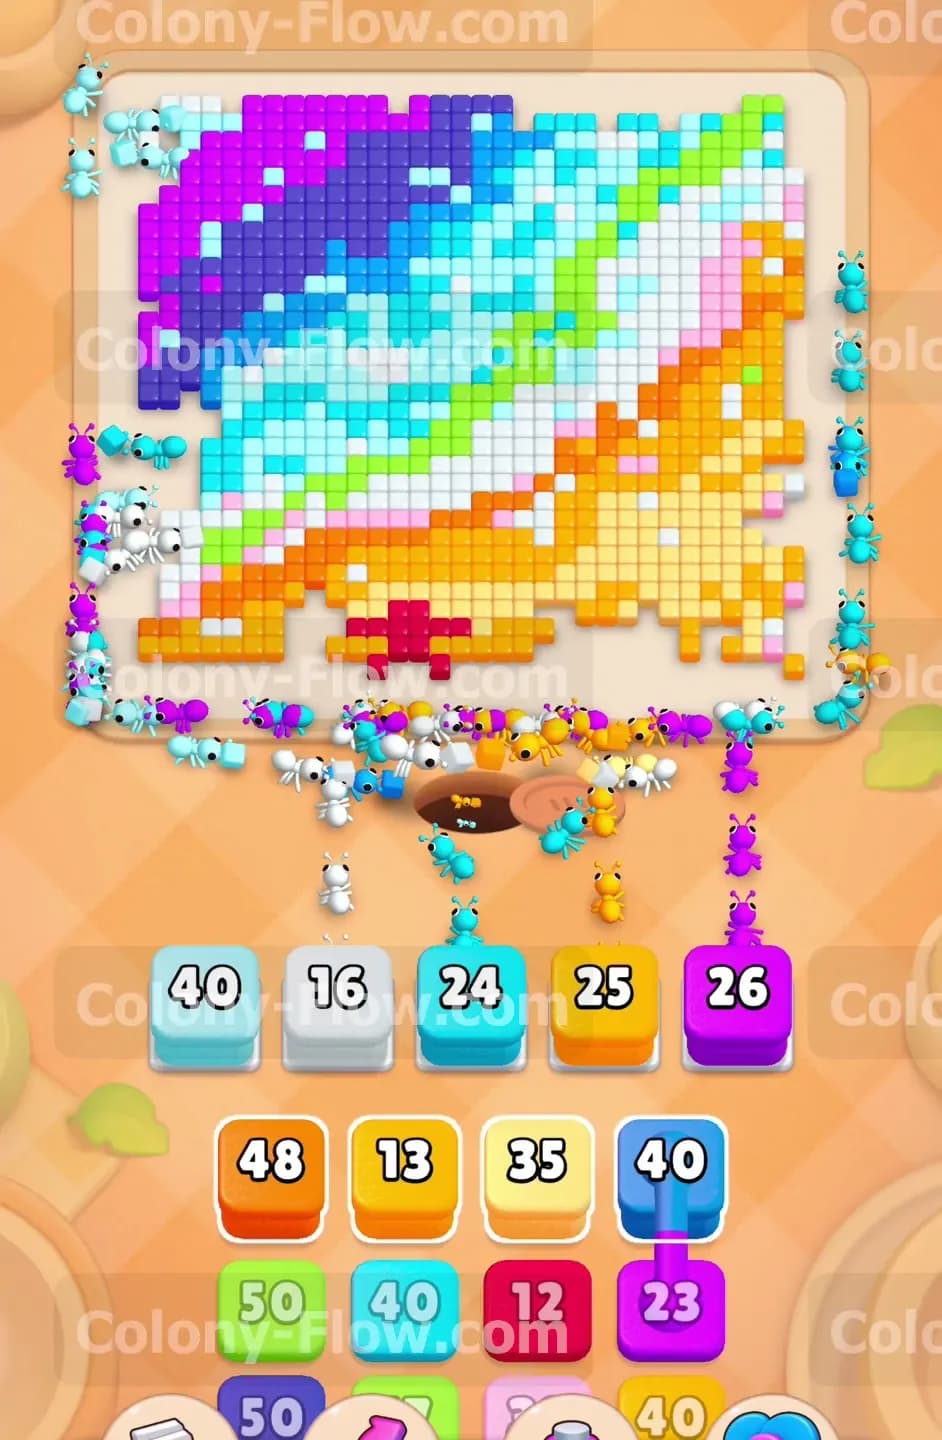
Your first major goal is to create plenty of working room at the very bottom of the board. Look at the top layer of your block tray and pull the light yellow block holding the number 41. Pull the white block holding the number 20 right beside it. The ants will stream out of the dark nest hole and immediately start eating the lowest exposed yellow sand tiles and the white foam pieces. You also need to deal with the little red crab early to clear the path upward. Tap the red block from your tray to send a dedicated line of ants to clear those specific red pieces. The red crab shape disappears extremely quickly because it only contains a few tiles. This quick meal opens a much wider walking path to the thick orange and yellow stripes located just above the crab. Clearing these lower obstacles early gives your ants a straight shot to the massive color bands. You now have a steady flow of ants emptying your yellow block and keeping your slots rotating properly.
Step 2: Attack the upper left water corner with purple and cyan blocks.
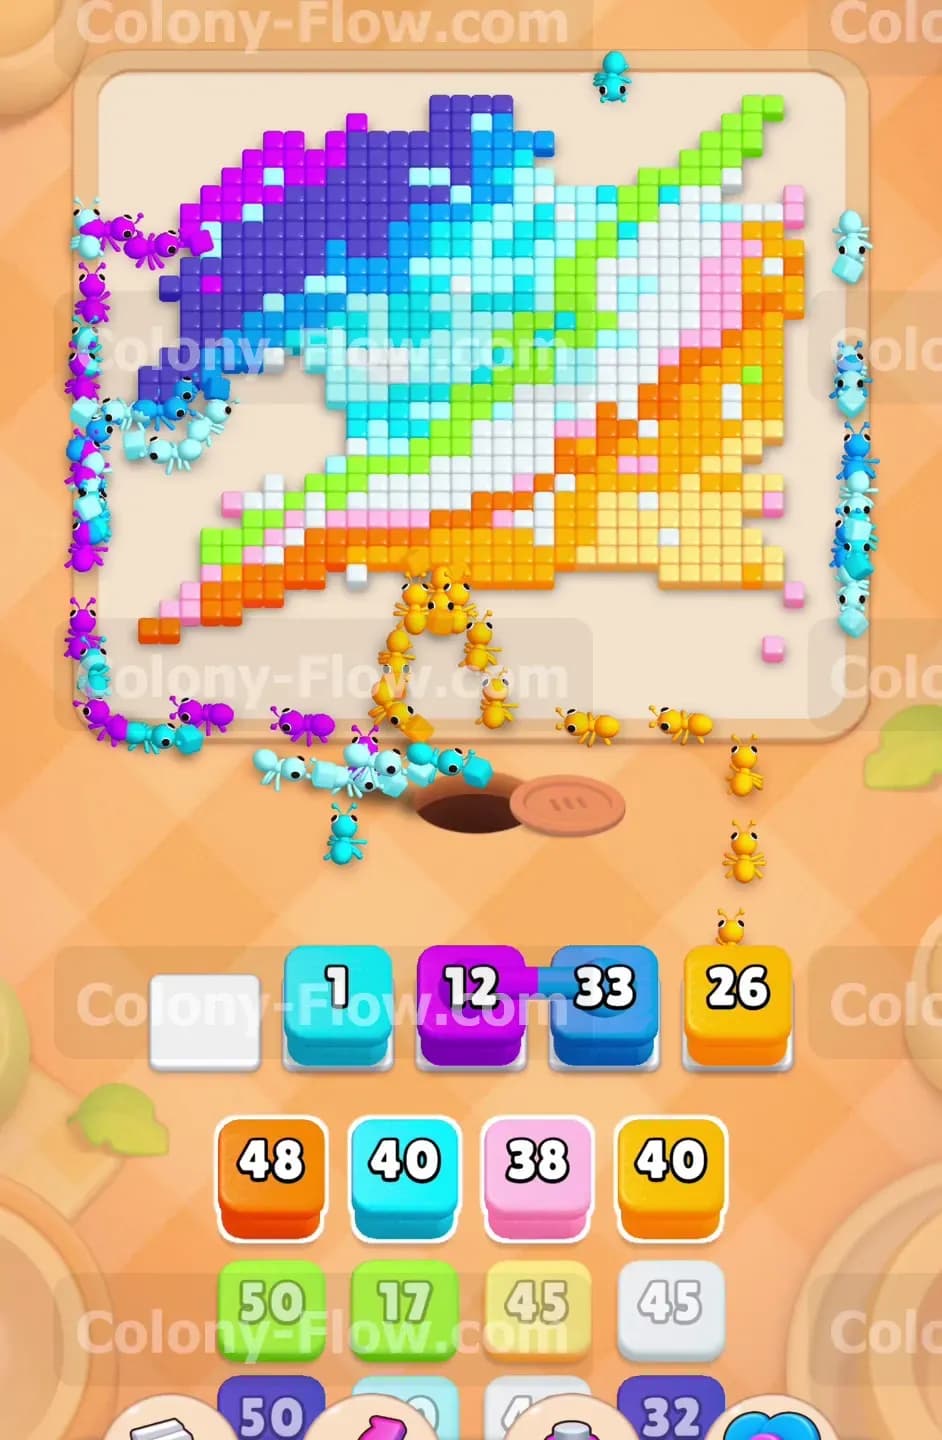
Now you need to balance the flow of the board by opening up the top left side. Pull a cyan block and a purple block up from the tray into your waiting slots. The ants will travel all the way up the left side of the screen to reach the extreme outer edge of the purple stripe. At the exact same time another separate group of ants will eat the exposed cyan water tiles along the lower left border. Managing two entirely different areas of the picture keeps your waiting slots clearing out fast. The cyan block number drops steadily as the ants munch through the ocean water layer. The purple block number also decreases rapidly as the top corner chunk vanishes piece by piece. Your waiting slots remain perfectly safe because both of these blocks have completely open paths from the nest hole.
Step 3: Bring the connected dark blue and purple boxes into active play.
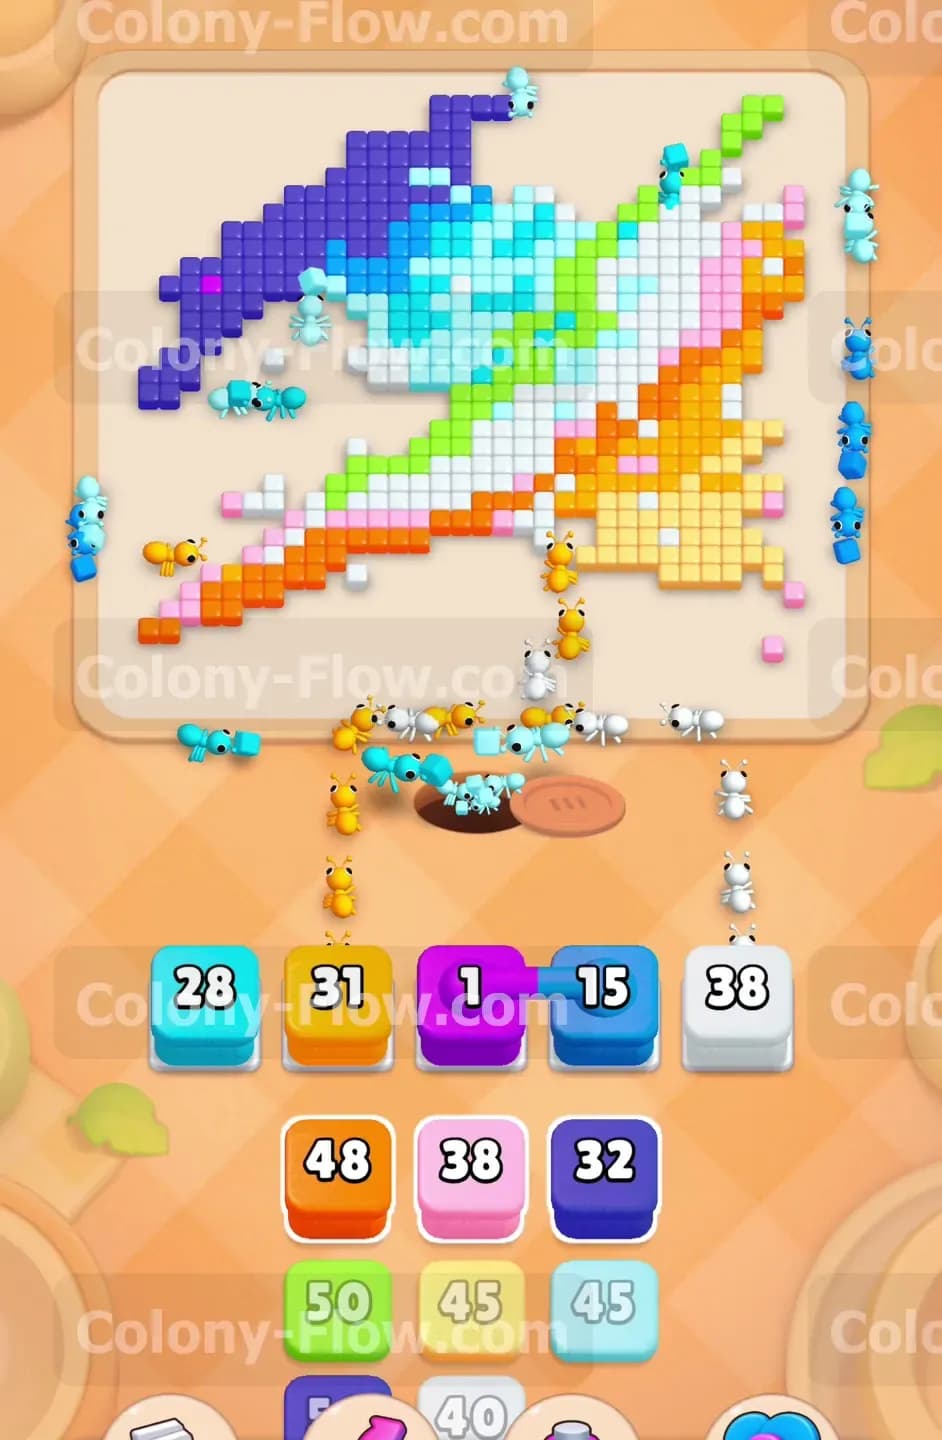
The block tray now reveals a set of connected boxes containing dark blue and purple blocks. You must bring them up together so you need adequate space. Wait until you have two completely empty slots available in your waiting area at the bottom. Tap the connected pair to pull them up simultaneously. The ants will now target the massive dark blue section right next to the purple tiles you just cleared moments ago. Since you already removed the outer purple boundary during the previous step the dark blue tiles are now fully exposed and ready to eat. The numbers on both the purple and dark blue connected blocks will count down at the exact same time as ants swarm the entire upper left quadrant of the picture. This dual feeding frenzy clears a huge chunk of the ocean and frees up those two slots fast.
Step 4: Continue stripping the cyan and white wavy middle layers.
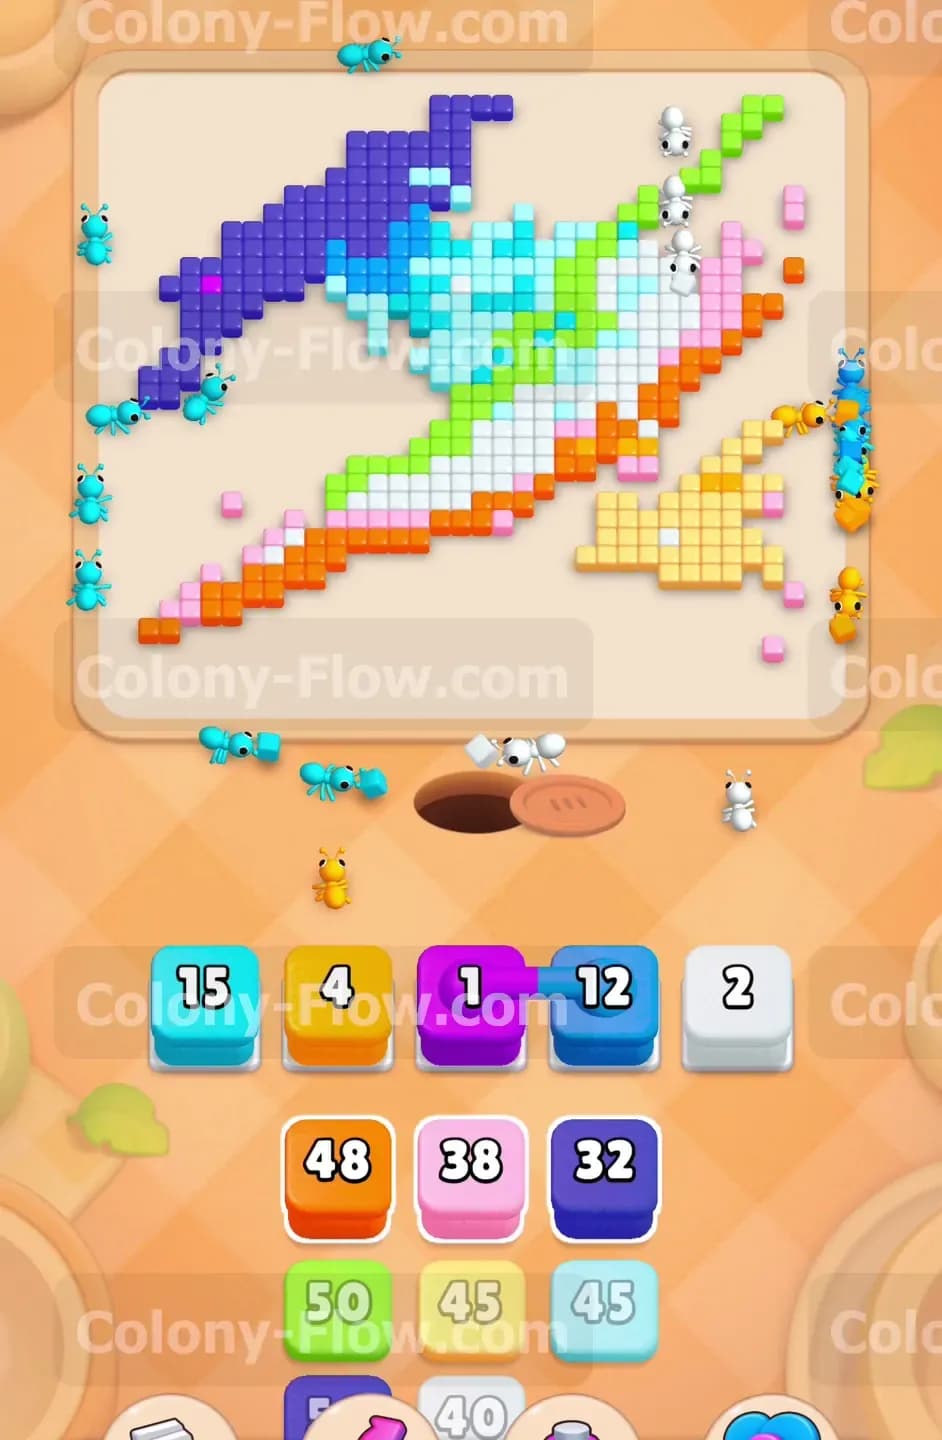
With the top left ocean and bottom right sand heavily reduced you can safely focus your attention on the middle stripes. Tap a white block and another large cyan block from your tray. The cyan tiles form a long wave right across the middle of the picture. The ants will march up and wrap around the remaining dark blue section to access the deep cyan tiles. The white block targets the bright foam layer caught between the blue water and the green seaweed stripe. Keep a close eye on your waiting slots during this middle phase. You want to make absolutely sure the white block has a valid path before you pull it. The ants will easily find the white tiles because you cleared enough cyan tiles beforehand. This steady forward progression keeps your slots empty and ready for new pieces.
Step 5: Peel back the massive orange sand and light green seaweed stripes.
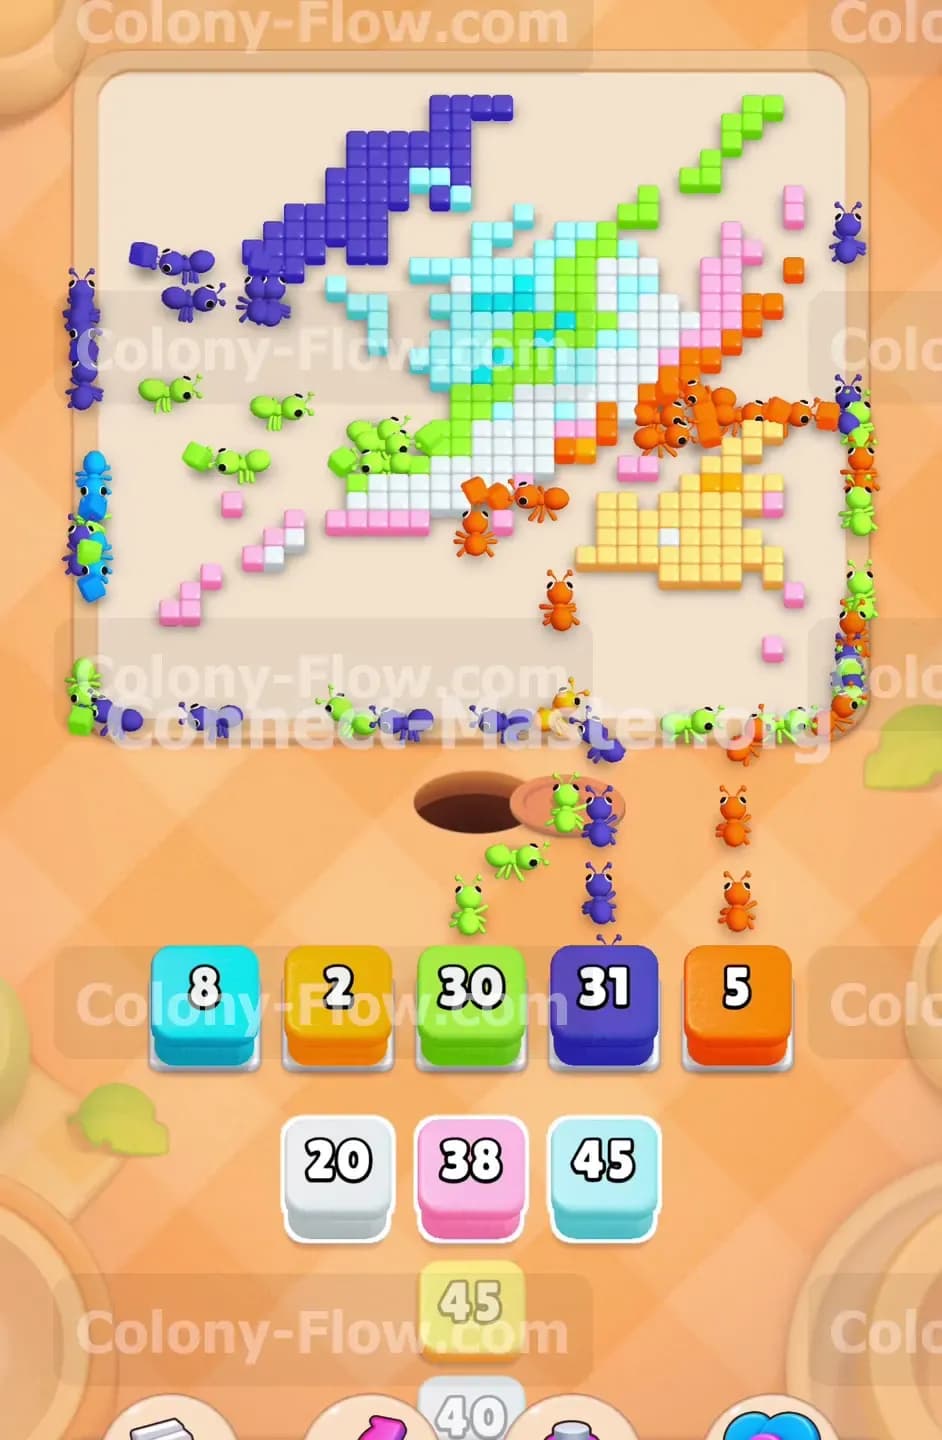
Your picture is now significantly smaller and heavily hollowed out in several places. It is time to pull the large orange block holding the number 48 from the tray to tackle the thick orange sand stripe. Tap the orange block and watch the ants flood the right side of the board. Bring up a light green block holding the number 50 to start clearing the green stripe stretching across the middle. The orange block has a very high number but the exposed surface area is huge. The ants will strip away the orange color in a matter of seconds. The green block will also count down incredibly quickly because the ants can attack the green stripe from both the top and the bottom sides simultaneously.
Step 6: Empty the dark blue remnants and bring up the pink blocks.
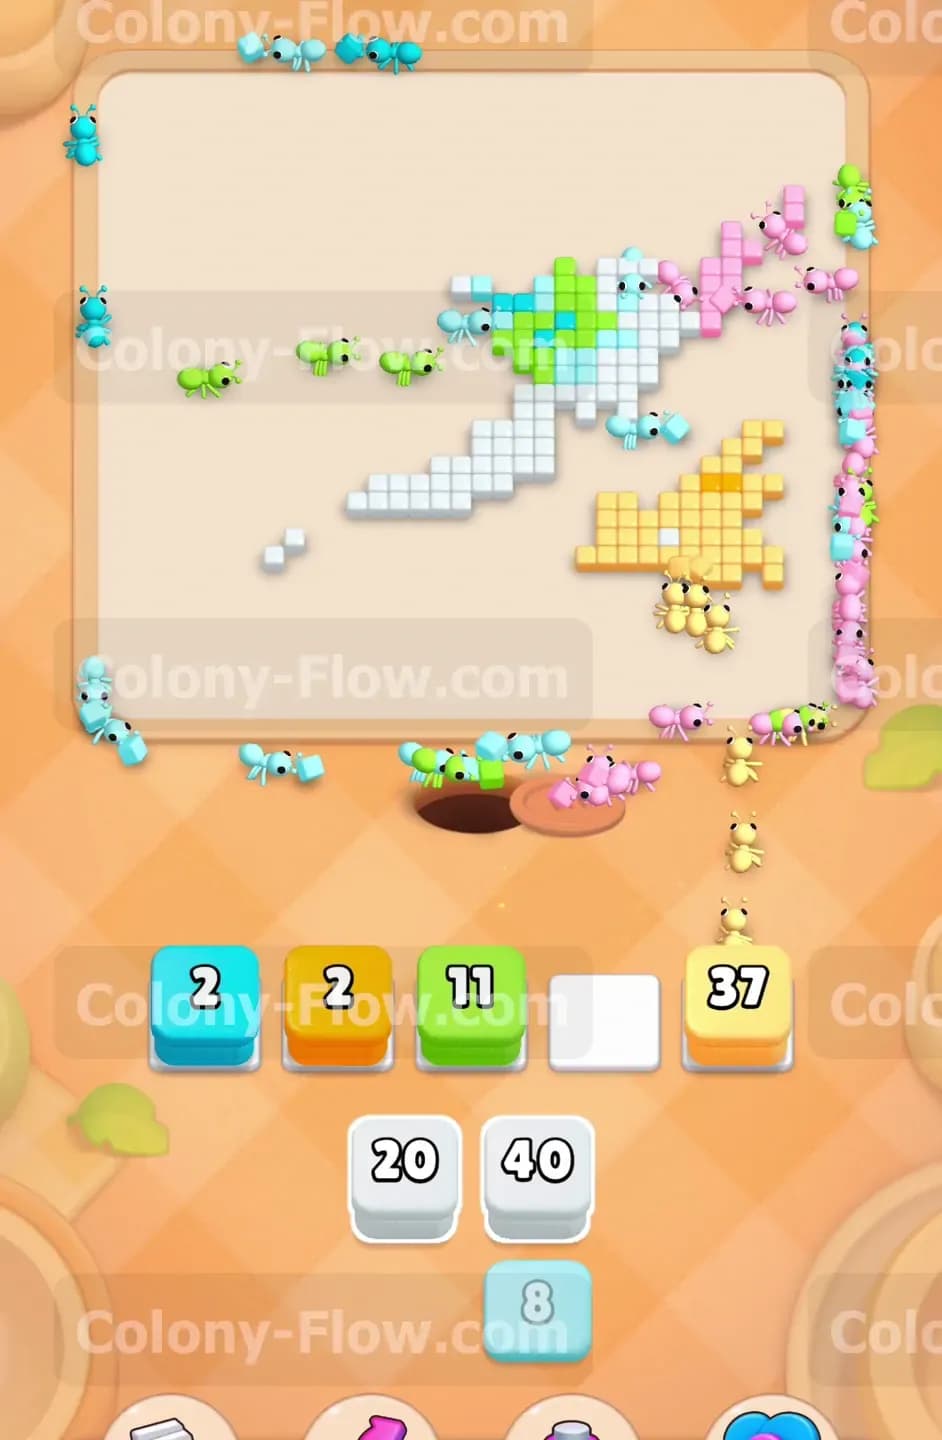
You will notice some dark blue tiles still hanging around near the top center of the board. Pull the remaining dark blue block from the tray to finish them off completely. The tray now exposes a few pink blocks that you need for the later stages. The pink tiles are scattered in small tight clusters near the middle and the right edge of the picture. Tap a pink block to send your colony marching after these scattered pieces. You have plenty of empty slots available right now so you can easily afford to pull a pink block even if the path looks slightly narrow. The ants will clean up the dark blue section entirely and then immediately shift their full attention to breaking down the pink clusters.
Step 7: Clear the final scattered yellow and white sections to finish the board.
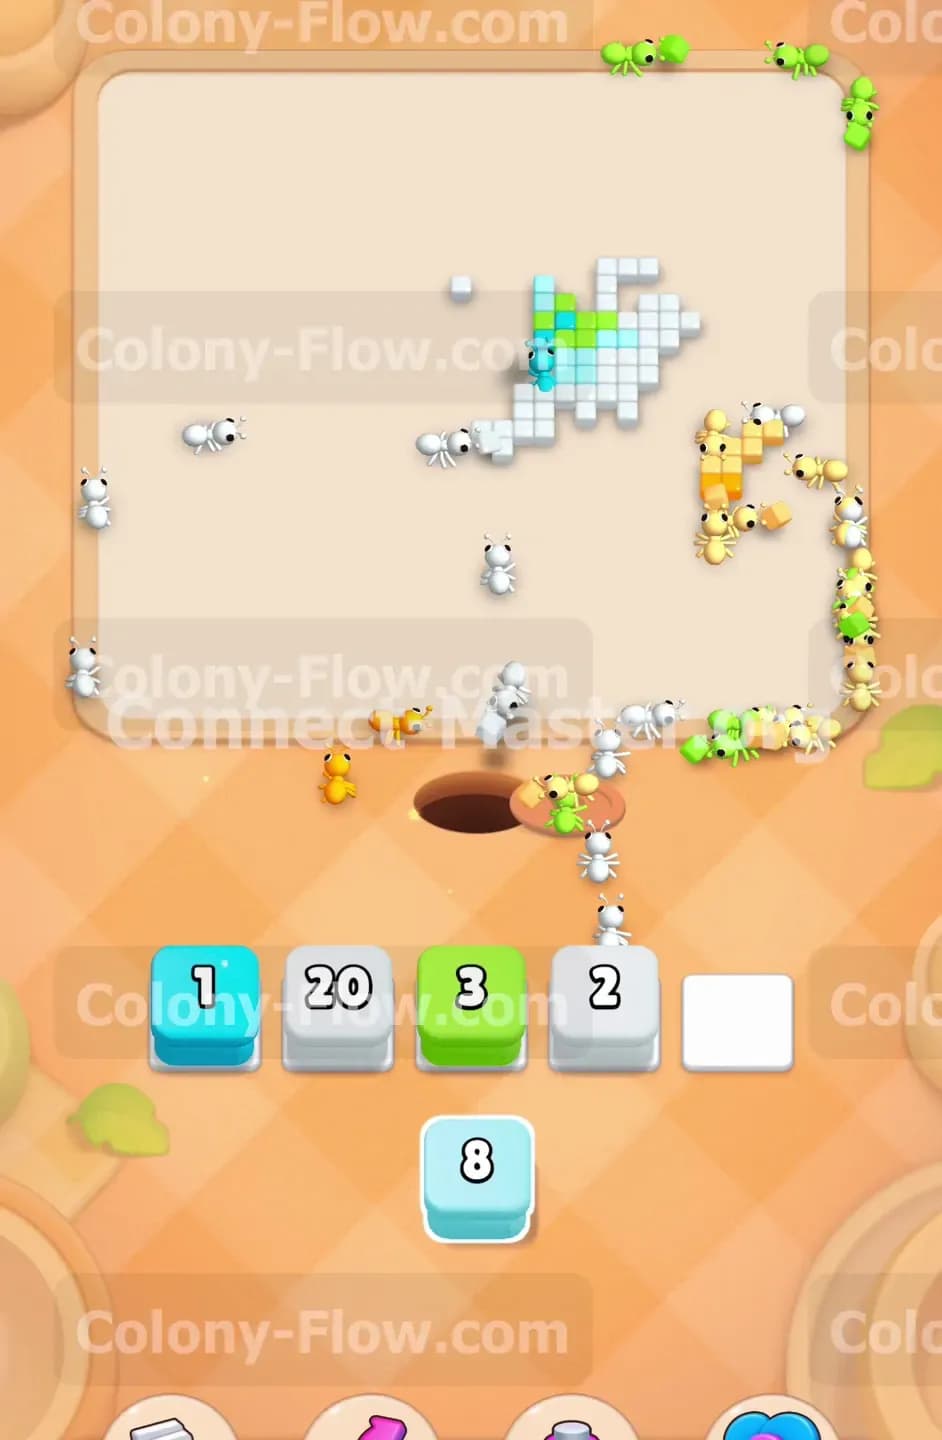
The board is nearly empty with only a handful of white, light green, pink, and yellow tiles left standing. Pull the last remaining yellow block from the tray. The ants will run up and grab the straggling yellow pieces resting on the right side. Tap the final white block and the final cyan block sitting in the tray. The remaining numbers on these bottom blocks are very low. The ants will quickly sweep directly across the open empty space and consume the last few colored squares. Your waiting slots will easily handle these final small blocks because every single remaining tile is completely exposed to the open board. The colony finishes the last bite and the board is officially clear.
Final Thought
This puzzle requires you to constantly alternate your attention between the top left ocean water and the bottom right sandy beach. If you follow this exact flow your waiting slots will never fill up with useless blocks. Take your time and always make sure you expose a new color boundary before you pull its matching block from the tray below. Please watch the video above this article if you want to see exactly how these moves look in action and study the exact ant paths.