Colony Flow Level 30 Walkthrough Solution & Guides | How to solve Colony Flow 30

Guide By Liam Stone
Updated on July 12, 2026
If you want to skip straight to the solution, watch the video above covering Level 30.
Video doesn't match your screen?
Game updates frequently scramble layouts! Try our AI Screenshot Solver first to find your exact board instantly, or report broken guides to our team.
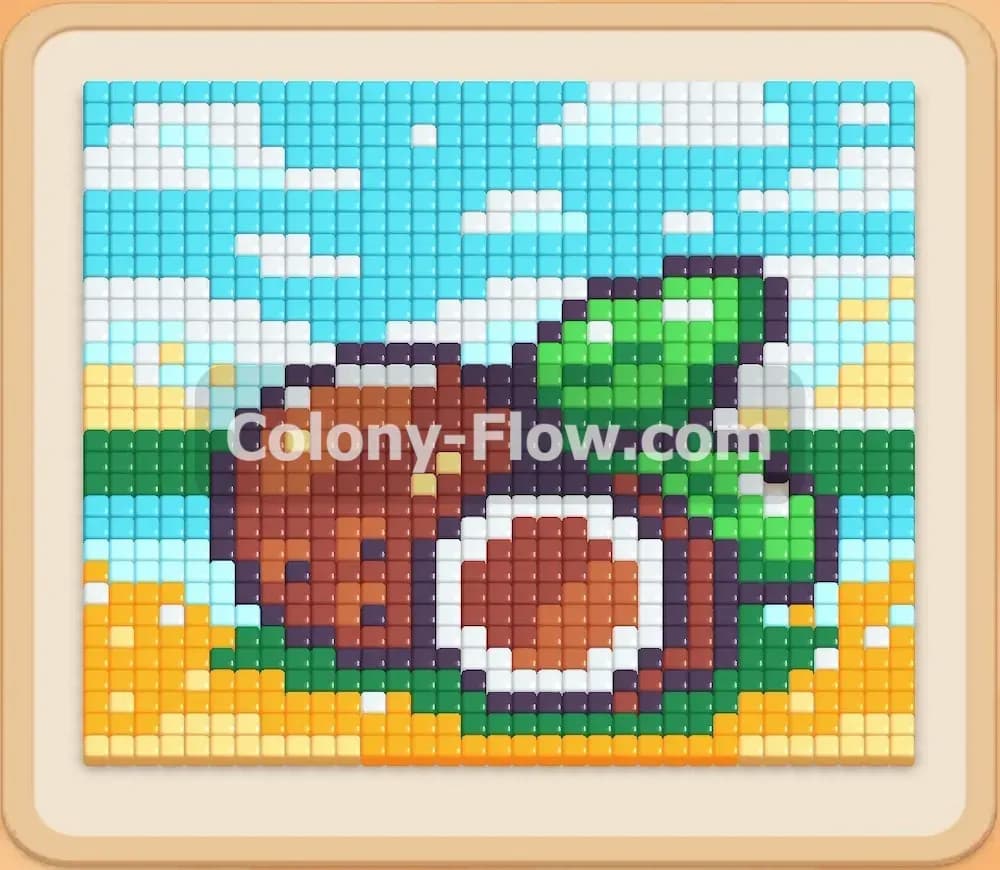
Welcome to Colony Flow Level 30 where you finally get to tackle a fun summer beach scene. This level features a large cracked coconut resting on yellow sand with green leaves and a bright blue sky behind it. You will guide your colony of ants to eat this entire picture from the bottom up. I played through this level multiple times to find the safest order to pull your blocks without jamming your tray.
Colony Flow Level 30 Overview
What You Are Working With
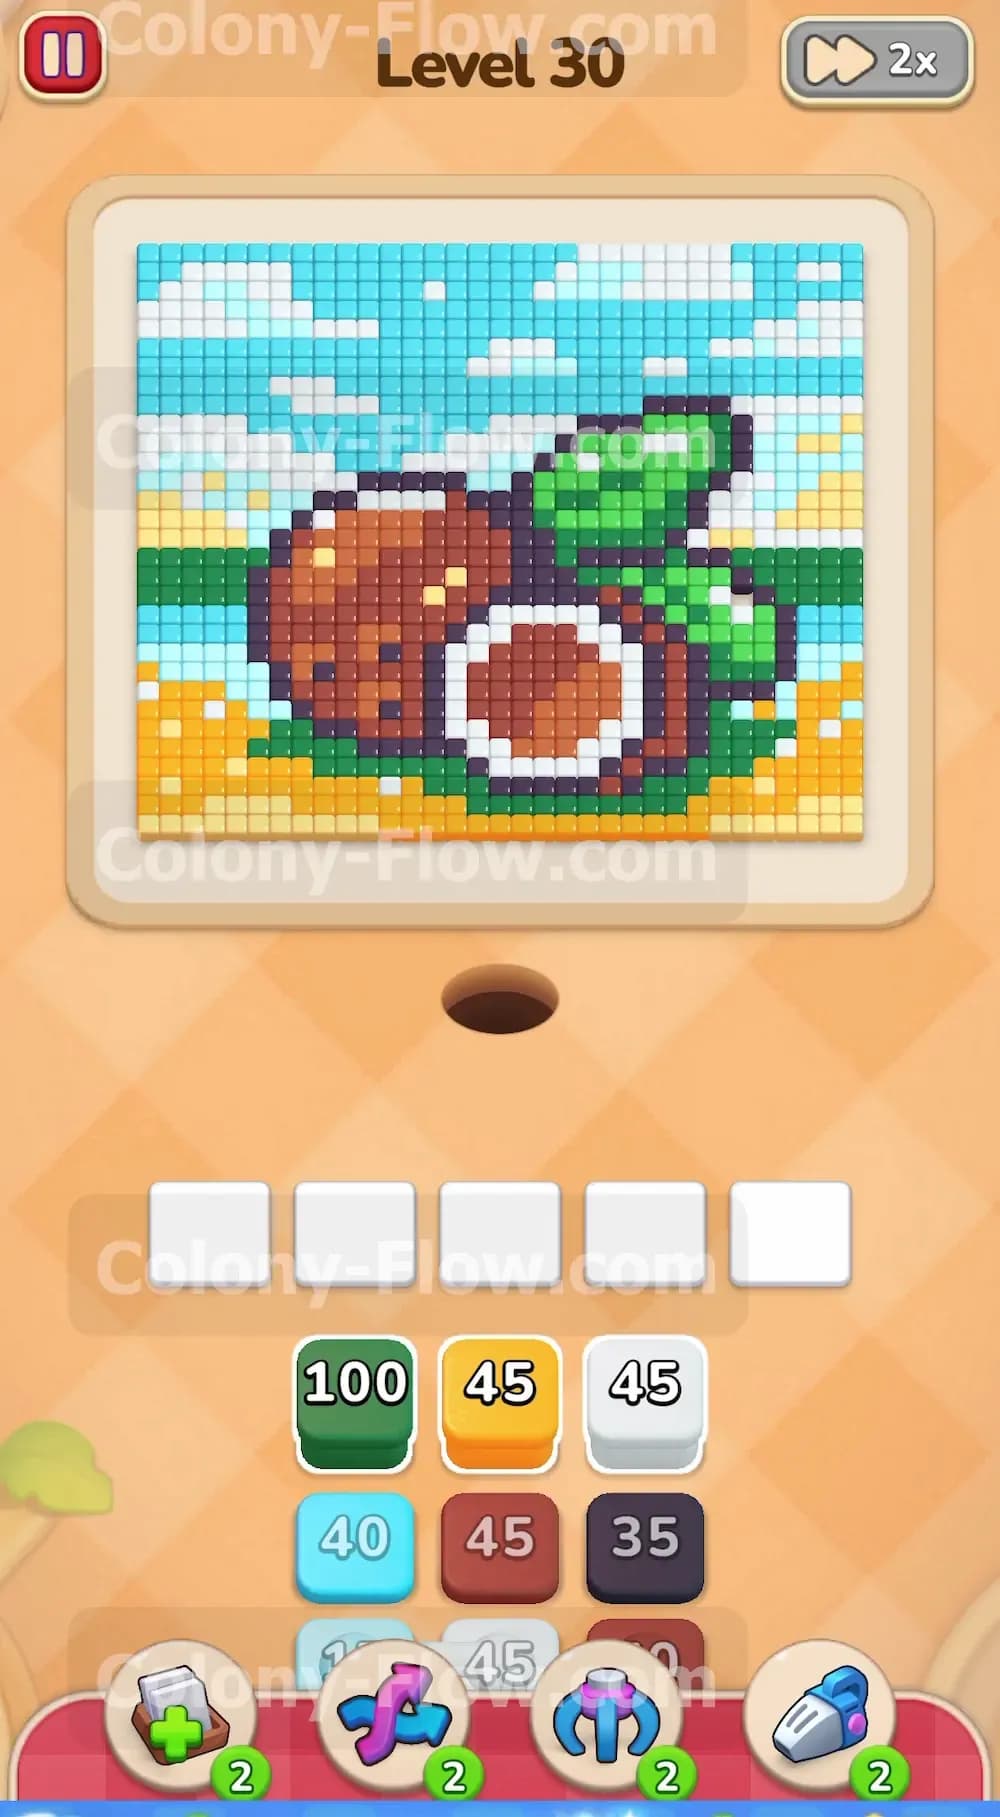
The picture at the top of your screen is a classic pixel art coconut sitting on a beach. The design uses yellow tiles for the sand at the bottom and green tiles for the large leaves on the sides. The coconut itself has a thick dark brown outline a light brown shell and a white center to represent the coconut meat. The background is a mix of sky blue tiles and white clouds.
Down in your tray you have a collection of colored blocks with numbers on them. You have single blocks for green yellow white sky blue light brown and dark brown. This level also introduces connected boxes in the tray. These are two blocks linked together. When you tap a connected box both linked blocks move up into your waiting slots at the exact same time. This special mechanic requires extra attention so you do not accidentally fill your board and trap your colony.
What It Takes to Clear Level 30 Board
You win this level by feeding every single pixel art tile to your ants and clearing the board completely. The ants stream out of the nest hole in the middle of the screen and run toward any food tile that matches the color of the blocks in your waiting slots. As the ants grab the food the numbers on your blocks count down. When a block reaches zero it vanishes from the waiting slot and frees up a space.
You lose the level if you fill all five waiting slots with blocks that have no open paths on the board. When that happens the ants stop moving and you reach a dead end. Every move you make must keep at least one active path open for the colony. The connected boxes make this tricky because they consume two waiting slots instantly. You must manage your five slots carefully and wait for old blocks to clear before pulling new ones.
Colony Flow Level 30 Step by Step Solution
Step 1: Open the board by clearing the yellow sand and green leaves
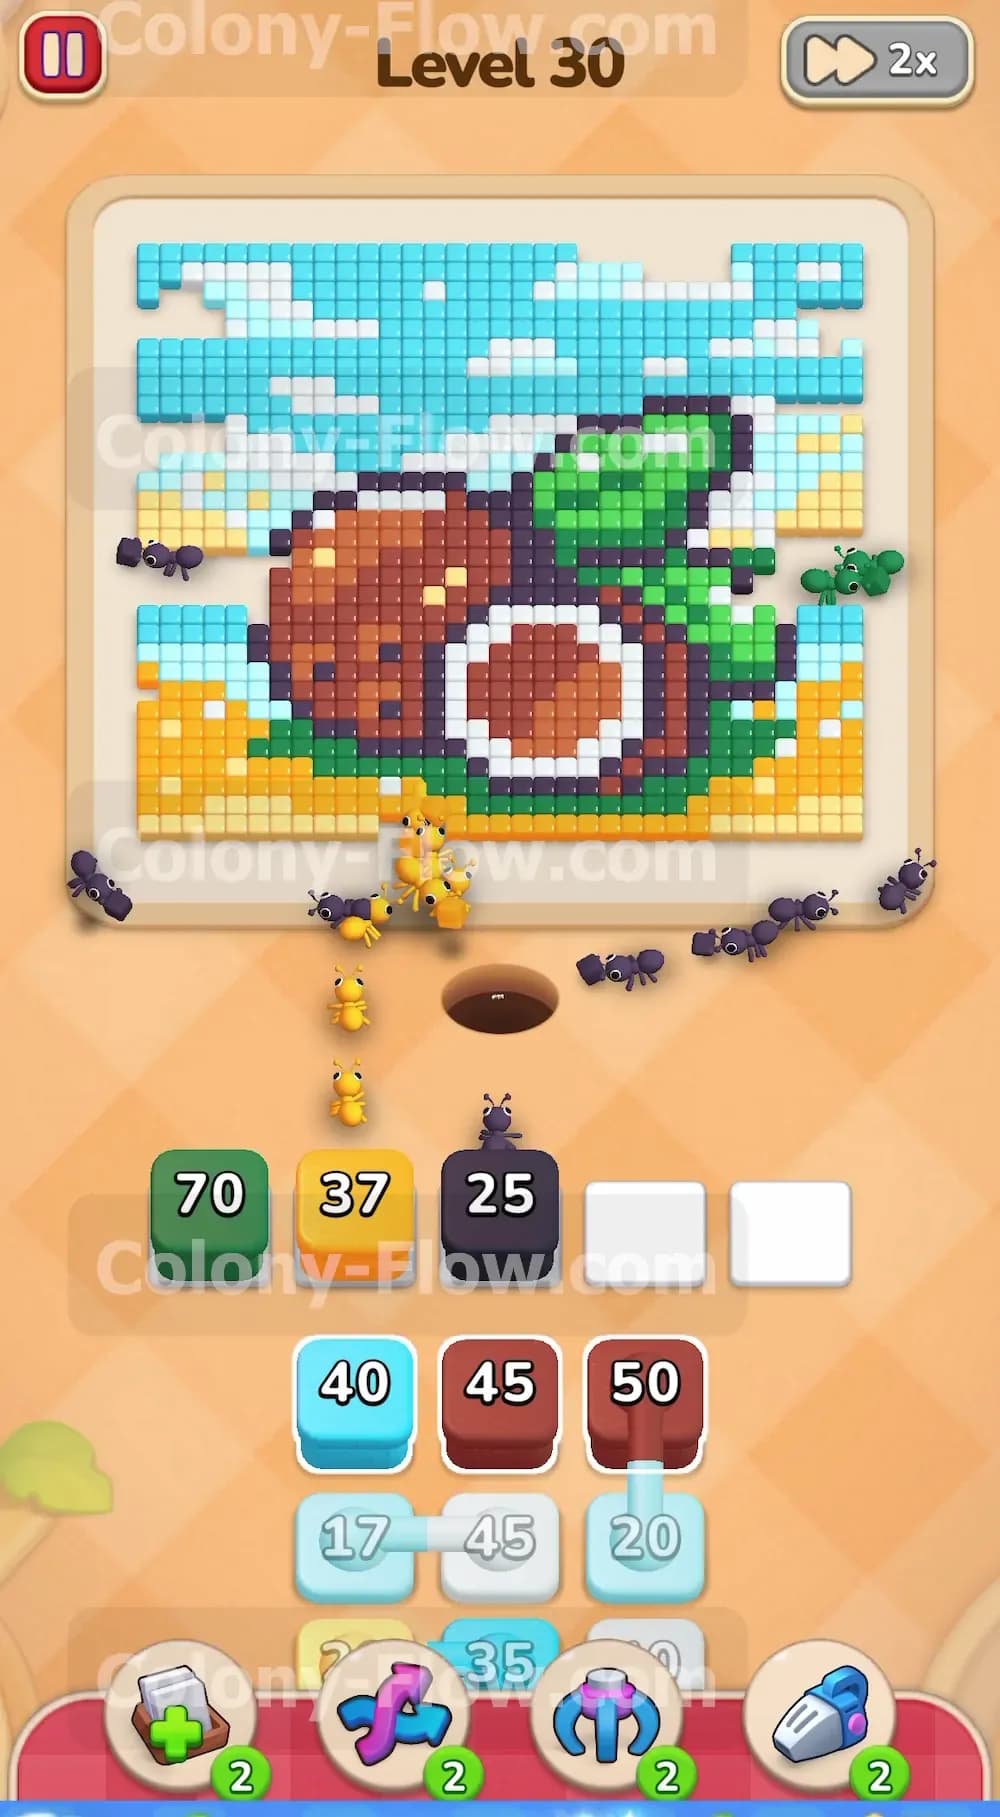
You need to expose the bottom edges of the coconut before you can do anything else. Pull the large green block and a yellow block from the tray into your waiting slots. The ants will immediately rush out of the nest hole and split up. A group will head left and right to eat the yellow sand along the bottom of the picture. Another group will climb up the right side to start eating the green leaves. The green block has a very high number so it will stay in your first waiting slot for a long time. You will have to plan all your other moves around this permanent resident. Keeping three empty slots right now is completely fine and keeps your flow perfectly safe.
Step 2: Attack the dark brown border surrounding the coconut
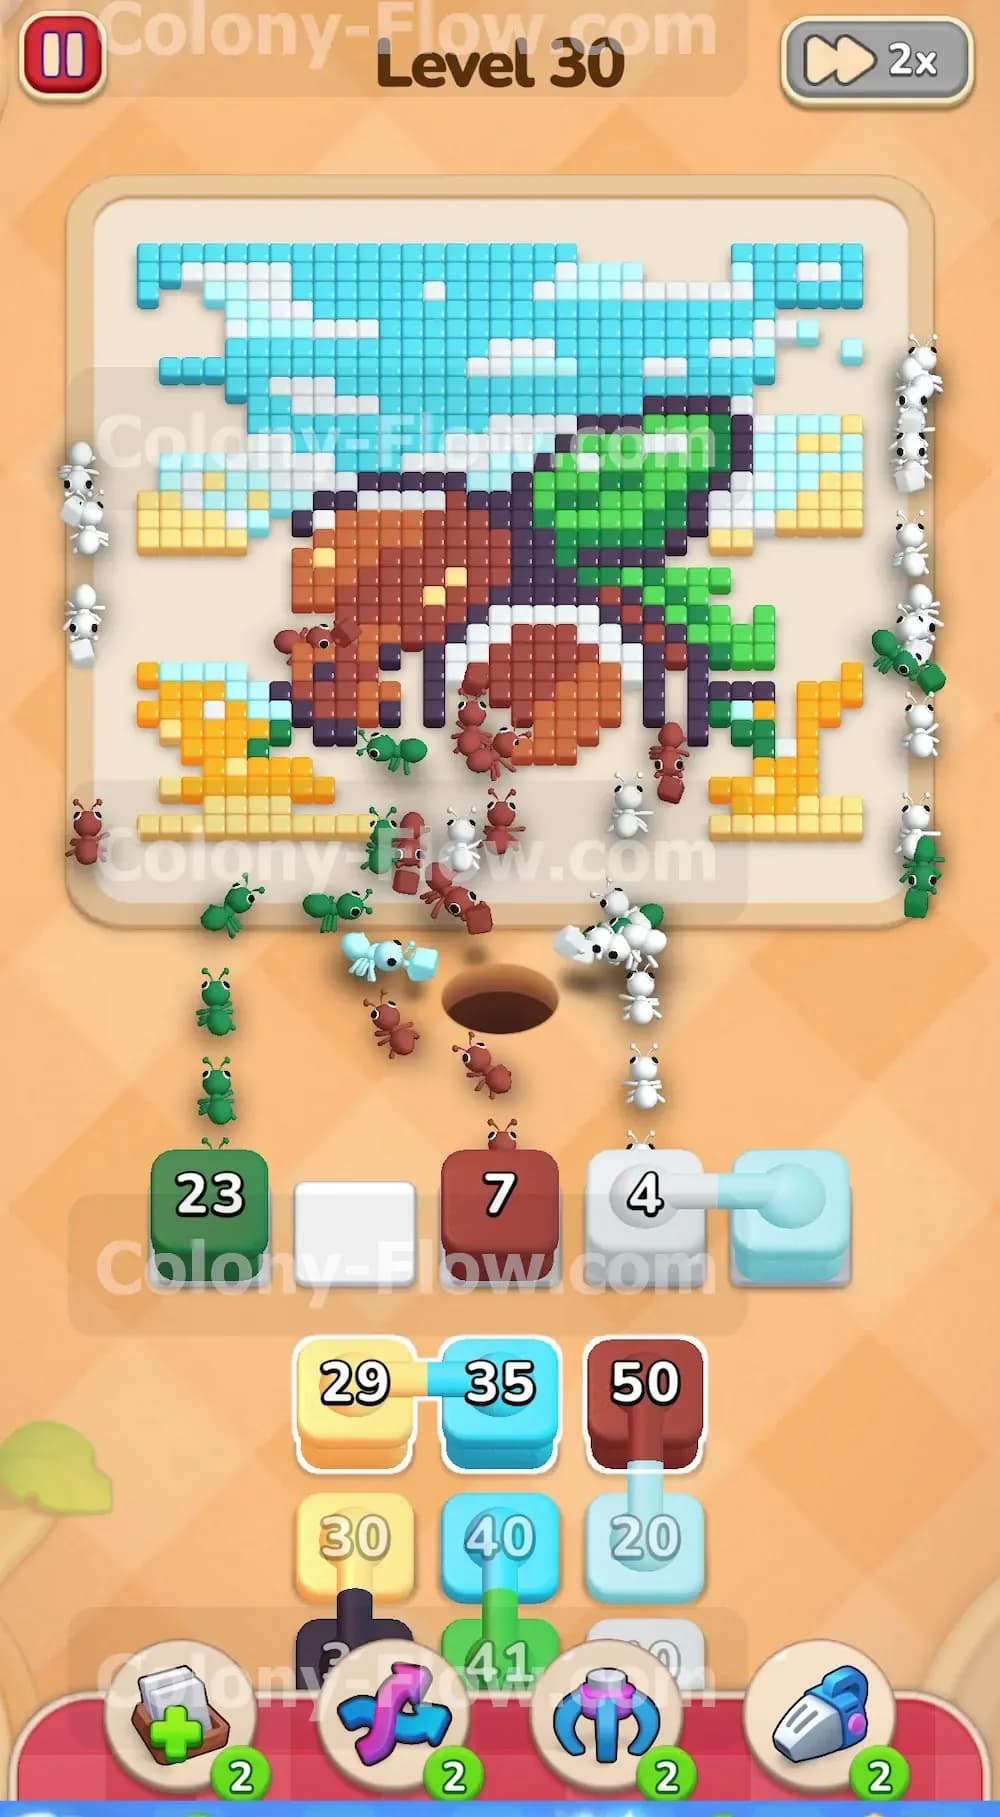
With the sand fading away the outer edge of the coconut becomes exposed to the ants. Pull a dark brown block into your third waiting slot. The dark brown tiles form a thick border around the coconut shell and serve as the shadow beneath it. The ants will form a long line along this curved border and slowly chip away at the shell. The numbers on your dark brown block will count down steadily. You now have three slots filled and two slots empty. Do not pull any more blocks yet. Just let the ants eat the sand the leaves and the dark brown border to open up the middle of the picture.
Step 3: Bring up the white block to feed on the inner coconut meat
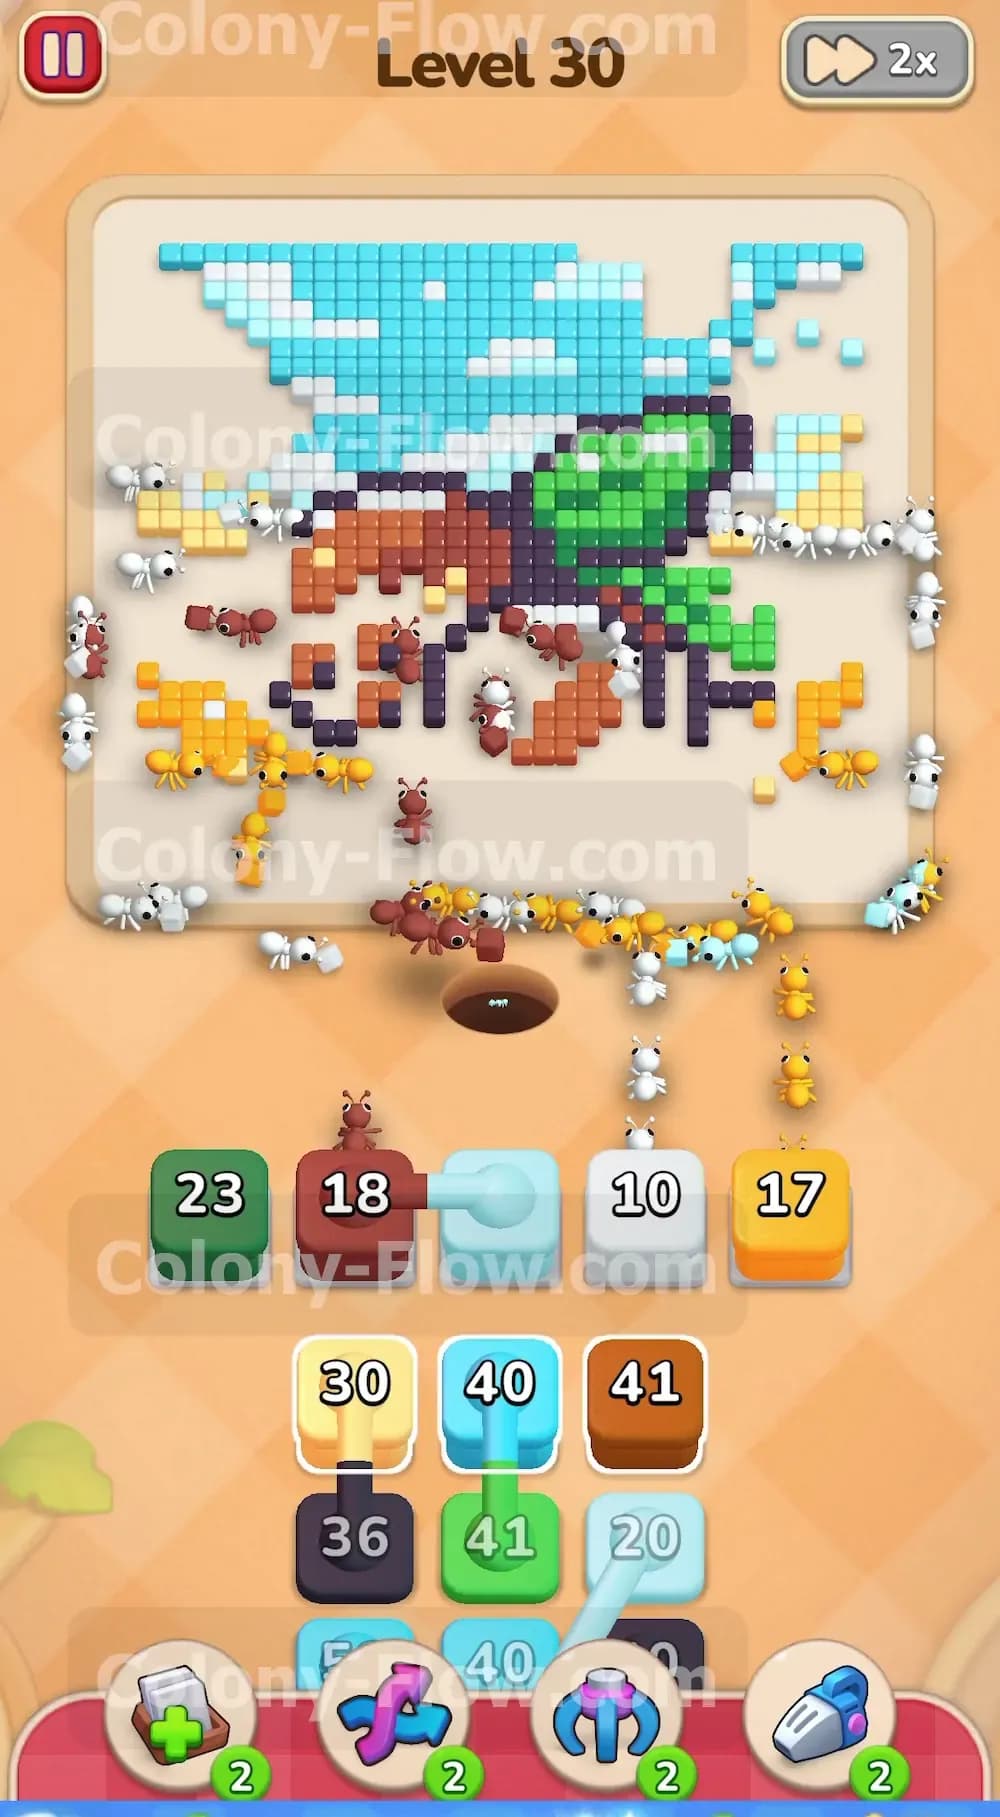
The dark brown outline eventually breaks enough to let ants inside the coconut. Pull a white block into your fourth waiting slot. The white tiles do double duty on this board. They make up the tasty white meat inside the cracked coconut and they also make up the fluffy clouds high in the sky. The ants will always path to the closest available food first. They will flood into the center of the coconut and start carrying away the white meat. Your yellow block from the first step should be getting very close to zero right now. Watch it count down and vanish. This empties a slot and gives you breathing room.
Step 4: Add the light brown block to break down the main shell
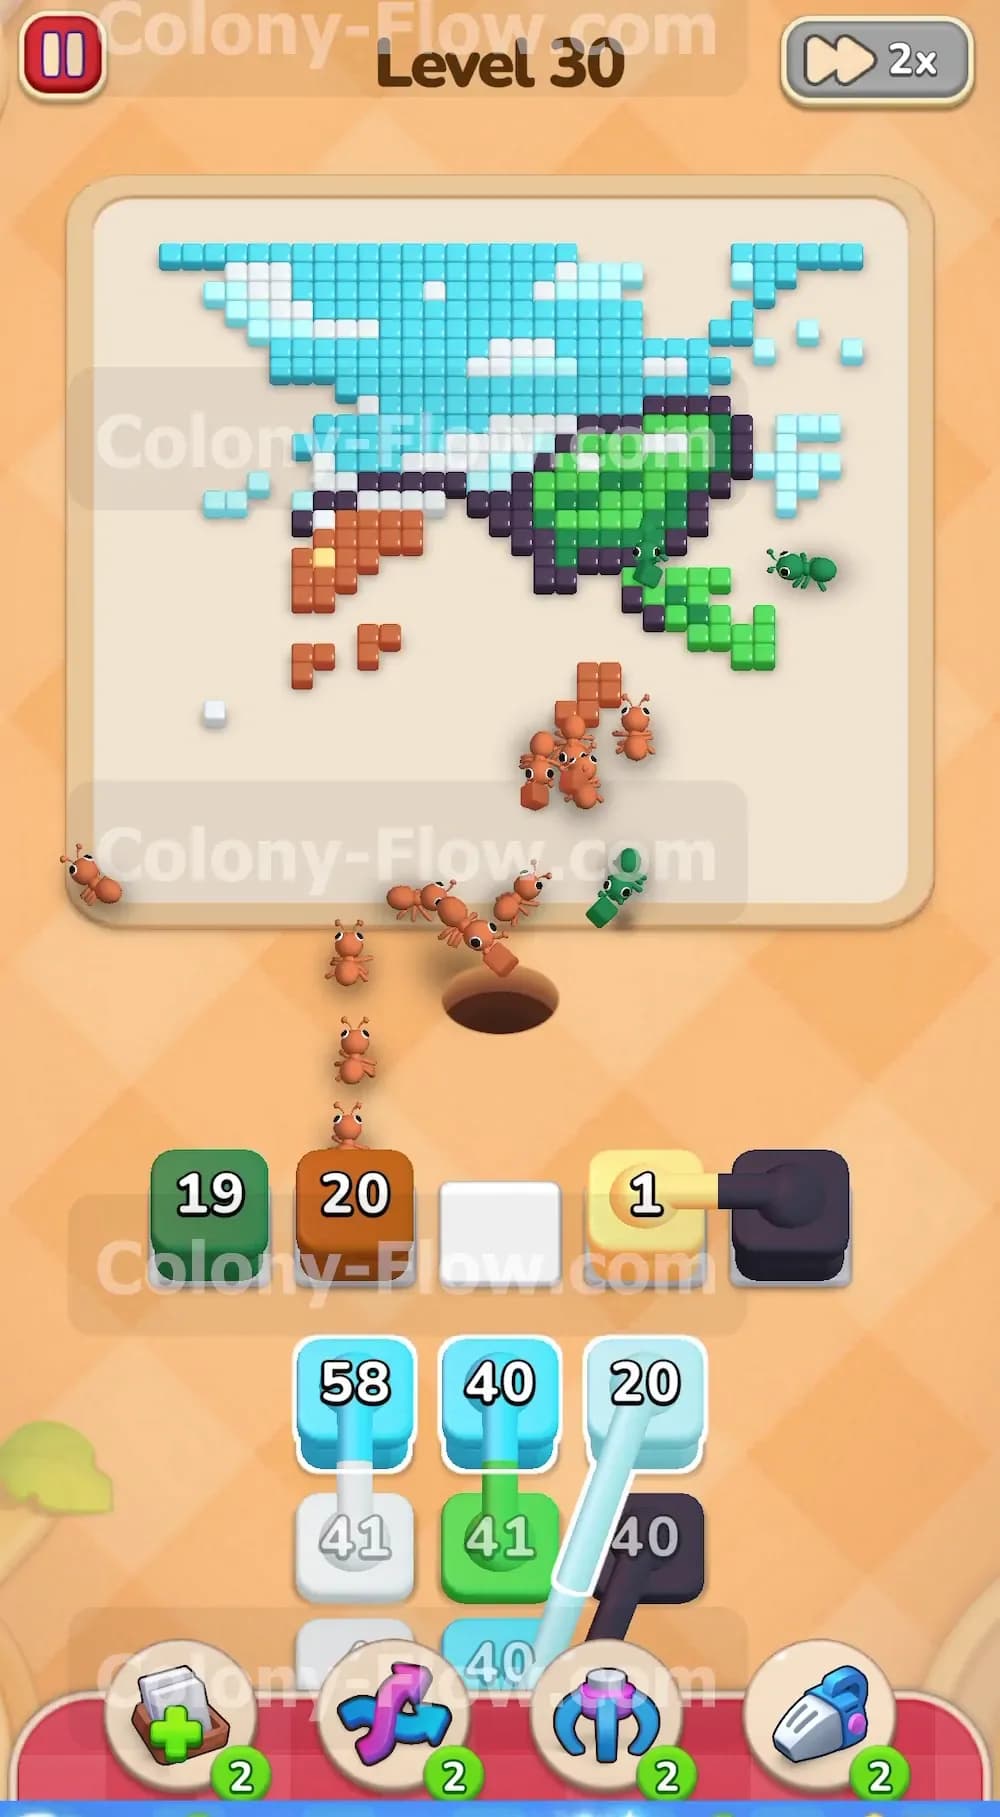
The white inner meat and the dark brown outline are shrinking fast. It is time to clear the main body of the coconut. Pull a light brown block up into the waiting area. The ants will swarm the massive section of light brown tiles covering the center of the board. The picture will really start to lose its shape at this point. You will see ants running in every direction crossing paths as they carry green light brown white and dark brown food back to the nest. Always keep your eyes on the five slots. As long as one block is constantly ticking down you are safe from a dead end.
Step 5: Prepare your empty slots for the connected boxes
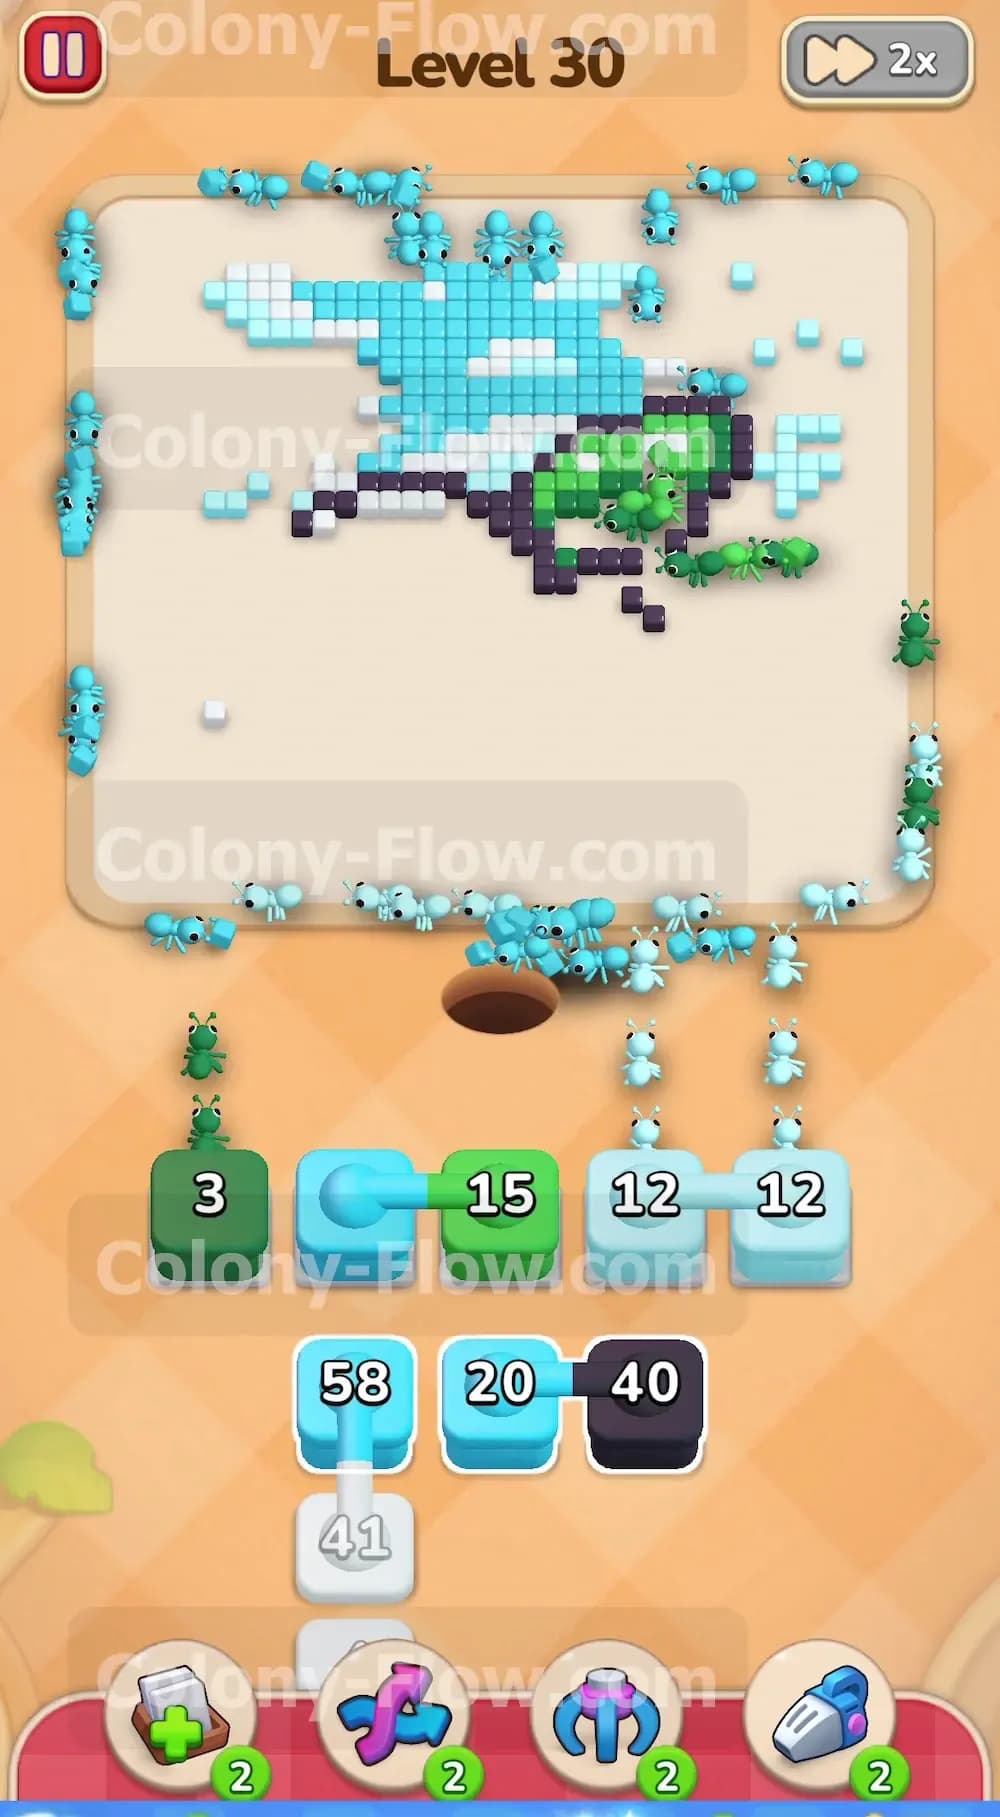
Look down at your tray and locate the linked sky blue blocks. These are the connected boxes and they are the biggest trap in this level. Tapping them will force both sky blue blocks into your waiting area at the same time. If you only have one empty slot they will jam the board and you will lose. You must wait until two of your current blocks reach zero. Let the light brown block and the dark brown block finish completely. Once you confirm you have two wide open slots you can safely tap the connected sky blue boxes. The ants will sprint past the remains of the coconut and start eating the massive blue sky.
Step 6: Cycle through the remaining connected boxes in the tray
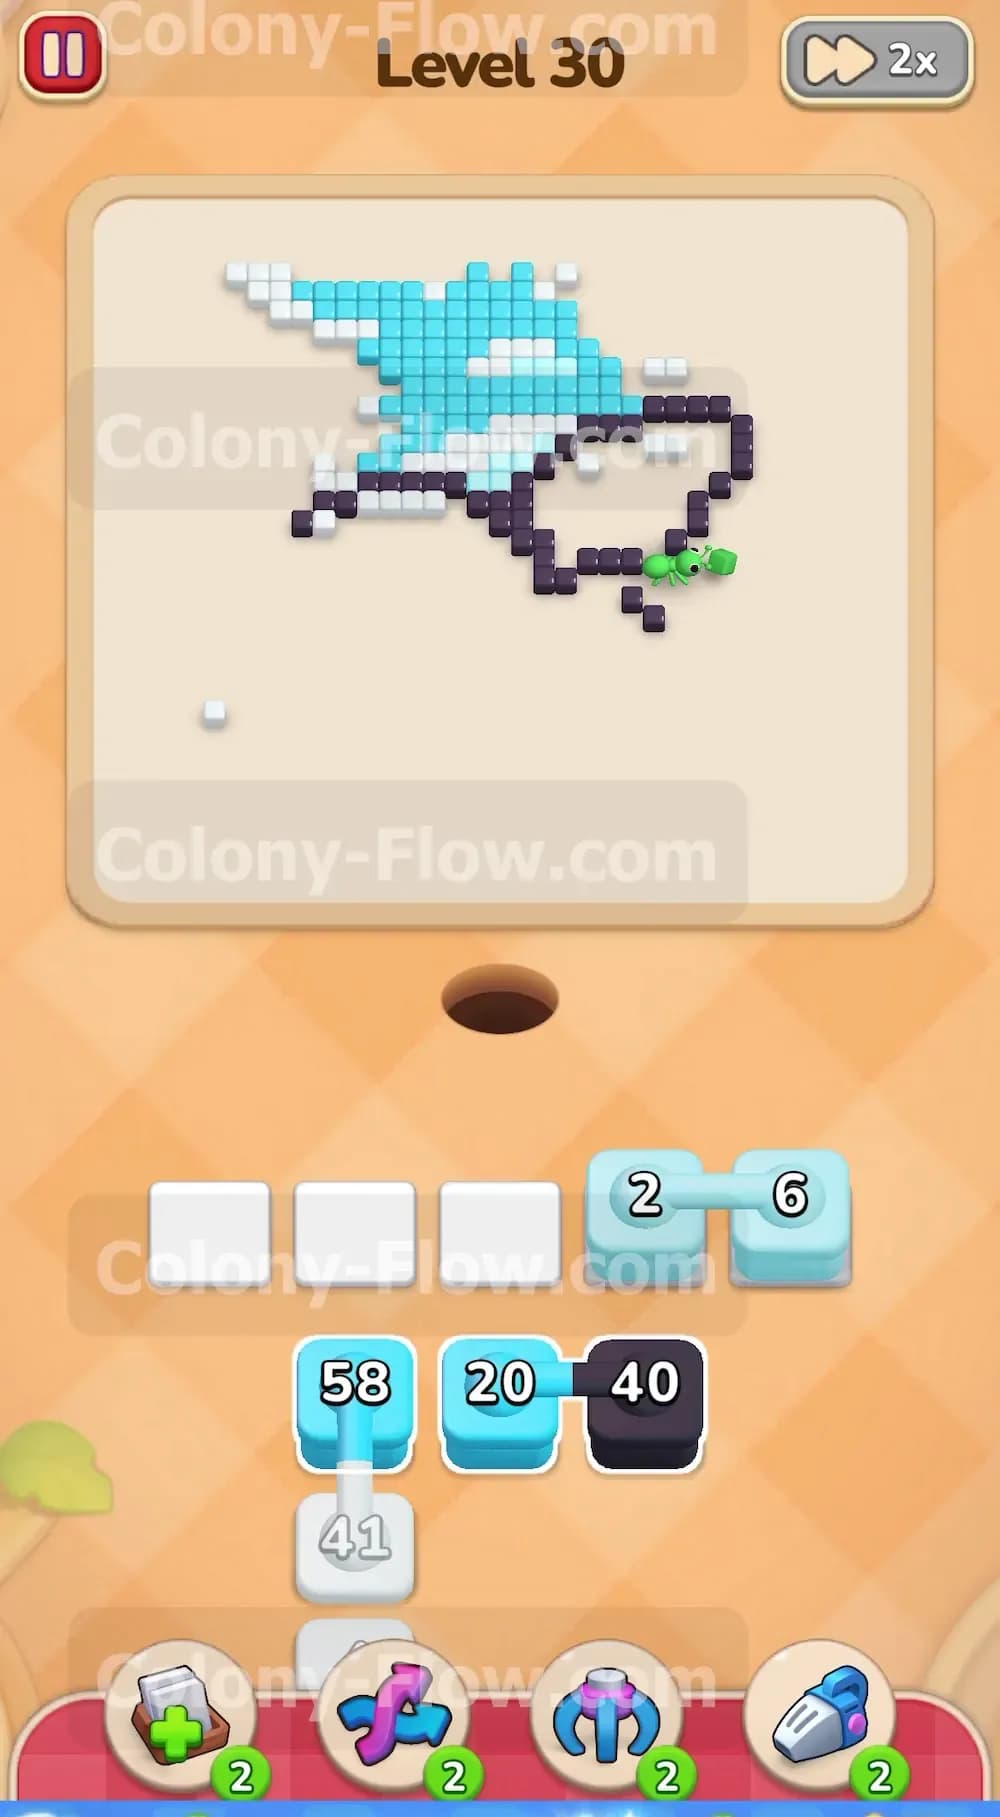
The coconut is basically gone now leaving just scattered pieces of shell and a huge blue sky. Your tray has more connected boxes waiting for you. Some are mixed colors while others are just more sky blue pairs. You must repeat the discipline from the previous step. Never pull a connected pair unless you have two empty slots ready for them. Pull the next set of connected boxes to keep the ants moving upward into the sky. The board looks chaotic but the paths are actually very wide open now. The ants travel fast across the empty bottom half of the screen to reach the sky tiles at the top.
Step 7: Clean up the final scattered pieces of the picture
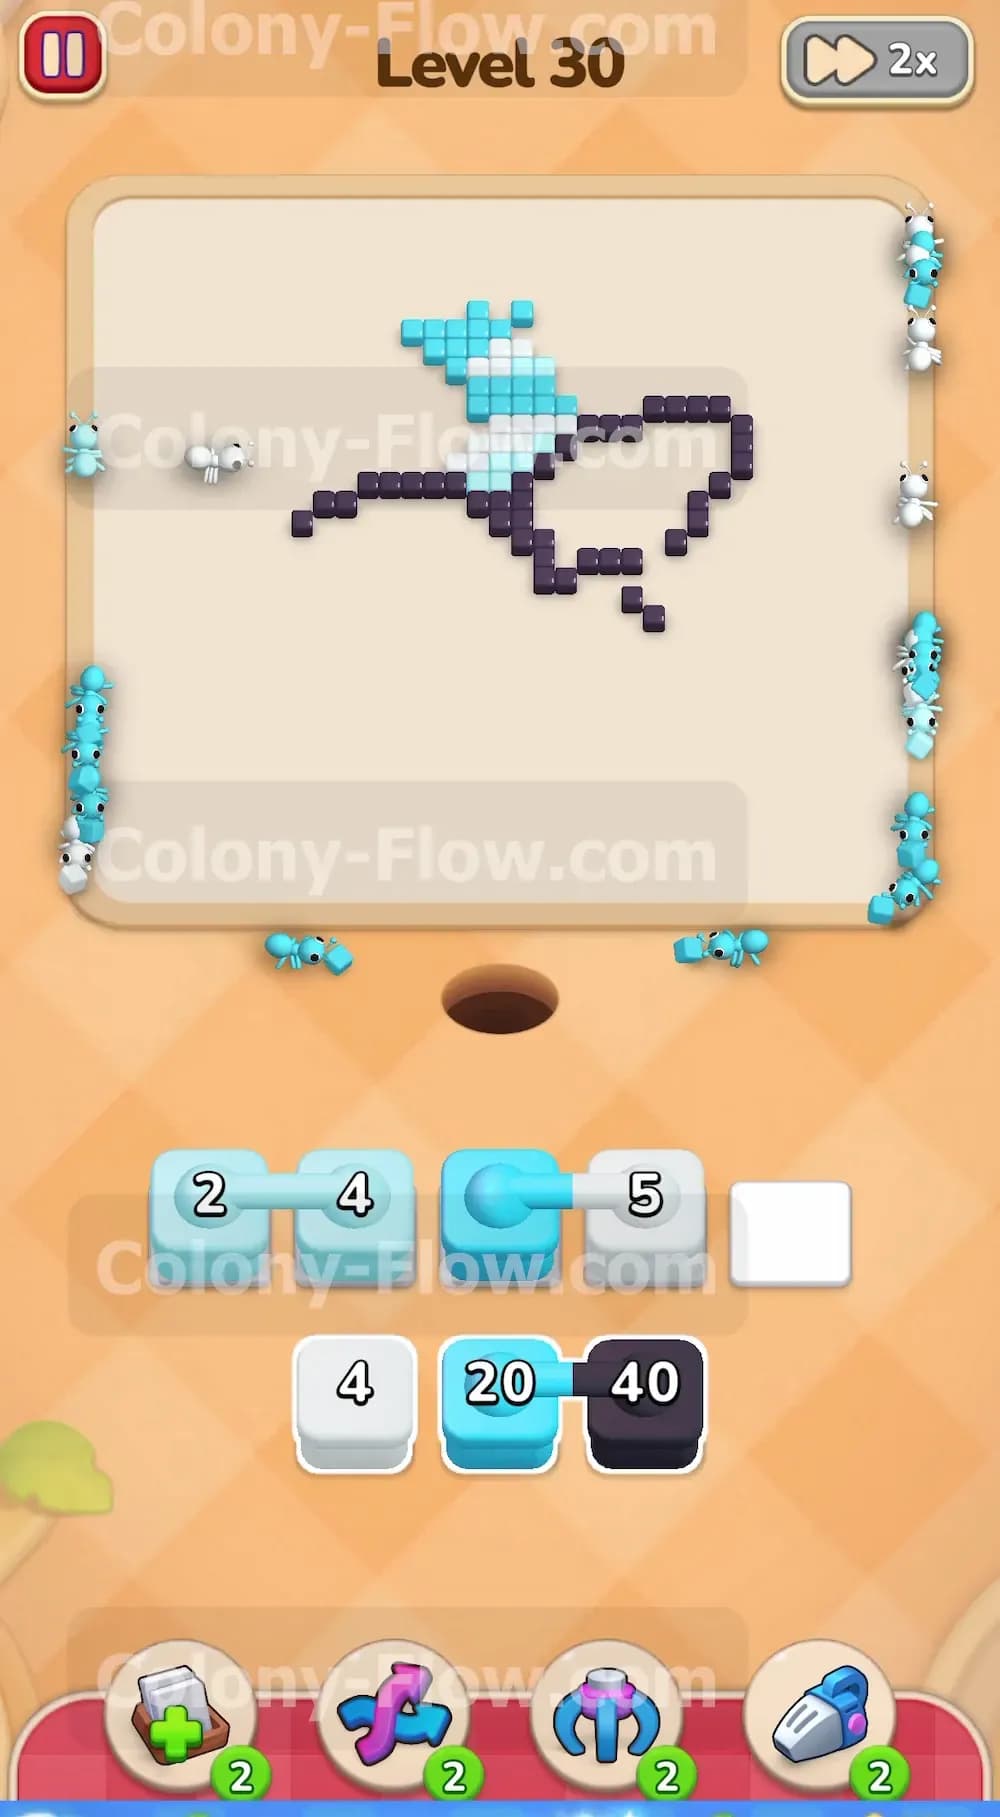
The board is now mostly empty white space with just a few fragments of blue sky and white clouds clinging to the top edges. Your waiting slots should be clearing out rapidly as the block numbers drop to zero. Pull the final sky blue blocks and the last white block from the tray. The ants have to hike a long distance from the nest hole all the way to the very top corners of the screen. Watch the numbers tick down into the single digits. The final ant will grab the last blue pixel and carry it home to empty your final waiting slot.
Final Thought
Beating this level is all about patience and slot management. The connected boxes can easily ruin your run if you tap them without looking at your empty spaces first. Just let the ants do their job and only pull new colors when you have guaranteed paths open. Feel free to watch the video above this article if you want to see exactly how the connected boxes move into the waiting slots.