Colony Flow Level 405 Walkthrough Solution & Guides | How to solve Colony Flow 405

Guide By Liam Stone
Updated on July 29, 2026
Not in the mood to read? The video above solves Level 405 for you from beginning to end.
Video doesn't match your screen?
Game updates frequently scramble layouts! Try our AI Screenshot Solver first to find your exact board instantly, or report broken guides to our team.
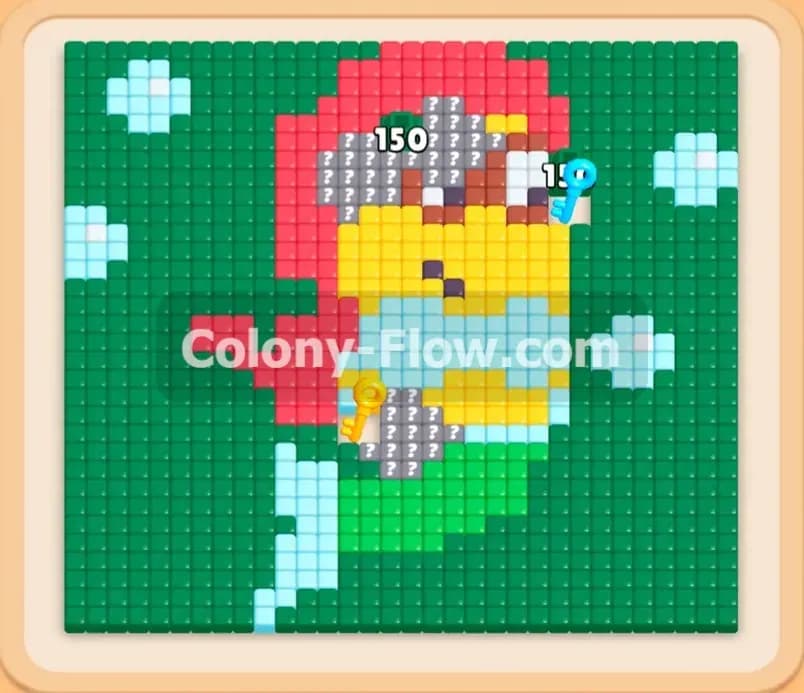
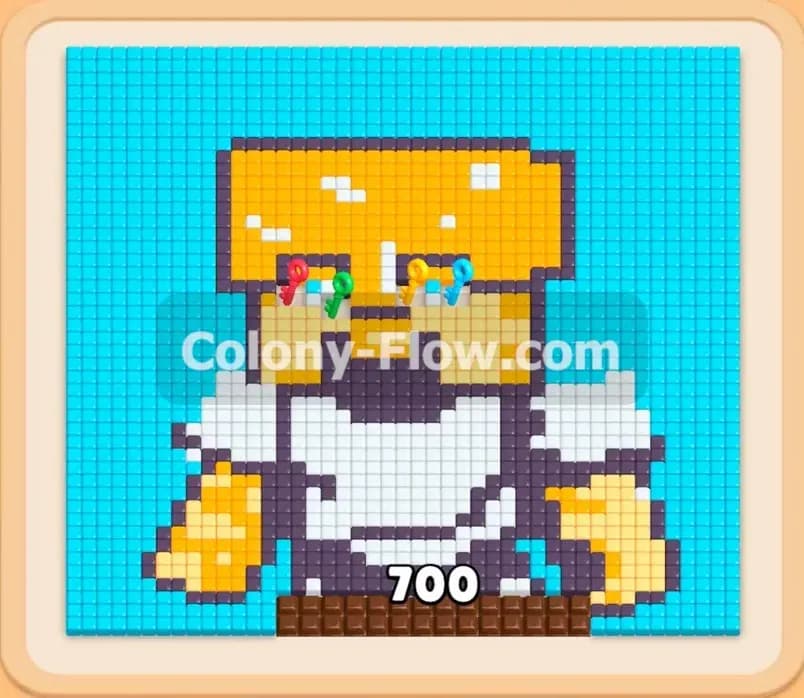
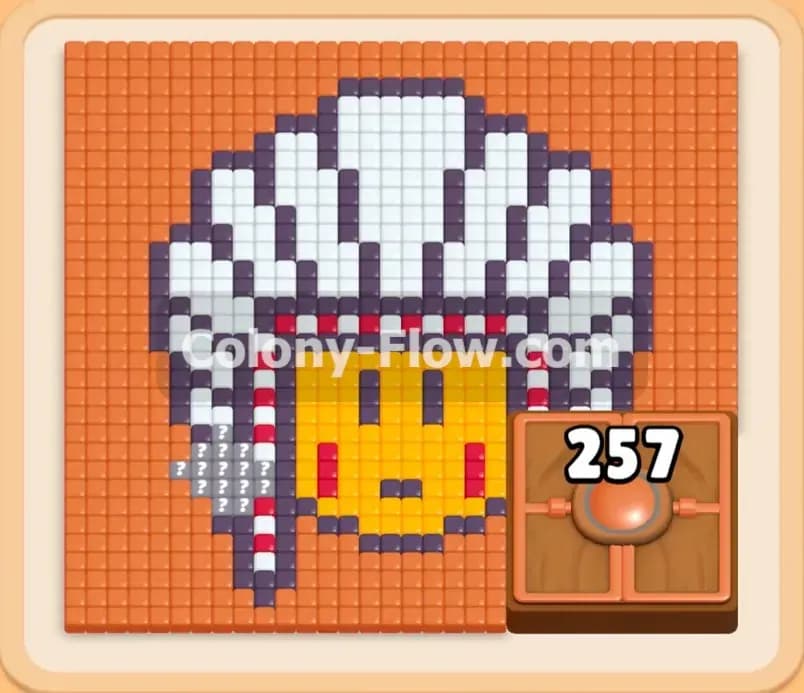
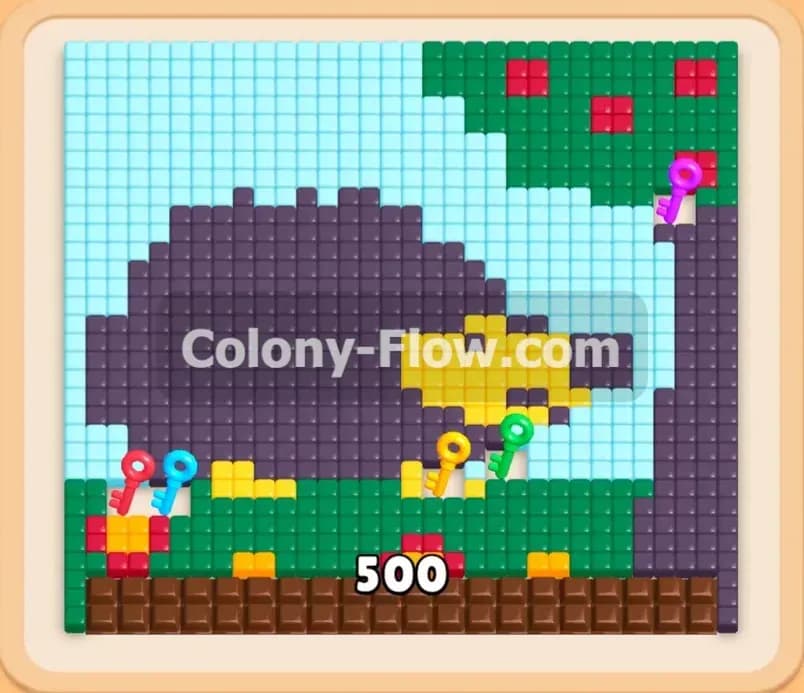
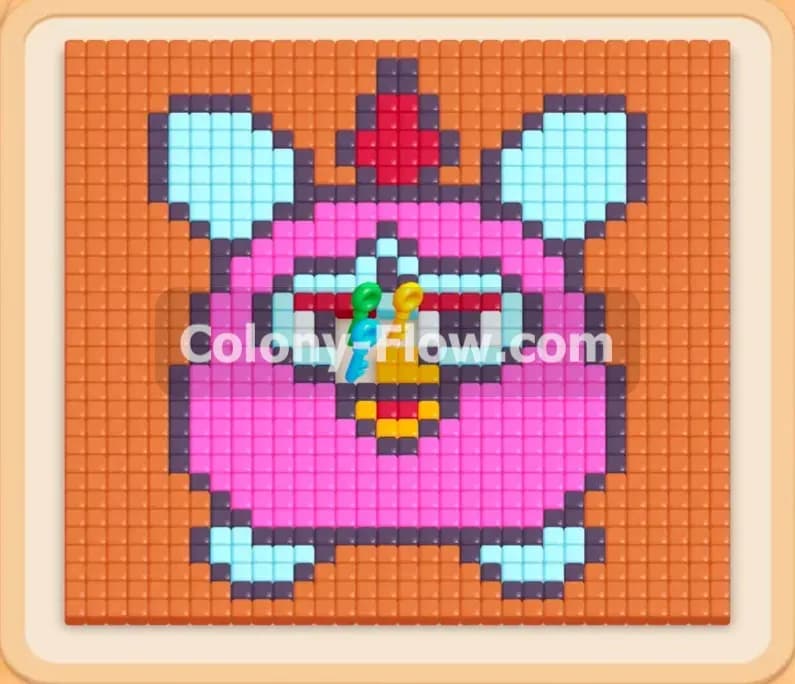
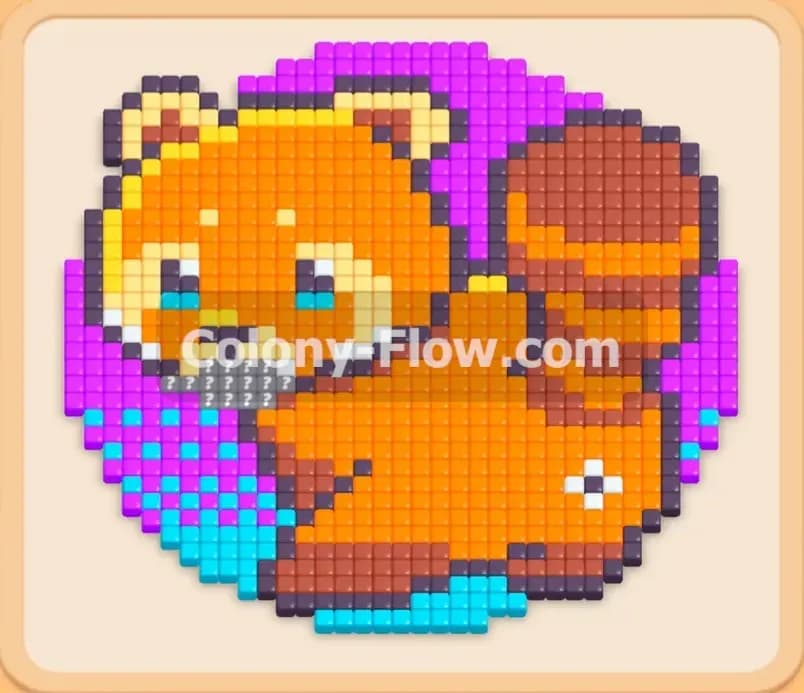
Colony Flow Level 405 drops you into a vibrant puzzle featuring a beautiful pixel art red panda. The animal rests on a bright background of purple and light blue tiles. The sheer volume of orange tiles makes this board look extremely intimidating right from the very start. You need to manage your tray perfectly to avoid getting stuck while breaking down this massive central shape. I play every single level myself to figure out the exact sequence of moves that keeps the board flowing. Let me walk you through the exact moves I use to clear this board without ever jamming the waiting slots. You will learn how to balance the large numbered blocks and navigate the tricky colored layers.
Colony Flow Level 405 Overview
What You Are Working With
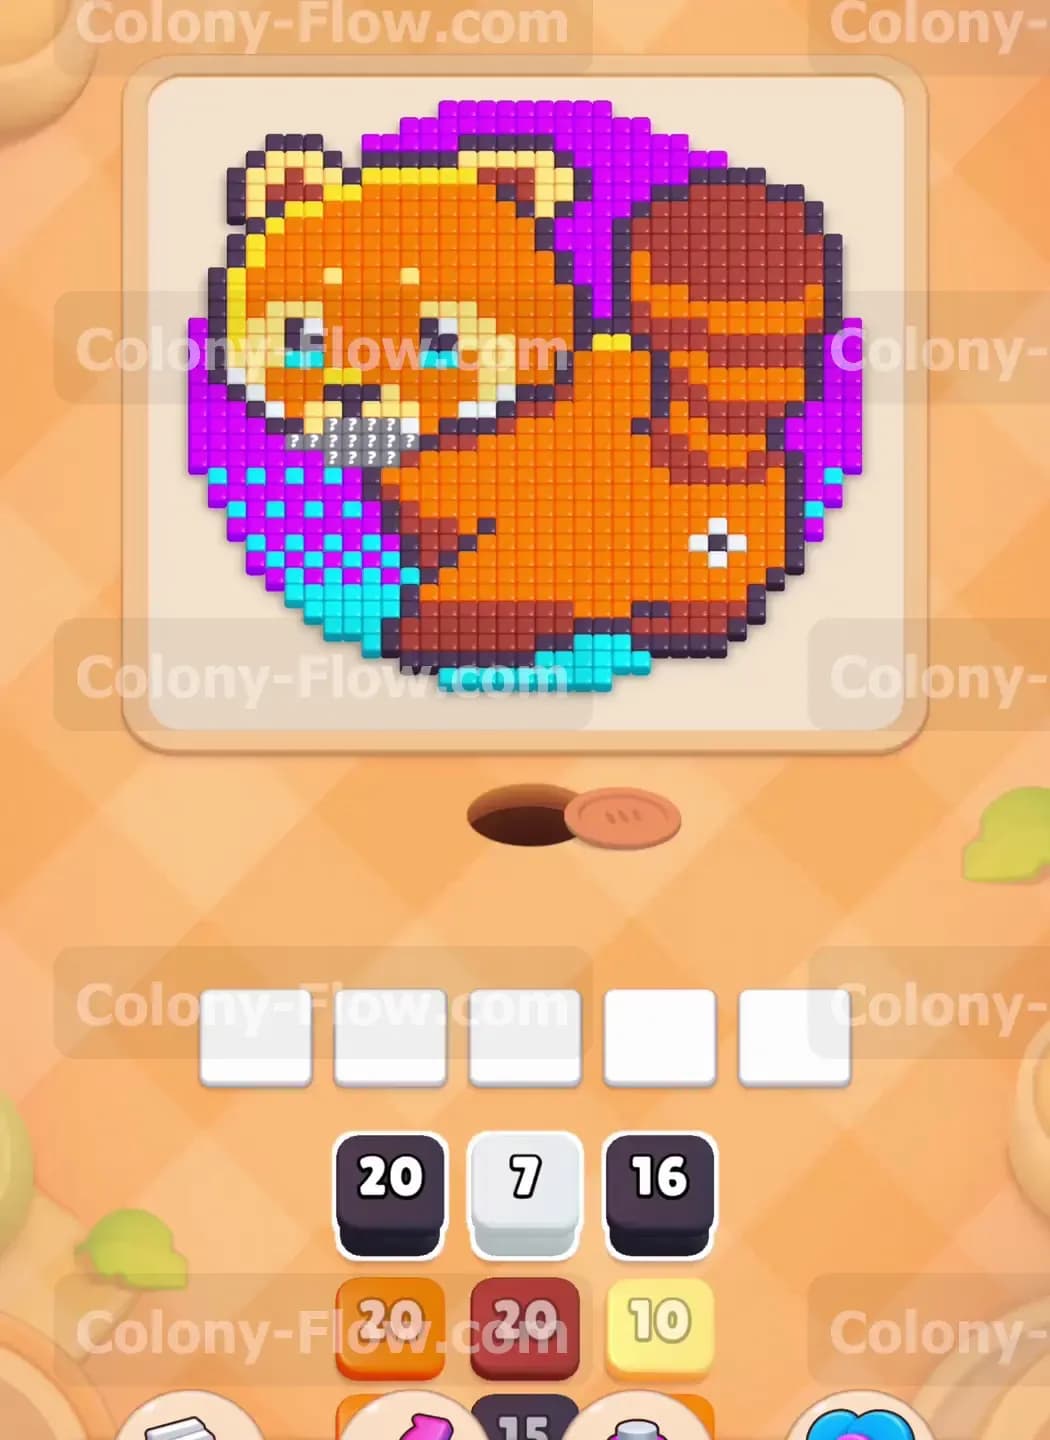
The board presents a large red panda figure built mostly of bright orange blocks. Thick brown stripes detail the tail on the right side of the screen adding a layer of visual complexity. The face features bright white and yellow markings with black tiles forming the eyes and the nose. A large purple section forms a wide backdrop behind the head and back of the animal. Down in the lower left corner you will find a distinct curved section of light blue tiles. Your tray at the bottom of the screen offers a steady supply of large numbered blocks. You will see big numbers like twenty and sixteen appearing frequently in the queue. You must match these colored blocks to the puzzle tiles to send your ant colony out to work. The size of the numbers means the ants will take a long time to chew through a single block.
What It Takes to Clear Level 405 Board
Winning this level requires a highly systematic approach to dismantling the central orange body. You must constantly feed the ants orange blocks to carve a wide route directly through the middle of the board. The main risk here involves filling your five waiting slots with colors the ants cannot reach yet. If you pull a brown block before the orange tiles blocking the tail are completely gone that brown block will sit dead in your tray. You lose the level the exact moment all five slots fill up with trapped colors and no ants can move. Success comes from opening multiple paths and keeping a very close eye on the countdown numbers on your active blocks. You always want at least one or two empty slots available to catch unexpected block drops from the queue.
Colony Flow Level 405 Step by Step Solution
Step 1: Tap the first orange and white blocks to breach the bottom edge of the red panda body.
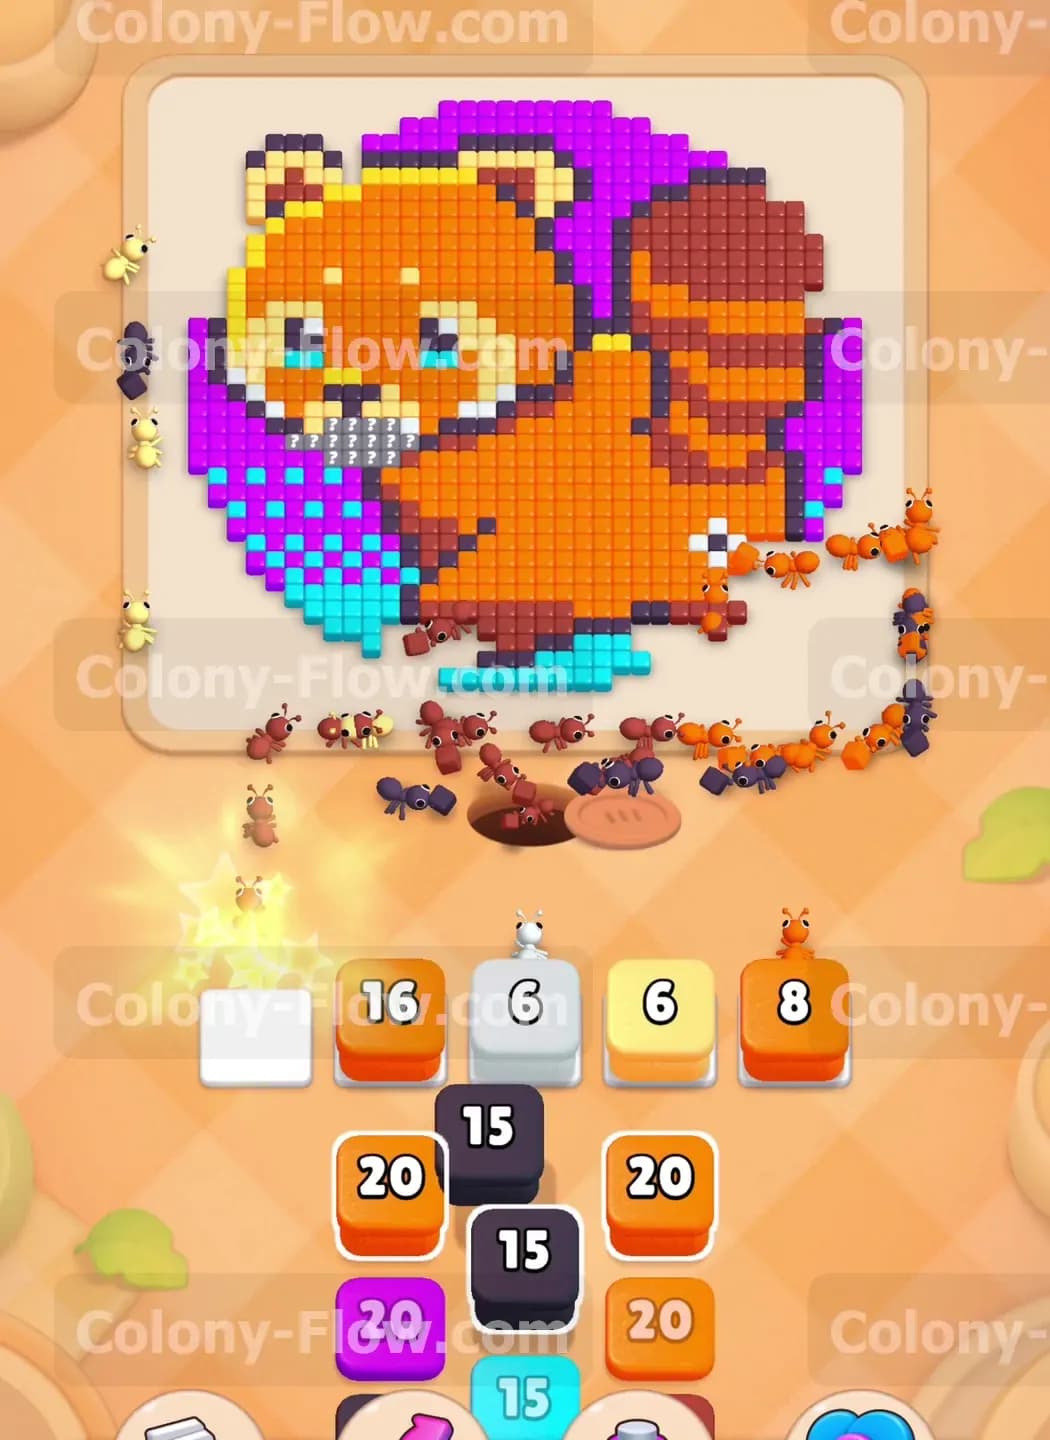
Start your run by focusing on the most accessible tiles nearest the nest hole. The ants stream out of the bottom center of the screen and need an immediate valid target. Pull a massive orange block from the tray into your waiting slots to begin. The ants will rush upward and begin devouring the lower section of the orange body. While they work on the orange tiles you should pull a white block into the tray. This action sends a second stream of ants toward the white facial markings on the left side of the head. These two colors have completely open paths from the very first second of the level. You keep your tray clear by letting the large numbers on these initial blocks tick down steadily over time. Do not rush to pull a third block until you see the orange number drop significantly.
Step 2: Introduce yellow and black blocks to clear out the facial features and ears.
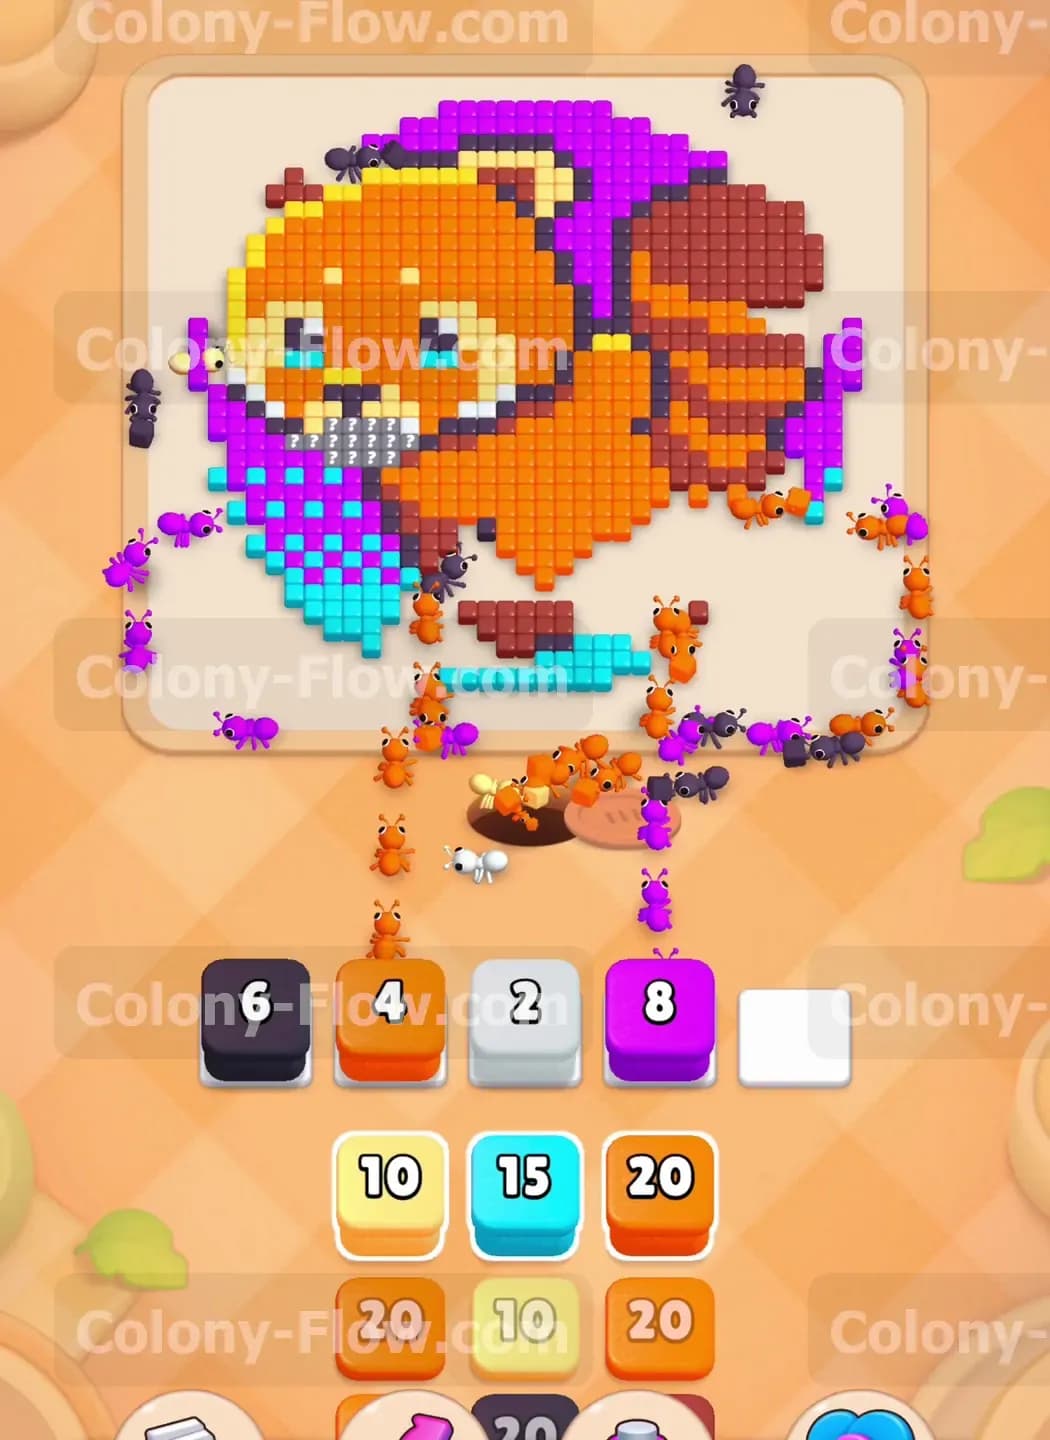
Once the first wave of ants clears a solid chunk of the white face you gain access to the deeper facial details. The yellow highlights and the black eyes and nose are now fully exposed to your colony. Tap a yellow block to move it into your tray right next to the remaining orange block. Follow this move immediately with a black block. The yellow block sends ants to the top left area of the head to clear the bright fur. The black block directs them toward the small dark clusters forming the ears and the snout. Managing these small clusters requires total patience because the ants take longer to path around corners to reach isolated tiles. Keep an eye on your waiting slots as the ants travel. You should maintain at least two empty slots right now. Leaving empty space in your tray guarantees you can react quickly if a new path suddenly opens up.
Step 3: Use large orange blocks to hollow out the chest and back of the animal.
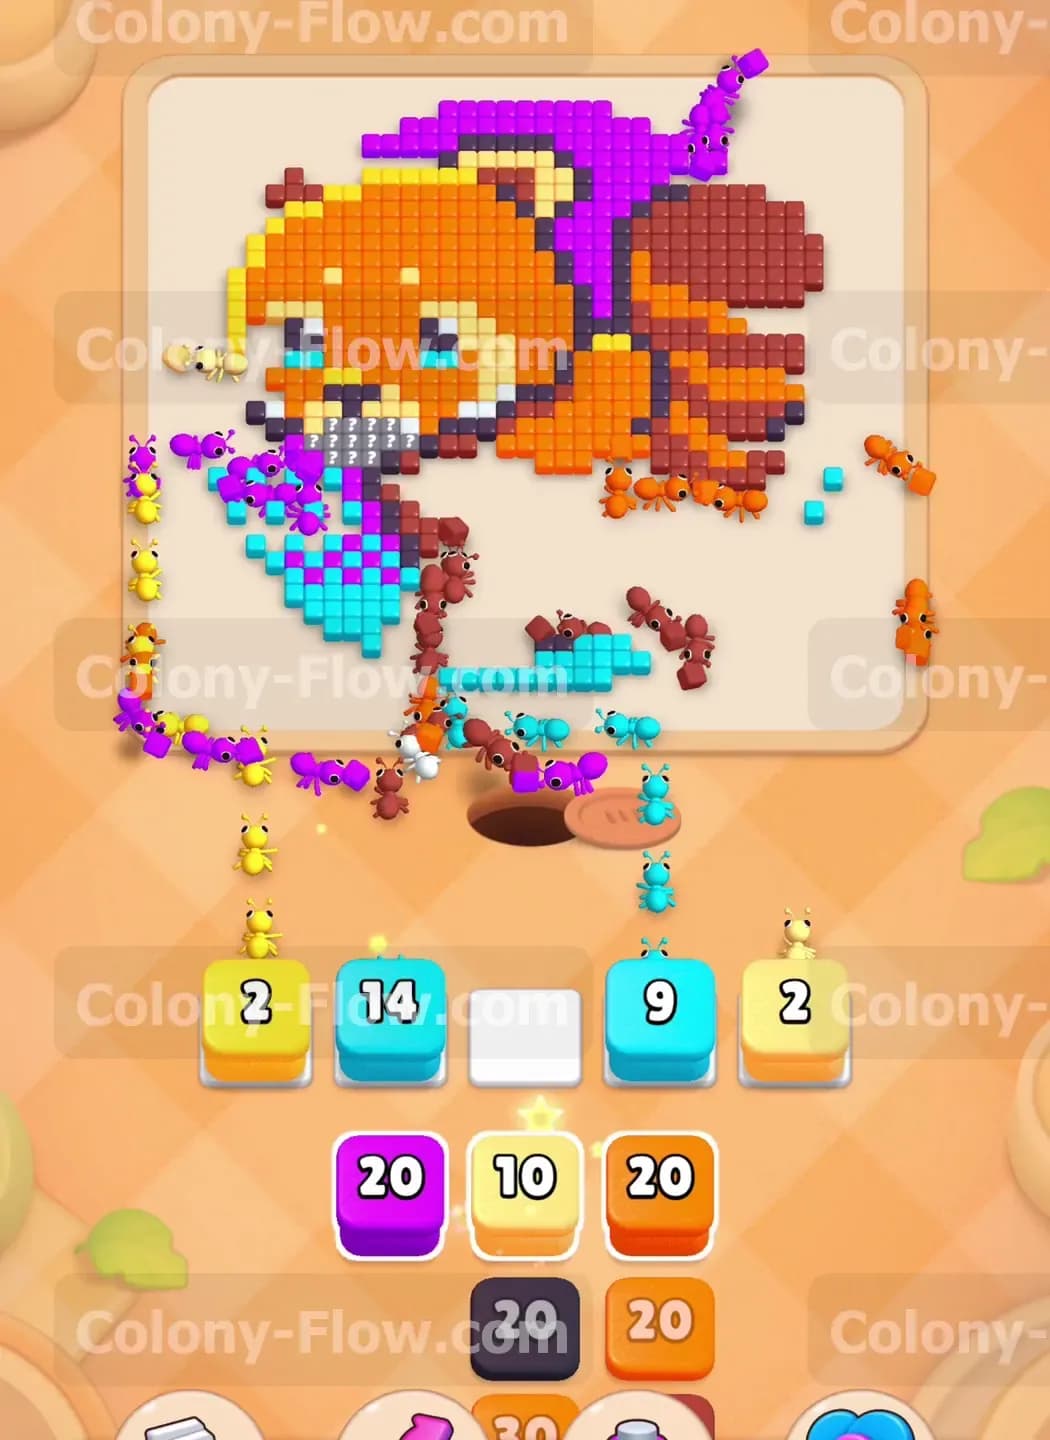
The red panda consists of an enormous amount of orange tiles that form the core structure. You absolutely cannot clear them all with just one block. Pull another large orange block into your tray to keep the clearing momentum going strong. The ants will push much deeper into the chest and back of the figure. They split into multiple dynamic streams to attack the broad solid areas from different sides. This massive consumption of orange tiles is exactly what you want to see happen. It removes the physical barrier separating the left side of the board from the right side. As the orange block counts down toward zero you will notice the brown stripes on the tail becoming fully exposed. Resist the strong temptation to pull a brown block right away. Let the orange block finish completely so your tray remains entirely uncluttered and safe.
Step 4: Deploy purple blocks to begin breaking down the massive background section.
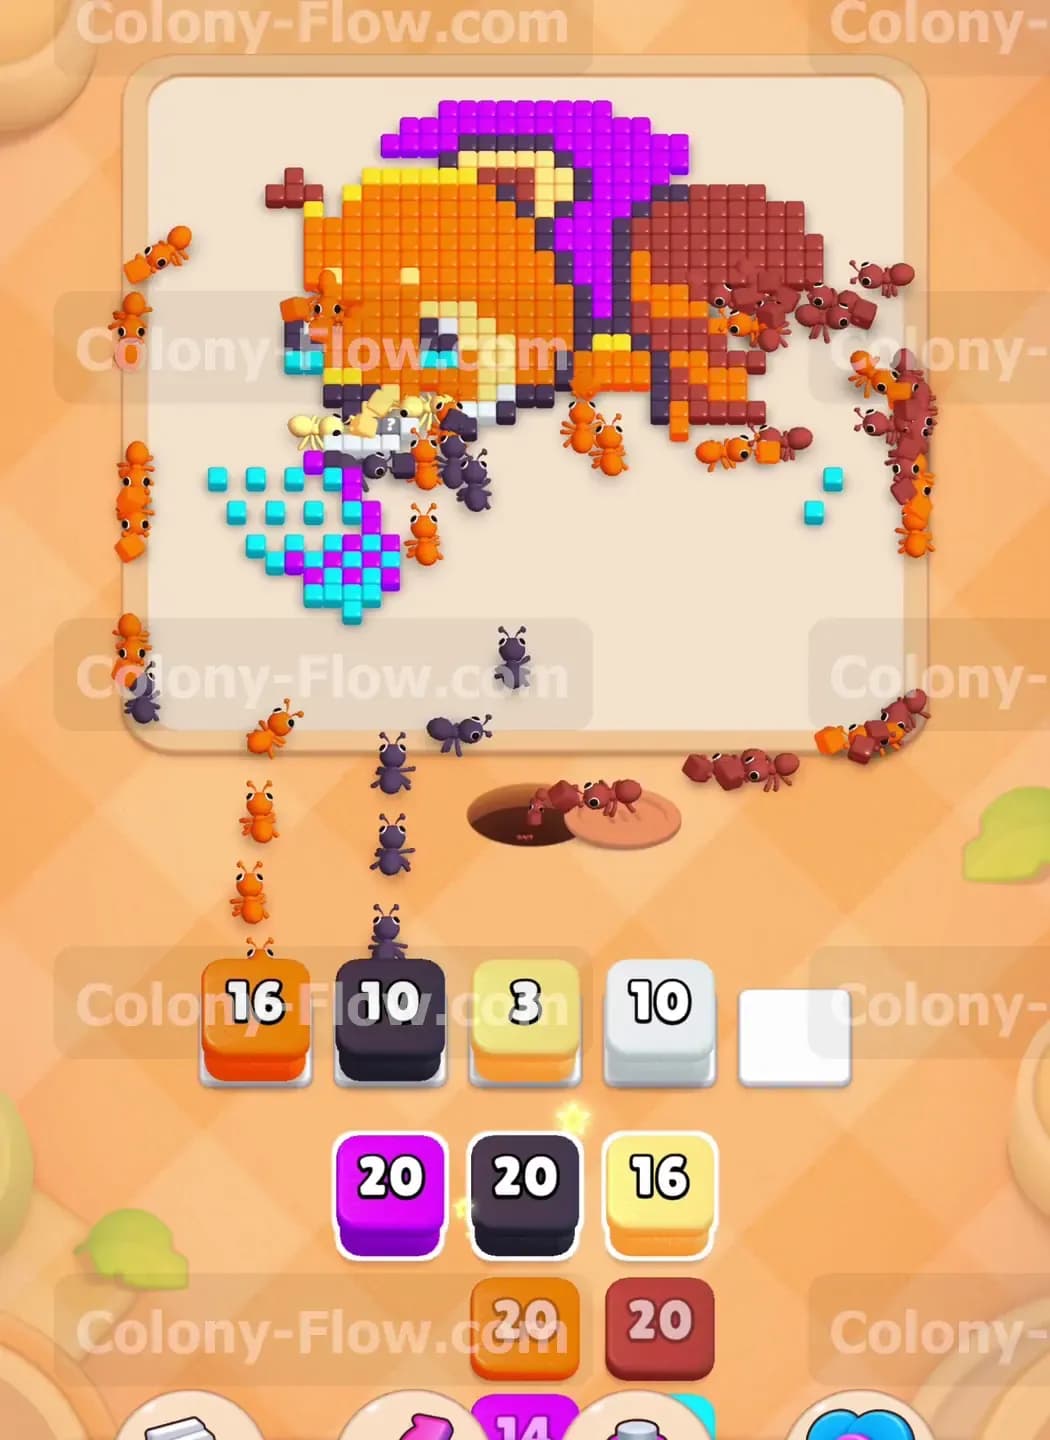
With the body heavily hollowed out your ants have a clear run to the top edge of the board. A massive field of purple tiles wraps around the back of the red panda acting as the sky. Tap a high number purple block to send a massive swarm upward toward this new zone. The ants will hug the newly opened paths and wrap around the remaining orange tiles to reach the purple area. This is a very satisfying phase of the level because you watch a huge portion of the board vanish very quickly. Since the purple section is so large the ants can attack it from multiple angles at the exact same time. The number on your purple block will drop rapidly as the swarm goes to work. Prepare to pull a second purple block soon to maintain the heavy pressure on the top half of the board.
Step 5: Activate light blue and yellow blocks to clear the bottom left corner pattern.
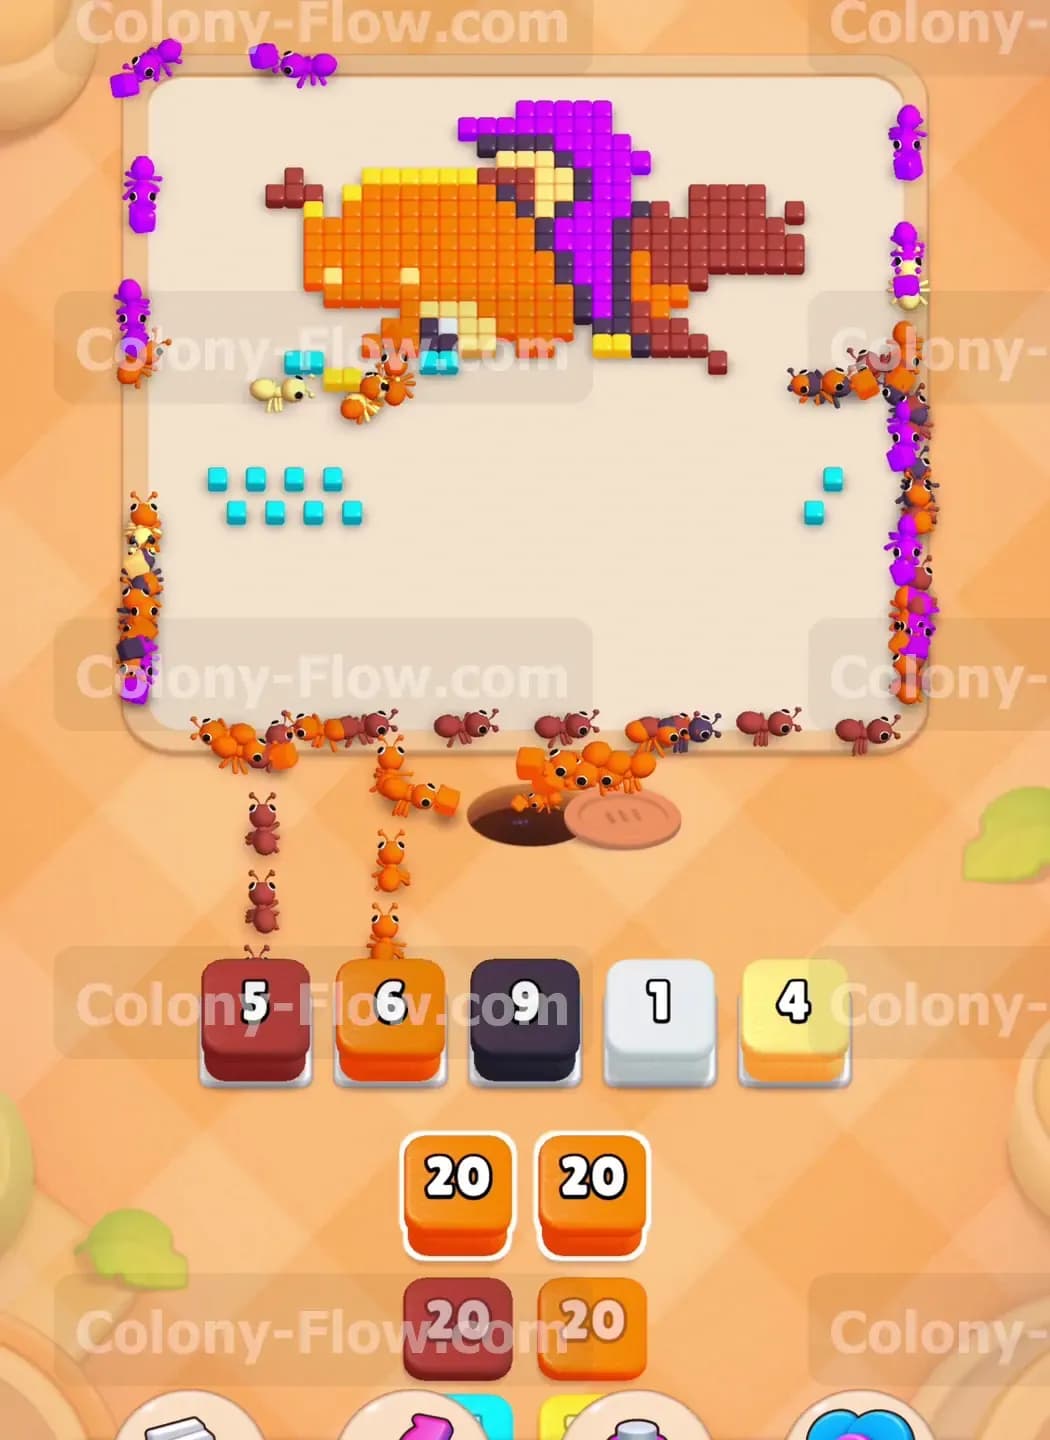
Shift your active attention down to the bottom left section of the board. A distinct curved pattern of light blue tiles sits here completely exposed to the nest. Move a light blue block into your tray right now. The ants will take a very short fast path straight to this corner. Because the travel distance is so short this light blue block clears out incredibly fast and frees up the slot. Pair this action by pulling another yellow block to clean up the lingering yellow tiles on the face. You now have ants working efficiently on two completely different zones of the board. This split strategy maximizes your clearing speed without risking a sudden tray jam. Always visually verify that both colors have a clear unobstructed path before you commit them to the waiting slots.
Step 6: Target the brown stripes on the tail with a fresh brown block.
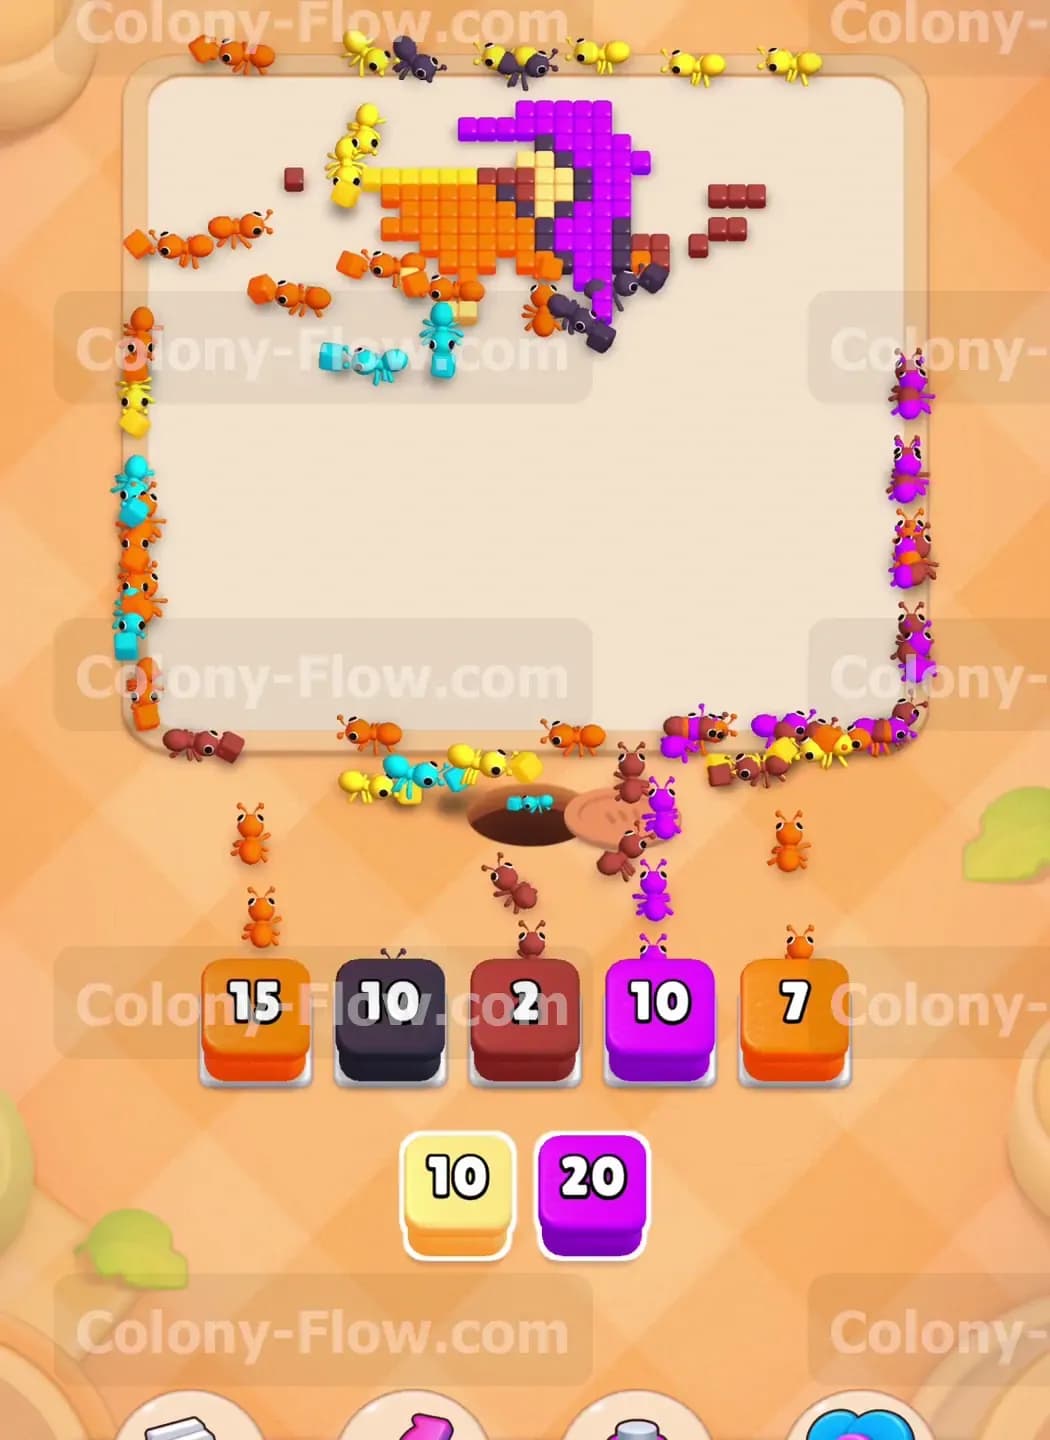
The right side of the screen is completely dominated by the large bushy tail. The thick brown stripes are now entirely reachable because you cleared the protective orange tiles around them. Select a brown block from your tray to begin the final major demolition phase. The ants will march across the empty center of the board and begin dismantling the dark stripes piece by piece. You will notice that clearing the brown tiles exposes even more orange tiles previously hidden directly behind them. This staggered layering is the main trick the game uses to trap you and fill your tray. If you had pulled a brown block too early it would have jammed your tray permanently. Now the sequence flows perfectly. Let the brown block count all the way down to zero before touching anything else.
Step 7: Alternate between small orange and black blocks to clean up scattered fragments.
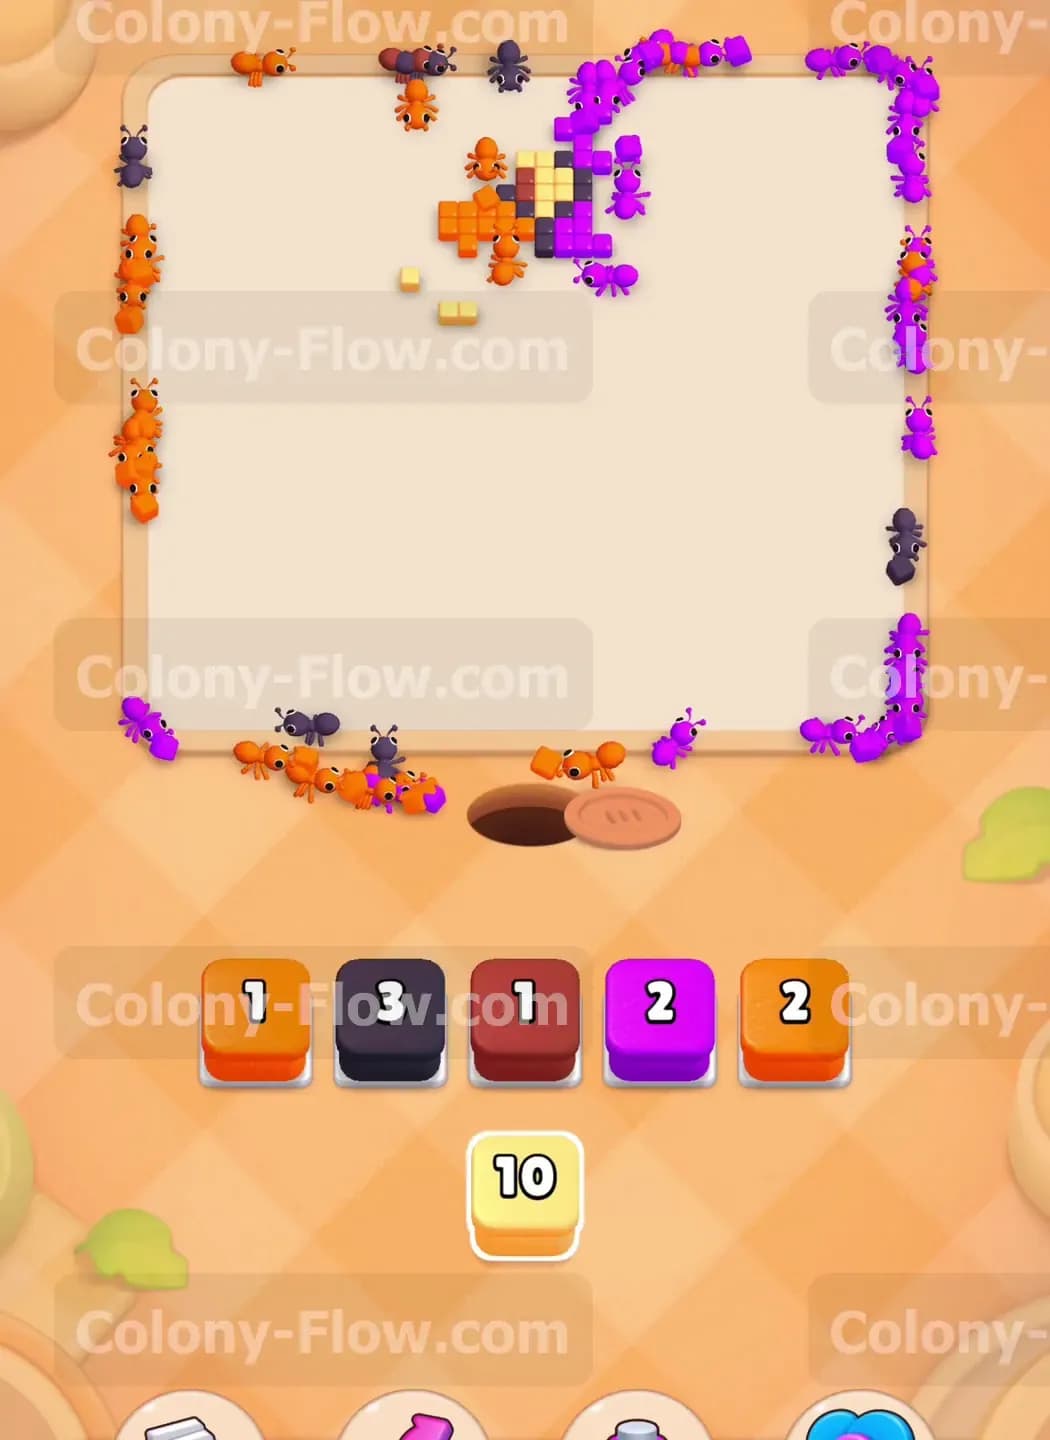
The entire board looks very fragmented at this late stage of the level. You have a few isolated chunks of orange tail a small piece of black ear and maybe a few stray tiles scattered in the center. You must switch your strategy away from large bulk clears to precise targeted pulls. Find a small number orange block in your tray and tap it firmly. As soon as the ants clear that specific cluster pull a small black block to handle the ear. You are basically doing mop up duty now to finish the level. Never pull a massive number block for a tiny cluster of remaining tiles. If you pull a twenty block for five tiles the block will sit in your tray with fifteen useless points left over. That remaining number takes up a permanent slot and severely restricts your flexibility for the rest of the game.
Step 8: Clear the final purple background pieces at the very top of the board.
Only a small handful of tiles remain near the top right corner of the screen. These are usually the very last scattered bits of the purple background and the final pointed tip of the tail. Pull your final purple block to send the ants on their longest journey of the entire level. They must travel from the nest hole all the way up to the furthest top corner. While they make this long trek pull your final small orange block to finish the remaining tail pieces. Watch the ants swarm these last few stubborn pixels. Once the final tile disappears from the screen the ants will turn around and hurry back down the board to their nest. Your tray will empty out completely as the level resolves. You have successfully navigated the board without ever dead ending your ant colony.
Final Thought
Clearing this exact board requires serious patience and a strict rule of never overloading your tray with unreachable colors. The massive volume of orange tiles easily tempts you to pull the wrong blocks too early and ruin your run. Just keep your focus completely on opening wide paths through the center and taking down the background pieces only when they are fully exposed to the nest. Always respect the five slot limit and never leave your ants without a valid target. If you find any specific sequence of moves confusing just scroll up and watch the video above this article. Watching the ants path through the open spaces will show you exactly how to replicate this winning strategy on your own phone.