Colony Flow Level 347 Walkthrough Solution & Guides | How to solve Colony Flow 347

Guide By Liam Stone
Updated on July 18, 2026
The full Level 347 solution plays out in the video above, no reading required.
Video doesn't match your screen?
Game updates frequently scramble layouts! Try our AI Screenshot Solver first to find your exact board instantly, or report broken guides to our team.
Welcome back to another puzzle breakdown where we tackle Colony Flow Level 347 together. This level features a relaxing pixel art picture of a yellow cat wearing a black bikini and sunglasses while lounging on an orange beach. Do not let the vacation vibe fool you because the tray is full of connected boxes and hidden blocks that will quickly jam your five waiting slots if you make a wrong move. You need a solid plan to guide your ants through the sand and sky without hitting a dead end.
Colony Flow Level 347 Overview
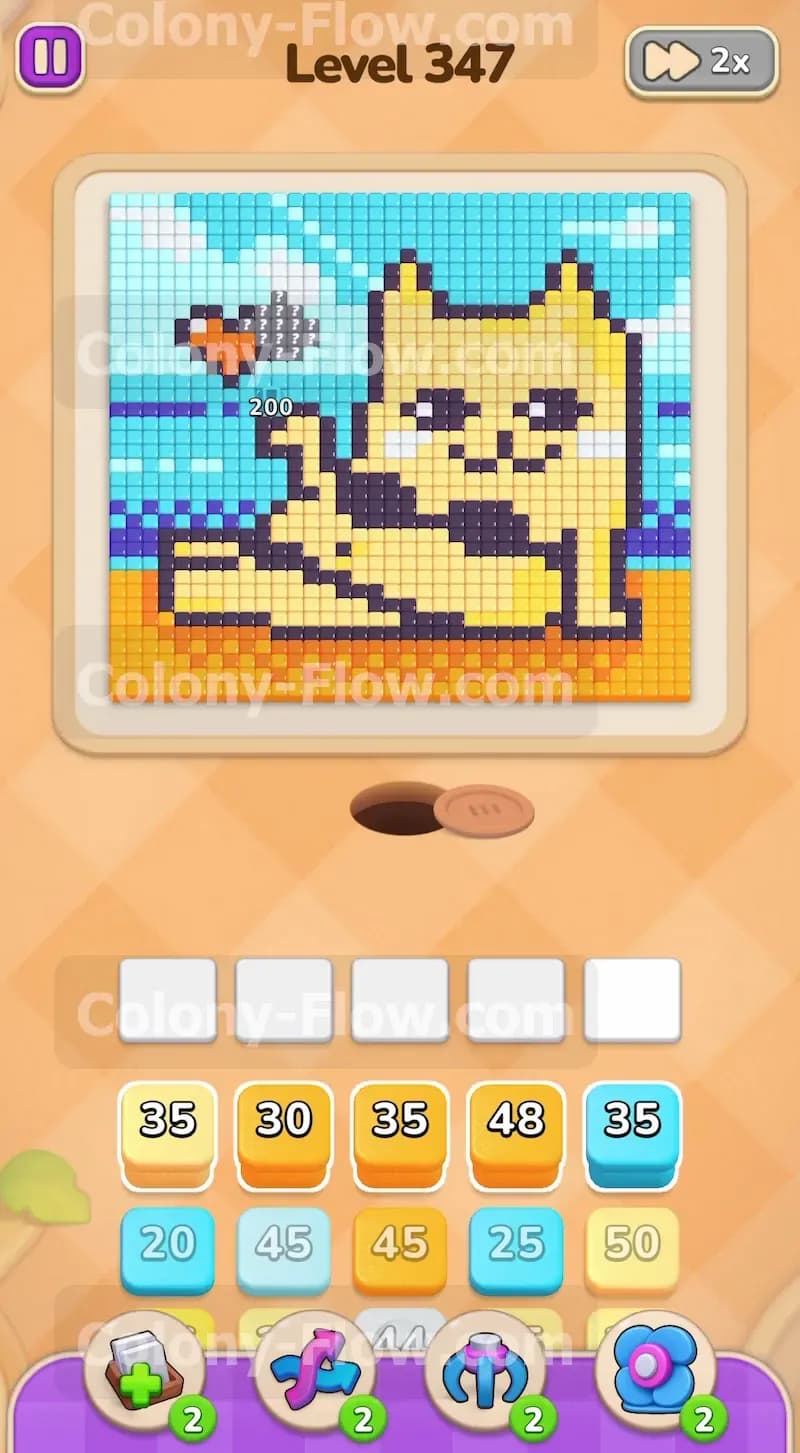
What You Are Working With
The picture at the top of your screen is a bright summer beach scene. The bottom section consists entirely of orange sand tiles. Above the sand sits a large yellow cat outlined in black. The cat wears a black bikini and black sunglasses while holding a small brown drink. The background is divided into a dark blue ocean horizon line, a massive light blue sky, and a few fluffy white clouds scattered around the top corners.
Looking down at the tray, you see a massive stack of colored blocks carrying large numbers. You start with high numbered orange and yellow blocks. As you dig deeper into the tray, you encounter special tiles. You will face connected boxes where two different colored blocks are linked together. You must have open paths for both colors to clear them efficiently. You will also uncover hidden boxes marked with a gray question mark. These hidden boxes conceal their true color and number until you create a valid path for them to move into the board.
What It Takes to Clear Level 347 Board
Winning this level requires you to dismantle the beach scene from the outside edges inward. You must always leave at least one active color on the board so your ants can keep moving. If you pull five blocks into your waiting slots and none of them match an open path on the picture, your ants stop moving and you lose the level immediately.
To clear the board safely, you will alternate between eating the orange sand at the bottom and clearing the white clouds and light blue sky at the top. This strategy creates multiple entry points for your ants. Whenever you pull a connected pair of blocks, you must verify that both colors have exposed tiles ready to eat. Managing the hidden boxes requires extra caution. You should only pull a hidden box when you have at least two empty waiting slots just in case the revealed color needs a minute to find an open path.
Colony Flow Level 347 Step by Step Solution
Step 1: You must clear the outer orange sand and the yellow tail first.
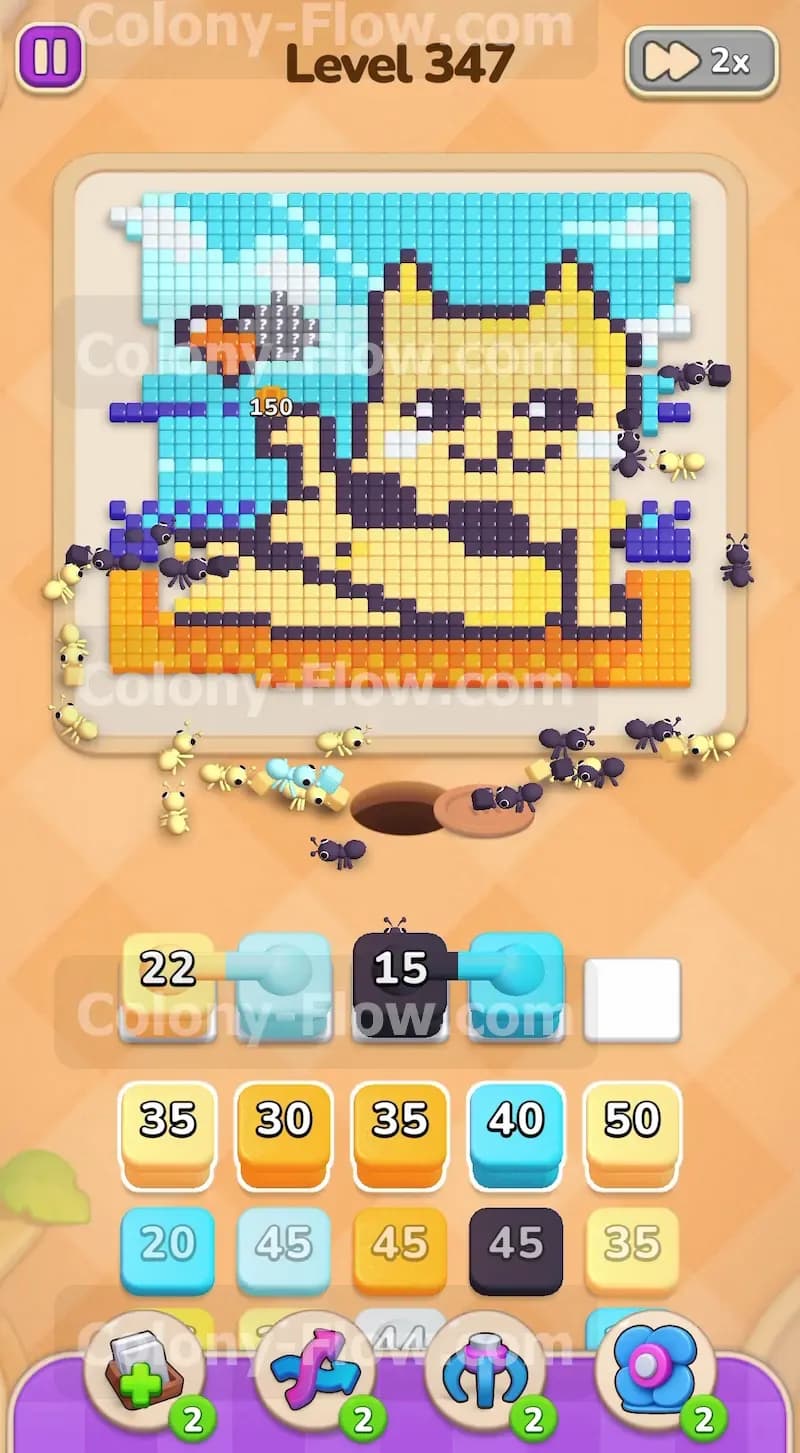
Your first goal is to open up the bottom edge of the board by deploying an orange block and a yellow block. Pull the first orange block and the yellow thirty five block into your waiting slots. The ants will immediately stream out of the nest and start eating away the orange sand tiles along the bottom edge of the picture. Meanwhile a second group of ants will attack the yellow tiles forming the tail of the cat on the left side. Getting these two paths open early prevents your waiting slots from clogging up. As the numbers on your orange and yellow blocks count down to zero, you open up access to the black outline of the cat and the dark blue ocean water.
Step 2: Deploy the first connected light blue and black blocks to clear the outline.
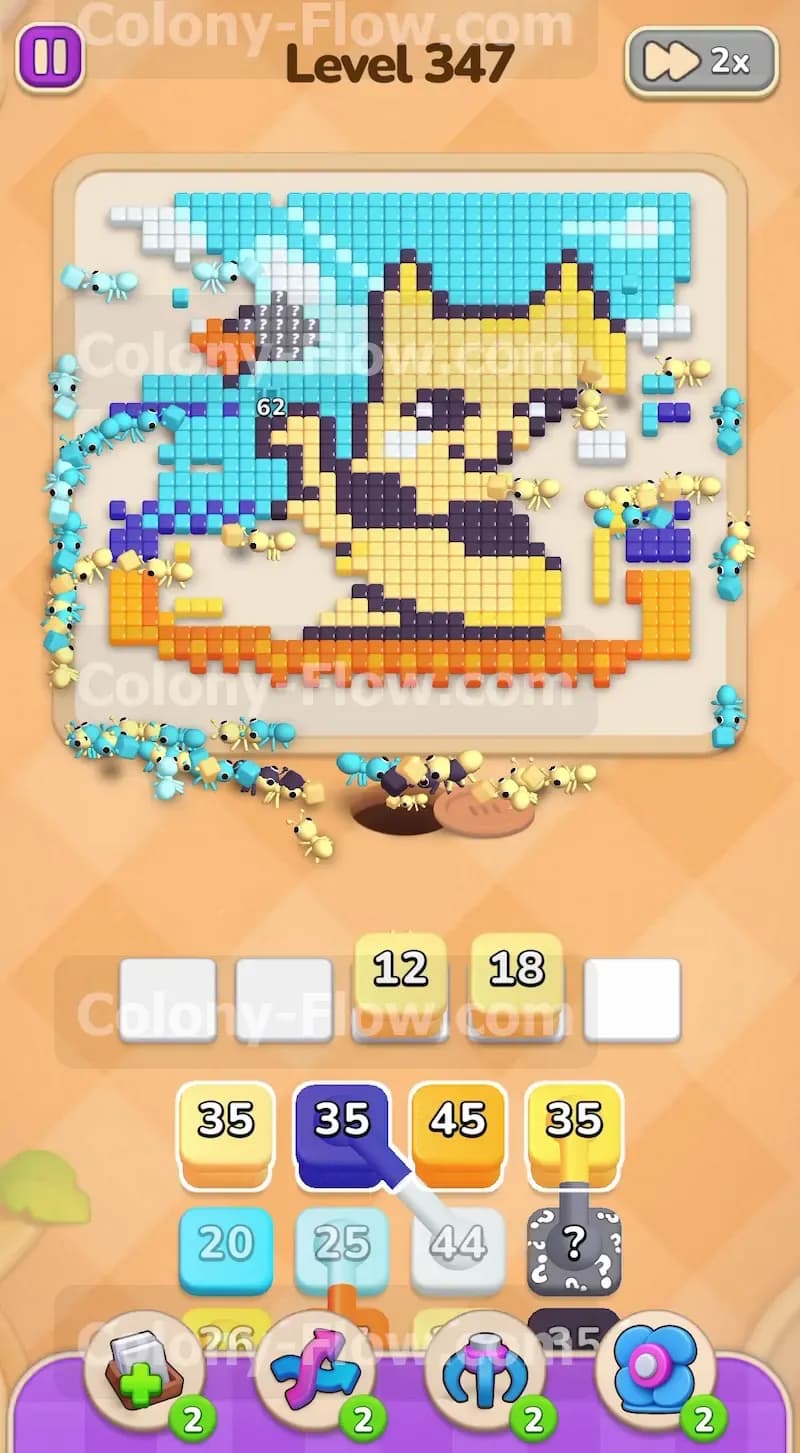
Once the sand begins to clear, you will see a light blue block connected to a black fifteen block in your tray. Pull this connected pair into your waiting slots. The light blue block sends ants to the outer edges of the sky on the left side of the board. The black fifteen block targets the dark bikini and the lower outline of the cat. Playing this connected pair right now is perfectly safe because you already exposed the black tiles by clearing the sand and the tail. The ants will chew through the black outline and the lower sky simultaneously. This keeps your slots moving and prevents any traffic jams in your tray.
Step 3: Reveal the hidden box linked to the dark blue block to clear the ocean.
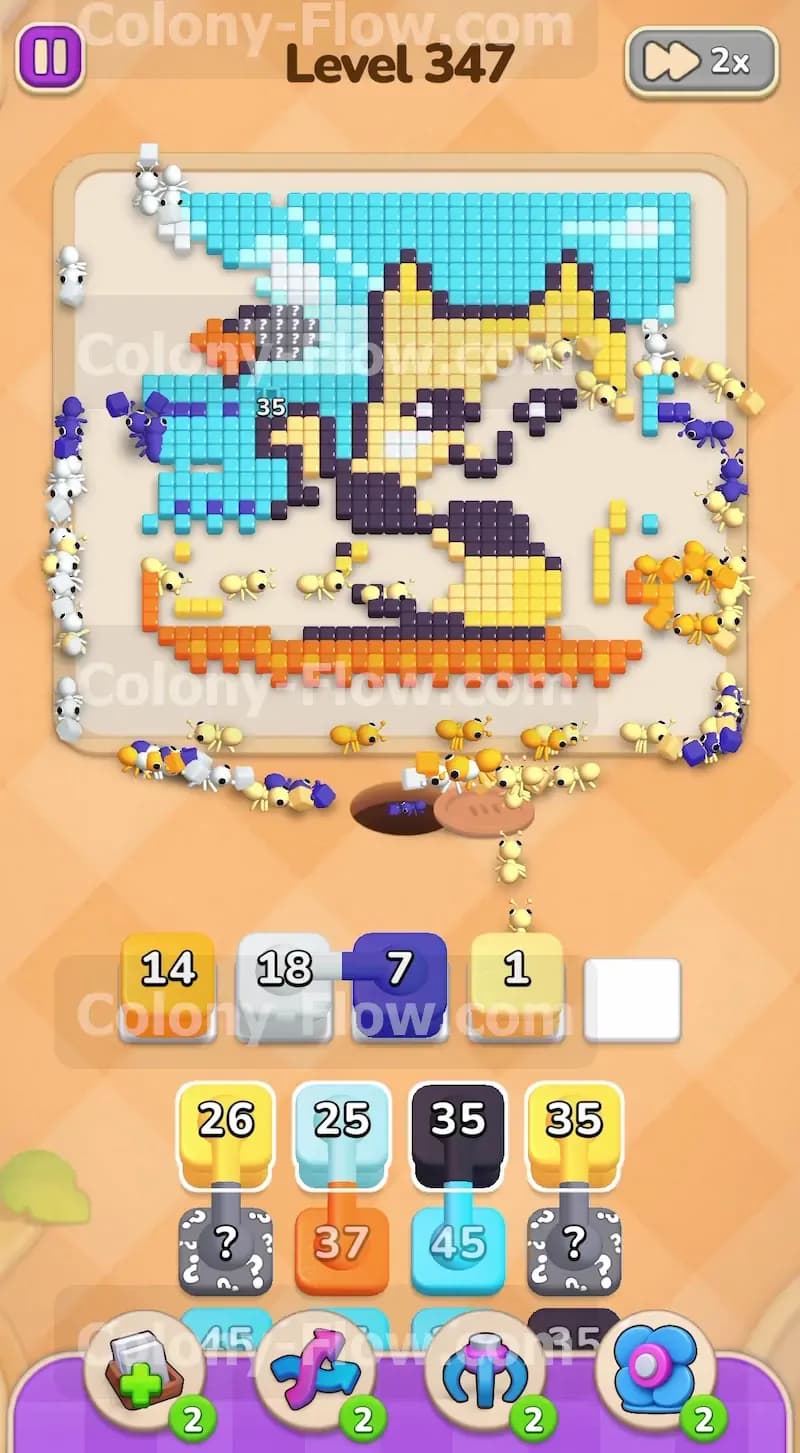
As you clear the left side of the picture, you expose the dark blue tiles that make up the ocean horizon. Look at your tray and locate the dark blue block that is linked to a hidden gray box. Pull this dark blue block up into a waiting slot. The ants will rush to the left side and begin clearing the ocean line. Pulling this block also triggers the hidden gray box to reveal its true color. It is crucial to have an empty slot ready here. By waiting until the ocean was exposed before pulling this pair, you ensure the dark blue ants go to work instantly. This rapid clearing makes room for whatever color the hidden box turns out to be.
Step 4: Break down the main yellow cat body using blocks with large numbers.
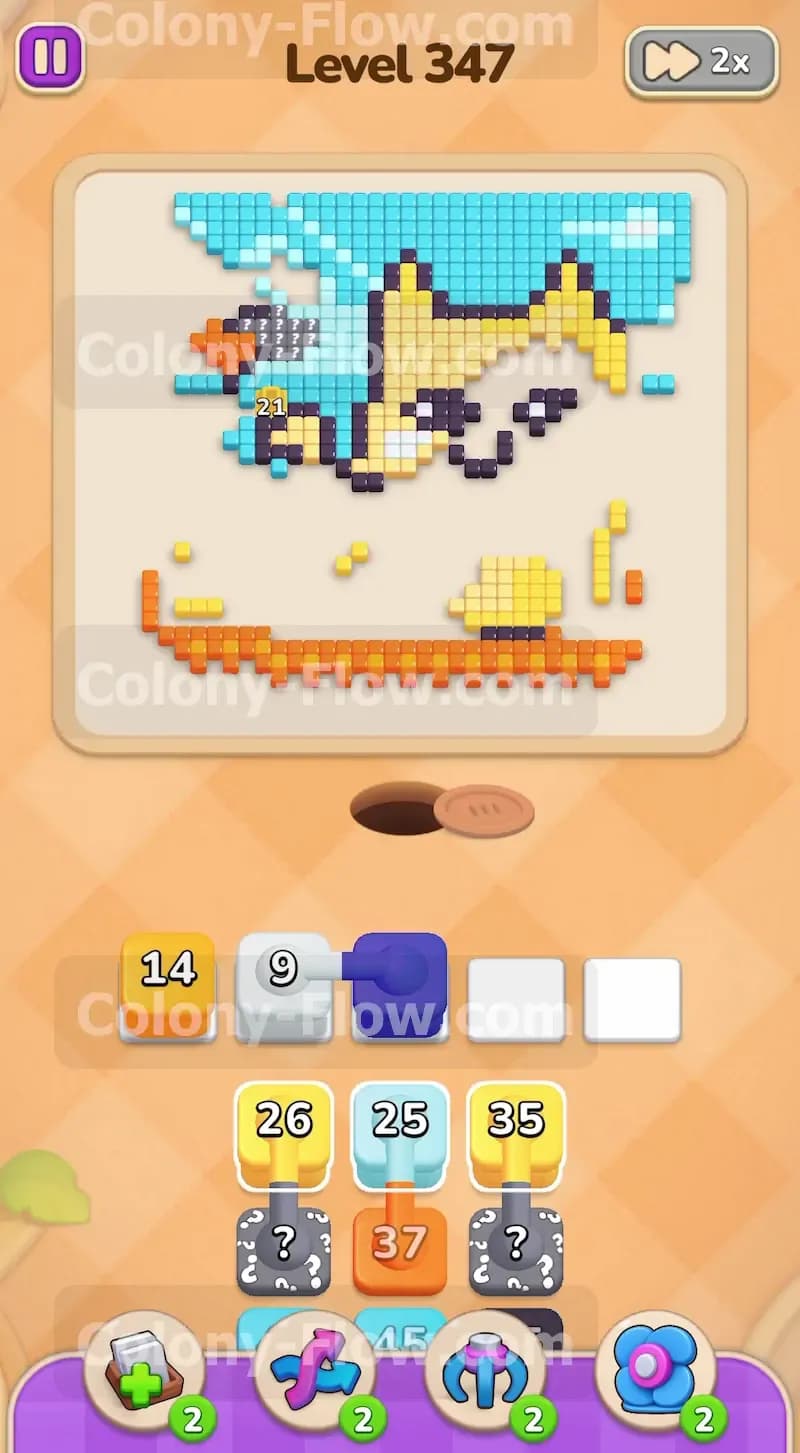
With the outer edges heavily reduced, your board is now mostly composed of the yellow cat body and the remaining light blue sky. Your tray offers several yellow blocks including a thirty five and a forty five. Pull one of the yellow blocks into your waiting slots. The ants will swarm the main body of the cat. They will eat away the belly and the legs. As the yellow tiles disappear, they expose more of the black bikini details and the sunglasses on the face. Keep a close eye on the numbers counting down. Do not pull a second yellow block until the first one is almost empty. You need to keep your remaining slots open for other colors that might pop up.
Step 5: Clear the white clouds on the left and right side of the sky.
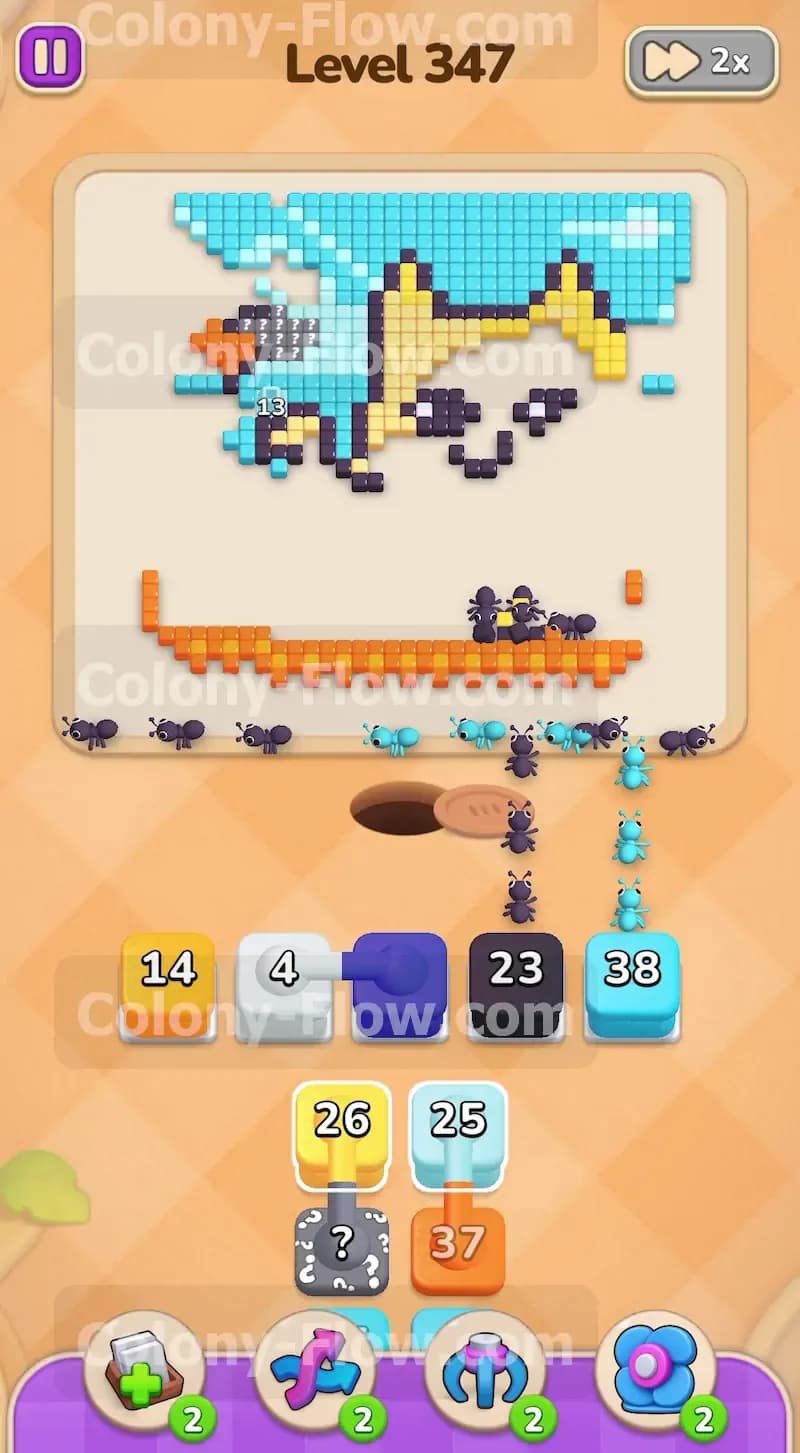
The fluffy white clouds at the top corners of the picture are fully exposed by now. Pull the white forty four block from your tray. The ants will split up and march up both sides of the board to eat the white tiles. Clearing the clouds is a great move because it removes the outermost layer of the top section and opens up massive sections of the light blue sky underneath. The white block takes some time to count all the way down from forty four. Leave it in the waiting slot and let the ants do their job. Focus your next moves on the lower half of the board while the white ants work up top.
Step 6: Process the remaining hidden boxes in the tray one by one.
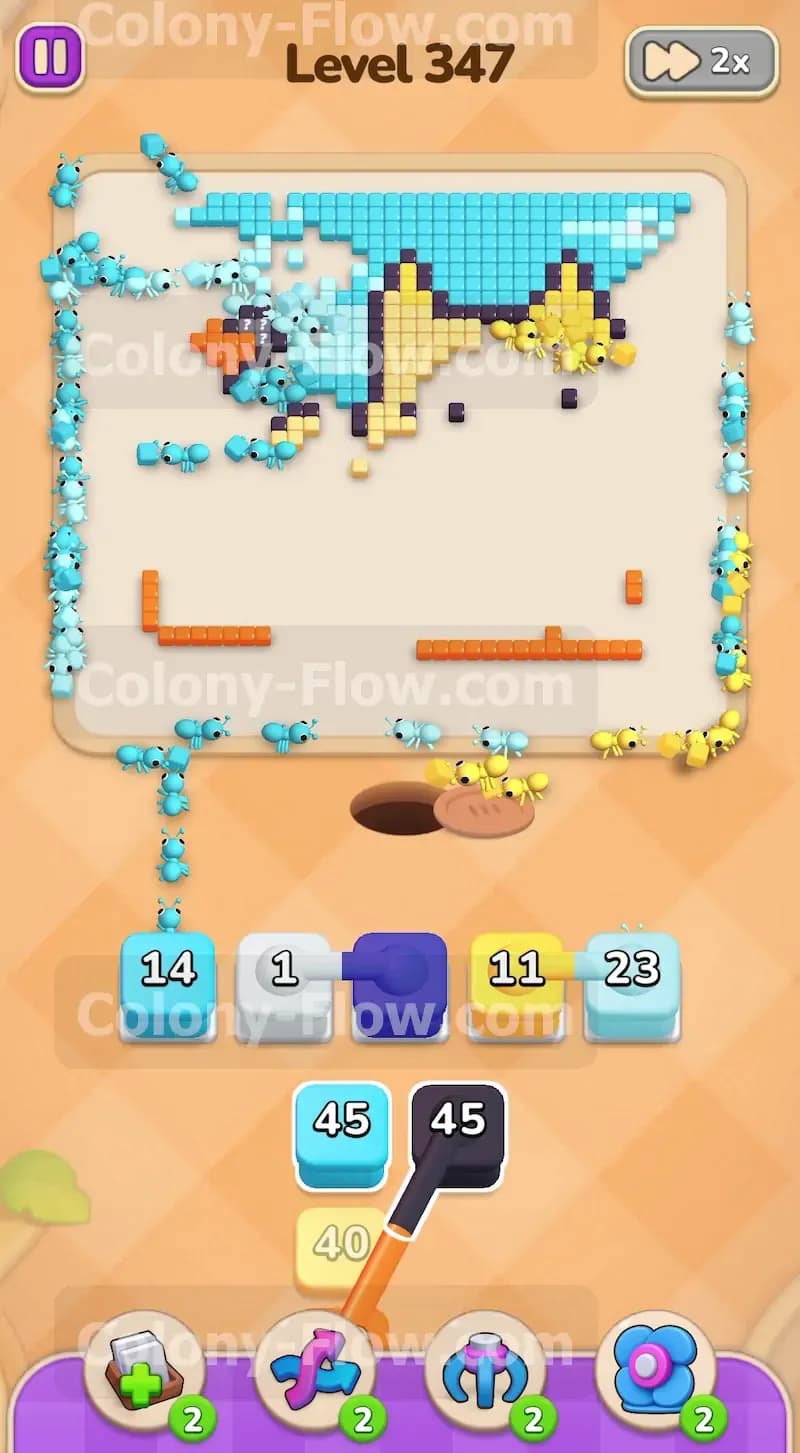
You will reach a point where several gray hidden boxes sit in your tray. Now that the picture is heavily broken apart, you have exposed almost every remaining color on the board. Pull the hidden boxes up one by one. Treat them with patience. Pull a hidden box and wait for it to reveal its color. If it turns into a light blue block, the ants will head for the sky. If it turns into an orange block, they will finish off the last few sand tiles on the right side. Never pull three hidden boxes at the exact same time. You run the massive risk of revealing colors that are blocked behind other tiles. Pull one hidden box, let the ants find their path, and then pull the next one.
Step 7: Play the final connected light blue and black pair to clear the sunglasses.
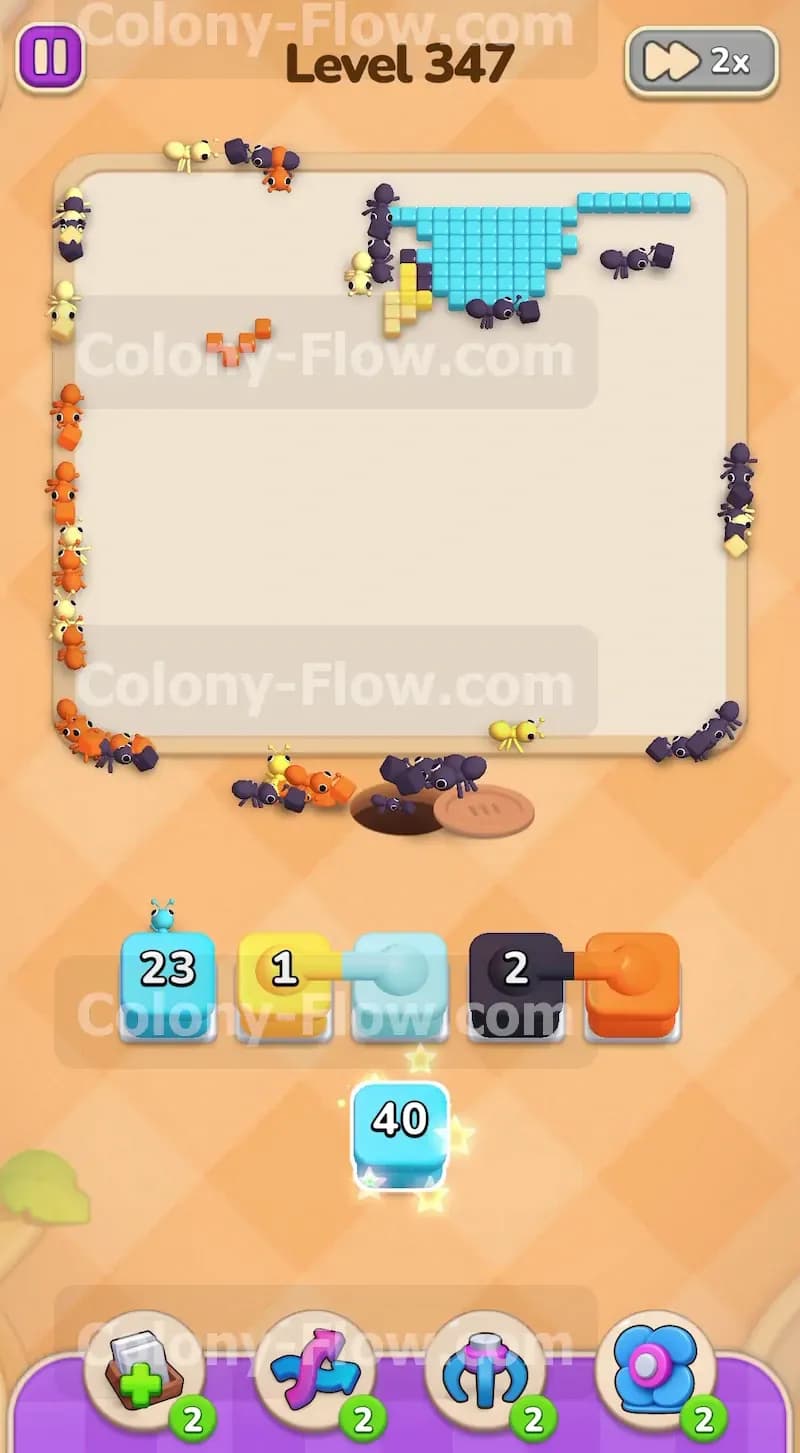
Deep in your tray sits a massive light blue forty five block connected to a black forty five block. By this late stage of the level, the only things left in the picture are the top right section of the sky, the cat ears, and the black sunglasses. Pull this connected pair into your active slots. The ants from the light blue block will rush the top right corner and rapidly devour the remaining sky tiles. The ants from the black block will march straight to the cat face and eat the sunglasses. Because you waited until the face was exposed before playing this pair, the black ants have a direct open path and will not jam your slots.
Step 8: Clear the final straggler tiles using the very last yellow block.
At the very end of the level, your picture is reduced to just a few stray yellow tiles that make up the tips of the cat ears and a couple of floating fragments. Your tray will offer a final yellow forty block. Pull this yellow block into your last open slot. The ants will march up to the top of the board and consume the ears. As the final tiles vanish from the screen, the picture is completely cleared. The remaining ants will filter out of the board and you will trigger the victory sequence for this level.
Final Thought
Clearing this sunny beach scene comes down to managing those connected pairs and hidden boxes without rushing. Always make sure you have a clear path for black and dark blue tiles before you pull them into your waiting slots. Patience is your best tool for keeping the board flowing smoothly. If you find yourself getting stuck on the exact order of the hidden boxes or the connected chains, you can always scroll up and watch the video above this article to see every move in real time.