Colony Flow Level 250 Walkthrough Solution & Guides | How to solve Colony Flow 250

Guide By Liam Stone
Updated on August 1, 2026
You don't need to read the article to solve Level 250. The video above shows you everything.
Video doesn't match your screen?
Game updates frequently scramble layouts! Try our AI Screenshot Solver first to find your exact board instantly, or report broken guides to our team.
Welcome back to another puzzle breakdown. Colony Flow Level 250 presents a cute pixel art dog resting on a massive beige background. I played this level several times to map out the perfect route. The board looks simple at first glance but that solid block of background color can easily clog your waiting slots if you pull the wrong colors too early. You have to think a few moves ahead to keep the ants moving. I will walk you through exactly how I clear this level without dead ending the ants. My strategy ensures your slots stay open from the first move to the final pixel.
Colony Flow Level 250 Overview
What You Are Working With
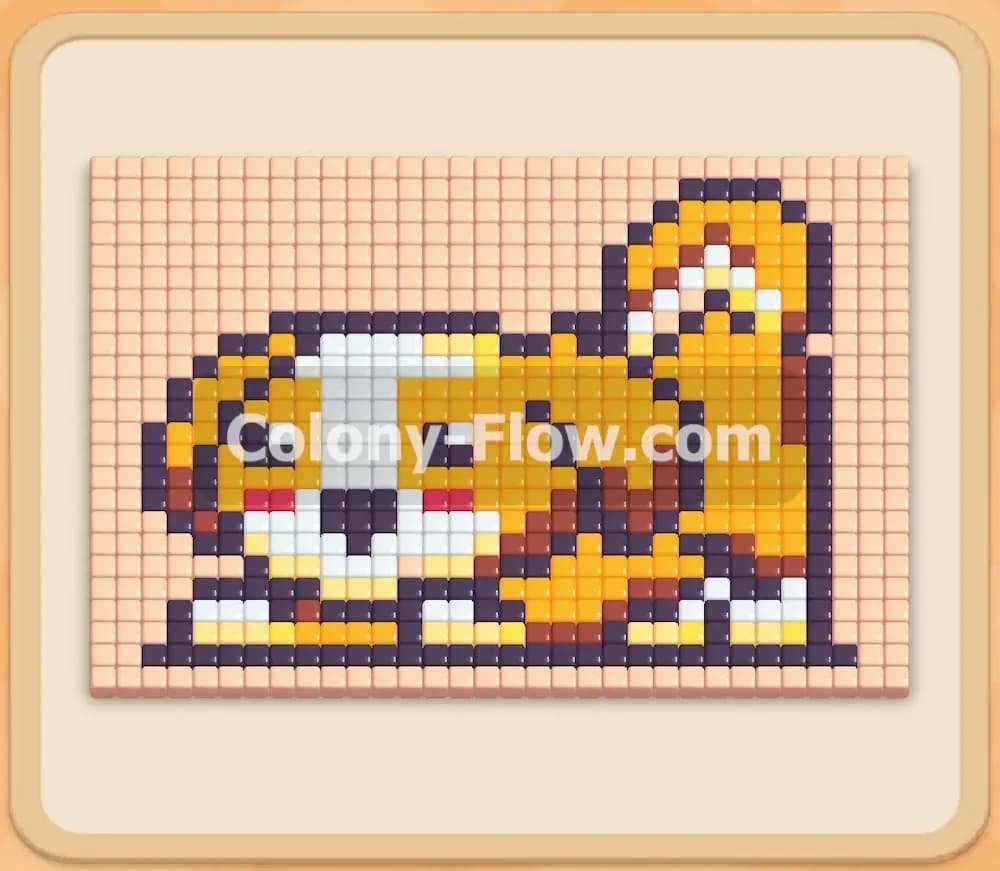
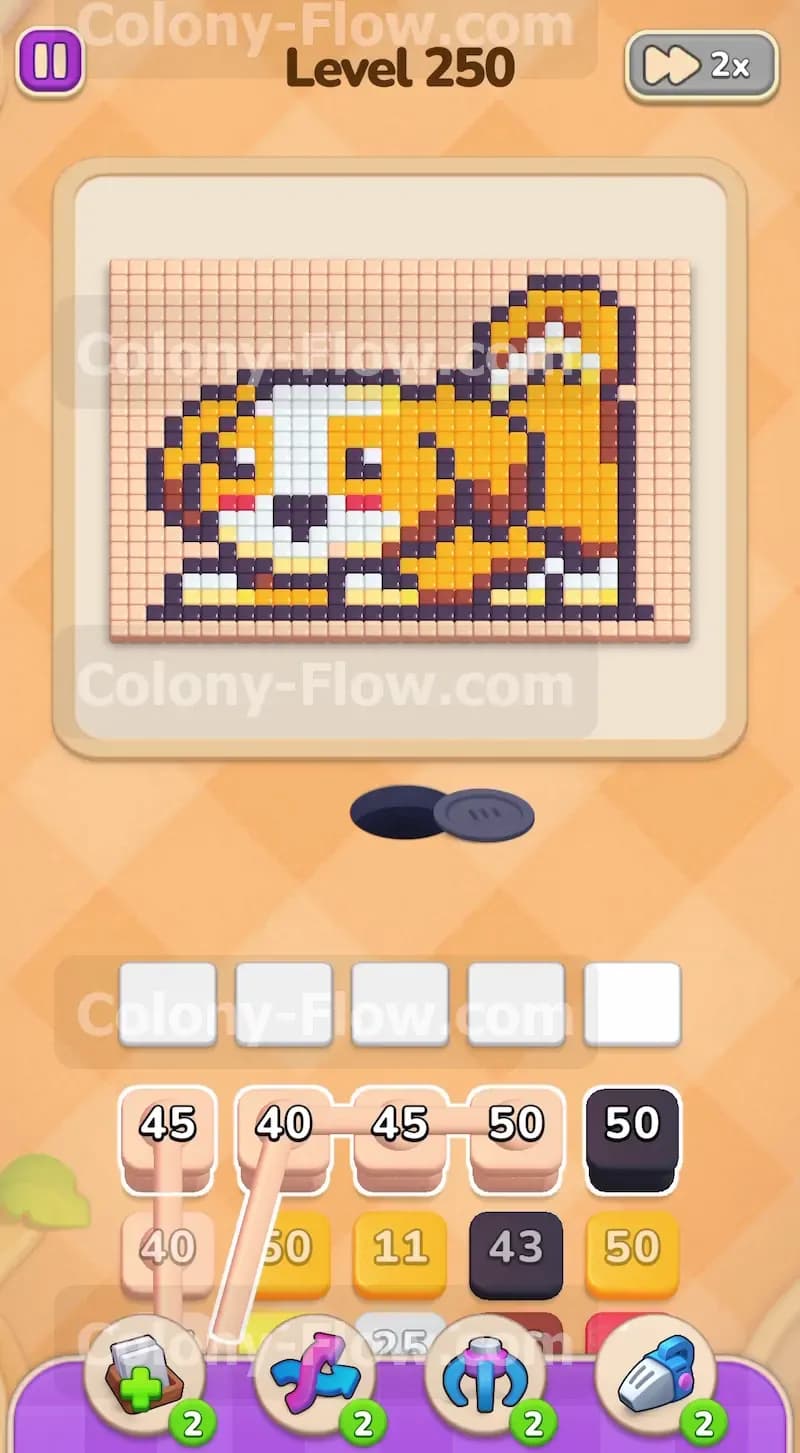
The picture shows a happy dog made of yellow, white, brown, and black pixels with a tiny red tongue. A massive beige grid surrounds the dog completely on the top and both sides. This solid wall of beige blocks access to the actual picture. You cannot reach the dog until you deal with the background. The tray at the bottom starts packed with high number blocks. You will see several beige blocks in the fifties and forties taking up the top rows. A special connected box mechanic also waits deeper in the tray. Three beige boxes are linked together and must move to the waiting area as one single unit. This means they are completely stuck until you have enough room for all three. If you do not have three open slots at the exact same time they will refuse to move and ruin your run. The board only gives you five slots total so managing this space is your main priority.
What It Takes to Clear Level 250 Board
To beat this board you need to strip away the outer beige shell before attacking the dog itself. The ants spawn from the hole at the bottom and need a direct open path to their target color. They cannot dig through a color that does not match their current block. If you pull yellow or black early the ants will march up, hit the beige wall, and stop completely. Those blocks will just sit in your waiting area taking up valuable space. You only have five slots available at any time. Filling all five slots with blocked colors causes an instant loss. The winning path requires you to clear the beige perimeter systematically. Once the beige border is completely gone the ants can reach the yellow tail, the black outlines, and the rest of the dog from all angles. Keeping at least one path open ensures the ants always have a job to do and your slots never jam.
Colony Flow Level 250 Step by Step Solution
Step 1: Start with the single beige blocks to carve out the outer edge.
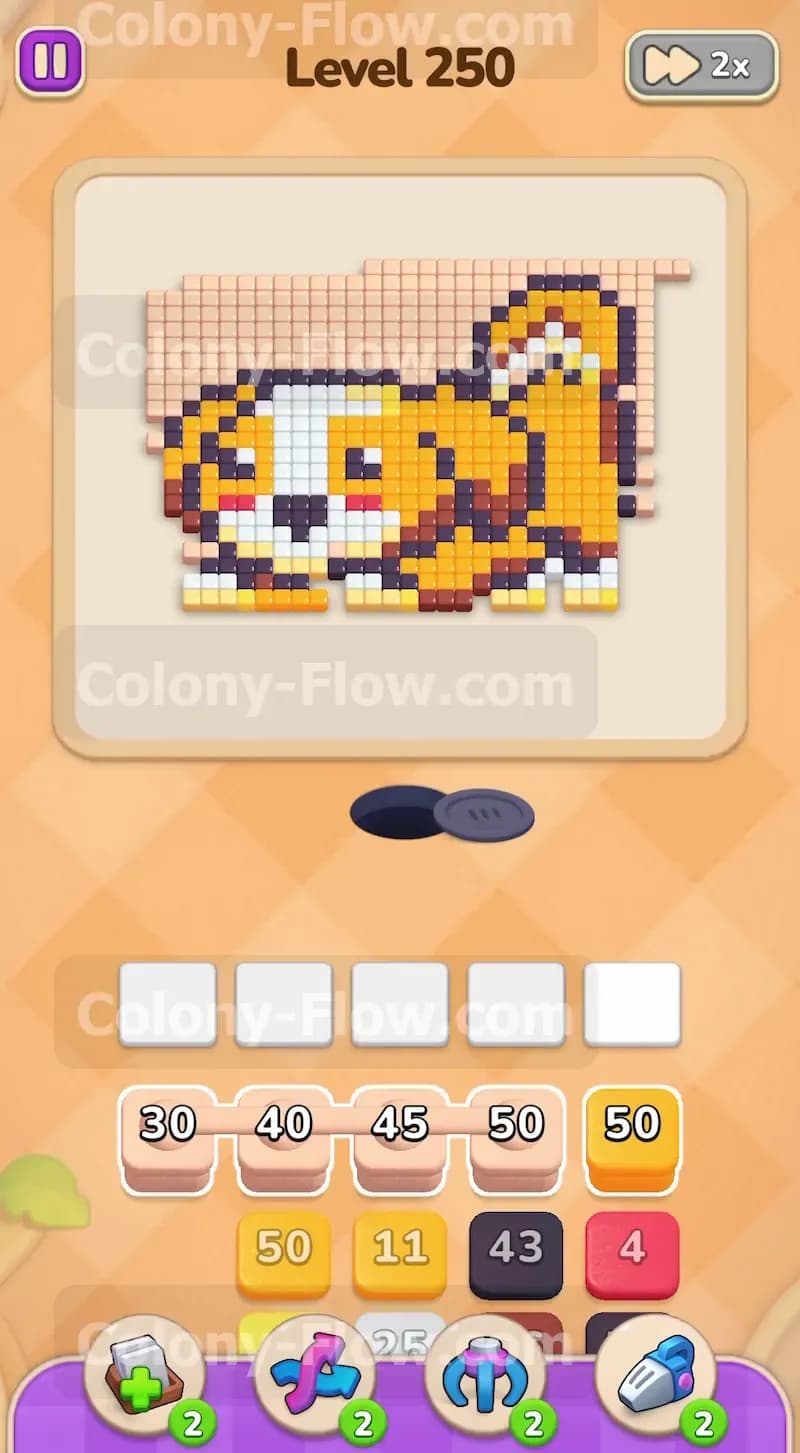
You must begin by pulling the individual beige blocks from the top row of the tray. The numbers are incredibly high with some holding forty or forty five ants each. Tapping these moves them up to the waiting area. The ants immediately flood out of the nest and start eating away the bottom edge of the background grid. This action is totally safe because the beige pixels sit directly next to the open space at the bottom of the screen. The ants do not have to travel through any other colors to reach their food. They just start chomping away at the bottom border. Keep your eye on the waiting slots as they work. You should only pull a new beige block when an old one empties out completely. This keeps the board flowing naturally and prevents an accidental jam in your five slots.
Step 2: Pull the first yellow blocks to clear the tail section.
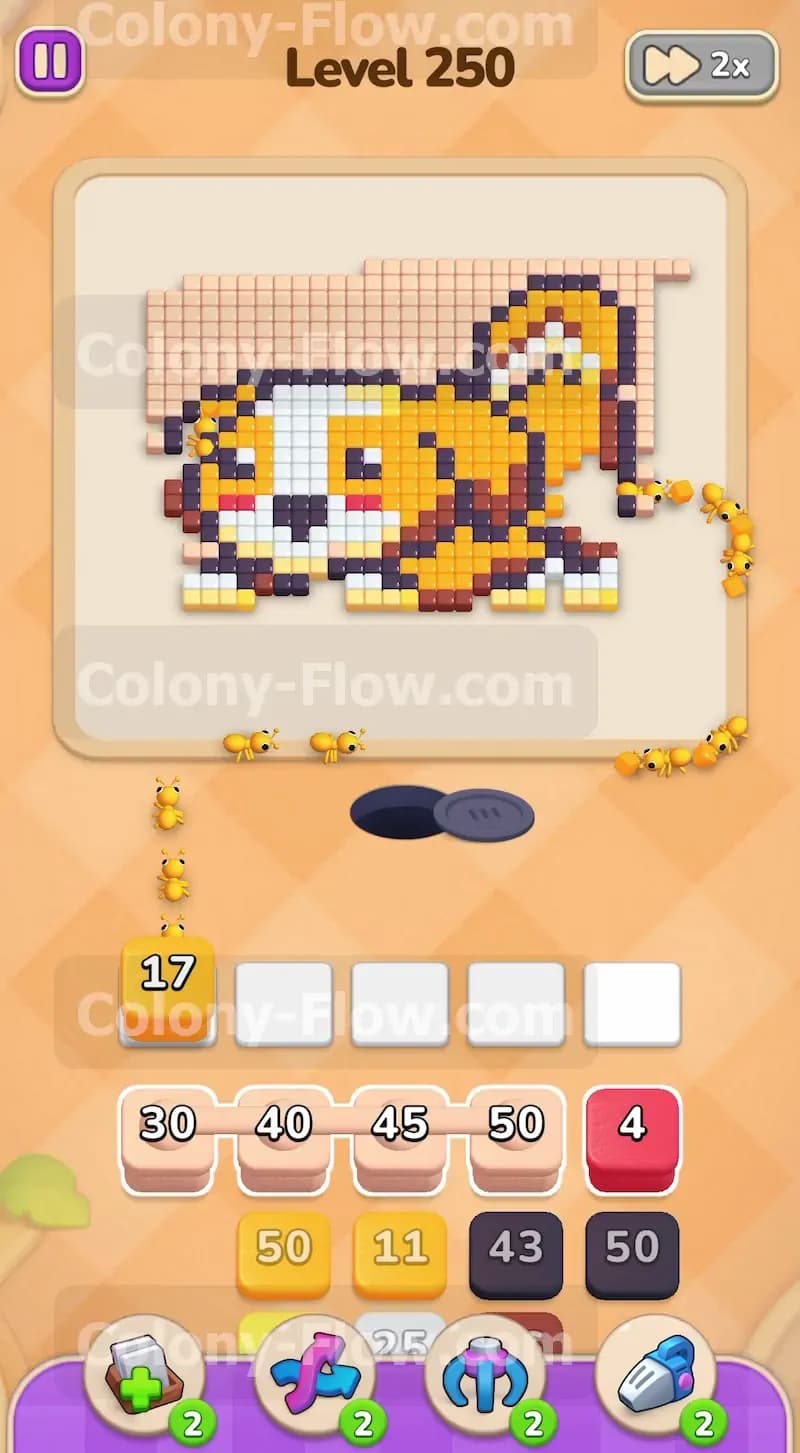
Once the bottom right corner of the beige background is gone the ants gain access to the yellow pixels of the tail. Look at your tray and select a yellow block from the next row. The tail sits on the far right edge of the board so the ants will march up the newly cleared right side path to eat those yellow tiles. A yellow block starting with fifty ants will drop down rapidly as they swarm the tail. Letting the ants clear this specific section opens up much more surface area for the next colors in line. You always want to maximize the exposed edges of your target color before committing a new block to the waiting area. Clearing the tail early gives you a great entry point into the main body of the dog later on.
Step 3: Target the red pixels to free up tray space quickly.
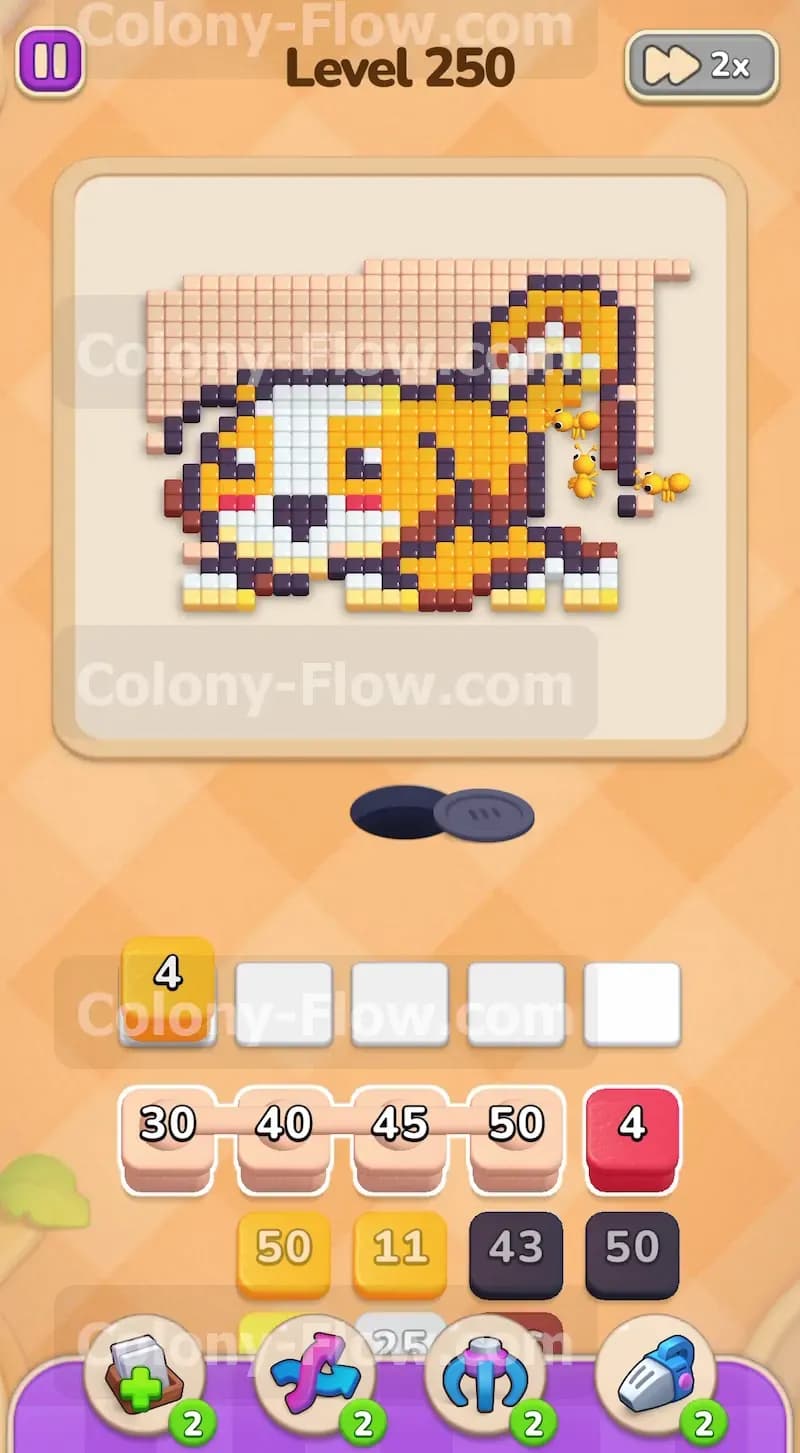
The dog features a very small amount of red pixels making up the tongue and nose. The tray holds a red block with a tiny value of four. You might be tempted to leave this small block for later in the level. You should absolutely pull it as soon as the mouth area becomes exposed. Taking this block out of the tray shifts everything else forward and gives you much better access to the blocks trapped underneath. The ants will quickly consume the four red pixels and free up that waiting slot almost instantly. Making quick work of small blocks is a fantastic way to keep your slots rotating and your options completely open. You never want a tiny block taking up space when you need room for bigger moves.
Step 4: Make room in the slots for the connected beige boxes.
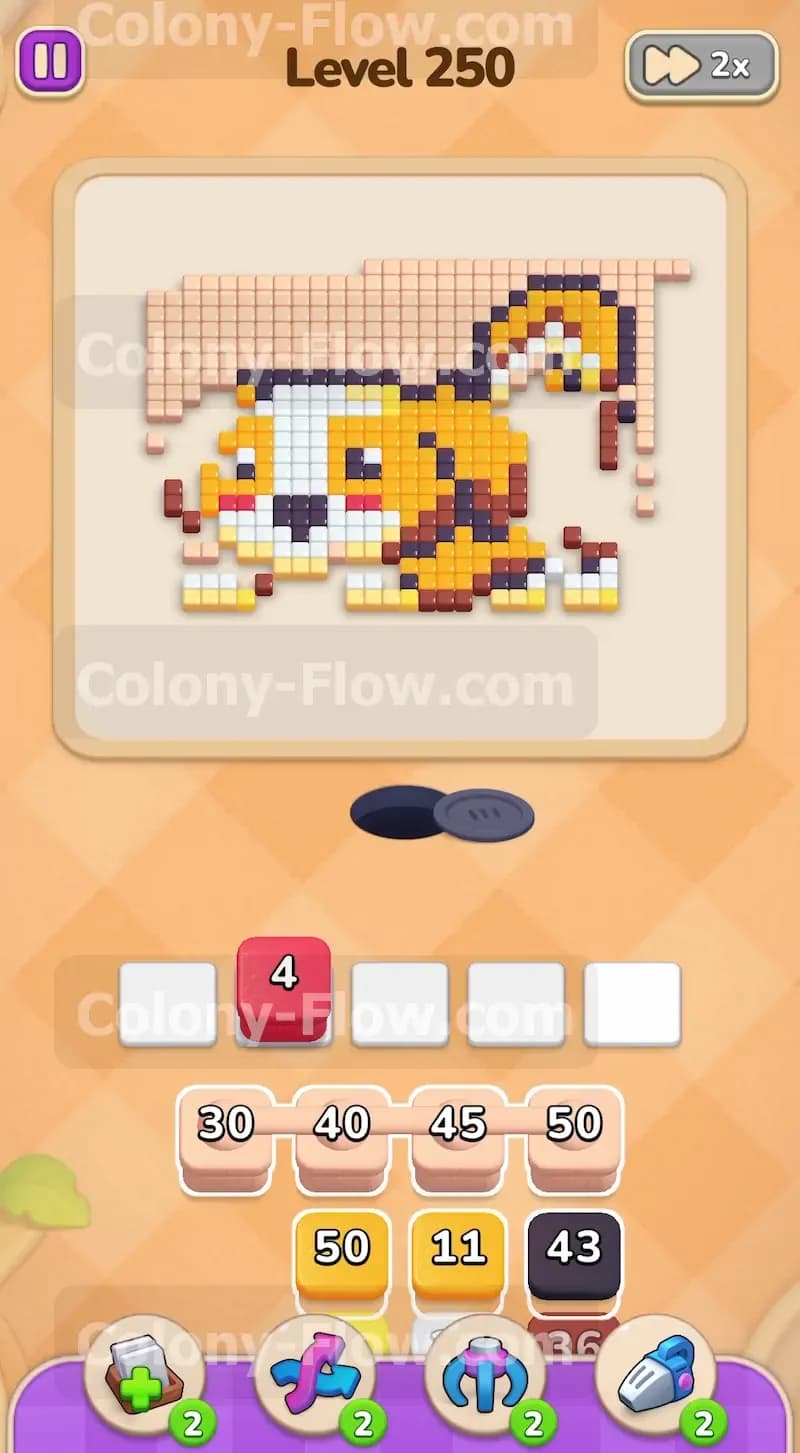
This level introduces a tricky set of connected boxes in the tray. Three beige blocks are physically joined together with a rigid bar. You cannot pull them one by one like normal blocks. They move as a complete group and require three empty waiting slots at the exact same time. You must wait until your current blocks finish completely before you touch them. Let the ants eat the remaining yellow or red pixels until your slots are totally empty. Once you have three open spots you can finally tap the connected beige blocks. They will slide up together and fill the majority of your tray. The ants will then pour out to finish eating the massive beige background surrounding the top and left sides of the dog.
Step 5: Finish the background completely to expose the entire dog.
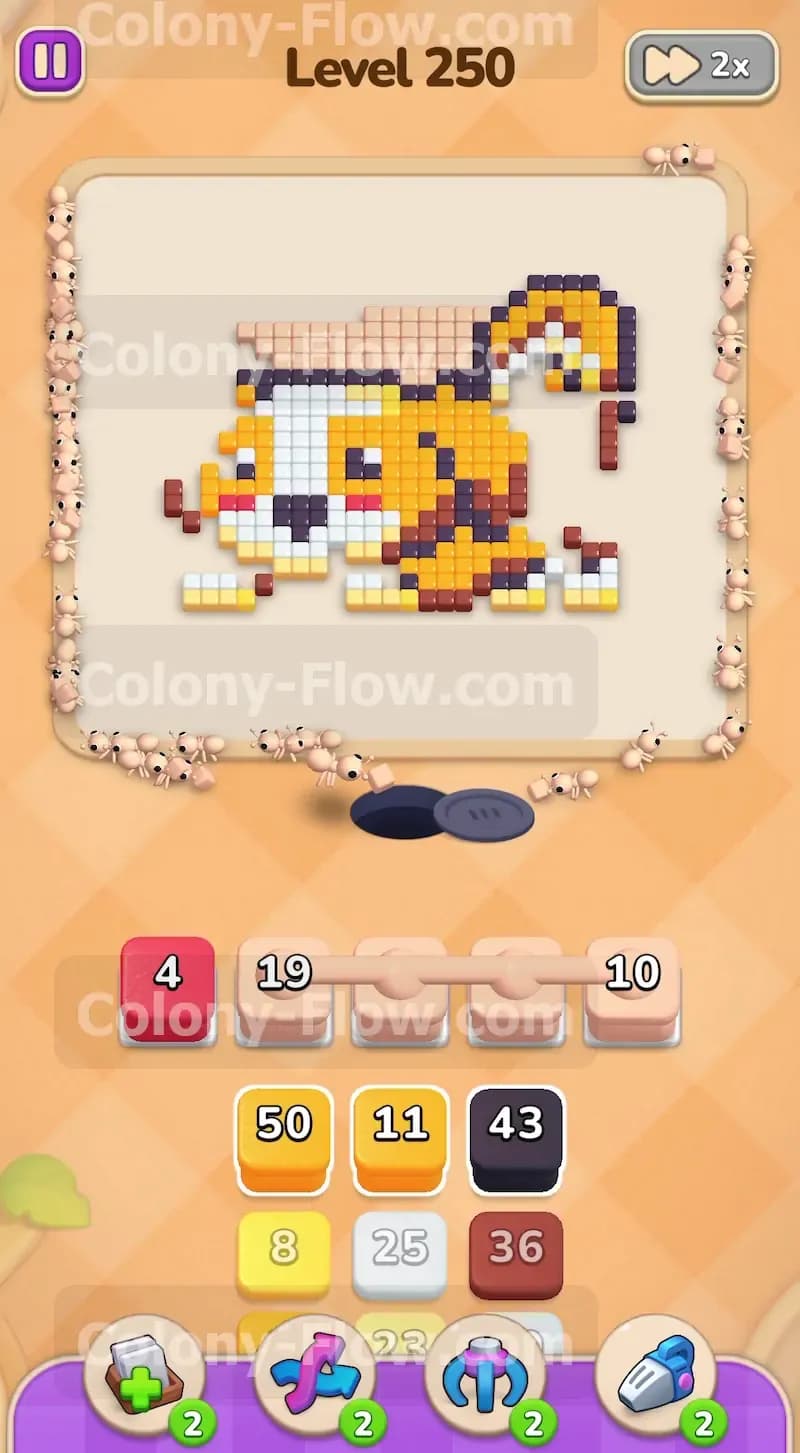
The connected beige blocks carry values of nineteen and ten. The ants will travel all the way around the left side and top edge of the board to eat the remaining background tiles. Watch them closely as they work their way around the perimeter. You need every single beige pixel gone to win this phase. Removing the entire background grid is the only way to expose the top layers of the black outline and the yellow ears. If you leave any background tiles behind they will block the ants from reaching the inner pixels and ruin your endgame. Do not pull any other colors while the ants are finishing the connected beige blocks. Just let them work until the waiting area is completely empty again.
Step 6: Swarm the yellow body parts with high capacity blocks.
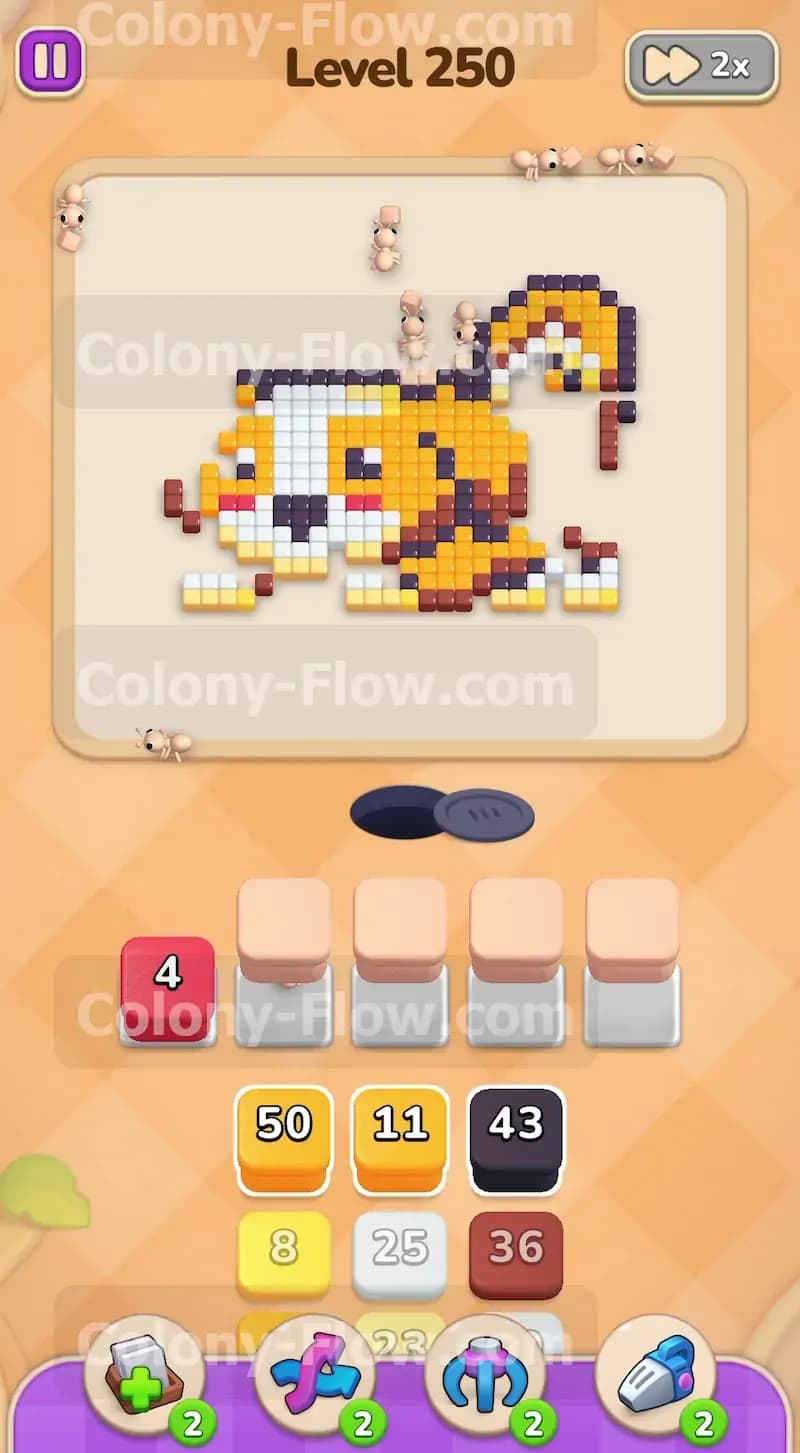
Now the dog stands completely alone on the board. The outer edges are totally exposed and ready to clear. It is time to attack the yellow body and legs. Pull the yellow blocks with fifty and twenty four values up to the waiting area. The ants will attack the dog from every direction since the beige wall is finally gone. They will eat the ears, the back, and the front paws simultaneously. This massive swarm drains the high capacity blocks very fast. Because you cleared the background first the ants never get stuck behind another color. They march straight to their targets and keep the waiting area rotating quickly. You will see the overall shape of the dog start to shrink significantly.
Step 7: Clear the black outline blocks to break the shape apart.
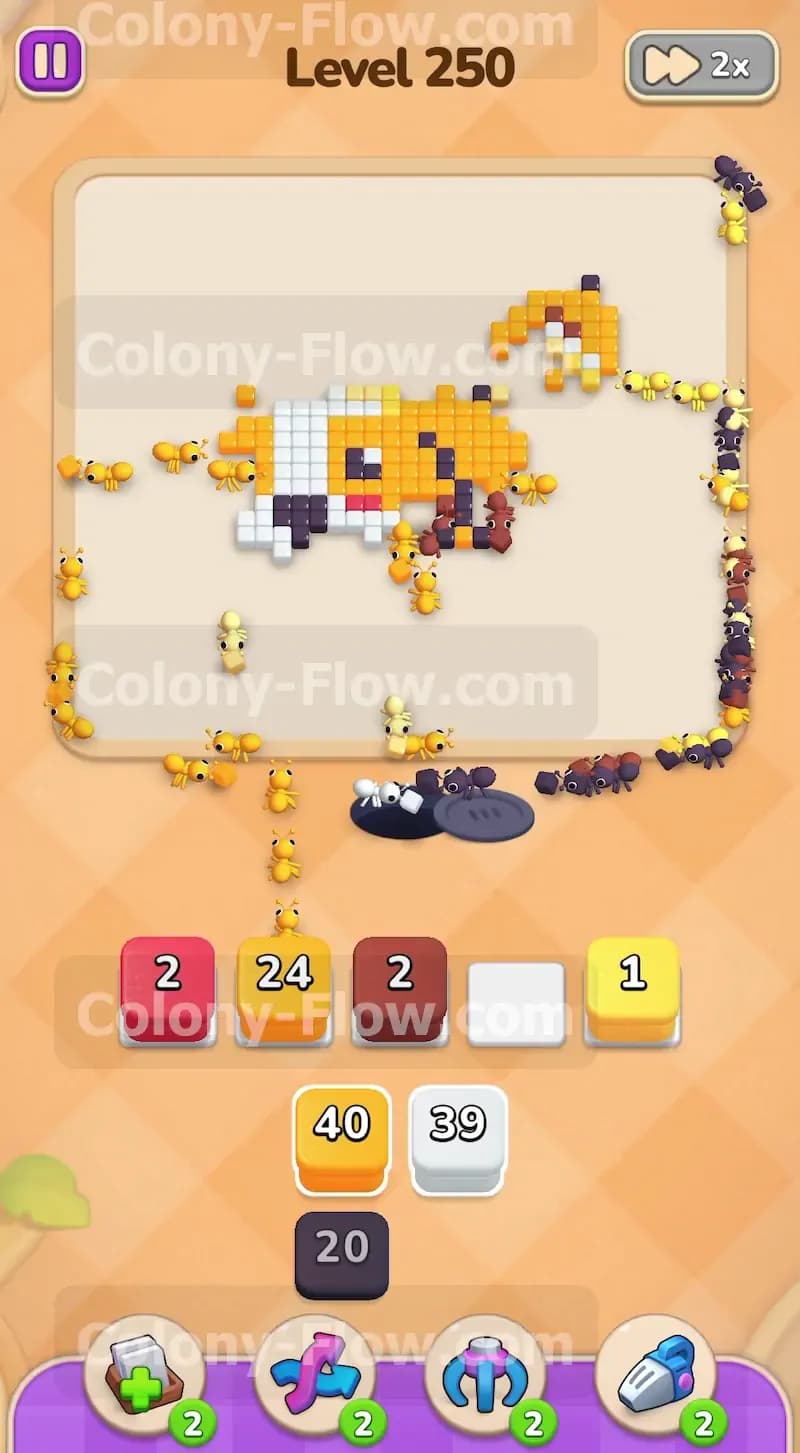
The black pixels form the heavy outline of the dog and separate the different colors inside. Pull the black blocks from the tray next. You will see blocks with values of forty three and two waiting for you. The ants will easily reach these black pixels because the yellow outer layers are already gone. Removing the black outlines breaks the solid shape of the dog into smaller disconnected islands of brown and white. Breaking the shape apart gives the ants even more angles to approach the remaining food tiles. This continuous dismantling of the picture is the core strategy for avoiding dead ends. Every removed black pixel creates a new path for the next color.
Step 8: Clean up the final brown and white pixels to win.
Only the inner brown and white pixels remain on the board at this stage. Your tray will show a brown block with thirty nine and another with twenty. You will also see white blocks for the face. Pull these remaining blocks in any order you like. The picture is so broken up that the ants have direct open paths to every single remaining pixel. They will swarm the face and the belly patches from all sides. The waiting slots will cycle through these final blocks incredibly fast. The level ends successfully when the last white pixel vanishes and the final ant finishes the meal.
Final Thought
Colony Flow Level 250 requires intense patience and a strict focus on the background grid. Do not rush to pull the pretty colors until the beige border is totally destroyed. Managing your waiting slots for those connected blocks is the true test of this board. You must keep your space open and never trap the ants behind colors they cannot eat. If you struggle with the exact timing of the connected boxes just watch the video above this article. Seeing the ants clear the path in real time will help you master the rhythm and beat the level.