Colony Flow Level 159 Walkthrough Solution & Guides | How to solve Colony Flow 159

Guide By Liam Stone
Updated on July 12, 2026
Watch the video above for the quick version of the Level 159 walkthrough.
Video doesn't match your screen?
Game updates frequently scramble layouts! Try our AI Screenshot Solver first to find your exact board instantly, or report broken guides to our team.
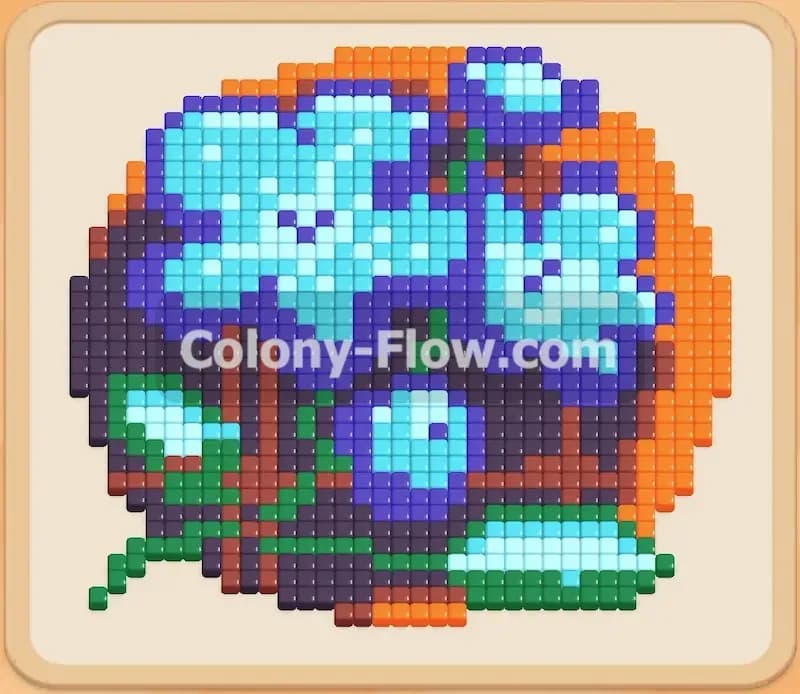
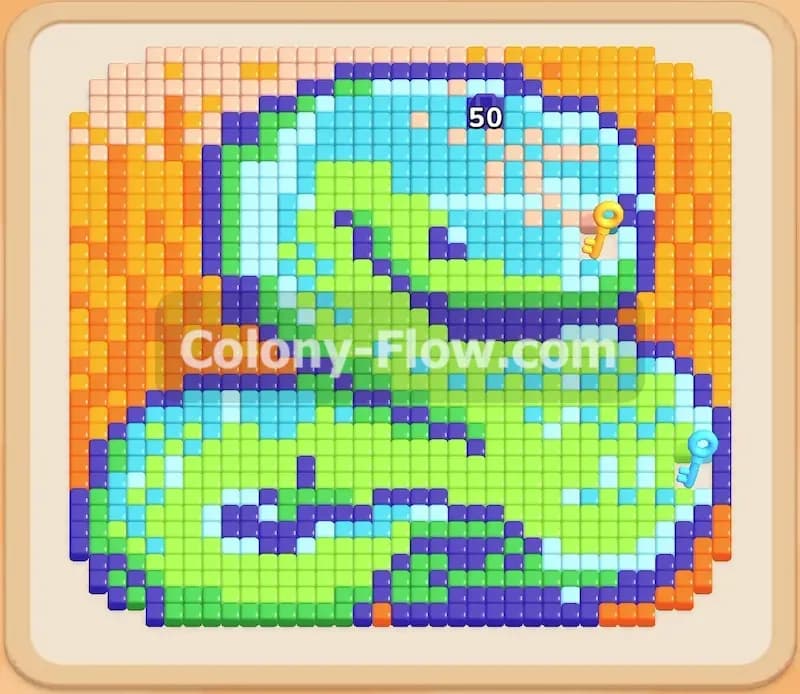
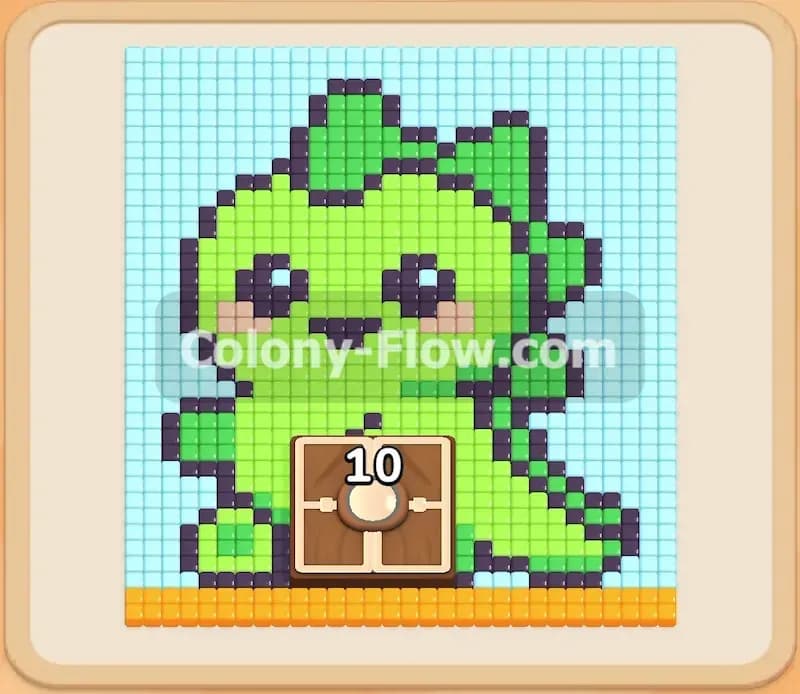
Welcome to Colony Flow Level 159. This specific puzzle features a large green dinosaur pixel art design surrounded by a bright light blue background. Right in the middle of the dinosaur sits a large wooden crate that covers the center tiles. You must clear the picture from the outside moving inward while managing complex block combinations in your tray. I play every level myself and build my strategy around keeping the ants moving constantly. I will walk you through exactly how to empty the tray and keep your colony flowing without getting stuck.
Colony Flow Level 159 Overview
What You Are Working With
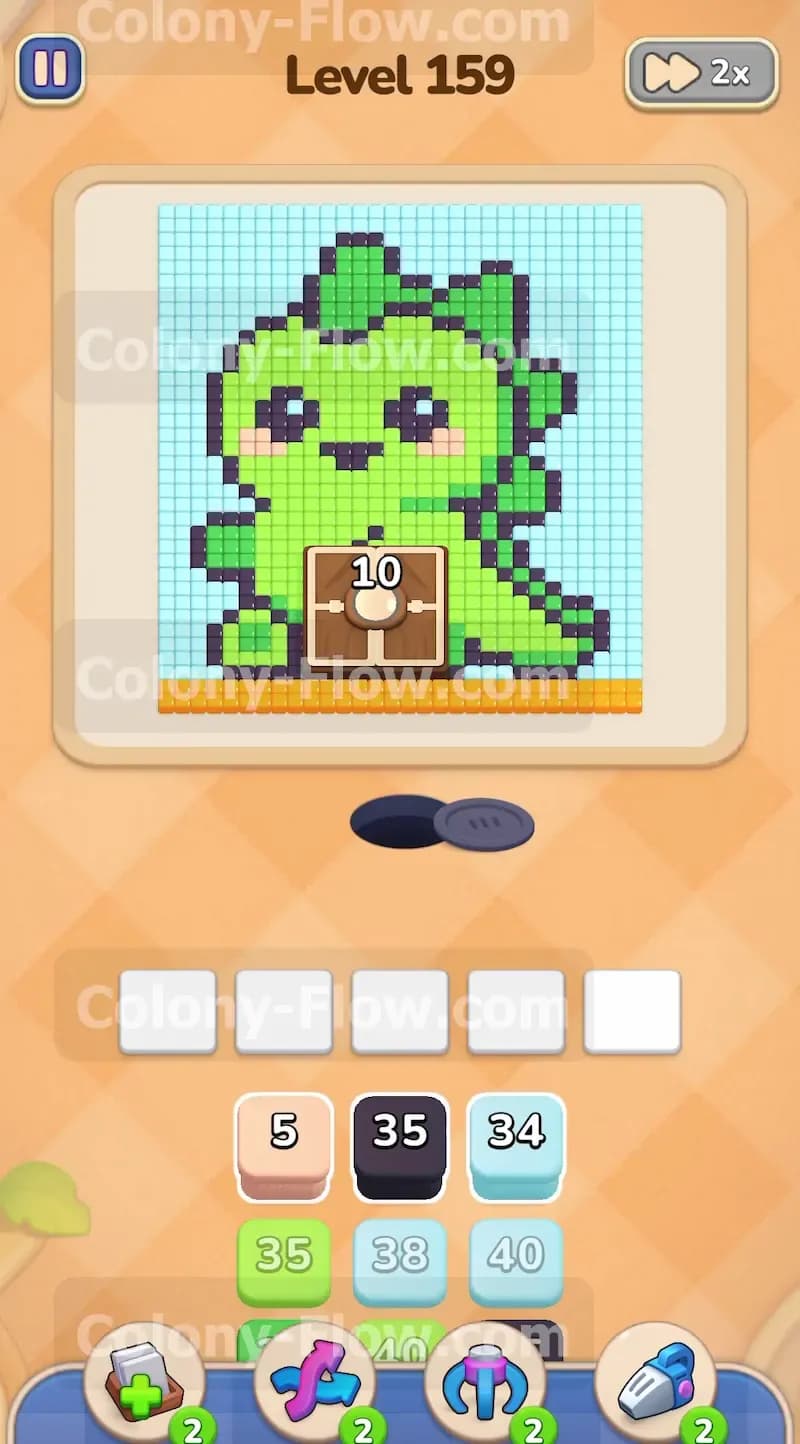
The board shows a beautiful pixel art green dinosaur with thick black outlines. A light blue background wraps around the top edge of the dinosaur framing the picture. The very bottom of the puzzle rests on a row of orange ground tiles. A large crate rests directly on the belly area of the dinosaur. This crate acts as a hungry door and holds a number that changes as you work around it. Down in the tray you have a colorful mix of light green blocks black blocks light blue blocks and light pink blocks. You will also deal with connected boxes in your tray. These linked blocks must move to the waiting slots together as a single unit. You have exactly five waiting slots available at the bottom of the screen. If you fill all five slots without an open path for your ants to reach the matching food tiles on the board you lose the game immediately.
What It Takes to Clear Level 159 Board
Clearing this board requires you to feed the entire pixel art picture to your active colony. You must peel away the bottom orange row and the outer black outlines first. Doing this early opens wide clear paths to the inner green body tiles. You pull numbered blocks from the tray to match the tile colors on the board. Each block has a specific number that drops down as the ants consume the matching colored tiles. The real challenge comes from managing the connected boxes carefully. You need to ensure both colors in a linked pair have an open path on the board before you pull them into the slots. Finally you will clear the remaining background tiles and whatever hides behind the central crate to completely finish the puzzle.
Colony Flow Level 159 Step by Step Solution
Step 1: Clear the bottom orange row to open the main body paths
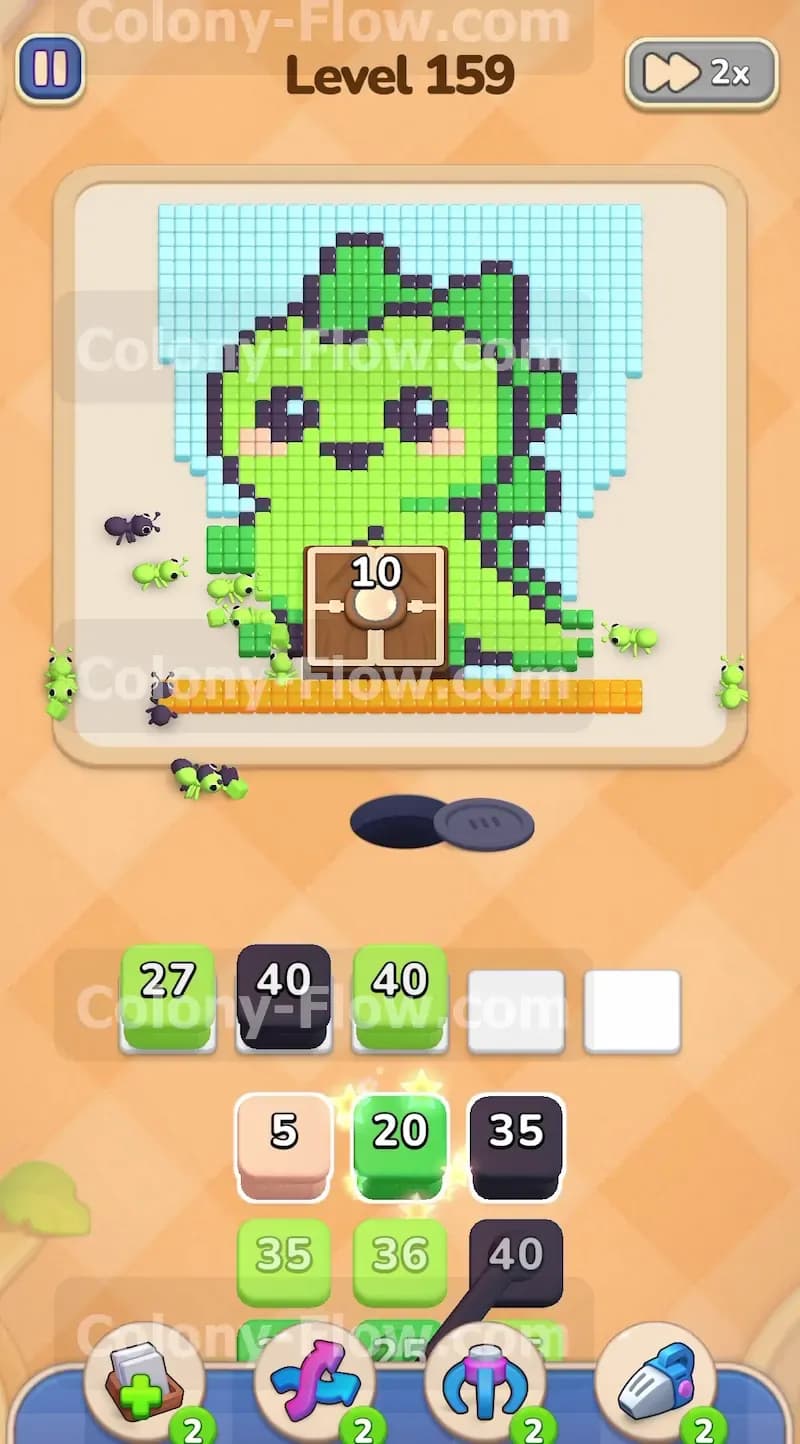
You begin by pulling the light pink 5 block from the tray to clear the bottom orange row of the picture. The ants stream out of the nest hole and immediately eat the bottom ground layer. Removing this base layer exposes the bottom edges of the dinosaur feet and the tail section. Next you send up light green blocks and black blocks to start eating the lower legs. The black blocks handle the dark outlines while the green blocks clear the inner body parts. You must pay close attention to the five waiting slots right from the start. You put a light green 27 block and a black 40 block into the waiting area to maintain a steady feed. Because you opened the bottom edge first the ants have plenty of clear targets right away. They will constantly flow from the nest and keep your slots from jamming. The large door in the center starts with the number 10 and you will slowly work your way around it as you clear the lower body.
Step 2: Bring up the first set of connected boxes for the lower body
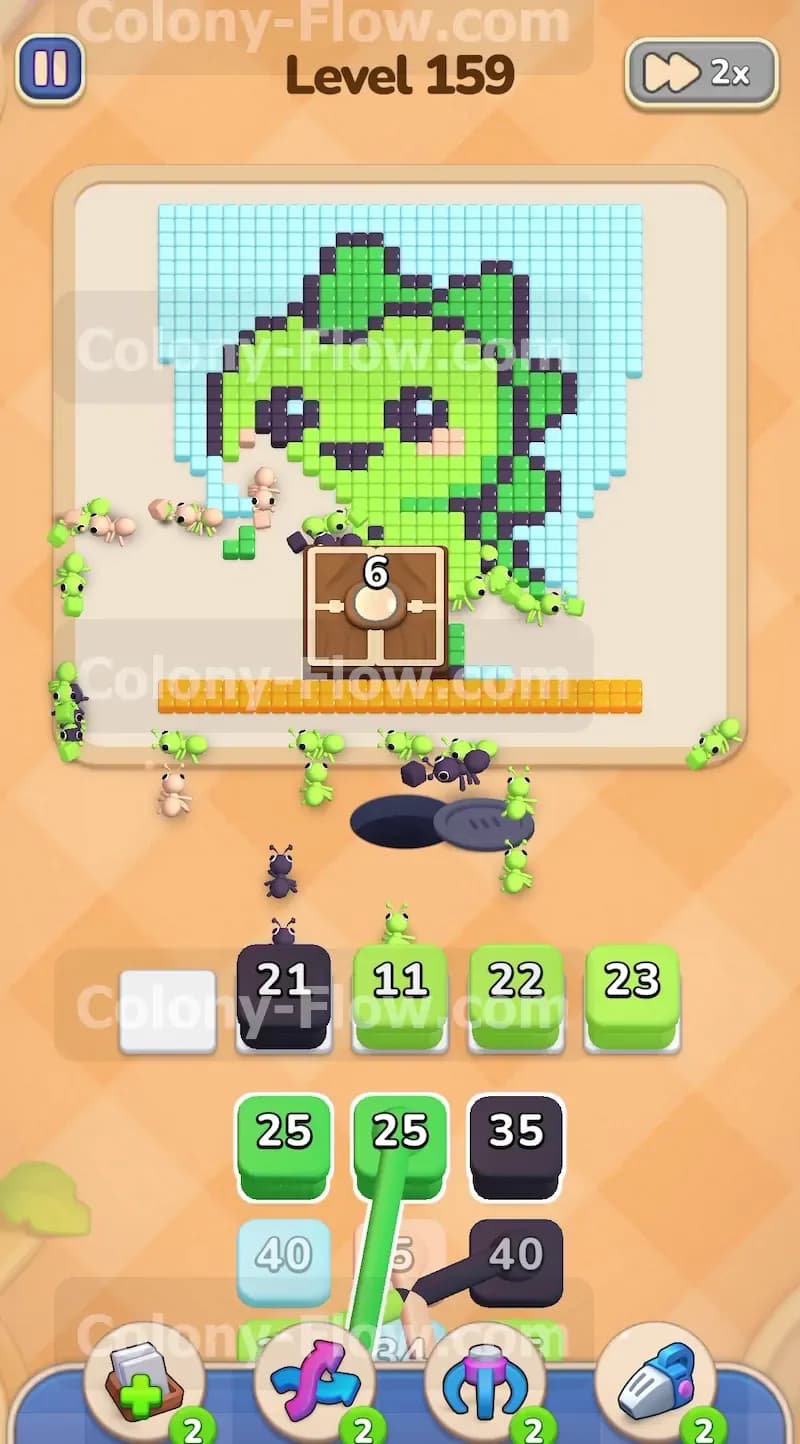
Your tray reveals connected boxes linking two light green 25 blocks together. You need to clear enough outer black outlines to give these green blocks a completely valid path. Pull up a black 21 block to eat away the lower side borders on both the left and the right. Once the green paths are totally exposed you can move the connected green blocks into the waiting slots safely. The ants swarm the lower body and the tail of the dinosaur simultaneously. The connected nature of these blocks means they take up more physical space in your slots and require more active eating to clear them out completely. Always verify that an open path touches the green sections before sending these double blocks up from the tray. The number on the central door drops as the surrounding tiles disappear. You successfully clear the entire bottom half of the puzzle without causing a fatal dead end.
Step 3: Attack the middle section and the back spikes
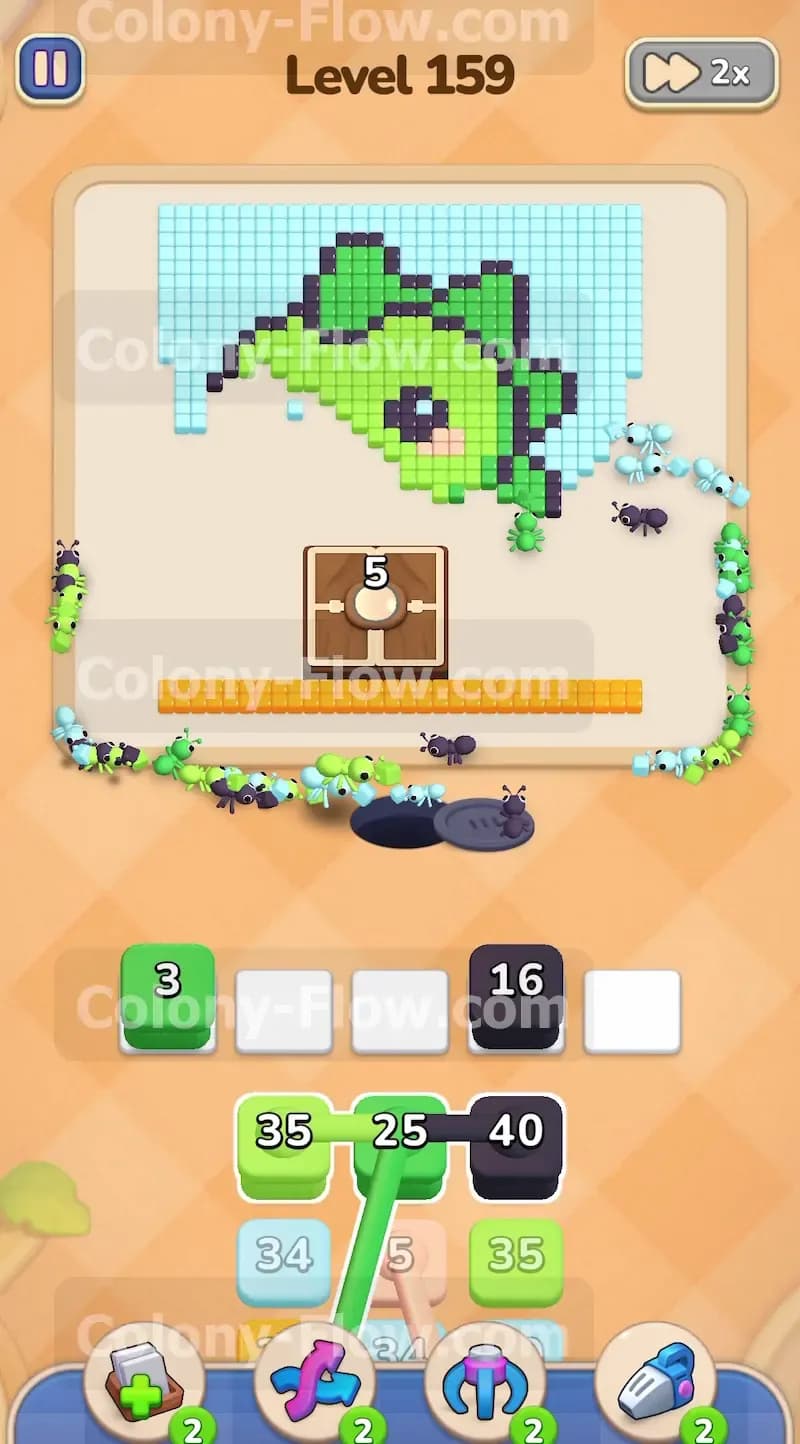
Now you shift your focus to the upper body and the jagged back spikes of the dinosaur. The tray gives you a black 16 block and a light green 3 block. Send the small green block up first to finish off the leftover green tiles near the belly area. Then send the black block up to chew through the thick outline on the right side of the picture. The ants will march up the right flank of the dinosaur in a steady single file line. This steady flow keeps the board highly active and ensures your slots drain. You must avoid sending up any light blue blocks right now because the light blue background tiles remain blocked by the main dinosaur body. If you pull light blue blocks too early your waiting slots will fill up and you will trigger a loss. Keep rotating between black blocks and green blocks to push the ants higher up the board.
Step 4: Deploy the heavy connected blocks for the dinosaur head
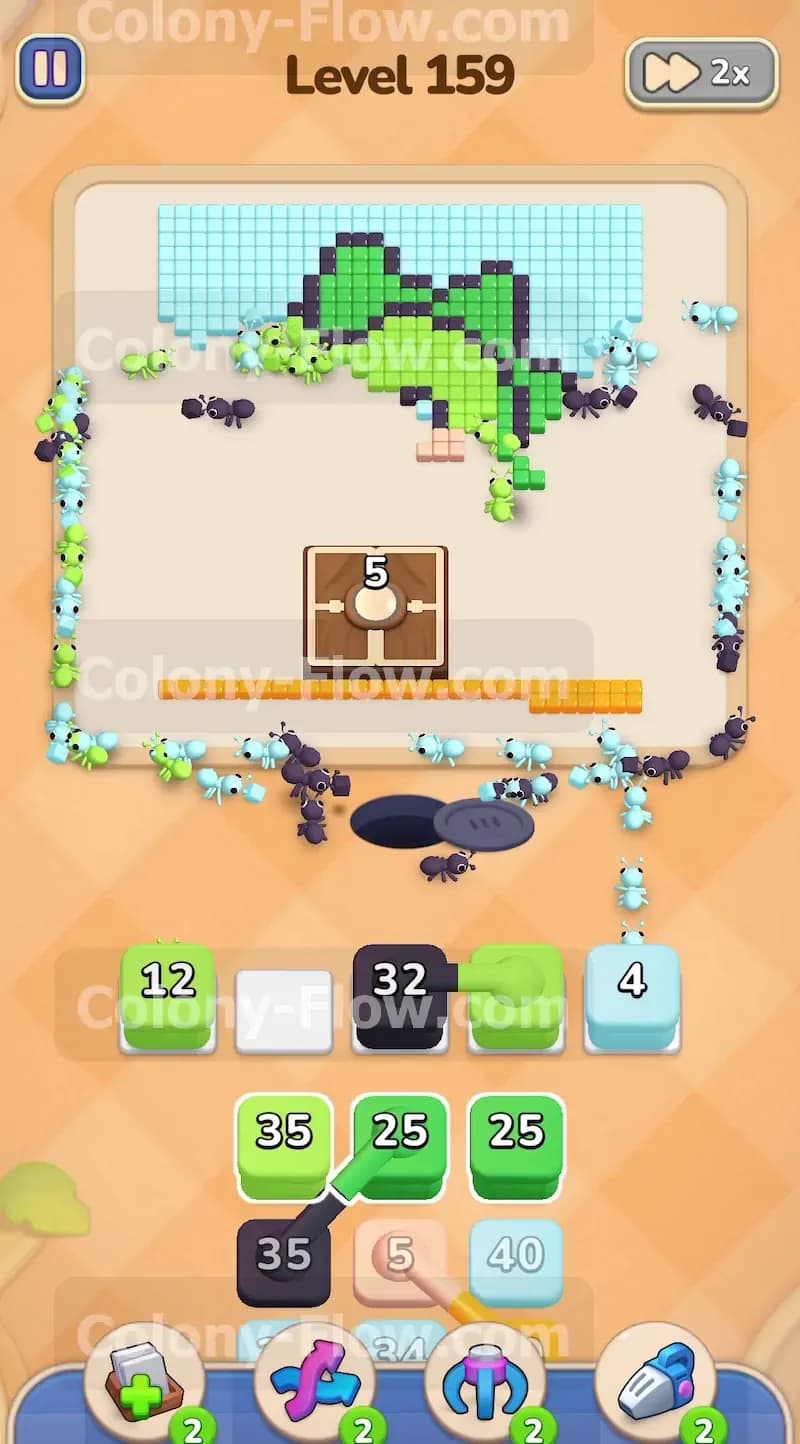
Another set of connected boxes appears in your tray ready for use. This time you have a black 35 block connected to another black 35 block. You also see connected light green 25 blocks waiting directly below them. The head of the dinosaur is massive and contains enough green and black tiles to absorb these large numbers easily. Move the connected black blocks into the waiting slots to strip away the top outline and the facial features. The ants will split up to tackle the left side and the right side of the head at the exact same time. Follow up immediately with the connected green blocks to eat the solid green area inside the head. Your waiting slots might get crowded with other numbers like 32 and 12 but the open paths guarantee the ants will consume them. The central door sits quietly with the number 5 while you clear the space far above it.
Step 5: Clear the remaining upper head and snout
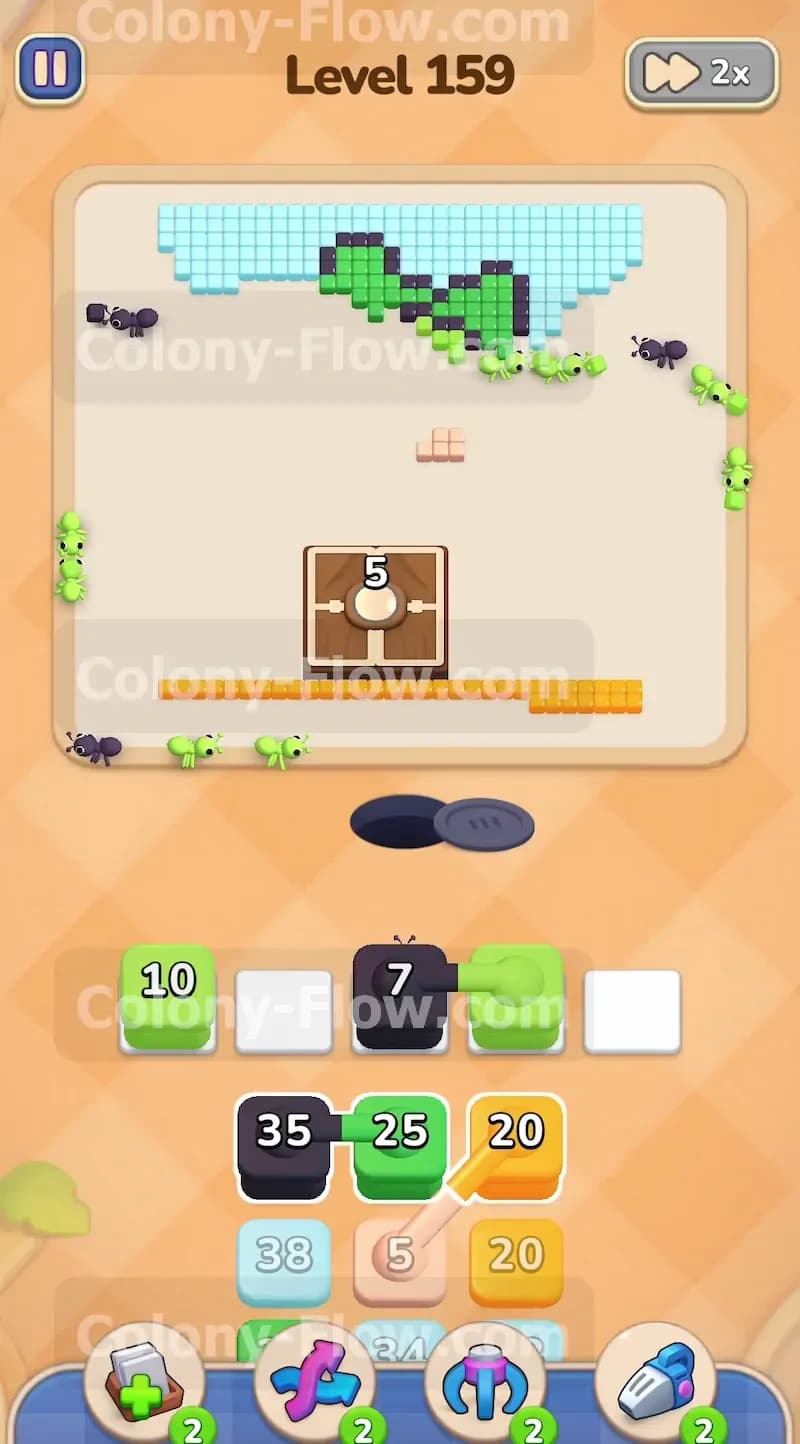
Only a few pieces of the green dinosaur remain at the very top of the board. You need to be very careful with your tray management here to avoid trapping yourself at the last second. Pull up a light green 10 block and a black 30 block to clear out the final snout and the top spikes. The ants form a tight line to reach the highest point on the board. You also have a black 7 block waiting in the wings to help clean up the edges. Keep feeding the specific colors that match the highest reachable tiles on the picture. At this stage the green body is almost totally gone from the screen. You just need to clear the last few black pixels shaping the upper head. Once the black outline finally breaks you fully expose the light blue background tiles covering the top section of the picture.
Step 6: Consume the light blue background tiles
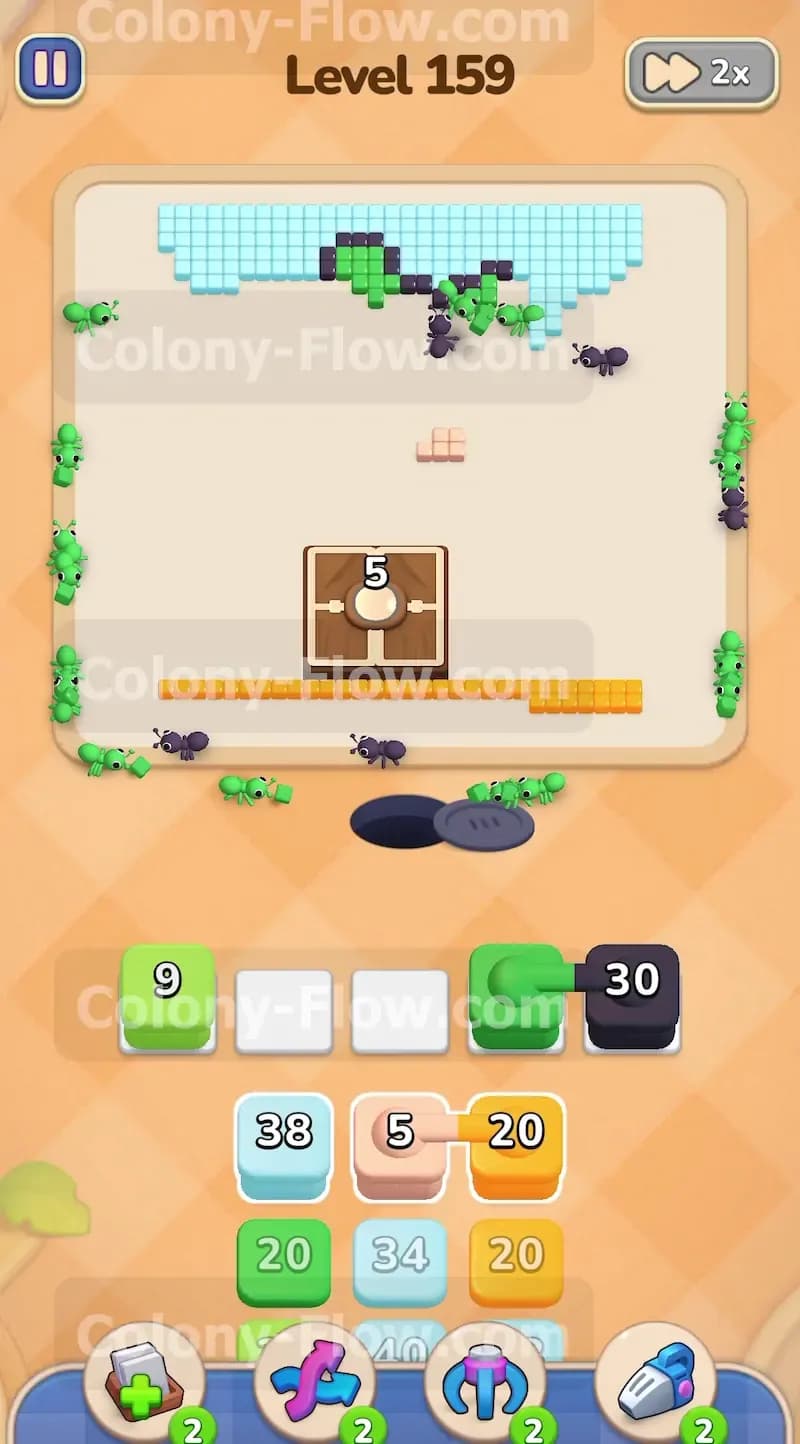
With the dinosaur body mostly out of the way you can safely start using the light blue blocks. The board features a large arc of light blue tiles sweeping across the top edge. Pull up the light blue 4 block and the other light blue numbers waiting in your tray. The ants will rush to the top corners and sweep rapidly across the background. You must ensure you do not trap any stray black blocks or green blocks behind the blue ones in the waiting slots. By clearing the blue tiles you completely finish the top half of the board. The ants finish their meal up high and return down to the center of the screen.
Step 7: Open the hungry door and reveal the hidden food
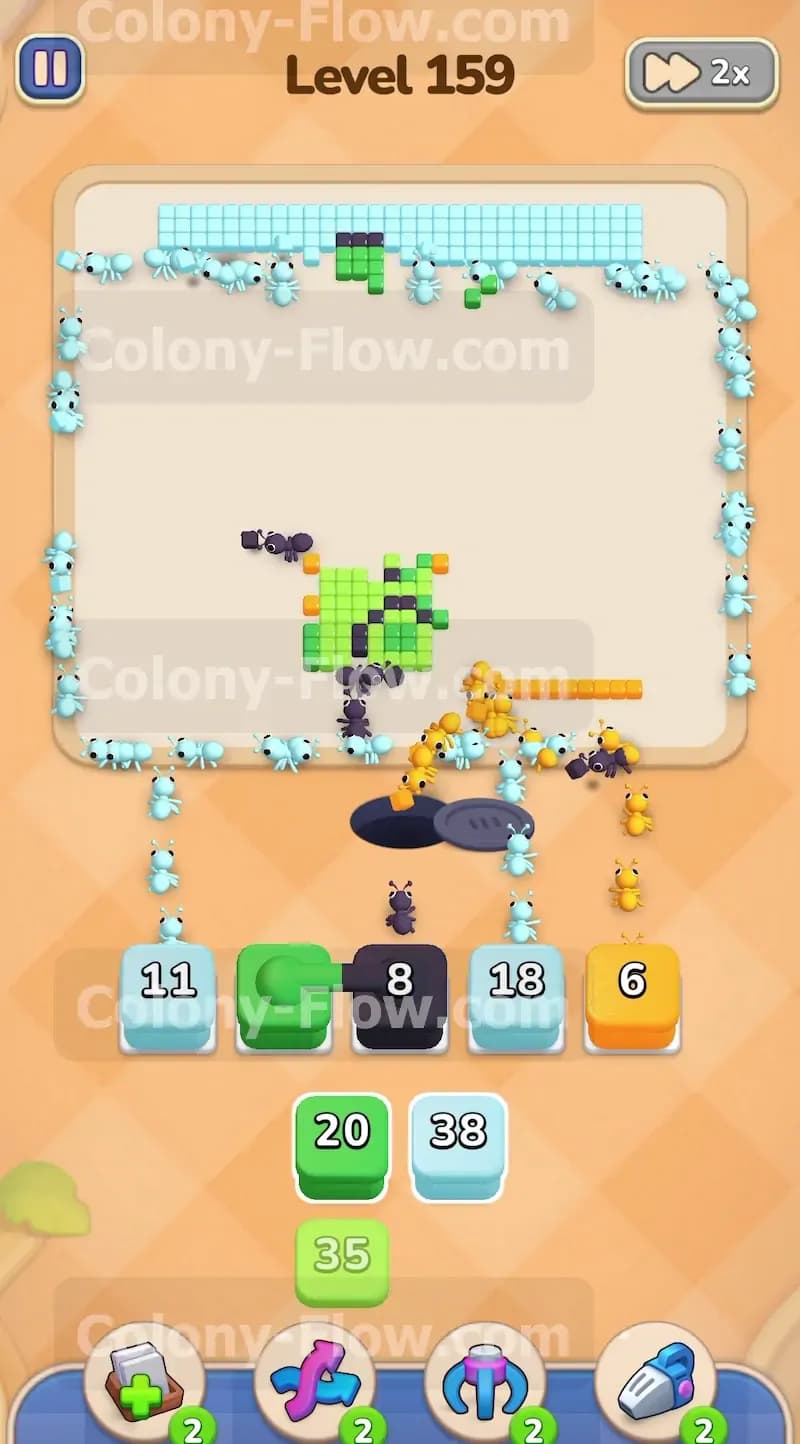
The large crate in the middle finally triggers and opens up entirely. This crate acts as a hungry door revealing a large patch of hidden food underneath. Small green tiles black tiles and orange tiles suddenly appear where the door used to sit. This is a critical moment in the level. If your slots are full of the wrong colors right now you will fail the level right at the end. You need to pull the newly revealed matching colors from the tray. Send up the remaining connected green blocks and the connected black blocks to target this fresh pile of food. The ants will swarm the center of the board to devour these new pieces immediately.
Step 8: Finish the final tiles and empty the board
The last few tray blocks perfectly match the leftover hidden food and the final blue pieces. Pull the orange 6 block to clear the remaining orange center tiles left behind by the hungry door. Use your last blue blocks to clear the very last background spots floating near the top. The ants work very quickly because the paths are completely wide open from every single angle. Every block you send up finds an immediate target on the board. The waiting slots empty out completely as the ants consume the final pieces. The entire picture disappears and your colony returns to the nest hole. You win the level by maintaining a steady flow and never blocking your own progress.
Final Thought
Level 159 tests your patience with connected boxes and your discipline regarding when to use specific colors. You succeed by completely ignoring the background colors until the main body is completely gone. Keep your paths clear and play methodically to avoid filling your slots. If you find any step hard to visualize in text I highly encourage you to watch the video above this article for a clear demonstration.