Colony Flow Level 70 Walkthrough Solution & Guides | How to solve Colony Flow 70

Guide By Liam Stone
Updated on July 13, 2026
If reading isn't your thing, the video above walks you through Level 70 from start to finish.
Video doesn't match your screen?
Game updates frequently scramble layouts! Try our AI Screenshot Solver first to find your exact board instantly, or report broken guides to our team.
Welcome to another puzzle guide where I show you exactly how to beat Colony Flow Level 70. I am Liam Stone and I play every single board myself to make sure you get the most accurate and helpful advice possible. This specific puzzle features a really fun pixel art frog wearing a giant mushroom hat. The picture looks completely adorable but the huge number of blocks means you have to plan your moves carefully to avoid jamming your tray.
Colony Flow Level 70 Overview
What You Are Working With
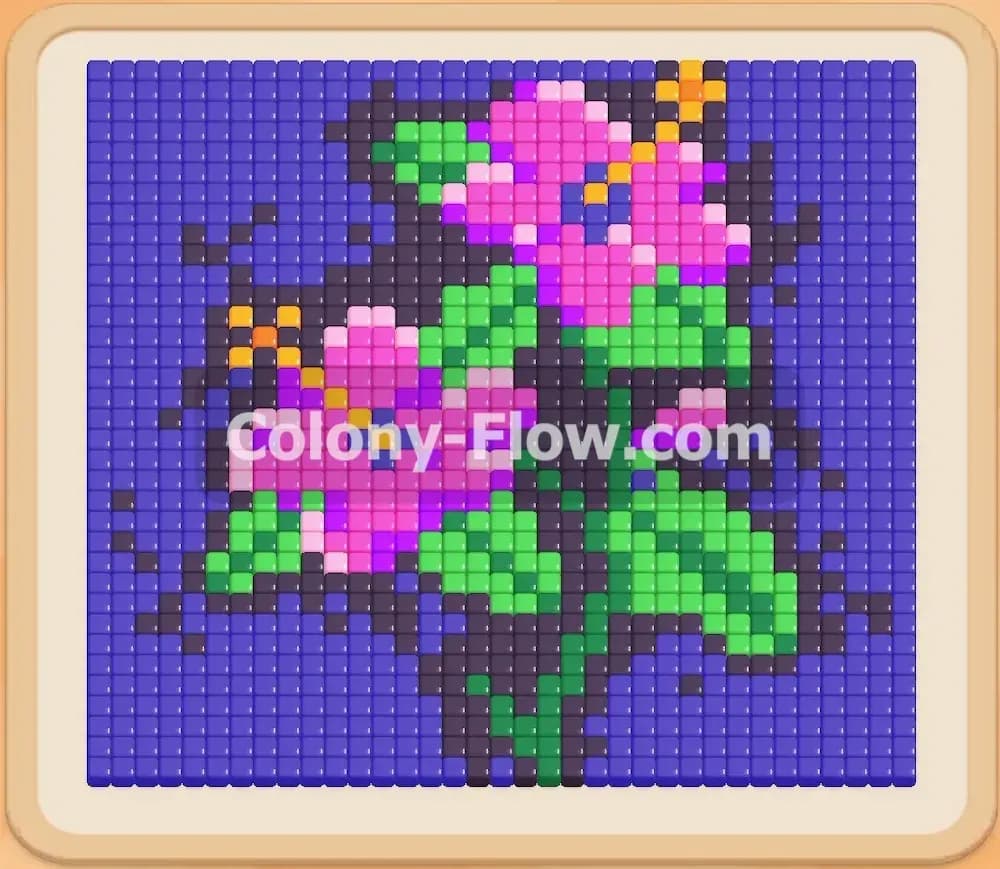
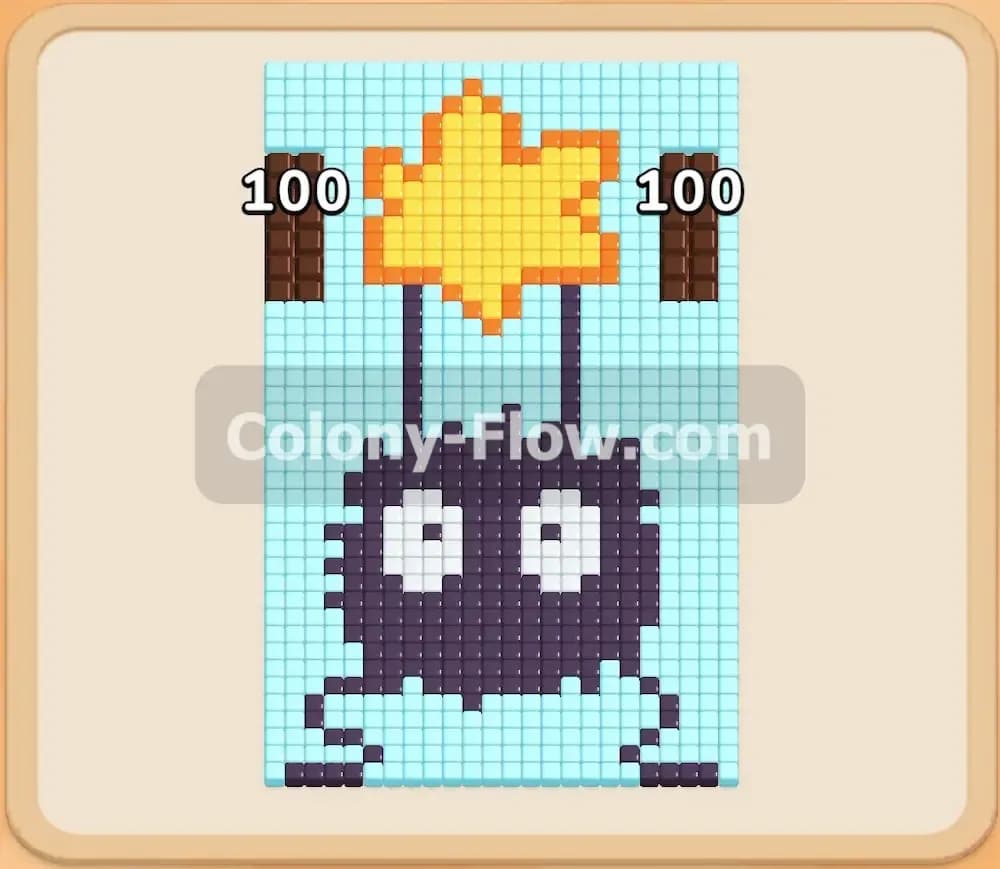
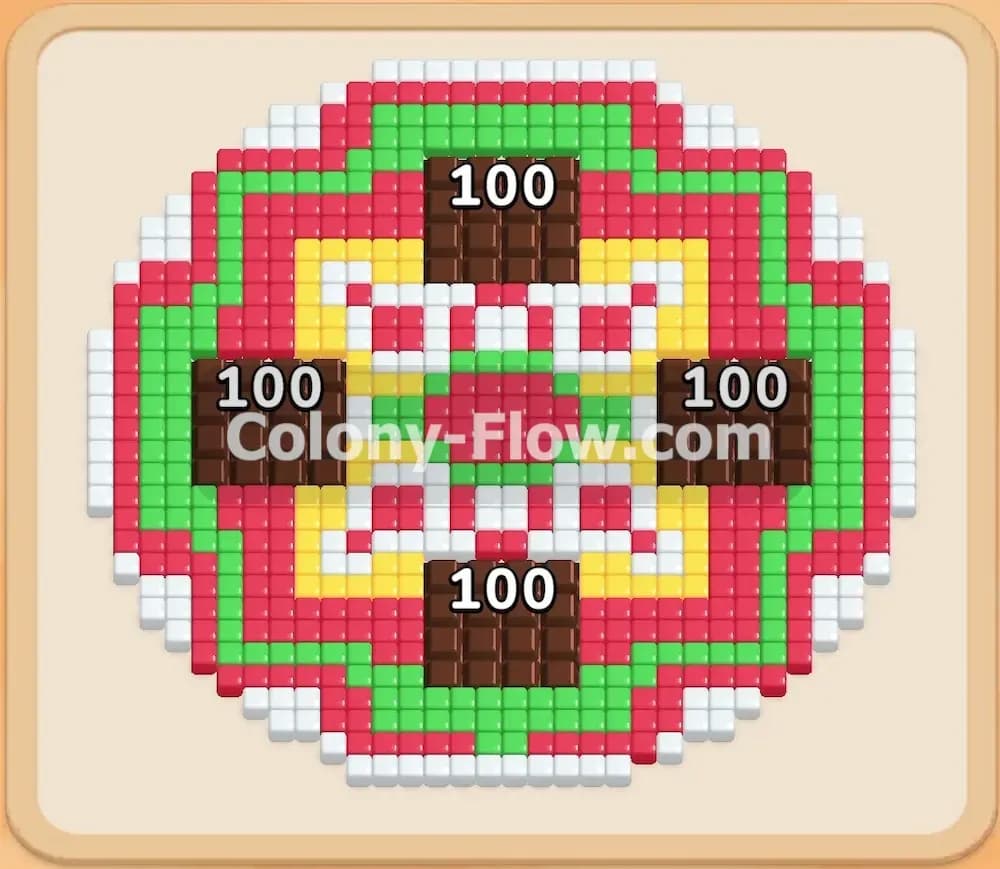
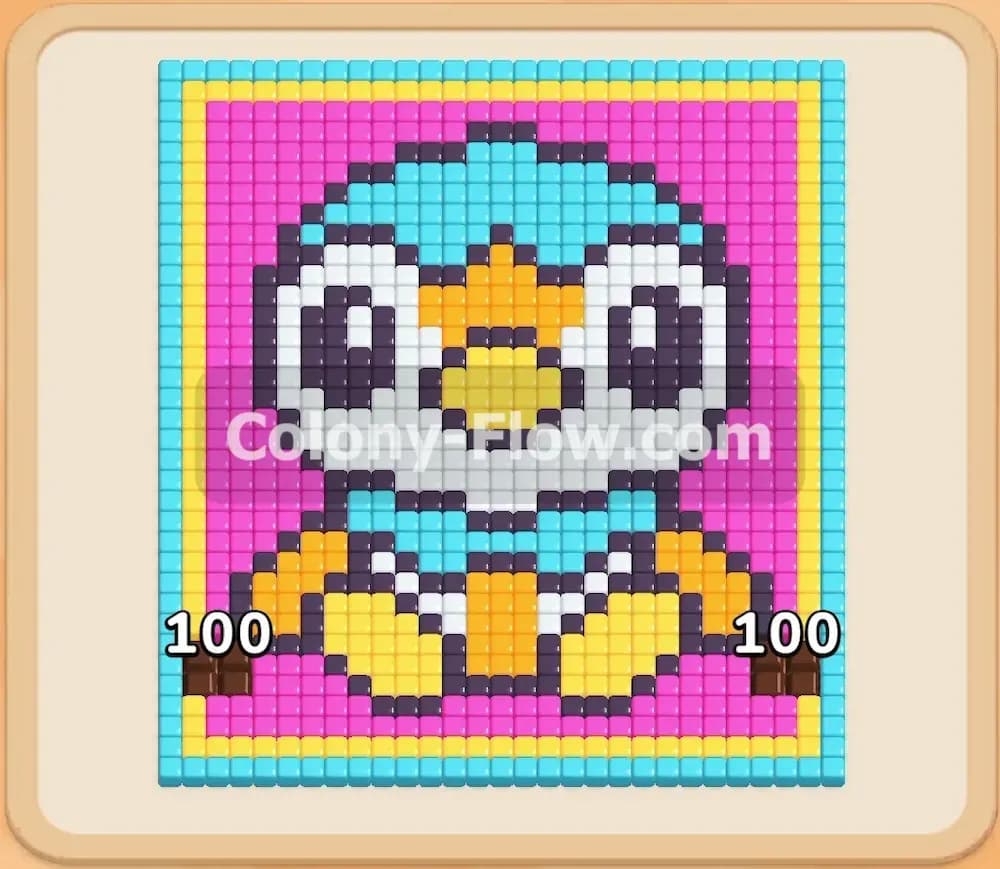
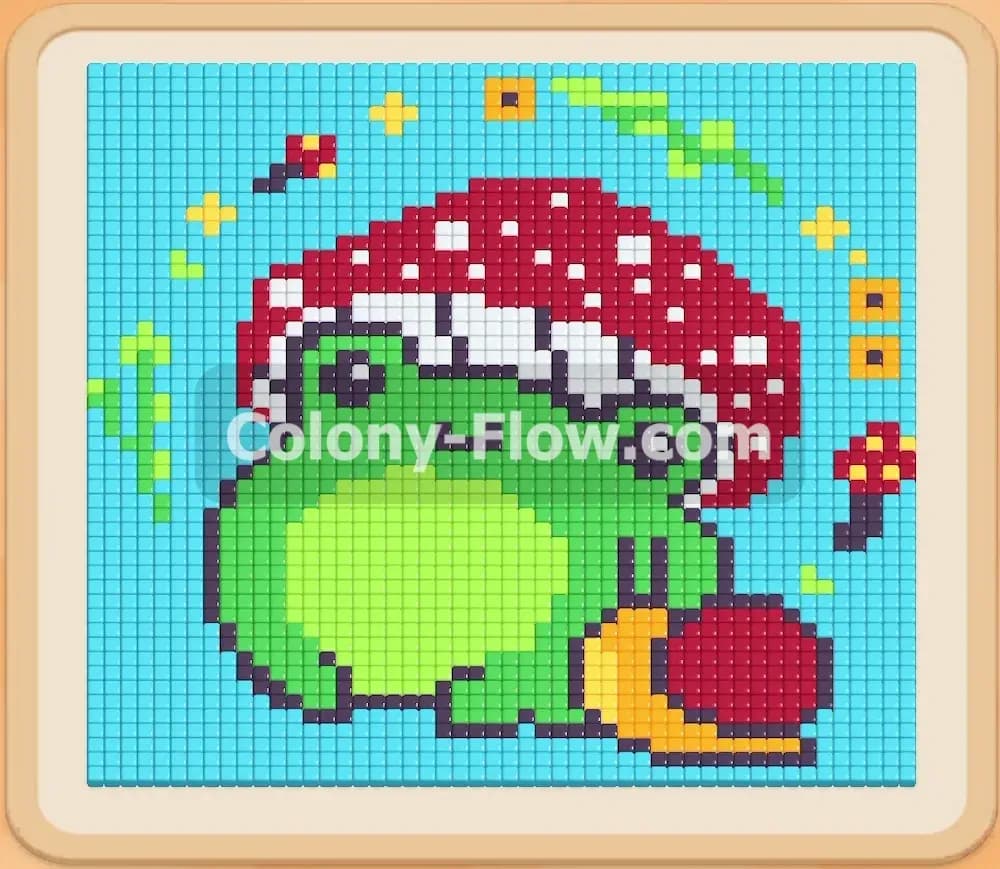
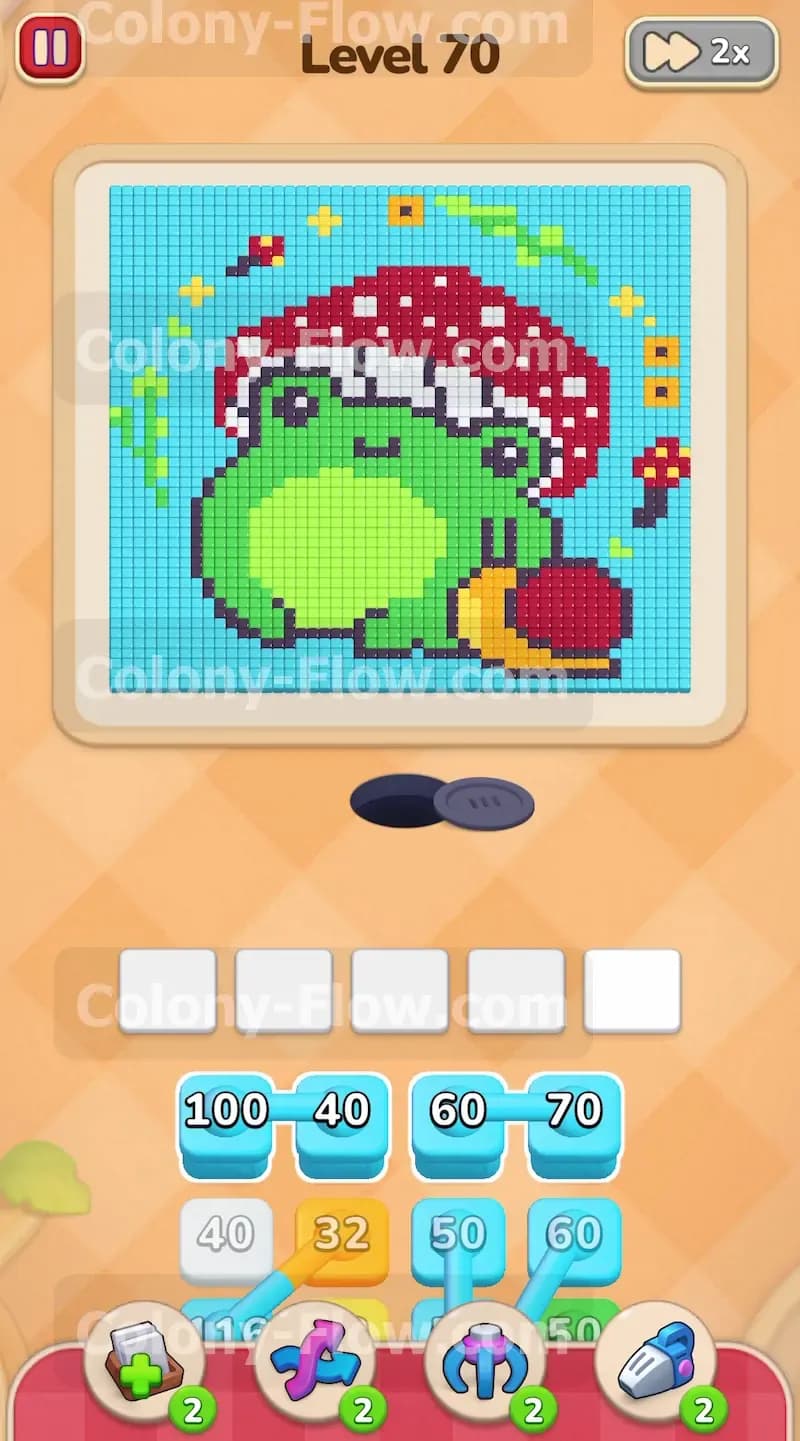
The picture for this puzzle features a cute green frog sitting in the center of the board. The frog wears a large red mushroom hat completely covered in white spots. A smaller red mushroom sits to the right of the frog on the ground. Several bright yellow stars float in the light blue sky directly behind the frog. The frog itself has a thick dark blue outline. Your tray holds many large number blocks. You will see light blue blocks for the sky and red blocks for the mushrooms. There are white blocks for the spots on the hat. You also have green blocks for the frog body and dark blue blocks for the outline. You will encounter connected blocks in your tray where two or more colors are physically linked together. You must play these linked blocks very carefully to avoid jamming your five waiting slots.
What It Takes to Clear Level 70 Board
Winning this level requires you to carefully peel away the outer layers of the picture before you reach the center. You start your journey with the light blue sky background. Clearing the sky opens up the red mushroom hat and the yellow stars. You then transition your focus to the mushrooms and the white spots. After the hat is mostly gone you focus your attention on the frog outline and the green frog body. You must constantly monitor your five waiting slots during this process. If you pull a block that has no open path to its matching color you will block a slot. If all five waiting slots fill up with blocked colors you lose the level instantly. You have to keep the ants flowing in a steady stream from the nest hole to the picture.
Colony Flow Level 70 Step by Step Solution
Step 1: Open the board by pulling the massive light blue blocks to clear the sky
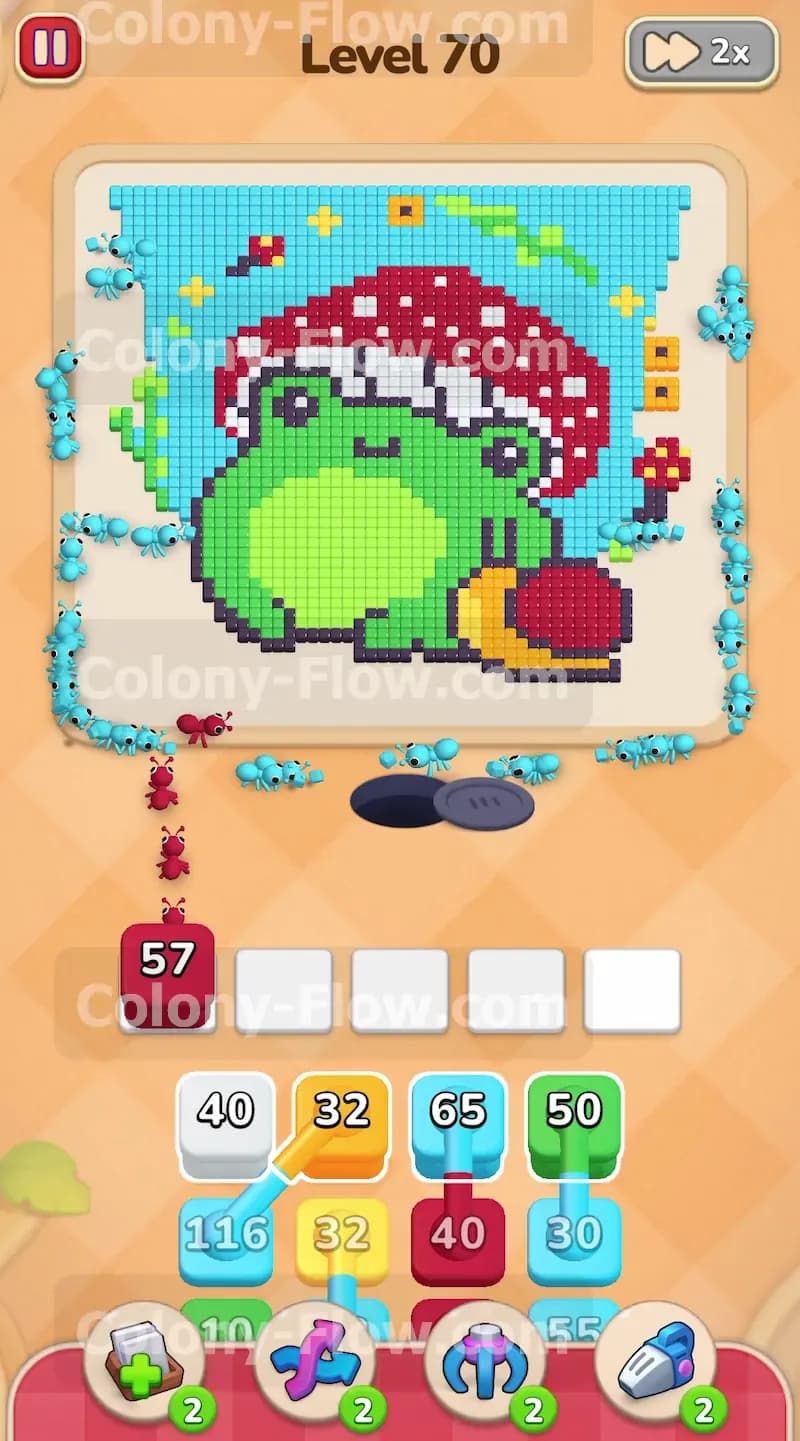
You start the level with a massive amount of light blue sky covering the top and sides of the picture. The ants absolutely need a clear path to reach the center of the board where the frog sits. Pull the large light blue 100 block from your tray to get things started on the right foot. The ants will pour out of the bottom nest hole and travel up the far left and right sides of the board. They will eat away the outer edges of the sky very quickly and create a nice wide border. Follow this initial move up by pulling the light blue 40 block and the light blue 60 block. Keeping the light blue color active continuously ensures your ants never run out of targets and your slots remain empty. The outer edge of the sky will slowly disappear completely and reveal the edges of the red mushroom hat.
Step 2: Target the yellow stars and the red mushroom hat to keep the ants busy
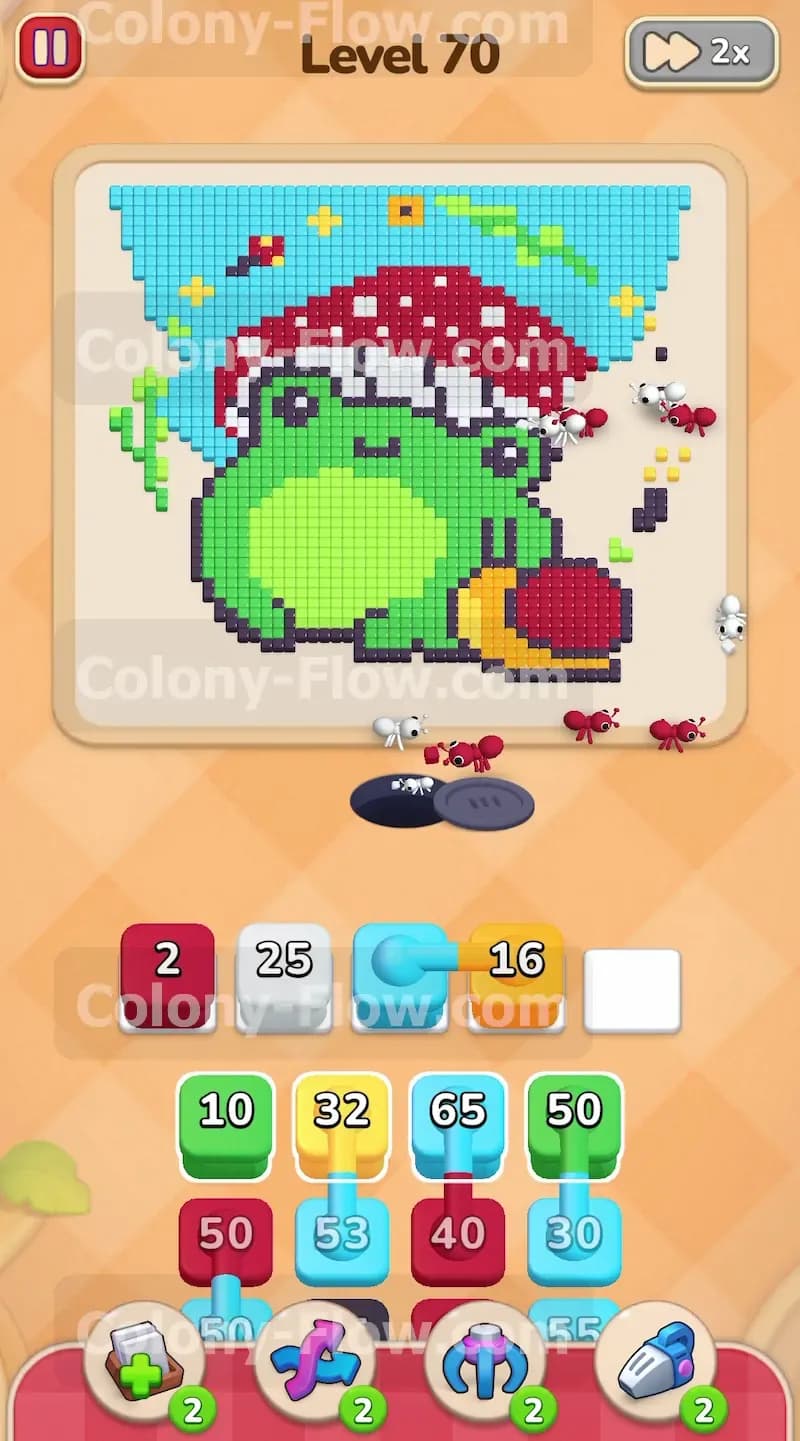
With the sides of the sky partially cleared your ants can now reach the yellow stars and the outer edge of the red hat. Pull a yellow 32 block to send a dedicated stream of ants toward the stars floating in the background. At the exact same time you should pull a large red 57 block into an active slot. The ants will split their focus entirely between the two colors. One group will climb high up the sides to reach the yellow stars while the main heavy swarm attacks the red mushroom hat. Keeping two completely different colors active at once is a fantastic way to clear the board rapidly and keep the tray moving. Just be absolutely certain that both colors actually have a clear path to their specific pixels before you tap them.
Step 3: Handle the connected blocks in your tray with extreme patience
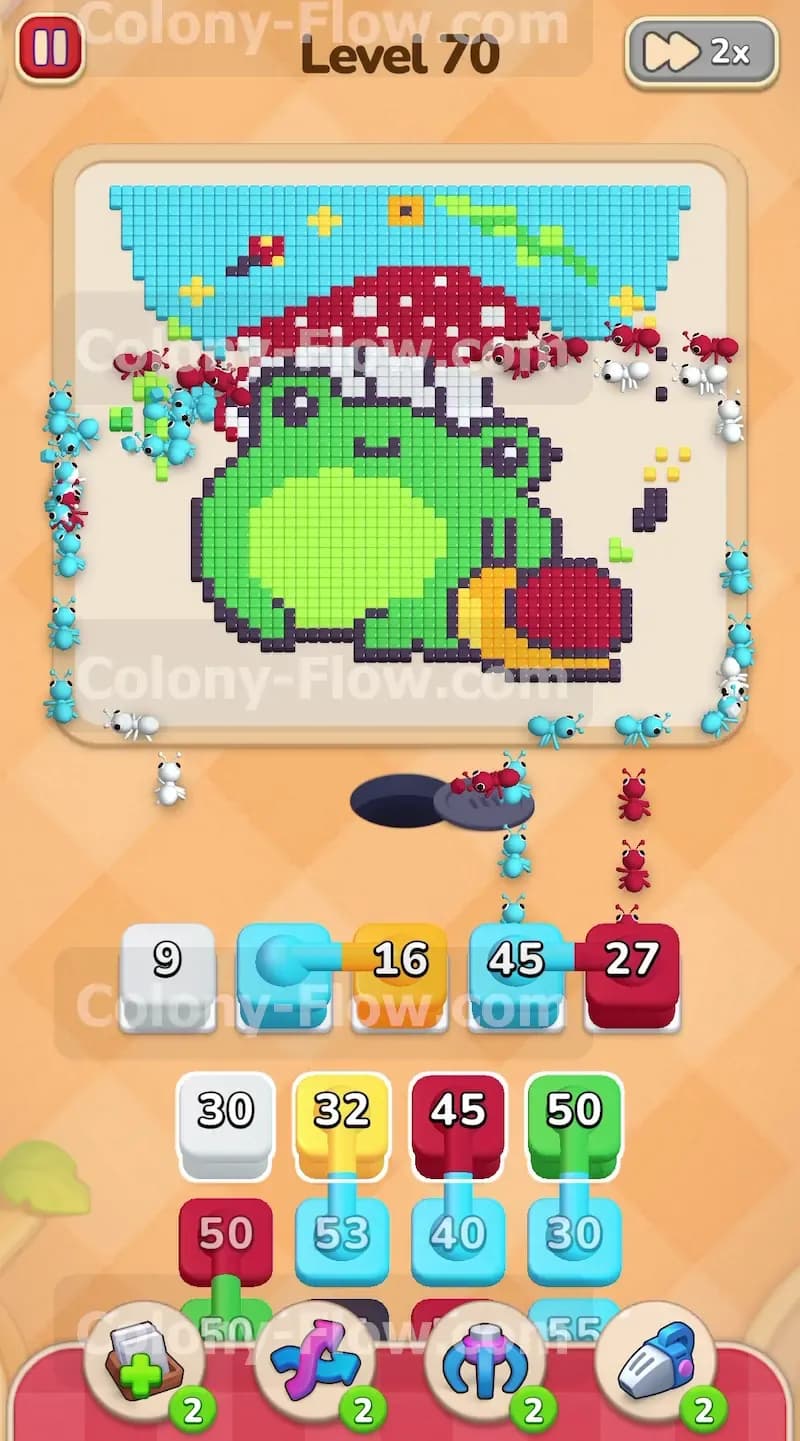
You will notice some connected blocks sitting quietly in your tray at the bottom of the screen. Two blocks are physically linked together by a small line and you have to pull them as a single pair. You might see a light blue block linked directly to a yellow block. You must wait to pull this specific pair until you know both the light blue sky and the yellow stars have wide open and accessible paths. If you pull them too early the yellow block might get stuck in a waiting slot and cause a massive traffic jam. Wait until the ants have cleared a reliable route to the stars before you pull the connected pair into the active area. This extreme patience keeps your waiting slots completely open and saves you from an early loss.
Step 4: Peel away the red hat to expose the hidden white spots underneath
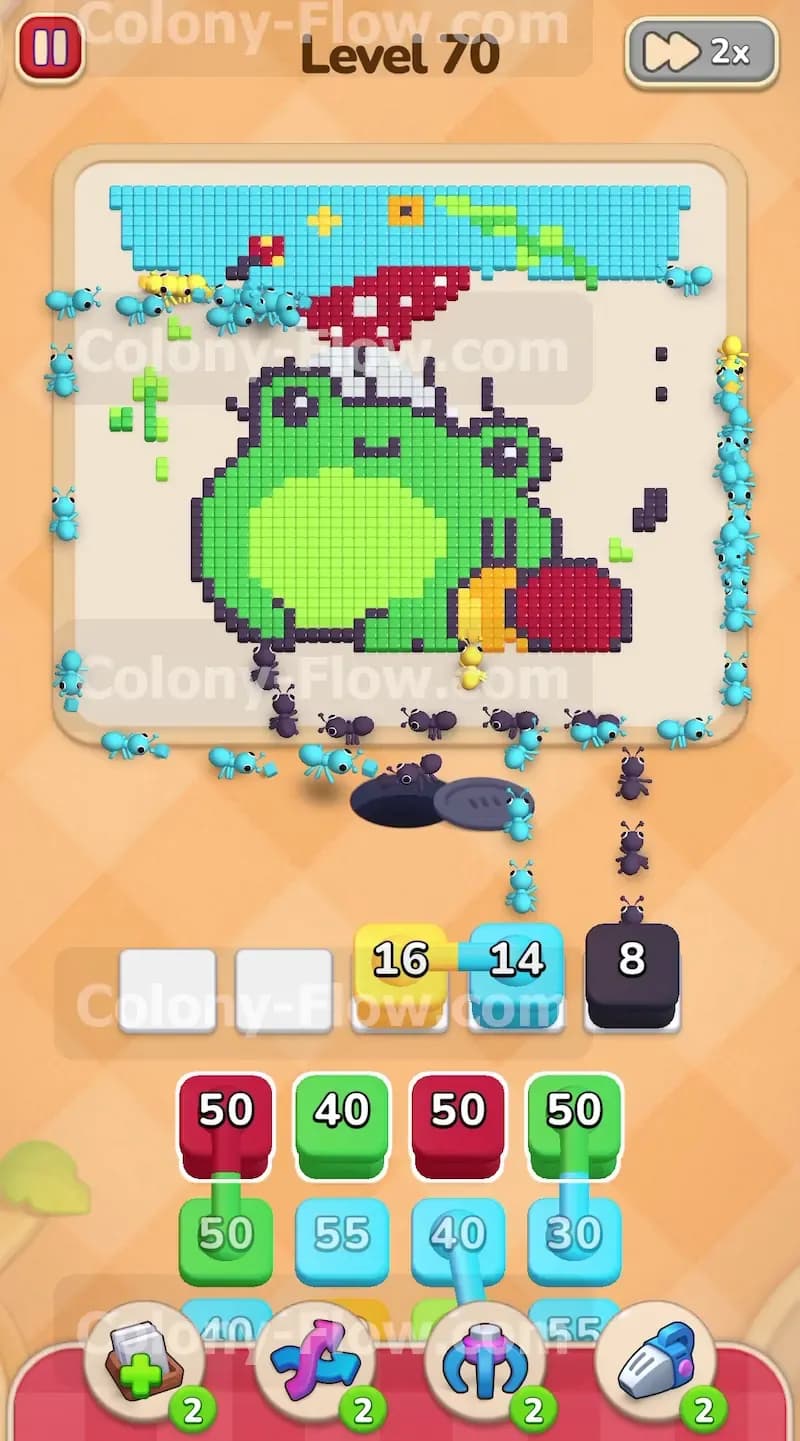
The red mushroom hat is quite large and takes several different blocks to clear entirely from the board. Keep feeding red blocks into the active slots as tray space allows. You have a red 50 block and a red 40 block ready and waiting in your tray. As the ants eat away the outer red pixels they will successfully expose the white spots hidden on the hat. Once a white spot has a completely clear path you can safely pull a white 40 block. The ants will rush inside the newly opened hat area and clean up the white pixels. The hat will start to shrink inward from the outside edges towards the center. You will eventually see the bright green top of the frog head slowly emerge from under the heavy red hat.
Step 5: Finish the smaller right side mushroom to balance the ant flow
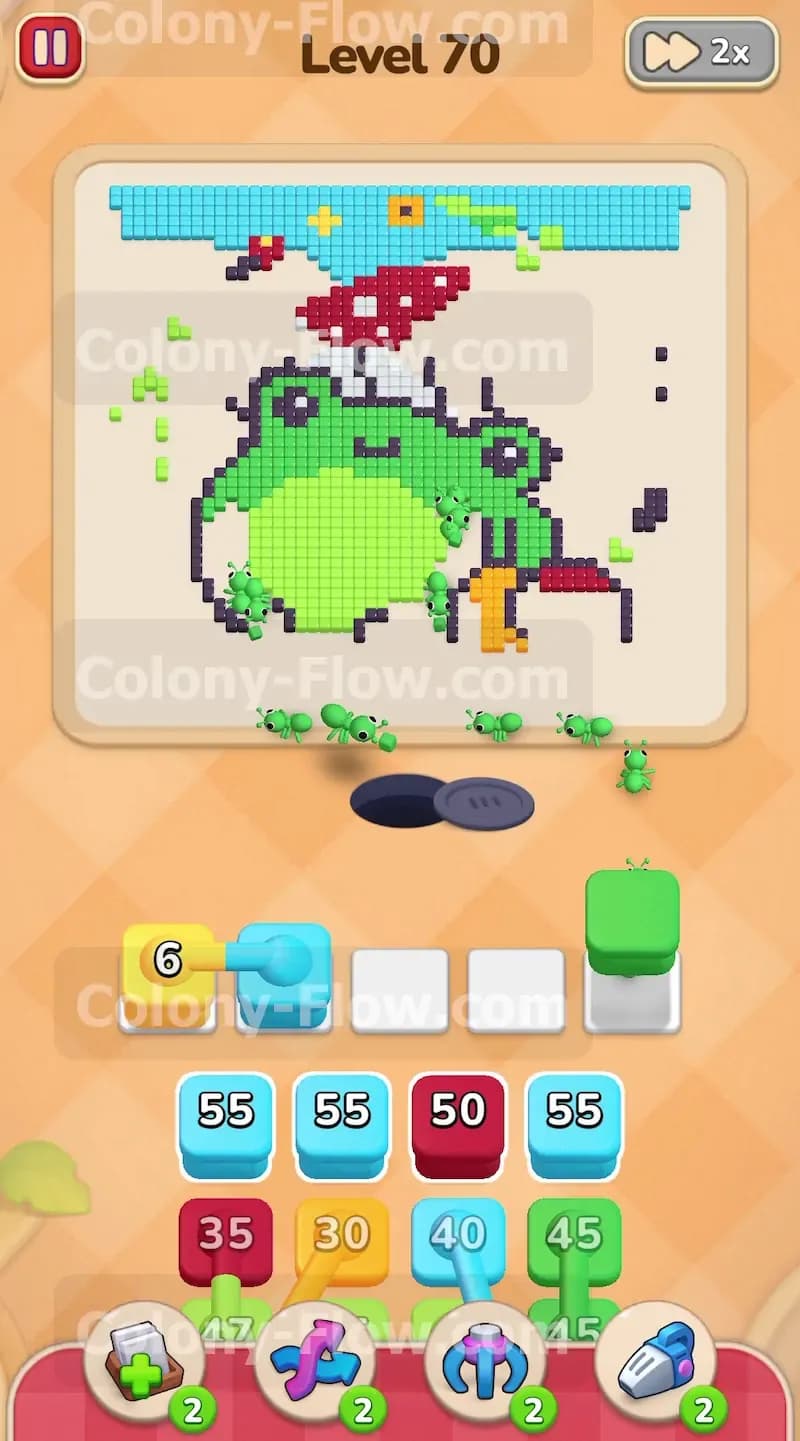
While the main ant swarm works heavily on the big mushroom hat you can direct some ants to the smaller mushroom sitting on the right side of the screen. Pull an orange 45 block to clear the stem of this smaller mushroom. You will also need a red 27 block to clear its red cap completely off the board. Sending ants to the right side of the board helps balance the overall flow of traffic nicely. It prevents the ants from bunching up entirely on the left side of the screen and causing delays. A smooth and balanced flow of ants moving in multiple directions is crucial for keeping your waiting slots empty and your bottom tray moving forward smoothly.
Step 6: Clear the dark blue frog outline to open the inner body
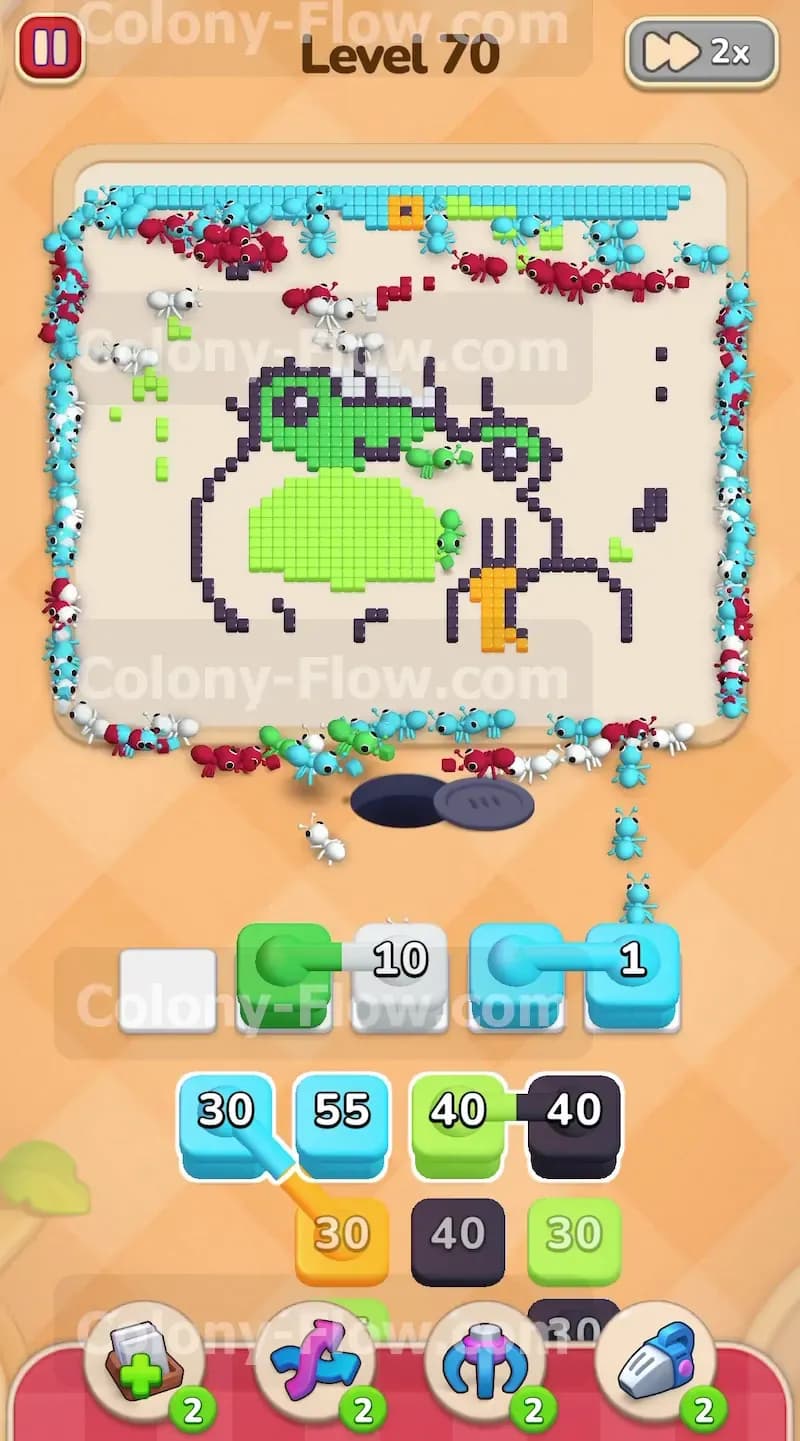
The green frog has a thick dark blue outline that separates it entirely from the sky background and the mushrooms. You can start attacking this thick outline once the red hat is mostly out of the way. Pull a dark blue 8 block to get the ants started on the right side of the outline. You will certainly need more dark blue blocks later on but this small block gets the process going perfectly. The dark blue blocks are often buried deep in the tray so you have to clear the top blocks to reach them successfully. Keep your primary focus firmly on the remaining red and light blue areas so you can uncover the dark blue blocks faster and keep the board progressing.
Step 7: Clear the remaining light blue sky at the top of the board
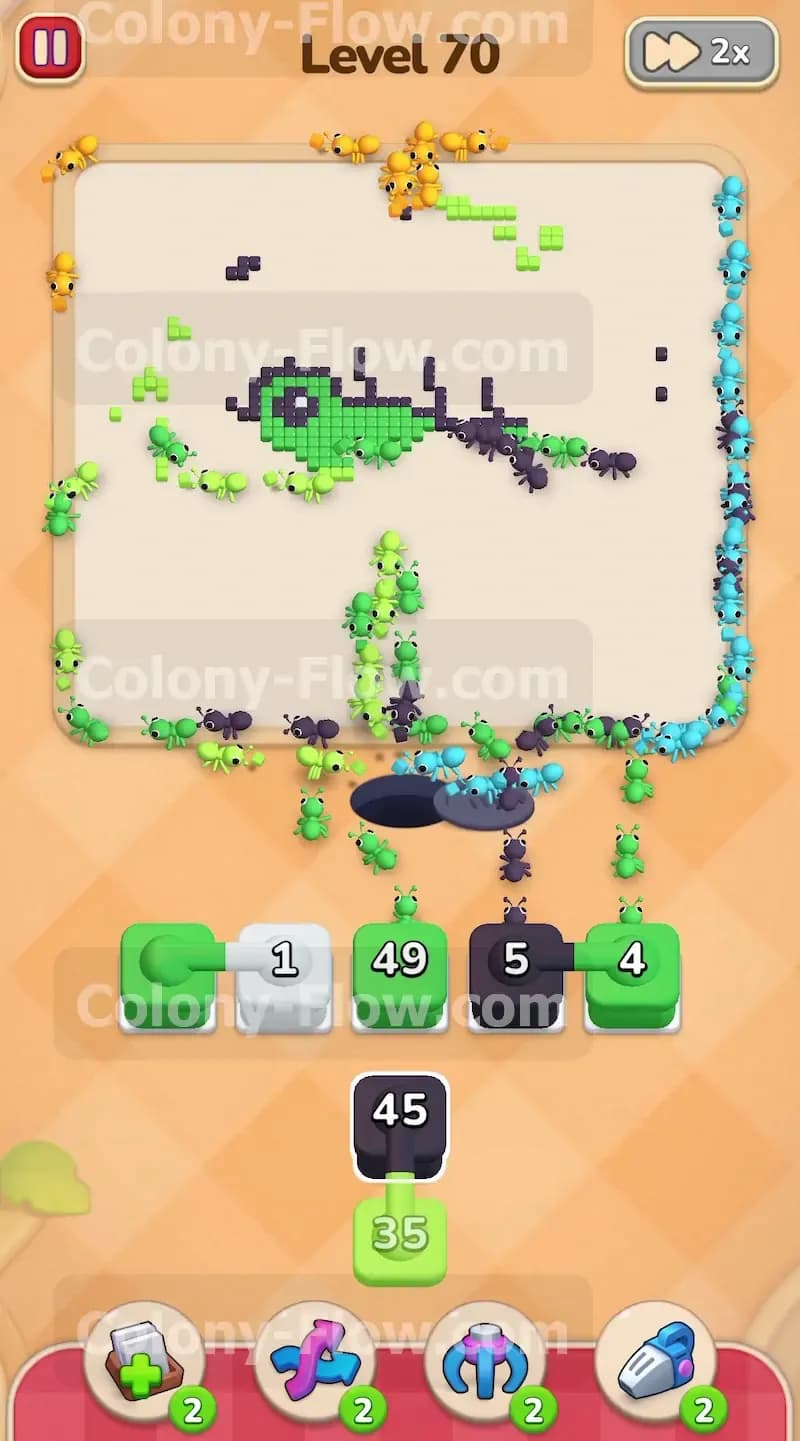
You still have a large chunk of light blue sky sitting directly above the frog head. You need to clear this top section entirely before you can finish the level properly. Pull a light blue 16 block and a light blue 14 block from your tray. The ants will form a long continuous line that wraps completely around the entire top edge of the board. They will march straight across the top edge and eat every single remaining light blue pixel in their path. Finishing the sky is a huge relief because it frees up a massive amount of open space on the board. You can now focus all your undivided attention on the green frog itself.
Step 8: Swarm the green frog body with your remaining blocks
The red hat is officially gone and the light blue sky is completely clear. The green frog is now completely exposed and waiting for the ants. This is the perfect time to unleash your collection of green blocks. Pull a green 50 block and watch the ants swarm the very top of the frog head. Follow up immediately with another green 50 block to clear the main body section. The ants will easily find open paths to the green pixels because the rest of the board is completely empty and clear. You do not have to worry about dead ends or trapped blocks at this late stage. The ants will march straight up the exact middle of the board and consume the green frog rapidly.
Step 9: Clean up the final scattered pixels to win the level
The final stage involves clearing the last few scattered pixels of the frog body and its thick dark blue outline. Your tray will only have small number blocks left at this point in the game. Pull a green 10 block and a green 1 block to finish the very last pieces of the green body. Then you should pull a dark blue 45 block to wipe out the remaining sections of the outline entirely. The ants will sweep across the empty center of the board and eat the final scattered pixels without any trouble at all. The board will become completely empty and you will successfully win the level.
Final Thought
I highly encourage you to watch the video above this article if any step is hard to follow in text. Seeing the ants move in real time makes it much easier to understand how the paths open up. Take your time and keep your slots clear.