Colony Flow Level 107 Walkthrough Solution & Guides | How to solve Colony Flow 107

Guide By Liam Stone
Updated on July 11, 2026
You'll find the complete Level 107 walkthrough in the video above if reading isn't what you're after.
Video doesn't match your screen?
Game updates frequently scramble layouts! Try our AI Screenshot Solver first to find your exact board instantly, or report broken guides to our team.
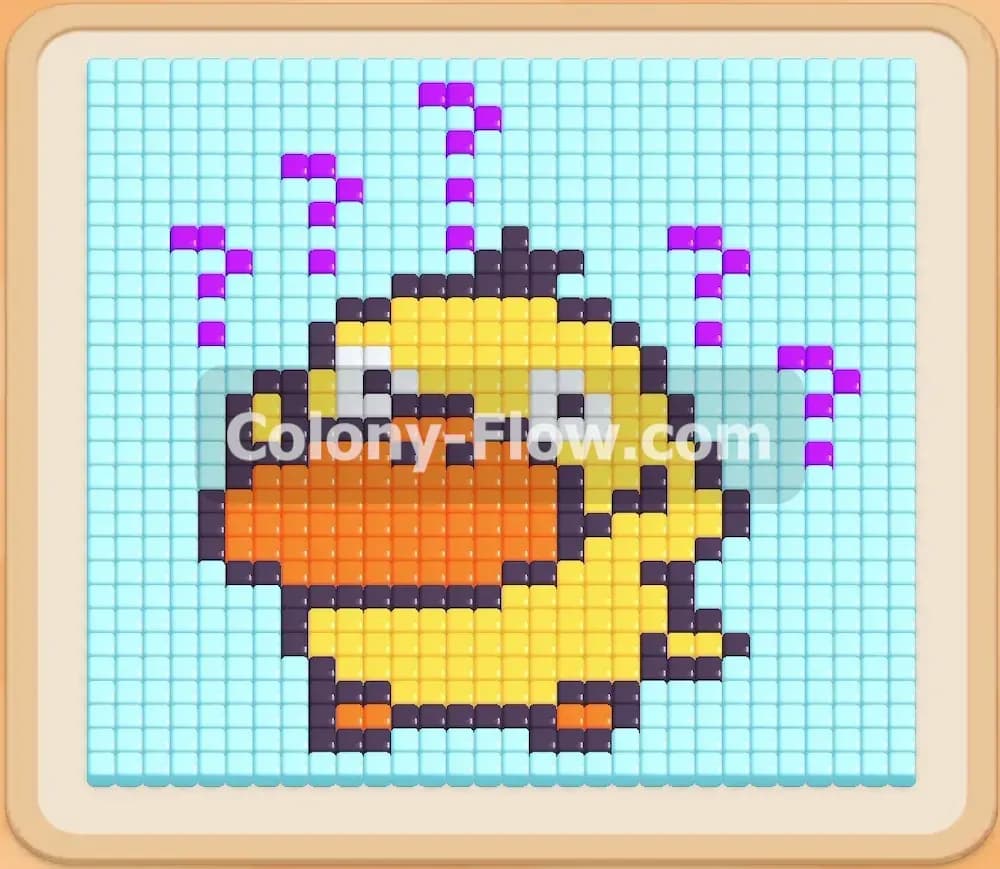
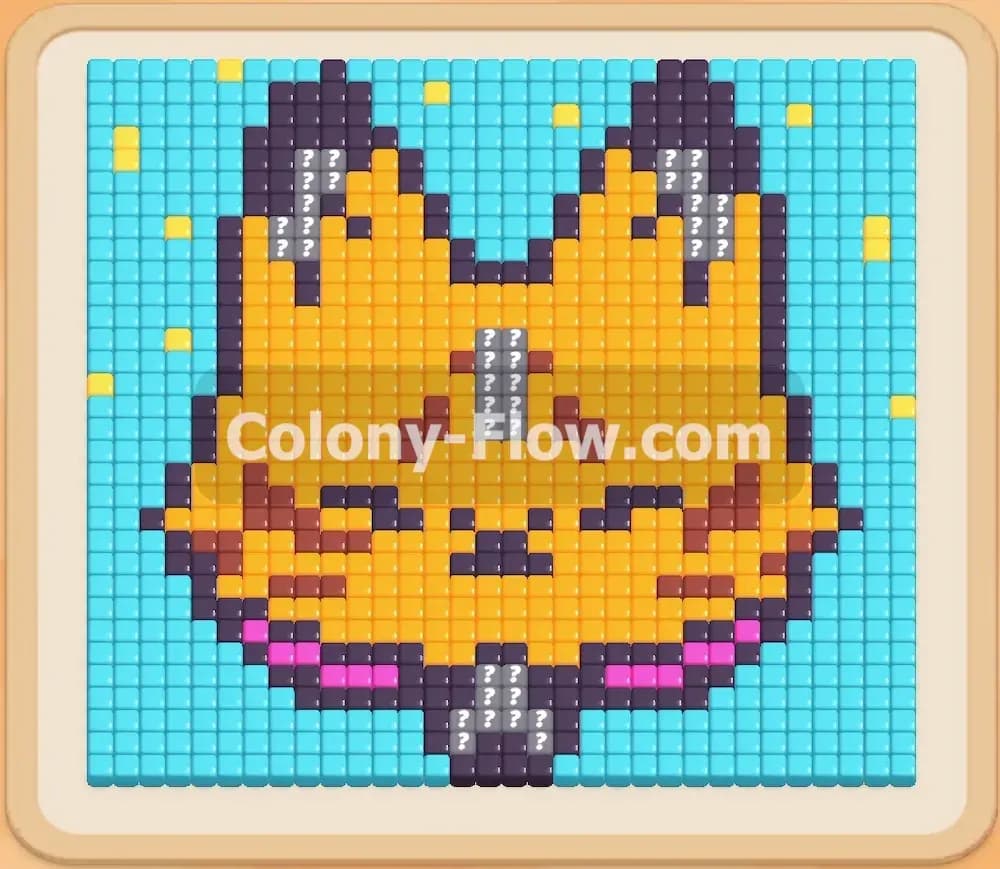
Playing Colony Flow Level 107 requires patience and a careful eye for pathing. You face a large yellow creature with brown borders and dark grey stripes set against a light blue background. I played this board multiple times to find the absolute safest route through the hidden boxes waiting in your tray. Follow my moves below to clear the picture completely without jamming your five waiting slots.
Colony Flow Level 107 Overview
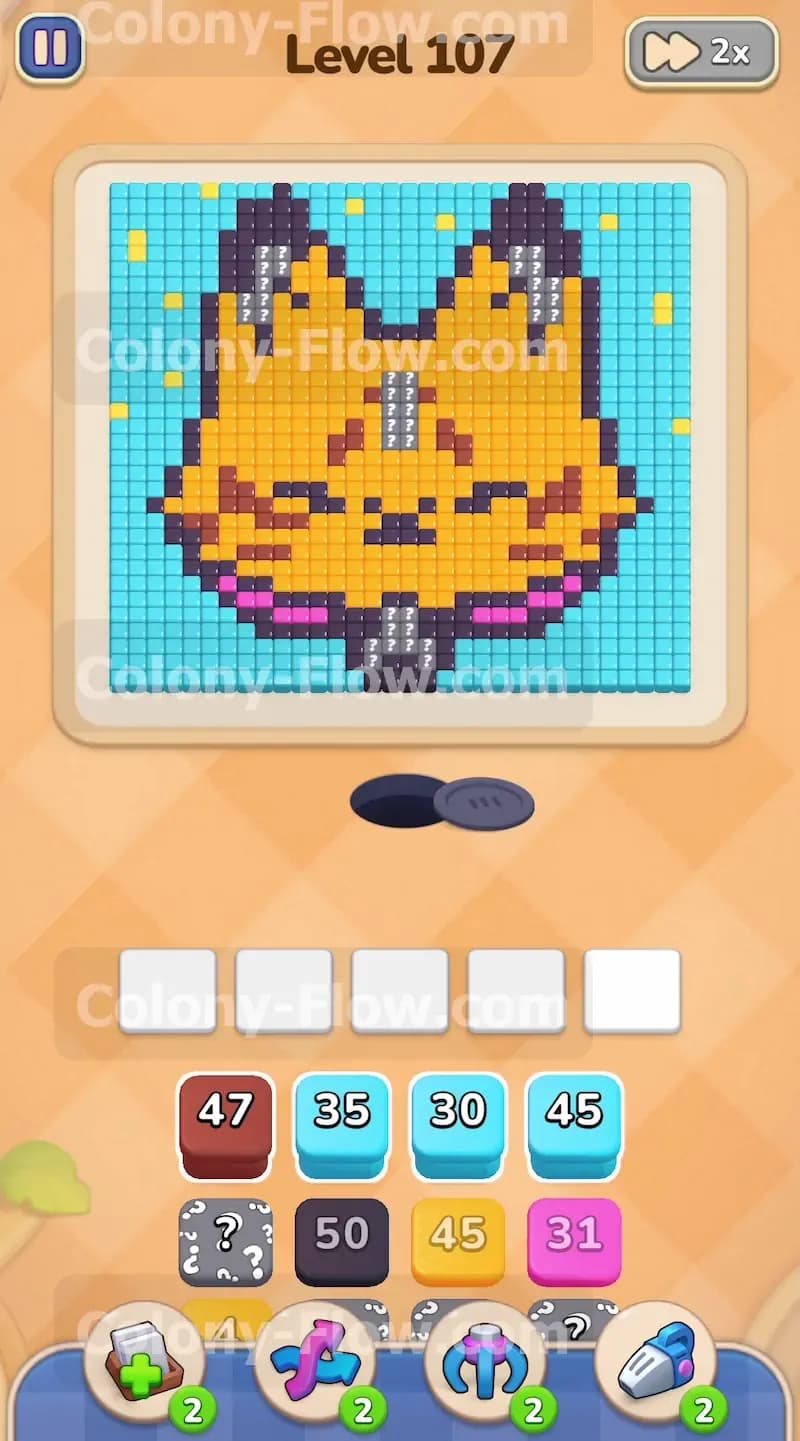
What You Are Working With
The puzzle board features a massive pixel art figure dominating the entire center screen. You have a solid light blue background filling the outer edges from top to bottom. The main subject is bright yellow with dark grey ear tips and a thick brown lower outline. A few pink tiles create small collar or cheek details near the bottom of the face. Your tray at the bottom of the screen holds numbered blocks including light blue, brown, yellow, dark grey, and pink. You also face several hidden boxes marked with question marks in the lower rows of the tray. These hidden boxes keep their exact color a secret until you clear a valid path for them to move onto the board.
What It Takes to Clear Level 107 Board
You win this level by peeling away the outer light blue background first to expose the core yellow and brown figure. You must match block colors from your tray to the picture tiles while closely monitoring your five waiting slots at all times. If you pull too many blocks that have no clear path to their matching food tiles your slots will fill up and you lose the game immediately. You must slowly uncover the hidden boxes and keep the ants constantly moving toward the board to chew down the remaining numbers. Success depends on maintaining a steady flow of light blue ants on the outside while carefully dismantling the central figure piece by piece.
Colony Flow Level 107 Step by Step Solution
Step 1: Start with the bottom light blue blocks and the first dark grey block to open the lower board
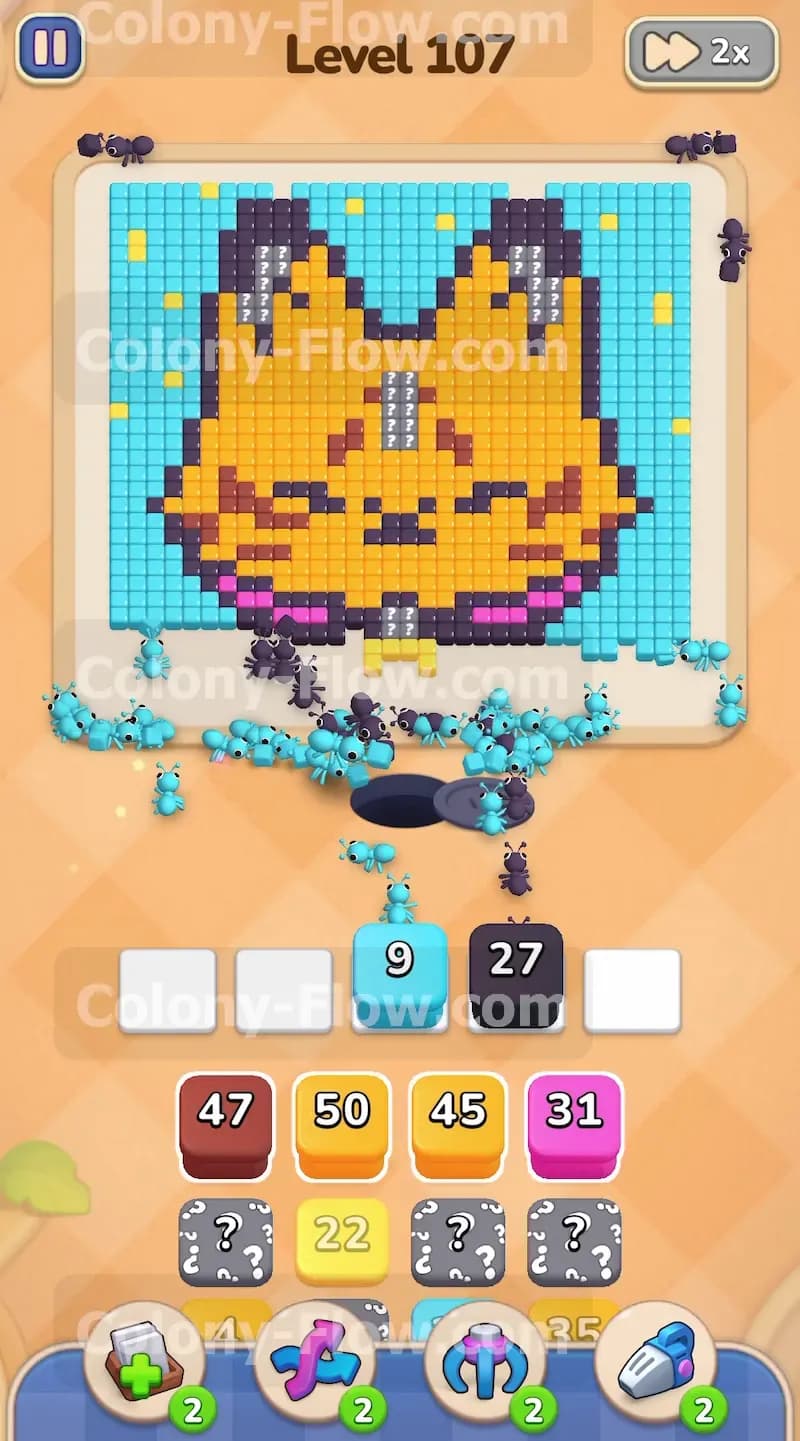
You want to begin by opening up the bottom edge of the board to give your ants plenty of room to work. Pull the first few light blue blocks from your tray to send ants toward the bottom corners of the background. You will see blocks with numbers like 35 and 30 for the light blue color. Tap them to move them into your active slots. While the light blue ants chew away the bottom corners you should bring up the first dark grey block. The dark grey ants will march straight up the middle from the nest to eat the dark grey collar detail directly under the yellow face. This dual approach begins shrinking the block numbers in your tray while keeping the ants flowing smoothly out of the nest hole. Your five waiting slots stay perfectly clear because both the light blue and dark grey ants have immediate access to their target food tiles.
Step 2: Bring out the pink block and more light blue blocks to clear the lower face details
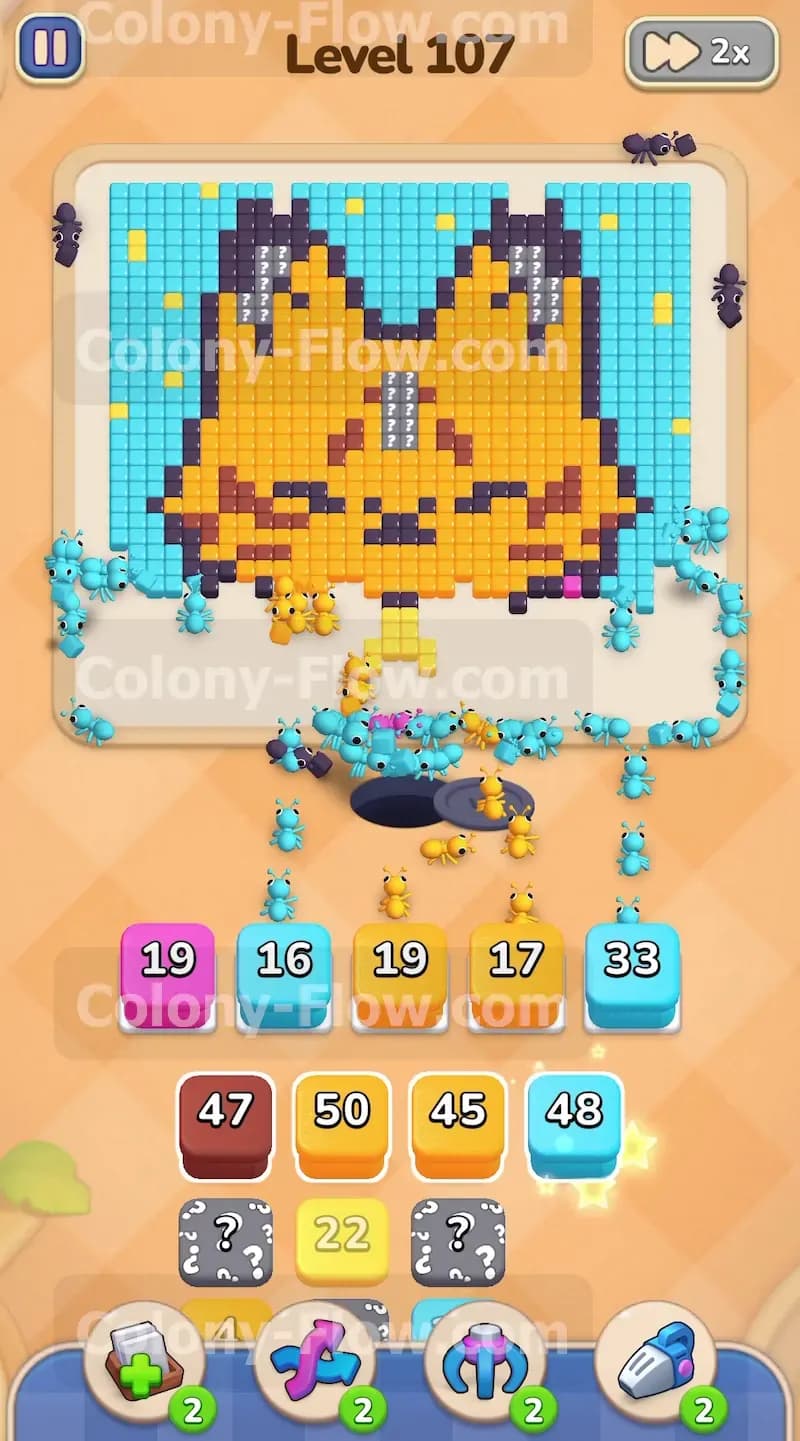
Once the dark grey collar piece vanishes you will have a wide open route to the pink sections located on the lower edges of the creature. Tap the pink block holding 31 ants to move it into an active slot and watch the ants march up to consume those specific pink tiles. At the exact same time you need to keep feeding more light blue blocks into your active slots. The light blue background is absolutely huge and requires a constant stream of ants to clear out the side areas. Sending light blue ants up the left and right edges ensures your waiting slots never back up with unusable blocks. You always want at least one or two active paths chewing down large numbers like a 45 light blue block so your board never stops moving.
Step 3: Reveal the hidden boxes and deploy the first yellow blocks into the main face
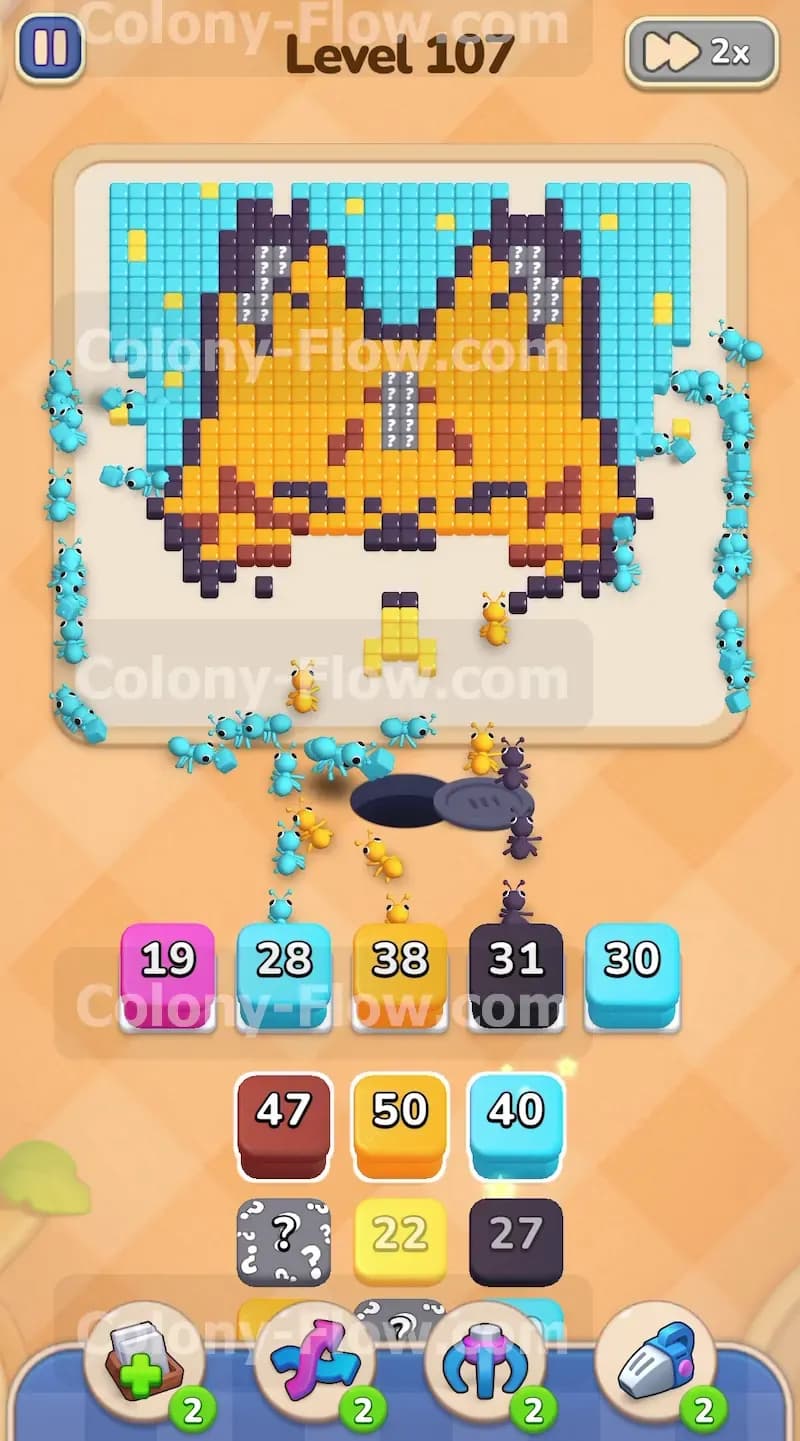
With the bottom background and collar details completely gone the game allows you to access the lower rows of the tray. This action reveals the true colors of your hidden boxes. You will uncover large yellow blocks and more dark grey blocks hidden behind those question marks. Pull a yellow block up to send your very first wave of yellow ants into the massive central face area. The yellow section is the largest part of the picture so it takes a very long time to chew through all those pixels. Keeping a yellow block in one of your active slots is mandatory from this point forward. The yellow ants will spread out across the lower chin and cheeks of the creature to slowly reduce the overall footprint of the board.
Step 4: Deploy the large brown block to tackle the thick outer outline of the creature
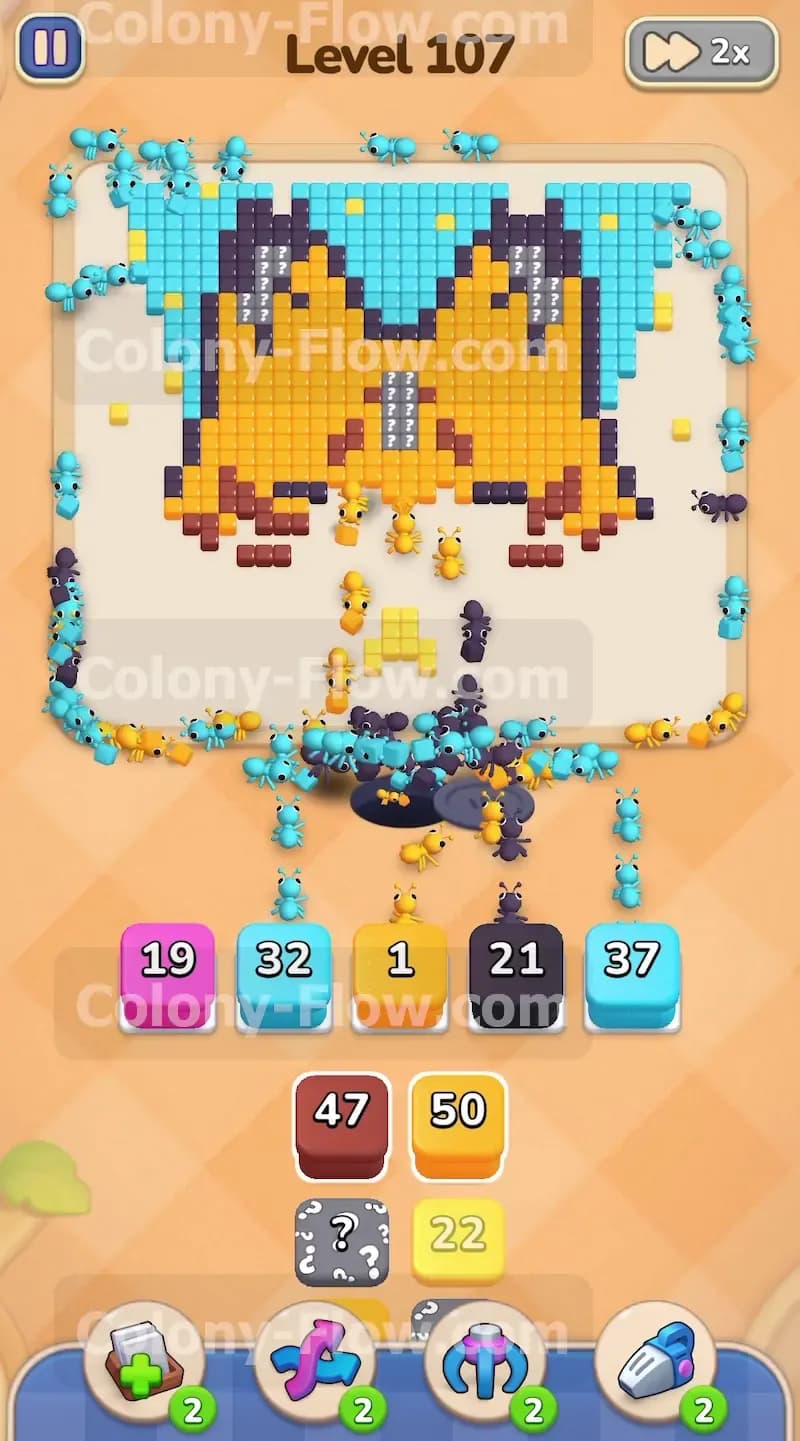
As the light blue background recedes further up the screen the brown outline of the creature becomes exposed to your ants. Tap the large brown block containing 47 ants from your waiting tray. The brown ants will stream out of the nest hole and follow the newly opened edges to eat the thick brown border surrounding the lower half of the yellow face. Do not pull the brown block too early or it will sit helplessly in your waiting slots and block your other important moves. You must wait until the light blue ants have cleared enough side space for the brown ants to actually reach the upper sections of the border. Keep a yellow block active alongside the brown block to maximize the total number of ants working on the board at the same time.
Step 5: Send more dark grey ants to clear the side stripes and center forehead mark
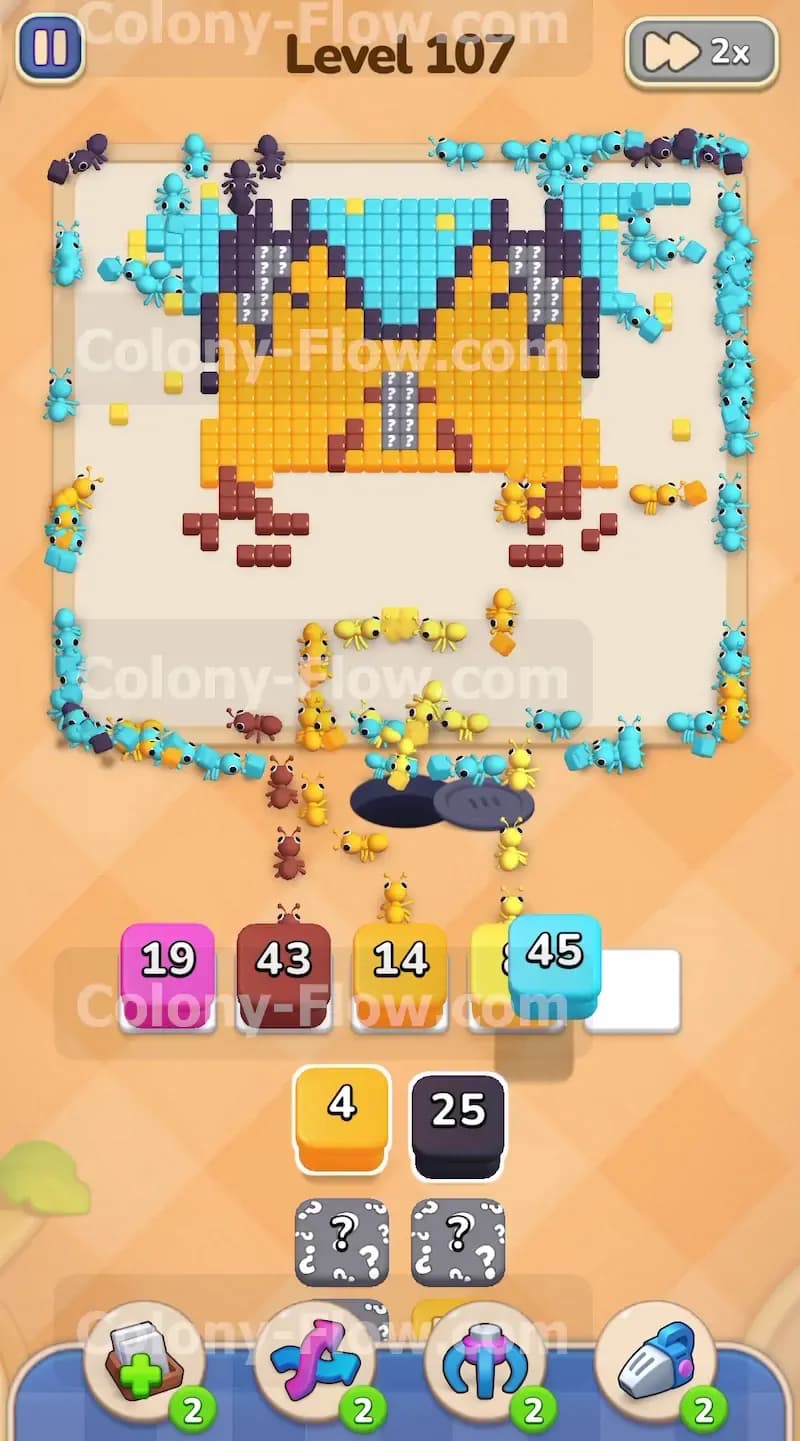
The yellow ants will eventually chew away enough of the main face to expose the dark grey stripes on the cheeks and the distinct mark on the forehead. Tap your newly revealed dark grey blocks from the hidden box row to move them into your active slots. These dark grey ants will march right up the middle of the newly cleared yellow sections to eat those specific dark grey details. Managing the dark grey blocks is tricky because their paths only open up once the yellow ants do their job properly. Always make sure the yellow ants have chewed a clear tunnel to the dark grey tiles before you pull a dark grey block into your limited five slots. If you trap a dark grey block early you risk losing the entire level.
Step 6: Feed multiple yellow blocks into your active slots to tear down the massive center section
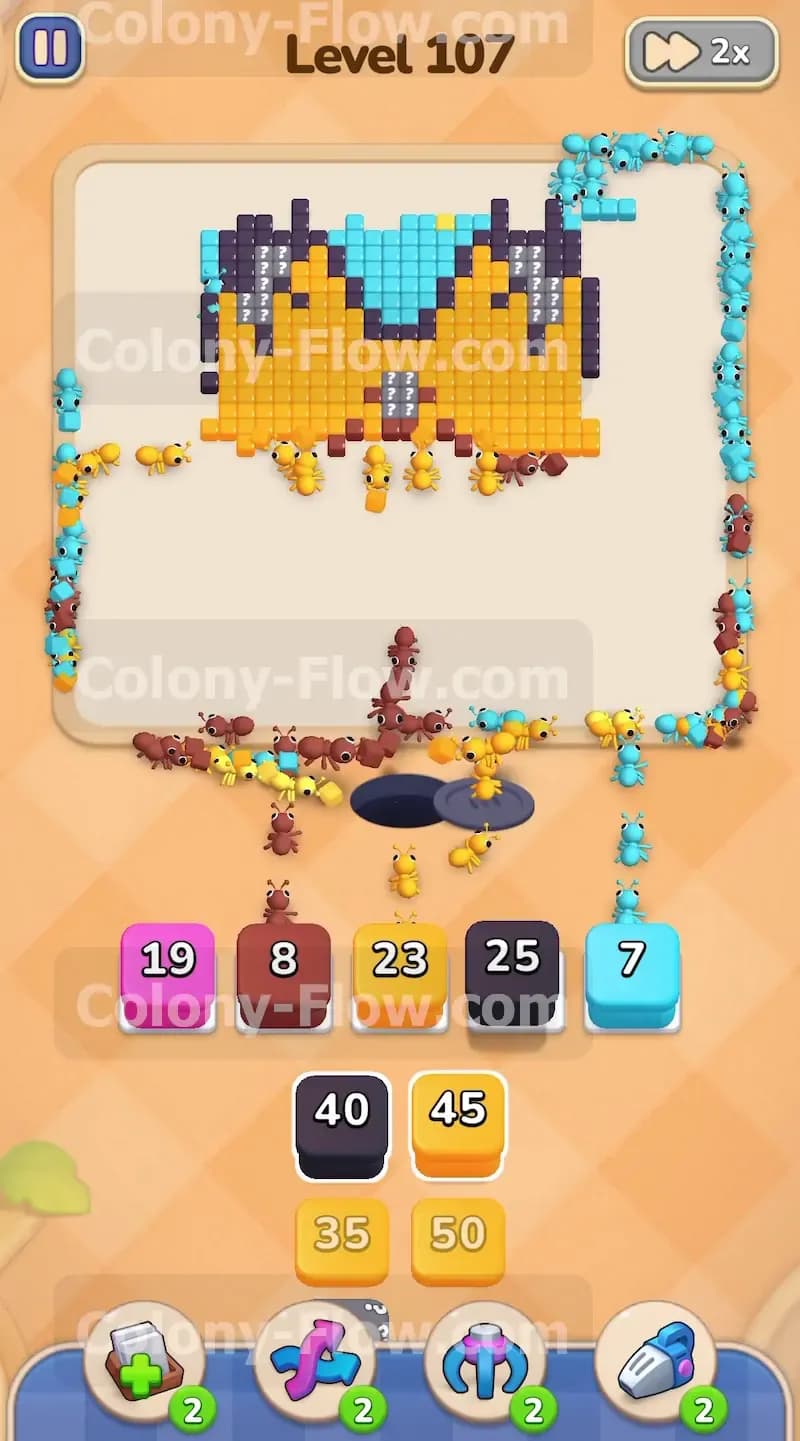
You will reach a point where almost all the outer details are gone and you just have a giant yellow block of pixels remaining in the middle of the screen. The tray will offer you several large yellow blocks back to back. Pull them up and let the ants flood the board continuously. They will devour the main head and work their way up toward the ears. You will place a 50 yellow block and a 45 yellow block active in your slots at the exact same time. This is perfectly fine because the yellow area is wide enough to support multiple streams of ants without bottlenecking the nest hole. Just ensure you do not tap a color you do not need yet so your slots remain flexible.
Step 7: Clear the top ears and remaining light blue background tiles to finish the level
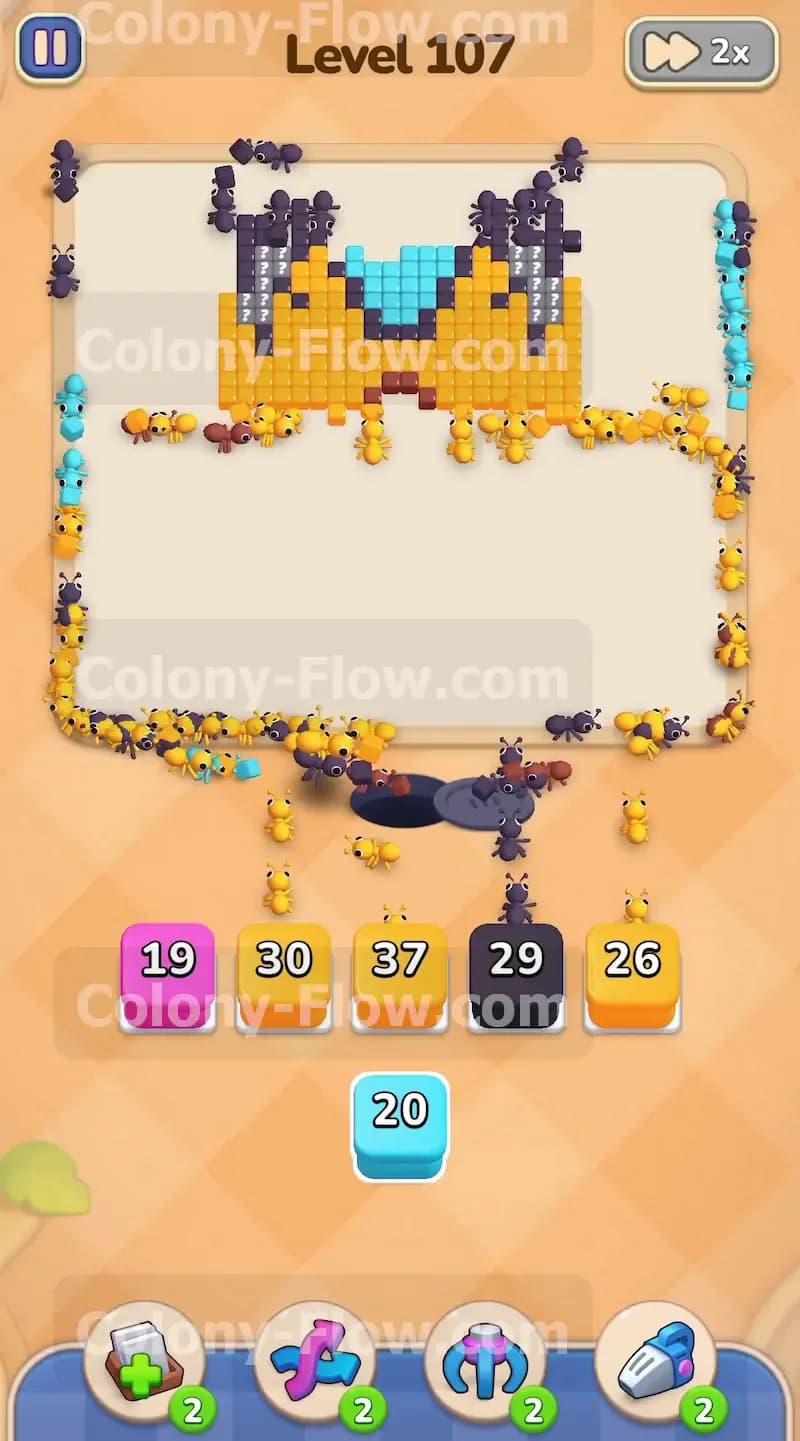
The final phase of the level focuses entirely on the very top of the screen. You will have a few light blue blocks left for the top corners of the sky and a couple of dark grey blocks for the very tips of the ears. Pull the final light blue blocks to send ants around the extreme outer sides to finish the sky. Bring up the last dark grey blocks so the ants can march all the way up the empty yellow paths to eat the ear tips. The last few yellow ants will finish the remaining ear bases. Once the final pixel disappears the board is completely clean and you win the level.
Final Thought
Managing the hidden boxes is the main trick to beating this specific puzzle. You have to keep the outer light blue paths active so you never trap yourself with unplayable blocks. If you find yourself struggling to match the exact sequence of moves I described you should absolutely watch the video above this article to see exactly how the ants navigate the board.