Colony Flow Level 140 Walkthrough Solution & Guides | How to solve Colony Flow 140

Guide By Liam Stone
Updated on July 16, 2026
The video above solves Level 140 in real time, so skip the article if watching works better for you.
Video doesn't match your screen?
Game updates frequently scramble layouts! Try our AI Screenshot Solver first to find your exact board instantly, or report broken guides to our team.
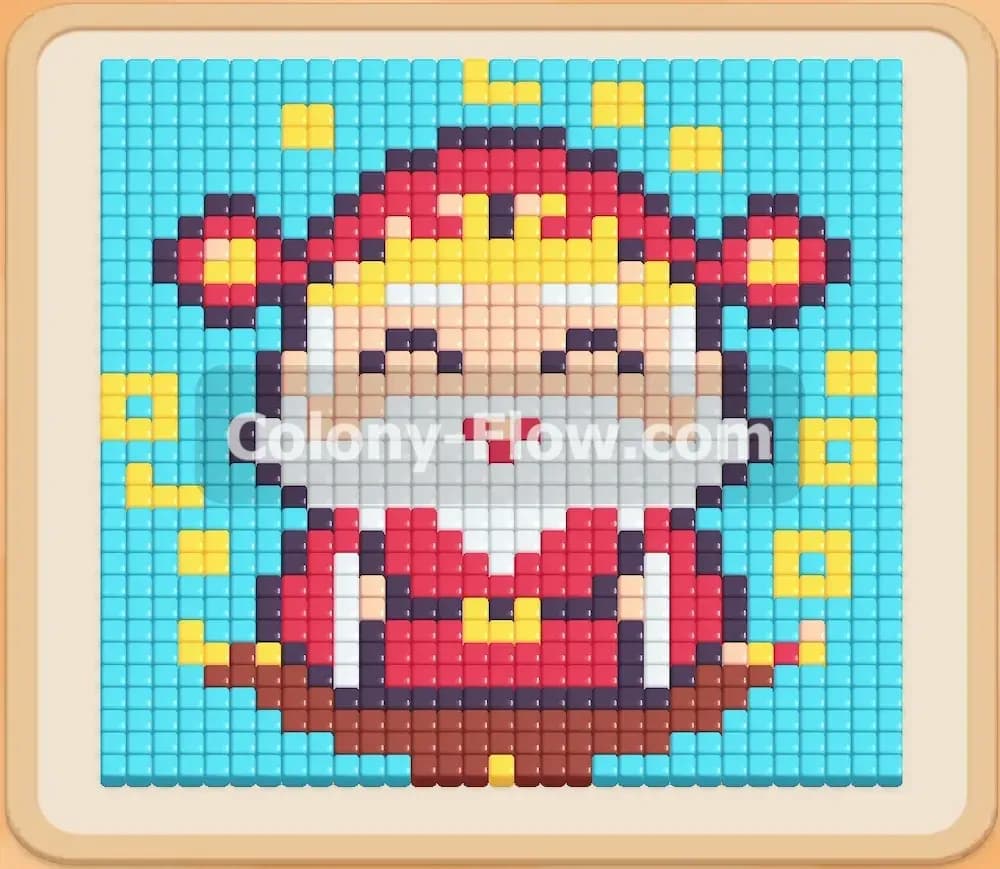
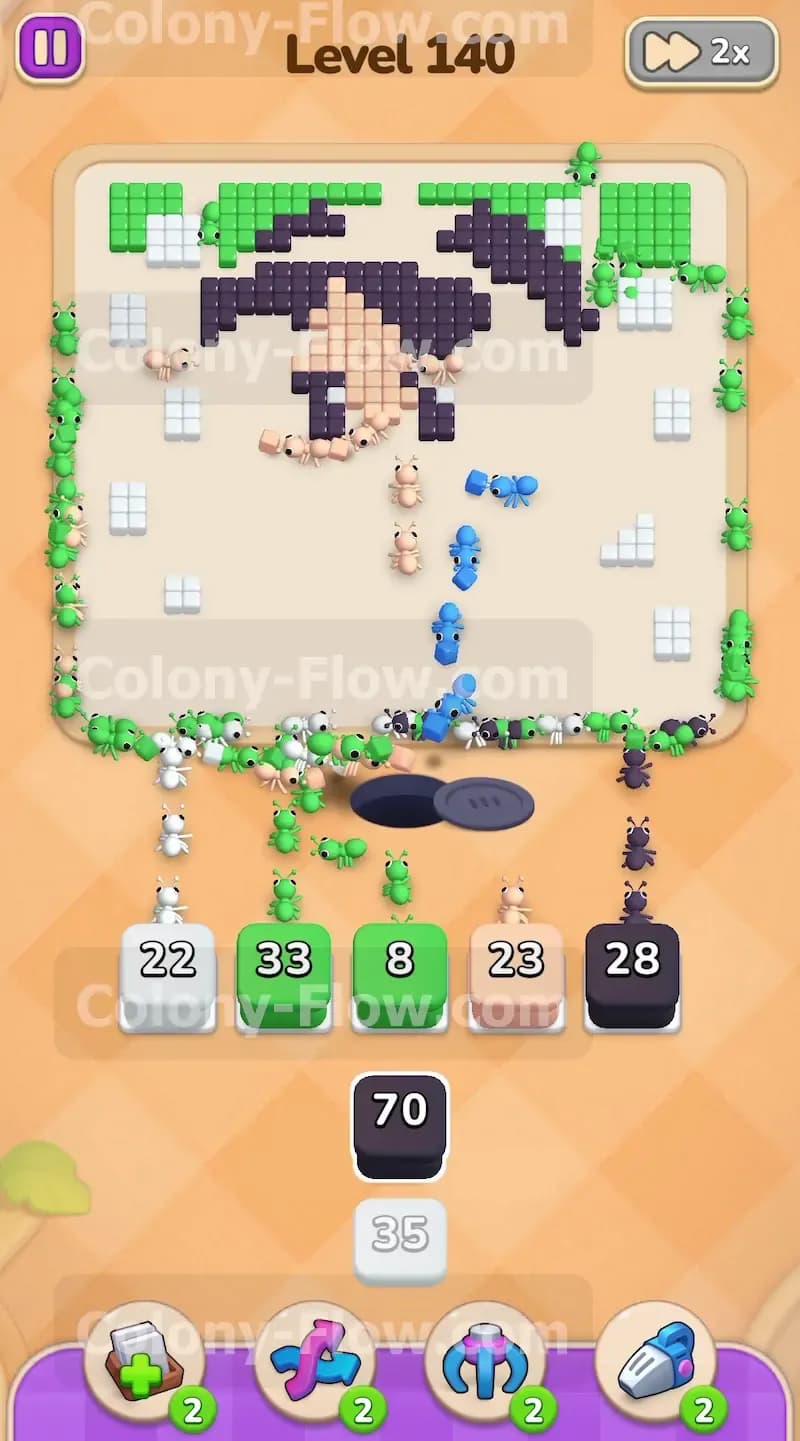
Welcome to Colony Flow Level 140 where you tackle a colorful pixel art portrait of a girl. This level demands careful management of your waiting slots because the available paths open up slowly. You need to clear the bottom edges first to carve out routes into the center of the picture. Follow along as I break down the exact sequence of blocks you need to pull to keep the ants moving and prevent a board jam.
Colony Flow Level 140 Overview
What You Are Working With
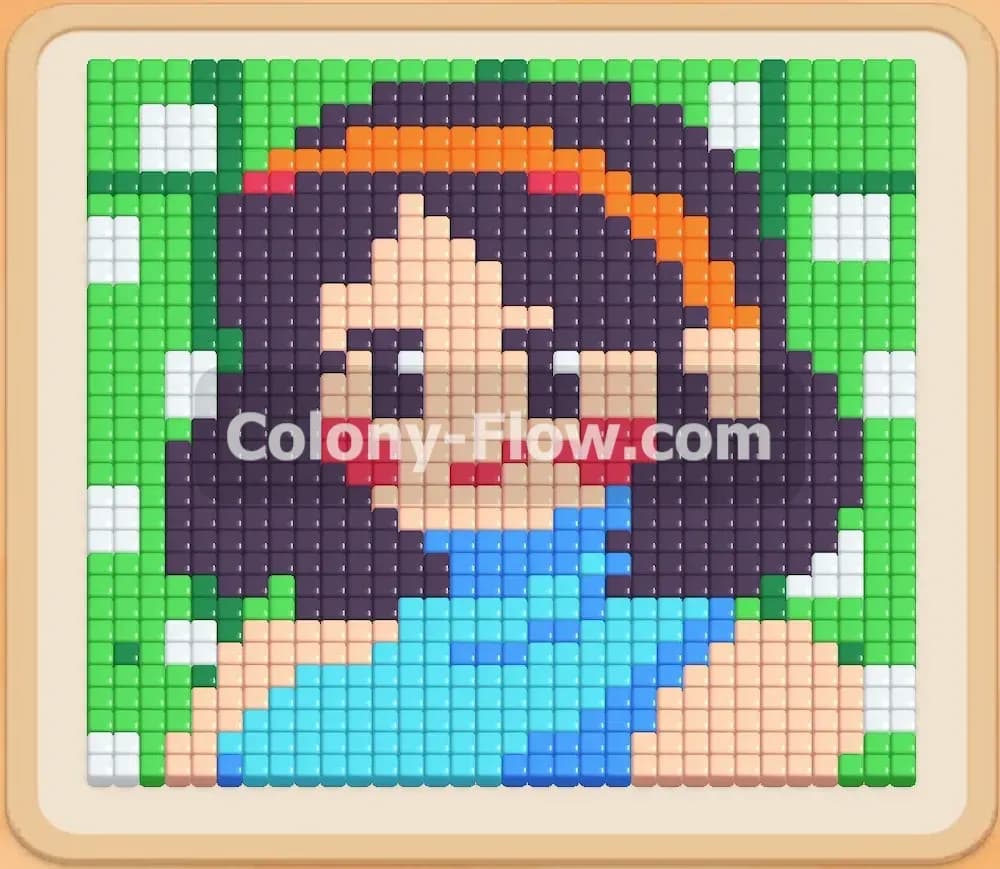
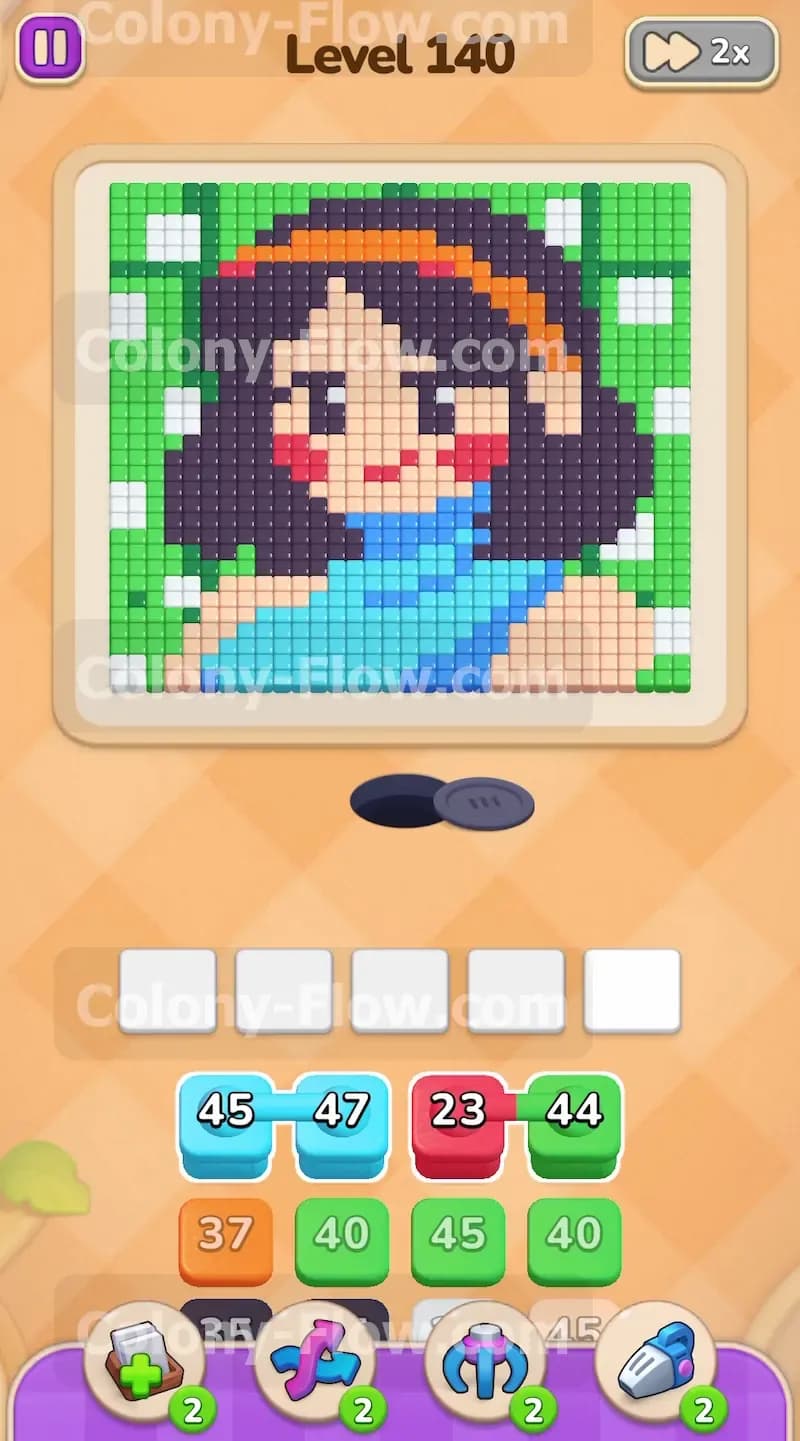
The board features a beautiful pixel art picture of a girl. She has dark hair, a bright blue shirt, a vibrant orange headband, and cute red cheeks. The background behind her is a mix of green tiles and white tiles. Your block tray at the bottom of the screen starts loaded with light blue, red, green, and orange blocks. The paths are initially limited to the very bottom edges of the picture. This is where the light blue shirt and some sections of the dark hair and skin begin. There are no special tiles like hidden boxes or chocolate blocks to worry about on this level. You just face a pure puzzle of matching colors and managing the countdown numbers on the blocks in your tray.
What It Takes to Clear Level 140 Board
To win this level you must clear every single colored tile from the picture. The main challenge is that you only have five waiting slots for your blocks. When you select a block from the tray it moves up into one of these five slots. The ants will only come out of the nest and carry the block pieces if there is an open path to the matching color tiles on the board. If you pull a color that does not have an open path to its matching tiles, that block will sit useless in a slot. It will take up valuable space and block you from pulling other colors. If all five waiting slots fill up with blocks that cannot move, you lose the level instantly. Success means always pulling a block that can immediately send ants to work. This strategy continuously opens up new paths for the next colors in line.
Colony Flow Level 140 Step by Step Solution
Step 1: Focus on the light blue shirt at the bottom edge.
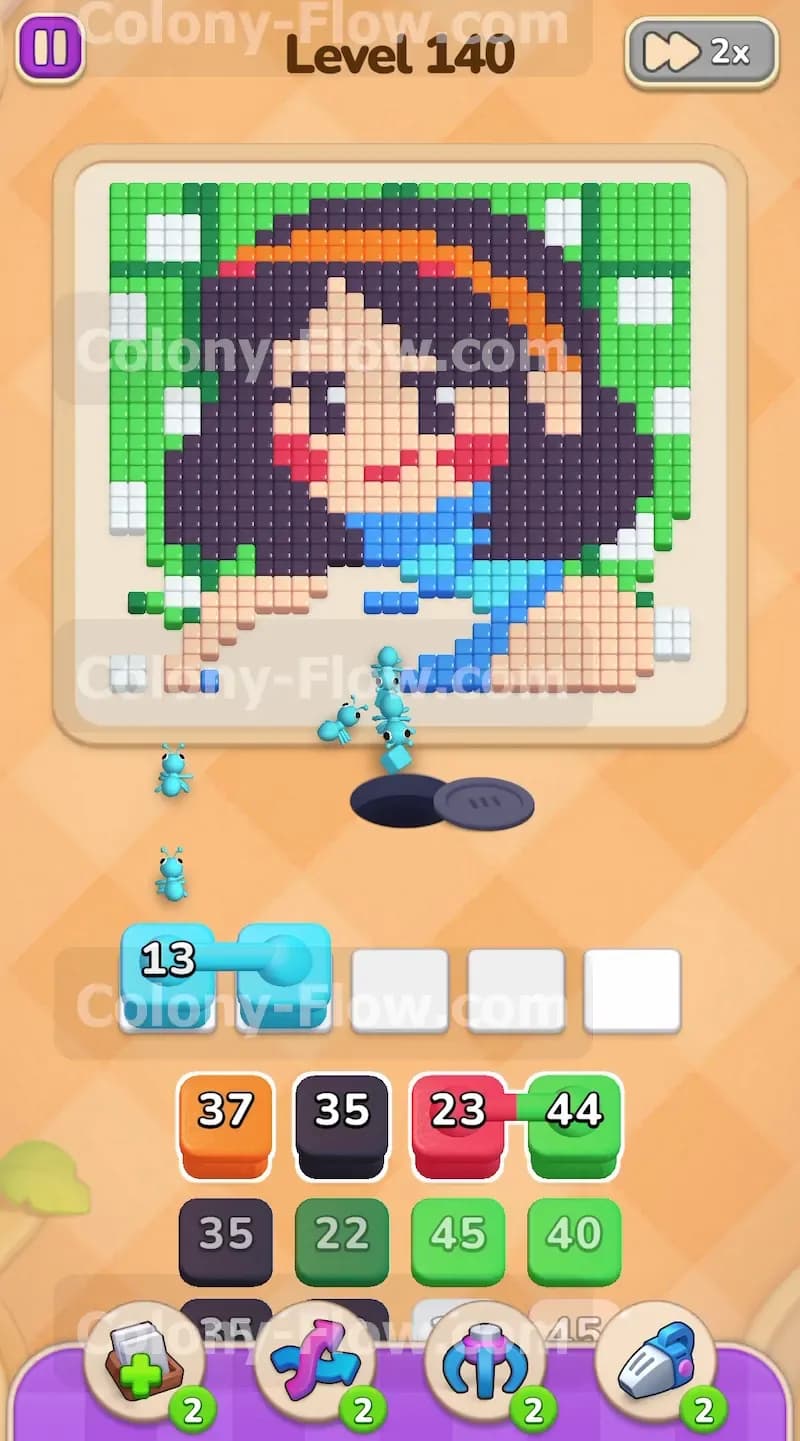
Your very first move is to pull a light blue block to clear the bottom section of the blue shirt. The ants will stream out of the nest hole and attack the light blue tiles directly above the starting area. The light blue block starts with a high number and will count down steadily as the ants carry the pieces away. This initial action matters because it opens up the lower boundaries of the picture. You need this space cleared so the ants can eventually reach the skin tiles and the inner sections of the hair located just above the shirt. Keep a close eye on the waiting slots and only pull one light blue block to start so you leave plenty of room for your next moves.
Step 2: Start clearing the dark hair on both sides of the face.
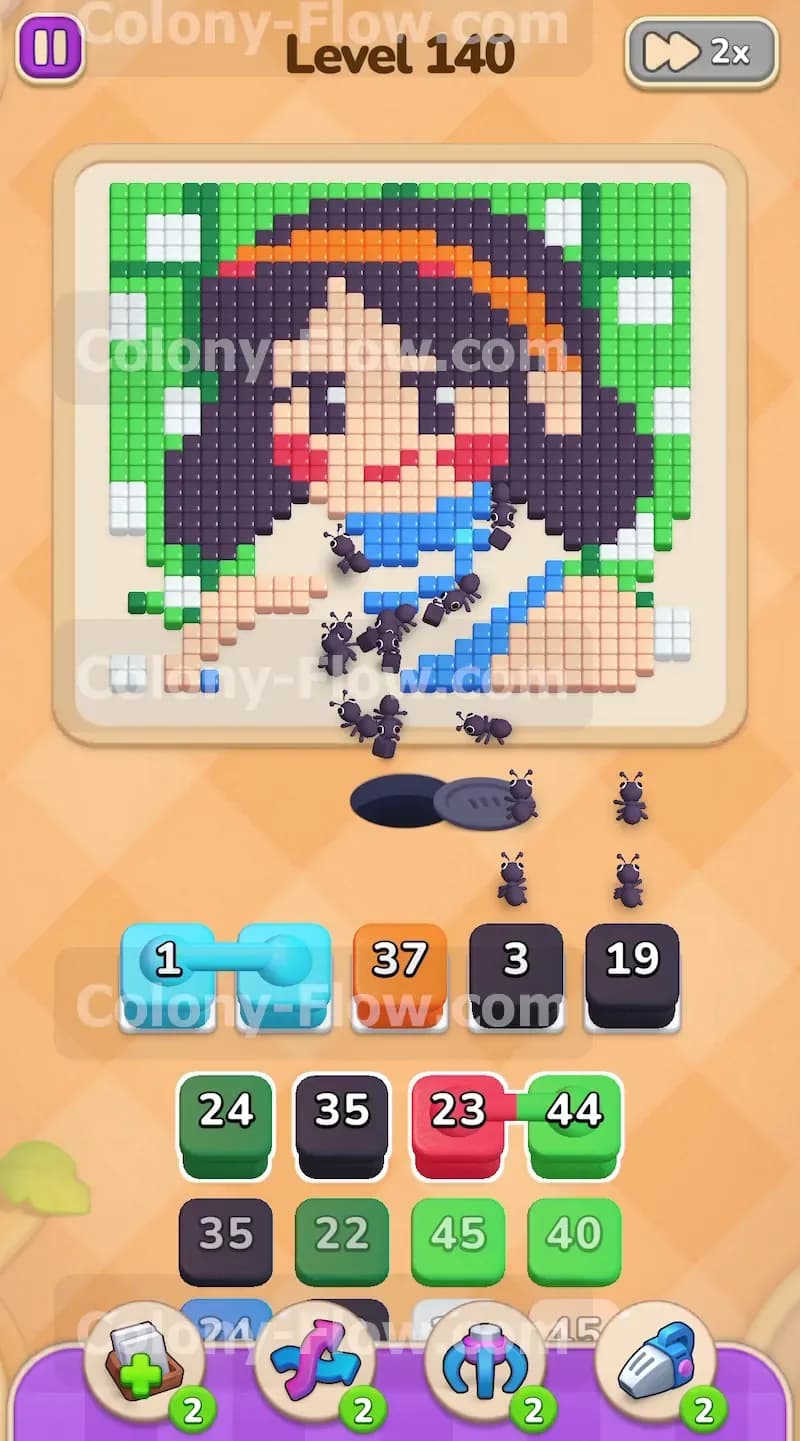
Once the light blue ants have made a good dent in the shirt you will pull a black block from the tray. The black tiles represent the dark hair flanking the face. These tiles touch the bottom edges of the picture now that some of the blue shirt tiles are gone. The black block will send ants to both the bottom left and bottom right sections of the hair at the same time. The number on the black block will decrease rapidly as these two separate paths are open simultaneously. This dual path action is a fantastic way to keep your waiting slots empty and move the puzzle forward at a fast pace.
Step 3: Pull another black block to maintain your momentum.
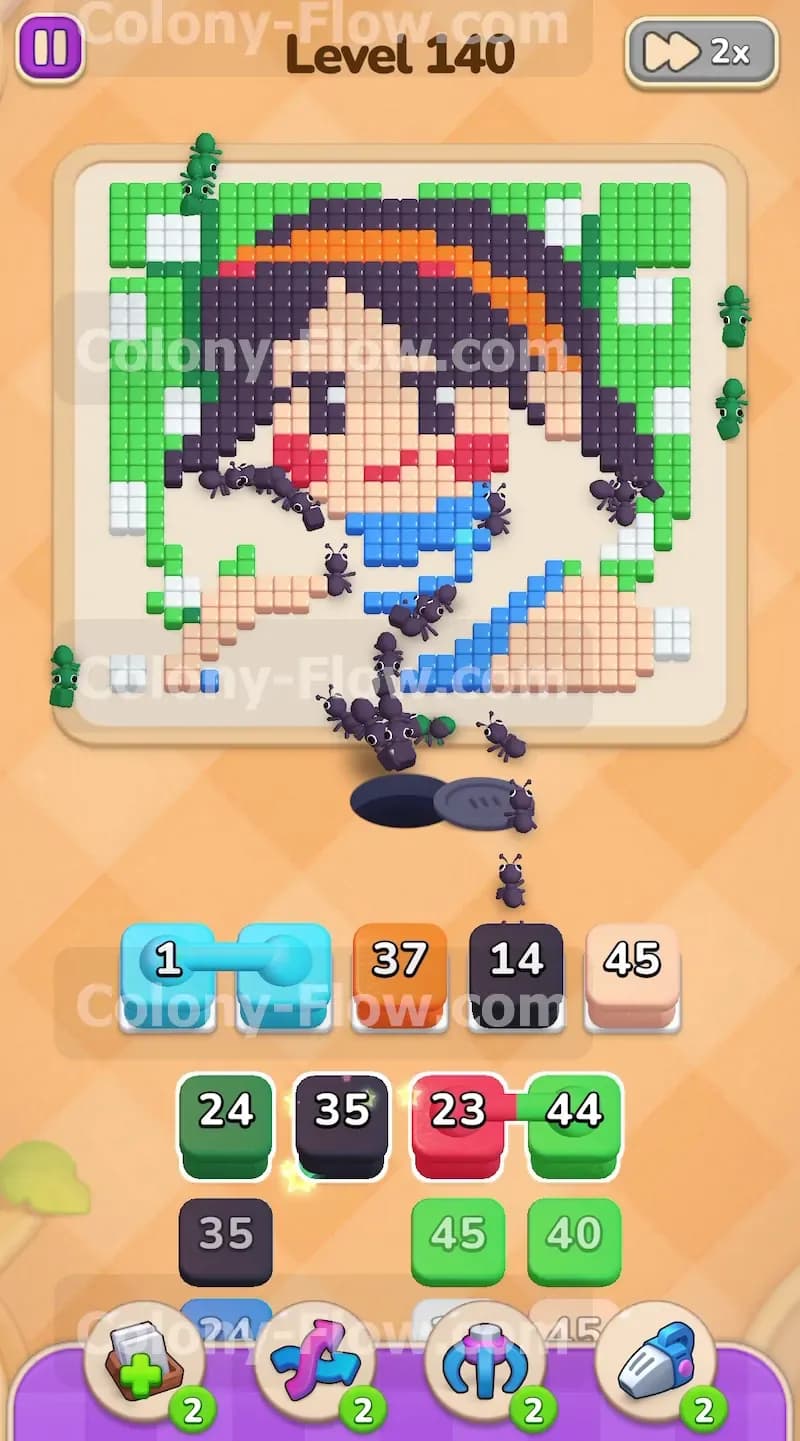
As the first black block finishes you will notice more dark hair tiles are now accessible higher up the sides of the head. Pull a second black block into your waiting slots to keep the pressure on. This keeps the dark ants flowing into the hair sections on the left and right without any interruption. By focusing your attention on the outer edges of the portrait you prevent the center of the board from becoming trapped later on. The black ants will chew through a massive portion of the hair which in turn exposes the green background tiles along the outer borders of the screen.
Step 4: Introduce a skin color block for the neck and lower face.
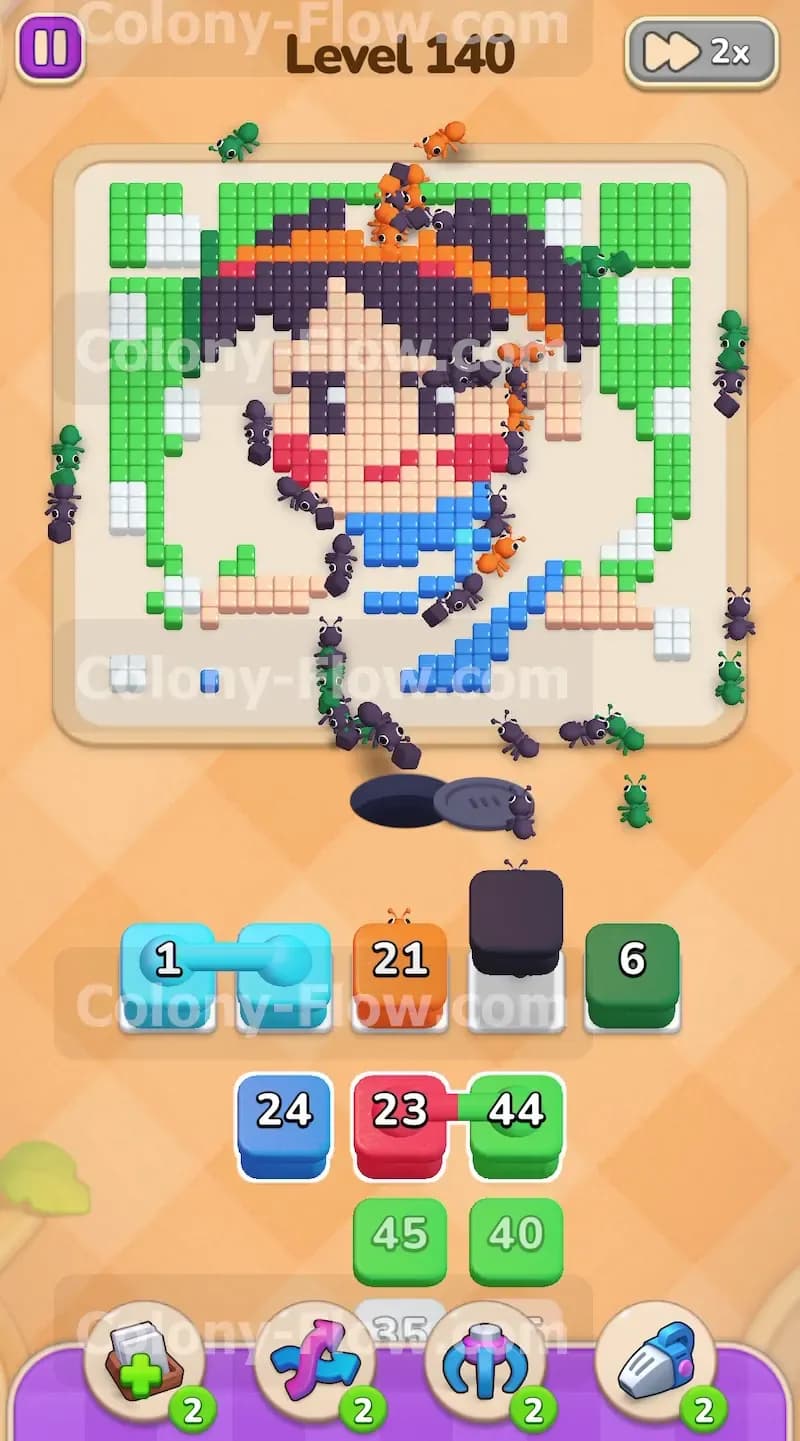
With the lower section of the blue shirt gone and the bottom edges of the hair clearing out nicely, the skin tiles on the neck and lower face are finally open. Pull a light skin block into your open waiting slots. The ants will begin clearing the neck area and the lower cheeks. The light skin block works perfectly here because it shares the same entry points that the blue block opened up earlier. You now have a steady flow of ants working on the skin, the hair, and the remnants of the shirt all at the same time. This keeps your board very active and your waiting slots completely safe from jamming.
Step 5: Activate the orange block for the bright headband.
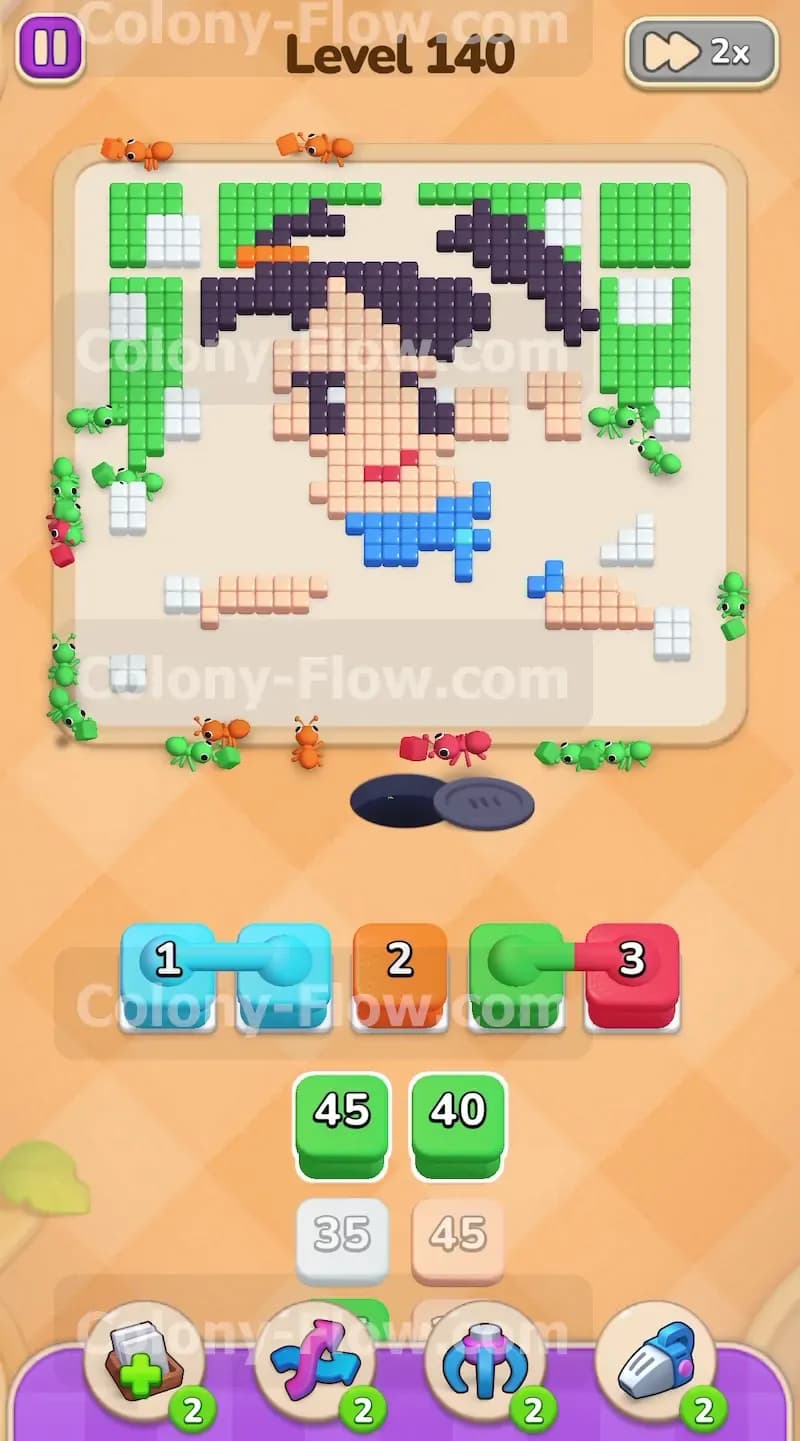
The orange headband is located near the very top of the head but some paths along the sides are starting to open up. Pull the orange block from the bottom tray. The orange ants will navigate all the way up the sides where the dark hair used to be and start eating the orange tiles of the headband. You will see the orange block sit at a higher number for a brief moment until the ants traverse the long distance across the board. The path is definitely open so it will not jam your board or cause you to lose. This strategic move ensures you address the top half of the puzzle while the bottom half is still actively being worked on.
Step 6: Send green ants to tackle the outer background.
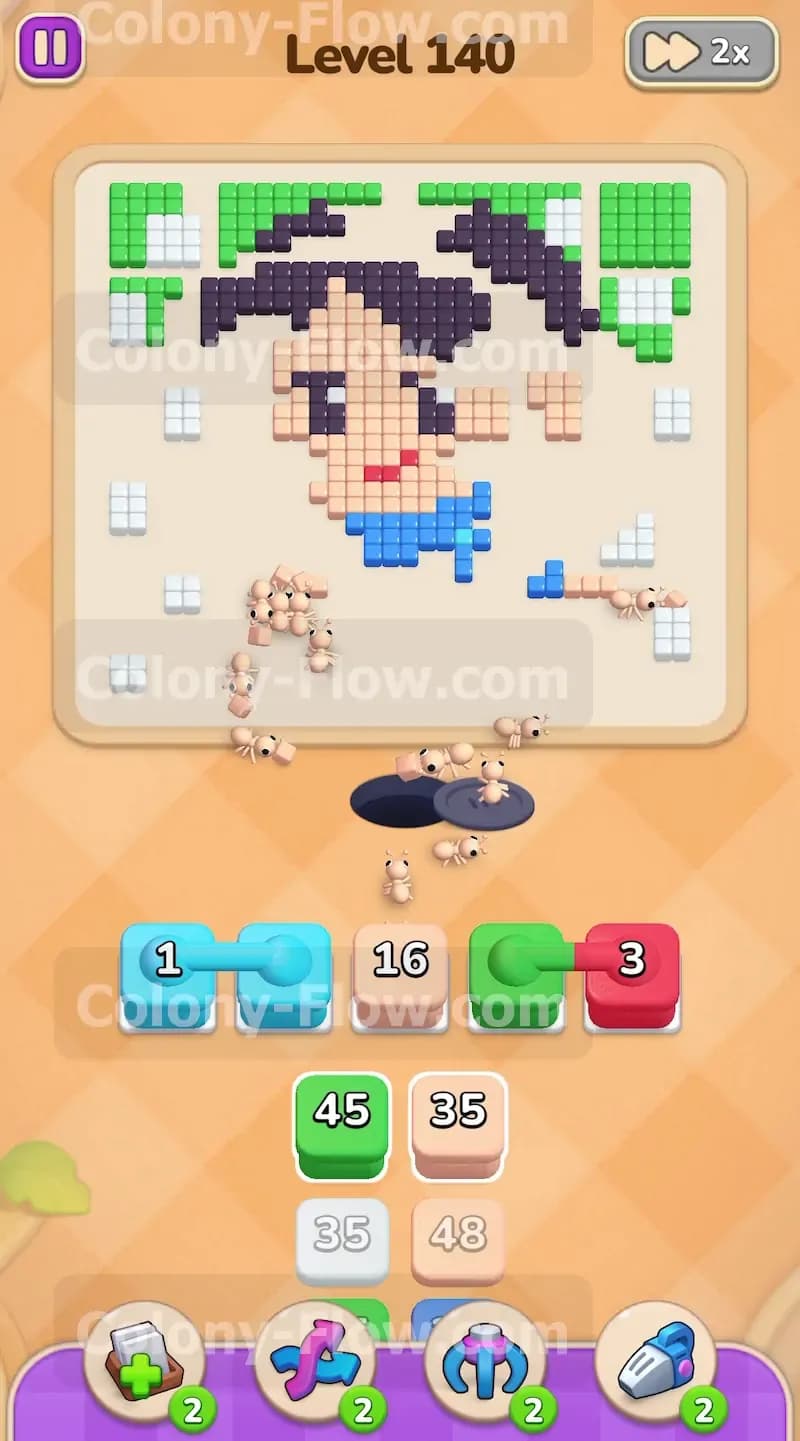
The outer edges of the picture consist of bright green tiles that make up the background. Now that the dark hair on the sides is mostly gone the paths to this green background are wide open. Pull a green block into your waiting slots to get things started. The green ants will rush up the left and right borders of the picture. The green block has a large number attached to it but it will deplete surprisingly quickly because the ants have multiple angles of attack. Clearing the green background is required to expose the remaining white background tiles and the very upper sections of the head.
Step 7: Clear the red cheeks to open the center of the face.
The red cheeks are small but they physically block access to the inner skin tiles of the face. Pull a red block from the tray to solve this problem. The red ants will easily find their way to the two specific red cheek spots on the board. The red block has a low number and will clear out of your waiting slots very fast. This is a crucial step because removing the red tiles directly connects the lower face paths to the upper face paths. Opening this central connection allows your next skin blocks to work efficiently without getting stuck.
Step 8: Pull another skin block to finish the main face.
Now that the red cheeks are completely gone the entire center of the face is accessible to your ants. Pull another skin color block from the tray. The ants will flood the middle of the picture and clear out the nose, the eye area, and the forehead. The number on the skin block will drop steadily as the ants swarm the middle. By this point in the level the portrait of the girl is mostly dismantled. You have successfully opened up the core of the picture without ever trapping a block in the waiting slots.
Step 9: Release the white ants for the remaining background.
The final large sections of the picture are the white background tiles that were originally mixed in with the green ones. Pull a white block from the tray to tackle this final phase. The white ants will swarm the top and sides of the board to clean up the rest. You can also pull any remaining green blocks to finish off the absolute last few green tiles. The board will look a bit chaotic with white, green, and any leftover skin ants finishing their respective tasks all at the same exact time. Watch as the final numbers count down to zero and the picture completely vanishes from the screen. You just won the level.
Final Thought
Colony Flow Level 140 is a very satisfying puzzle that teaches you exactly how to balance multiple colors at once. By opening the bottom edge first and systematically working up the sides you prevent any deadly log jams in your waiting slots. Remember to always look for the open path before you pull a new block from the tray. If you find any of these steps hard to follow in text I encourage you to watch the video above this article.