Colony Flow Level 200 Walkthrough Solution & Guides | How to solve Colony Flow 200

Guide By Liam Stone
Updated on July 13, 2026
You can watch the video above to see Level 200 solved from the very first move.
Video doesn't match your screen?
Game updates frequently scramble layouts! Try our AI Screenshot Solver first to find your exact board instantly, or report broken guides to our team.
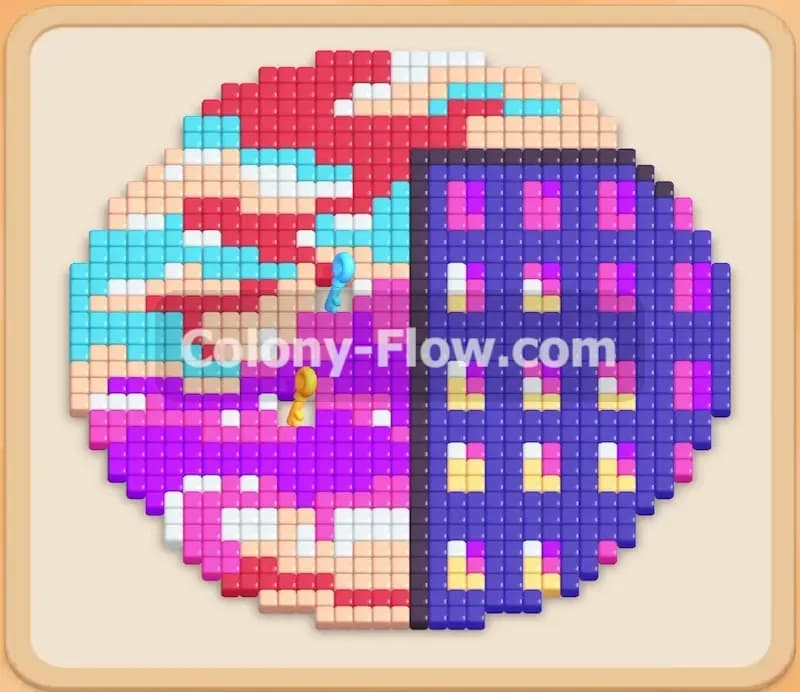
Colony Flow Level 200 brings you a colorful crystal ball resting on an elegant golden base. The puzzle requires careful timing as you peel away the outer glass layers to reach a dense purple center. You face limited tray space and locked colors that demand a precise opening strategy to keep your ants moving. I will show you exactly how to break down this picture without trapping your colony.
Colony Flow Level 200 Overview
What You Are Working With
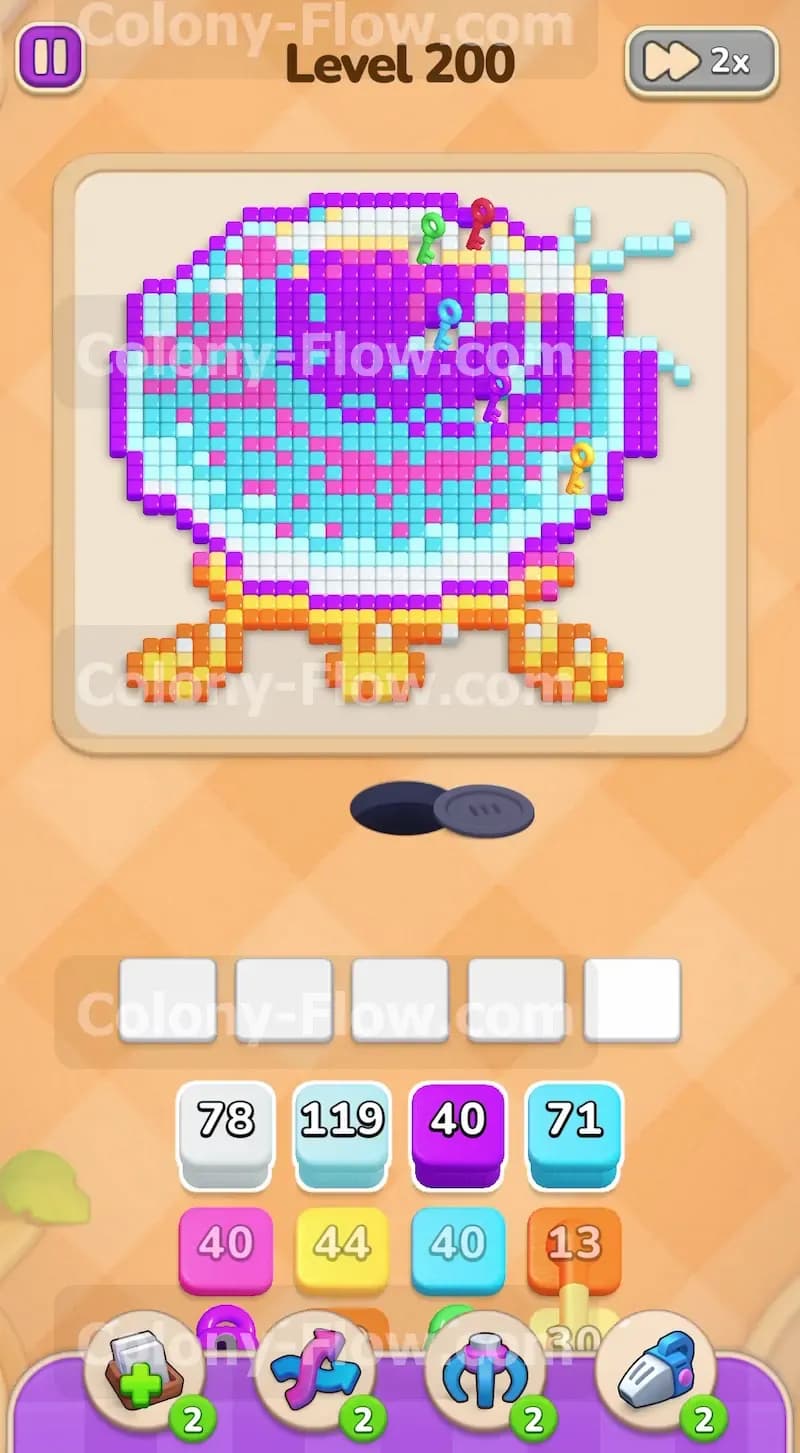
The picture on this board features a large round crystal ball made of cyan light blue pink white and purple tiles. The glass ball sits on a base made of orange and yellow tiles. You will notice several keys scattered across the picture. A green key sits near the top edge and a yellow key rests on the right side. Your tray holds a mix of single blocks and connected boxes. The connected boxes feature orange and yellow colors linked together. You also have several locked blocks in the lower tray covered by purple yellow green and cyan locks. You must collect the matching keys from the board to access these hidden blocks.
What It Takes to Clear Level 200 Board
Winning this level requires strict management of your five waiting slots. If you fill all five slots with blocks that have no open path to their matching tiles you lose the game immediately. You clear the board by working from the outside edges toward the inside center. You must clear the outer light blue and white rings to unlock the keys and expose the inner pink and purple tiles. You will use the connected orange and yellow blocks to eat away the bottom stand while keeping enough slot space open for your main colors. The level ends when the purple core vanishes and the final scattered edge tiles are eaten.
Colony Flow Level 200 Step by Step Solution
Step 1: Open the outer glass shell with the first white and light blue blocks
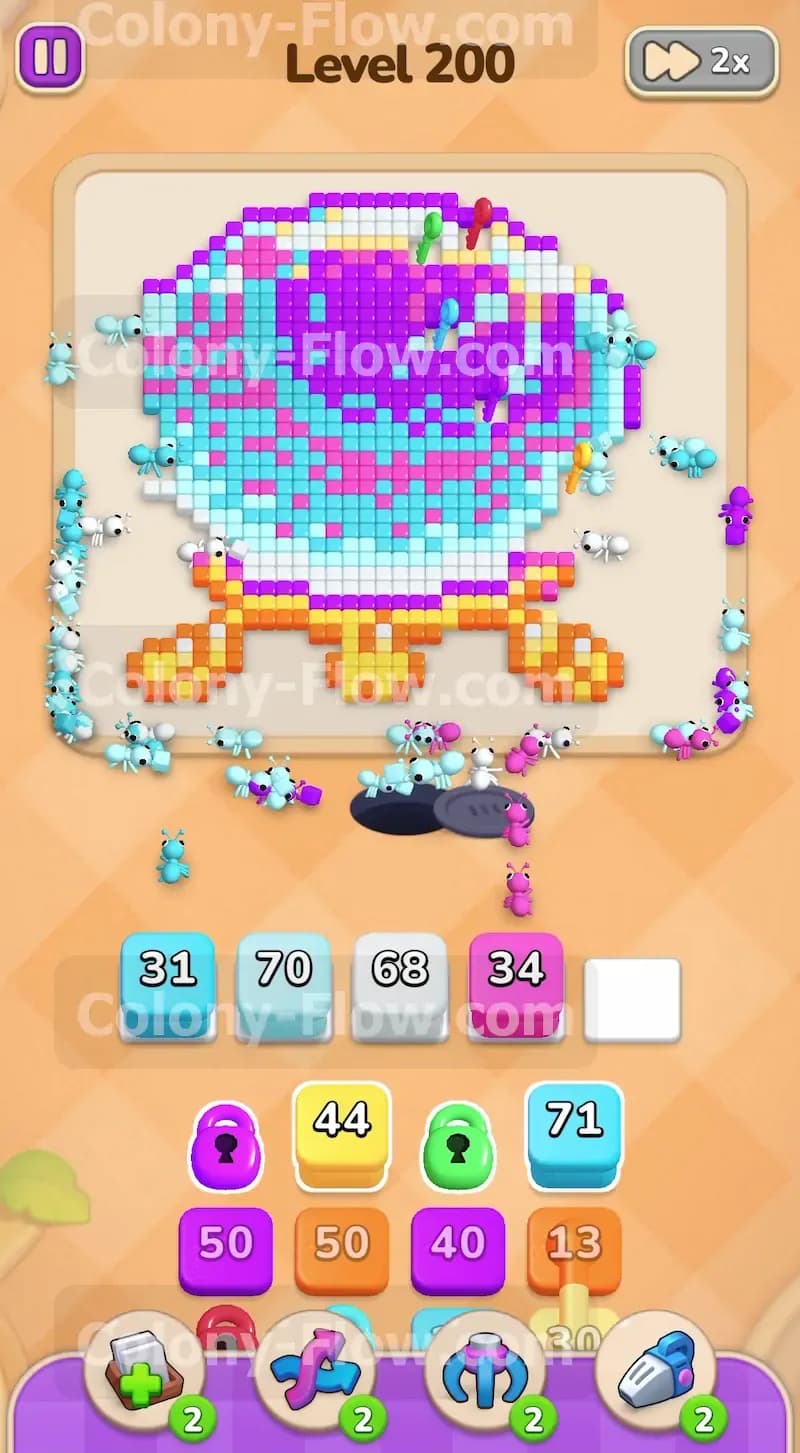
You start by pulling the large white block and the large light blue block into your empty waiting slots. The outer rim of the crystal ball consists entirely of these two colors. Pulling these blocks sends two massive streams of ants up the left and right sides of the board. Do not pull the purple block right now. The purple tiles are buried deep inside the center of the crystal ball and have no open paths. If you pull the purple block it will sit in your tray and permanently waste one of your five valuable slots. Keep your slots dedicated only to the colors that can immediately touch an exposed tile.
Step 2: Deploy the pink and cyan blocks to reach the inner rings
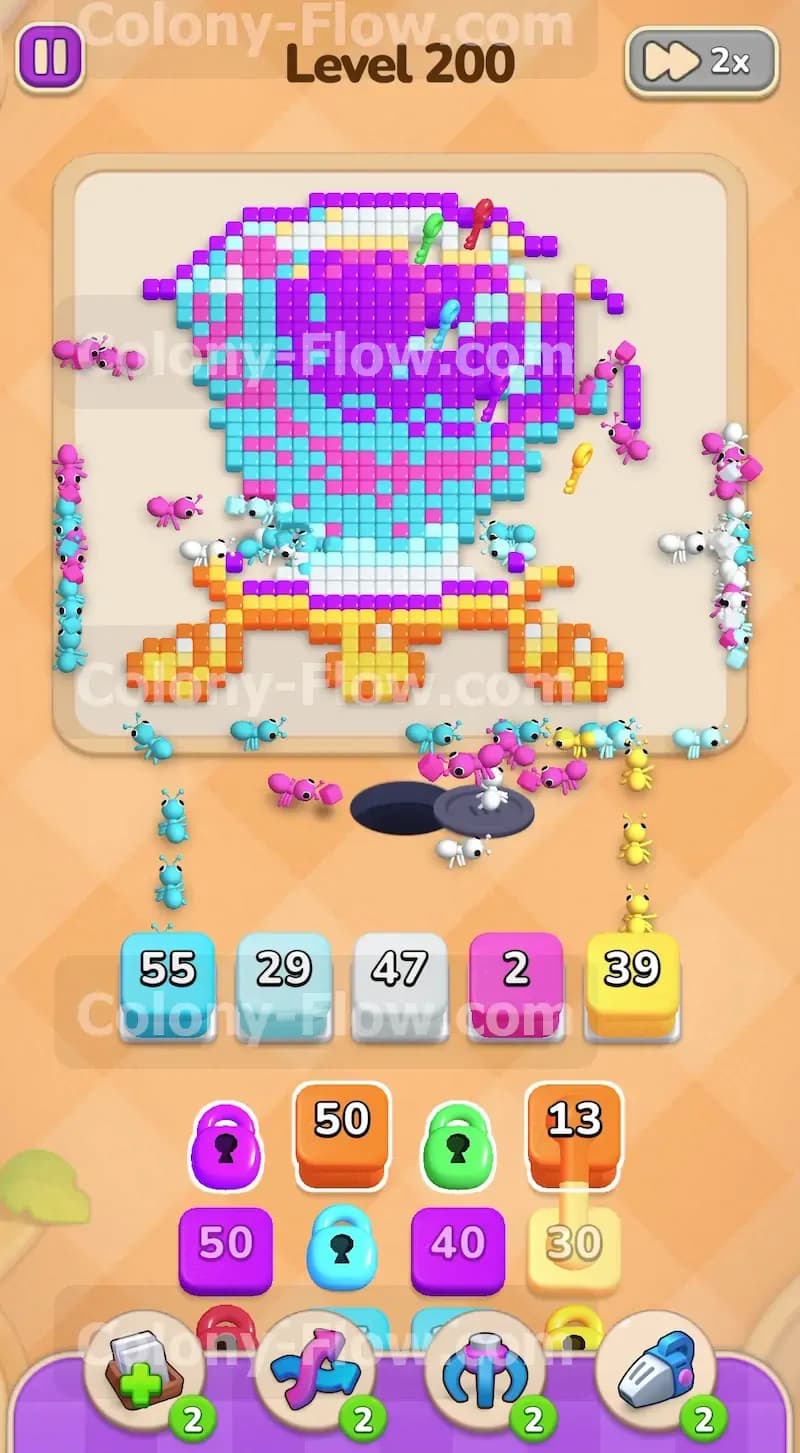
You pull the pink block and the cyan block as soon as the first wave of ants clears the outermost edges. The pink tiles form an inner ring just inside the light blue glass. The cyan tiles create scattered highlights around the upper half of the ball. By pulling the cyan and pink blocks next you keep the ants moving directly behind the first wave. The ants carve a neat path toward the top of the glass. Your waiting slots remain active and the numbers count down smoothly. You maintain a constant flow of ants without causing any traffic jams in the lower tray.
Step 3: Collect the top green key to unlock the lower tray
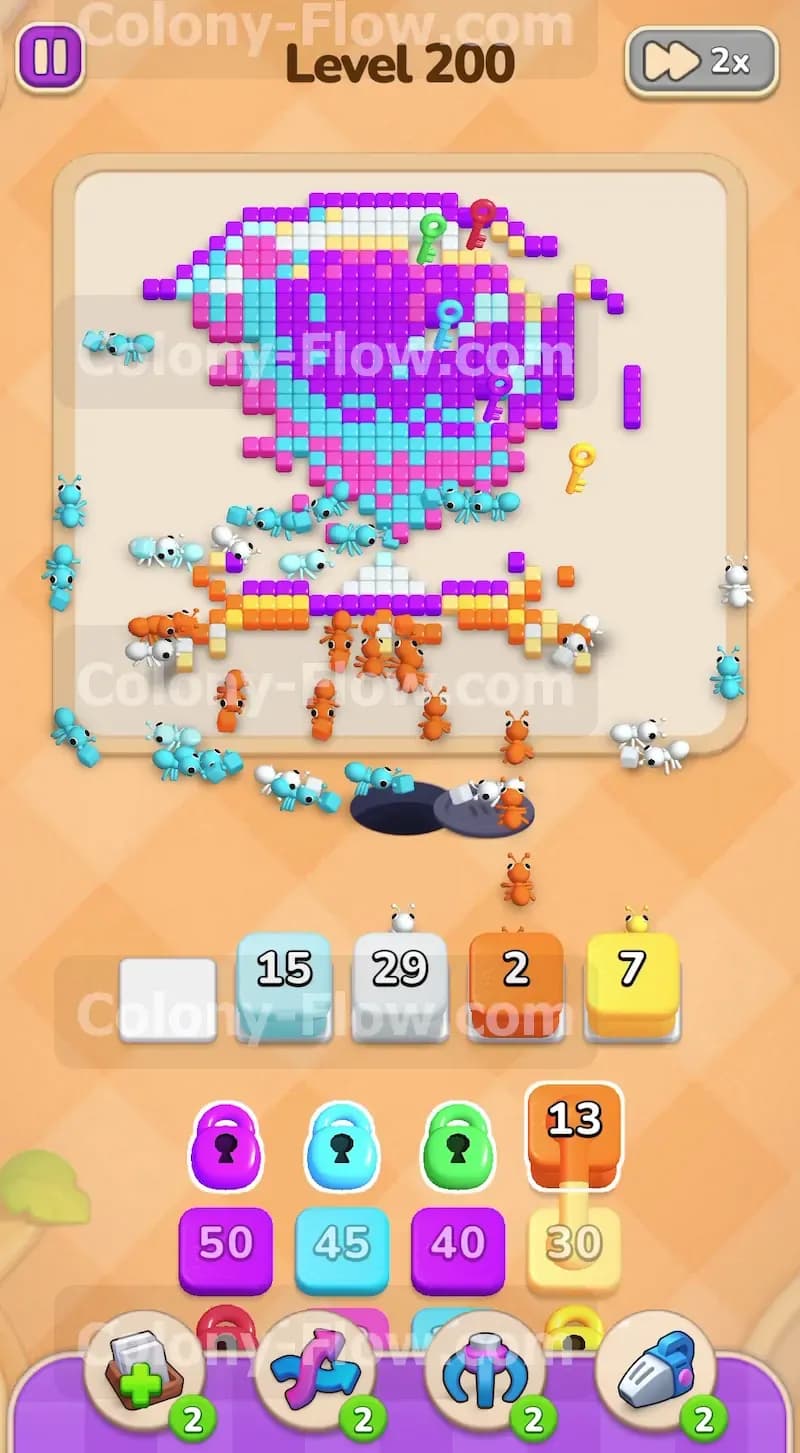
You must watch the top edge of the crystal ball as your ants eat away the glass. A green key rests right on the upper rim surrounded by cyan and light blue tiles. Your ants will eventually eat their way up to this exact spot. The moment they clear the tile holding the key you collect it automatically. Collecting this key unlocks the green lock in your lower tray. You need the blocks hidden behind that lock for the later stages of the puzzle. You should wait to pull any more blocks until this key is secure to prevent slot crowding.
Step 4: Bring in the connected orange and yellow blocks for the golden stand
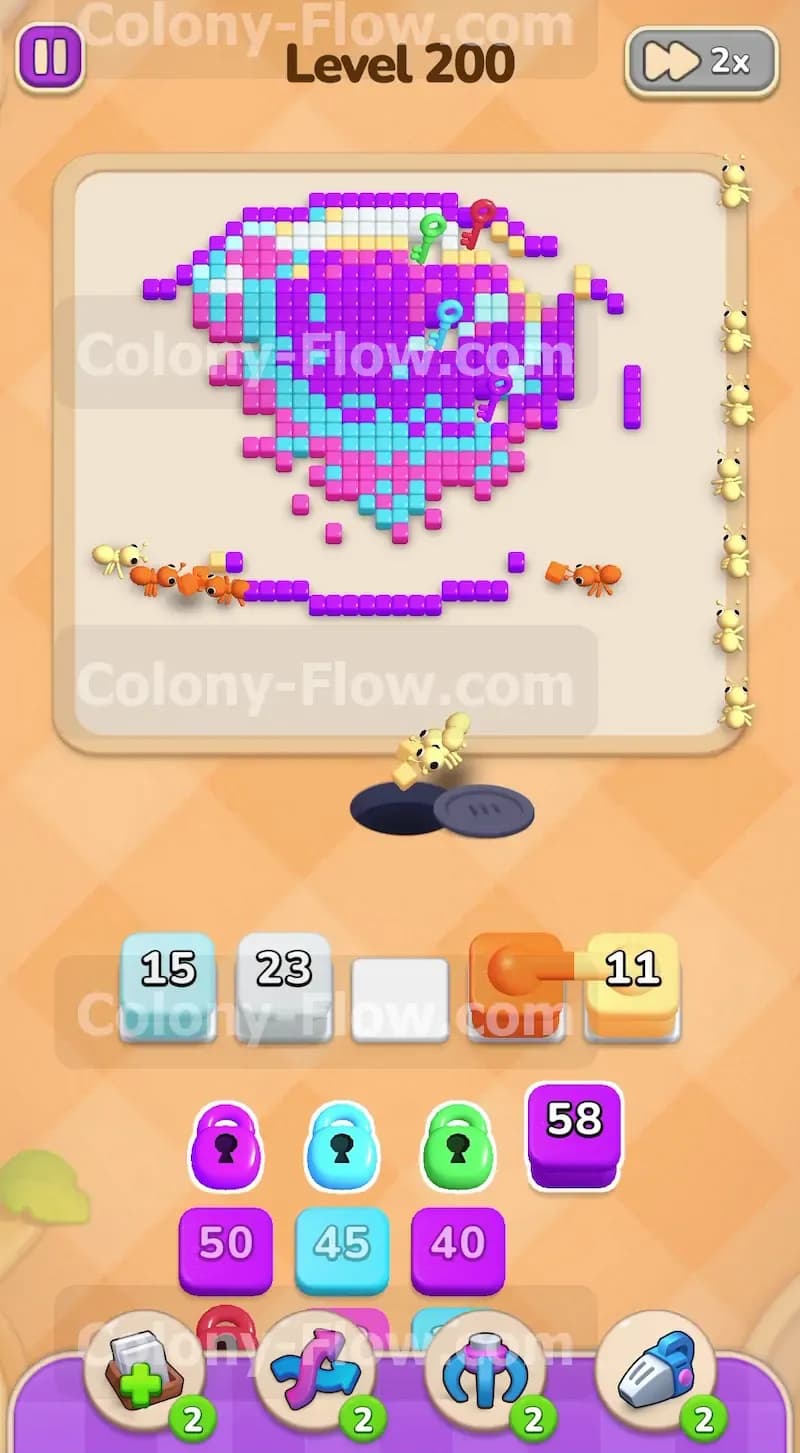
You now focus on the golden stand at the base of the crystal ball. The stand uses orange and yellow tiles exclusively. In your tray you will see orange and yellow blocks linked together. They enter the waiting slots as a single pair and take up space together. You pull the first connected pair to send orange and yellow ants to the bottom stand. They immediately find a path to the outer edges of the base. This ensures the connected blocks start working right away and do not sit idle in your limited slots.
Step 5: Secure the yellow key on the right side
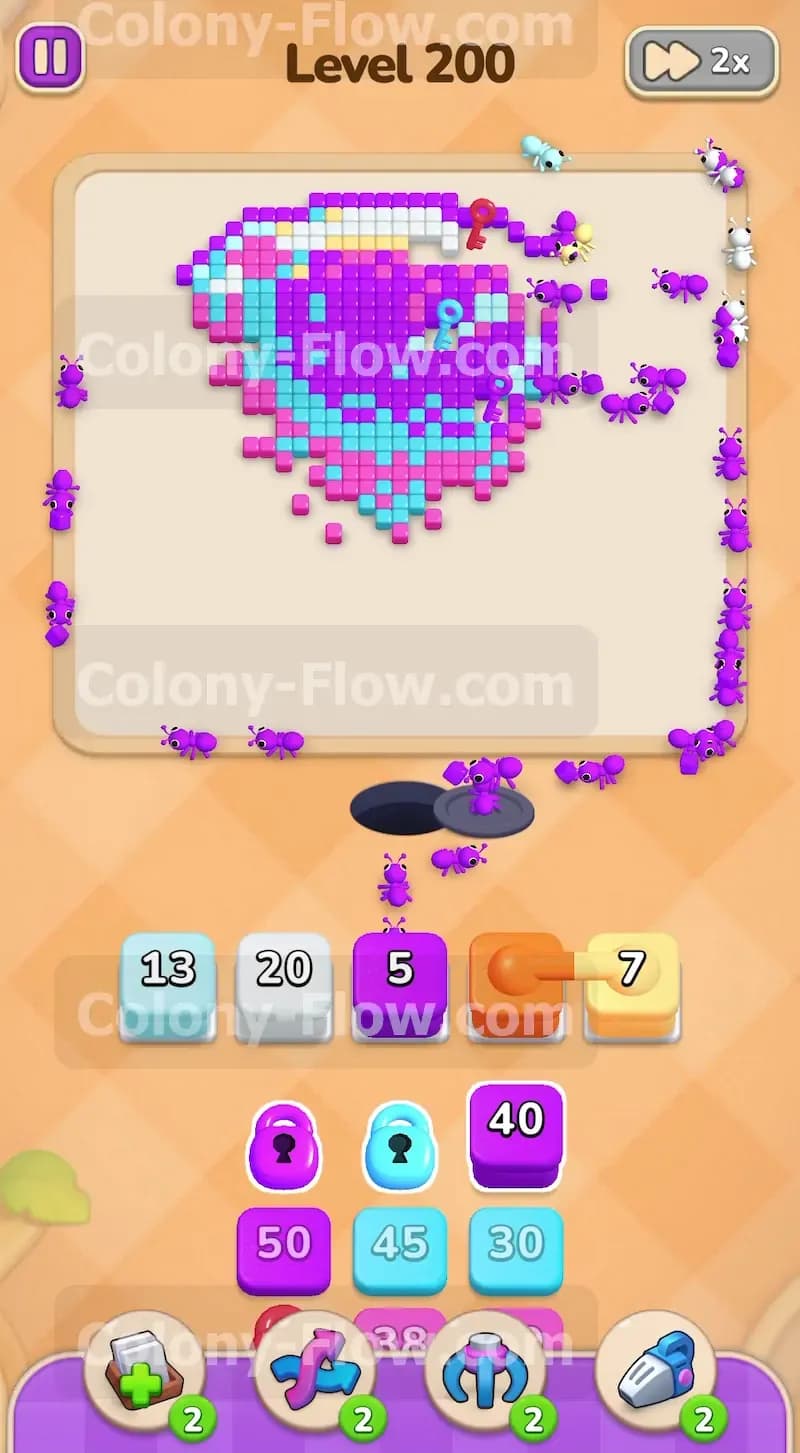
You shift your attention to the yellow key sitting on the right edge of the crystal ball. Your pink and white ants have been slowly clearing the outer glass on that side. The moment the tile under the key disappears you grab it and open the yellow lock in your tray. New numbered blocks appear for you to use. You must keep your slots partially empty right now to prepare for the massive center push. Let the current blocks finish their numbers before you drag anything else up from the bottom.
Step 6: Unleash the purple ants into the center core
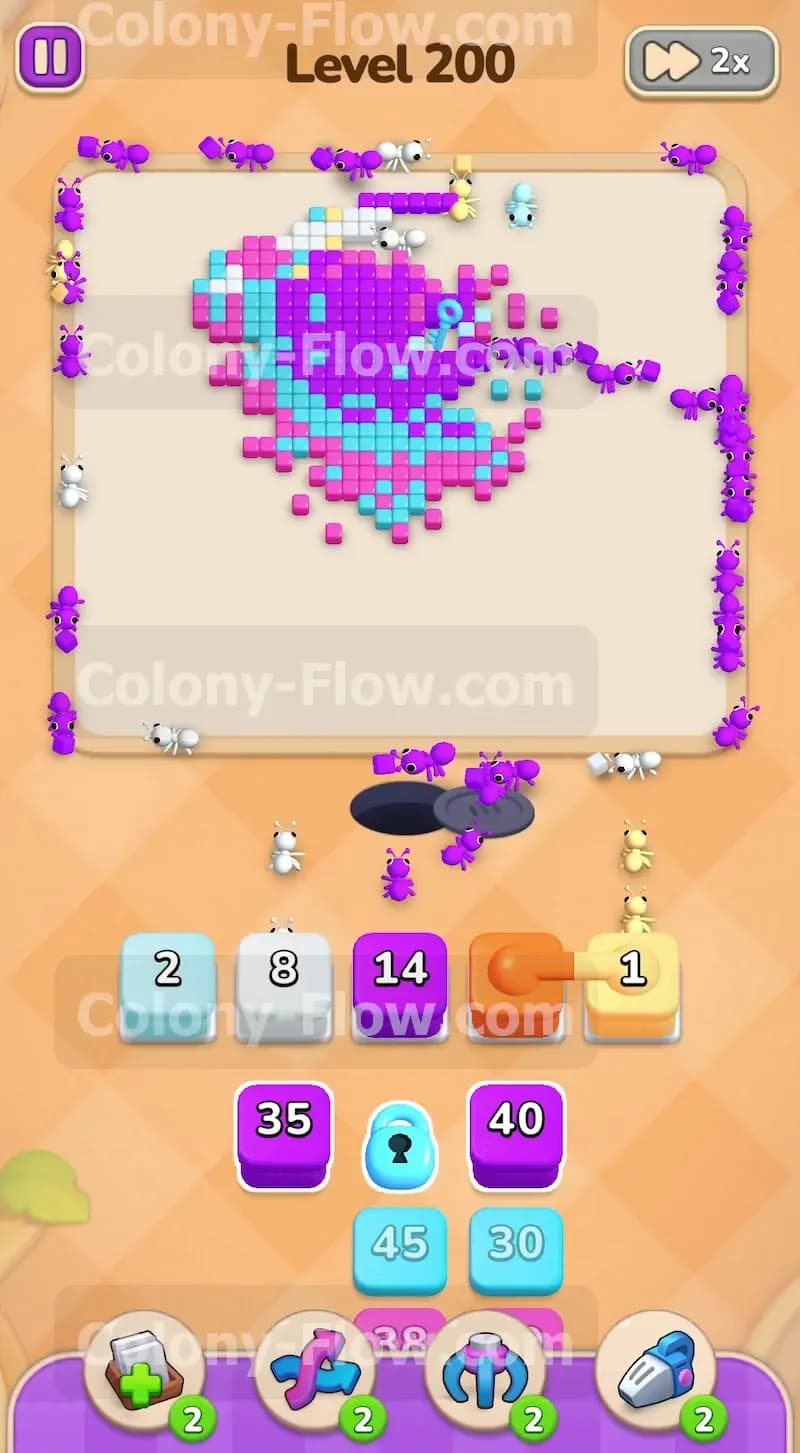
You now have a wide open path to the dense center of the crystal ball. The entire middle section is made of purple tiles. You pull the first large purple block into a waiting slot. A huge swarm of purple ants rushes straight into the core of the board. The large number on the purple block drops rapidly because so many paths are available all at once. You avoid pulling any other colors while the purple ants do their work so the slot can clear out fast. The dark center shrinks dramatically as the ants swarm the glass.
Step 7: Clear the final pieces of the golden base
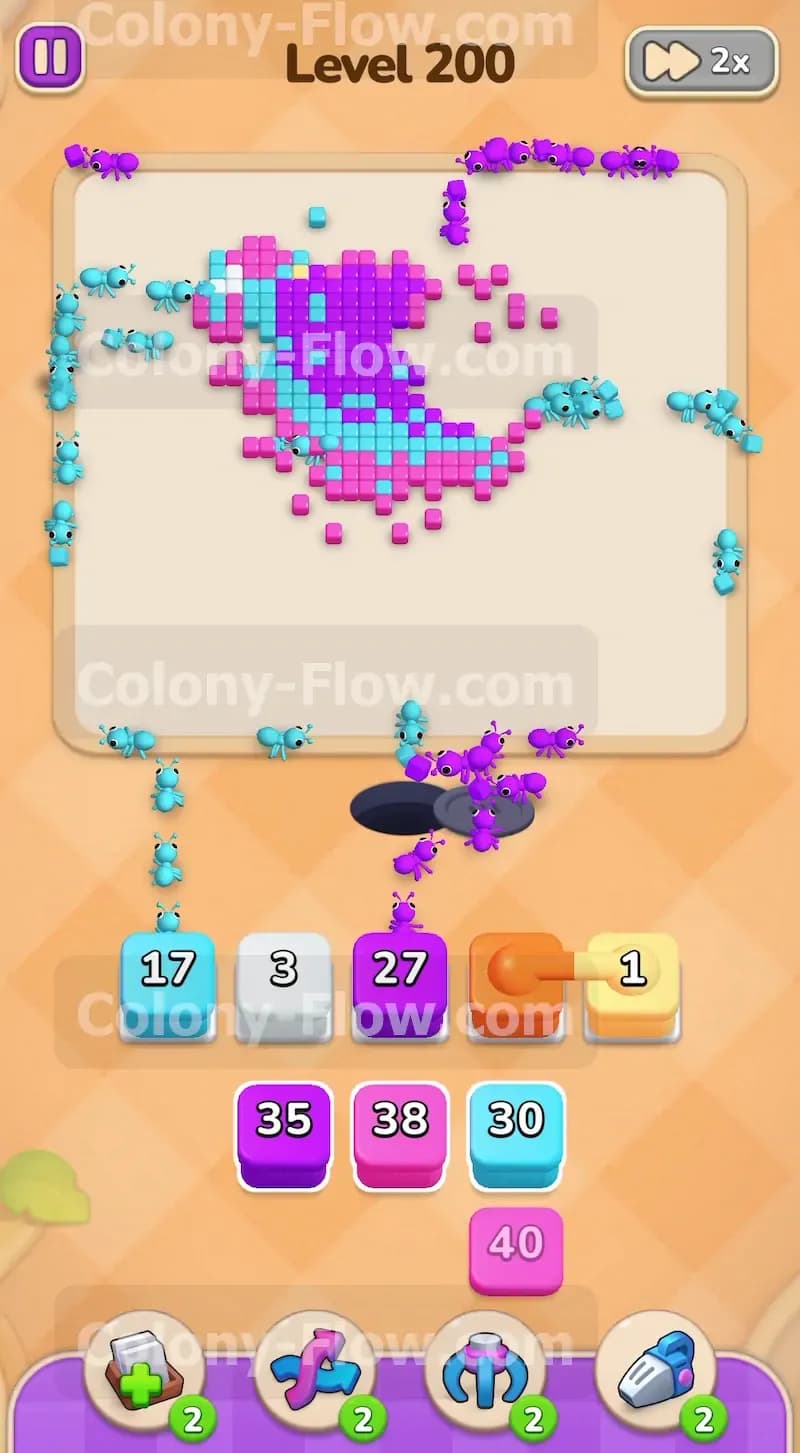
You pull the remaining connected orange and yellow blocks to finish the base. The stand at the bottom is almost completely gone at this point. The new orange and yellow ants rush the final middle section of the golden support. Because you waited until the first set of connected blocks finished you avoid jamming two sets of them into your limited slots. The bottom of the board is now entirely clean and you have plenty of tray space for the final cleanup phase.
Step 8: Complete the purple core and clear the final scattered pixels
You pull the final purple blocks and the remaining small numbered blocks from your tray. Only a few scattered cyan light blue and white tiles remain around the edges of the board. The purple core is now just a tiny speck in the middle. The final waves of ants easily navigate the empty board to eat the last few tiles. You keep pulling the small blocks as they become available ensuring every remaining color finds its target. The final purple ant eats the last center tile and the picture clears completely to win the level.
Final Thought
This board requires great patience with your slot management and a firm understanding of when to push the center. You must resist the temptation to pull the heavy purple blocks until the outer glass layers are fully shattered. If any part of this walkthrough feels tricky to picture in your head I highly encourage you to watch the video above this article to see the exact timing of the connected blocks.