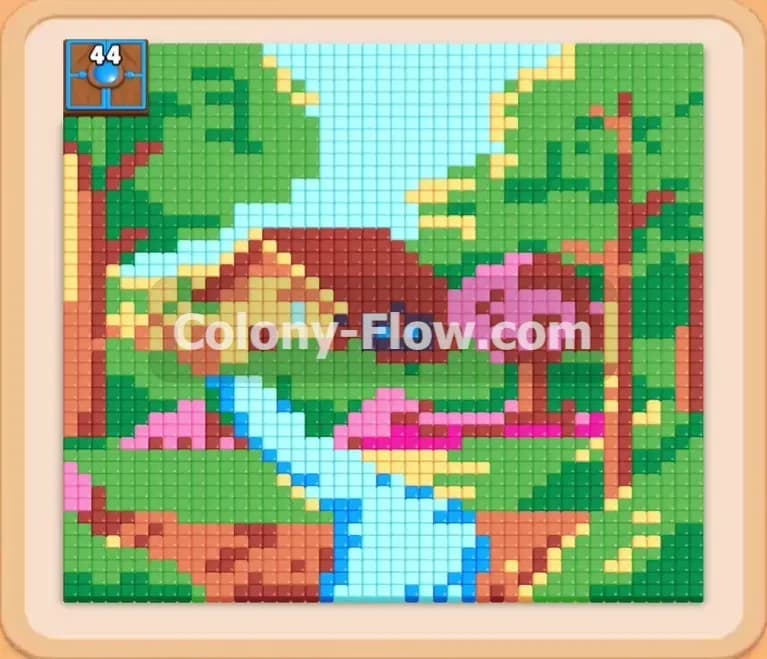
Colony Flow Level 1210 Walkthrough Solution & Guides | How to solve Colony Flow 1210

Guide By Liam Stone
Updated on August 12, 2026
The video above has the full Level 1210 walkthrough, so skip the reading if you just want to watch.

Video doesn't match your screen?
Game updates frequently scramble layouts! Try our AI Screenshot Solver first to find your exact board instantly, or report broken guides to our team.
Playing Colony Flow Level 1210 requires careful slot management because of the bulky connected boxes taking up extra space. You face a beautiful bright rainbow arching over a lush green field. A thick light pink background surrounds the entire picture and completely blocks your progress from the very start. I will show you exactly how to dismantle this colorful board safely and efficiently. Every single move you make relies on keeping your paths wide open so the ants can do their job without jamming your limited waiting area.
Colony Flow Level 1210 Overview
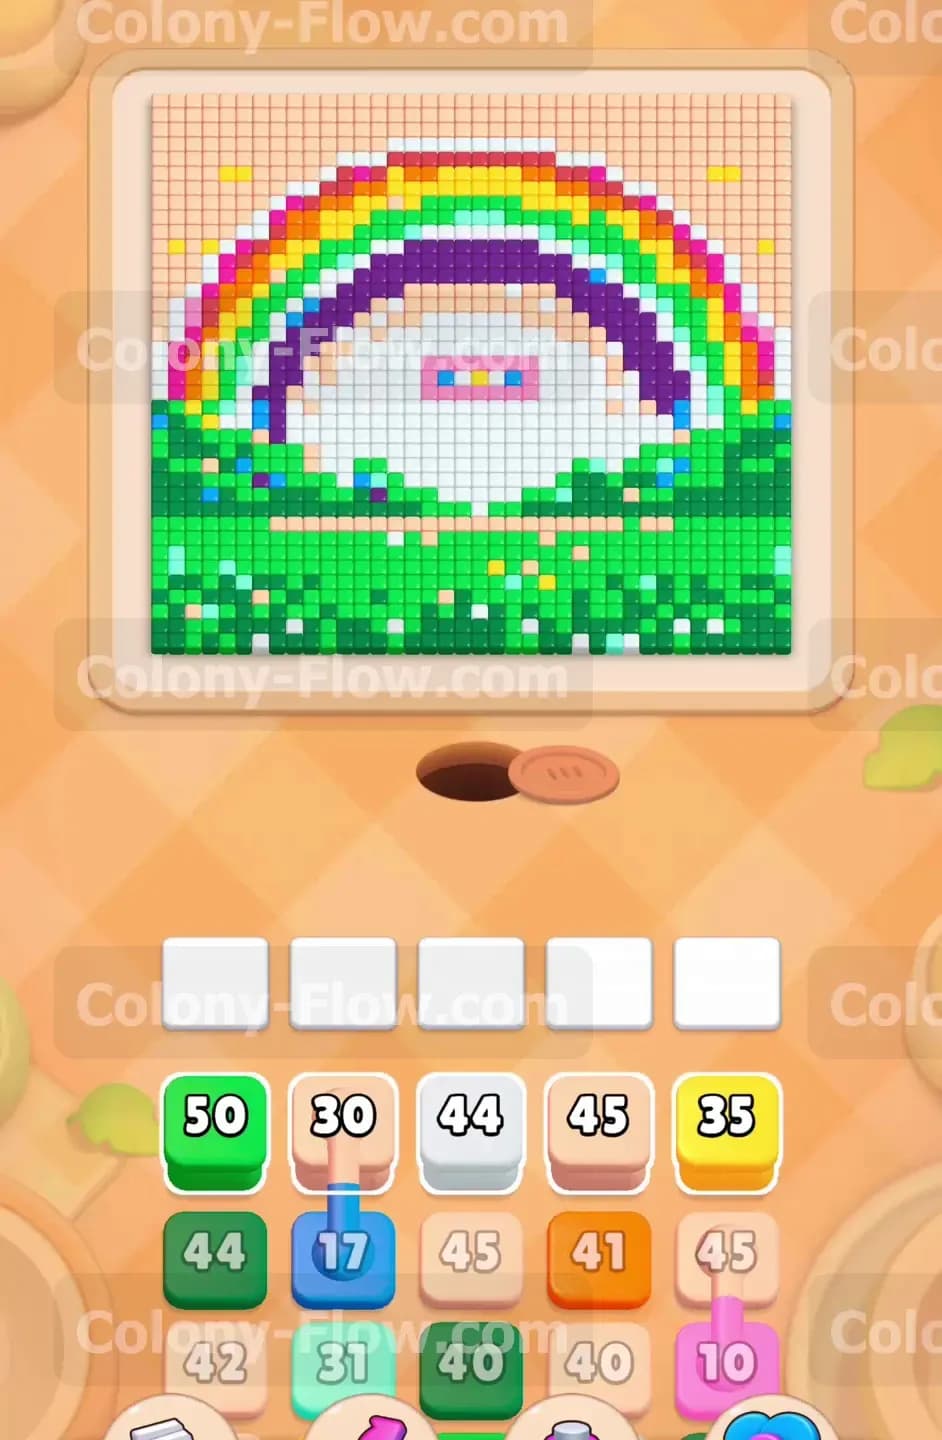
What You Are Working With
The board features a large pixel art picture of a rainbow curving gracefully over a thick green grassy field. A massive solid block of light pink tiles acts as the sky background and hugs the edges of the rainbow. The rainbow itself has thick distinct stripes of orange, yellow, green, purple, and magenta. The tray located at the bottom of the screen holds the numbered blocks you need to feed the ants. You will see standard single blocks of varying numbers like forty five and fifty. You will also encounter the connected boxes mechanic in this stage. These connected boxes link two different colored blocks together with a visible line. When you tap and pull one of them, both connected blocks move up into your waiting slots at the exact same time. This mechanic quickly fills your limited slot space and demands your full attention.
What It Takes to Clear Level 1210 Board
You win the level when the ants eat every single colored tile and the entire board goes completely blank. You must clear the outer tiles in the correct sequence to keep a continuous path open from the nest hole to the inner target colors. The game gives you exactly five waiting slots for your pulled blocks. If you pull too fast and fill all five slots while the active ants cannot reach their matching tiles, the board dead ends. You lose the level immediately when the slots jam. You must carefully balance pulling new colors and waiting for the current blocks to empty out and vanish.
Colony Flow Level 1210 Step by Step Solution
Step 1: Clear the sky background with the light pink block
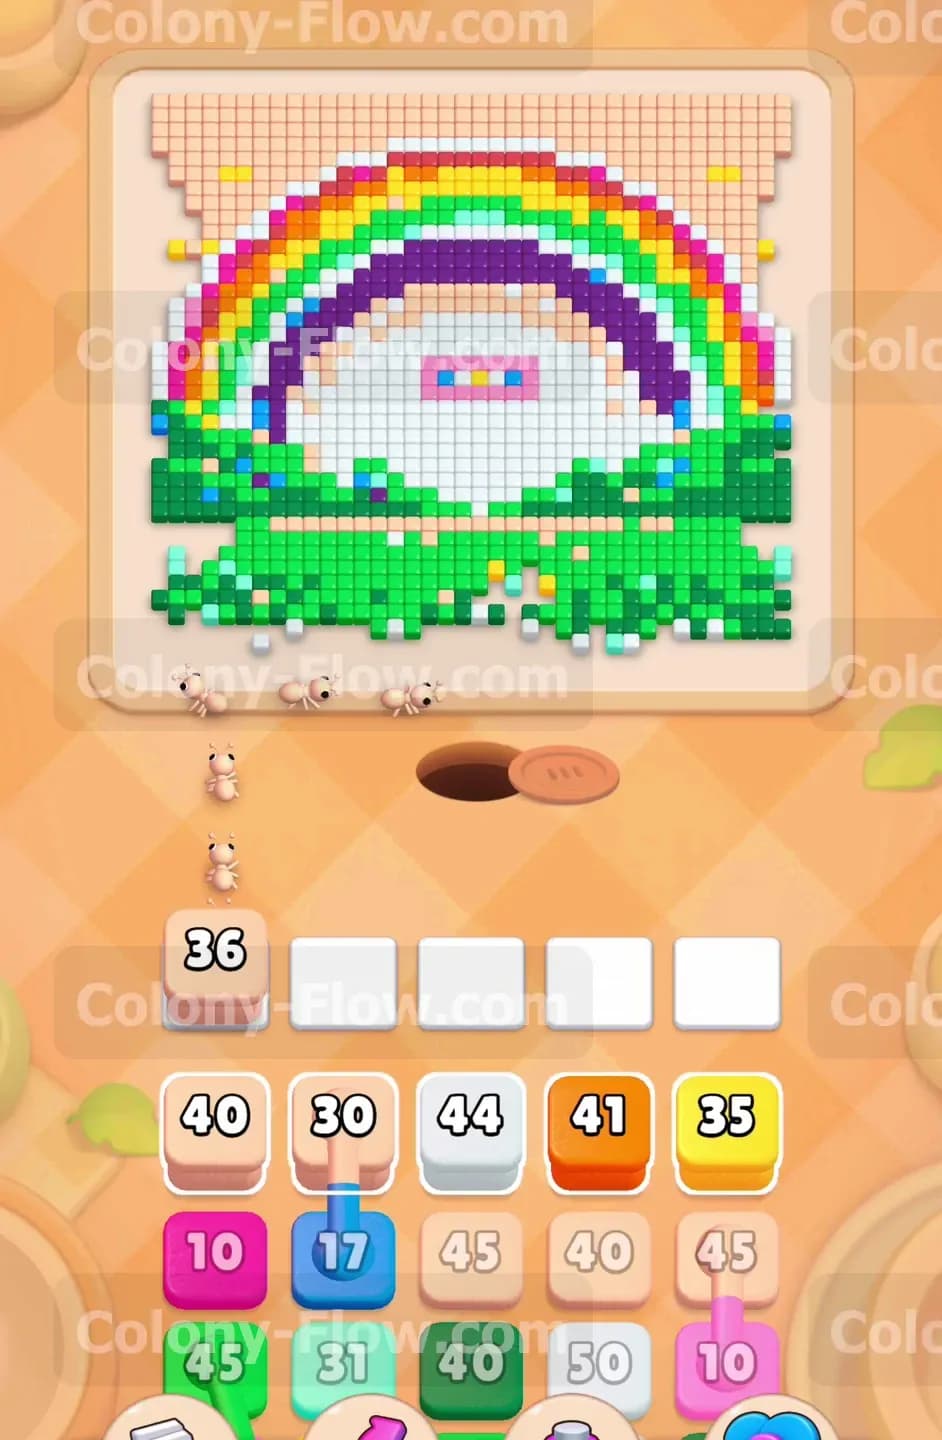
The light pink tiles form a massive solid wall around the top and the sides of the central rainbow. Pull the light pink block from the front row of your tray first. The ants stream out of the dark nest hole and march straight toward the far edges of the board. They start chewing away the large background layer piece by piece. This is a highly crucial first move because it opens up the sides of the rainbow for future colors. You only have one block sitting in your waiting slots right now. The number on the light pink block counts down steadily as the ants carry the color away. Letting this block run alone for a moment creates the much needed physical space the ants require for the later stages.
Step 2: Bring up the white block to expand the open paths
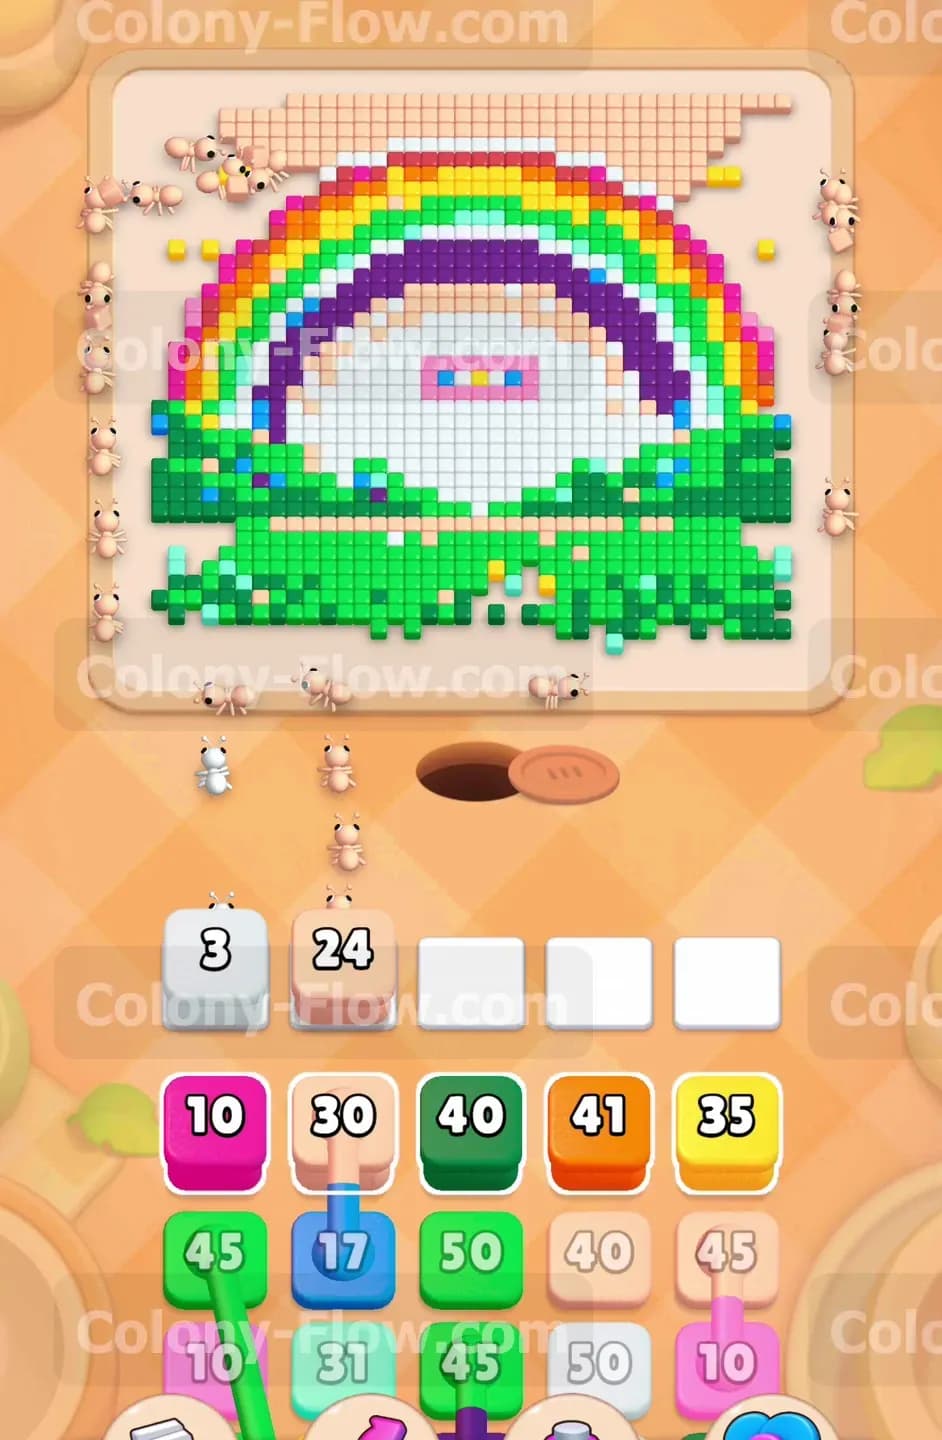
You can see a large white block sitting in your tray waiting to be used. Pull this white block into your second available waiting slot. The ants flow directly up the middle of the board and target the white cloud area nestled tightly under the rainbow arch. Now you have two active blocks taking up room in your five waiting slots. The light pink ants are still working the outer edges while the white ants hollow out the bottom center. This combined effort creates a massive open space right in the middle of the screen. Having this large central path completely open guarantees that your future ants will not get stuck trying to reach the top curves of the rainbow.
Step 3: Use the orange and yellow blocks for the outer rainbow bands
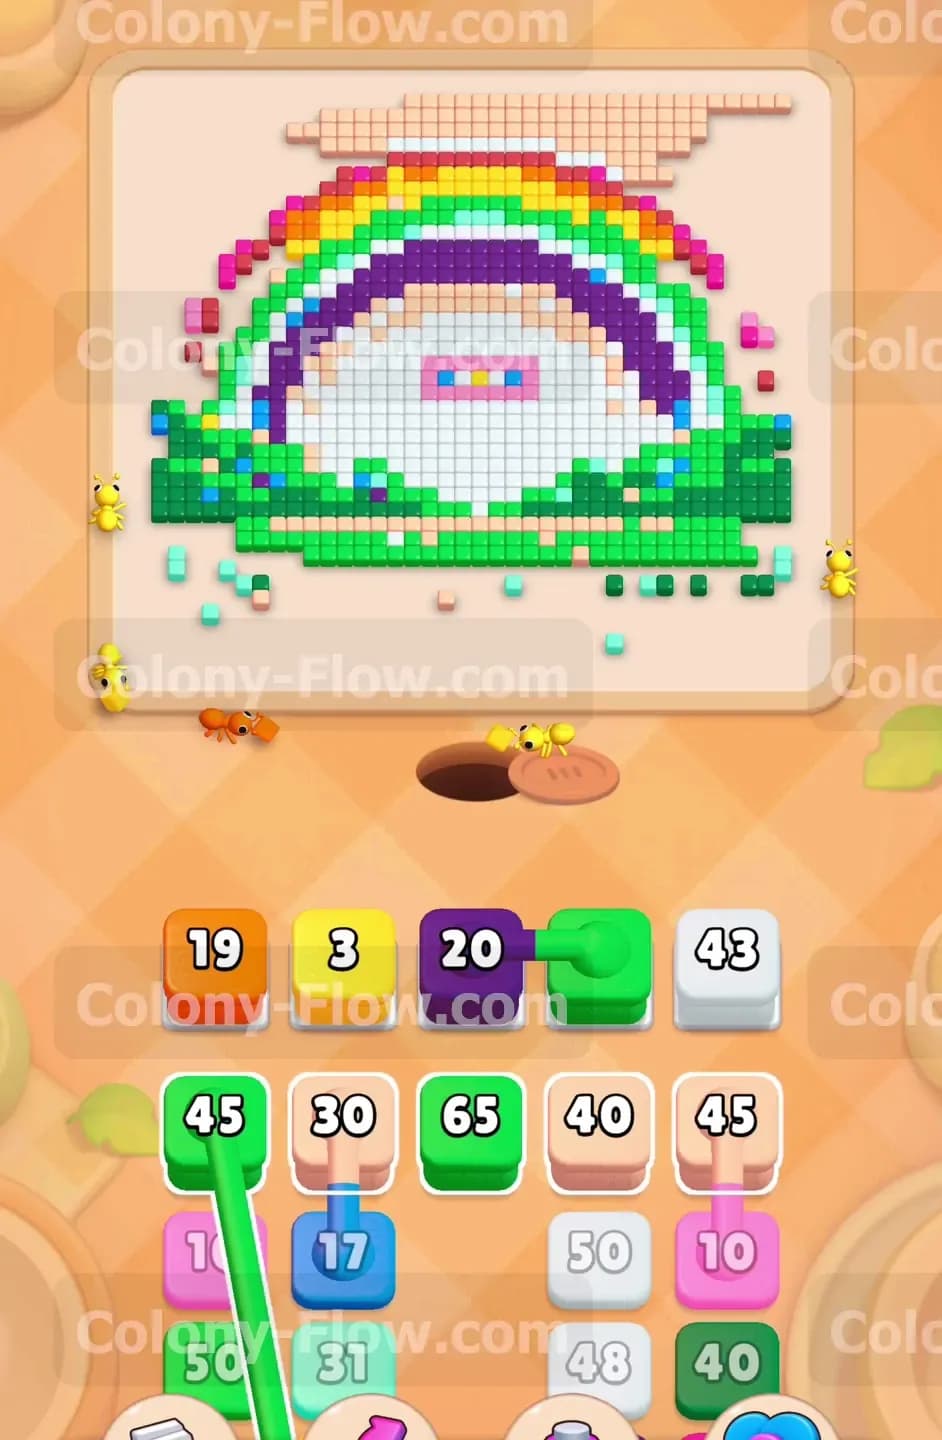
With the central cloud gone and the light pink sky shrinking rapidly, the top of the rainbow is completely exposed and ready. Pull the orange block and the yellow block up into your waiting slots. You now have four of your five slots filled with active colors. You must watch the countdown numbers very closely here. The new ants hit the outer edges of the rainbow and begin eating the orange and yellow stripes. The path is wide open so the ants move across the board very fast. The light pink block from your first move finally reaches zero and disappears completely. This frees up a waiting slot just in time and keeps you perfectly safe from losing the level.
Step 4: Deploy the first set of connected boxes
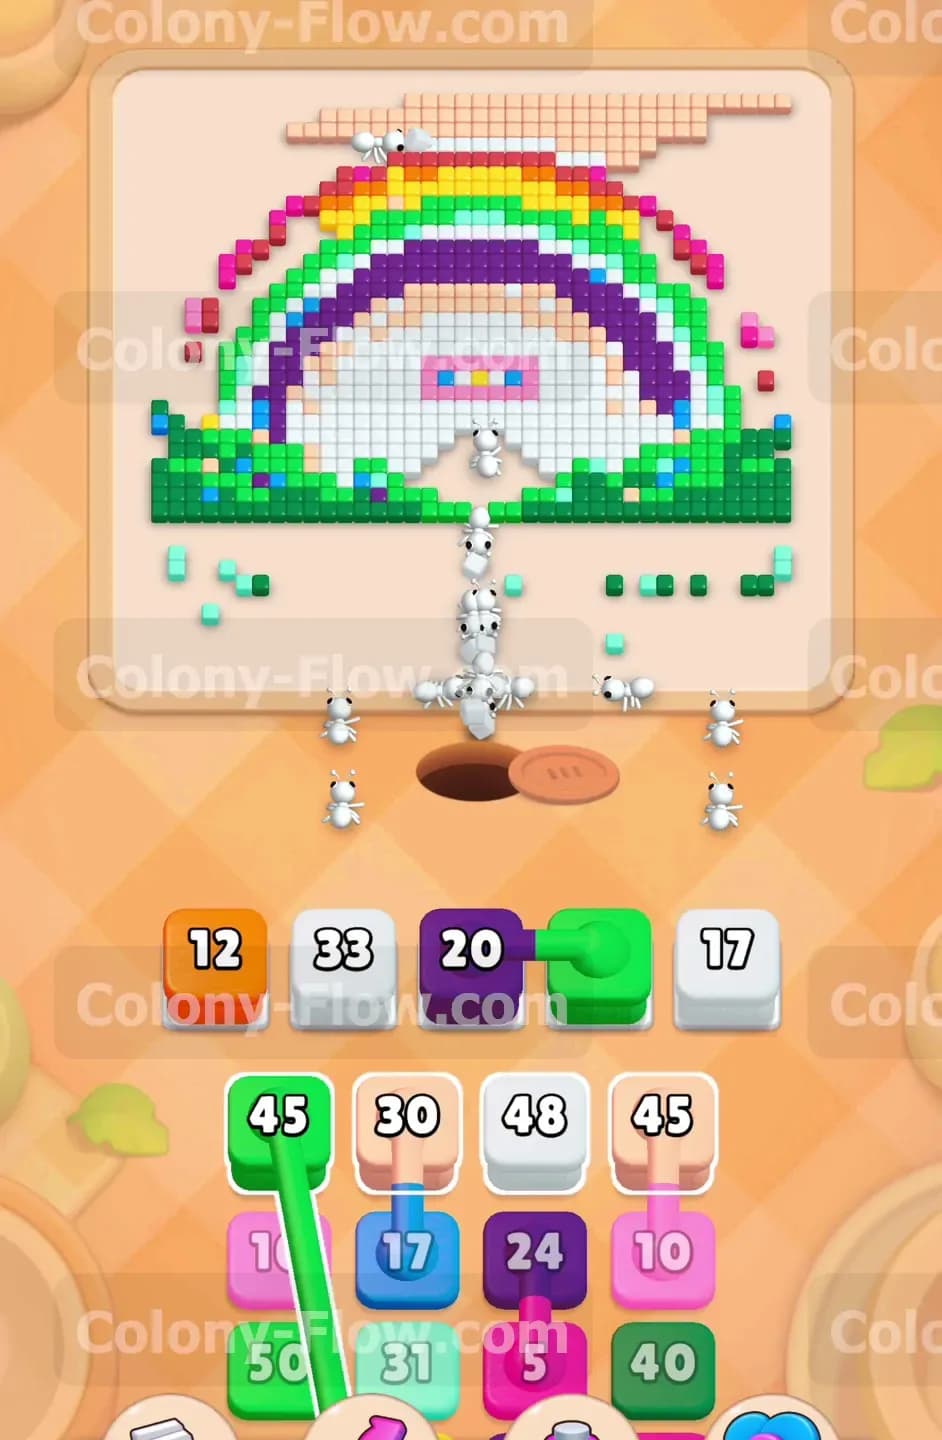
Your tray now reveals a purple block firmly connected to a green block. You must have two completely empty slots available before you even touch these. Pulling this specific pair moves both colored blocks into your waiting area simultaneously. The purple ants march out and attack the inner curve of the rainbow. The green ants stream out and head toward the thick grassy area at the very bottom of the board. Because you patiently waited for the light pink block to clear, you easily accommodate these connected boxes without jamming your tray. The green ants have a very short travel distance to reach the grass. This means the green block number drops incredibly fast and clears out of your slots quickly.
Step 5: Send a second white block to finish the center cloud
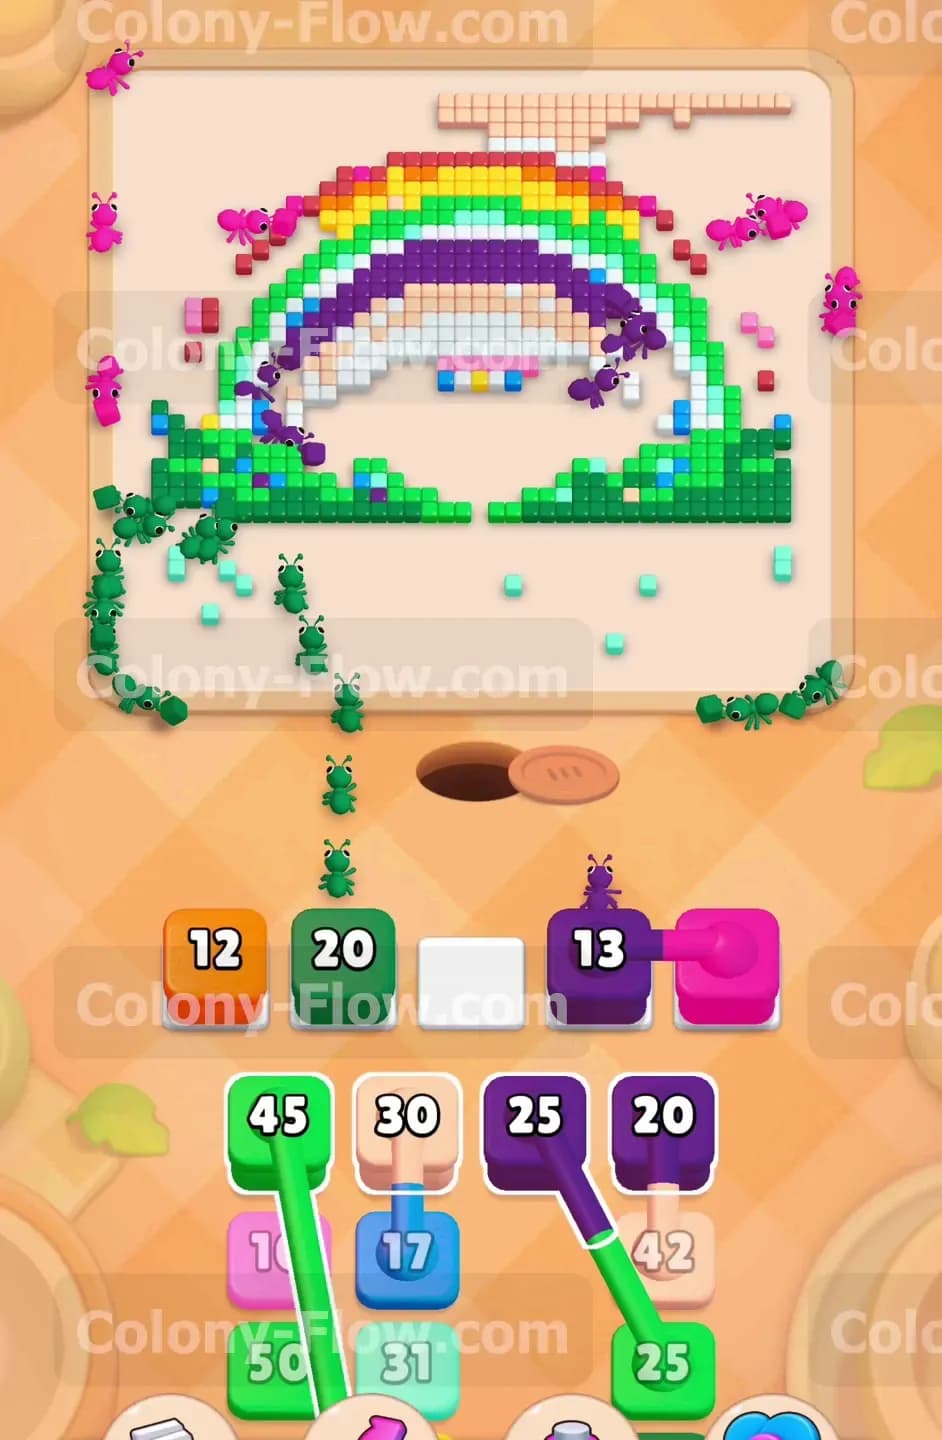
Another white block appears in the tray to help clean up the remaining center tiles. Pull it into your newly freed slot the moment it becomes available. The ants rush straight into the middle and grab the last few white tiles sitting just above the grass line. The board is now opening up beautifully. You have completely removed the sky and the central clouds. The only remaining obstacles on the board are the thick rainbow stripes and the dense green grass at the bottom. The ants move freely across the empty spaces without bottlenecking at the nest hole.
Step 6: Tackle the heavy green grass with a massive green block
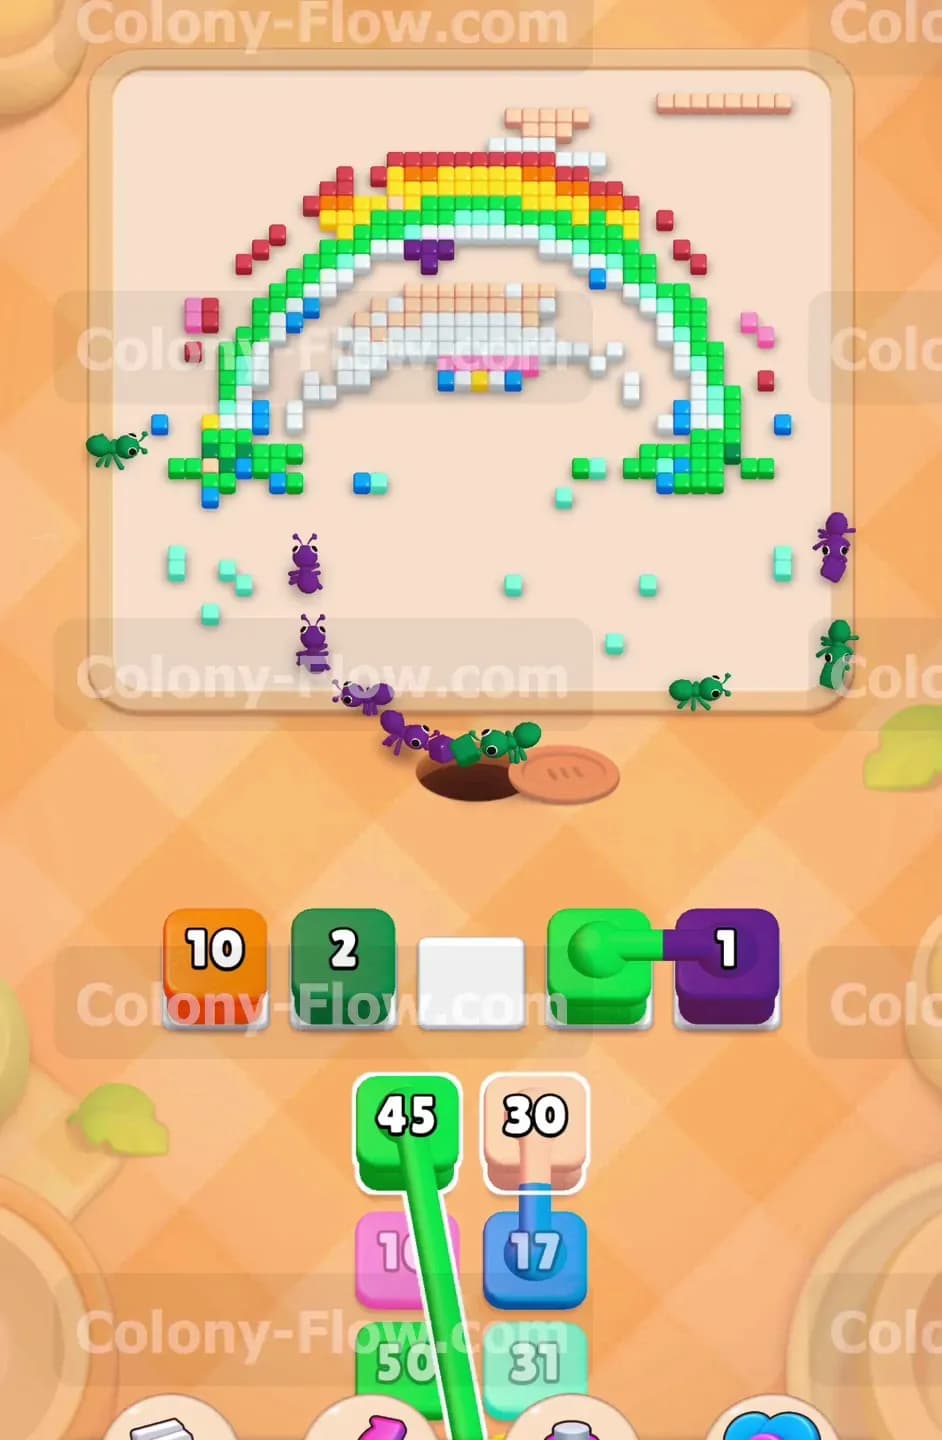
There is a large green block sitting in the tray holding a very high number. Pull it up into an empty slot immediately. The grass section is incredibly thick and requires a massive swarm to clear completely. The green ants flood the bottom half of the board and eat away the entire foundation of the picture. This placement keeps the path extremely short. Short paths are exactly what you want when dealing with high numbered blocks. The ants grab the tiles and return to the nest quickly. This keeps the numbers dropping at a rapid pace and prevents the large green block from clogging your waiting slots for too long.
Step 7: Clear the second pair of connected boxes from the tray
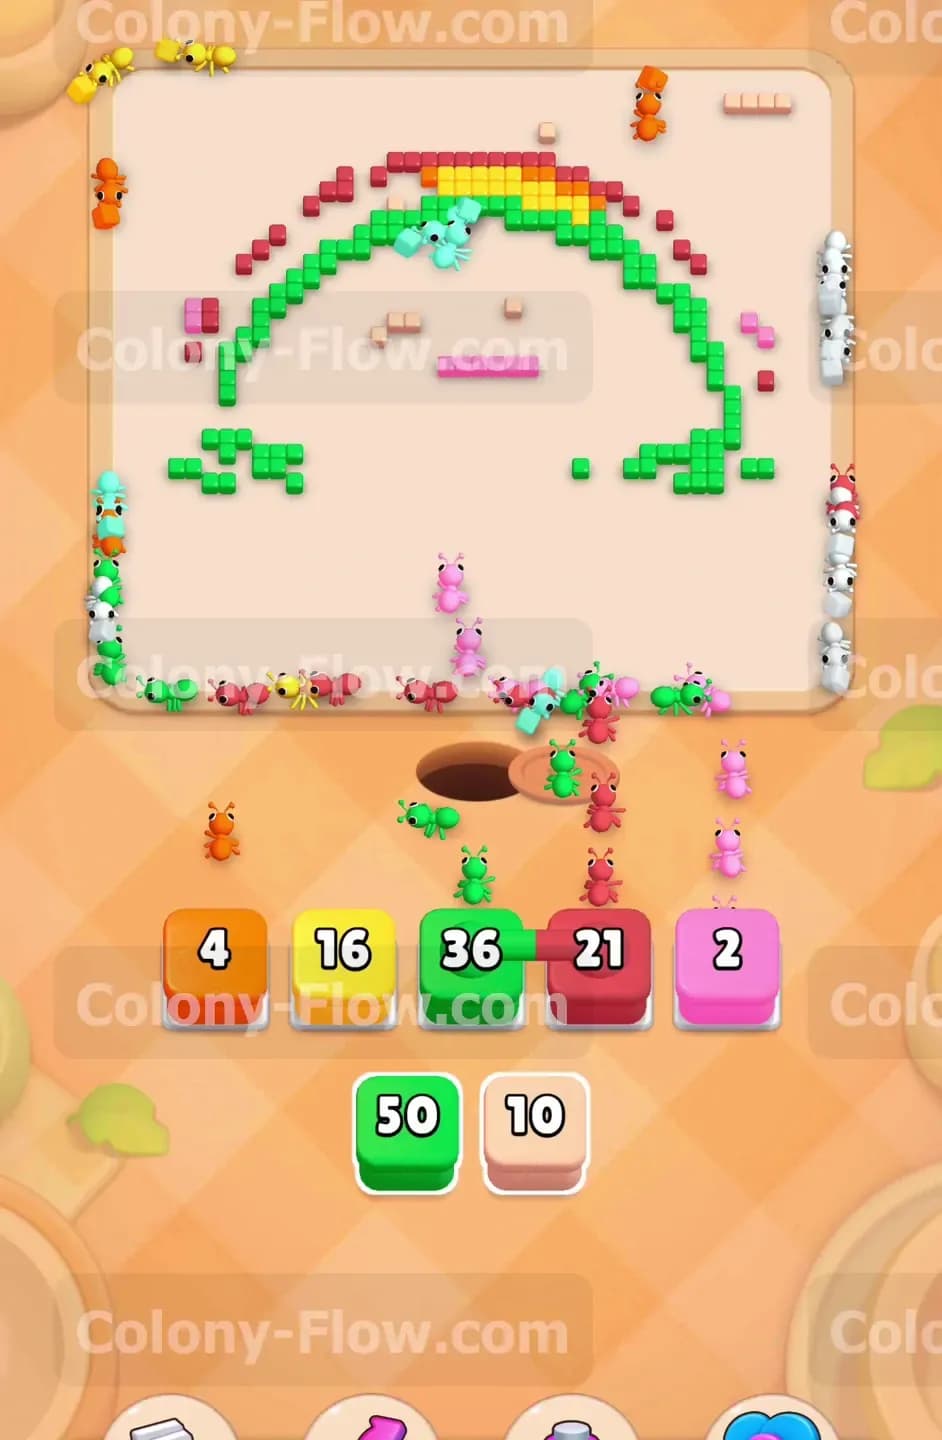
You will soon see another pair of connected boxes featuring magenta and green. Check your slots to ensure you have two completely empty spaces ready. Pull this pair up into the active area. The magenta ants target the middle stripe of the rainbow structure. The green ants join the massive swarm at the bottom to assist in finishing off the dense grass layer. You are keeping the slots flowing perfectly by pacing your block pulls. The magenta ants have to travel a bit further to reach the top arch of the rainbow, but the wide open board makes their journey completely safe and uninterrupted.
Step 8: Focus on the remaining red and orange tiles
The top of the rainbow still holds a bright red stripe and a few scattered orange tiles. Pull the red block from the tray first. Next, pull the orange block to join it. The ants march out and trace the curve of the rainbow perfectly. The waiting slots are completely safe now because the paths are entirely clear of surrounding obstacles. You can sit back and watch the ants devour the final large sections of the rainbow. The blocks in your waiting area empty out smoothly one by one. You are now officially in the final cleanup phase of the level.
Step 9: Use the final blocks to clear the scattered leftovers
The tray holds a few small numbered blocks including yellow, purple, and magenta. Pull them into your slots one by one as physical space allows. The final waves of ants will run to the remaining scattered tiles on the outer edges and the bottom corners. Since the numbers on these final blocks are very low, they clear out of your waiting slots in just a few short seconds. The ants grab the last remaining pieces of the picture. The board goes completely blank and you win the level.
Final Thought
Clearing this board all comes down to respecting the limited space in your waiting slots. The connected boxes will easily cause a massive jam if you pull them before the background tiles are completely out of the way. Pacing your moves and letting the ants finish their current tasks is the absolute best way to keep the board flowing. Please watch the video above this article if any step is hard to follow in text.