Colony Flow Level 510 Walkthrough Solution & Guides | How to solve Colony Flow 510

Guide By Liam Stone
Updated on August 1, 2026
Want to skip the reading and watch instead? The video walkthrough for Level 510 is right above this article.
Video doesn't match your screen?
Game updates frequently scramble layouts! Try our AI Screenshot Solver first to find your exact board instantly, or report broken guides to our team.
Colony Flow Level 510 presents a beautiful pixel art picture but packs the board with heavy obstacles. You have to break through thick barrier layers before you can even touch the background tiles. I played this board multiple times to find the exact sequence that keeps the ants moving without jamming the waiting slots. You will need a careful strategy to manage your tray space and conquer this challenging puzzle.
Colony Flow Level 510 Overview
What You Are Working With
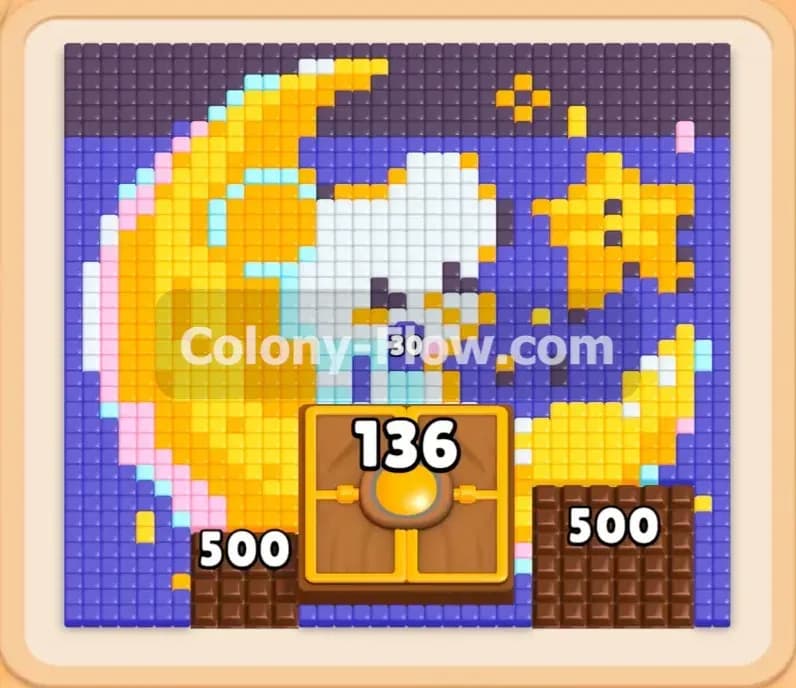
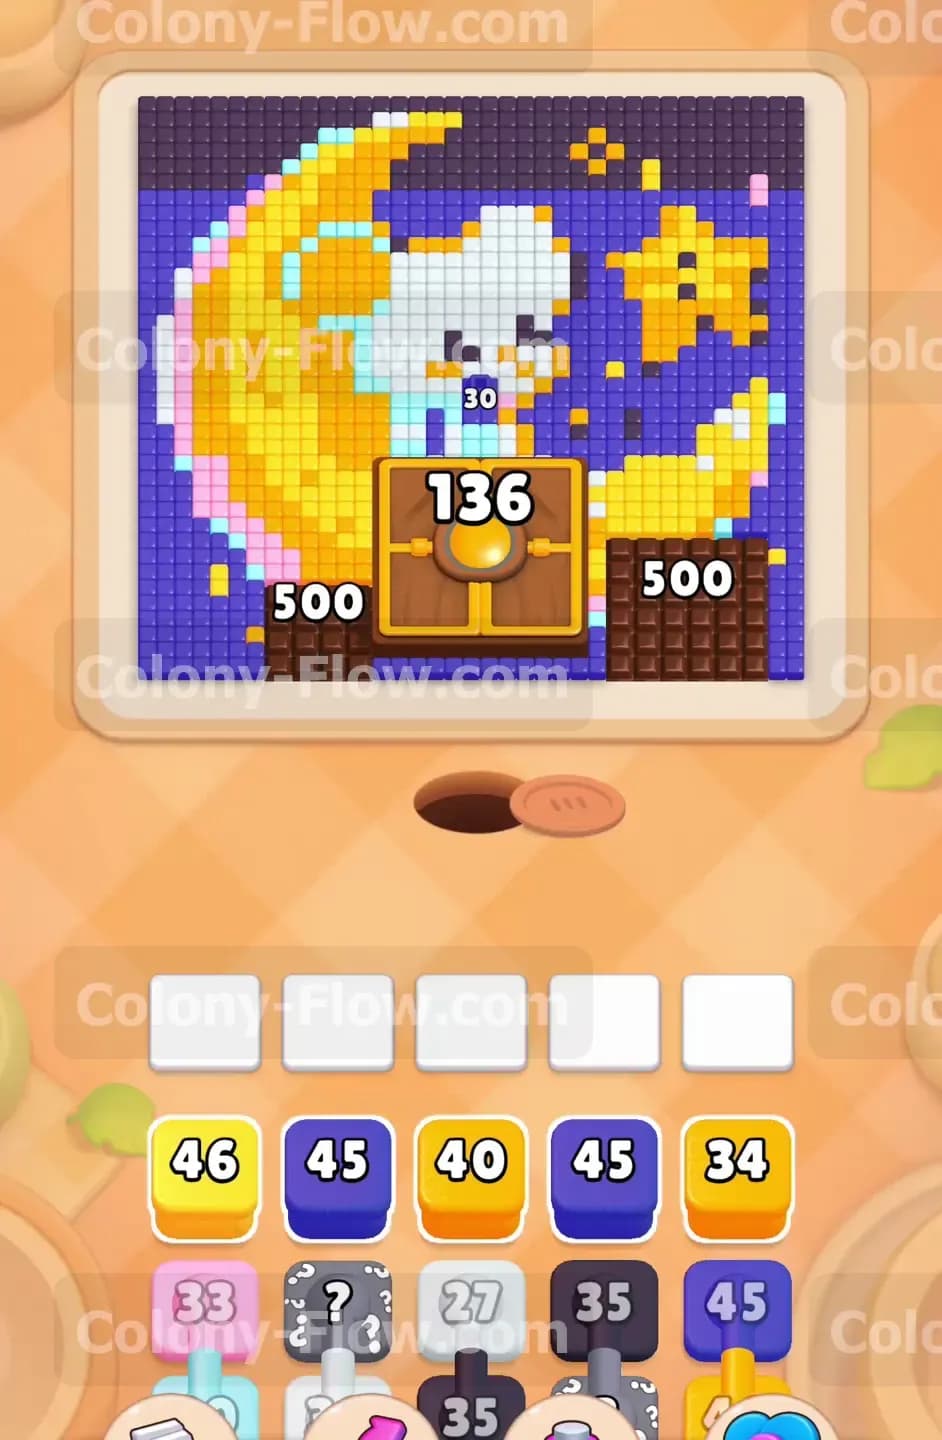
The board displays a white bear wearing a light blue shirt sitting on a bright yellow crescent moon. A yellow star floats nearby against a dark blue and purple night sky background. Heavy obstacles block your access to the lower half of the board. You will see thick chocolate blocks in the bottom left and bottom right corners covering the background tiles completely. A massive Hungry Door sits right in the bottom center blocking the middle area. Looking down at your tray you will spot standard colored numbered blocks alongside several gray Hidden Boxes. These hidden pieces keep their true colors secret until you clear the blocks resting above them.
What It Takes to Clear Level 510 Board
You win this board when the ants consume every single pixel art tile and all the heavy obstacles shatter. The main rule of the game is simple but completely unforgiving. You lose immediately if all five waiting slots fill up with blocks that have no open paths on the board. Because the chocolate pieces and the Hungry Door cover the bottom sky tiles you absolutely cannot pull the dark blue background blocks early. You must clear the central picture and break the chocolate first to open the paths for the night sky.
Colony Flow Level 510 Step by Step Solution
Step 1: Pull the yellow and white blocks to clear the moon and the bear body.
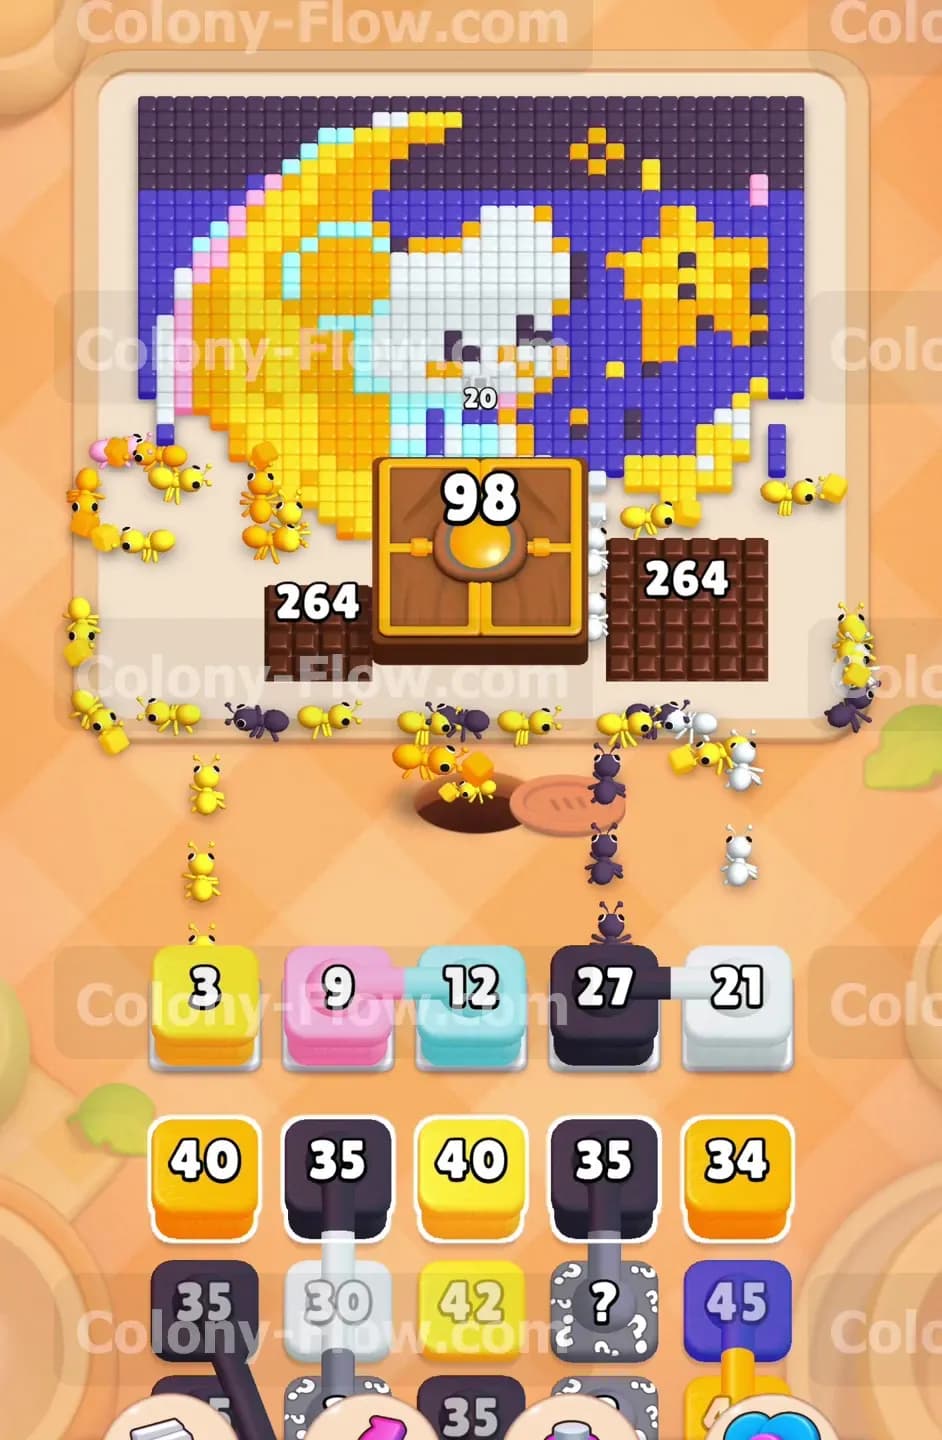
Begin the level by pulling the bright yellow and white blocks into your active waiting slots. The ants will stream out of the nest hole and immediately attack the bright yellow crescent moon and the white body of the bear. This is the safest opening move because these colors have open paths right from the start. As the ants consume the yellow and white tiles they create more surface area for other colors to connect. Keep your eyes on the five slots and make sure you only pull a new yellow or white block when the previous one finishes. You want to maintain a steady stream of ants hitting the moon and the bear to wear down those large central sections quickly.
Step 2: Bring up the pink and light blue blocks for the smaller details.
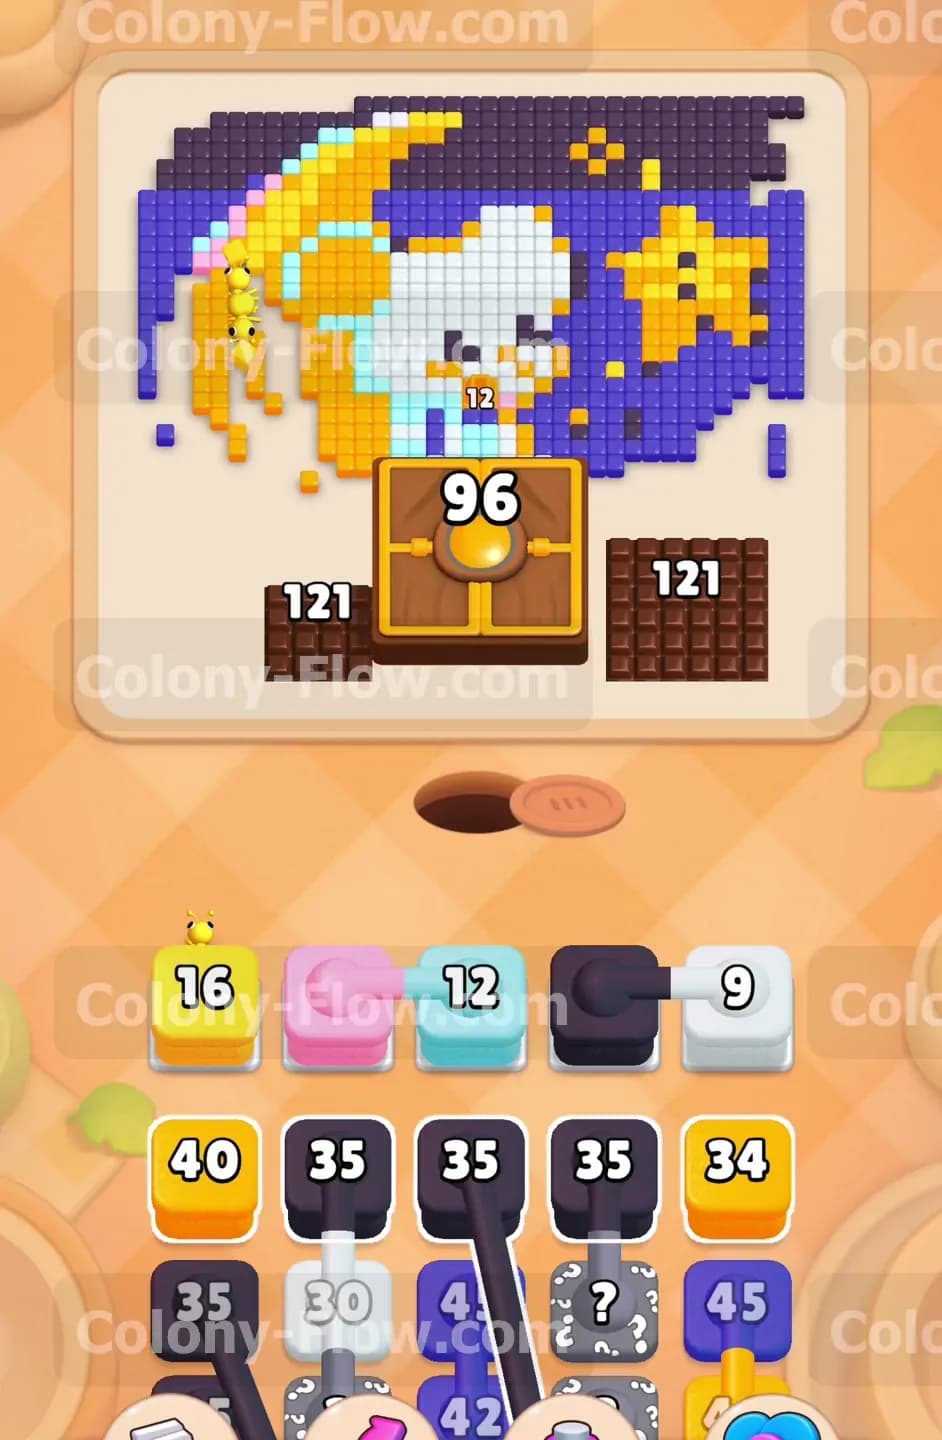
With the main body of the bear and the moon shrinking you can now focus on the smaller colorful details. Pull the pink block to send ants to the ears and cheeks of the bear. Pull the light blue block to clear the shirt on the bear and the tiny accents on the star. These blocks have smaller numbers so they will empty out of your waiting slots very fast. This rapid turnover is exactly what you need to keep your slots open and avoid a jam. The ants will quickly strip away these small color patches and expose more of the black outlines underneath.
Step 3: Feed the black blocks to dissolve the heavy image outlines.
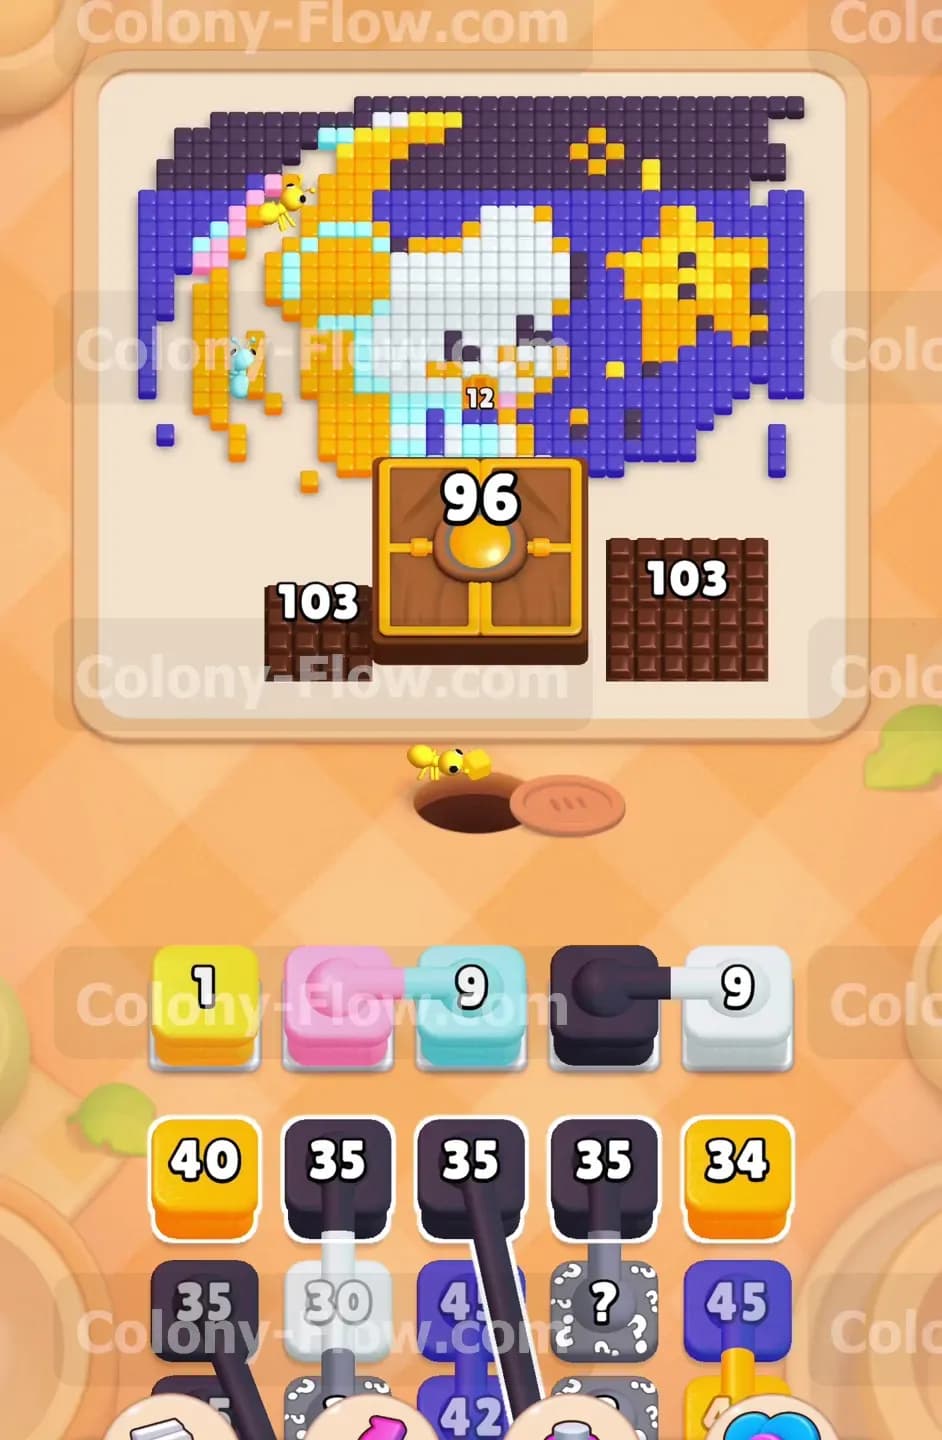
The black tiles form a thick solid outline around the moon the star and the bear. Pull a black block into an empty waiting slot. The black ants will march up the board and start chewing through these heavy borders. Clearing the black outlines is a crucial action because it separates the different sections of the picture and opens up fresh paths for the remaining colors. As the black numbers count down you will notice the central image breaking apart into smaller independent islands. Let the black blocks do their work and only replace them when they completely empty out of the tray.
Step 4: Grind down the massive chocolate blocks in the lower corners.
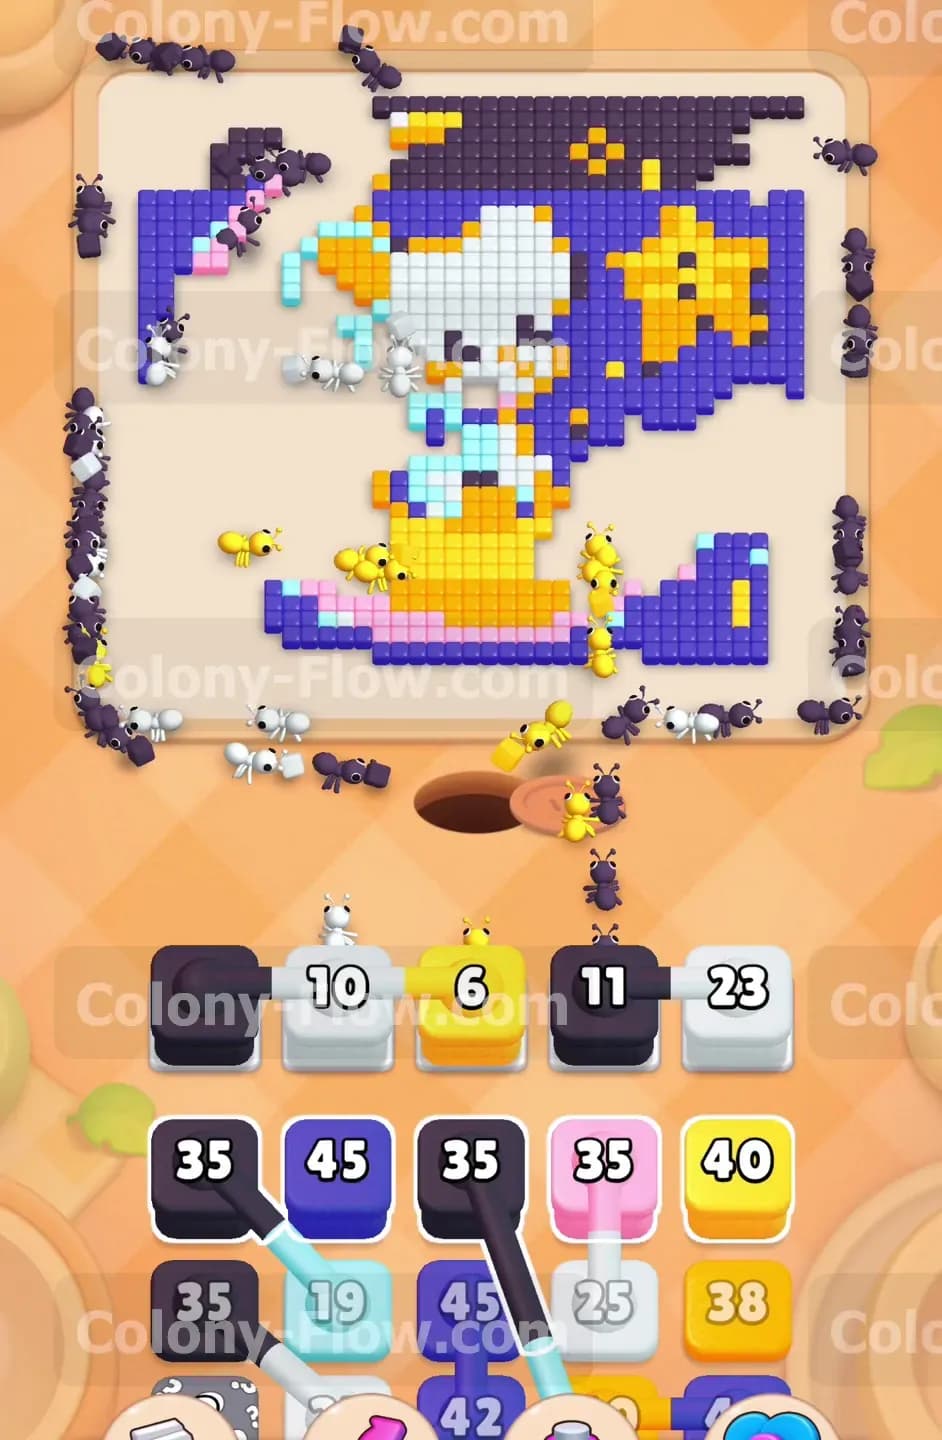
The chocolate blocks sitting in the bottom left and bottom right corners are your biggest early threat. These blocks start with massive numbers and require a huge volume of ants to break apart. You do not need a special chocolate block to clear them. The regular ants will chew on the chocolate naturally as long as there is an adjacent path they can reach. Keep a steady flow of active colors moving through your tray. The continuous stream of ants passing by the corners will steadily drop the high numbers on the chocolate. You just have to be patient and keep the yellow and white ants flowing until the thick brown layers finally shatter.
Step 5: Satisfy the Hungry Door to open the bottom center path.
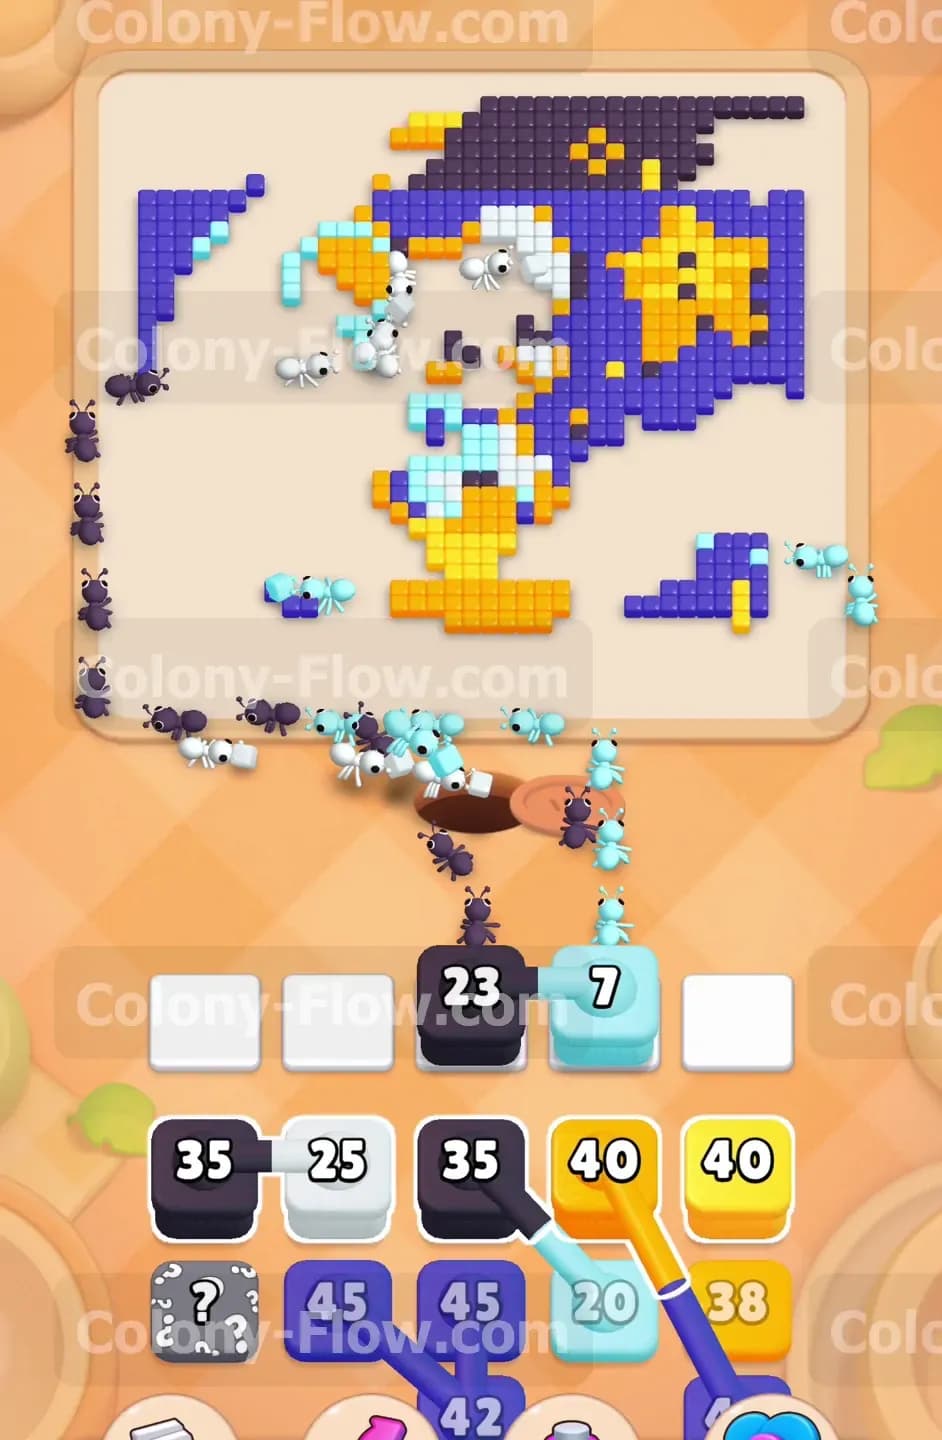
Right between the chocolate blocks sits the large Hungry Door. This door demands a specific sequence of colors before it will open. As you continue to feed yellow light blue and black blocks to the central picture the ants will also satisfy the door requirements. You will see the numbers on the door drop rapidly as the correct ants reach it. Keep your tray flowing with the exact colors required by the door. Once you deliver the final required ant the Hungry Door will burst open. This massive event clears the central blockage entirely and creates a wide open lane to the bottom edge of the night sky.
Step 6: Manage the gray Hidden Boxes carefully as they reveal their colors.
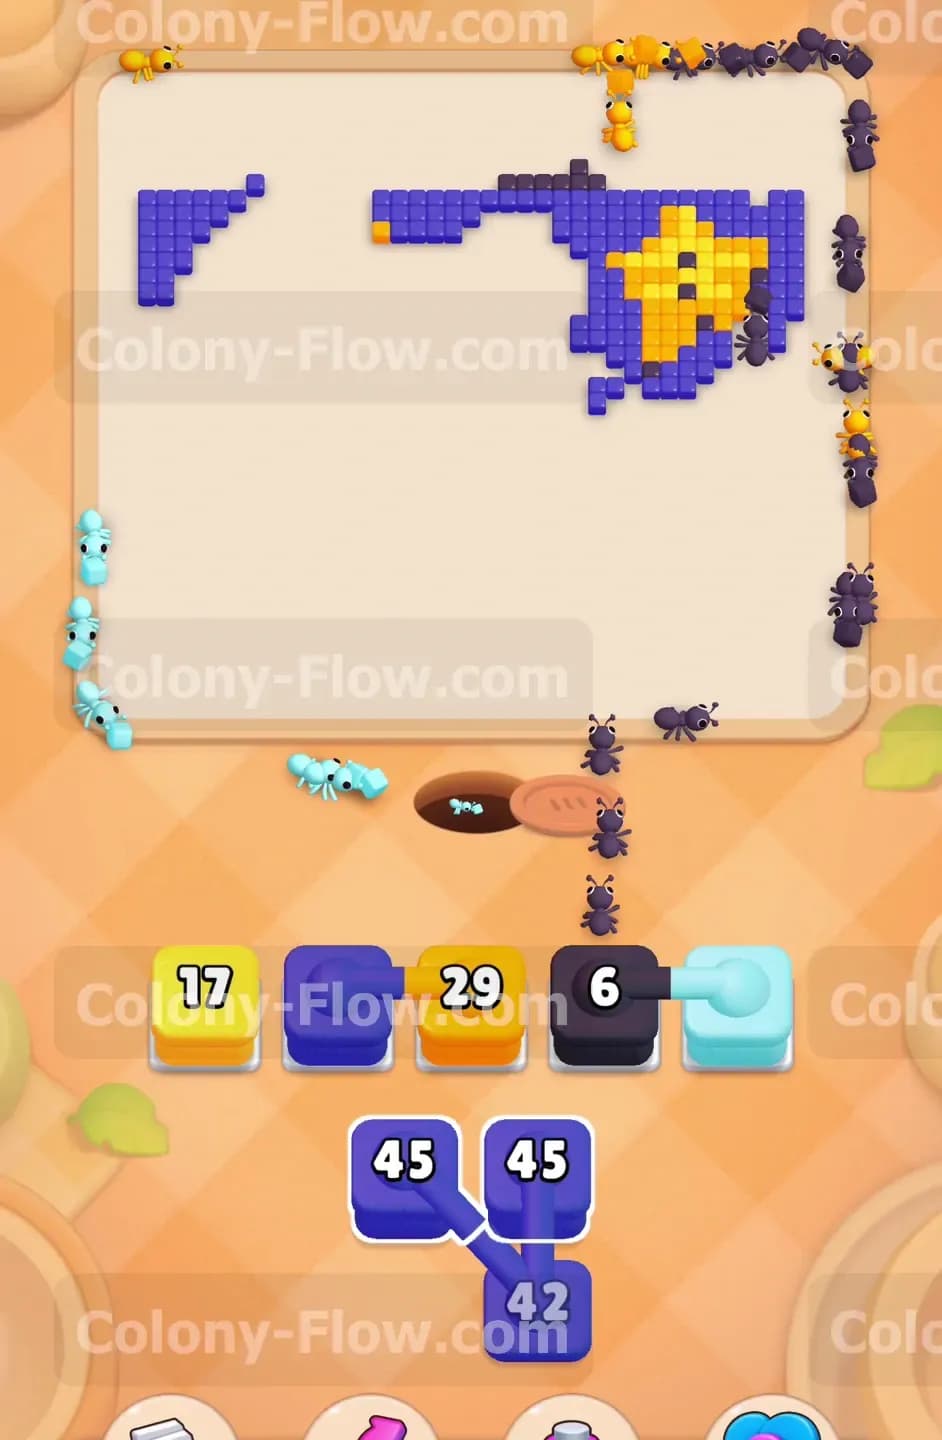
As you use up the top layers of your tray the gray Hidden Boxes will start to drop down into view. A Hidden Box keeps a question mark on its face until it has a valid path to move. Once it reveals its true color you must decide if it is safe to pull. Never pull a newly revealed block unless you can physically see matching open tiles on the board. If a Hidden Box turns into a dark blue block before the chocolate is fully gone you must leave it sitting in the tray. Wait until you are absolutely sure the path is open before moving any revealed box into your five active slots.
Step 7: Release the dark blue blocks to flood the night sky background.
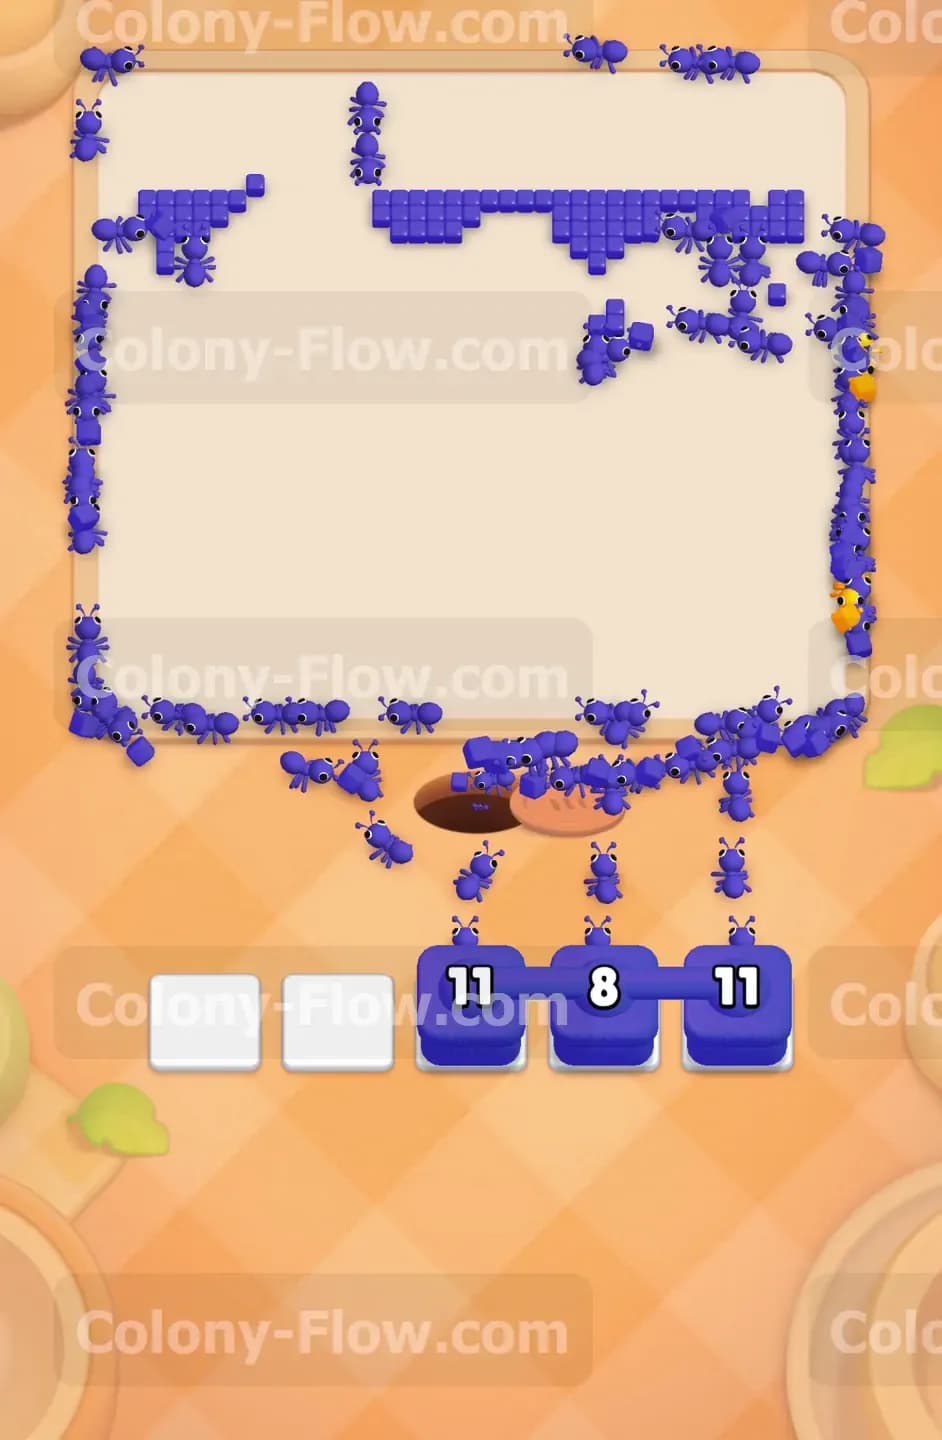
Once the chocolate blocks shatter and the Hungry Door opens you will finally see the dark blue tiles of the night sky along the bottom edge. This is the moment you have been working toward. Now it is completely safe to pull the heavy dark blue blocks from your tray. Move them into your waiting slots and watch a massive wave of dark blue ants swarm the board. They will spread out across the background and eat away the huge expanse of the night sky. Because you waited for the obstacles to clear these heavy blocks will count down smoothly without ever jamming your slots.
Step 8: Clear the final purple patches in the upper corners to finish the board.
The central picture is completely gone and only the outer edges of the sky remain. The dark blue tiles will eventually give way to dark purple sections in the very top left and top right corners. Look at your tray and pull the final purple blocks into the active slots. The purple ants will march all the way up to the top edges of the board. They will sweep across the remaining tiles and eat the very last pieces of the puzzle. Once the final purple tile disappears the board will be completely clean. The last few ants will return to the nest and you will win the level.
Final Thought
Colony Flow Level 510 tests your patience and your ability to read the board carefully. The heavy chocolate layers and the demanding Hungry Door want you to make a mistake and jam your tray with unplayable background colors. By focusing entirely on the central bear and moon first you ensure your active slots stay open and moving. If any part of this written guide feels confusing please watch the video above this article. Seeing the ants clear the chocolate in motion will help you understand the exact timing needed to conquer this board.