Colony Flow Level 667 Walkthrough Solution & Guides | How to solve Colony Flow 667

Guide By Liam Stone
Updated on August 8, 2026
The video above solves Level 667 step by step, so you can skip the article entirely if you prefer watching.
Video doesn't match your screen?
Game updates frequently scramble layouts! Try our AI Screenshot Solver first to find your exact board instantly, or report broken guides to our team.
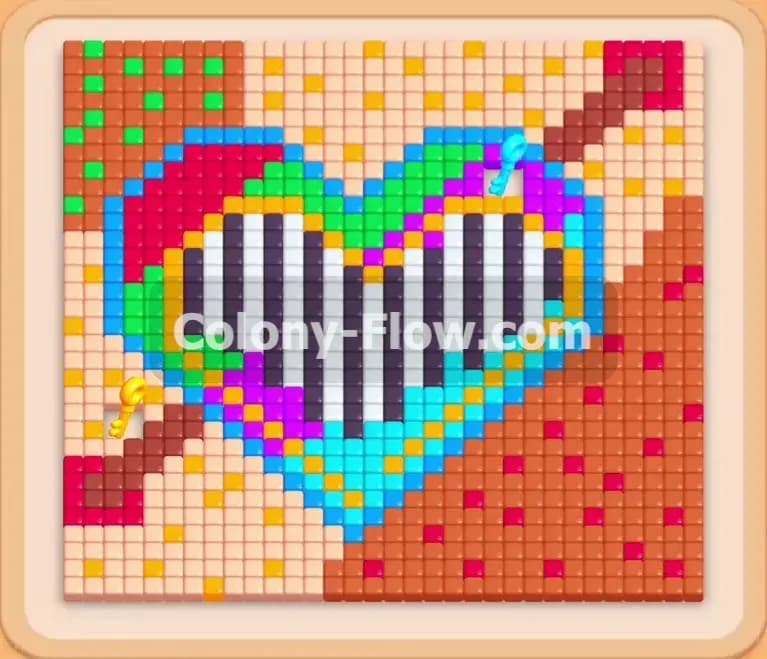
Colony Flow Level 667 presents a bright heart shaped picture pierced by a diagonal arrow. I played through this puzzle multiple times to find the absolute safest route for you. You need a steady hand and a clear plan to keep your slots open from start to finish. The colors are vibrant and the sections are massive. You will feel a real sense of satisfaction as you break this large image down into nothing.
Colony Flow Level 667 Overview
What You Are Working With
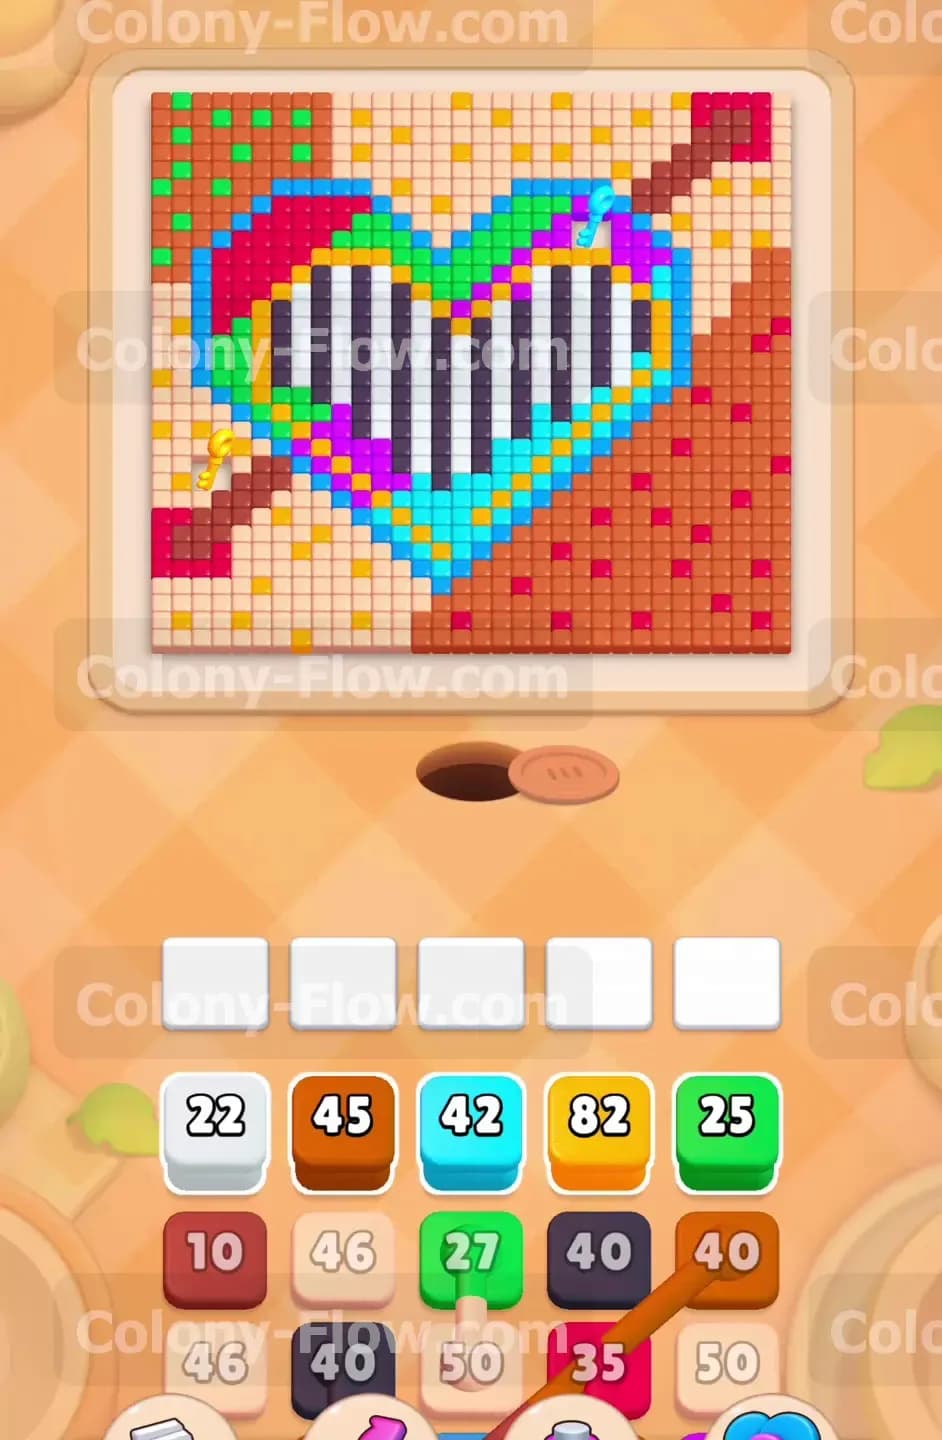
The puzzle board displays a very large heart right in the center of your screen. The inside of this heart contains alternating vertical black and white stripes. A bright cyan outline wraps completely around the entire outside of the heart shape. A thick brown arrow cuts diagonally through the middle of the heart going from the bottom left up to the top right. The background space around the main picture divides into four distinct sections. You have a zone of green tiles in the top left corner. You have light tan tiles near the bottom left side. You have bright yellow tiles covering the top right background area. You also face a massive chunk of dark red tiles filling the entire bottom right corner of the board. Down in your tray you face exceptionally high number blocks. You will regularly see tile counts in the forties and eighties. The tray also brings several Connected Boxes into play. You must pull these permanently linked blocks together into your waiting slots. Later in the puzzle a Lock and Key mechanic appears. You must collect a bright cyan key to free a trapped brown block sitting in your tray.
What It Takes to Clear Level 667 Board
Winning this level requires tearing down the central heart and the surrounding background piece by piece without filling your five waiting slots. The primary danger comes directly from the massive numbers and the tricky Connected Boxes. If you pull a connected pair and only one color has an open path to the board, the other block sits completely idle in your tray. An idle block takes up a precious slot and pushes you much closer to losing the level. You must always verify that every single block you pull has active target tiles ready to eat on the board. You clear the board by chewing through the outer background colors first. You do this while simultaneously opening the cyan border of the heart. Stripping away the outside layers naturally exposes the inner stripes and the diagonal brown arrow for your next wave of ants. Keeping multiple colors active at the same time is the only way to survive.
Colony Flow Level 667 Step by Step Solution
Step 1: Open the board by targeting the heart border and surrounding background sections
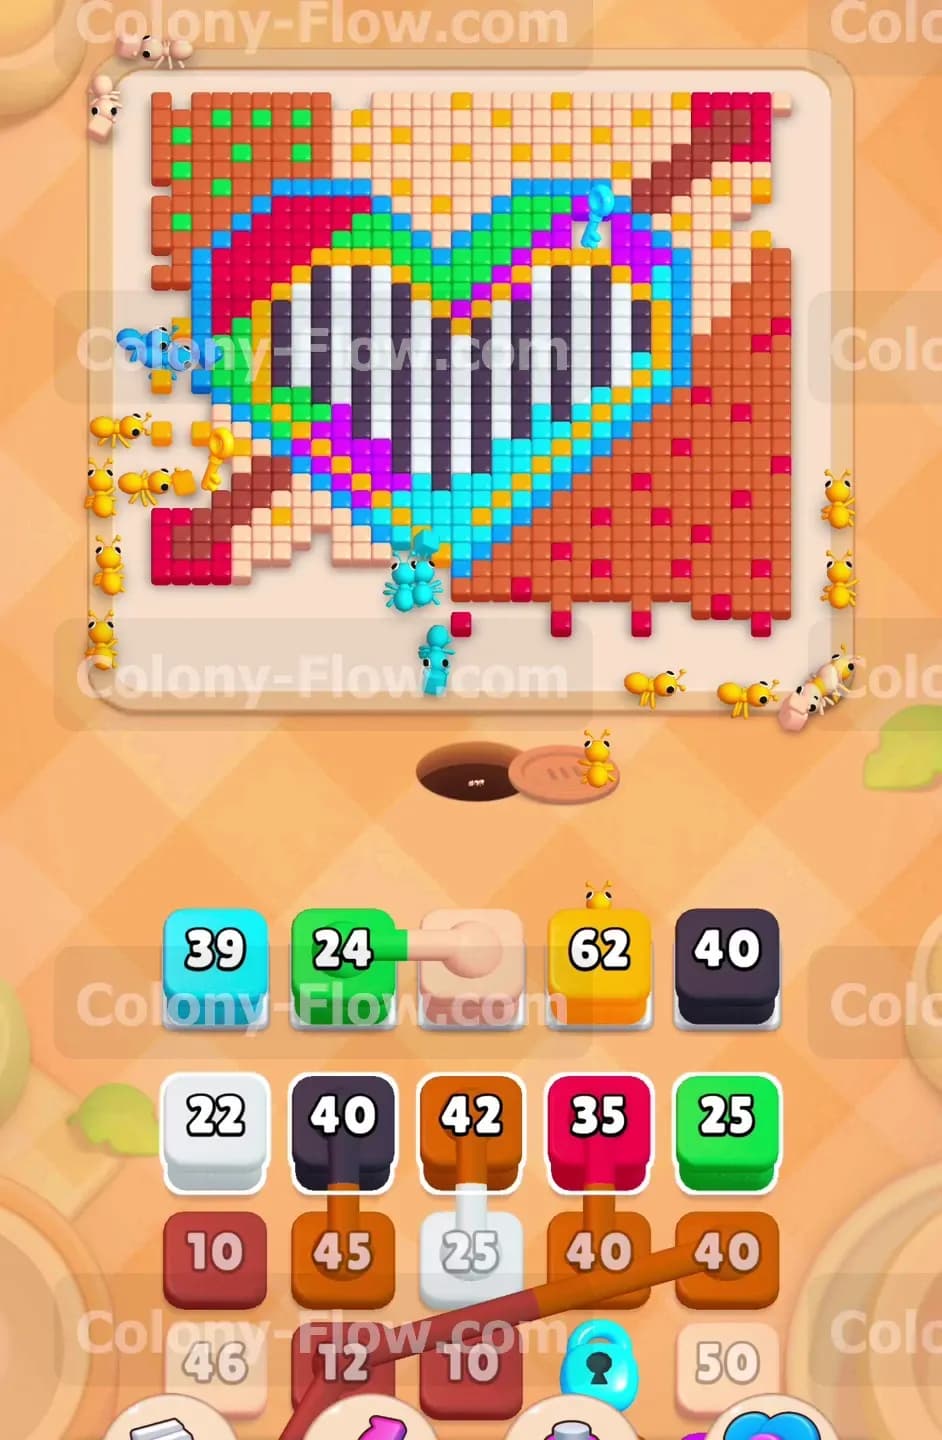
You start by sending ants directly to the cyan outline around the heart. Pull the large cyan block into your very first slot. The cyan ants march out of the nest hole and begin chewing the bright blue border. Next you want to clear some of the background colors to create more open edges. Pull the large yellow block to send ants straight to the yellow section above the arrow. You will see a green block connected to a light tan block sitting in your tray. Pull this connected pair next. The green ants immediately attack the top left corner. The light tan ants head toward the light colored background tiles on the opposite side. Finally pull the black block into your fifth slot. Black ants flow smoothly into the heart and start eating the vertical black stripes. Your five slots are totally full now but every single block has a working path. This keeps the board flowing perfectly and prevents an early loss.
Step 2: Allow the black stripes and cyan border to clear completely from the board
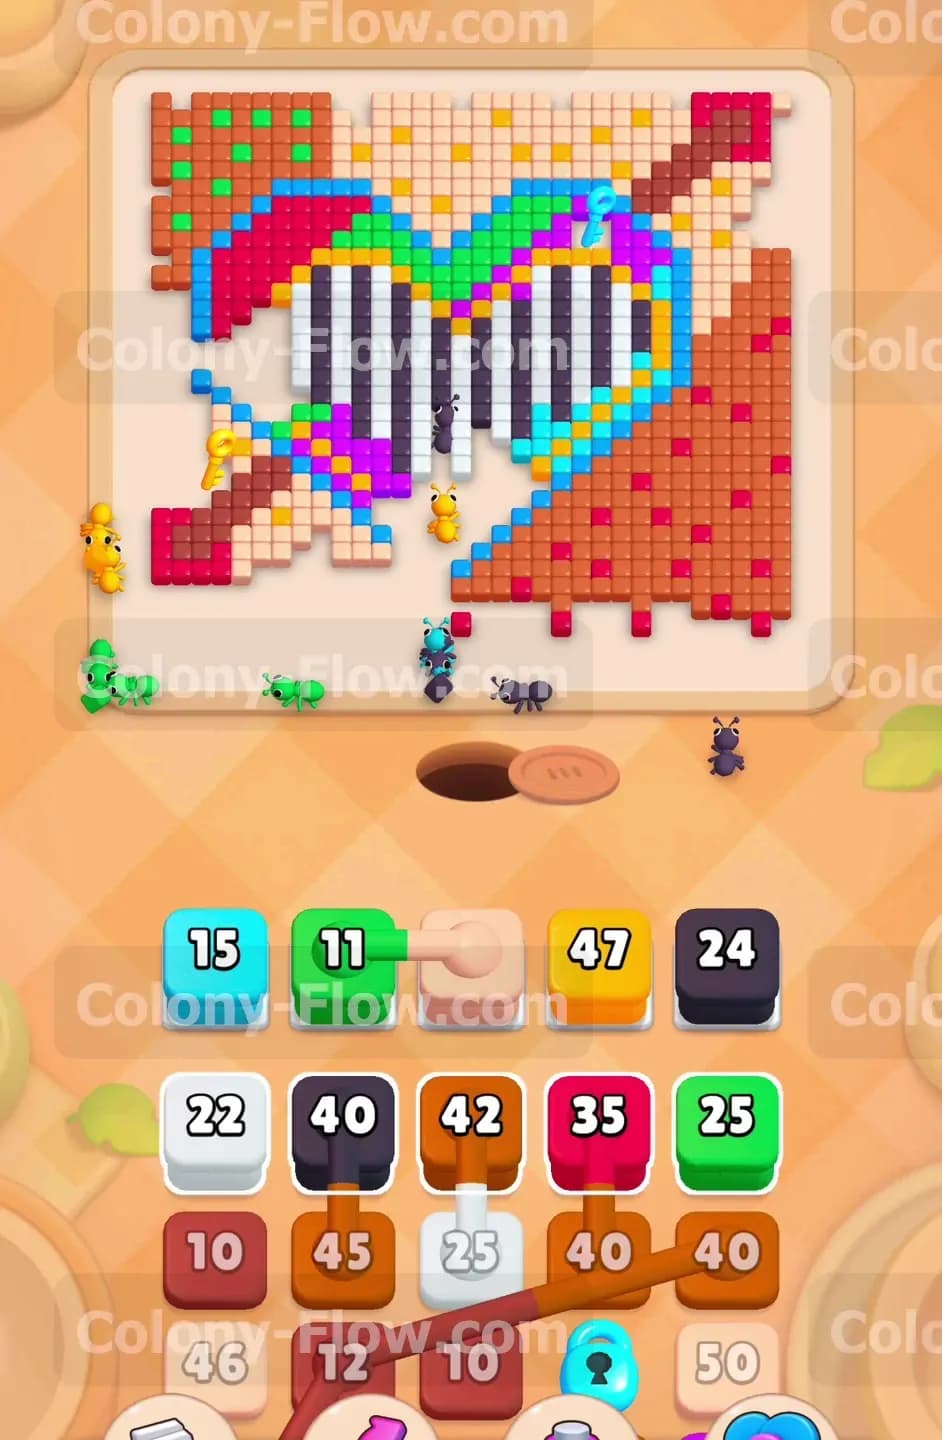
You just need to wait and watch as your first wave of ants does the heavy lifting. The active cyan block numbers drop rapidly from the thirties down to the teens. The black ants successfully finish eating all their assigned vertical stripes inside the heart. This action clears a massive amount of open space right in the middle of the board. The green ants also finish their top left corner and vanish entirely from the board. The connected light tan block continues to drain steadily as its ants eat the bottom left background area. Do not pull any new blocks until at least two slots open up completely. You want to maintain absolute flexibility with your remaining tray pieces. Once the black block and the green block finish their work and vanish from your slots you instantly gain breathing room to make your next moves. Leaving space in your slots is crucial for managing the incoming connected blocks.
Step 3: Attack the diagonal arrow and the newly exposed inner sections
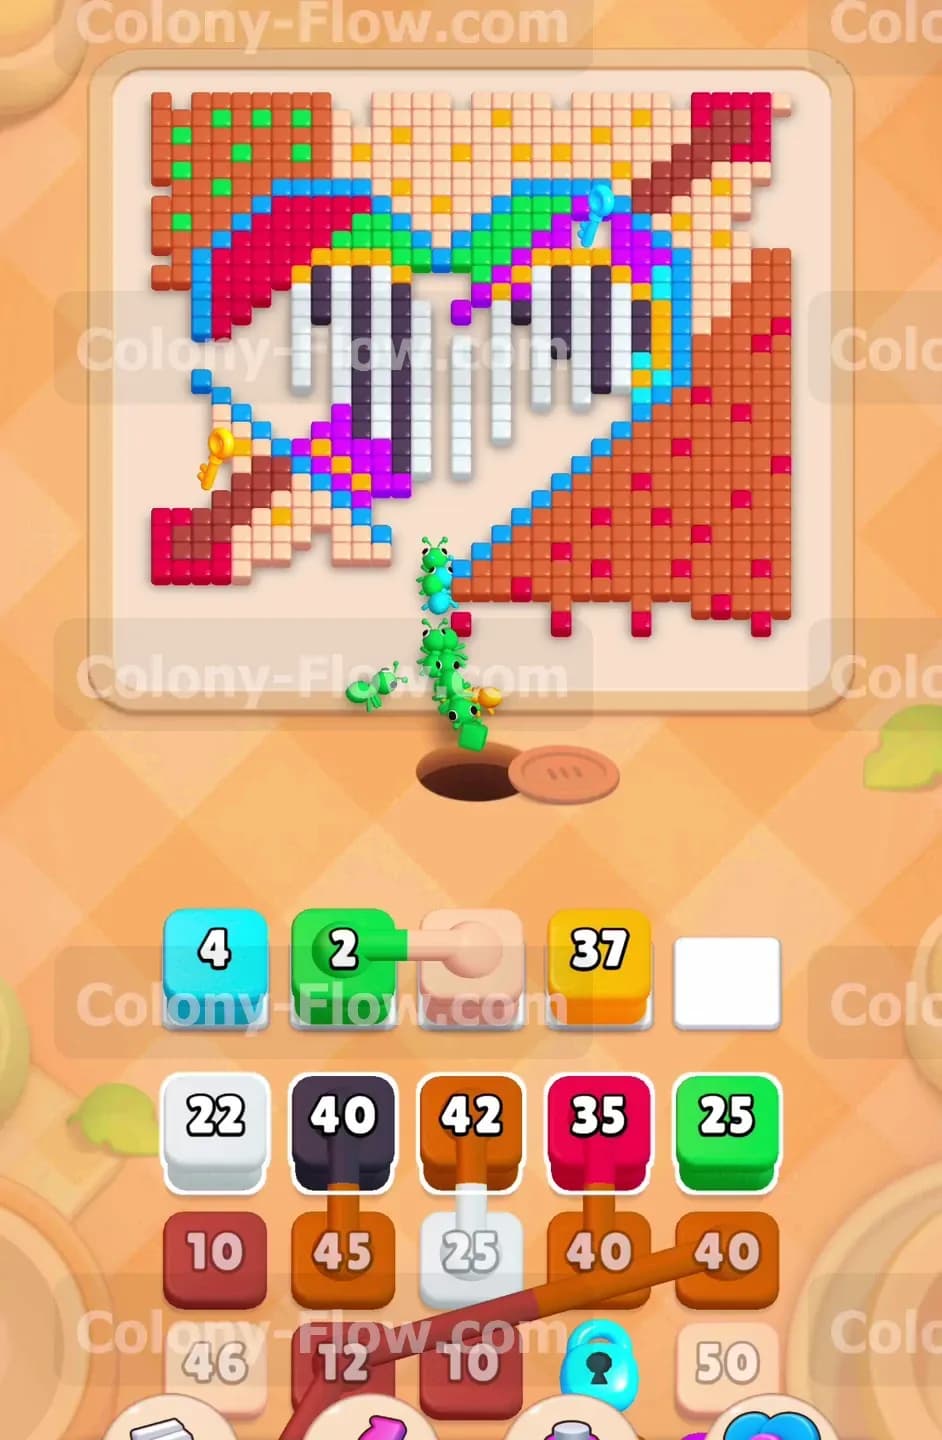
With open slots available you can safely target the brown arrow piercing the heart. Pull a brown block from the tray into a free slot. The brown ants march directly onto the long shaft of the arrow and start dismantling it piece by piece. You also have a white block ready in the tray right now. Pull it up to send white ants directly to the vertical white stripes that were left behind inside the heart. Keep a close eye on the yellow ants. They are slowly finishing the top right background area and will soon disappear. You will notice a connected black and brown block sitting in your tray. Wait to pull it until the white ants clear enough space inside the heart. You never want to trap the brown side of that connected pair behind other busy ants. Patience here guarantees a smooth transition to the next phase of the level. The board will slowly open up to reveal the hidden bottom layers.
Step 4: Unlock the restricted tray blocks using the cyan key
Your tray eventually reveals a brand new challenge for your ants. A large brown block sits trapped behind a locked gate. A bright cyan key rests clearly on top of another active block. You must send ants to gather that cyan key before you can progress any further. Pull the corresponding block to release the key immediately. Once the key is collected the locked brown block becomes fully available to use. You also see several dark red blocks lined up in the tray including a connected pair of dark red boxes. Bring up a dark red block to start clearing the massive red triangle section at the absolute bottom right of the board. The dark red ants will flood that corner and reduce the huge tile count very quickly. Always make sure the dark red path remains completely unobstructed so the ants never stop moving. The dark red section holds the highest concentration of remaining tiles.
Step 5: Clear out the remaining scattered shapes floating inside the heart
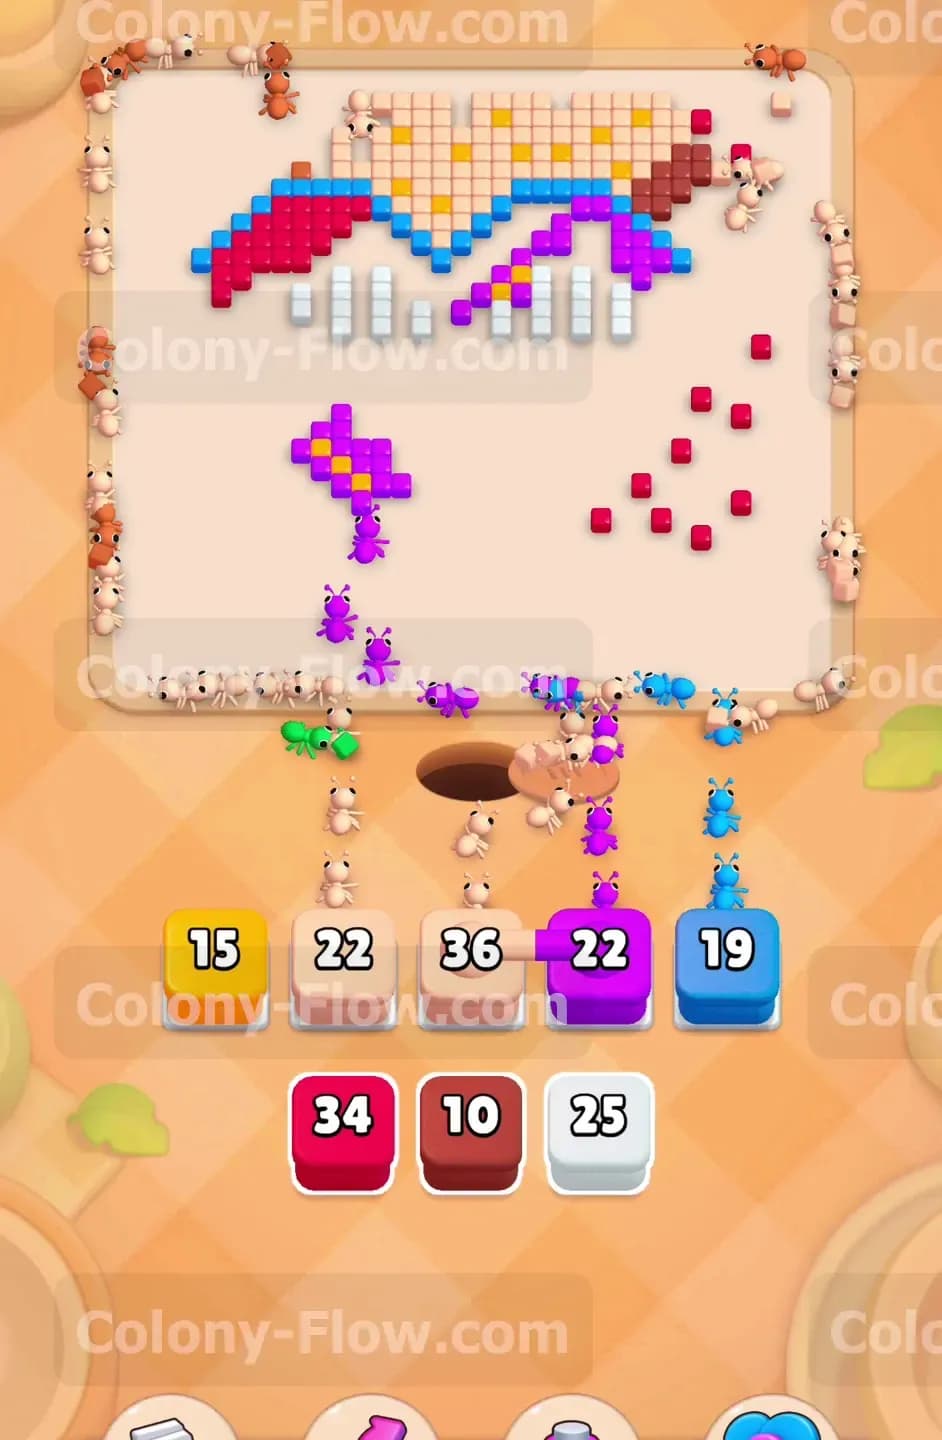
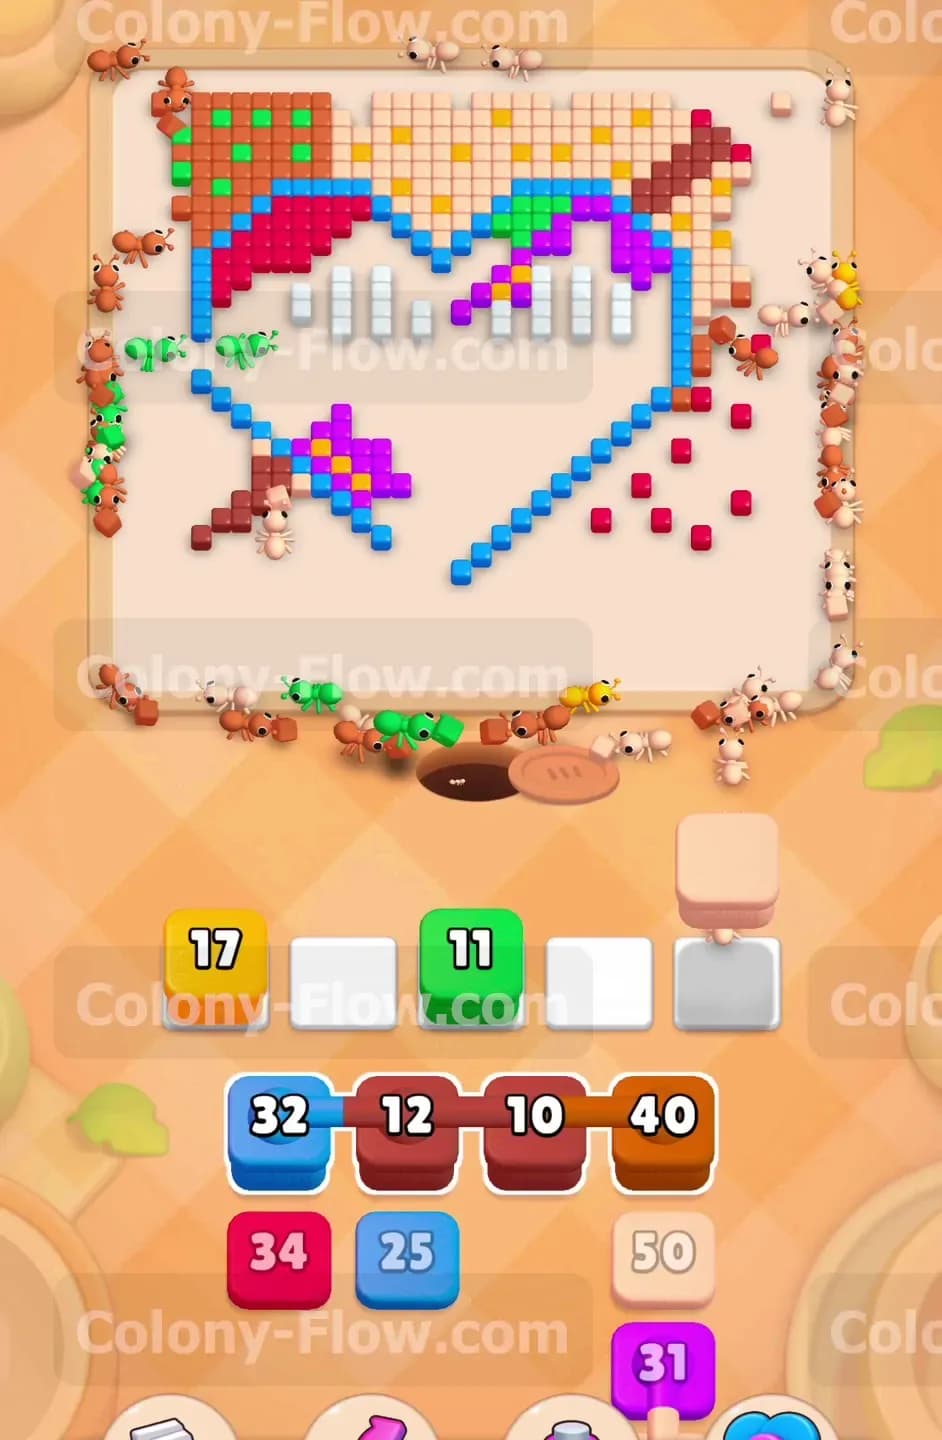
The board looks very messy and fragmented right now. You have successfully cleared the main solid sections. Now you face tiny floating fragments of the original picture. The heart contains a small purple section and a distinct magenta arc at the top. Pull the blue block and the purple block into your empty slots. The blue ants actively seek out the scattered blue tiles located around the broken brown arrow. The purple ants march straight into the middle of the heart to eat the purple fragments. At the exact same time your light tan ants are finishing the very last pieces of the background near the top edge. Your slots will fill up again here but every single color is actively eating. The numbers on your active blocks sit safely in the twenties and teens. You are very close to finishing the level now.
Step 6: Finish the final red pieces and the magenta top arc to win
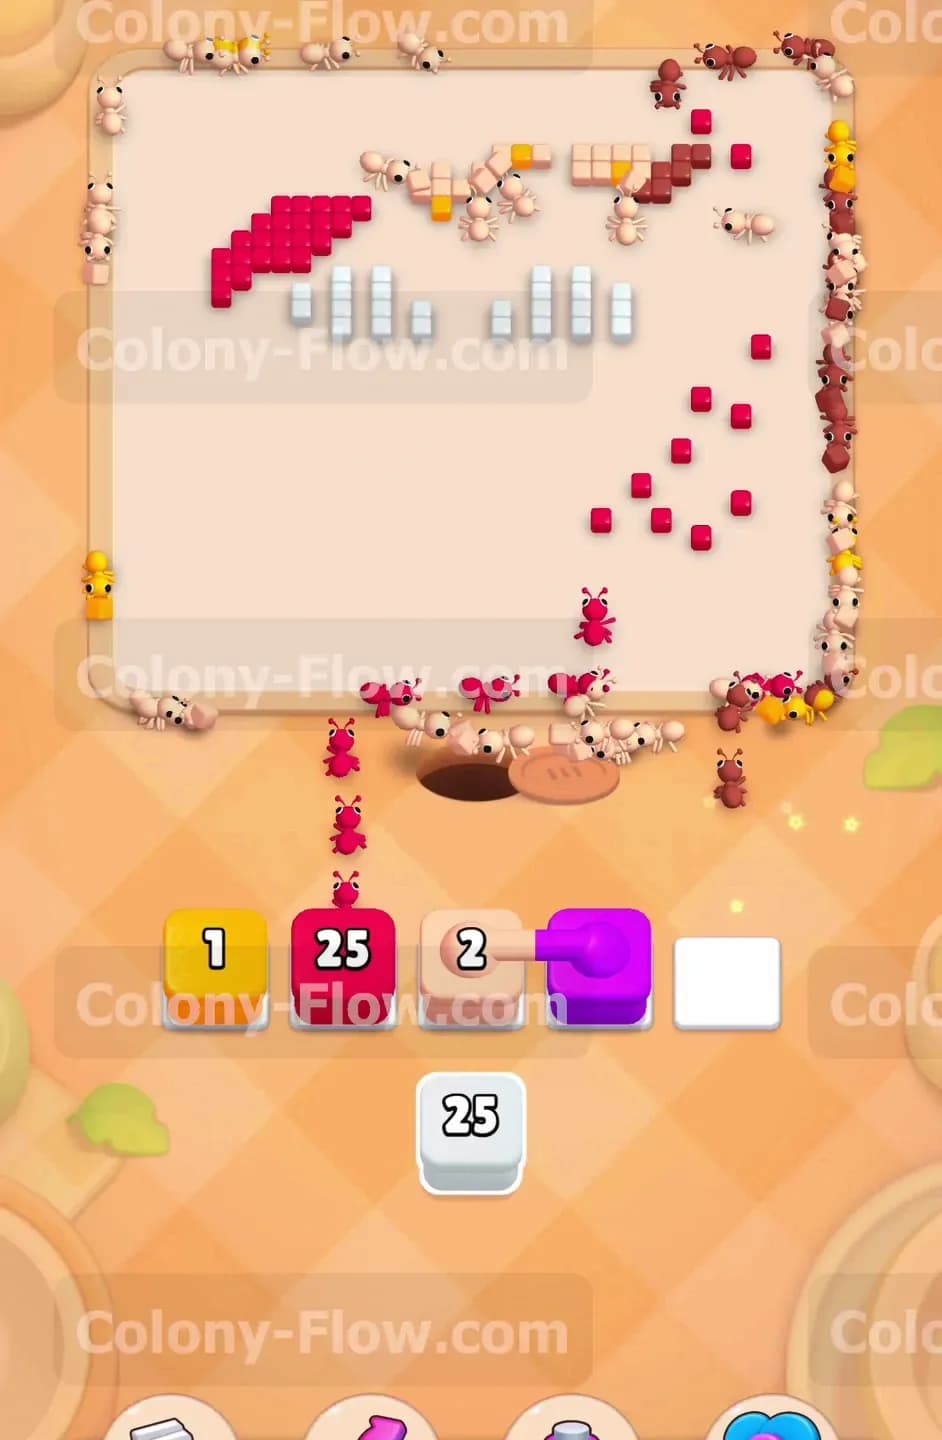
The board only has a few random red and magenta tiles left visible. Your bottom right corner is almost completely empty. Bring up the final dark red block from the tray to mop up those last floating red dots. You will also see a connected magenta and white block sitting in your tray. Pull this final pair right now. The magenta ants rush upward to the top left arc of the heart. The white ants easily find the last remaining white tiles near the center of the screen. The numbers on these final blocks are very low. Watch the counter drop straight down to single digits. The magenta block hits two and the dark red block hits twenty five. The very last ants clean the remaining tiles and the picture vanishes entirely. Your tray is completely empty and the screen celebrates your victory.
Final Thought
This puzzle demands extreme patience and careful timing with your connected boxes. You always want to keep the board moving so your slots never get stuck with idle numbers. If you manage your paths correctly you will never face a blocked tray. You must always think one step ahead to ensure the ants have room to maneuver. Go ahead and watch the video above this article if any step is hard to follow in text. Seeing the ants move in real time makes the whole process much easier to understand.