Colony Flow Level 657 Walkthrough Solution & Guides | How to solve Colony Flow 657

Guide By Liam Stone
Updated on August 8, 2026
The Level 657 solution is right there in the video above, so read on only if you want the extra detail.
Video doesn't match your screen?
Game updates frequently scramble layouts! Try our AI Screenshot Solver first to find your exact board instantly, or report broken guides to our team.
Colony Flow Level 657 brings a massive underwater seahorse scene directly to your screen. I always enjoy levels with large distinct pictures and this one delivers a great visual puzzle. You will guide your colony through thick blue water and yellow sand to feed them and clear the board. The board includes a giant chocolate block and some connected boxes in your tray that require careful timing. If you manage your space well and follow the right order you will beat this stage without much trouble.
Colony Flow Level 657 Overview
What You Are Working With
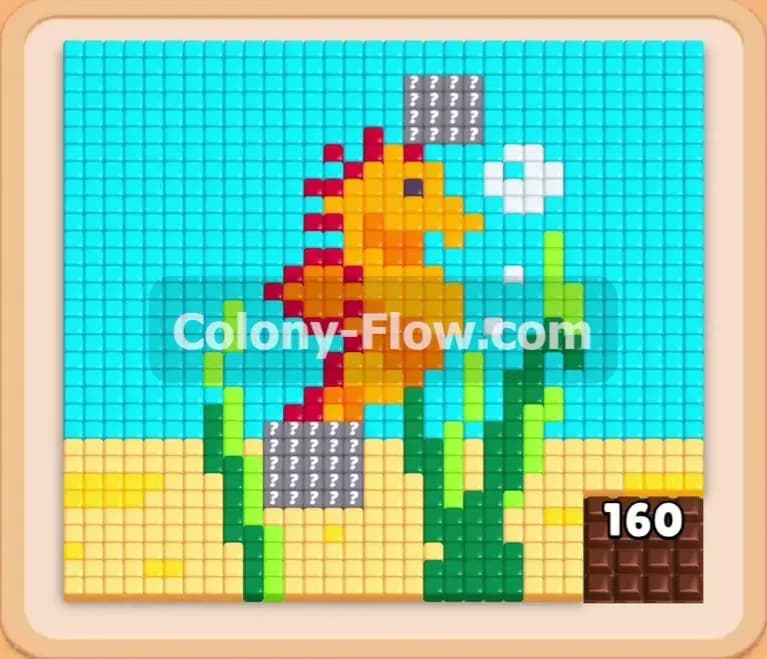
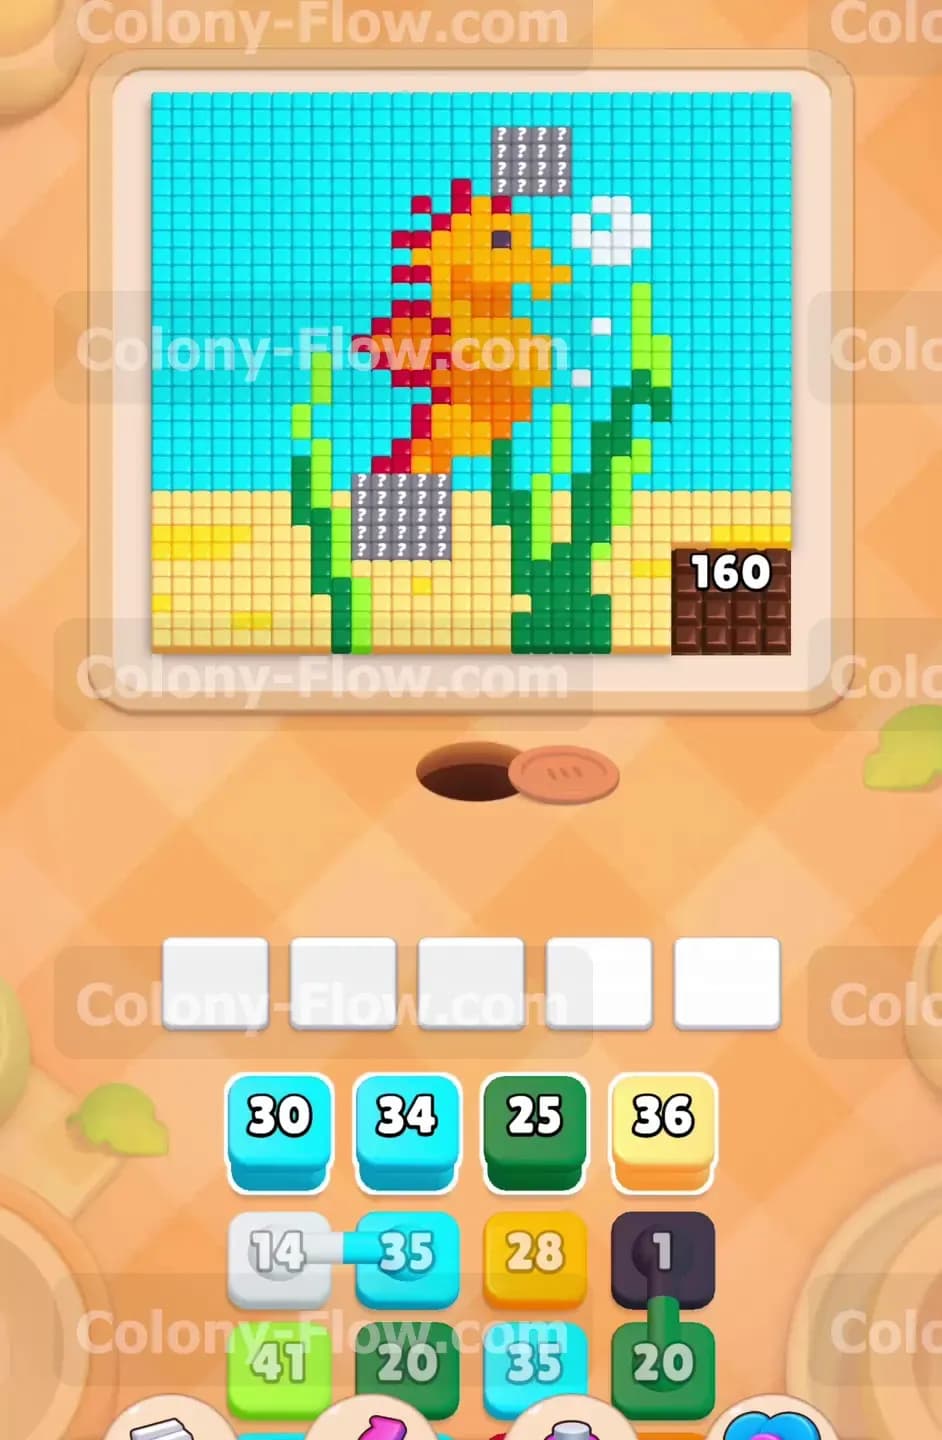
Let us look at the board layout first. A bright orange and red seahorse sits right in the center of the picture. Thick cyan blue water tiles surround the seahorse and fill the entire top half of the screen. Yellow sand forms a solid foundation lining the bottom left and bottom right sections. Dark green and light green seaweed stalks grow up from the sand toward the center of the water. Small white bubbles float in the water near the head of the seahorse.
The bottom right corner features a massive brown chocolate tile with a big 160 written on it. A chocolate block this large requires constant attention. This chocolate covers up the food tiles underneath. You cannot clear the food under the chocolate until you break the chocolate completely.
Your tray at the bottom holds cyan yellow green orange red and white blocks. You will also see connected boxes in the tray. These are a white block and a cyan block joined by a solid line. They move as a single unit and will drop into your waiting area together. You cannot separate them. A single black block with a 1 sits in the tray too.
What It Takes to Clear Level 657 Board
You win the level when every single colored food tile disappears from the picture and the ants return home. You must manage your space perfectly to achieve this. You have exactly five waiting slots at the bottom of the screen just above the tray. If you tap a block from the tray it goes into an empty slot. If all five slots fill up and the ants cannot find a path to their matching colors the board jams. A jammed board means you lose the level instantly and you have to start all over.
To prevent a jam you must always keep a path open for the ants to travel. The chocolate block starts at 160 and drops in number every time an ant clears an adjacent tile. You need to clear the outer water and sand first to create paths to the seaweed and the seahorse. Connected boxes take up two waiting slots at once. You must ensure you have at least two empty slots available before you tap them.
Colony Flow Level 657 Step by Step Solution
Step 1: Clear the outer water and sand to open the board
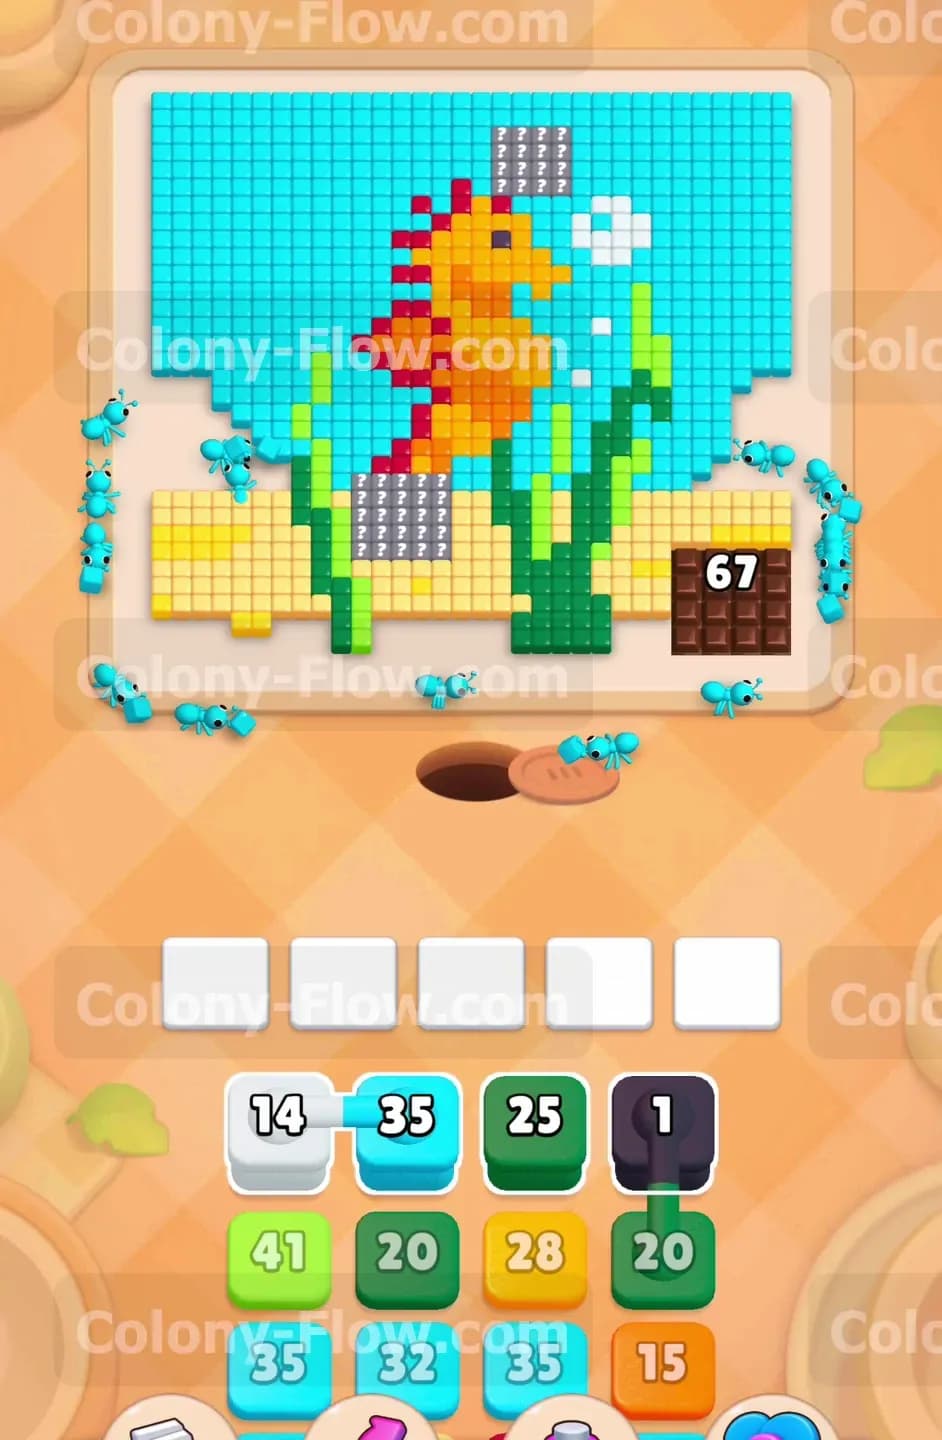
Start the level by tapping the cyan block with a 30 and the cyan block with a 34. Send them up to the waiting slots. Follow up immediately with the yellow block displaying a 36. You just filled three of your five slots. This leaves you with two empty slots which provides a safe margin. The cyan ants will swarm the outer edges of the blue water on the left and right sides. The yellow ants will dig into the top layer of the yellow sand. As the ants hit the tiles touching the chocolate block you will see the 160 drop quickly. Wait for the ants to drain these three blocks completely before you pull any more colors from the tray. You need these slots empty for the next big move.
Step 2: Play the connected boxes to tackle the bubbles and water
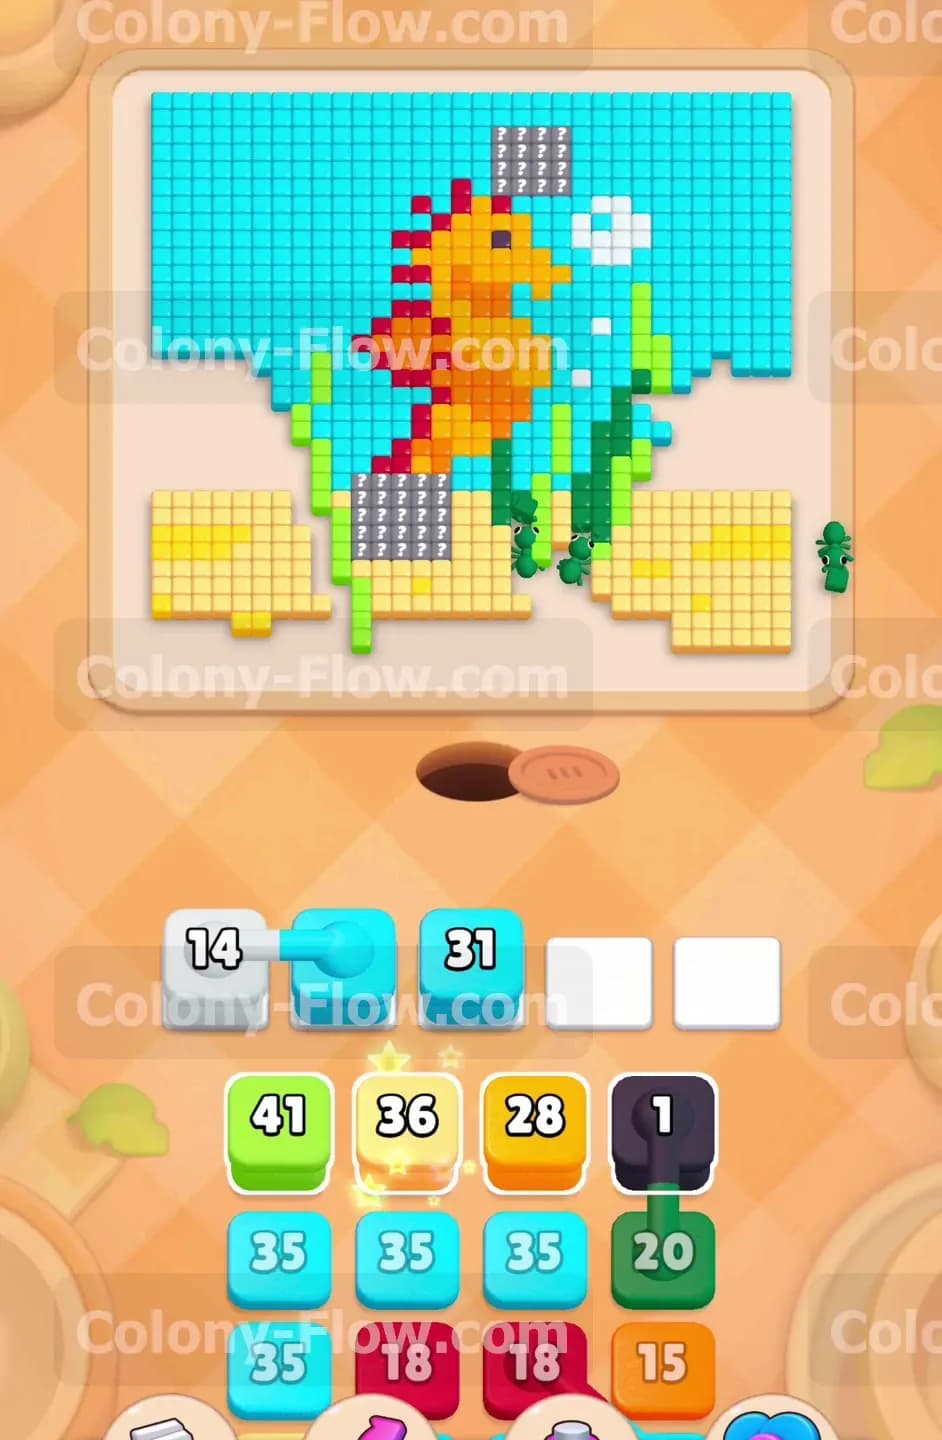
Once your slots are mostly clear you will see the connected boxes become available in the tray. This is a white 14 block connected to a cyan 35 block. Tap this pair to send them up. They will occupy two waiting slots right away. Because they occupy two slots you must be very careful with your remaining space. The cyan ants will rush out to continue clearing the massive blue water section. The white ants will travel toward the top right to eat the white bubble tiles and the single white tile forming the seahorse eye. Let these two groups work without interruption. The cyan block takes a while to count all the way down from 35. Leave your remaining three slots alone for now so the board does not jam.
Step 3: Send in the dark green ants to harvest the seaweed
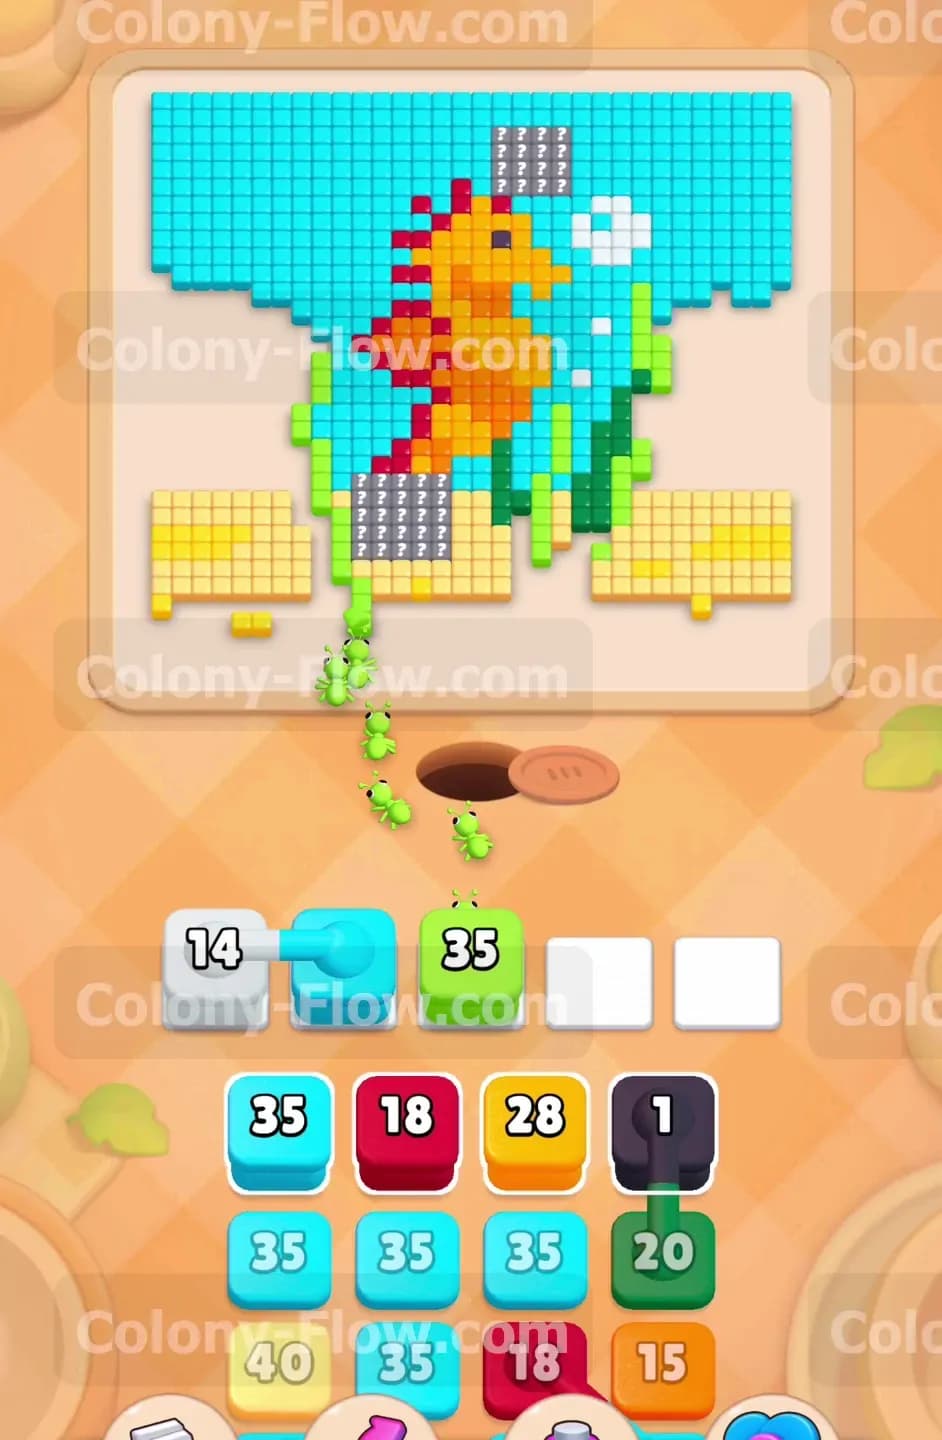
The receding water and sand now leave a clear path to the dark green seaweed. Pull the green 25 block into a waiting slot. The green ants march straight up from the hole and attack the dark green stalks growing out of the yellow sand. The ants have a long walk from the nest hole to the seaweed so the numbers will count down slowly at first. As the green 25 block counts down you can tap the other green 20 block from the tray to keep the momentum going. The dark green seaweed clears out nicely and opens up the space around the lower belly of the seahorse. Keep an eye on the chocolate block in the corner. The constant clearing of nearby tiles should drop its number down to 67 or lower by this point.
Step 4: Use the light green block for the remaining plant life
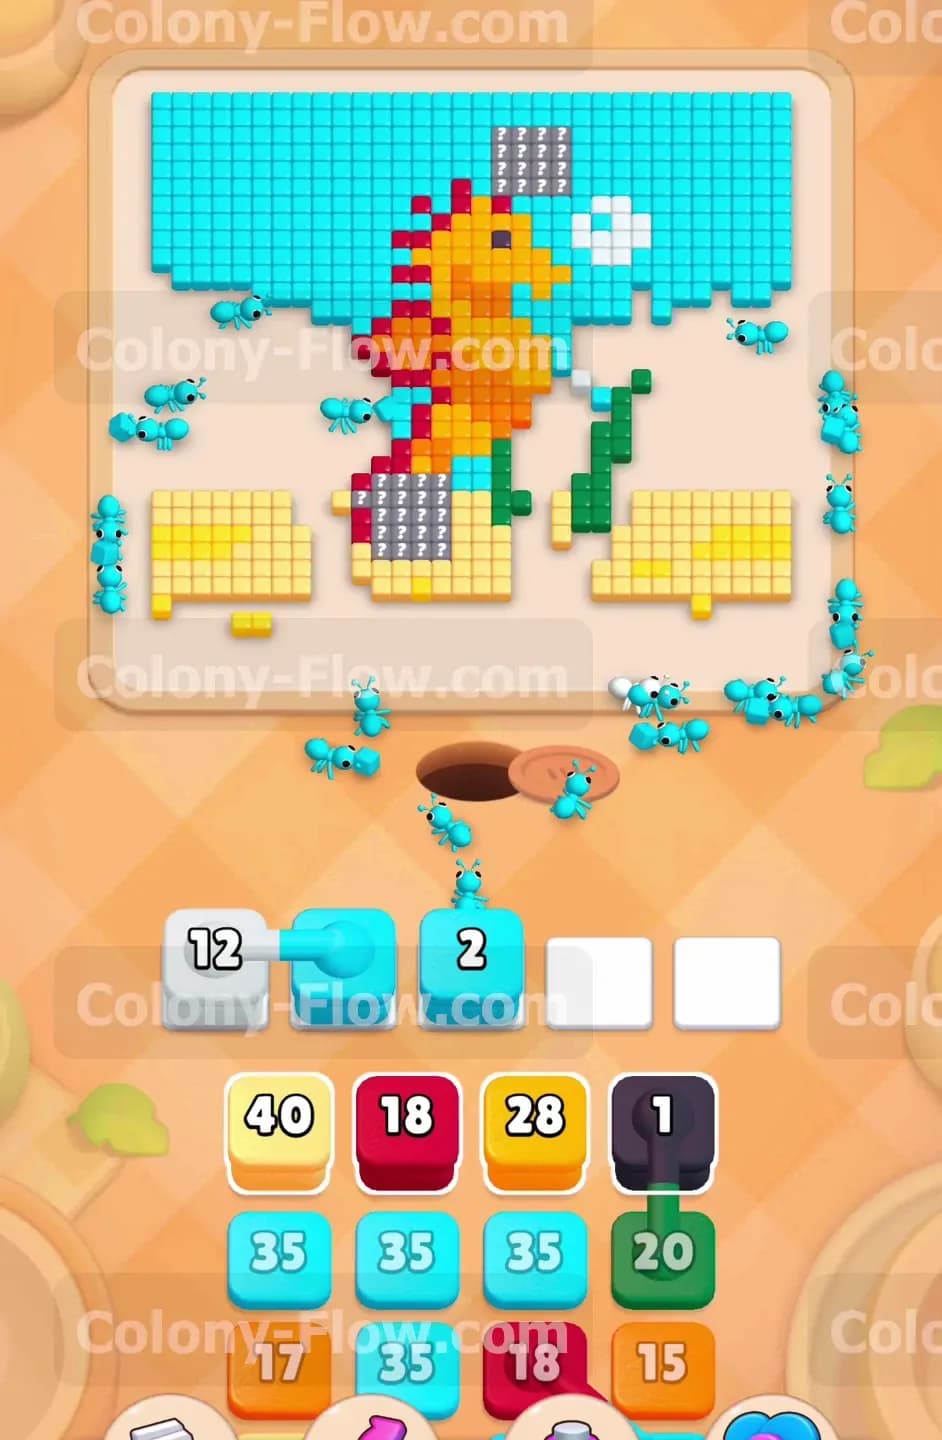
You will notice a light green block with a 41 in your tray. Tap this block to send it up into an empty waiting slot. The light green ants will stream out and consume the brighter green seaweed tiles scattered near the bottom left and the center. A block with a 41 takes a massive amount of time to empty completely. You must wait patiently while the ants do their job. You might feel tempted to tap other blocks while you wait but resist that urge. Filling the waiting slots now causes a fatal jam. Let the light green ants finish eating and free up that slot before you move on to the main animal.
Step 5: Attack the red and orange seahorse body
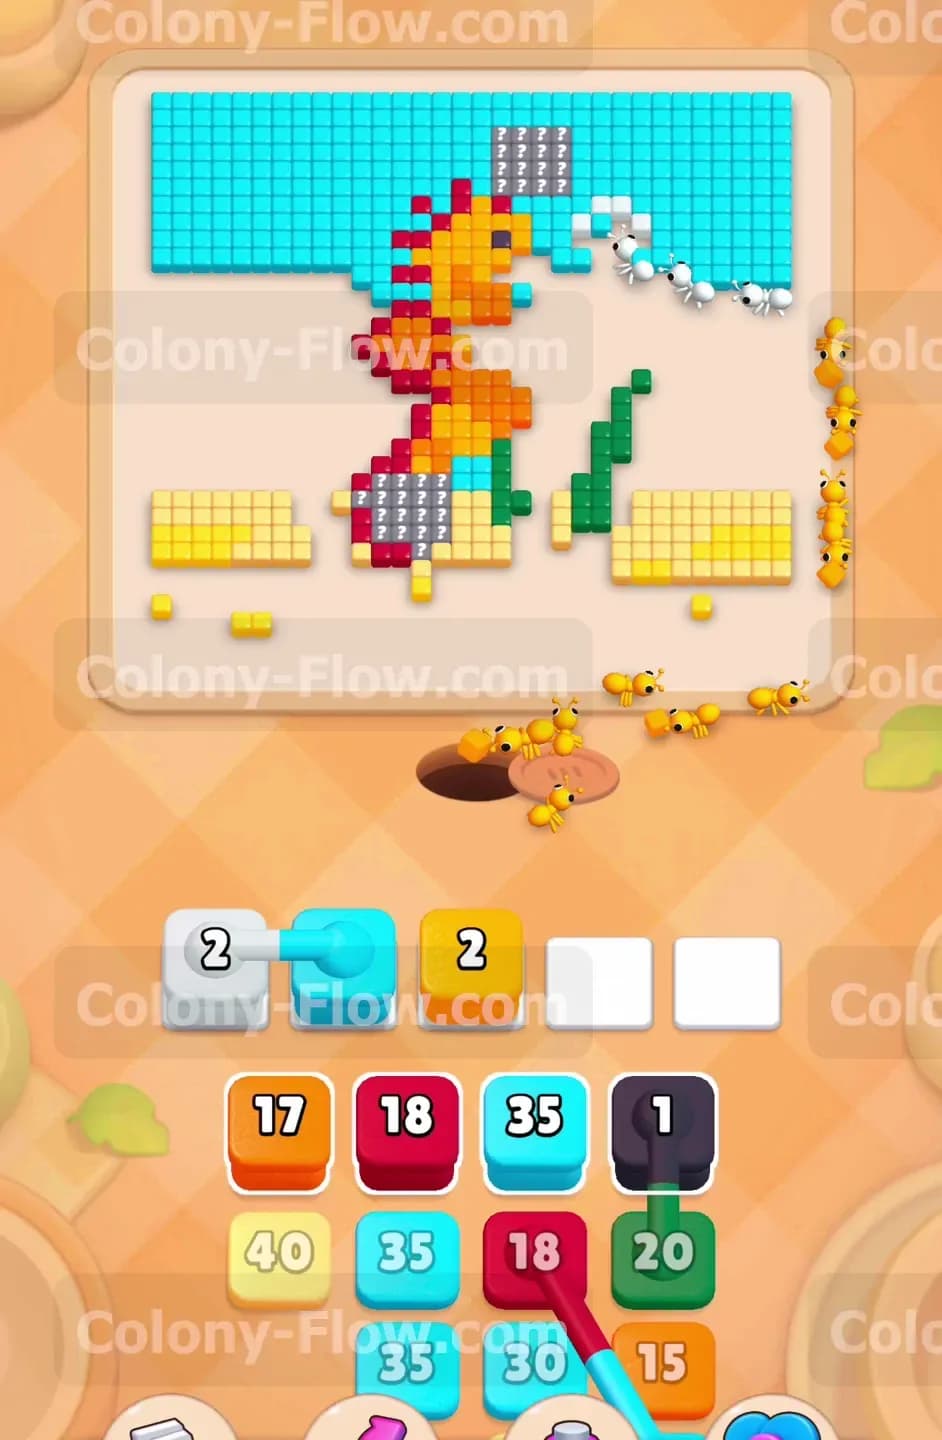
With the seaweed entirely gone the seahorse is fully exposed. Tap the red 18 block and the orange 17 block. The red ants rush in to eat the bright red spikes along the back of the seahorse. The orange ants target the main body and the curled tail. The picture starts to look very fragmented now. You will see chunks of the seahorse disappearing rapidly. The paths are wide open across the middle of the board so the ants travel instantly from the nest hole to their food. The red 18 block and the orange 17 block will empty out very fast. This keeps your slots fluid and prevents any chance of a jam during this phase.
Step 6: Deploy more cyan and yellow blocks to finish the background
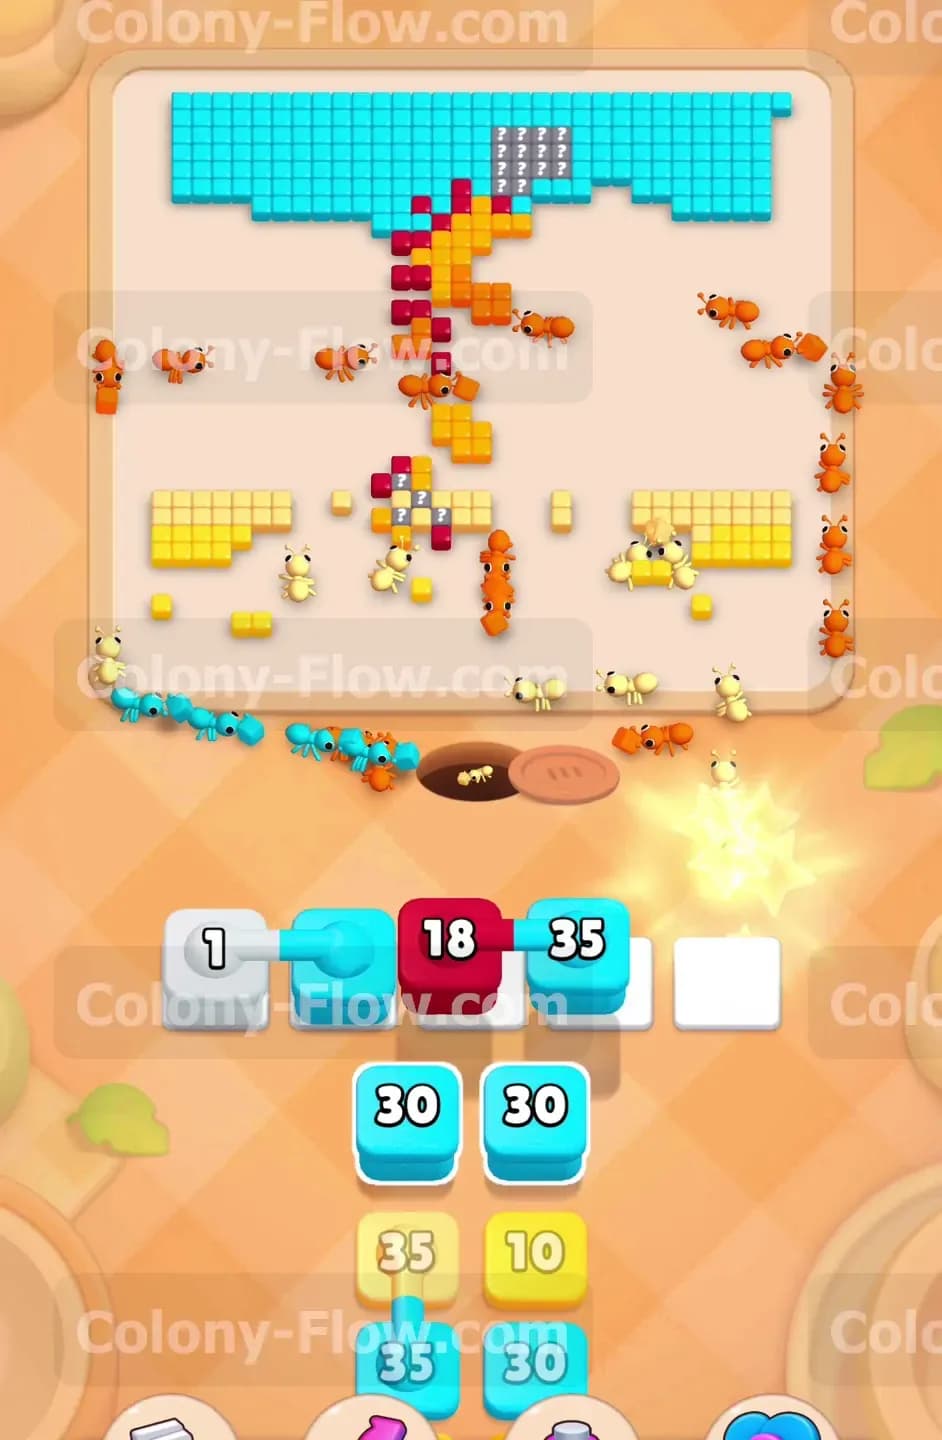
The water and sand are not completely gone yet. You will notice three separate cyan 35 blocks in your tray at one point. Do not tap them all at once. Pull up a new cyan 35 block and a yellow 28 block. The cyan ants will hunt down the remaining blue water tiles near the top edges and around the head of the seahorse. The yellow ants will clear the thick sand chunks left at the bottom right near the chocolate. During this phase the last hits will finally break the chocolate block completely. Breaking the chocolate reveals the final hidden sand tiles underneath. Keep watching the countdown numbers on your waiting slot blocks and only pull one new block at a time as space allows.
Step 7: Clear the final scattered pieces to win the level
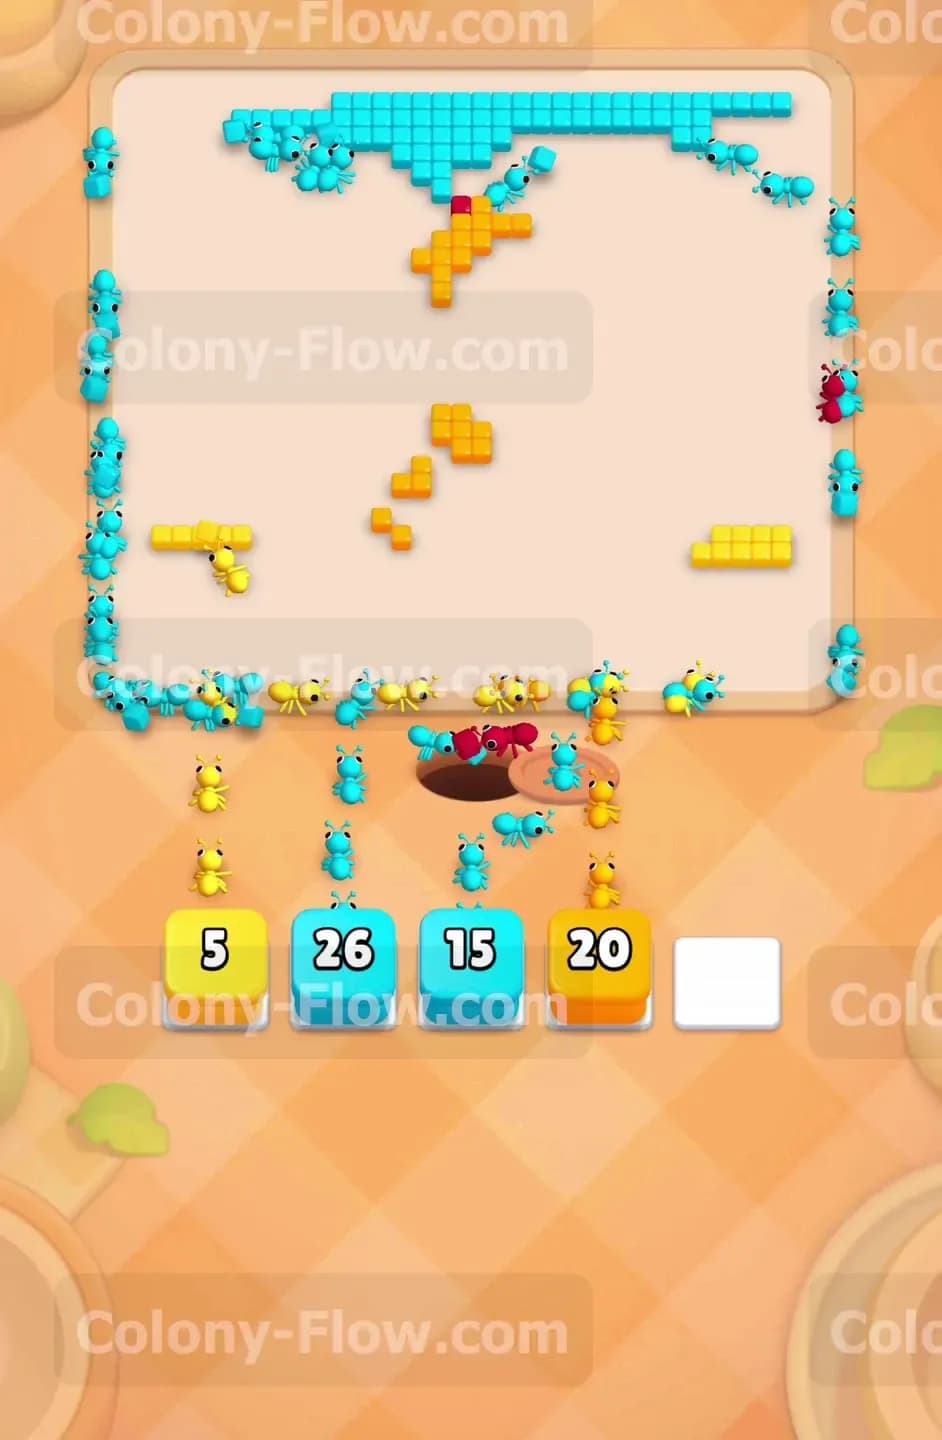
The final stretch is always the most chaotic but also the easiest to manage if you stay calm. The board is almost completely empty now. You only have a few stray blue orange and yellow tiles left on the screen. Look at your tray and pull the exact colors you need to finish the job. Tap a cyan 30 block to send ants after the last scattered water drops. Tap a yellow 10 block to clean up the newly uncovered sand from the broken chocolate corner. Tap an orange 2 block to finish off the tiny bits of the seahorse belly. The ants will wrap up the final tiles in just a few seconds. The waiting slots will empty out completely and you will successfully clear the level.
Final Thought
Colony Flow Level 657 requires a steady pace and good slot management. The massive chocolate block looks intimidating at first but it breaks down naturally as you clear the water and sand around it. The connected boxes also force you to keep your waiting slots open early on. Just remember to let the large blocks like the light green 41 finish before you crowd the board. If you find any part of this written guide hard to visualize you can always watch the video at the top of this page. The video shows my exact block order and how the ants clear the picture in real time.