Colony Flow Level 13 Walkthrough Solution & Guides | How to solve Colony Flow 13

Guide By Liam Stone
Updated on July 10, 2026
The written guide below covers Level 13 in depth, but you can watch the video above for the same solution.

Video doesn't match your screen?
Game updates frequently scramble layouts! Try our AI Screenshot Solver first to find your exact board instantly, or report broken guides to our team.
Welcome back to another puzzle guide where I help you beat Colony Flow Level 13. I play every single level myself to find the exact sequence that keeps the ants moving and prevents the board from jamming. We have a fun pixel art pitcher of juice to clear today. Let us get those ants fed and clear the board completely.
Colony Flow Level 13 Overview
What You Are Working With
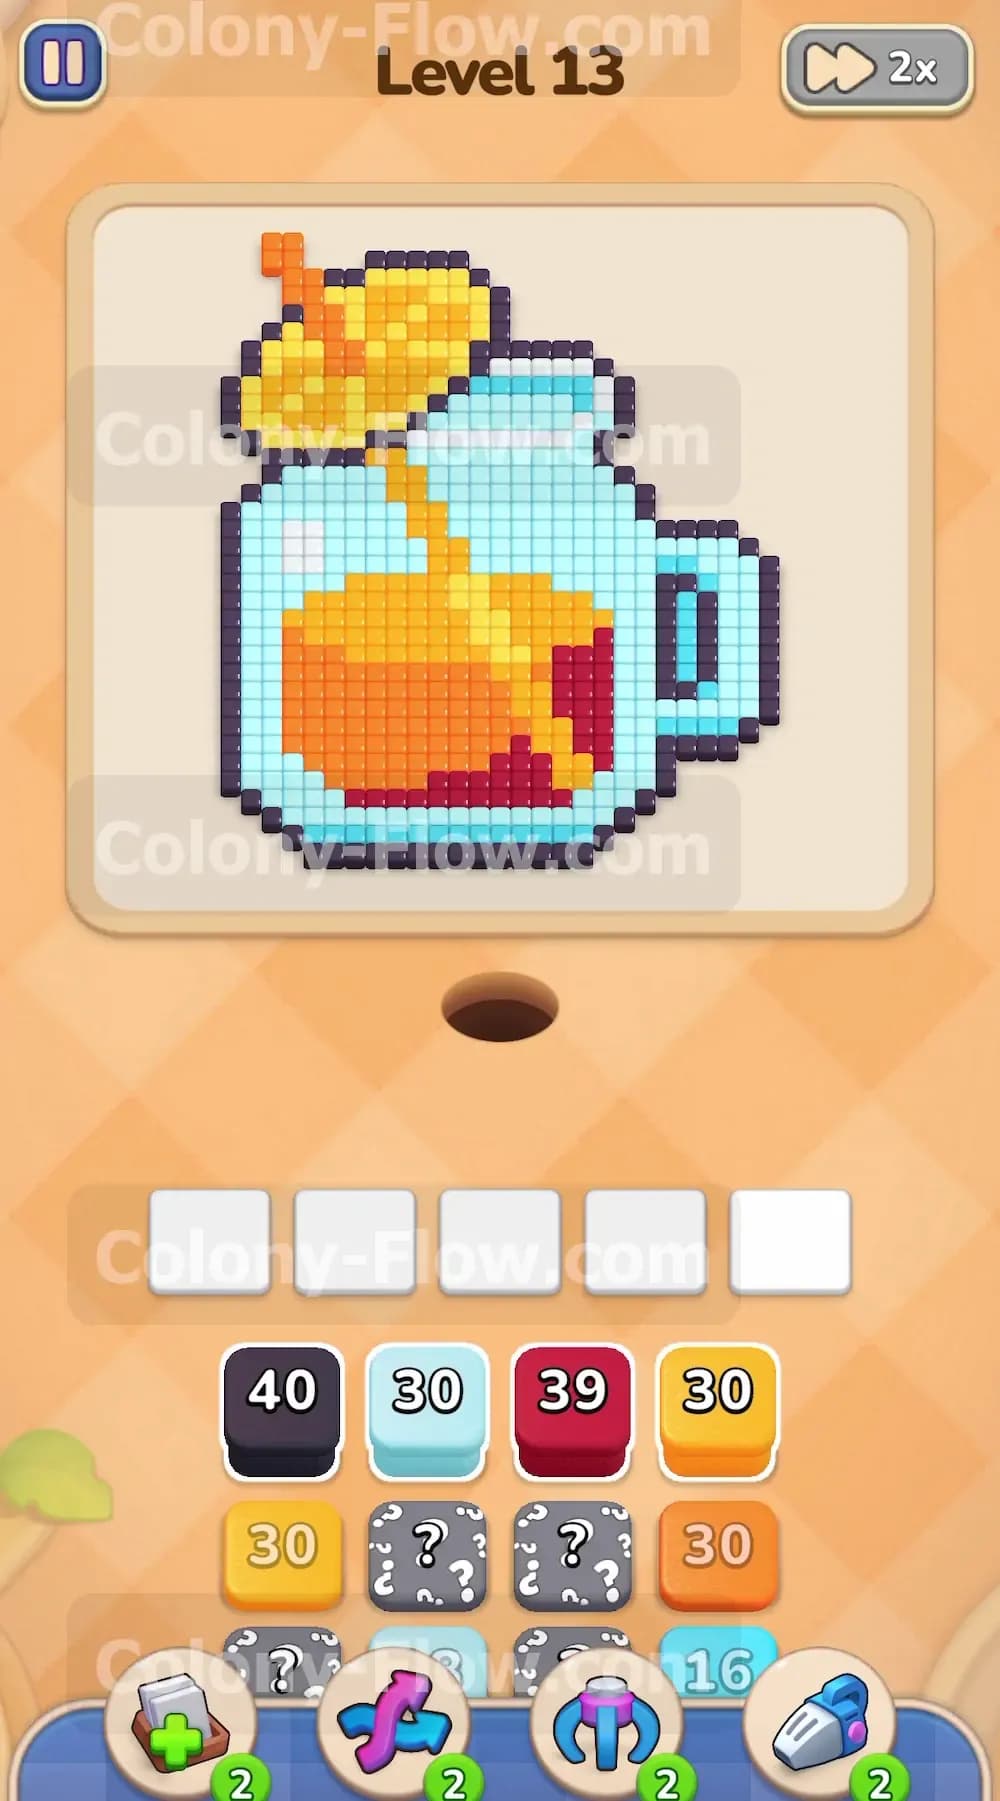
When you load into this level you see a colorful pixel art pitcher sitting in the center of the screen. The picture features a solid dark blue outline that forms the shape of the pitcher and the handle on the right side. Inside that boundary you will find a light blue glass body and a thick layer of orange juice. At the very top sits a bright yellow citrus slice and an orange straw. The bottom of the pitcher holds a layer of dark red liquid. You will also notice a few white highlight tiles on the left side of the glass. Down in your tray you have visible colored blocks including a dark blue 40 and a dark red 39. Below the visible top row you will see several hidden boxes marked with question marks. These hidden boxes keep their colors a secret until you clear the blocks above them.
Level 13 Objective
You win this level by feeding your ants the correct sequence of colors to dismantle every single pixel tile of the pitcher. You must do this without filling all five waiting slots with blocks that have no clear path to their matching tiles. Your primary goal is to ensure the colony always has an open route to the food so your slots never jam and cost you the game.
Colony Flow Level 13 Step by Step Solution
Step 1: Open the outer boundary with the dark blue block.
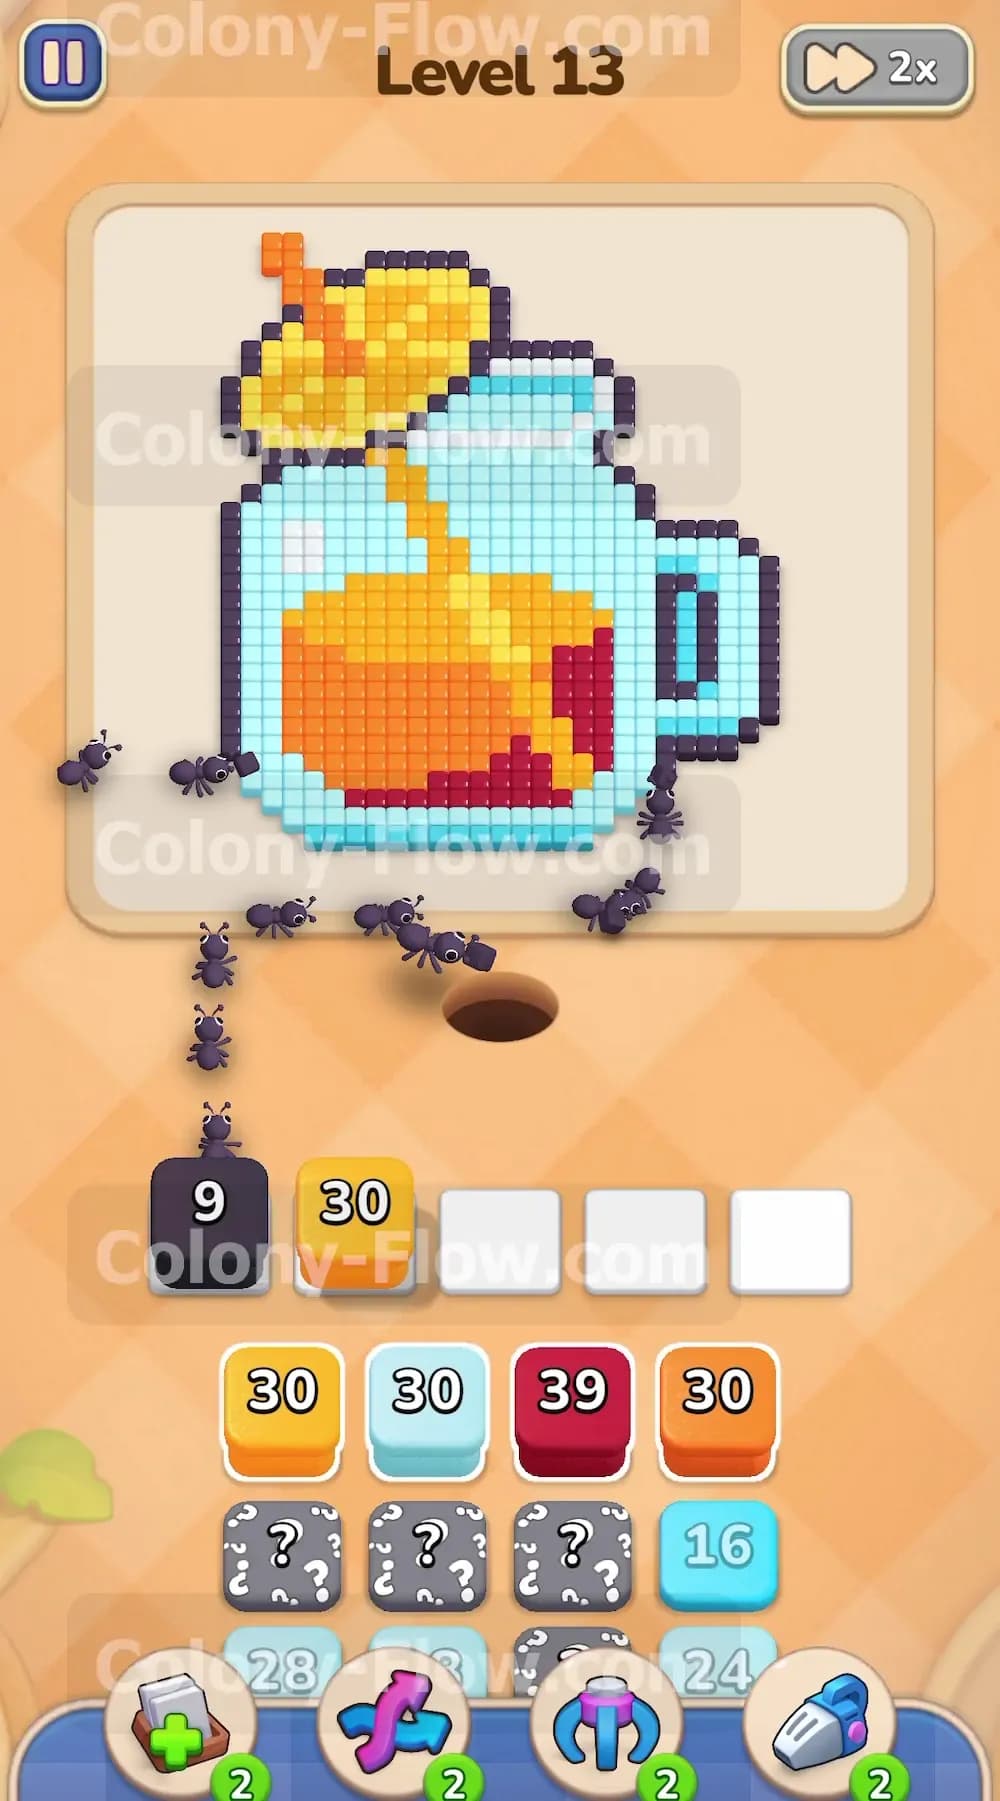
The solid dark blue line surrounds the entire pitcher shape and traps all the inner colors. Your ants cannot reach the light blue glass or the orange juice until you break this barrier. Look at your bottom tray and find the dark blue block with the number 40 on it. Tap this dark blue block to send it up into your first waiting slot. Immediately the colony will stream out of their nest hole and rush to the dark blue perimeter. They will start chewing away the border tiles one by one. Watch the number 40 count down as the ants consume the tiles. This single move opens multiple pathways for your insects to reach the inside of the pitcher. You now have access to the glass body and the bottom liquid layer.
Step 2: Clear the base layer of the liquid with the dark red block.
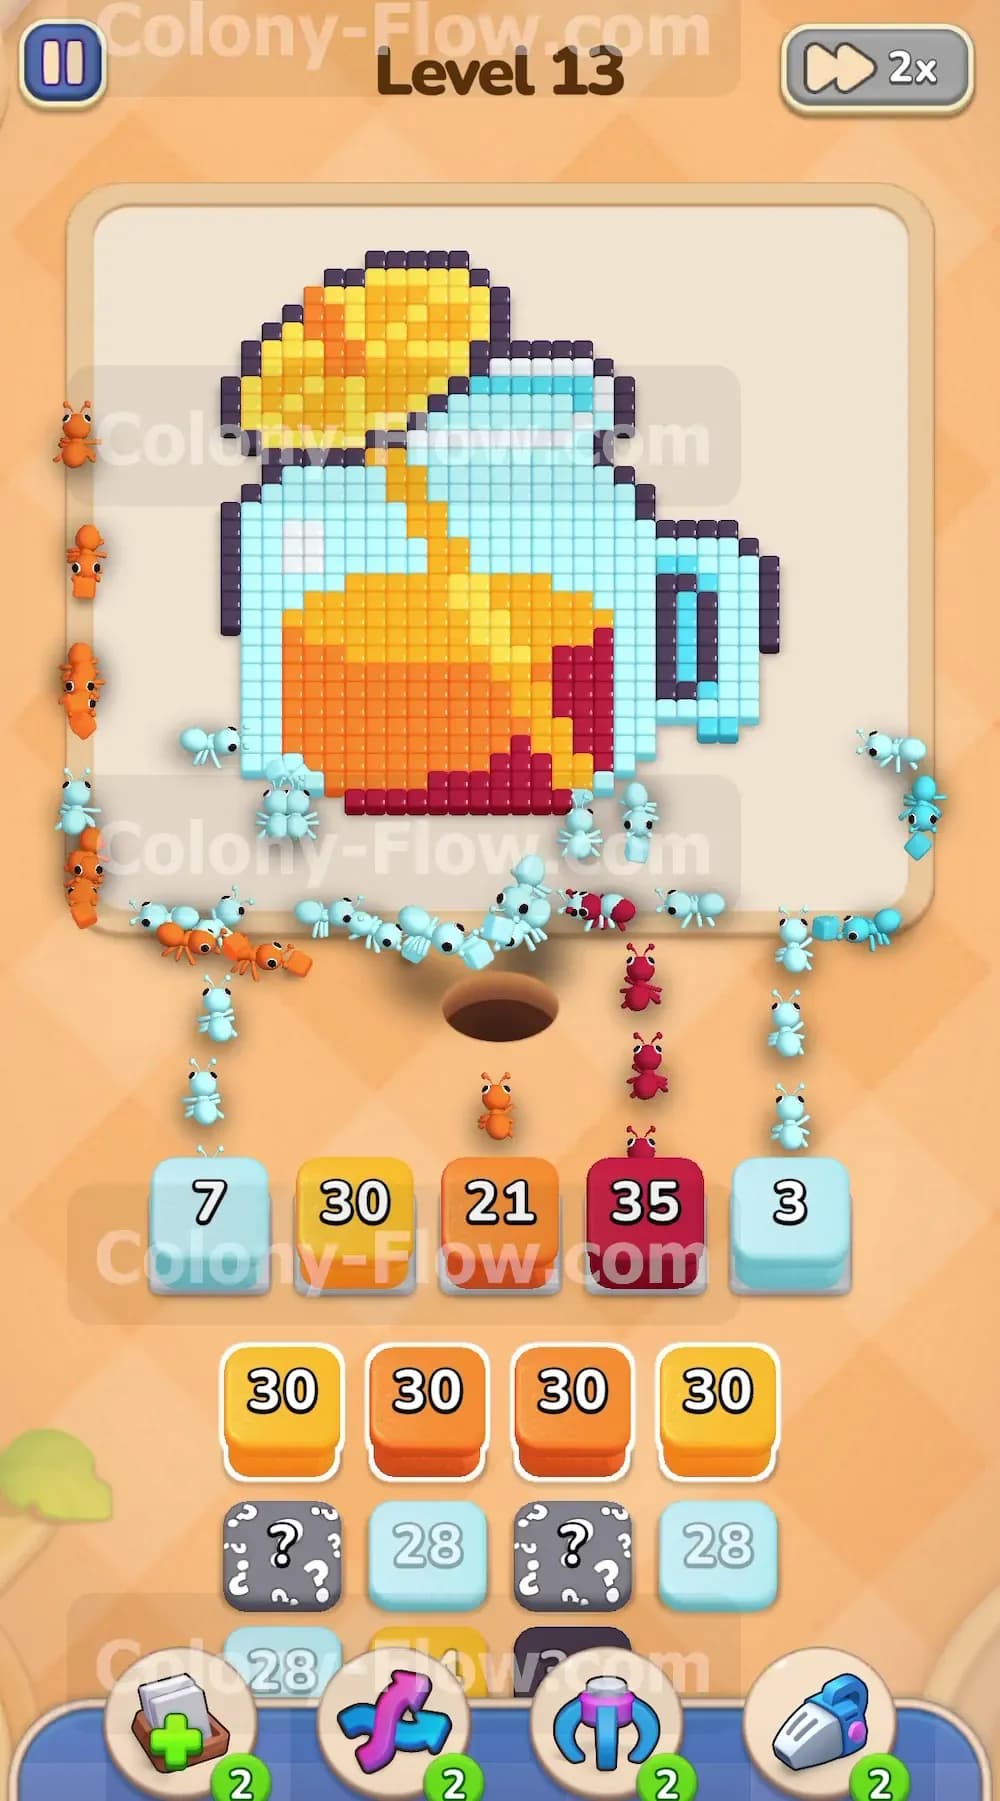
With the bottom edge of the dark blue outline gone you can now access the dark red liquid sitting at the base of the pitcher. Go to your tray and select the dark red block carrying the number 39. Tapping this block moves it into your second waiting slot. The colony will recognize the newly opened path and march straight down to the bottom of the picture. They will quickly dismantle the dark red tiles. Removing this dark red section is a massive help because it completely exposes the bottom of the orange juice tiles. It also clears space in your tray which allows the rows below to shift upward. You need those hidden boxes to move up so they can reveal their hidden colors later in the level. Your ants will finish the dark red section and leave a wide open entry point into the center of the drink.
Step 3: Begin breaking down the glass with the first light blue block.
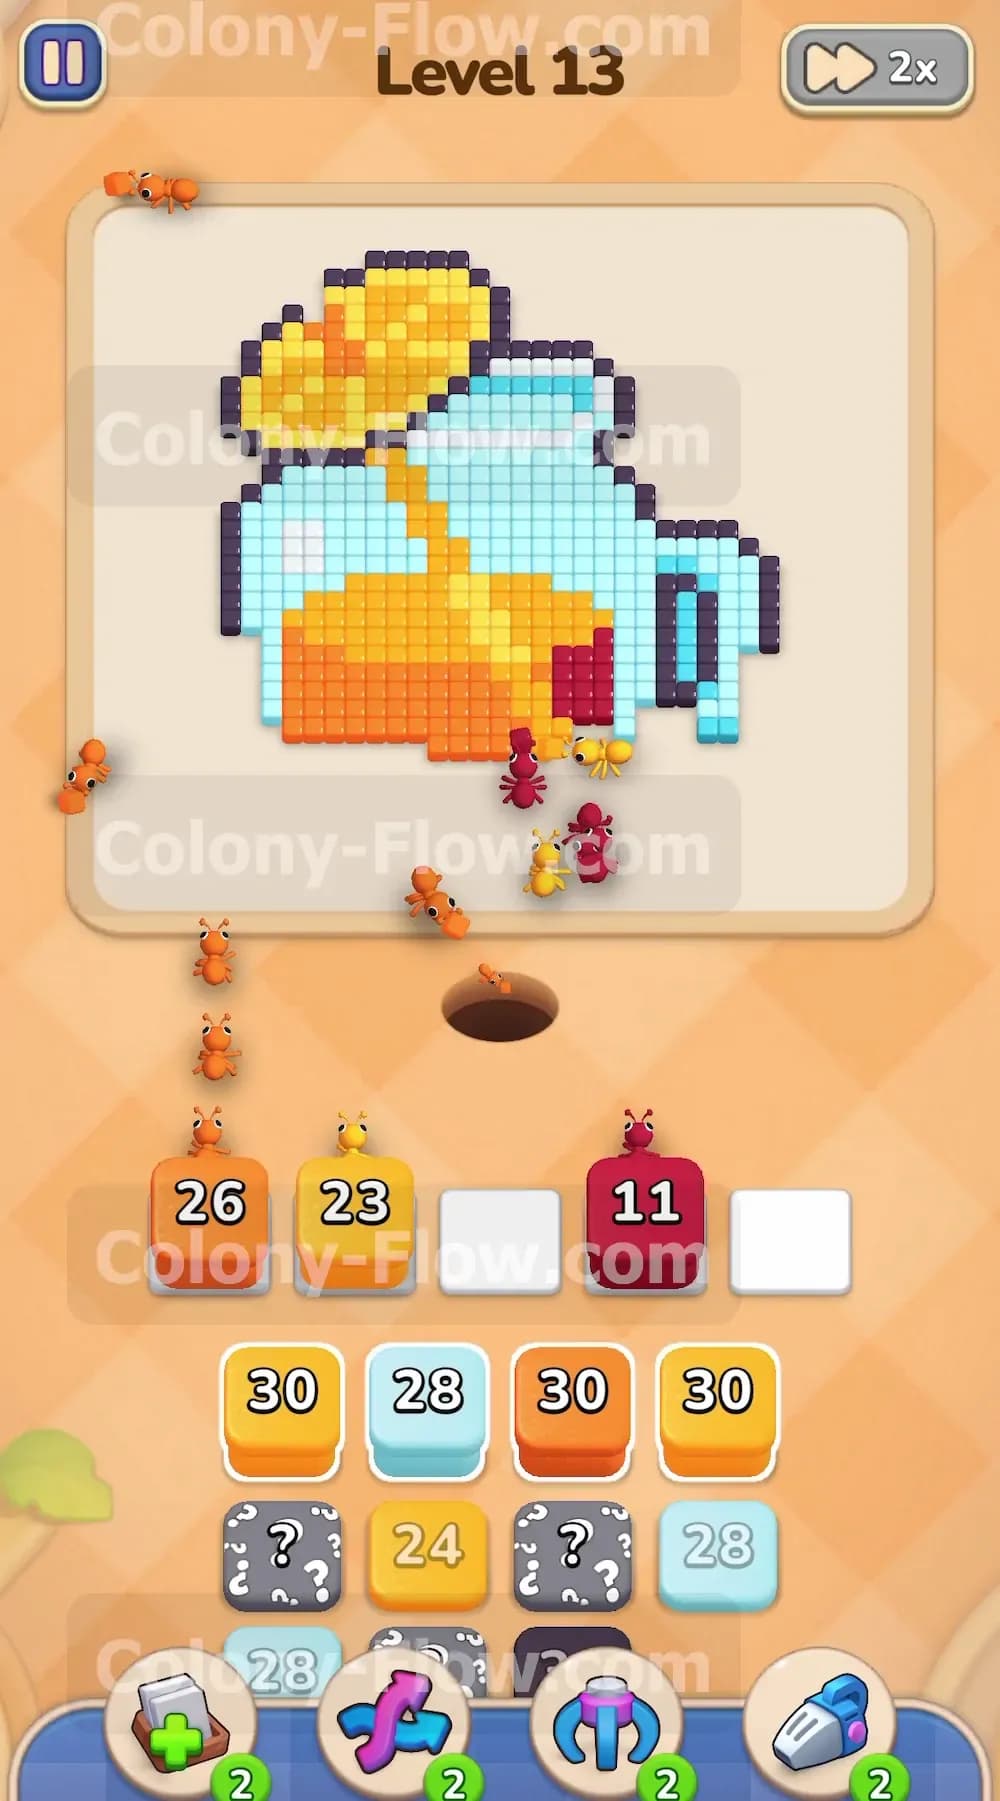
Now you need to tackle the light blue tiles that form the glass pitcher body. You have a light blue block with the number 30 in your top tray row. Tap it to send it into a waiting slot. The ants will branch out and start eating the light blue glass from the bottom edges where the dark red tiles used to be. They will also attack the sides where the dark blue outline broke away. Keeping your ants busy on the glass is a great way to ensure your slots never jam. The light blue tiles cover a huge area of the board. As the ants consume these tiles they expose the sides of the orange juice and the inner edges of the pitcher handle. This constant eating keeps your active blocks counting down and disappearing from the slots to make room for more moves.
Step 4: Send in the first wave of orange blocks for the juice.
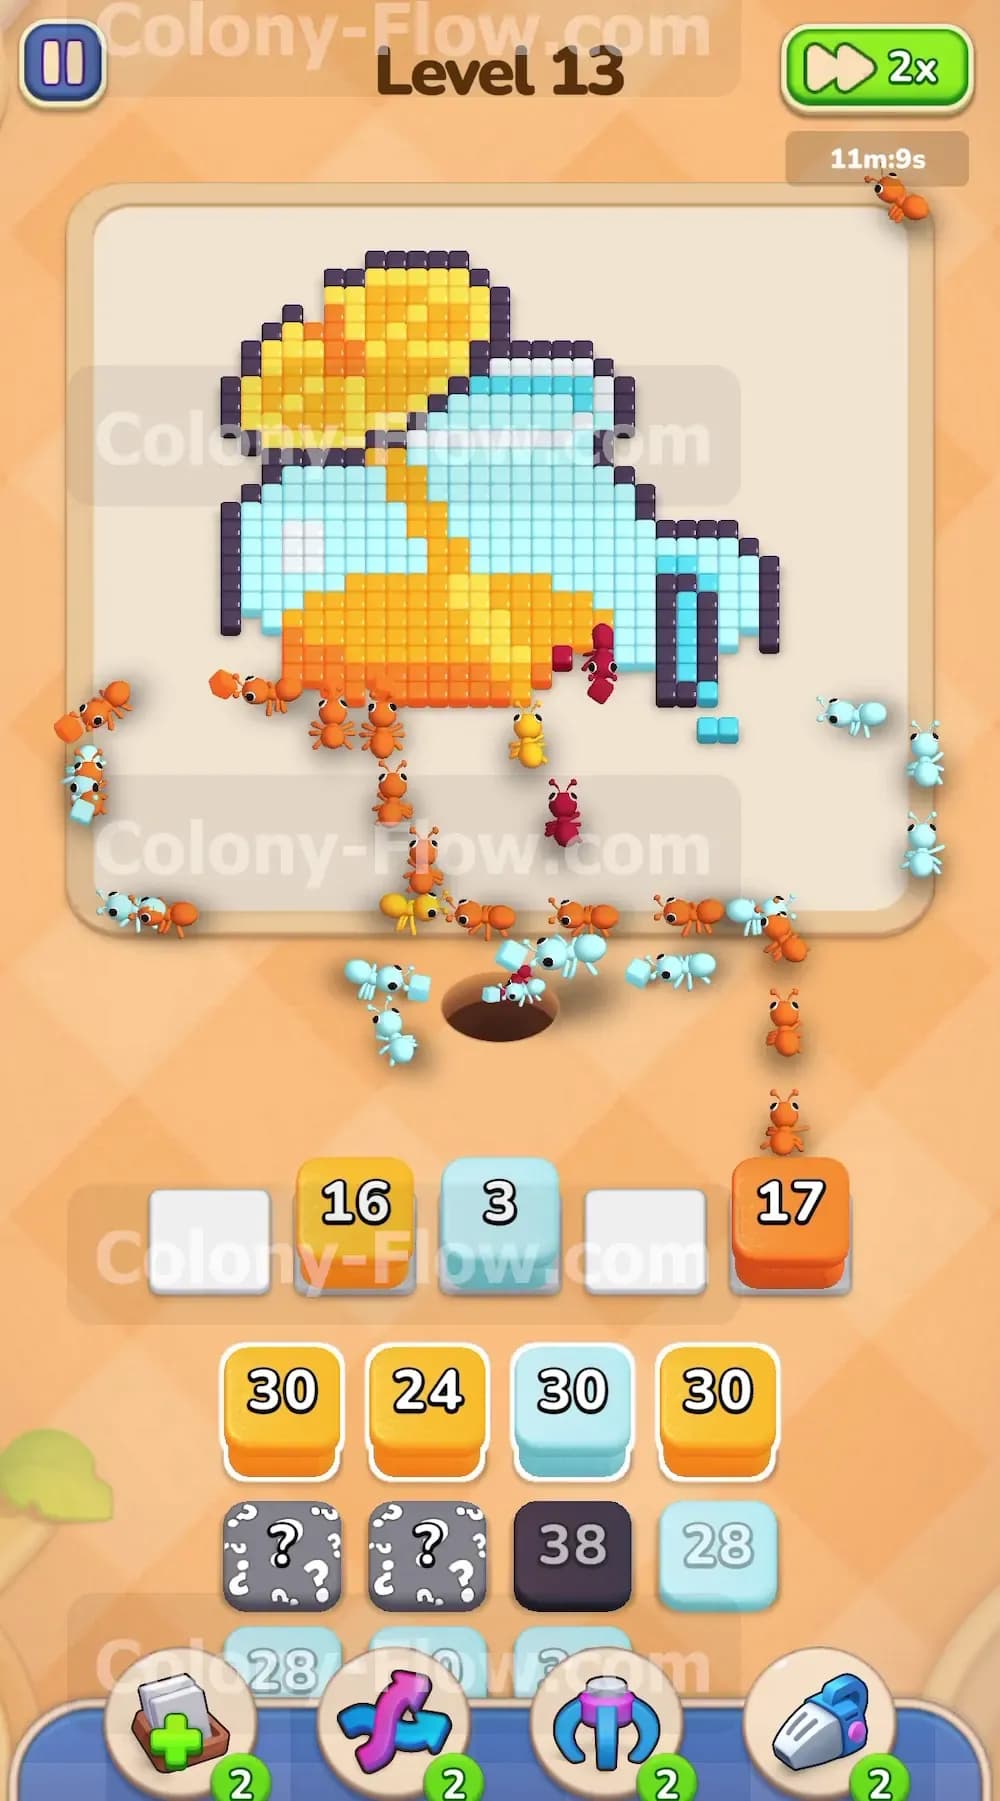
The orange juice makes up the thickest part of the picture. You have several orange blocks in your tray and most of them carry the number 30. Tap your first orange block into an open waiting slot. Your colony will pour into the center of the pitcher through the gaps you created at the bottom. They will eat away the orange pixels in large chunks. As this first orange block counts down and leaves the slot you should tap another orange block right away. You want to maintain a steady flow of ants hitting the center of the picture. Do not tap all your orange blocks at once. If you fill your entire waiting area with orange blocks before the ants can reach all the orange tiles you will cause a traffic jam and lose the level. Keep a steady pace and send one orange block at a time.
Step 5: Reveal the hidden boxes to unlock the yellow citrus slice.
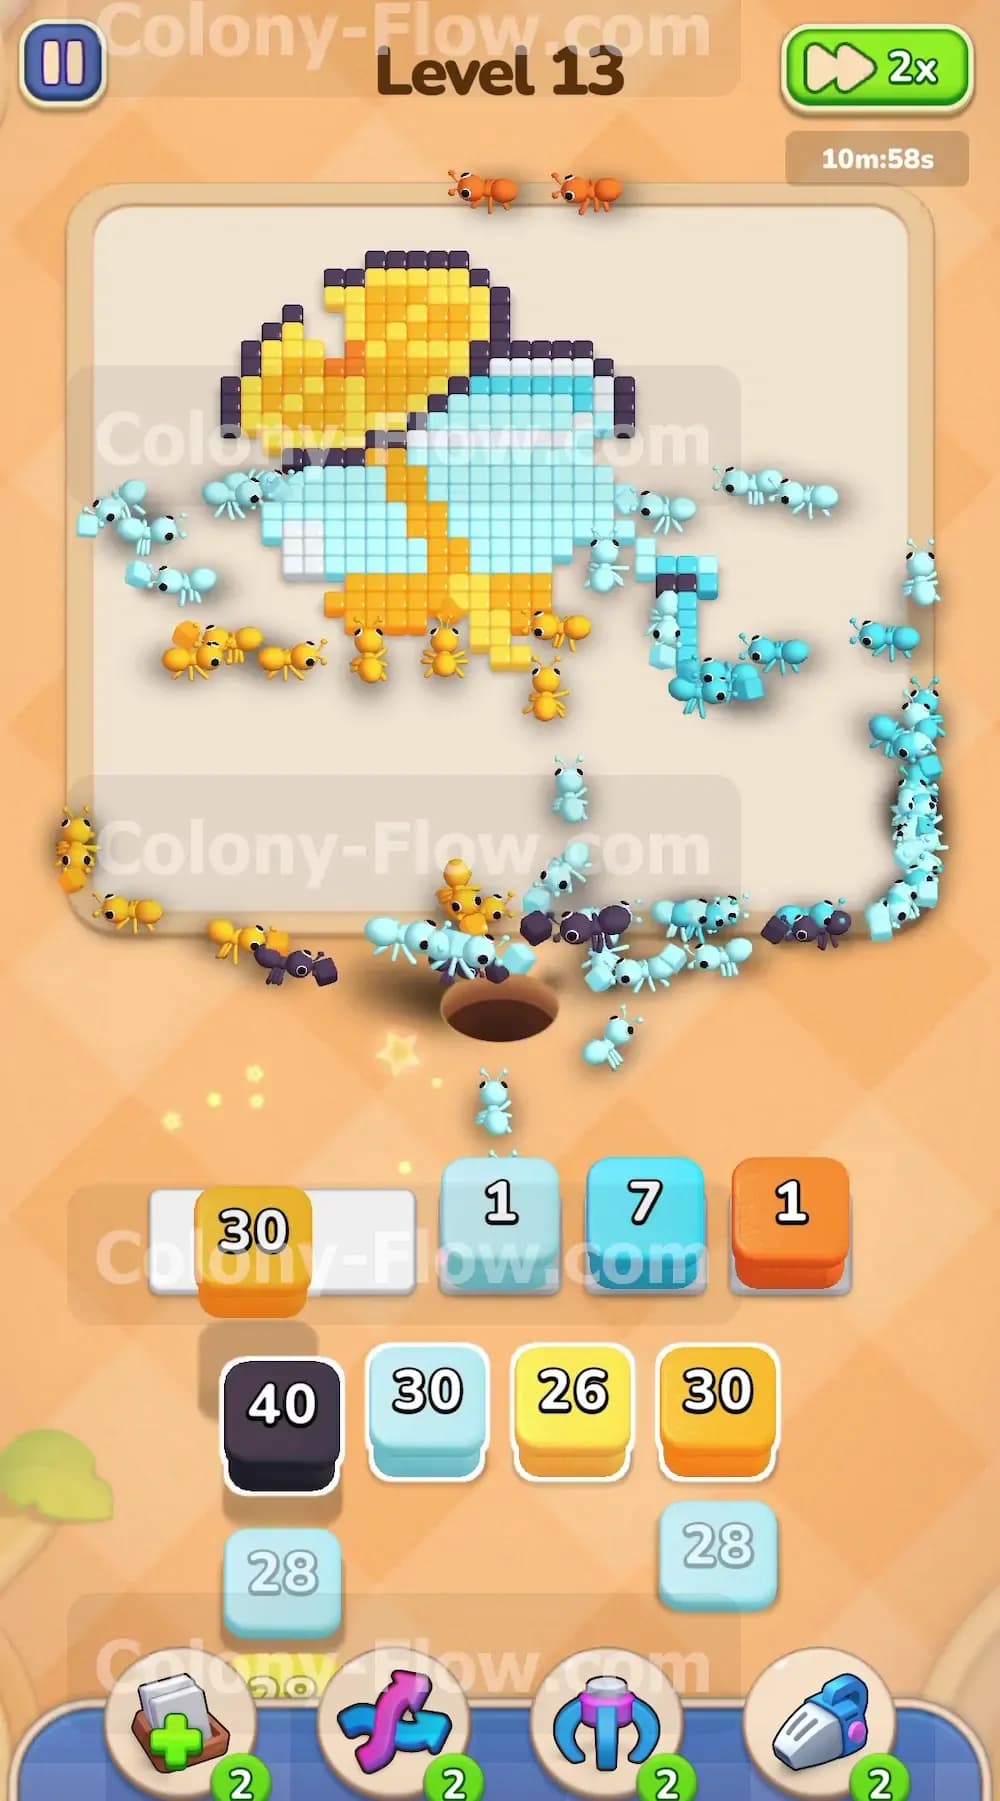
As you clear the initial blocks from your tray the hidden boxes will shift up and reveal their true colors. These hidden boxes originally had question marks on them. Once they reach an active position they turn into bright yellow blocks and additional light blue blocks. The yellow blocks belong to the citrus slice sitting at the very top of the pitcher. Wait until your ants clear enough of the light blue glass and the orange straw to open a direct path to the yellow slice. When the route is clear tap the yellow block with the number 24 into your waiting slot. The ants will climb right to the top of the board and start chewing through the yellow fruit. Unlocking these hidden boxes at the right moment keeps your options open and prevents dead ends.
Step 6: Deploy additional light blue blocks to clear the remaining pitcher body.
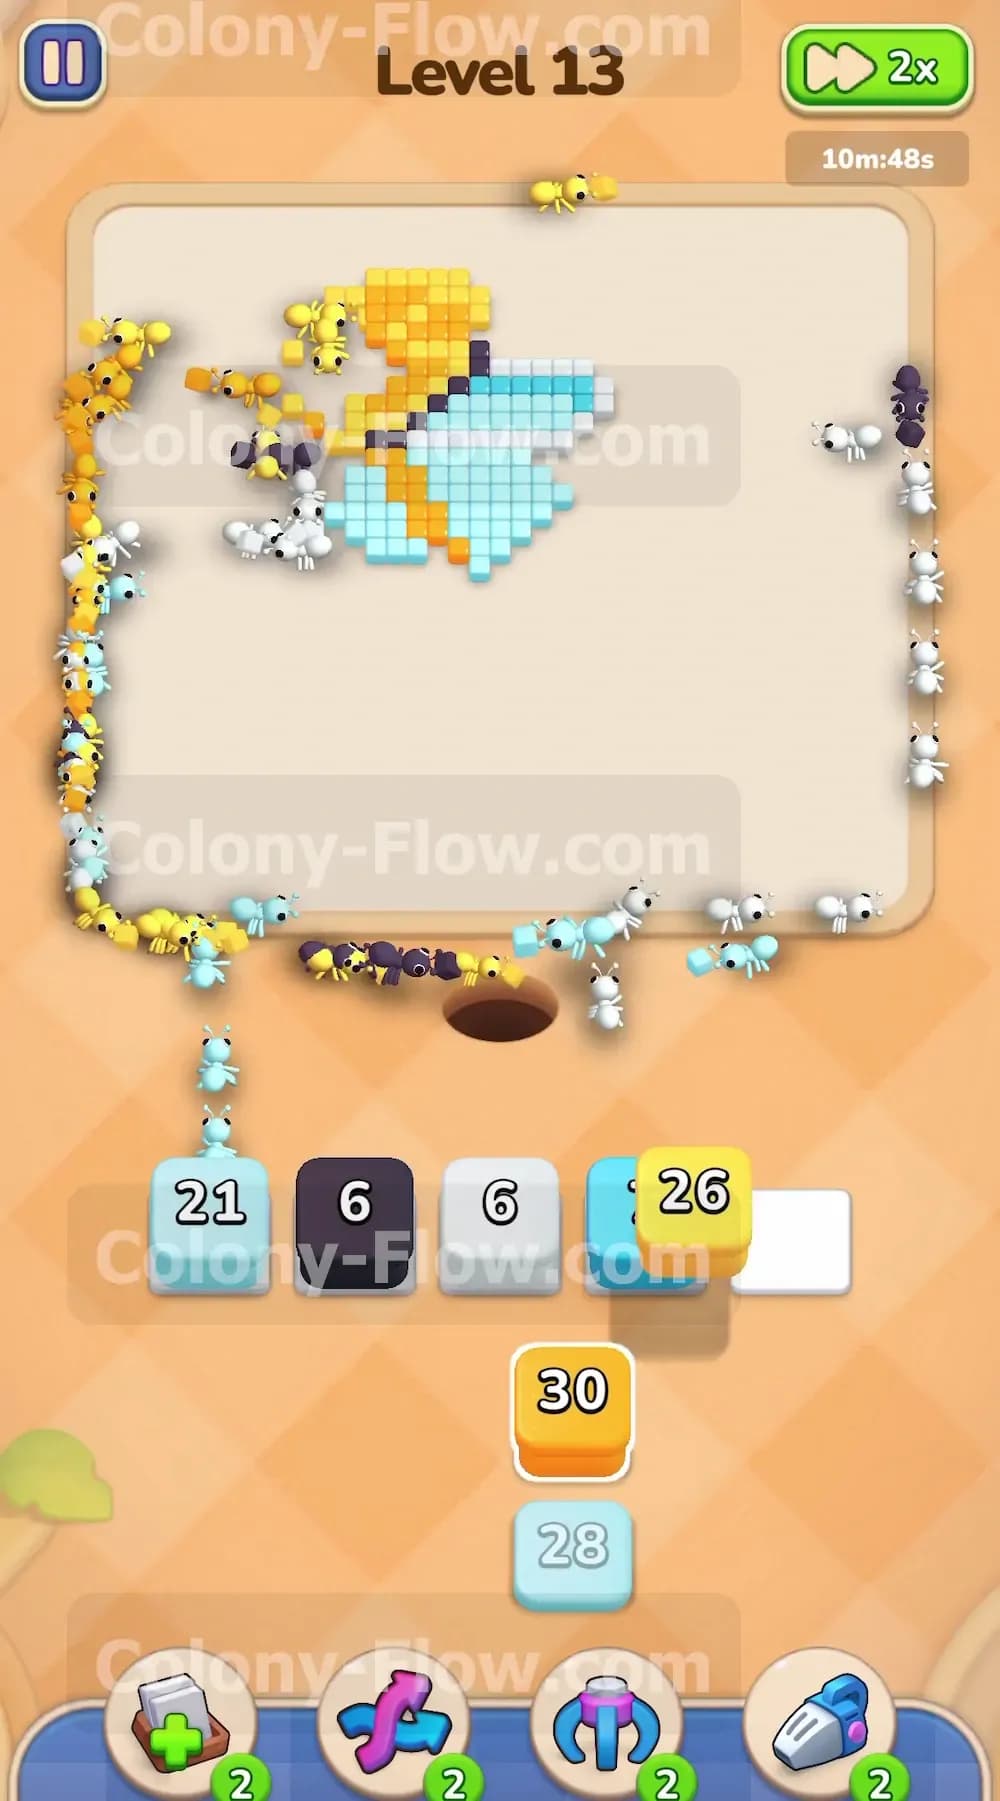
You still have a significant amount of light blue glass left on the board. Look at your newly revealed tray blocks and find the next light blue block. You will see a light blue block with the number 28 available. Tap it into your waiting area. The colony will swarm the remaining glass sections near the top of the pitcher and the right side handle. Removing these upper glass tiles fully exposes the rest of the orange straw and the edges of the yellow citrus slice. You must keep the ants working on the glass so you do not get stuck with light blue blocks blocking your tray. Every time a light blue block finishes you open up more maneuvering room for your final moves. Watch the ants clear the handle completely to isolate the final few pixels.
Step 7: Clear the white glass highlights to open the final sections.
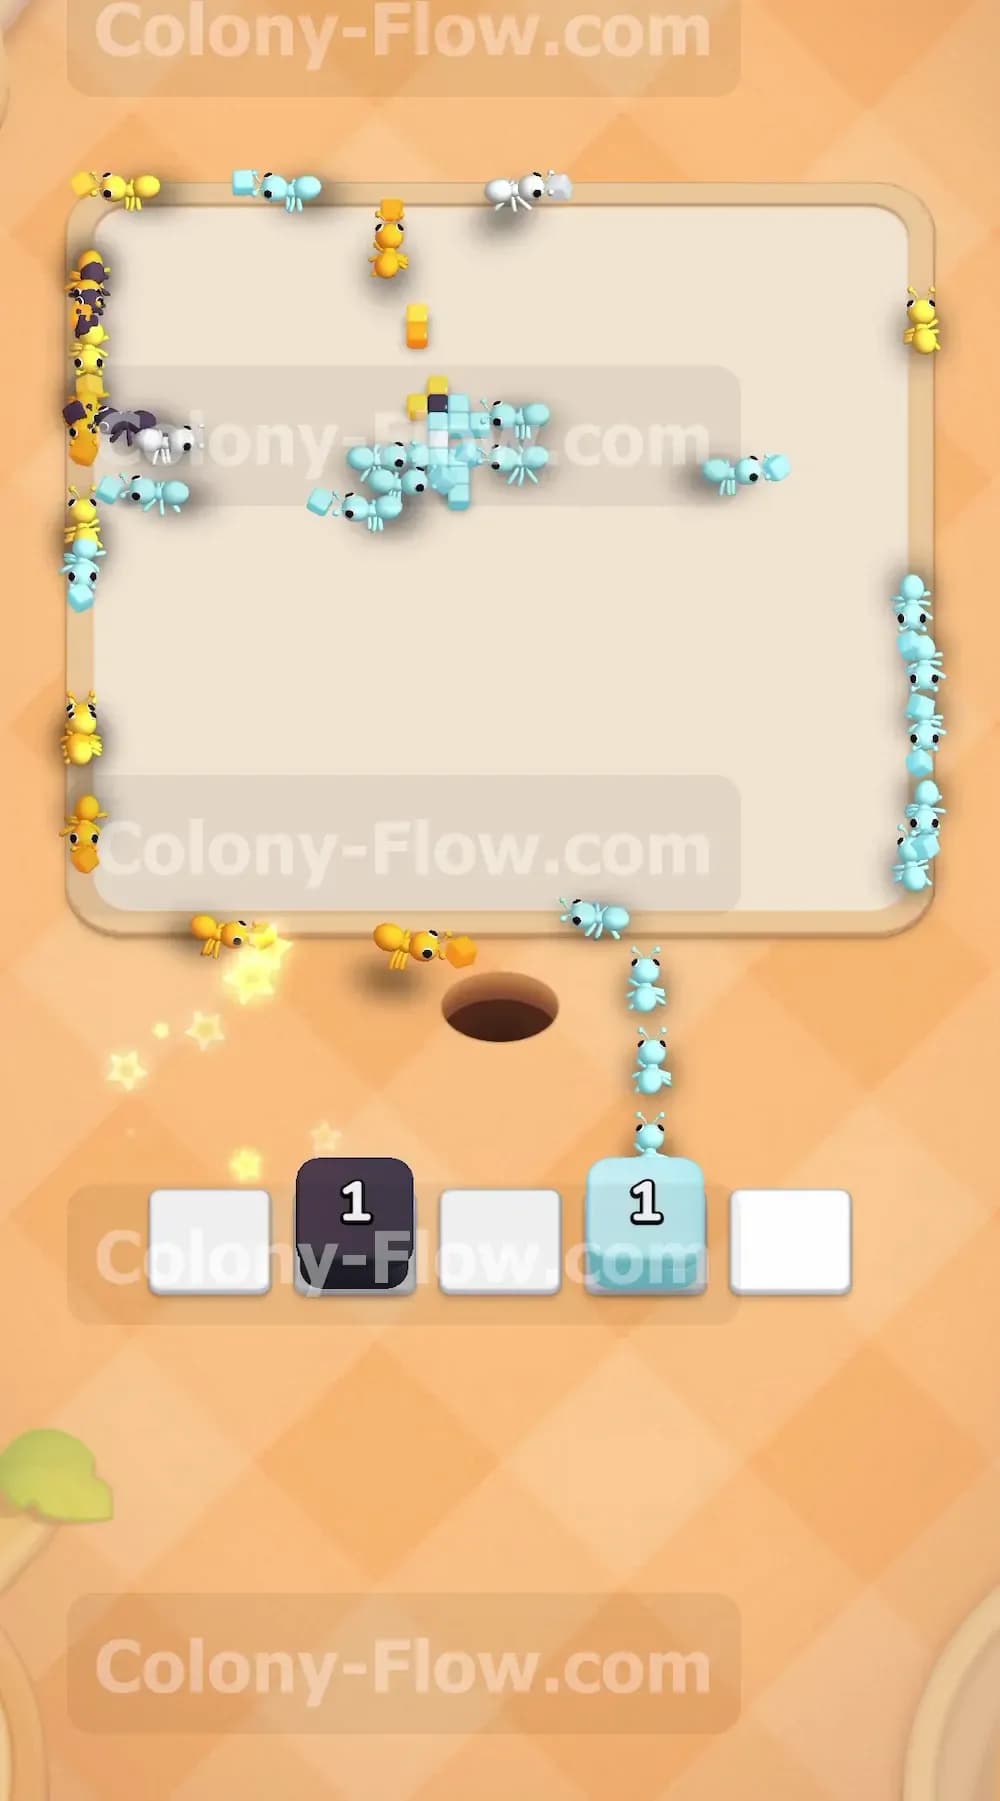
If you look closely at the left side of the pitcher you will notice a few white tiles. These white tiles act as shiny reflections on the glass. As you empty your tray a white block with the number 6 will appear from the hidden boxes. Do not ignore this block. Wait until the surrounding light blue glass is gone so the ants have a clear path to the white tiles. Tap the white block into a slot. A small group of ants will rush over and eat the six white reflection tiles. Clearing these highlights might seem like a small detail but those white tiles block access to the final pieces of the orange juice and the citrus slice. Removing them guarantees your ants can freely roam the entire left side of the board for the final cleanup phase.
Step 8: Finish the remaining tiles to completely clear the board.
You are now in the final stretch. The board is mostly empty with just a few stray yellow tiles from the slice and maybe a couple of dark blue outline tiles remaining. Your tray will have the exact blocks you need to finish the job. Tap the remaining yellow blocks and any leftover light blue or dark blue blocks into your slots. Because you left the board wide open the ants will quickly sprint to their targets. They will consume the last pieces of the yellow fruit and the final pixels of the pitcher handle. Watch your waiting slots empty out completely. The picture will vanish and you will secure the victory. You solved the puzzle by managing your paths and never letting the slots jam.
Overall Strategy to Clear Level 13 Board
- Break the dark blue perimeter immediately. The solid dark blue outline acts as a wall that keeps your ants out of the center. Sending the dark blue 40 block first creates multiple entry points for your ants to reach the inner glass and liquid tiles.
- Use the dark red base as your main entry door. Clearing the dark red 39 block at the very bottom opens the widest path into the orange juice. This prevents your multiple orange blocks from getting stuck in the waiting slots.
- Expose the hidden boxes by using the top tray row quickly. You need the yellow blocks for the citrus slice to finish the top area. Play your first light blue and dark red blocks fast to pull the hidden boxes up so they drop their question marks and reveal their true colors.
- Time your white block carefully. The white glass highlights on the left side only become accessible after you clear the light blue glass around them. Keep the white block in the tray until the path is wide open so it does not waste a valuable waiting slot.
Final Thought
I hope this walkthrough helps you conquer the pitcher puzzle without getting your tray jammed up. Managing those hidden boxes and pacing your orange blocks are the true keys to winning this stage. Take your time and always verify that your ants have an open lane before you tap a new color. I encourage you to watch the video above this article if any step is hard to follow in text.