Colony Flow Level 602 Walkthrough Solution & Guides | How to solve Colony Flow 602

Guide By Liam Stone
Updated on August 1, 2026
You'll find the complete Level 602 walkthrough in the video above if reading isn't what you're after.
Video doesn't match your screen?
Game updates frequently scramble layouts! Try our AI Screenshot Solver first to find your exact board instantly, or report broken guides to our team.
Welcome to Colony Flow Level 602. I am Liam Stone and I am ready to guide you through another incredible puzzle. I play every single level myself and figure out the exact sequence of moves needed to win. This level presents a fun challenge with a giant pixel art picture that looks like an open shark mouth. It has multiple dense layers and requires careful planning to strip them away in the correct order. You will encounter keys that lock up your tray and thick barriers that block your ants from reaching their targets. If you make a wrong move and fill your waiting slots with the wrong colors you will fail the level. Follow my precise steps below and you will conquer this board with ease.
Colony Flow Level 602 Overview
What You Are Working With
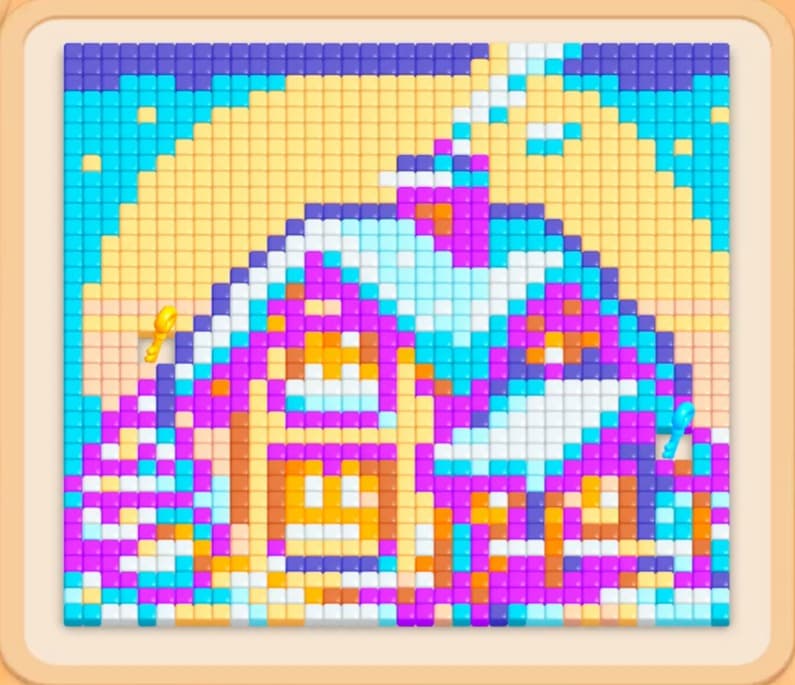
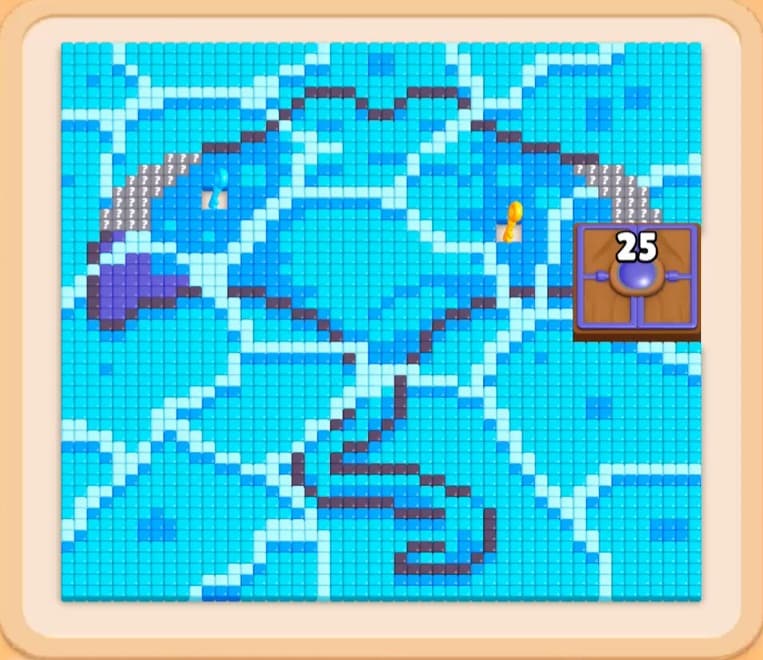
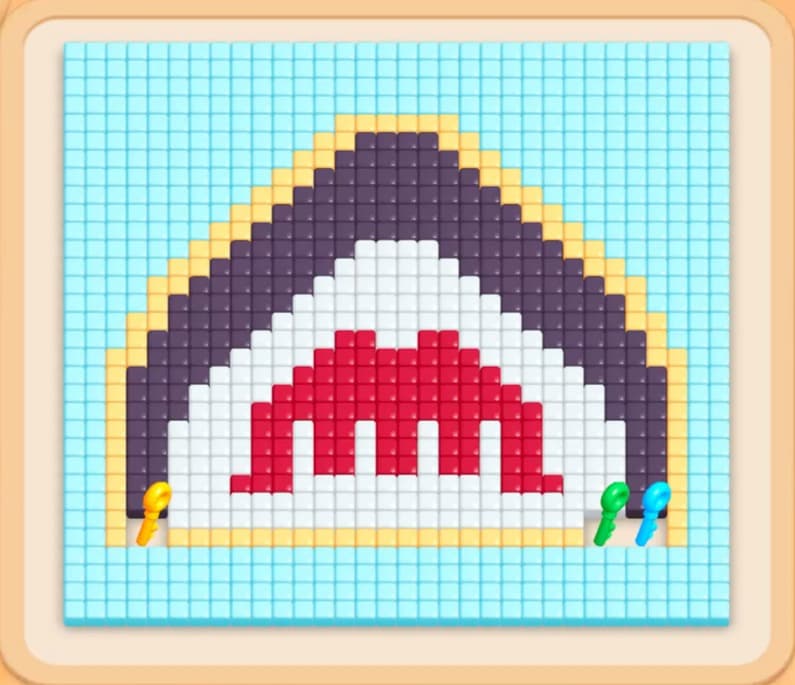
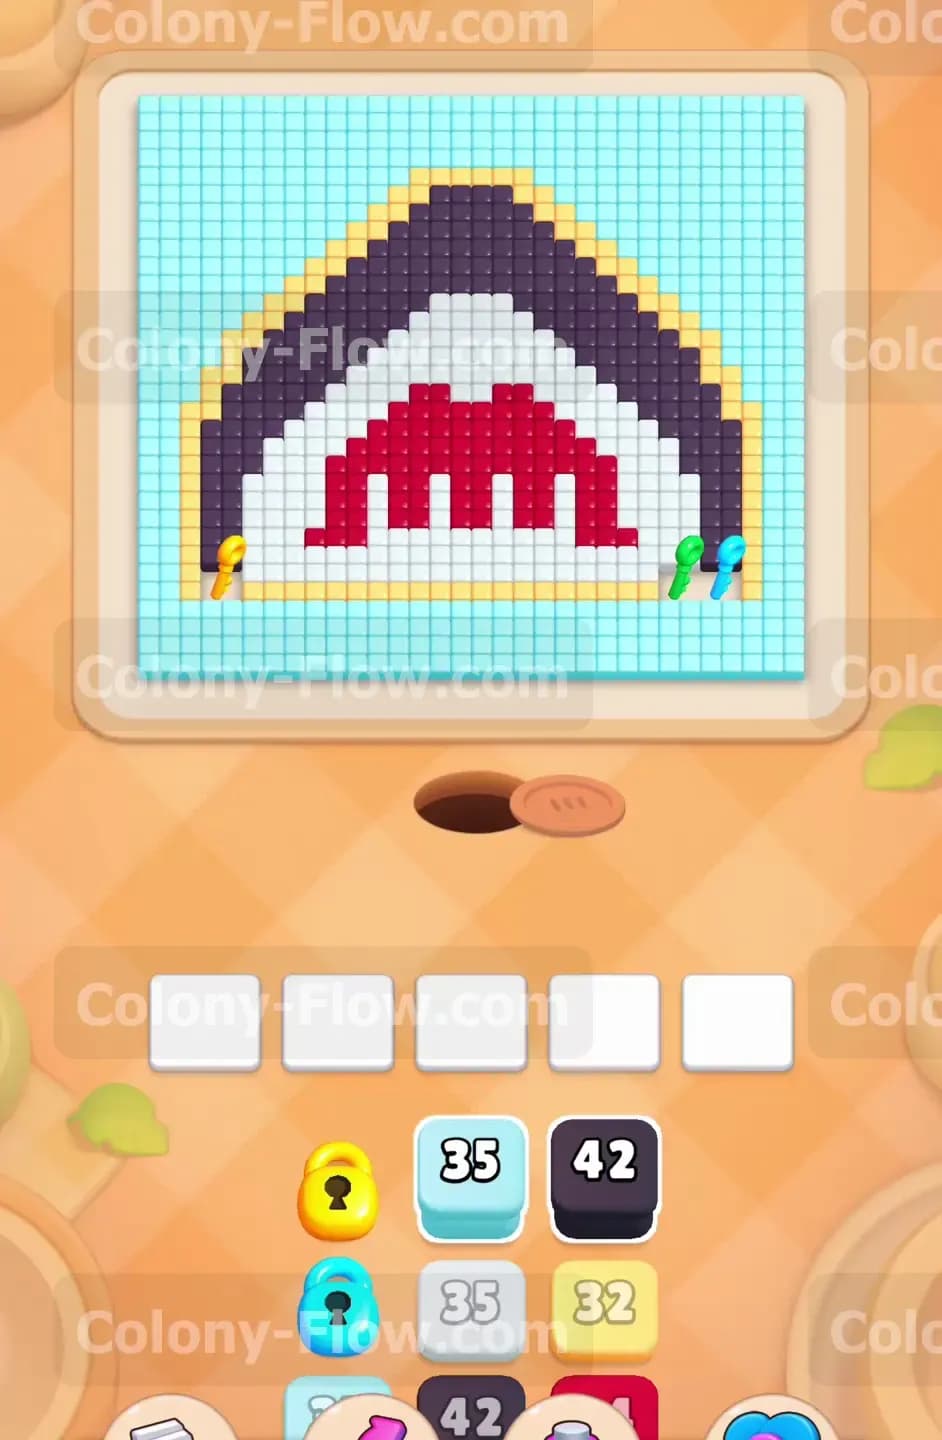
The board displays a large arch shaped like the open jaws of a shark. The very top of the board is a massive area filled with light blue background tiles. Directly below that background is a thick dark purple arch that forms the main structure. Wrapping around the outside of the dark purple arch is a bright yellow border. Inside the arch you will see jagged white teeth pointing downward. The very center of the mouth is completely filled with solid red tiles. Down at the very bottom edge of the board is a straight line of light blue tiles. Three special key items are sitting on top of this bottom line. You will see a yellow key resting on the left side. Over on the right side you will find a green key sitting right next to a light blue key. Your tray is full of blocks but many of them are trapped behind colorful locks. You cannot pull those blocks until you collect the matching keys from the board.
What It Takes to Clear Level 602 Board
Clearing this level requires a strict sequence of operations. You must start by focusing entirely on the bottom edge of the board to collect the three keys. Once the keys unlock the restricted blocks in your tray you can begin peeling back the layers of the shark mouth. You will clear the yellow border and the white teeth first to open up the center. Then you will send ants to devour the red core and break down the thick dark purple arch. The final challenge is sweeping the massive light blue background at the top of the screen. You lose the game if you fill your five waiting slots with blocks that cannot reach their matching tiles. This causes a complete dead end. My solution is designed to keep a path open at all times so your ants never stop moving and your slots never jam.
Colony Flow Level 602 Step by Step Solution
Step 1: Open the bottom row to collect the trapped keys.
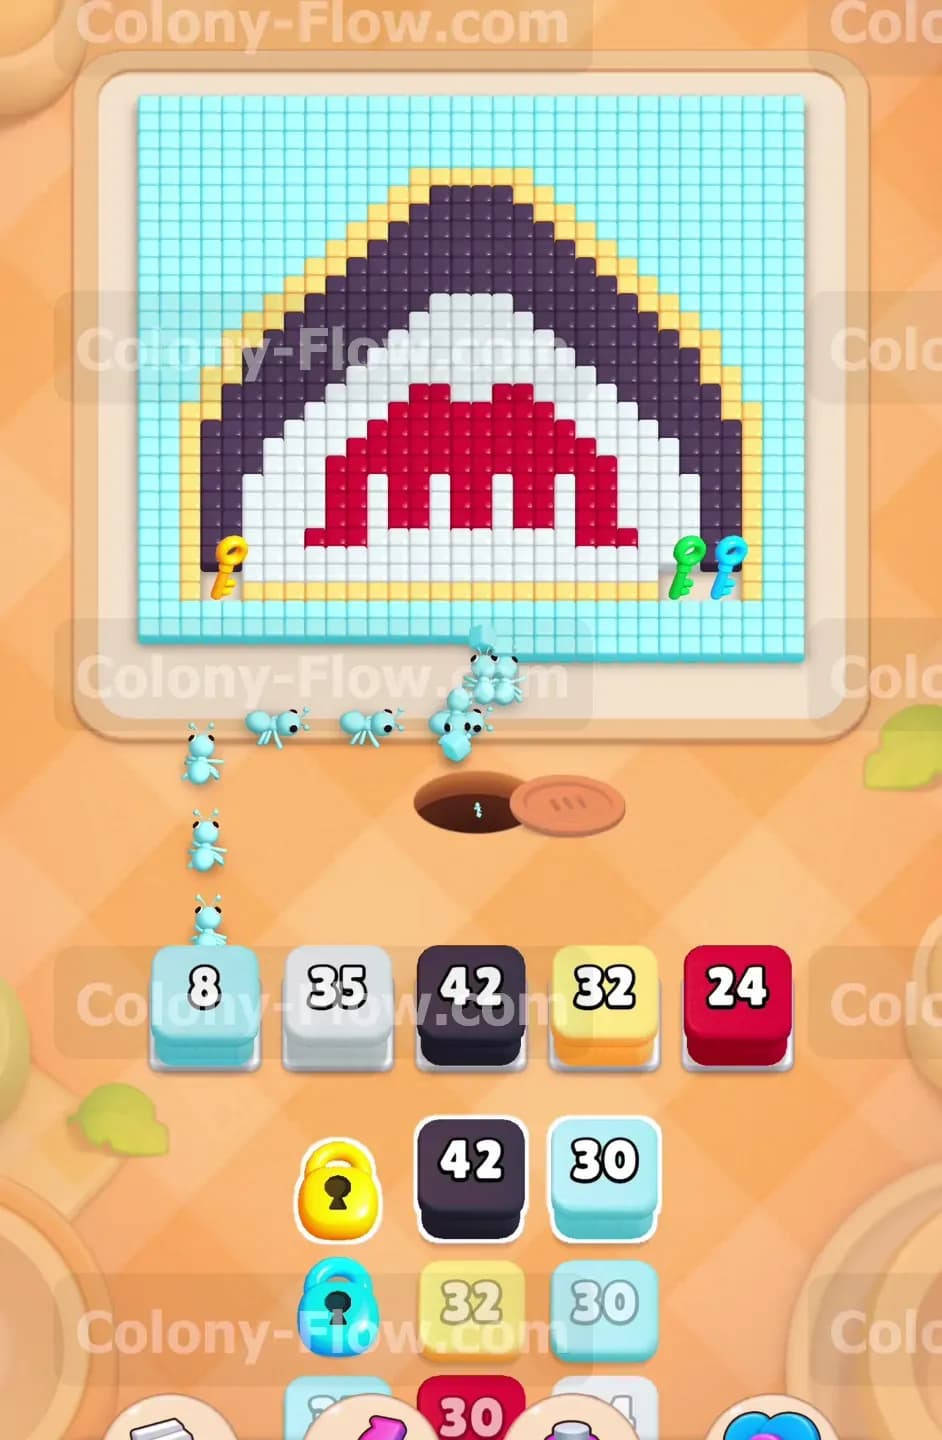
The very first thing you notice on this board is the flat line of light blue tiles running across the bottom edge. Three keys are sitting right on top of this bottom row. You have a yellow key on the far left side along with a green key and a light blue key sitting next to each other on the far right side. Take a look at your tray at the bottom of the screen. You will see several blocks trapped behind brightly colored locks. You cannot use those blocks until you collect the matching keys from the board. This dictates your opening move. You must clear that bottom row of light blue tiles to drop those keys into your collection. Pull a light blue block into your first waiting slot. The nest hole will open and a stream of light blue ants will march out. They will head straight for the bottom row and start eating the tiles from the center outward. The block will count down as the ants spawn and you will see the number drop down to an 8 as they clear the first chunk. As the tiles disappear the yellow green and light blue keys fall into your possession. The locks in your tray instantly shatter. You now have full access to the colors you need for the rest of the puzzle. Do not pull any other colors until those keys are secured to ensure your slots stay clear.
Step 2: Strip away the yellow outer border and white teeth.
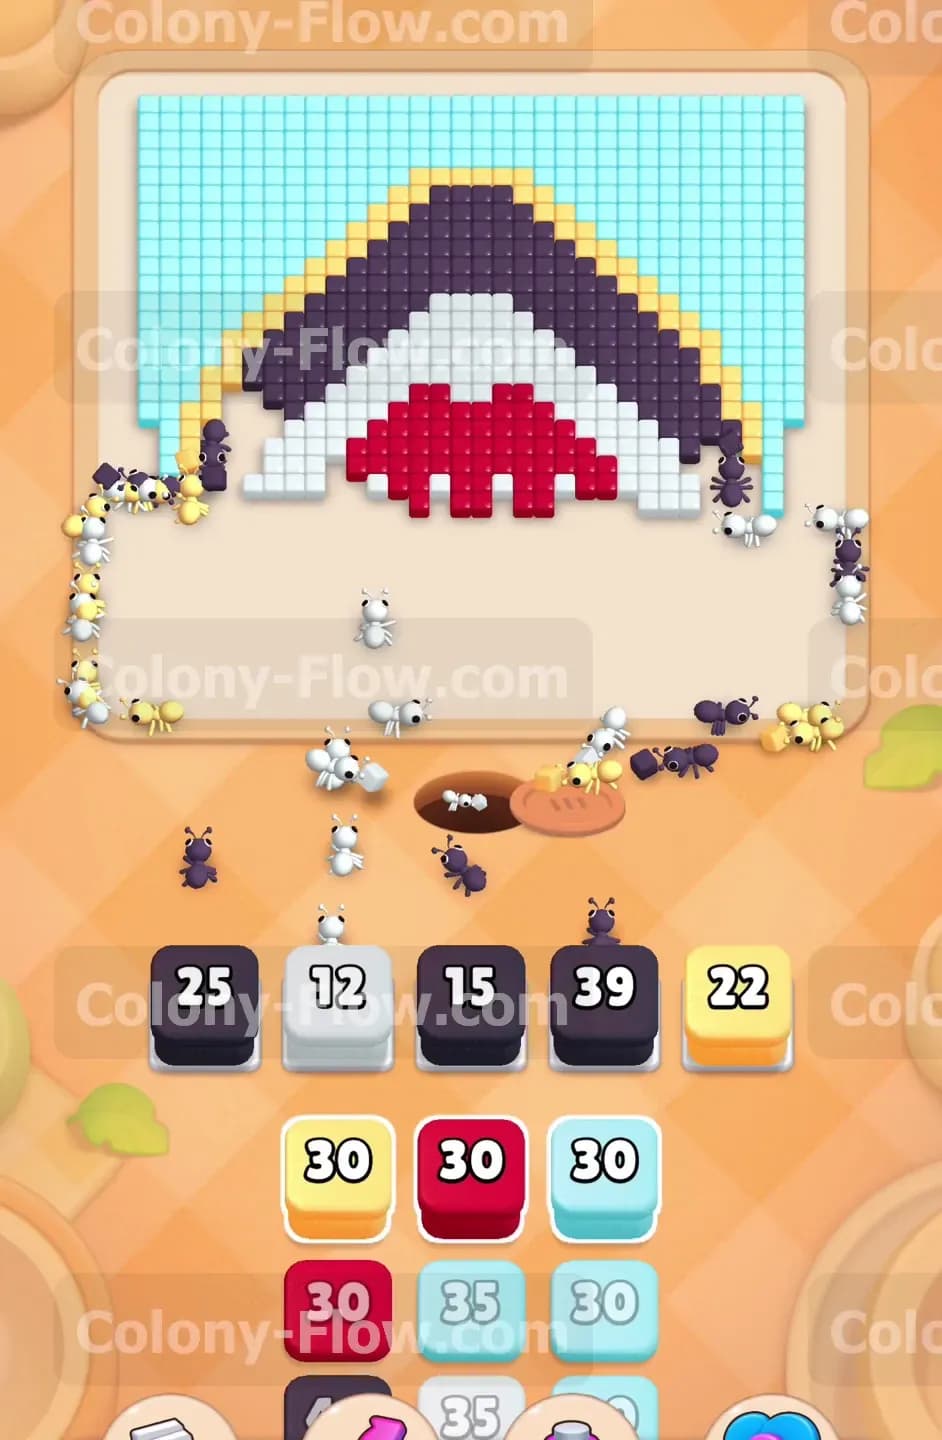
With the keys collected and the tray unlocked you can now focus on the main picture. The shark mouth is protected by a yellow outer border and a set of jagged white teeth on the inside. Your next goal is to open up the center of the mouth. Start by pulling a white block and a yellow block into your waiting slots. You will see a 35 on the white block and a 32 on the yellow block. The yellow ants will march out and split into two distinct groups. One group will climb the left side of the yellow outer border while the other group climbs the right side. At the same time the white ants will push forward and start chewing away at the bottom row of teeth. Watch those numbers count down as the ants hit the tiles. By the time the keys are fully collected your white block will drop to a 16 and your yellow block will drop down to a 7. This is a crucial phase for managing your slots. You have five available spaces and you need to keep the ants flowing without causing a traffic jam. If a white block runs out of numbers pull another one right away. The teeth are thick and require a lot of ants to clear completely.
Step 3: Devour the red center and attack the purple arch.
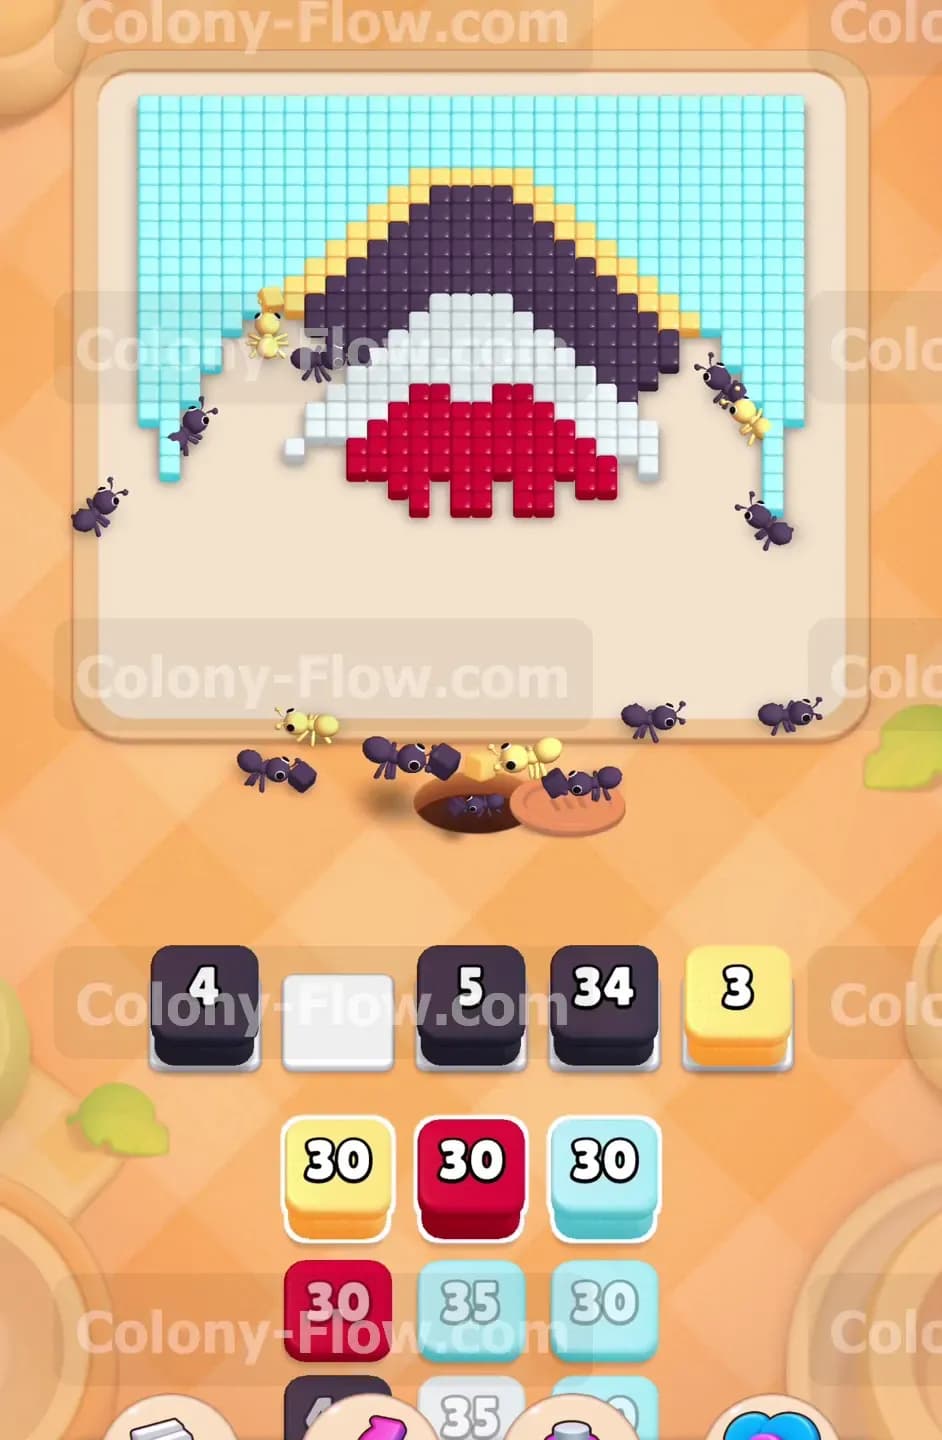
The continuous flow of white ants eventually clears away the bottom of the teeth. This is the turning point of the level because the solid red center of the mouth is finally exposed. Now is the time to bring red blocks into your waiting slots. Pull a 24 red block and watch as the red ants stream directly into the center area. The red section is a large solid chunk of tiles so the ants will eat it very quickly. They do not have to travel far or navigate around corners which means your red blocks will count down fast. Keep a close eye on the red blocks in your tray and pull a fresh 30 red block when you need more pressure. At the same time you must begin work on the dark purple arch. Bring a 42 dark purple block into your slots. The dark purple ants will swarm up the sides of the arch following the path cleared by the yellow ants earlier. Soon you will pull more blocks and see your dark purple numbers sitting at 25 and 15 and 39 across different slots. You are balancing two major operations right now. You are clearing the core of the picture with the red ants and you are eroding the heavy structural arch with the dark purple ants.
Step 4: Break down the top of the heavy dark purple arch.
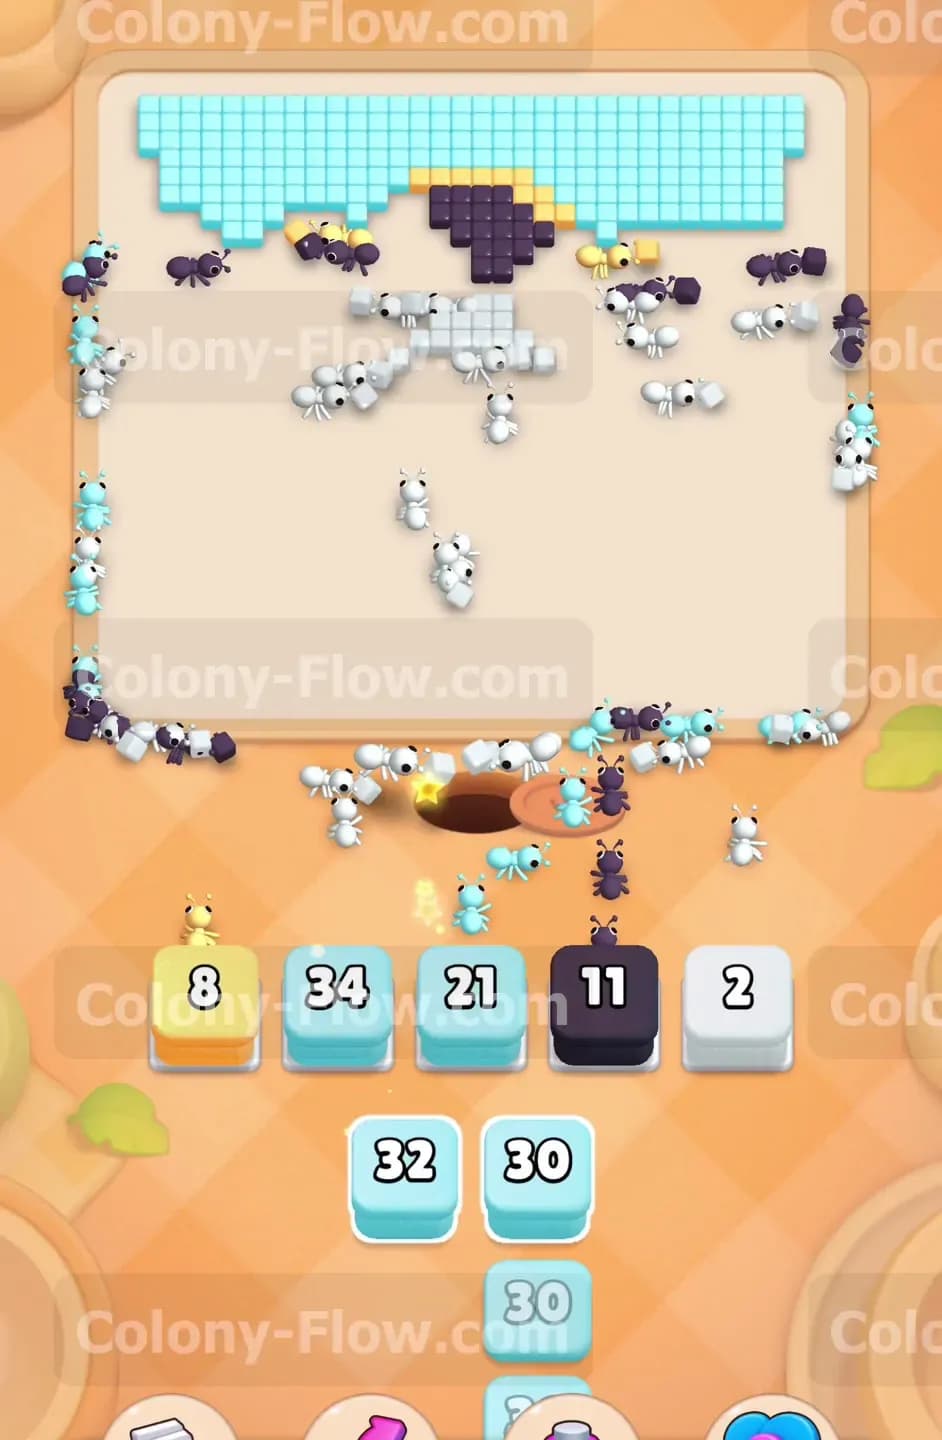
The red center vanishes completely leaving a large empty space in the middle of the board. The yellow outer border is also entirely gone. The only parts of the original picture remaining are the thick top section of the dark purple arch and the massive light blue background behind it. Your entire focus shifts to the dark purple tiles. Load up your waiting slots with dark purple blocks. The path is now a straight shot up the sides and into the top curve of the arch. The dark purple ants will surge upward and start tearing down this final barrier. This top section is very dense and holds a high number of tiles. You will see blocks with a 4 and a 5 in your slots as the heavy arch takes a massive toll on your resources. It is tempting to pull a light blue block right now because you can see the background tiles just waiting there. Resist that urge. The light blue tiles are still largely blocked by the purple arch. A few light blue ants will find a narrow path but they will not clear enough tiles to justify taking up a slot. A jammed slot now will slow down your dark purple progress and put you at risk of a dead end. Keep feeding the dark purple ants until the arch is broken into small fragments.
Step 5: Sweep the massive upper light blue background.
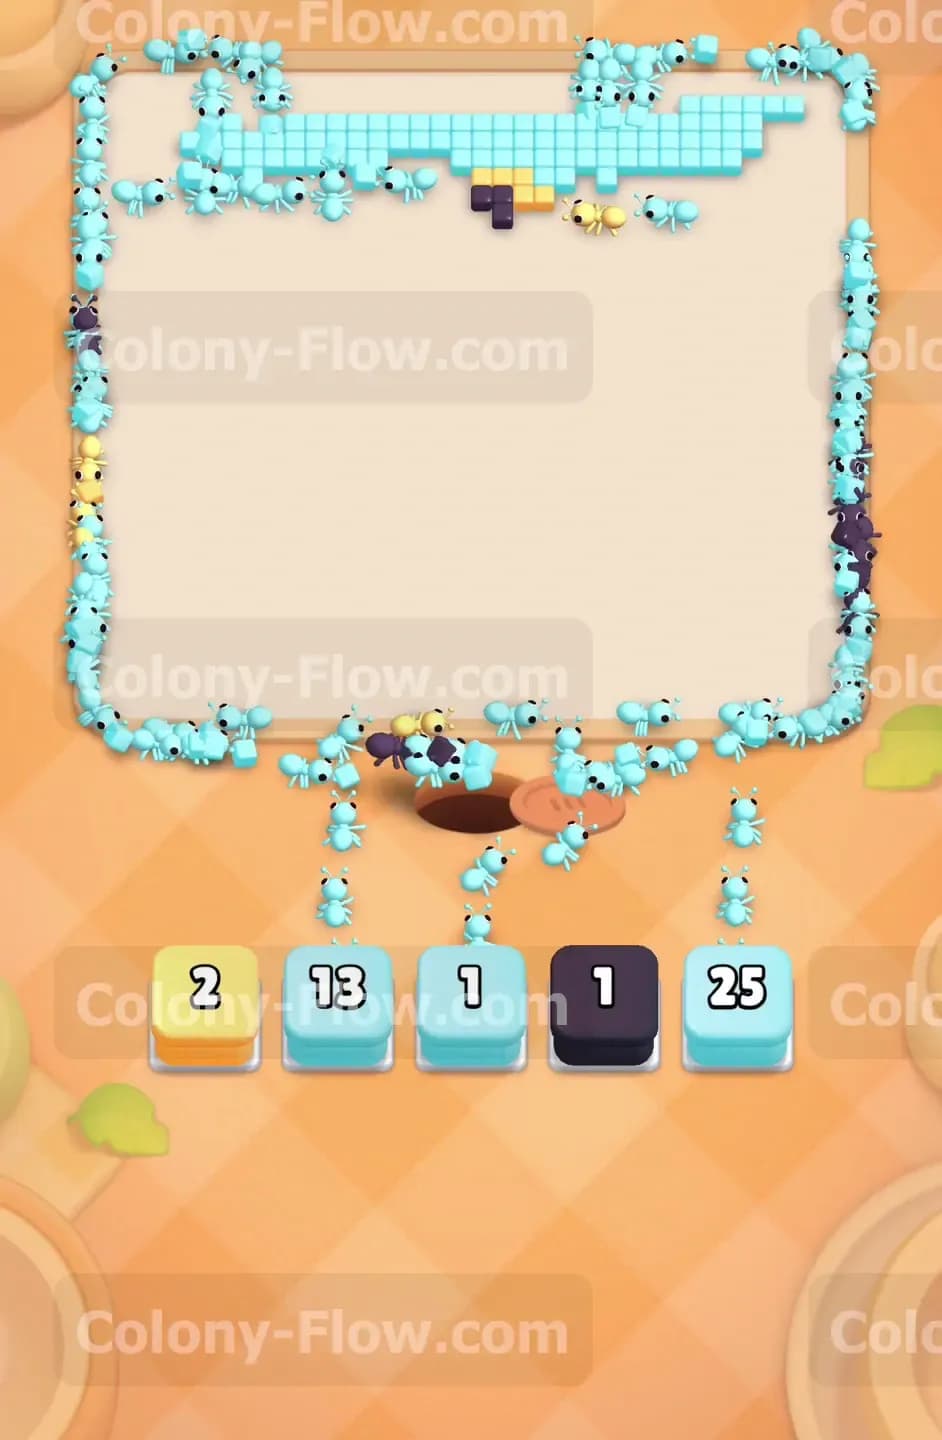
The dark purple arch cracks open and the top half of the board is completely exposed. This massive area is filled entirely with light blue tiles representing the background of the picture. This is the cleanup phase and it is incredibly satisfying. Look at your tray and pull every available light blue block into your empty slots. A massive wave of light blue ants will pour out of the nest hole and rush straight to the top of the board. You will see slots holding a 20 a 1 and a 5 as the light blue ants flood the board. Because the area is so wide open the ants will spread out evenly across the entire surface. They will eat the tiles from left to right devouring the background at a rapid pace. A stray dark purple tile sometimes lingers on the edge of the board. Keep one dark purple block active in a slot to let a few ants clean up the stragglers. Otherwise dedicate all your resources to the light blue blocks. The numbers on your light blue blocks will drop rapidly. Soon you will pull a fresh 25 light blue block and watch it count down to zero as the massive swarm finishes the job. Watch as the final light blue tiles disappear from the top corners of the board and secure your win.
Final Thought
Level 602 tests your patience and demands strict control over your tray. Unlocking the keys early prevents your board from locking up and balancing the red and dark purple ants guarantees a smooth path to the end. I highly recommend watching the video above this article if you want to see exactly how the ants navigate the shark teeth. Keep your slots open and you will clear this board without breaking a sweat.