Colony Flow Level 374 Walkthrough Solution & Guides | How to solve Colony Flow 374

Guide By Liam Stone
Updated on August 1, 2026
Some players learn faster by watching. The video above walks through Level 374 move by move.
Video doesn't match your screen?
Game updates frequently scramble layouts! Try our AI Screenshot Solver first to find your exact board instantly, or report broken guides to our team.
Welcome to Colony Flow Level 374. This puzzle presents a fun pixel art board of a gnome sitting down but the mechanics are quite challenging. You have to navigate around thick clusters of tiles while managing some heavy special elements. I play every level myself and figure out the safest routes so you do not have to guess. I will walk you through exactly how to keep your ants moving and prevent your tray from locking up.
Colony Flow Level 374 Overview
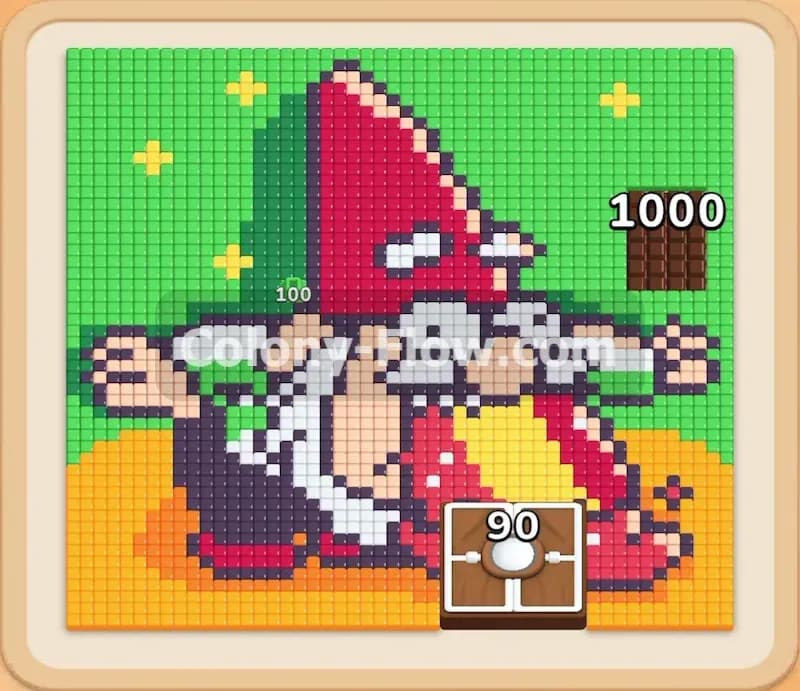
What You Are Working With
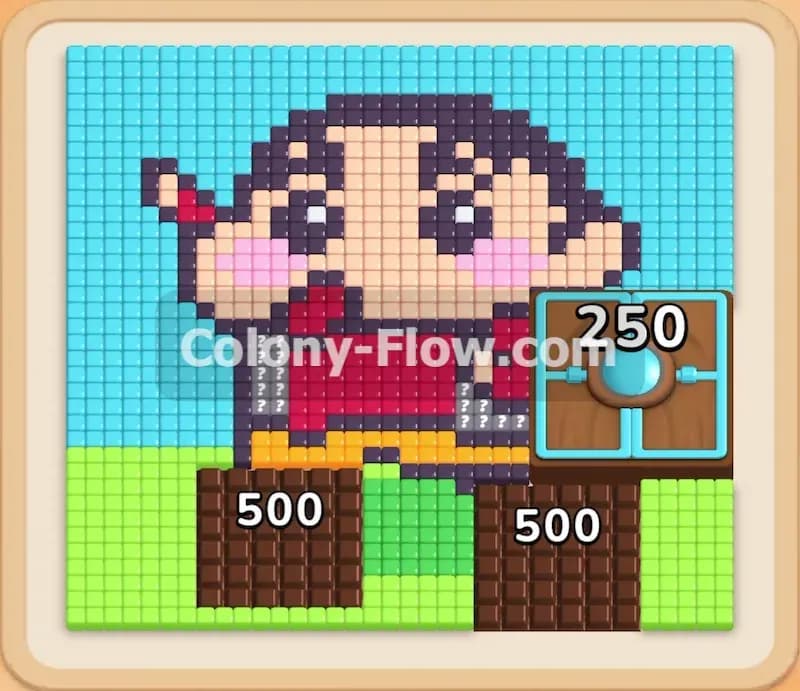
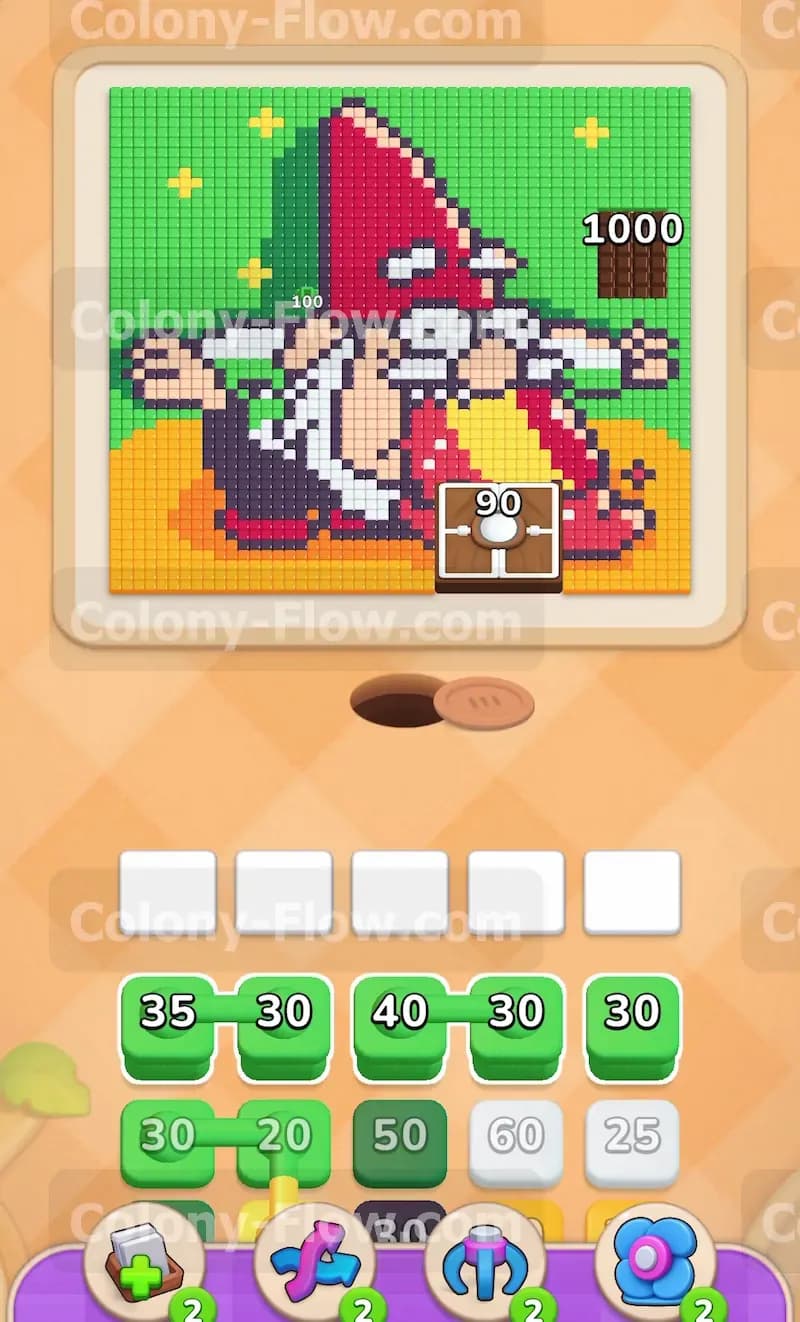
The pixel art on this board features a detailed gnome with a tall red hat and a thick white beard. He wears dark boots and yellow pants while sitting against a vibrant green sky filled with yellow stars. The board contains two major special tiles that will dictate your pace. In the top right corner you face a giant chocolate tile that starts with a massive requirement of one thousand points. At the bottom center of the board you have a hungry door that needs ninety points to open. Your tray holds a mix of single color blocks and several pairs of connected boxes. You will see light green linked with yellow and dark green linked with red. These connected boxes require extra planning because they eat up two slots at once.
What It Takes to Clear Level 374 Board
To win this level you must clear every single colored tile from the board and defeat the special tiles. You achieve this by matching the colored blocks in your tray to the food tiles on the board. The ants will carry the numbers from your blocks to the board and eat the matching colors. Your biggest threat is the waiting area at the bottom of the screen. You only have five slots for your blocks. If you pull blocks and the ants cannot find an open path to their target colors those blocks will sit in the slots. If all five slots fill up with stuck blocks you instantly lose the level. You must carefully peel away the outer layers of the puzzle to open paths toward the center. You also need to constantly chip away at the tiles surrounding the chocolate to wear it down.
Colony Flow Level 374 Step by Step Solution
Step 1: Clear the outer edges to create early pathways
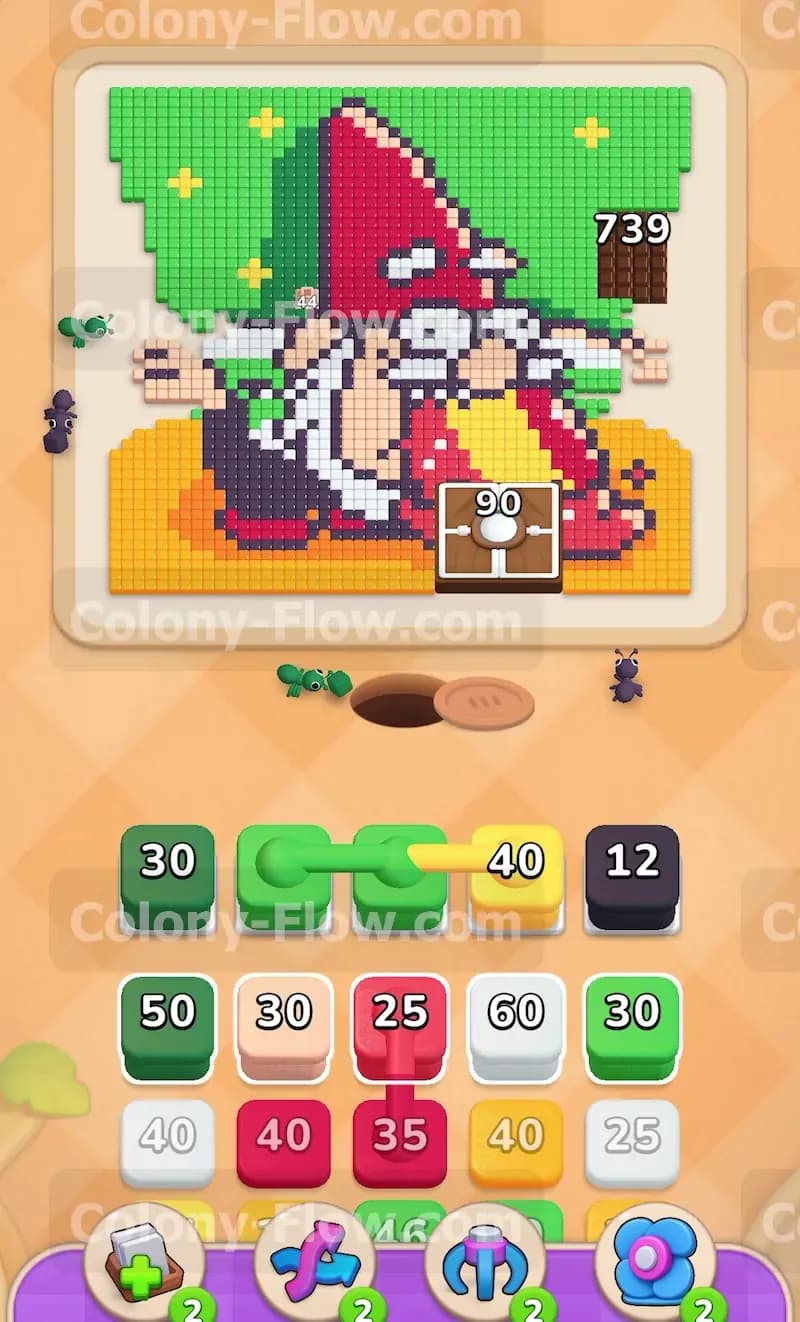
When you first start the puzzle you need to get the ants moving immediately to prevent the slots from clogging up. You pull the dark green block holding thirty points into your waiting area. The dark green ants stream out of the nest hole and head straight for the green background tiles at the upper edge. You also bring up the black block holding twelve points to target the black shoes on the bottom of the gnome. By starting with these outer edge colors you create wide open paths along the perimeter of the board. This strategy gives your next waves of ants plenty of room to travel without bumping into dead ends. Keep a close eye on your five slots. You never want to fill them all without an active moving path because that instantly ends your run.
Step 2: Deploy the linked blocks for the background and clothing
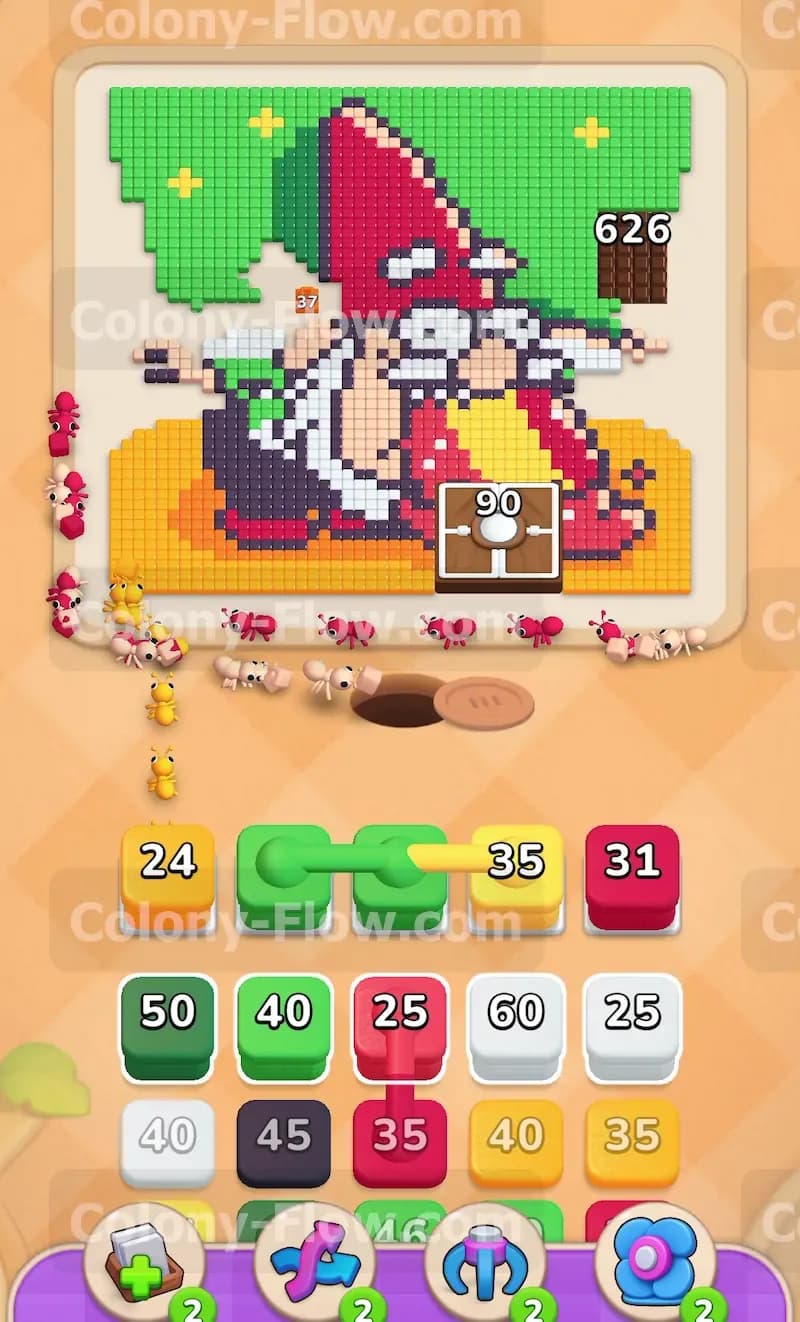
Your tray reveals connected boxes linking a light green block and a yellow block. You must pull these together into your waiting area so they occupy two of your precious five slots. The yellow block sends ants to the yellow stars in the sky and the yellow trim on the clothing. The light green block sends ants to finish off the brighter green sections of the background. Because connected boxes take up extra space in your waiting area you have to time this move perfectly. Only pull them up when you know both colors have a completely open path to their matching tiles. This ensures both numbers count down quickly and leave your waiting area before any slot jams occur. The ants clear out huge chunks of the sky and open up the top of the board.
Step 3: Attack the red hat and reduce the hungry door
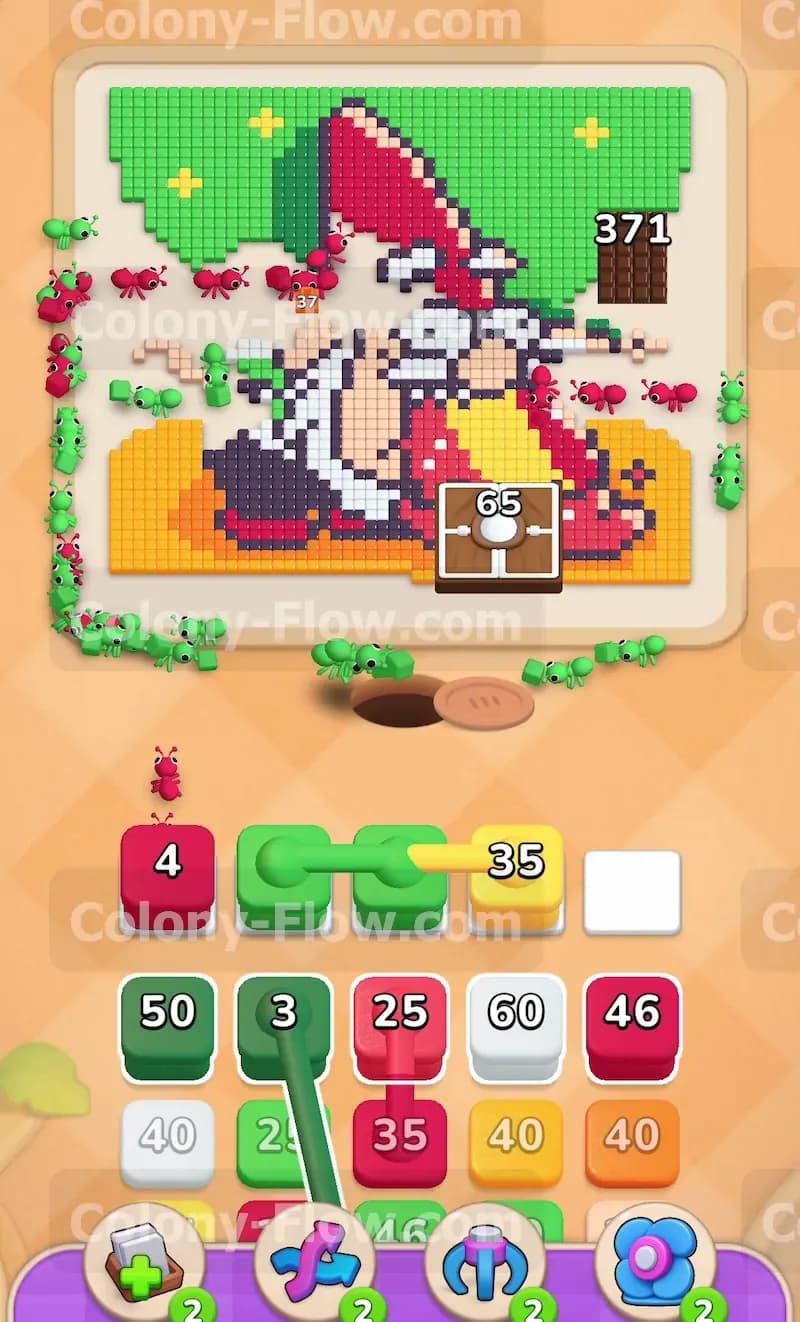
With the top edges opening up you can focus on the giant red hat dominating the upper half of the board. You select the red block holding thirty one points. The red ants rush out and begin dismantling the thickest part of the red hat. You also notice the hungry door sitting directly at the bottom center of the board with its massive requirement of ninety points. You need to start feeding ants to the areas around that hungry door right away. Bringing up blocks that target the lower half clears the way so ants can eventually reach the door mechanism. Always make sure you leave at least one slot empty while the red ants chew through the hat tiles. The red ants have a long way to walk so they will occupy that slot for a while.
Step 4: Use the second set of connected boxes
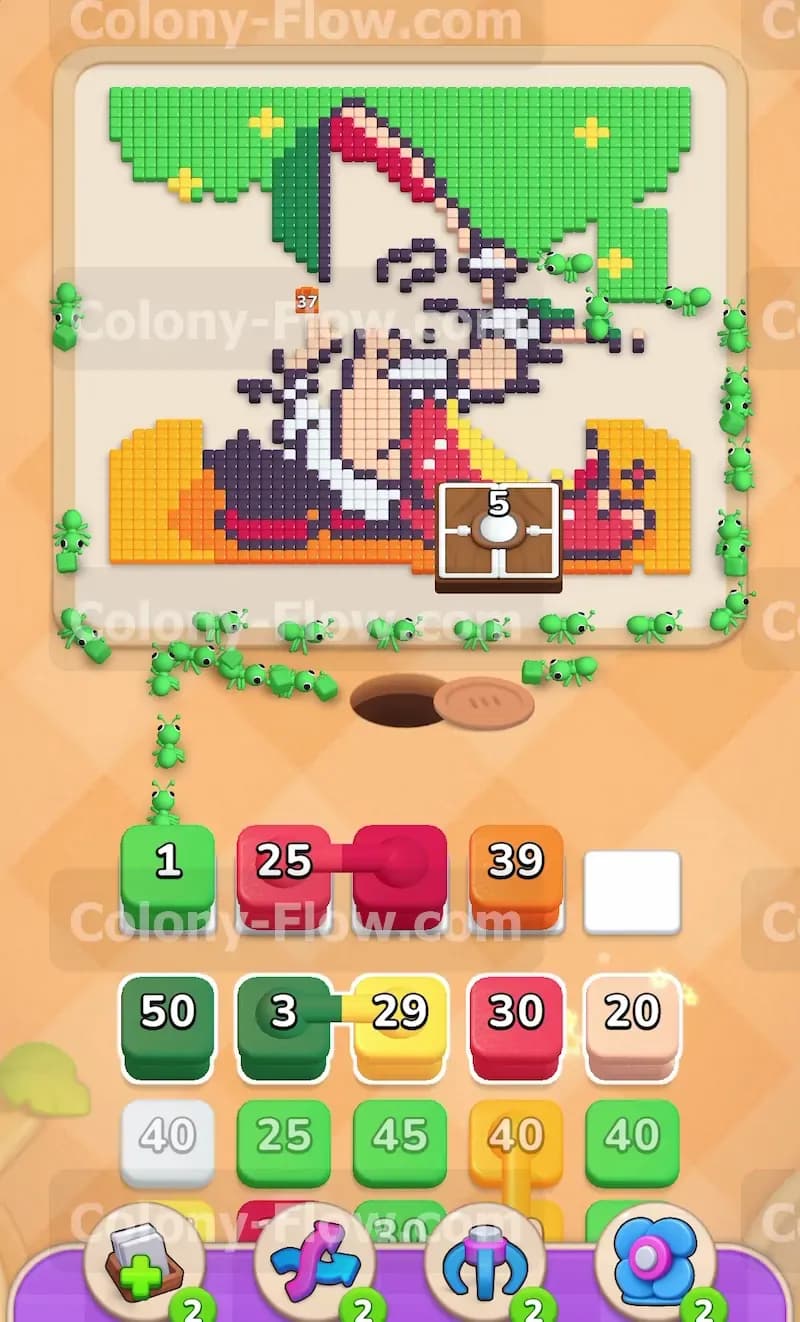
Another pair of connected boxes appears in your tray linking dark green and red blocks. You pull this pair into your slots. The dark green block holds three points and quickly finishes off the last few dark green pixels near the hat. The red block holds twenty five points and sends a massive swarm to eat away the middle section of the red hat. Managing these connected boxes is tricky when your board is crowded with different colors. You must verify the red path is completely clear before you commit. The ants will take a long time to chew through twenty five red tiles. If you pull unrelated blocks too soon your waiting slots will hit maximum capacity and you will lose the round. Just let the red ants do their work and wait patiently.
Step 5: Clear the face and manage the waiting slots
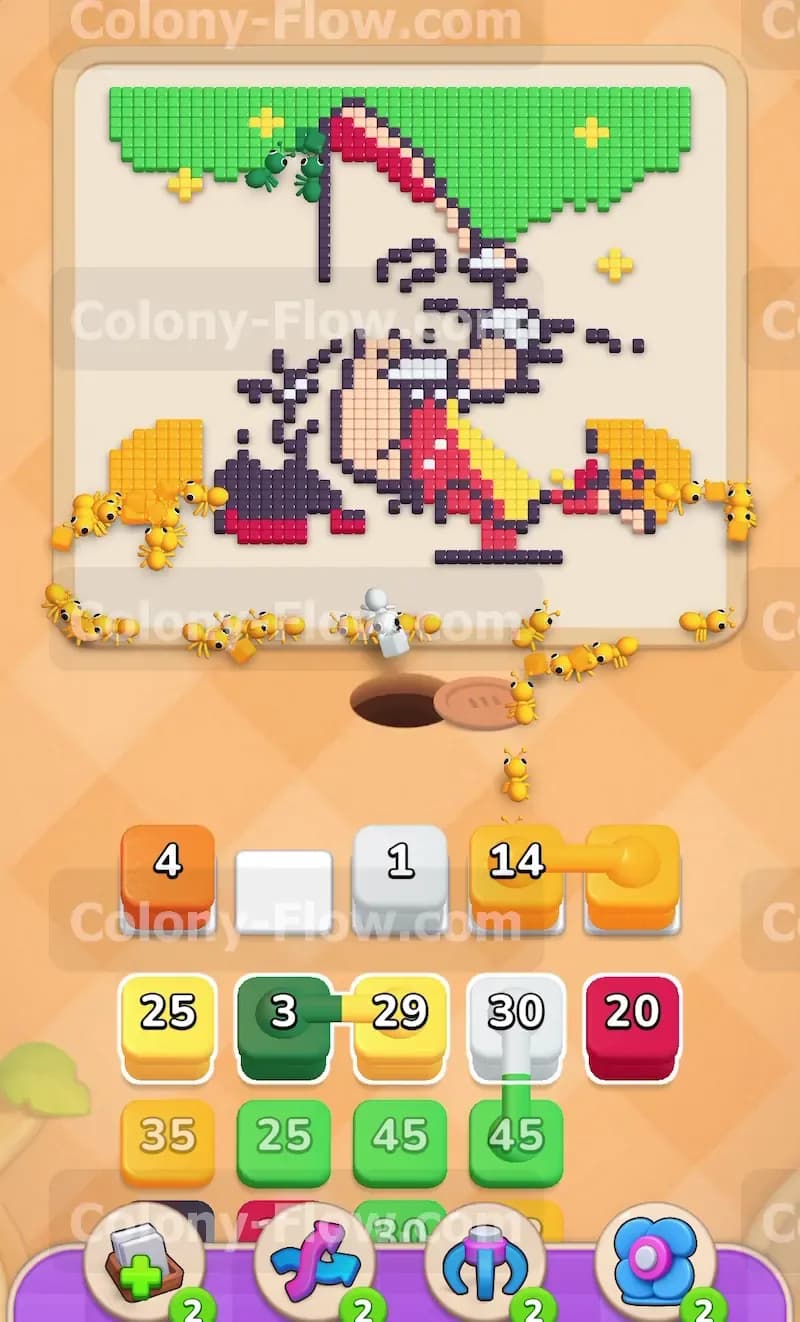
Now you turn your attention to the face and the thick white beard of the gnome figure. You bring up the white block holding sixty points. This is a massive number so these white ants will be working for a very long time. You also pull a beige block to handle the skin tones on the face and hands. The white ants stream across the middle of the board and slowly eat away the beard tiles. Because the white block sits in your waiting area for so long you have to be extremely careful with your remaining slots. Do not pull any random colors hoping for the best. Only pick colors that can immediately reach their targets so they flow through the open slots quickly. The beard slowly vanishes and exposes the center of the board.
Step 6: Feed the hungry door until it opens
The hungry door at the bottom is finally losing its defense. You pull an orange block holding thirty nine points and another red block holding twenty five points. The orange ants swarm the gnome pants and the remaining orange ground sections near the bottom. This heavy traffic near the bottom edge constantly feeds the hungry door. You watch the requirement drop rapidly down to five. The red ants continue working on the lower part of the hat and the red shirt. The paths are very long now since the ants have to walk across empty space to reach their food. You must wait patiently and let the paths clear so your waiting area stays safe. The hungry door pops open and gives you full access to the bottom edge.
Step 7: Deal with the massive chocolate tile
Throughout this entire process you also have a chocolate tile sitting in the top right corner. It started with a staggering one thousand points. The chocolate tile slowly breaks down as you clear the colorful tiles around it and send ants into its adjacent spaces. You do not need a specific color for it but you do need to keep activity high in that top right corner. You pull a green block holding one point to clear a single tile near the chocolate. Then you pull a yellow block holding fourteen points to clean up the last few yellow stars. Every time you clear tiles near the chocolate it weakens. Keep feeding the board steadily with matching colors to ensure the chocolate eventually shatters entirely.
Step 8: Clean up the final outline blocks
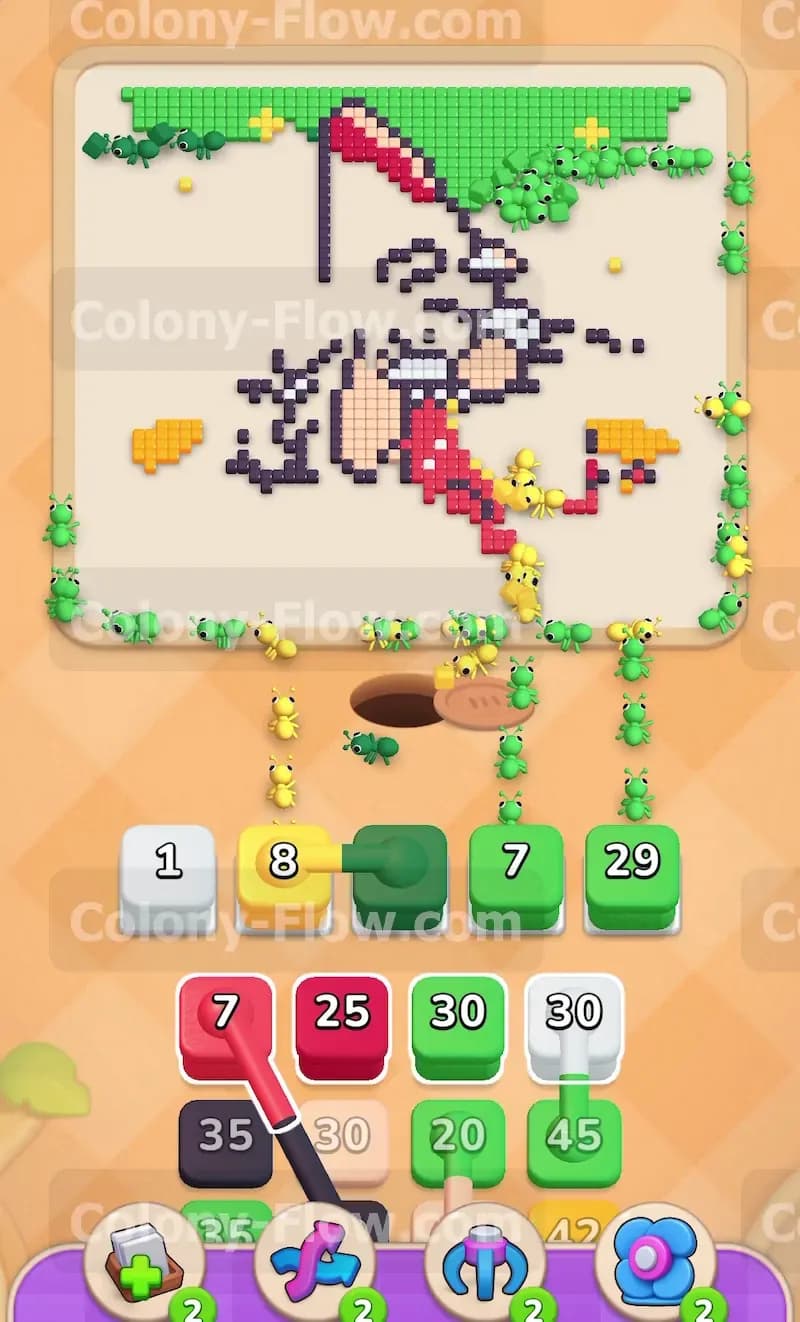
The board is looking very bare now with only the dark outline of the gnome remaining. You pull a white block holding one point and a dark green block holding seven points. These small blocks clear out the final stray background pixels inside the outline. Your hungry door is completely open and the chocolate is entirely gone. You must focus completely on the dark grey and black tiles that make up the drawing lines. You bring up a connected pair linking a red block with seven points and a black block with thirty five points. The ants trace the empty spaces and consume the remaining red clothing and the black outline tiles. You have plenty of room in your waiting area now so you can afford to pull blocks slightly faster. The ants run freely across the open board without hitting any blockages.
Step 9: Feed the last ants to finish the board
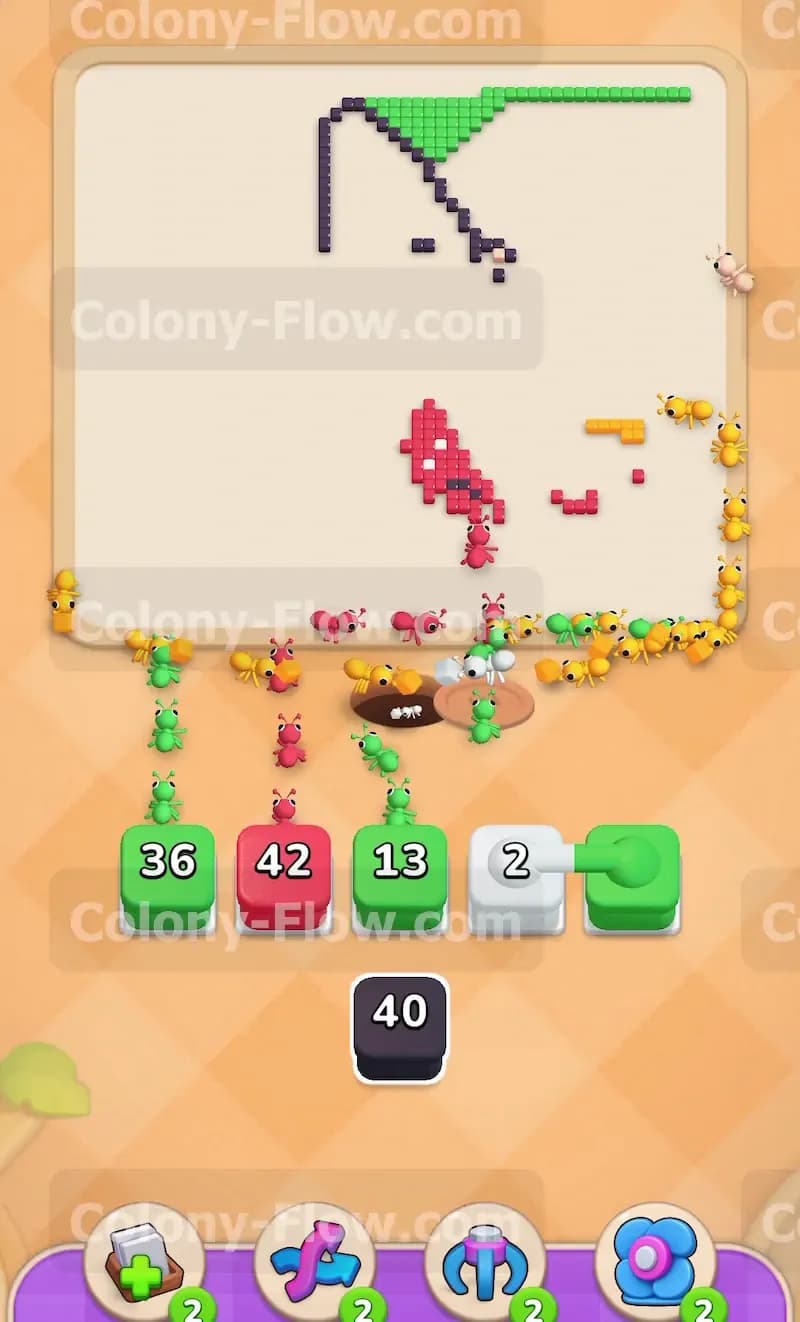
You reach the very end of the puzzle where only a tiny fragment of the outline survives. You pull the final black block holding forty points from the very bottom of your tray. The black ants march out of the hole and travel across the completely empty board to reach the top. They eat the last few black pixels representing the tip of the hat and the fishing rod line. You keep your hands off the tray and just watch them finish the job. You made sure never to fill all five slots at the wrong time and your patience paid off. The board flashes empty and the ants return to their nest. You successfully beat the puzzle by keeping your pathways clear.
Final Thought
Clearing this board requires a lot of patience with the large numbers and the connected boxes. You always have to prioritize keeping at least one slot open so the ants can continue moving without causing a jam. If any specific move or pathing trick feels confusing in text I highly encourage you to watch the video above this article. Seeing the ants trace the paths in real time makes it much easier to understand the timing for those tricky linked blocks.