Colony Flow Level 418 Walkthrough Solution & Guides | How to solve Colony Flow 418

Guide By Liam Stone
Updated on July 29, 2026
The article below goes step by step through Level 418, but the video above shows the same thing faster.
Video doesn't match your screen?
Game updates frequently scramble layouts! Try our AI Screenshot Solver first to find your exact board instantly, or report broken guides to our team.
Colony Flow Level 418 throws a massive roadblock at you right from the start. You face a giant chocolate block blocking the main entrance where the colony emerges. You have to weave your ants around the edges to make any progress. I played this level a few times and learned that patience is your best tool here. Forcing moves too early will definitely trap you.
Colony Flow Level 418 Overview
What You Are Working With
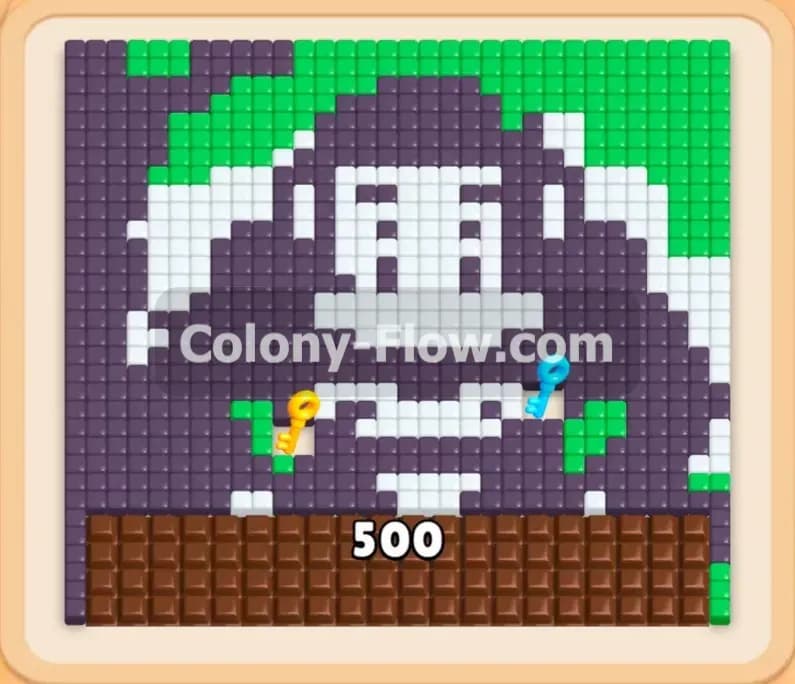
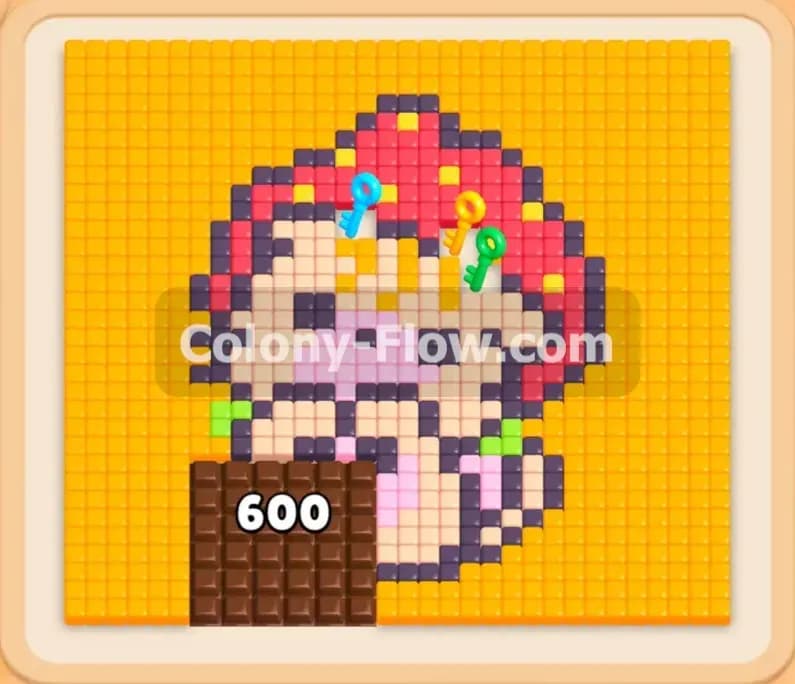
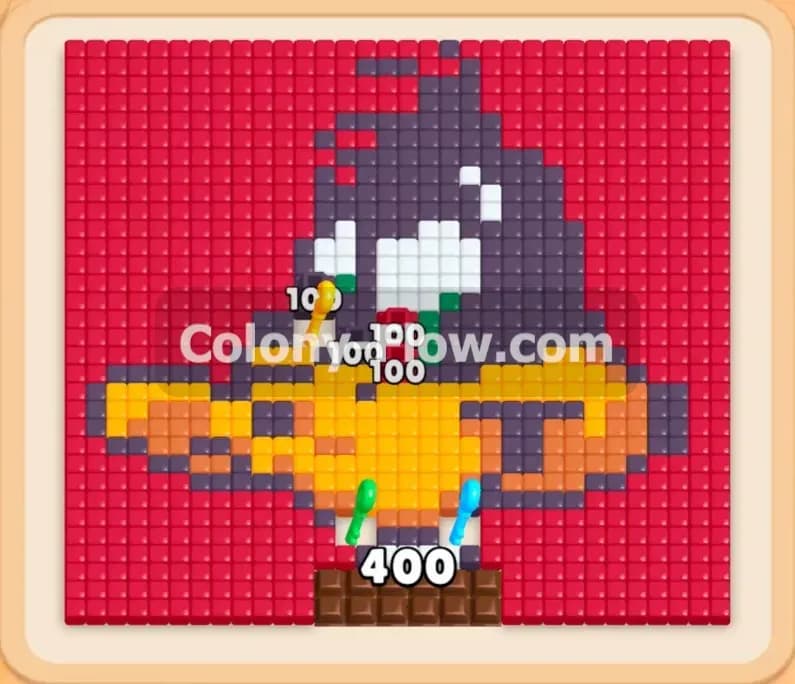
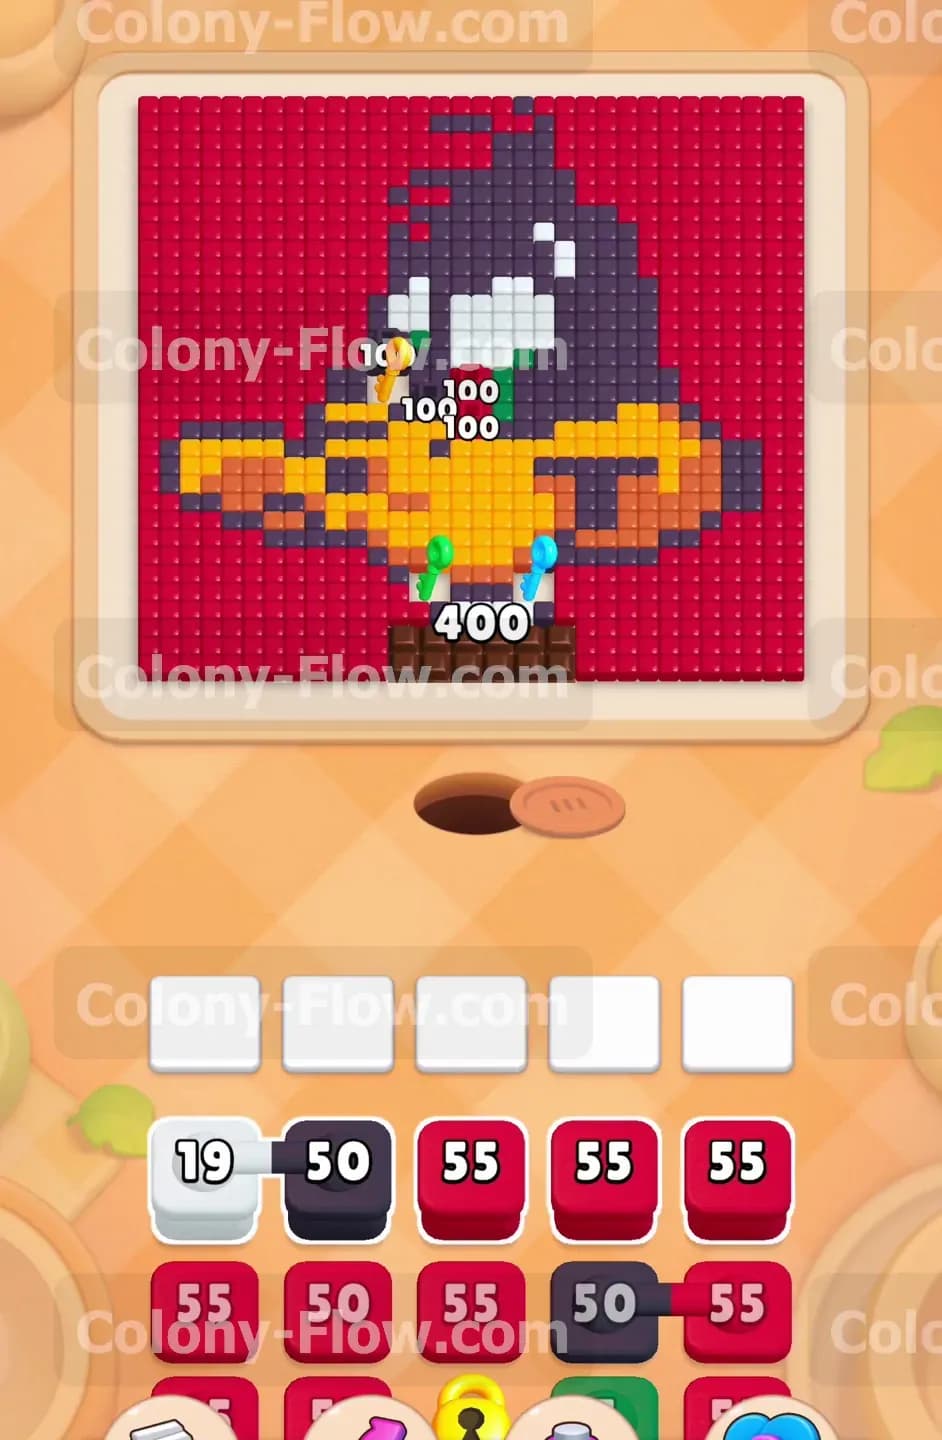
The board shows a pixel art picture of a duck holding a lamp. The background is completely solid red and stretches all the way to the top corners. At the very bottom center sits a brown chocolate block with a massive four hundred count. This chocolate sits directly over the nest hole where your ants spawn. Your ants cannot go straight up into the picture. They have to flow out to the left and right sides to find open paths. The tray at the bottom holds a mix of red, black, white, yellow, and green blocks. You will also deal with lock and key tiles throughout the match. Green, yellow, and cyan keys sit hidden inside the duck picture. Finally, there are connected boxes in the tray that require multiple open waiting slots to use safely. These linked blocks add an extra layer of danger to your strategy.
What It Takes to Clear Level 418 Board
Winning this level requires you to destroy that central chocolate block early on. Once the chocolate is gone, your ants gain direct access to the center of the duck. You need to balance clearing the red background with chipping away at the duck itself. You must collect the green, yellow, and cyan keys to unlock the hidden blocks in your tray. You win the level when every single colored tile is gone from the top screen and your ants return home. You lose the level if you fill all five waiting slots with blocks that have no open path to their matching colors on the board.
Colony Flow Level 418 Step by Step Solution
Step 1: Send red blocks to open the side paths around the giant chocolate block.
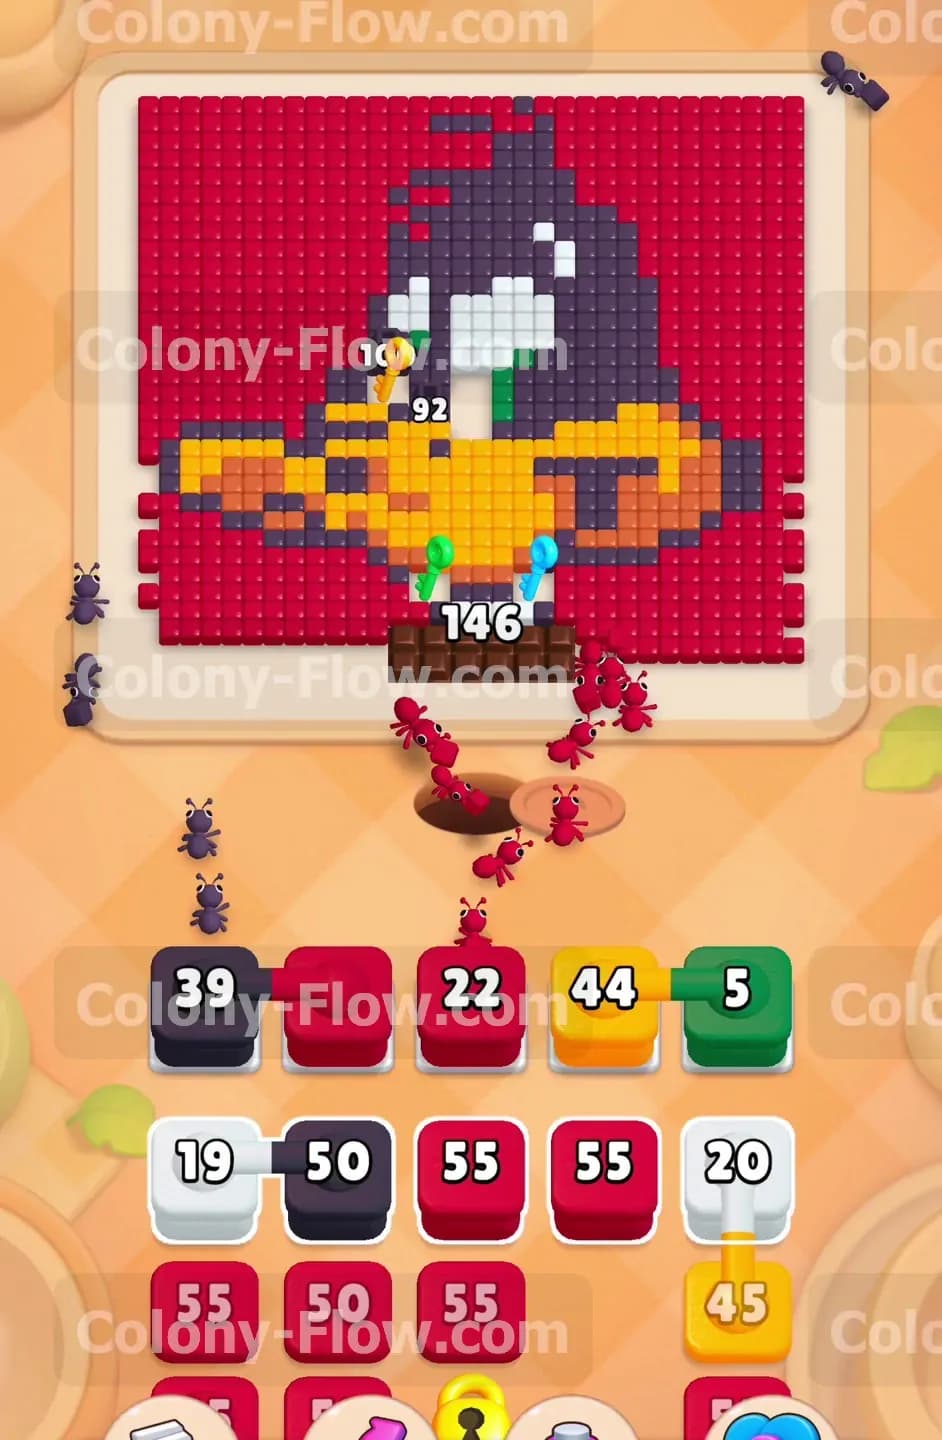
The enormous chocolate block completely cuts off the central path. When the level begins, your ants will naturally flow to the left and right into the solid red background tiles. You must look at your lower tray and select your red blocks first. Tap the red blocks and send them up into the waiting slots. The ants will pick up the red color and begin eating away the bottom left and bottom right corners of the background. This single action creates a wide vertical path up both sides of the board. You keep your waiting slots from jamming because the red blocks have immediate access to thousands of red tiles. Do not pull any black or white blocks from the tray yet under any circumstances. Those colors belong to the duck head and eyes located higher up in the picture. They have no open path right now and will instantly jam your tray. Stick entirely to the red blocks until the side paths are wide open and flowing smoothly. This builds a strong foundation for the rest of your game.
Step 2: Pull your yellow and green blocks to hit the lamp and duck body.
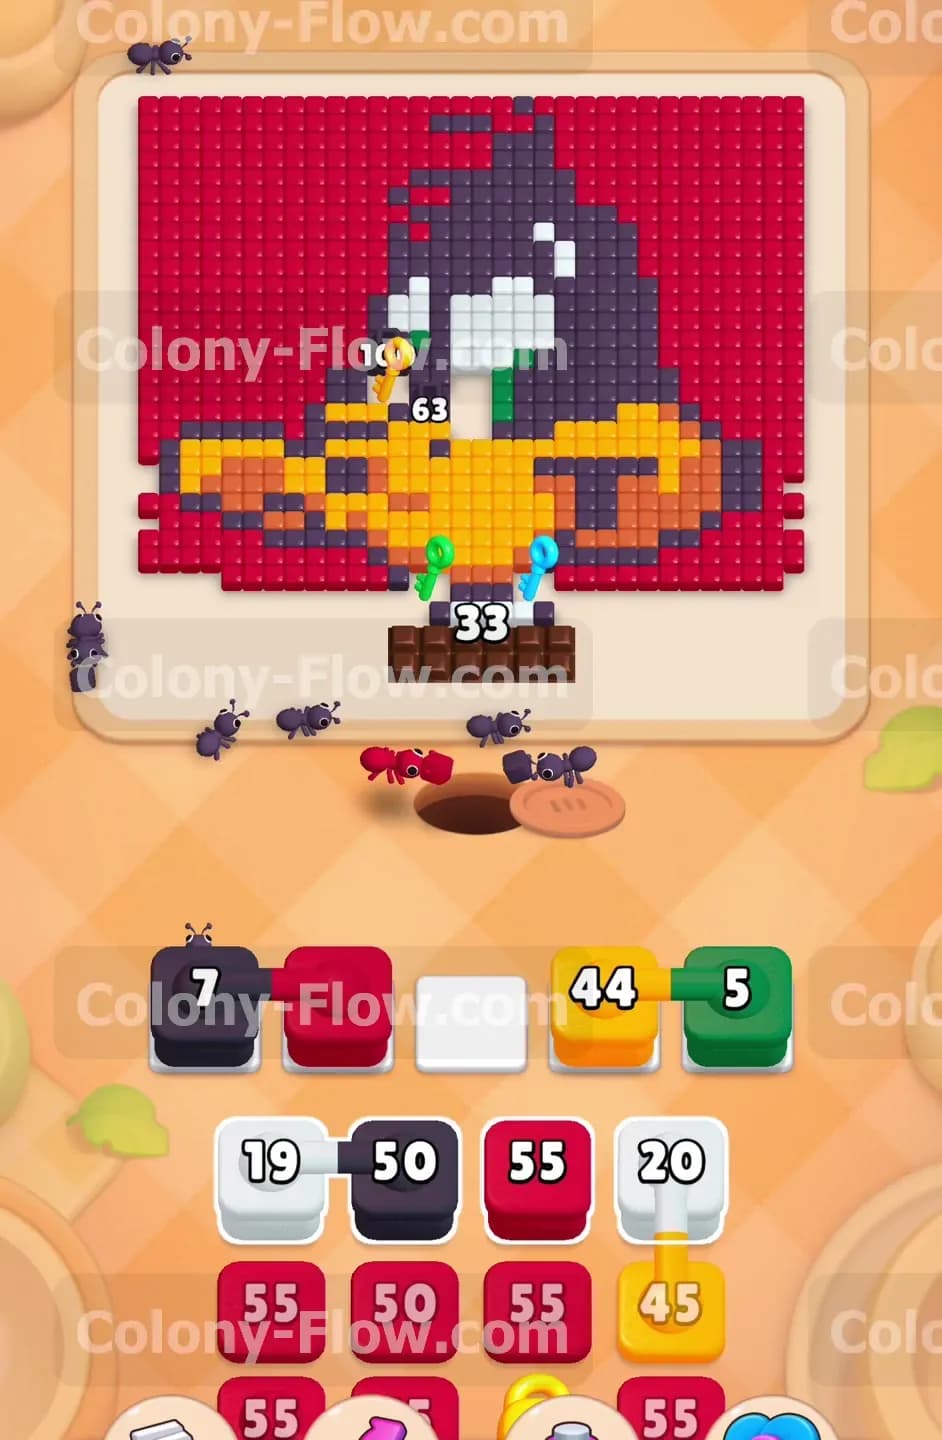
As the red background clears out on the sides, the ants can finally reach the outer edges of the duck and the lamp. The lamp consists mostly of yellow and orange tiles forming a long shape. You will also see a few green tiles near the bottom edge of the duck structure. Tap your yellow block and your green block to move them into the empty waiting slots. The ants will travel up the newly formed side paths and cut inward toward the center of the screen. They will start eating the yellow lamp and the green tiles piece by piece. At the same exact time, the ants will continuously chew on the outer edges of the giant chocolate block. The chocolate count will drop steadily from four hundred down to double digits as the ants swarm it. Always monitor your five waiting slots closely during this phase. Make sure you only have two or three blocks active at one single time. Leaving empty slots gives you room to adapt if a path suddenly closes or a block finishes its count unexpectedly.
Step 3: Clear the chocolate block to open the floodgates.
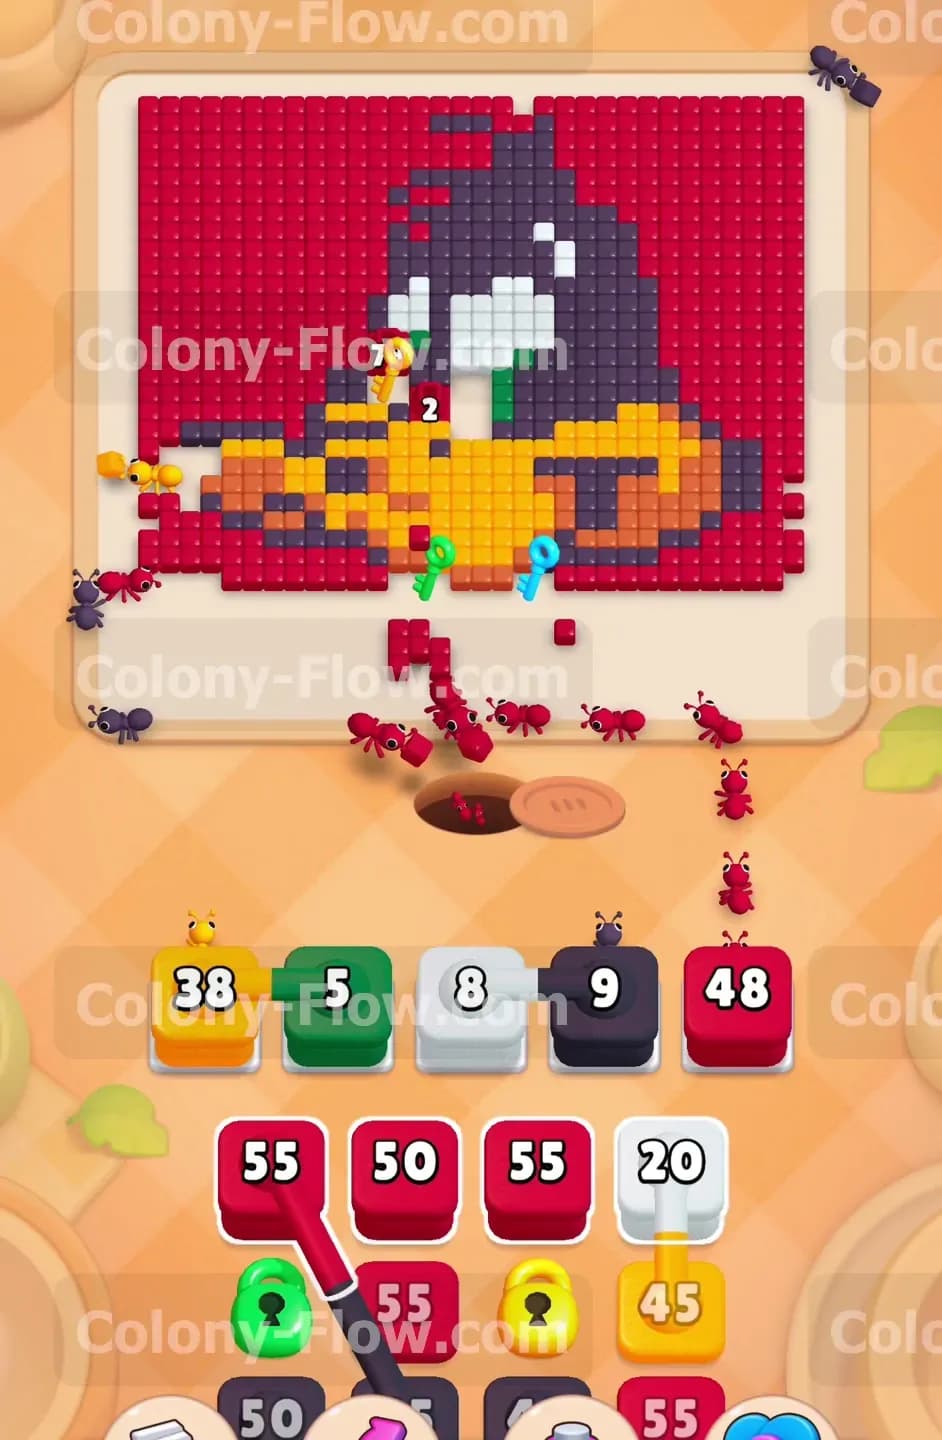
The constant pressure from the side paths will eventually reduce the chocolate block count down to zero. When it vanishes, the entire bottom center of the board opens up. This completely changes how the board plays and gives you a huge advantage. The ants no longer have to take the long way around the sides. They can charge straight up from the nest hole into the core of the picture. This direct path is very important for the next phase of the level. Now you can safely pull more yellow blocks and begin introducing black blocks. The black tiles make up the large body and head of the duck character. With the center wide open, the black blocks will find immediate paths to their targets. Send up a black block and watch the numbers drop rapidly. The efficiency of the central path means your blocks will clear out of the waiting slots much faster than before.
Step 4: Collect the green key to unlock the first locked tray block.
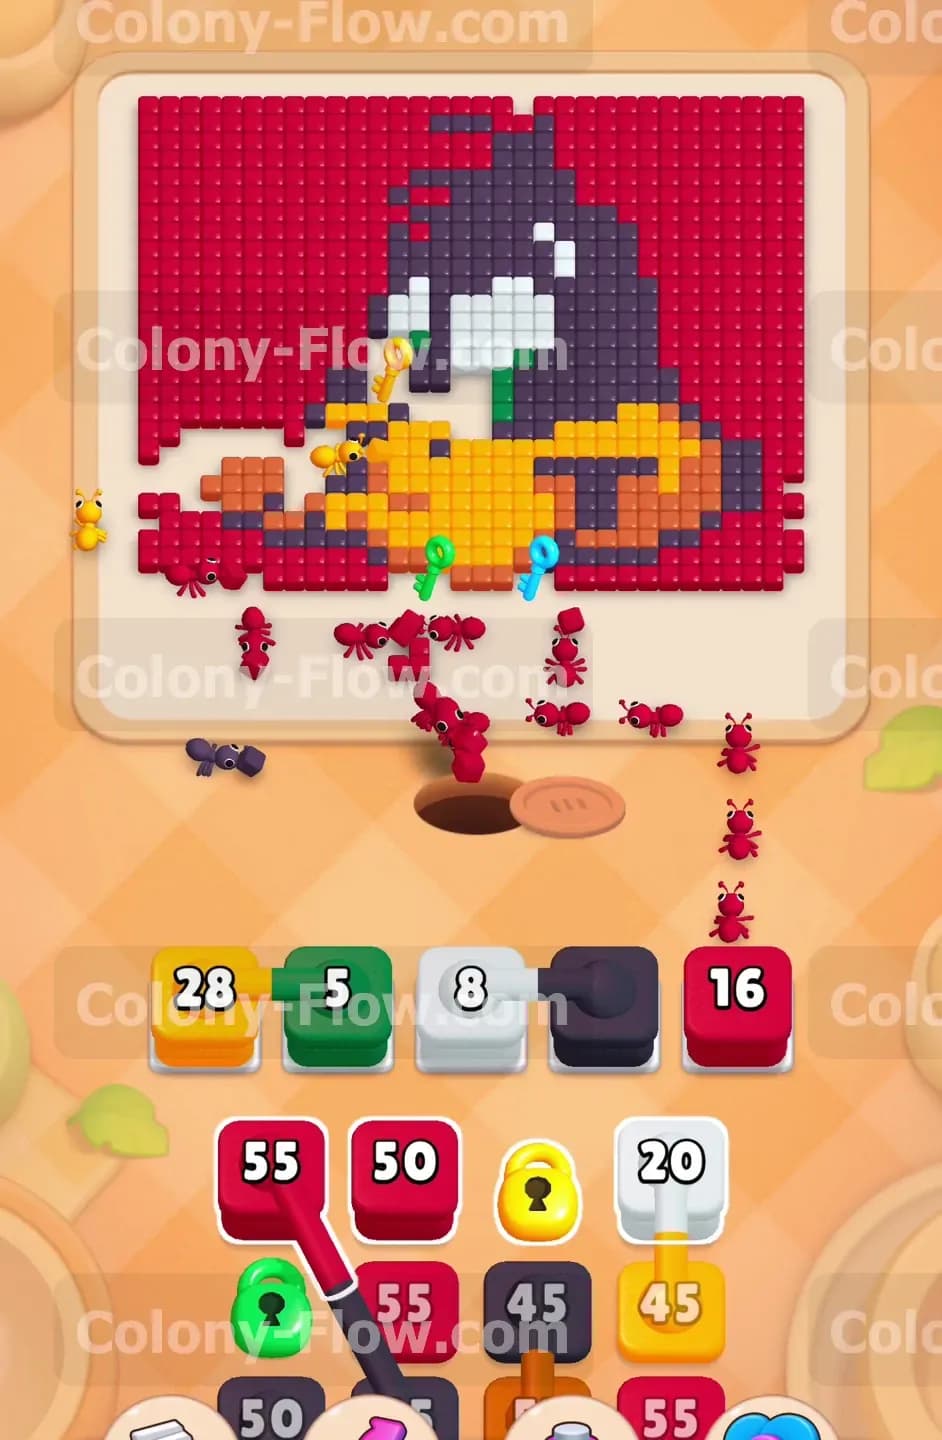
Deep inside the bottom section of the duck, you will uncover a bright green key resting quietly on the board. You must clear the colored tiles directly surrounding it to collect it. Use your active yellow and black blocks to eat away the adjacent tiles blocking the way. Once the ants grab the green key, a green lock in your lower tray will pop open instantly. This gives you access to a fresh red block that you desperately need for the upper sections of the red background. Do not rush to use this new red block immediately upon unlocking it. Wait patiently until the current blocks in your waiting slots finish their jobs and clear out entirely. You want to maintain a steady and safe rhythm throughout the entire level. Pulling the newly unlocked red block too early might crowd your waiting slots and trigger a sudden loss. Let the ants finish eating their current colors first to ensure your safety.
Step 5: Gather the yellow and cyan keys to free the remaining locked blocks.
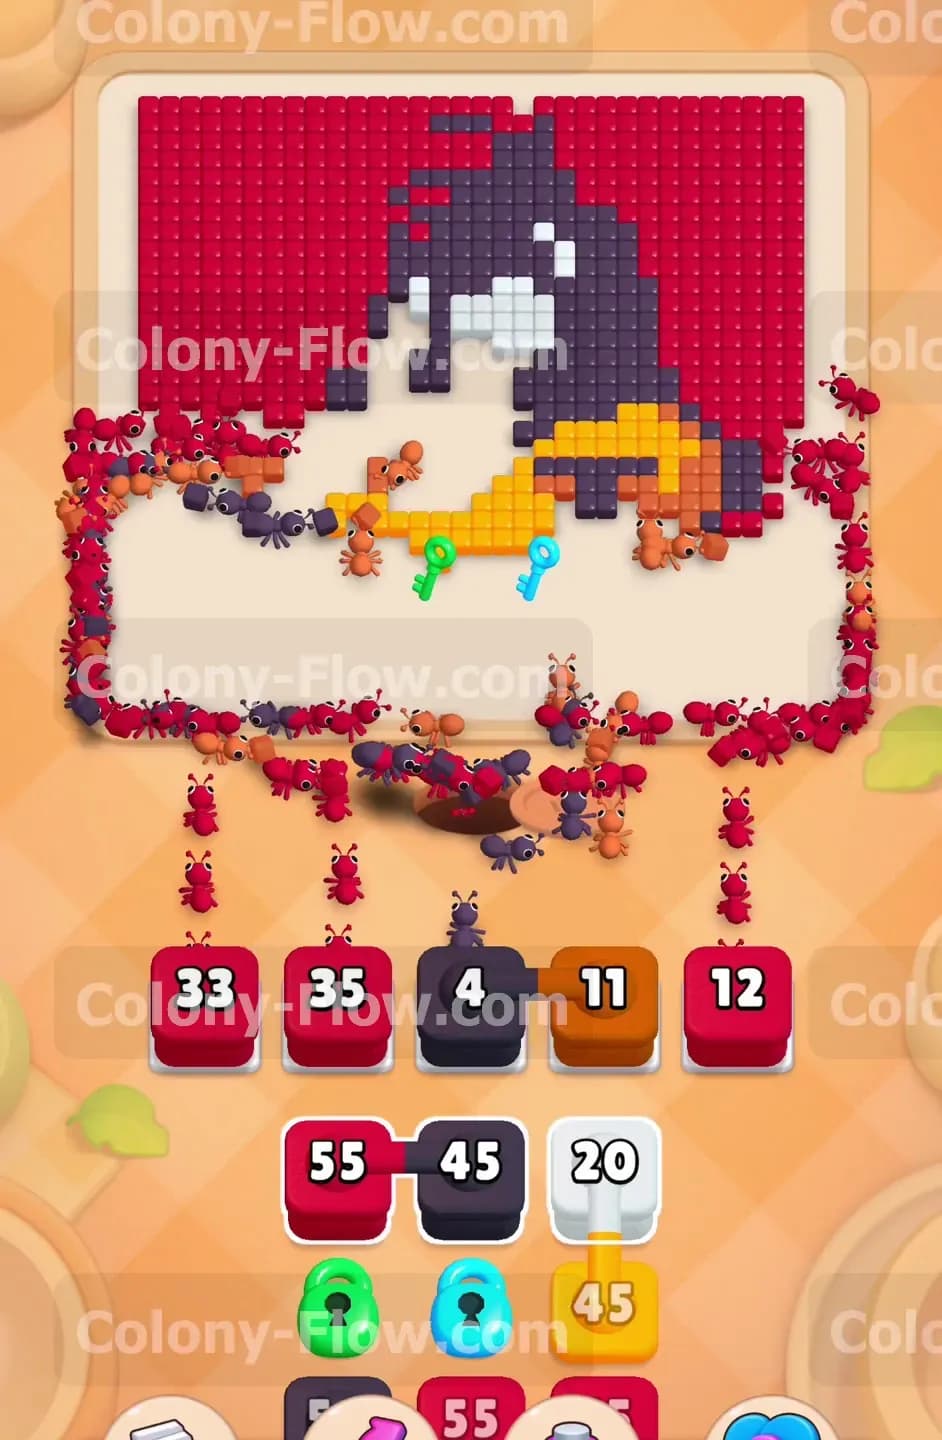
As your colony chews higher into the duck picture, they will expose the yellow key and the cyan key. The yellow key sits right in the middle of the lamp structure. The cyan key rests slightly to the right side of the duck base near the orange tiles. Continue feeding yellow and orange blocks into the waiting slots to clear out the lamp shape. When the ants collect the yellow key, a yellow lock down in the tray opens up immediately. When they collect the cyan key, the cyan lock opens up as well. These actions give you access to a large white block and another large orange block hidden in the tray. The white block is required for clearing the bright eyes of the duck later on. The orange block will finish off the rest of the lamp handle. Always ensure you have at least two empty waiting slots before deploying these newly freed blocks to prevent a fatal jam. Keeping an eye on your remaining space will save you from losing the game right at the very end.
Step 6: Deploy the connected boxes when you have ample space.
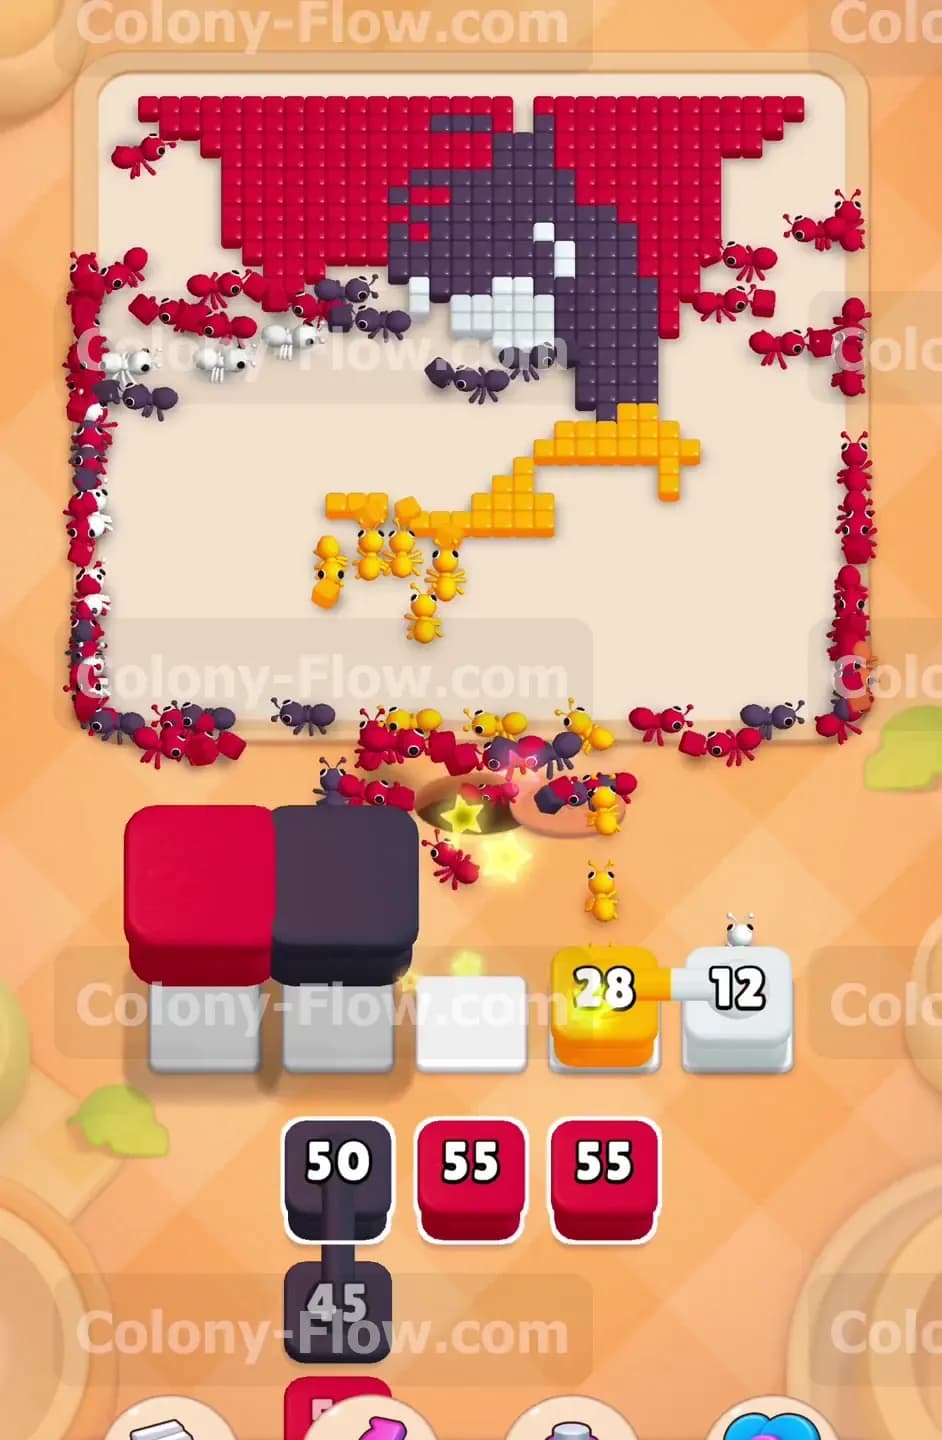
Your tray contains a large set of connected boxes sitting together. These are two separate blocks physically linked together by a small chain icon. When you tap one of them, both blocks move up into the waiting slots at the same exact time. This means they consume two of your five precious slots instantly. You must be incredibly careful here to avoid losing the level. If you only have one slot open and you tap the connected boxes, the board will jam and you will fail the level. Wait until you have three completely empty slots just to be perfectly safe. I suggest waiting until the duck body is mostly gone before using them. Once you have the space, tap the connected boxes. The ants will use these massive blocks to clear huge sections of the black duck head and the remaining red background above it. The linked blocks hold a massive amount of moves, so they will sit in your slots for quite a while.
Step 7: Finish the duck head and the top corners of the background.
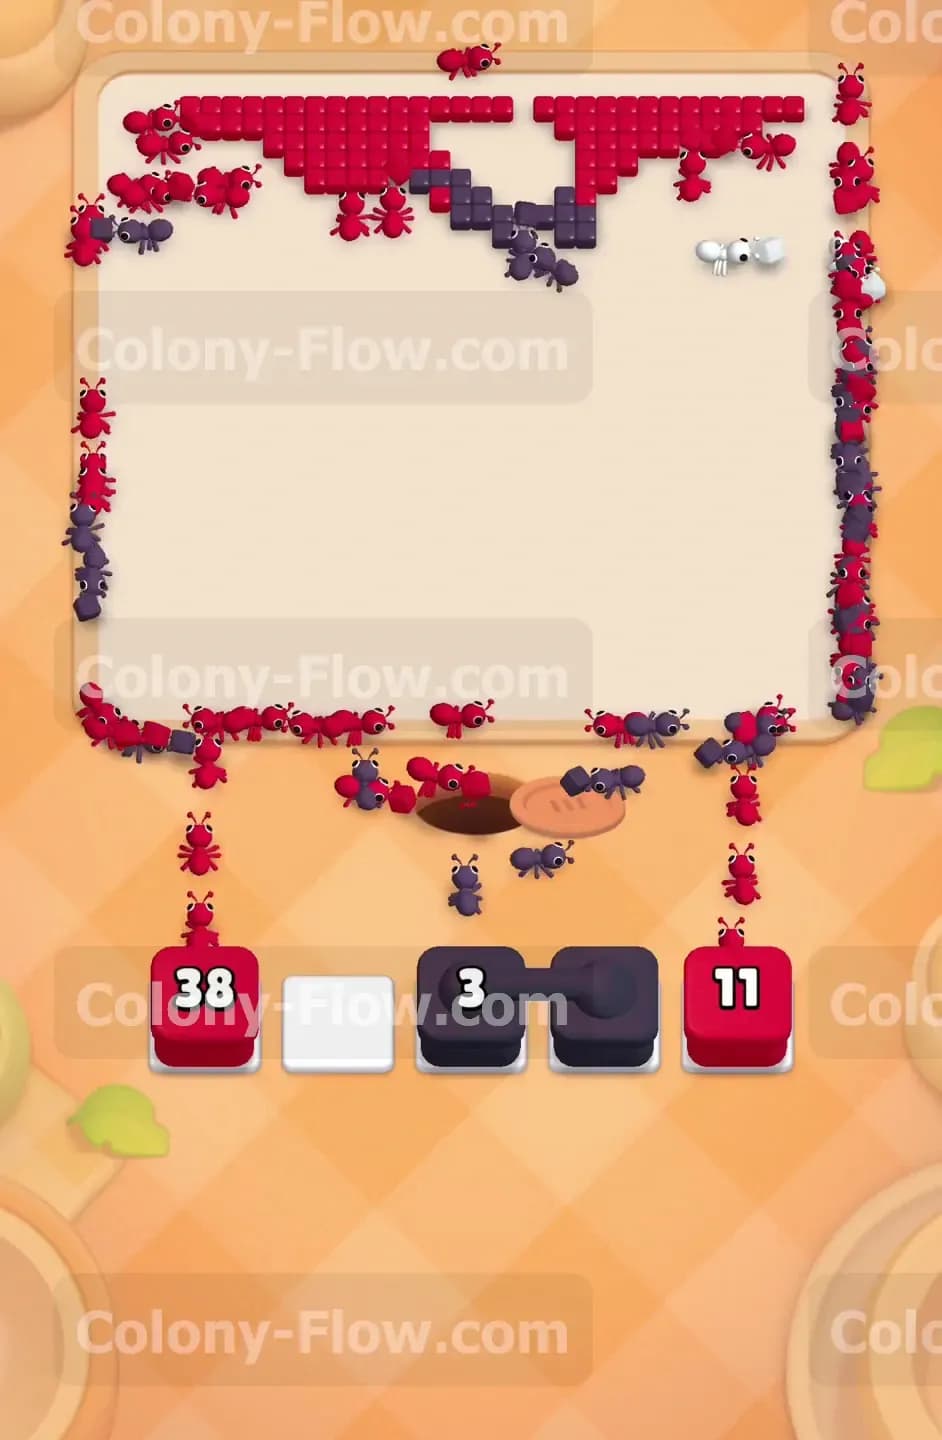
You are now in the final stretch of the level. The only parts of the picture left are the very top of the black duck head, the white eyes, and the red background tucked into the upper corners. Your tray will be down to its final few scattered blocks. Pull your last white block into a waiting slot to clear the duck eyes. Send up your final black block to eat the rest of the black head shape. Finally, tap your remaining red blocks. The ants will swarm the top left and top right corners of the board in a massive wave. Since all the central obstacles are completely gone, the ants will travel extremely fast to their targets. The red blocks will count down to zero and disappear from the waiting slots. The board will be completely empty and you will clear the level. Watching the final swarm clean up the board is very satisfying.
Final Thought
Colony Flow Level 418 demands careful tray management and a lot of patience with that opening chocolate block. You simply have to let the side paths do the heavy lifting early on. If you find yourself getting jammed on the connected boxes or struggling to find the keys, please watch the video above this article. The visual guide will show you exactly when to make each pull and keep your slots open.