Colony Flow Level 69 Walkthrough Solution & Guides | How to solve Colony Flow 69

Guide By Liam Stone
Updated on July 11, 2026
Some players prefer video. The one above covers the entire Level 69 walkthrough.

Video doesn't match your screen?
Game updates frequently scramble layouts! Try our AI Screenshot Solver first to find your exact board instantly, or report broken guides to our team.
Welcome to another puzzle guide. Today we are tackling Colony Flow Level 69 and it brings a really fun pixel art design to the board. You are looking at a cute white hamster wearing a green frog hat. I play every level myself to figure out the exact order of operations so you can beat the board without getting stuck. You need to clear the entire board without filling up your waiting slots. I played through this puzzle to find the best sequence of moves to keep your ants marching smoothly from start to finish.
Colony Flow Level 69 Overview
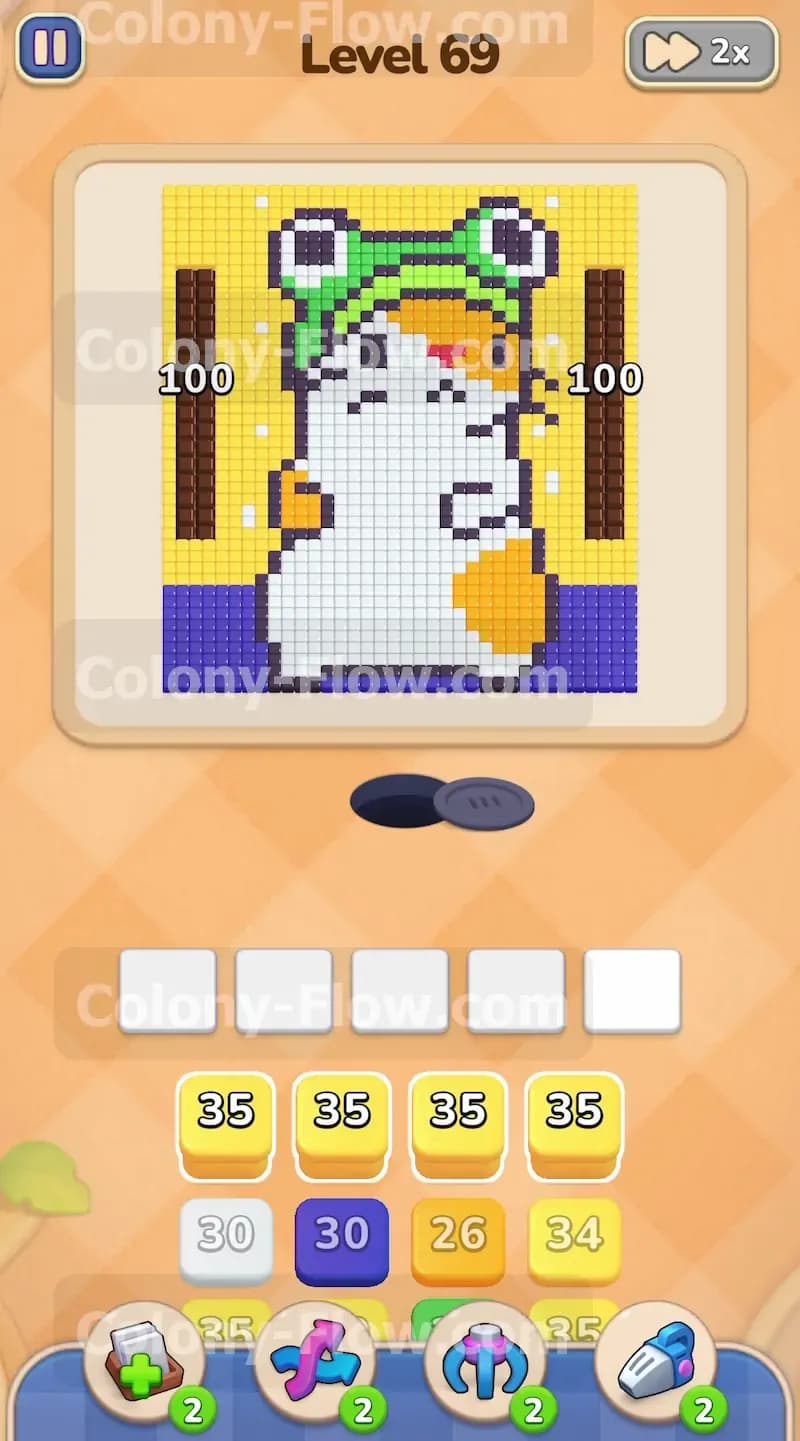
What You Are Working With
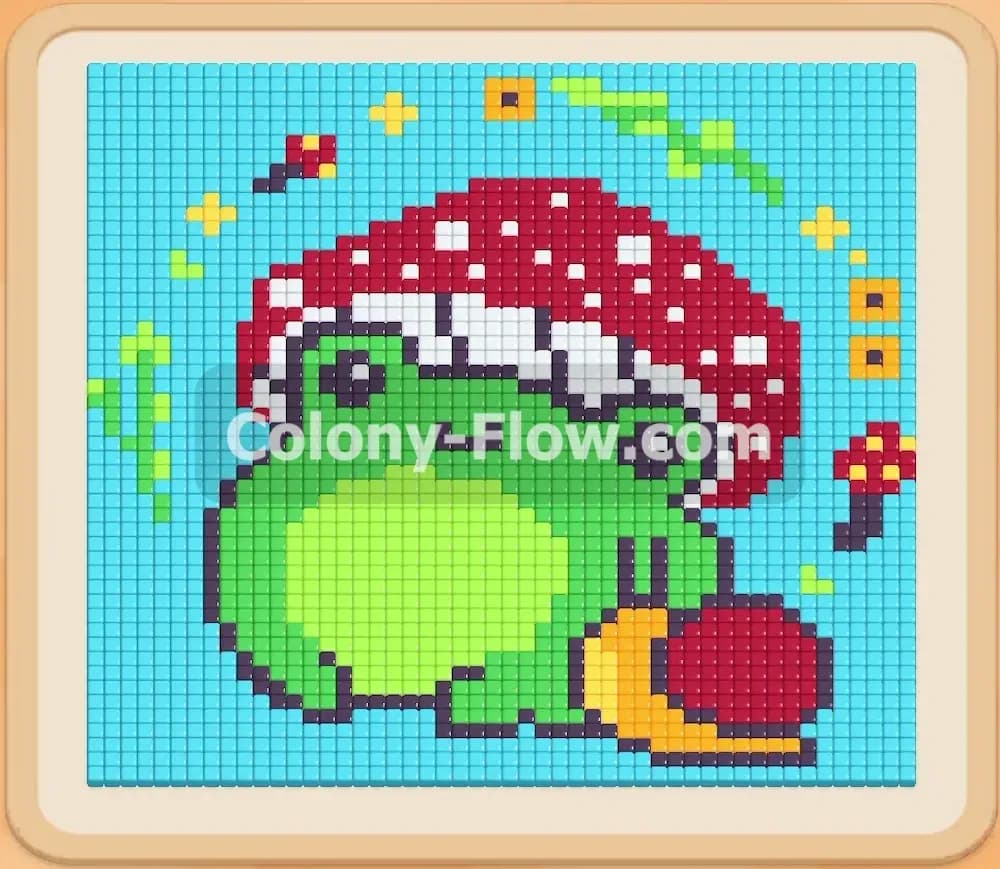
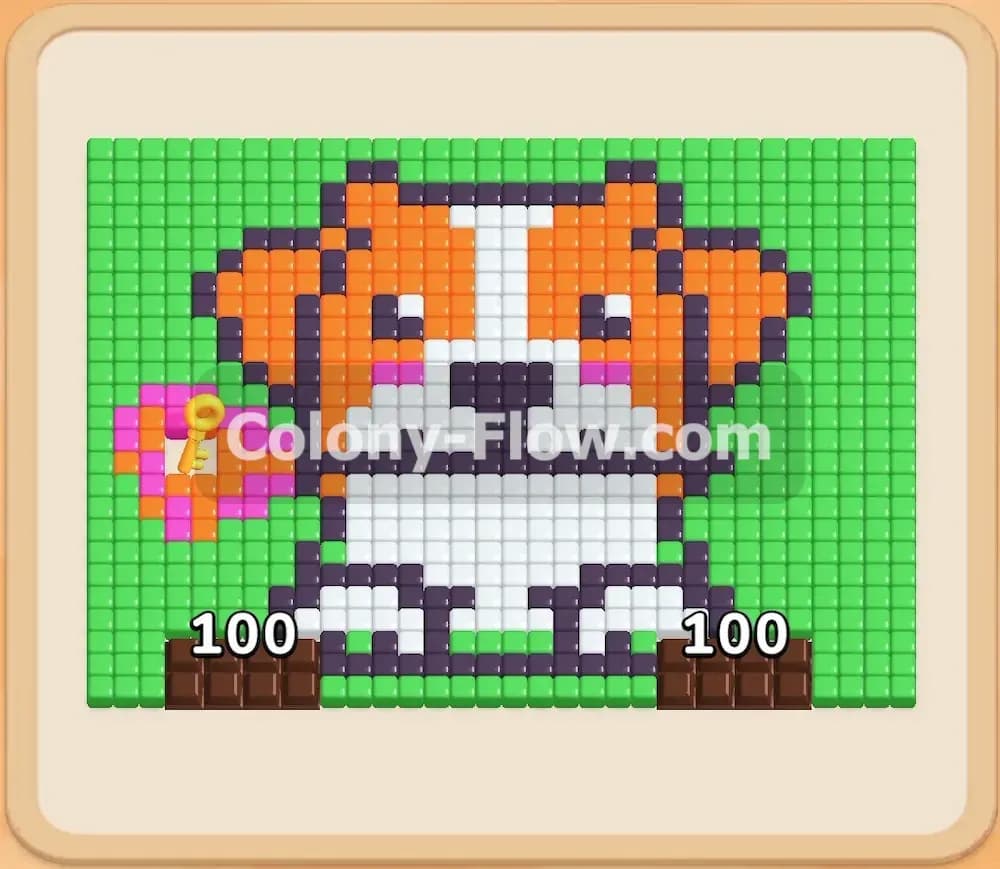
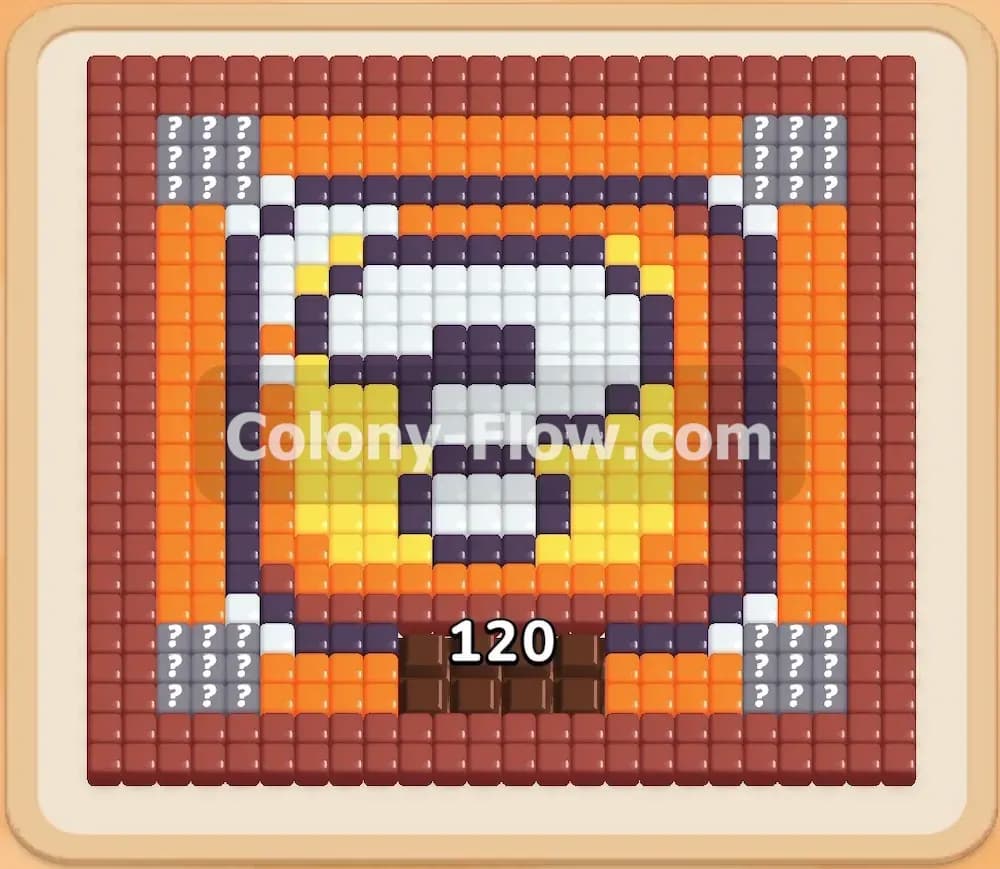
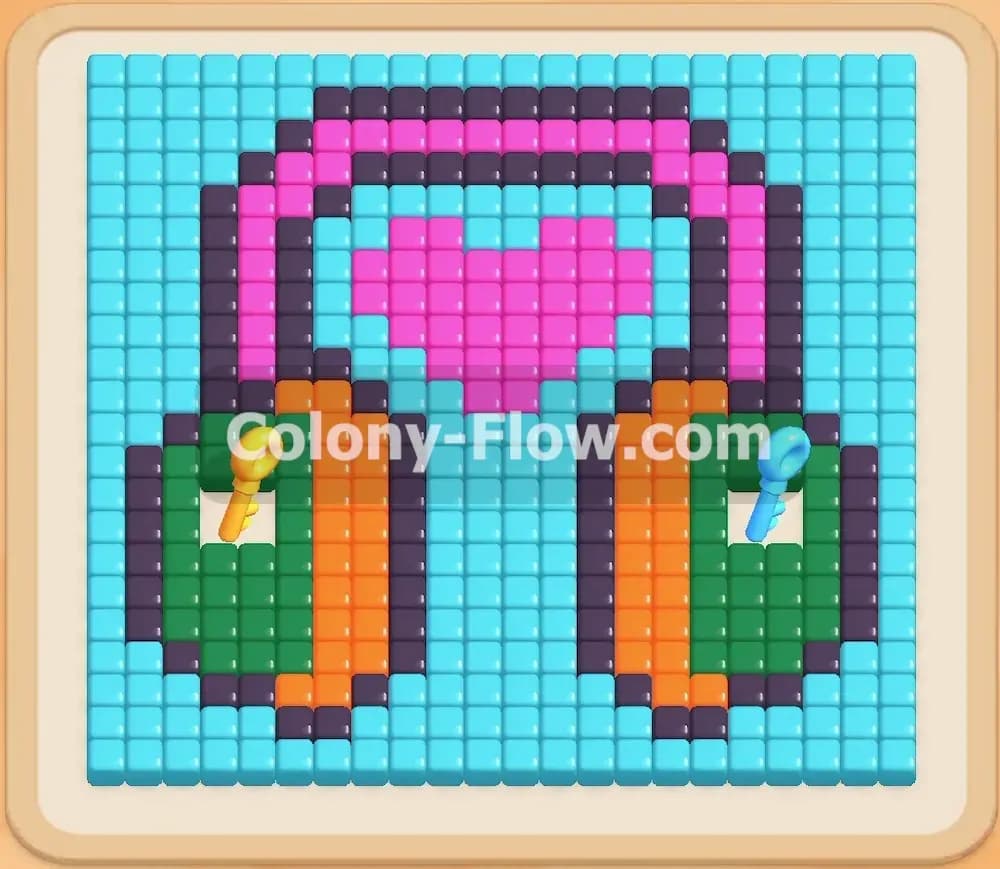
The board displays a large pixel art picture right in the center of your screen. The main subject is a white hamster with bright orange spots on its back and face. The hamster wears a bright green frog hat featuring large white eyes and dark black pupils. A thick black outline borders the entire character to separate it from the background. The hamster sits on a solid dark purple base. A massive yellow background fills the empty space all around the character.
Down at the bottom of the screen you have your tray full of numbered colored blocks. The tray holds layers of blocks stacked on top of each other. You start with standard blocks in yellow, white, dark purple, and green. Later in the puzzle you encounter a hidden box. This is a gray block marked with a question mark that hides its true color. You also face connected boxes which link two different colored blocks together with a solid white line.
What It Takes to Clear Level 69 Board
You win the puzzle when the ants eat every single colored tile on the board. You feed the colony by tapping colored numbered blocks from the tray. The ants stream out of the nest hole and carry that color to the matching tiles on the picture.
Your main challenge is managing the row of five waiting slots located just above the tray. Every block you tap drops into one of these empty slots. Once a block lands in a slot the ants begin to drain the number shown on the block. The block only disappears from the slot when the number reaches zero. If you pull a block and the ants cannot find a clear open path to the matching tiles on the board, the block simply sits in the slot. If you fill all five waiting slots with blocked colors, no more ants can spawn and you fail the level. You must always guarantee an open path before you tap a block.
Colony Flow Level 69 Step by Step Solution
Step 1: Clear the dark purple base to open the bottom path
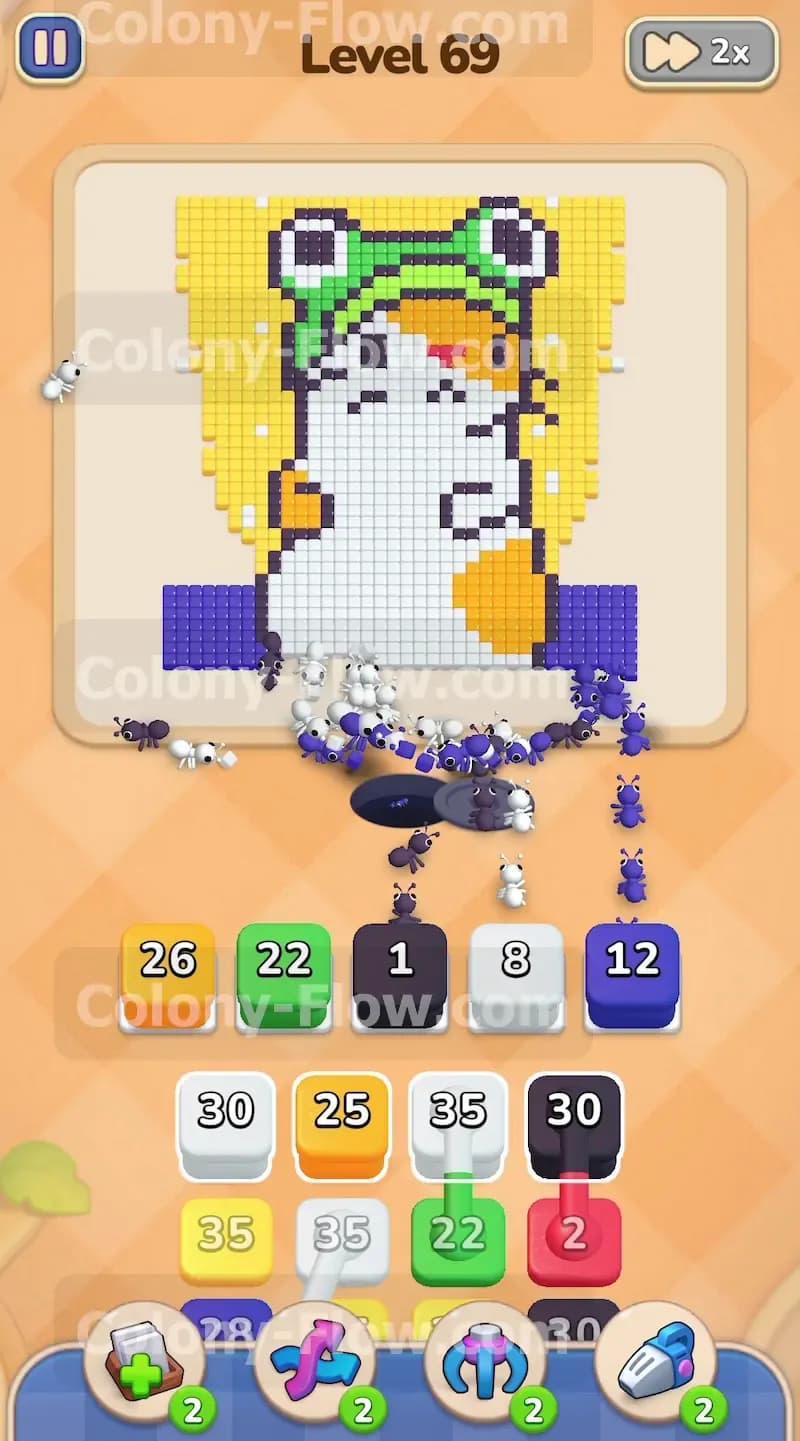
You start the puzzle by looking at the front row of your tray. You need to open up the bottom edge of the picture so the ants can reach the main body. Pull the dark purple blocks first. The ants pour out of the dark hole at the bottom center of the screen and immediately attack the solid dark purple base underneath the hamster. Clearing this bottom section is absolutely required to reach the rest of the picture safely. You can also pull the white blocks from the tray at this time. The white belly of the hamster sits right above the purple base. Mixing the dark purple and white blocks keeps the ants flowing steadily and prevents your waiting slots from jamming early in the level.
Step 2: Send yellow ants up the outside edges
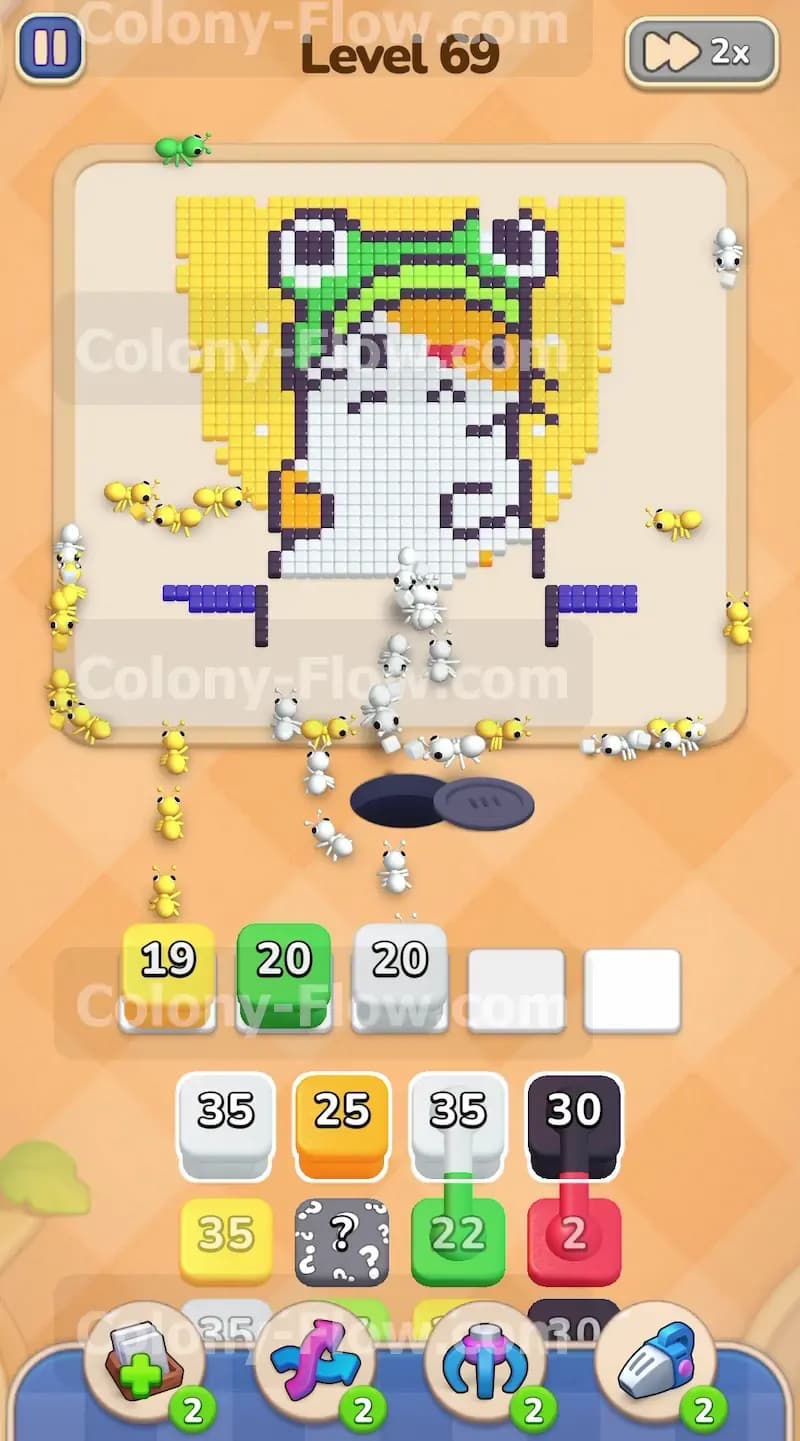
The yellow background covers a huge portion of the board and provides a massive open surface area. Pull the yellow blocks with large numbers like thirty five. The yellow background is completely exposed on the far left and far right sides. The yellow ants march all the way up the outer edges of the board to eat these tiles. Letting the yellow ants work on the outside edges gives you plenty of time and space to focus on the center picture. Always try to keep at least one yellow block active in your slots since the background requires so many ants to clear.
Step 3: Attack the green frog hat and reveal the hidden box
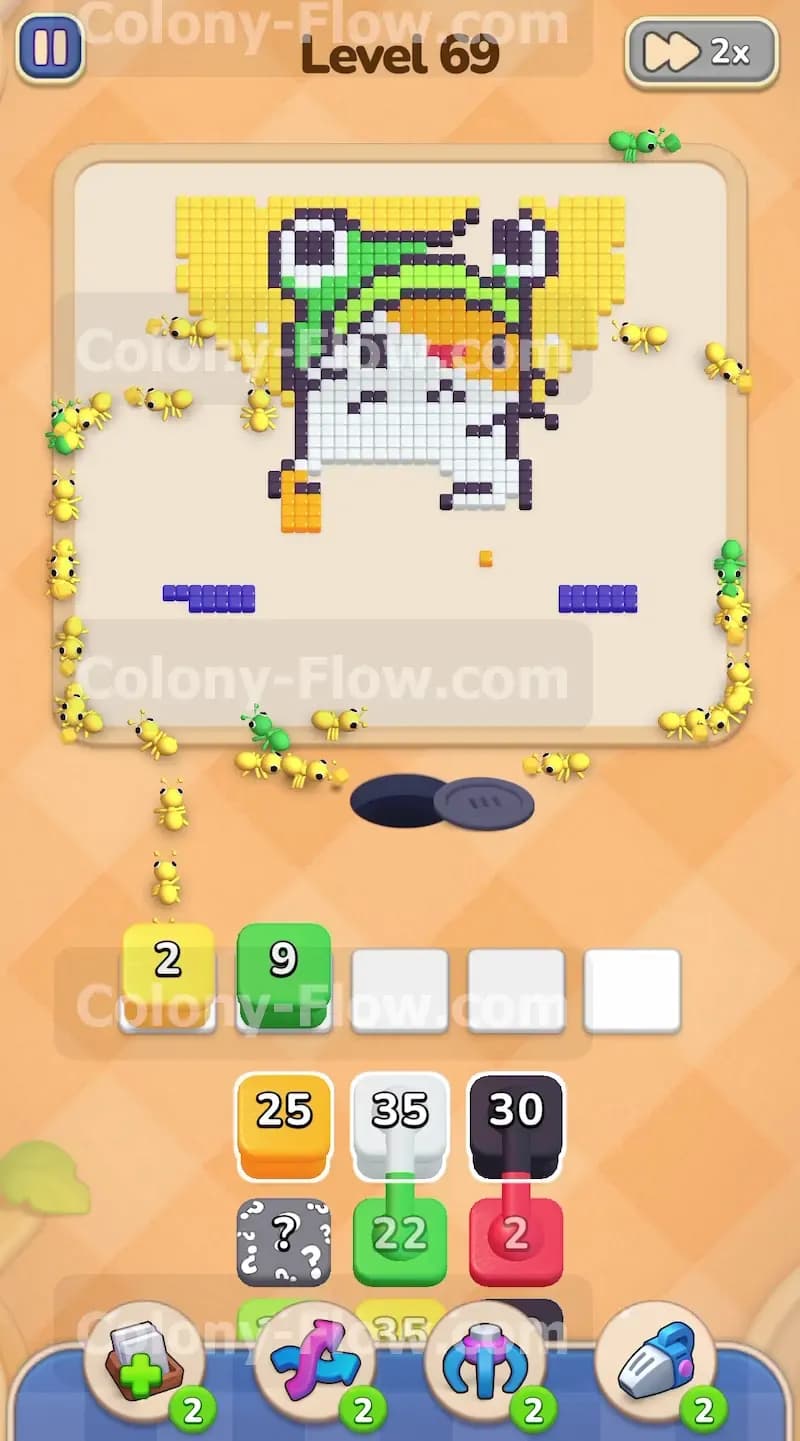
As you clear the first few rows of the tray you uncover a hidden box. This gray block sits in the middle of the tray and prevents you from reaching the colors stacked behind it. You cannot use the hidden box until the game reveals its color. You must clear the regular blocks sitting above it to uncover its secret. Pull the green blocks to target the frog hat. The green ants march straight up the middle of the board and begin eating the green tiles on the top of the hamster. You should also pull more white blocks to continue clearing the main body. Removing these top blocks from the tray finally forces the hidden box to reveal its true color.
Step 4: Send orange ants to the large spots on the hamster
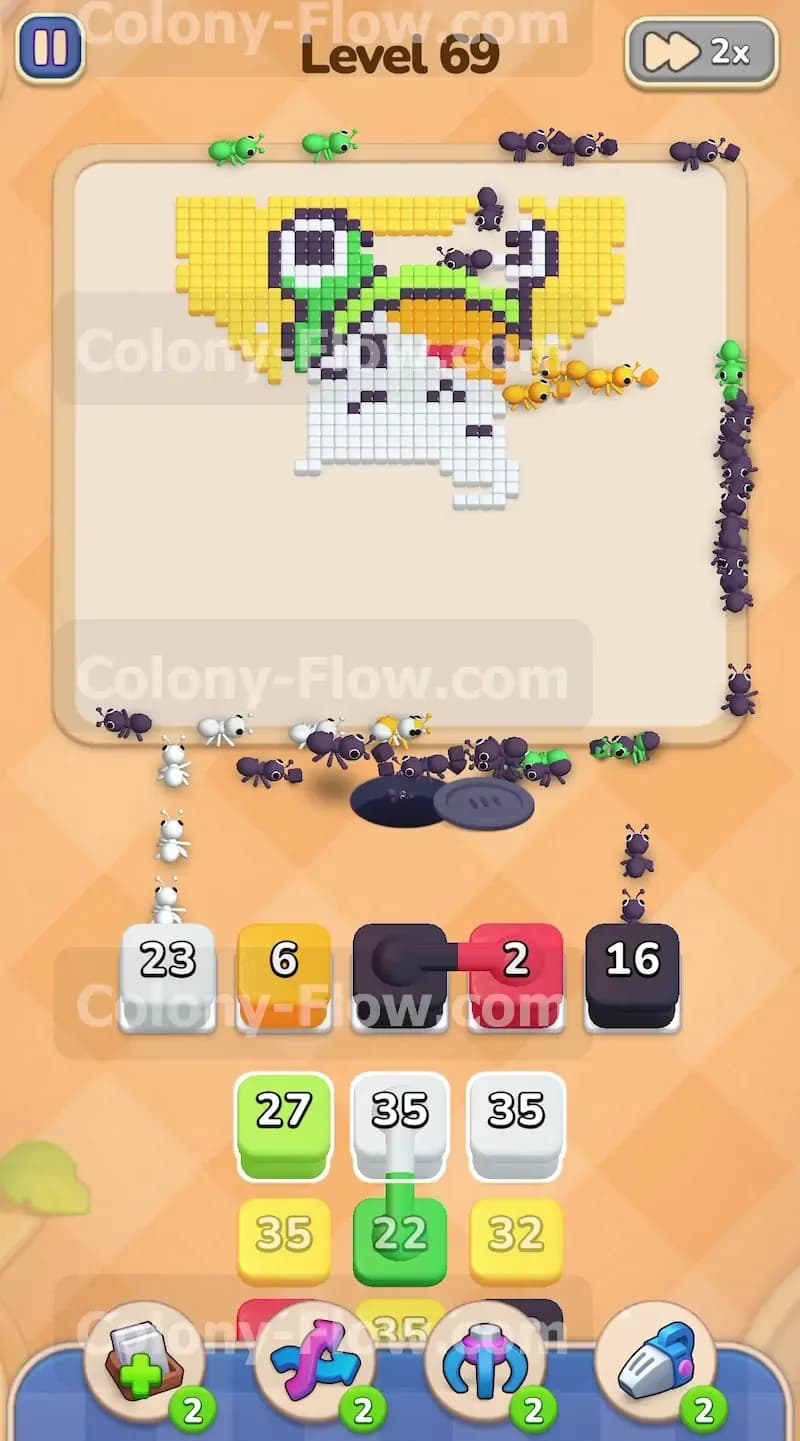
The hamster design includes large orange patches embedded within the white body. You pull the orange blocks now that the white body is shrinking. The orange ants easily reach their targets because you already cleared the white tiles blocking their way in the previous steps. You must wait to pull the orange blocks until you finish enough of the white body. If you pull the orange blocks too early they will sit in your waiting slots and take up valuable space while the ants wait for a path to open.
Step 5: Pull the connected boxes to clear two colors at once
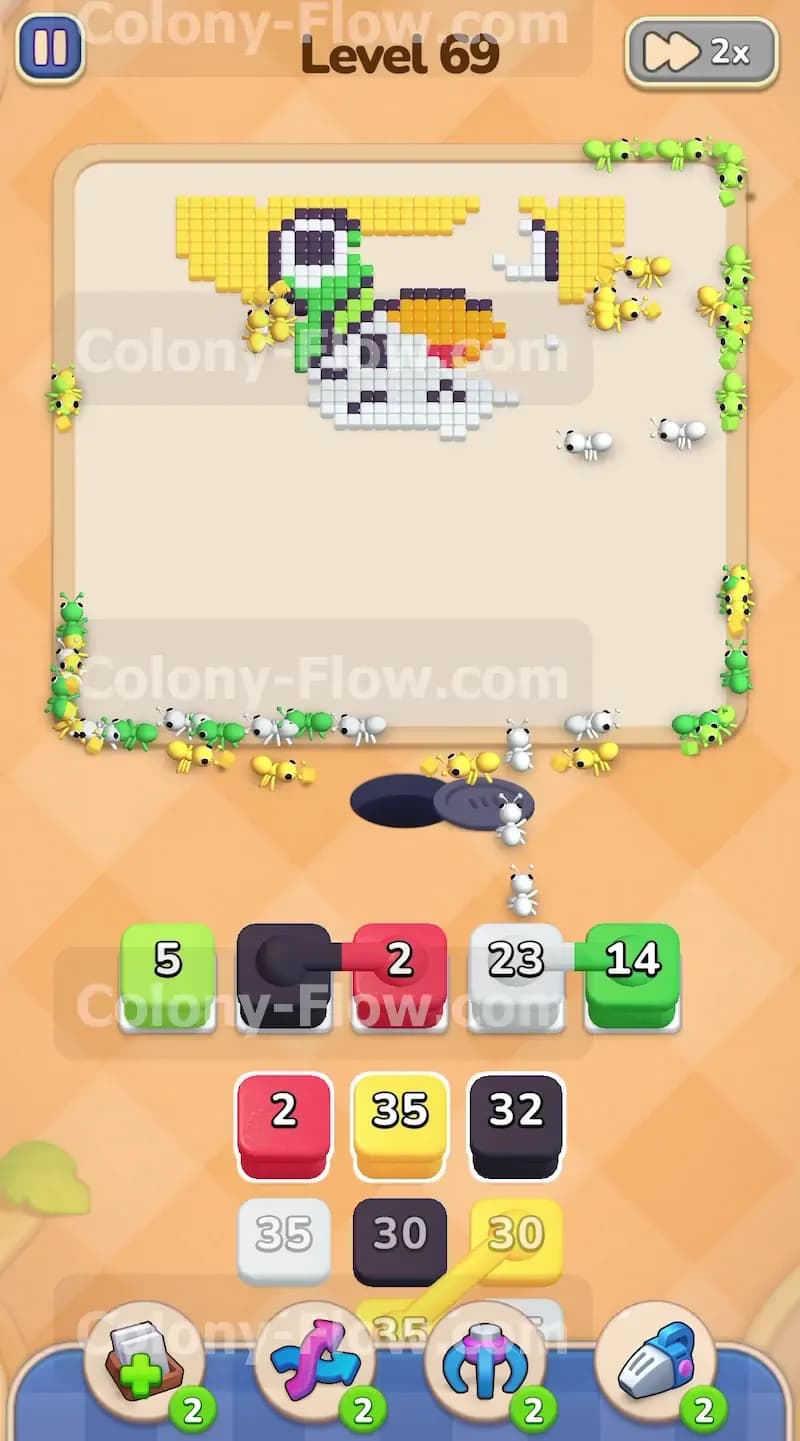
Further down in the tray you run into connected boxes. These are two separate colored blocks physically tied together. When you tap one you automatically pull both into your waiting slots. You will see a green block linked to a white block. Before you tap them you must guarantee the board has open paths for both green tiles and white tiles simultaneously. Check the picture to confirm the frog hat still has green pieces and the body still has white pieces exposed. You tap the connected boxes and the ants swarm the board to clear both colors at once without jamming your slots.
Step 6: Deploy black ants to eat the thick borders
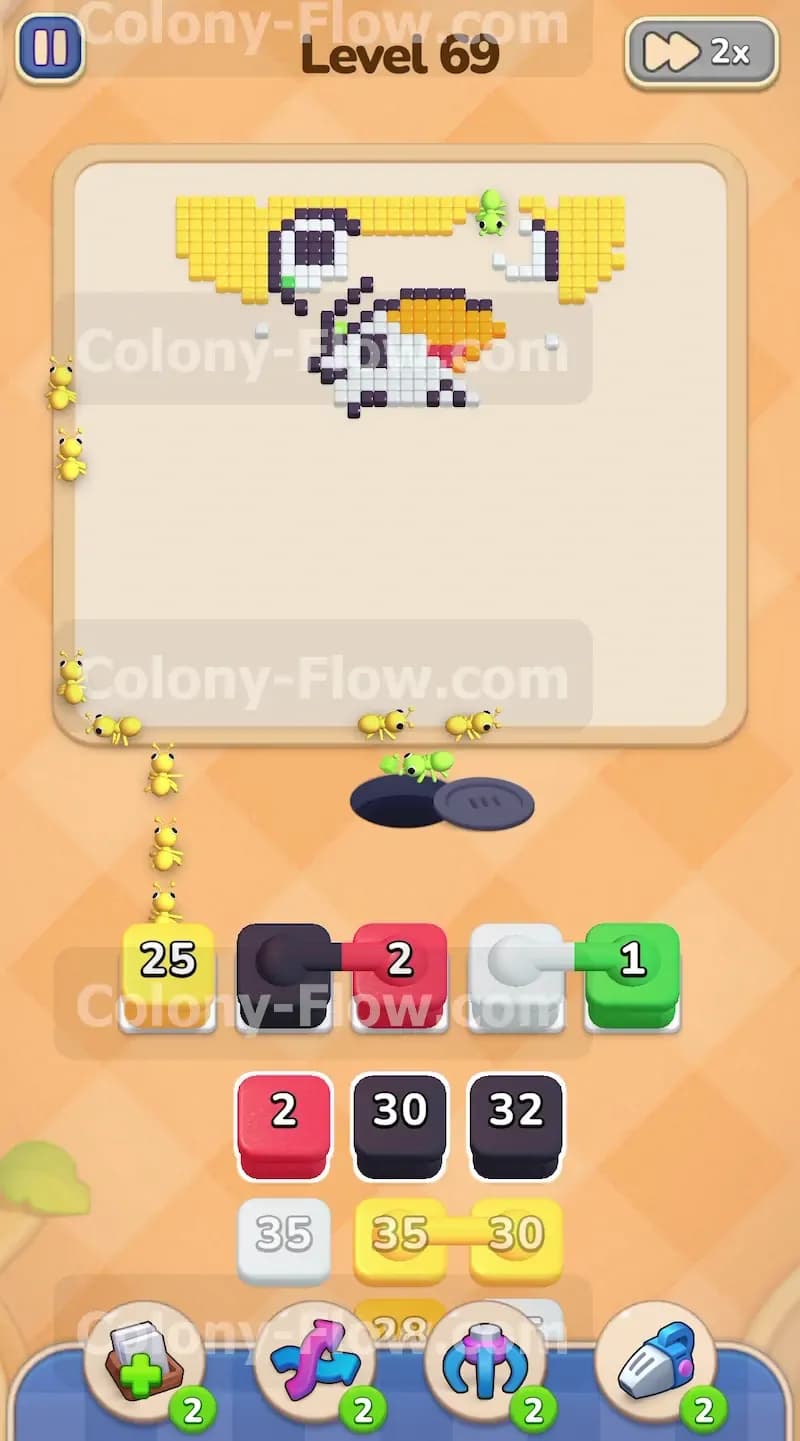
The frog hat and the hamster body both feature thick black borders that outline the shapes. These black tiles act as walls and are often trapped behind the inner colors. You pull the black blocks now that the hat and body are mostly gone. The black ants stream up the board to eat the outlines around the frog eyes and the sides of the hamster face. You want to save the black blocks for this late stage because pulling them earlier would instantly dead end your board.
Step 7: Clear the tiny red details and finish the puzzle
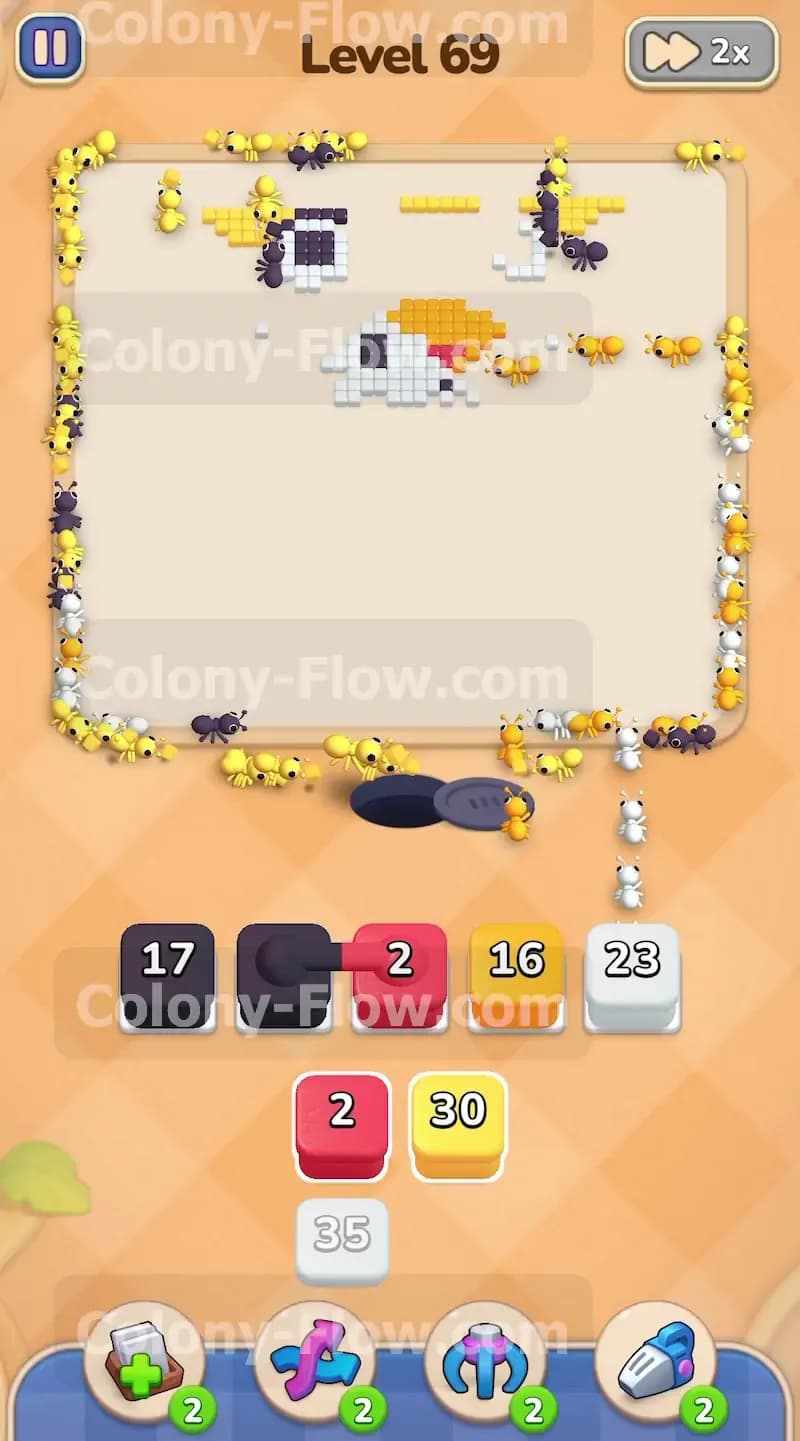
The puzzle is almost complete at this final stage. Tiny red details form the cheeks on the frog hat. You see small red blocks in the tray with low numbers like two. Tap the red blocks to clear these tiny patches. You also tap the remaining black and yellow blocks to clean up the last few outline pixels and top background pieces. The board is completely open now so the ants finish off the remaining tiles in seconds. Your slots stay perfectly clear and you win the level.
Final Thought
Colony Flow Level 69 requires excellent timing to avoid dead ends. You must clear the dark purple base first and then work your way up the sides with the massive yellow blocks. Managing the connected boxes and hidden boxes takes patience and careful observation of the open paths. If you get stuck on any specific part of this puzzle I highly recommend you watch the video above this article to see the exact ant movements in action.