Colony Flow Level 505 Walkthrough Solution & Guides | How to solve Colony Flow 505

Guide By Liam Stone
Updated on July 30, 2026
Reading not your style? The video above shows exactly how to beat Level 505.
Video doesn't match your screen?
Game updates frequently scramble layouts! Try our AI Screenshot Solver first to find your exact board instantly, or report broken guides to our team.
Welcome to Colony Flow Level 505. This level presents a fun challenge with a large colorful picture and a few tricky tray mechanics. You need to carve a path through a wall of water before you can even touch the main subject. I played through this board to find the safest route that keeps the colony moving. Here is how you can clear the picture without jamming your slots.
Colony Flow Level 505 Overview
What You Are Working With
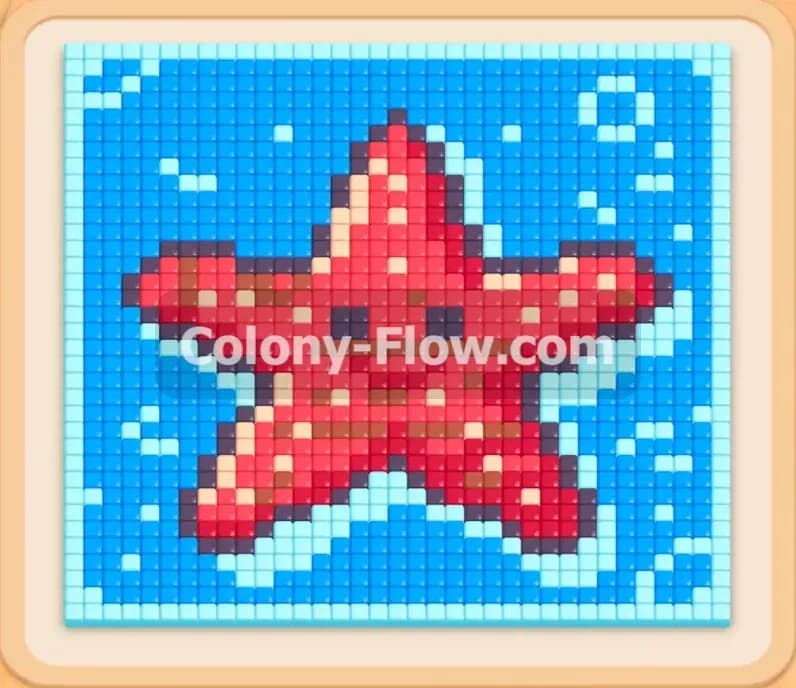
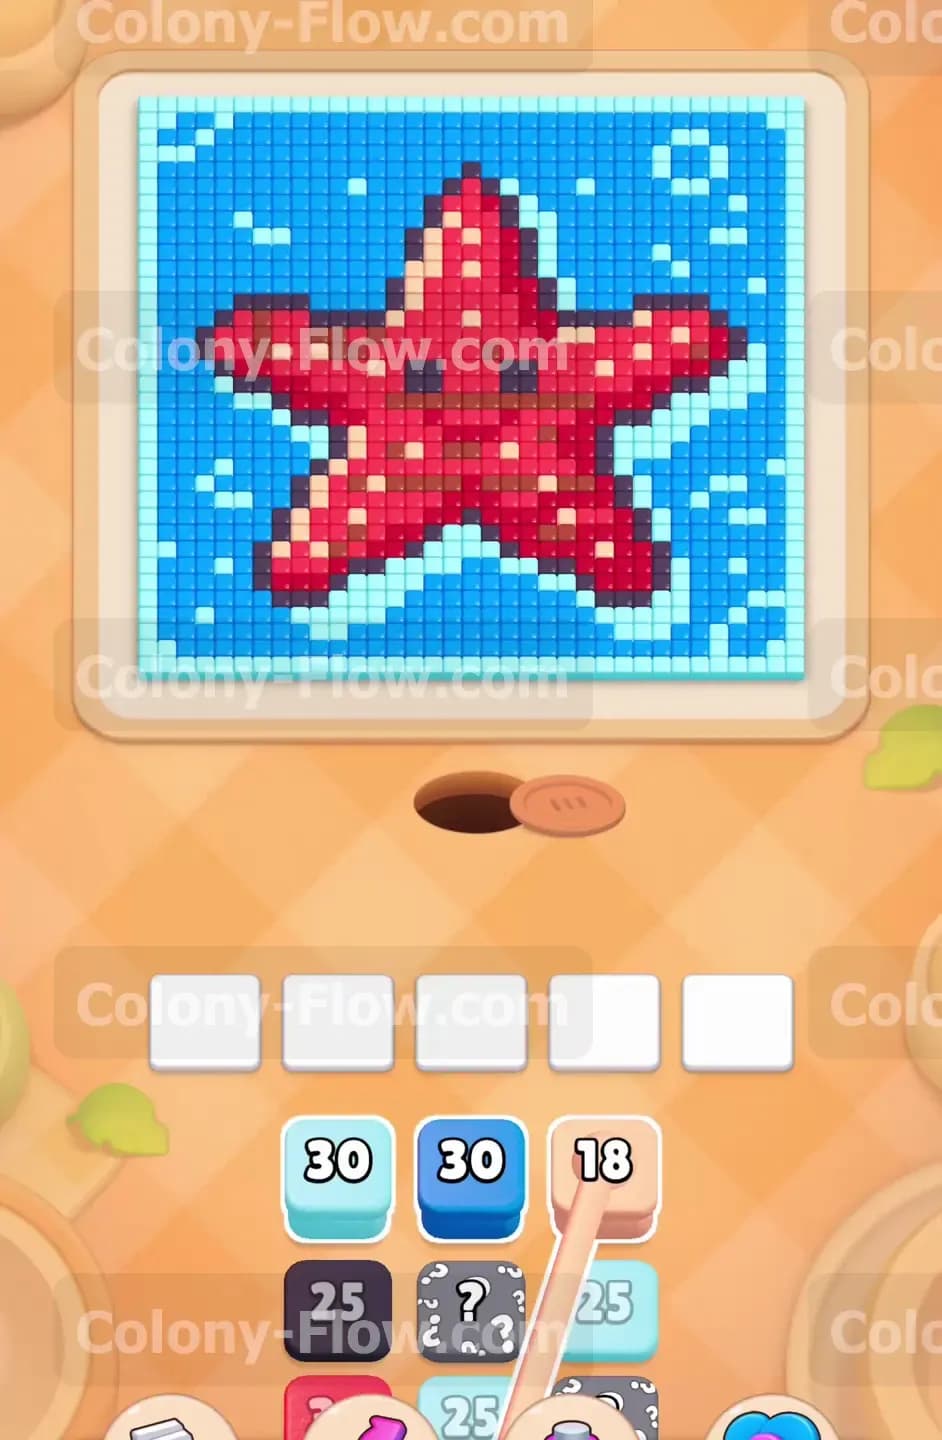
The picture for this level features a large red starfish resting in the ocean. The starfish has a bright red body, dark red outline spots, and black eyes. Some smaller light pink details highlight the underbelly and suckers on the arms. The background consists of solid blue water tiles surrounded by a light blue border and scattered light blue bubbles. The nest hole sits directly at the bottom center. The water tiles block the starfish completely from the starting position.
In your tray, you will find blocks matching all these colors. The tray includes standard single blocks and several connected boxes. Connected boxes link two colors together and take up two spaces in your waiting slots when pulled. You will also notice a few hidden boxes sitting in the lower rows of the tray. These hidden boxes show a question mark and conceal their color until they move up to the front row. You do not have any complex obstacles like chocolate or hungry doors on this board. The challenge comes purely from managing the connected boxes and the sheer volume of tiles.
What It Takes to Clear Level 505 Board
Winning this level requires you to clear every single tile from the board. You win when the starfish and the water completely disappear and the ants finish their routes. The primary rule you must respect is managing your five waiting slots. When you pull a block from the tray, it sits in a waiting slot until ants can access matching exposed tiles on the board. If you pull blocks for colors that are buried behind other tiles, those blocks will sit in the slots and do nothing. If you fill all five slots with blocked colors, the ants stop spawning and you lose the level instantly. You must constantly observe the board and only pull blocks for colors that currently touch empty open space.
Colony Flow Level 505 Step by Step Solution
Step 1: Clear the bottom water to expose the starfish base.
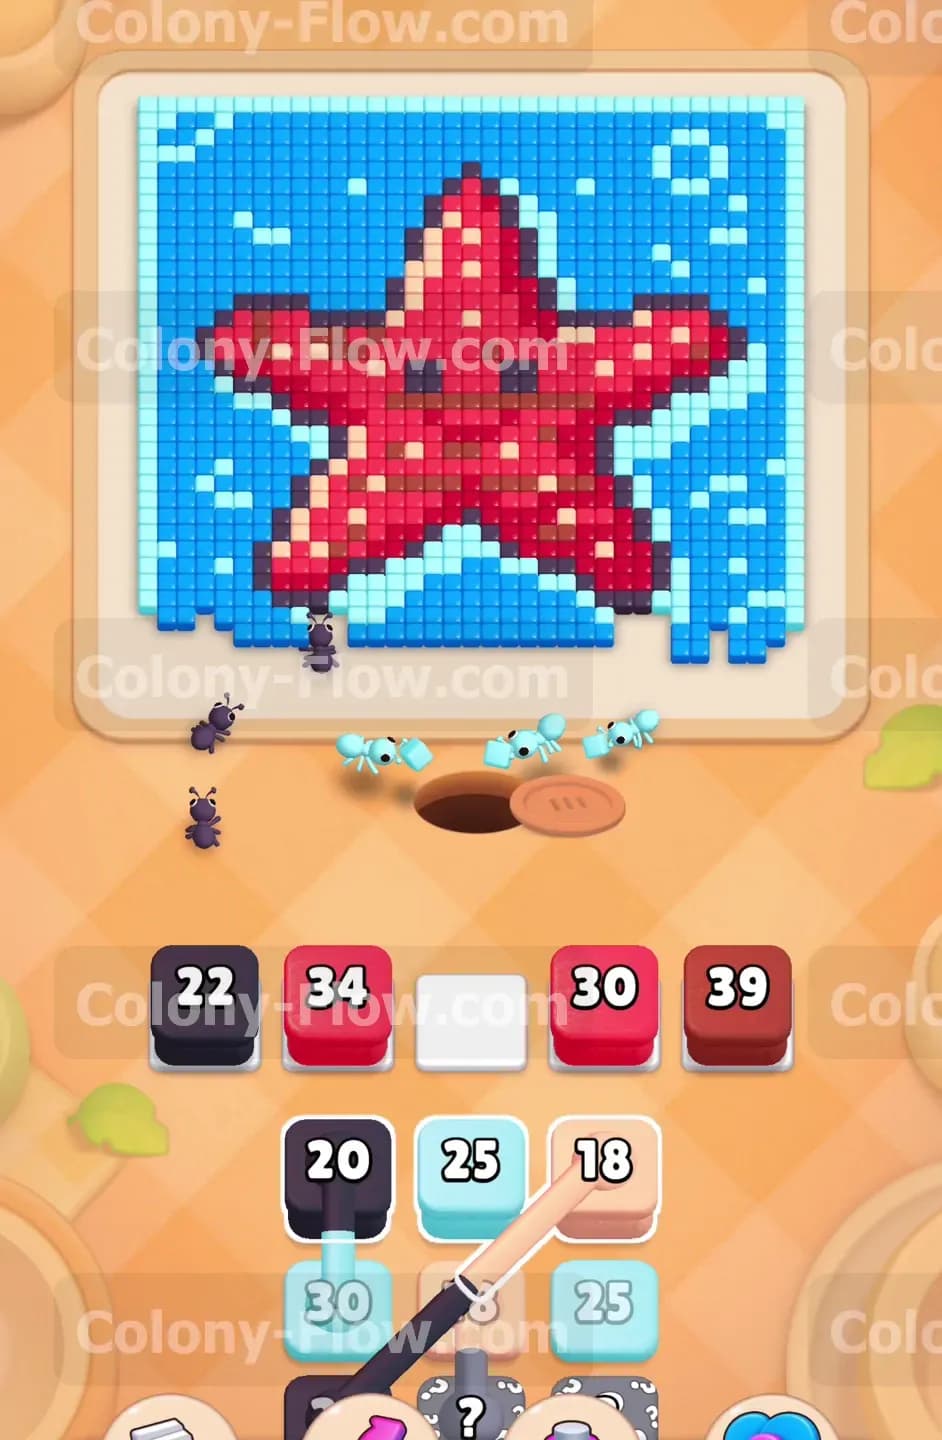
Start the level by pulling the light blue and blue blocks from the front of the tray. These colors match the water tiles sitting right above the nest hole at the bottom of the board. As soon as you pull these blocks, the ants will stream out and begin eating the bottom corners of the water background. This is the safest opening move you can make because the water tiles are directly exposed to the nest. Your waiting slots will clear quickly as the ants chew through the large blue sections. Do not pull any red blocks at this stage. The starfish is completely shielded by the water. If you pull red now, those blocks will just sit in your slots and take up valuable space.
Step 2: Pull red blocks to start clearing the lower arms.
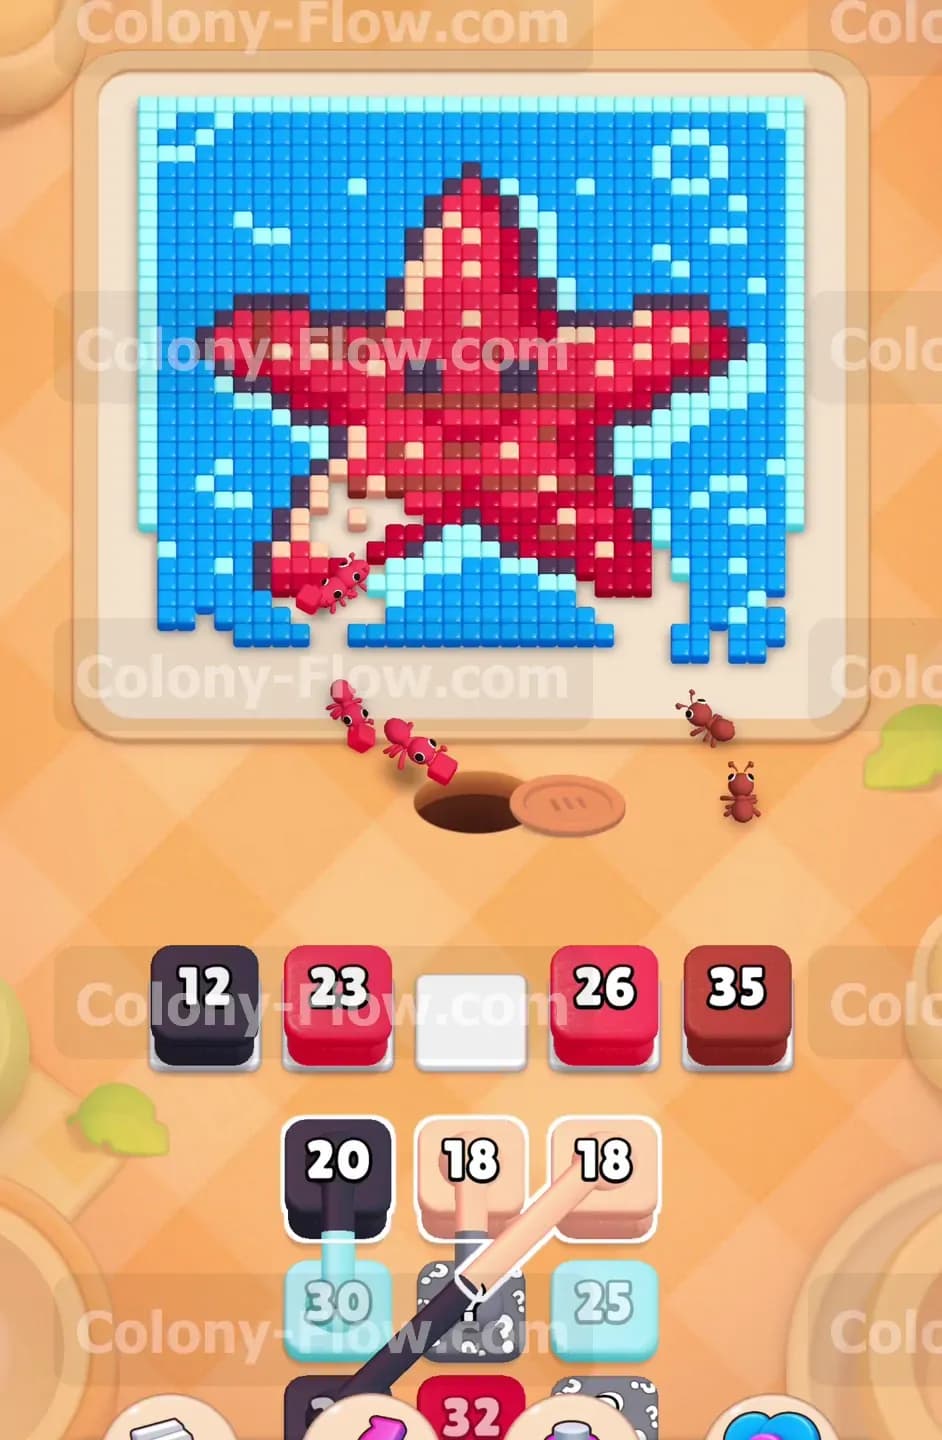
Once the ants clear out the bottom water, the lower arms of the starfish become fully exposed. Now you can safely pull the red and dark red blocks into your slots. You will also see a black block in the tray which you can pull for the darker details on the arms. The ants will immediately transition from the water and begin eating the red body and dark red outline of the lower starfish arms. The numbers on your red blocks will count down steadily. You must monitor your five waiting slots closely during this transition. Only pull a new block if you see that its corresponding color is currently touching the empty space you just created on the board.
Step 3: Handle the first set of connected boxes.
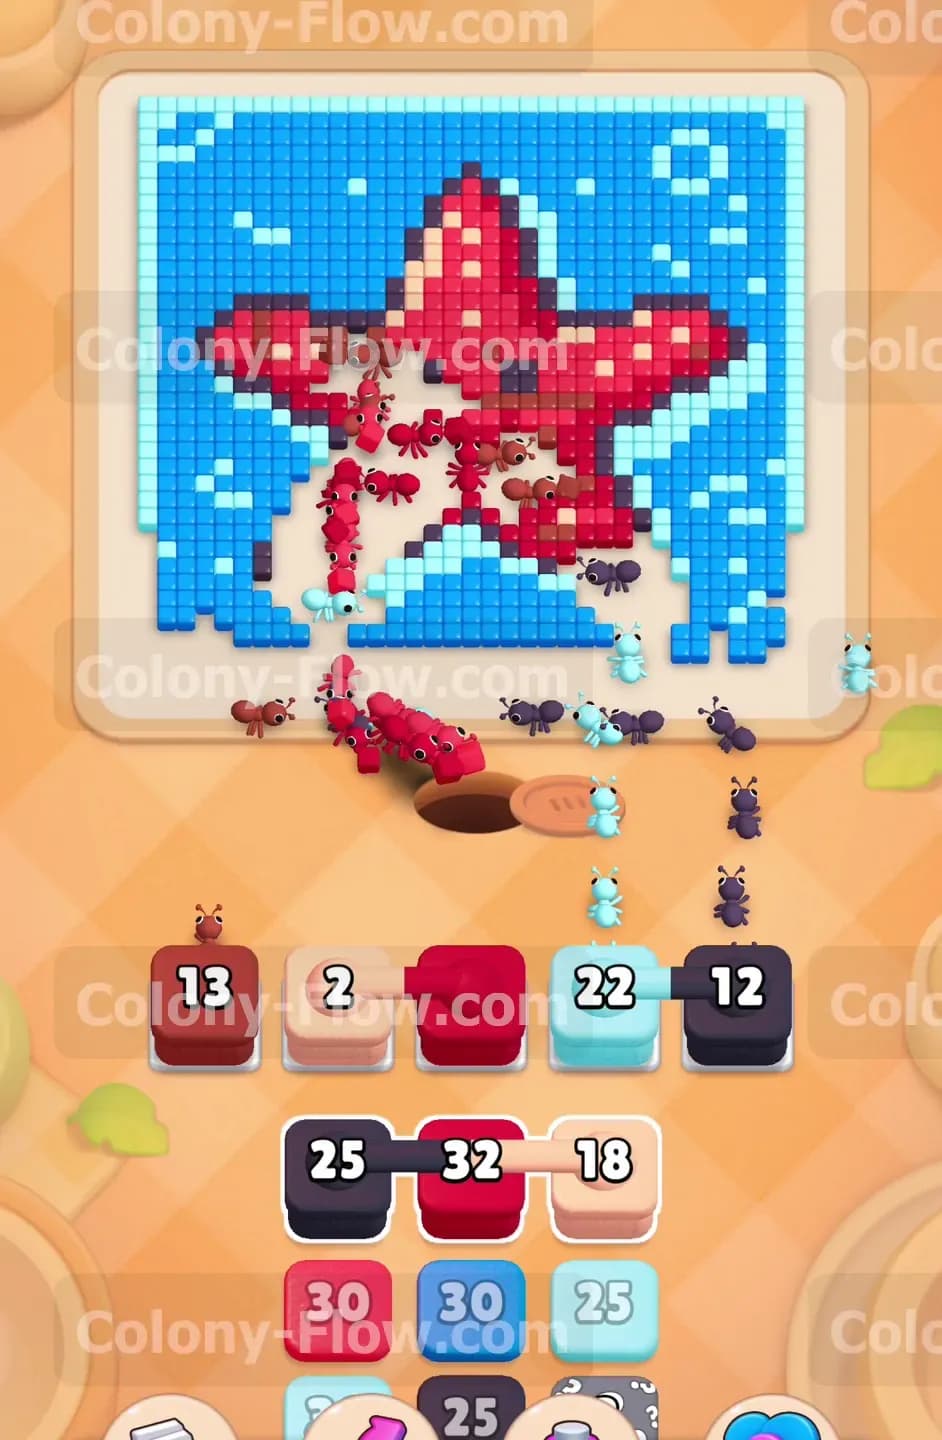
As you clear the front row of the tray, you will encounter the connected boxes. These are two blocks linked together by a thick line. The first connected pair links a dark red block to a light pink block. You have to pull them as a single pair and they will occupy two of your five waiting slots. Before you pull this connected box, look at the board to ensure the ants can reach both colors. The lower arms of the starfish hold the light pink and dark red tiles you need for this pair. Pull the connected pair into your slots. The ants will split up and clear these colors simultaneously. This keeps your slots moving efficiently and prevents a slot jam.
Step 4: Hollow out the lower half of the main body.
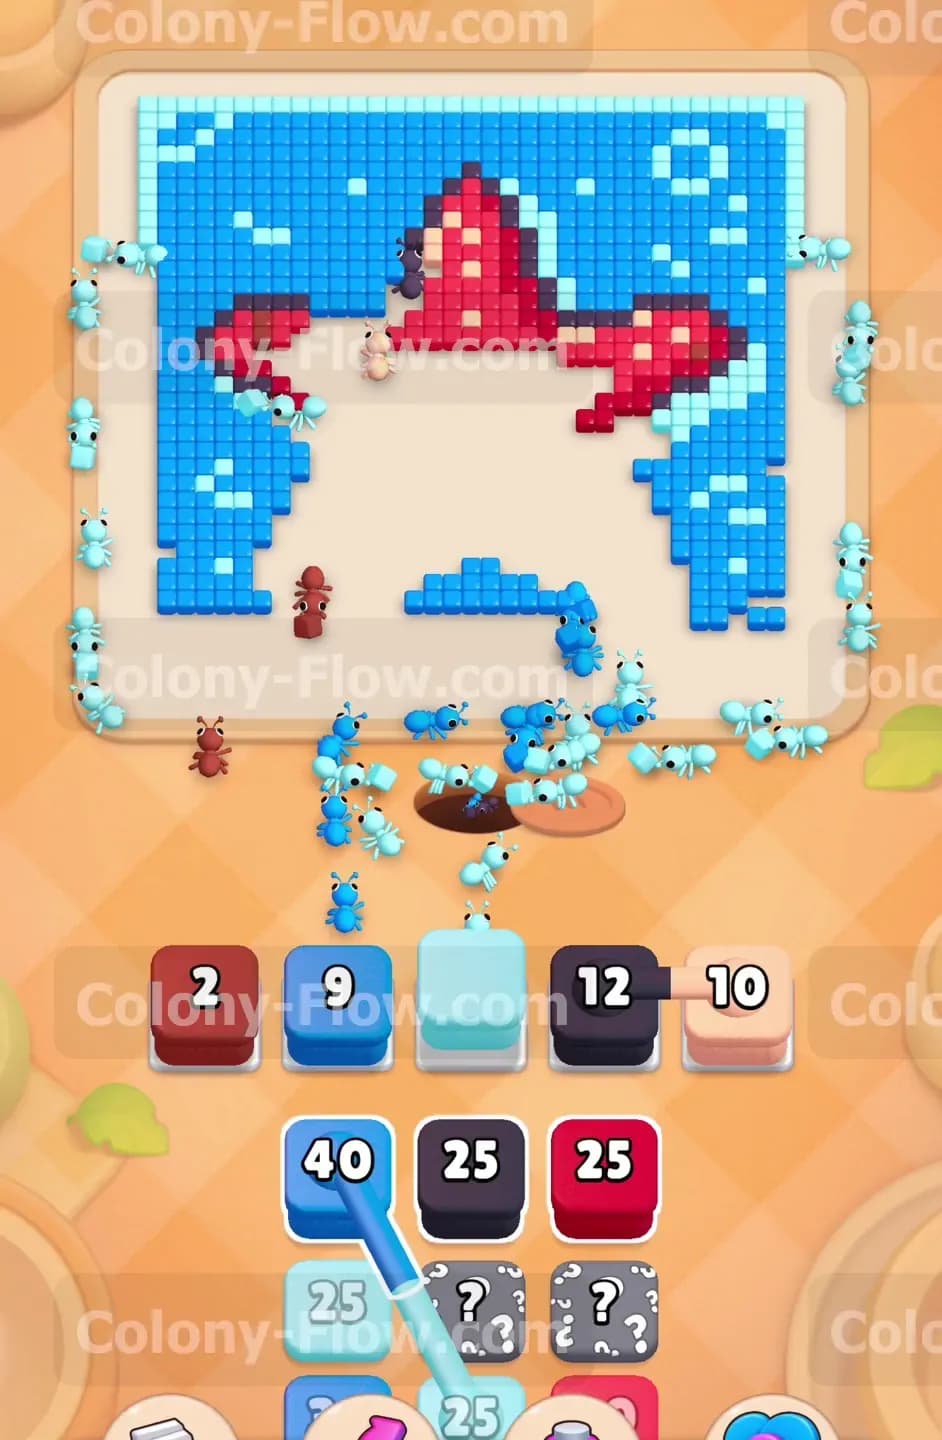
With the lower arms gone, the center of the board opens up beautifully. You need to keep the ants moving upward into the core of the starfish. Pull more red blocks from the tray for the main body. You should also pull light blue blocks to handle the water borders along the lower left and lower right sides. The ants will chew through the center mass of the starfish while separate groups tackle the water edges. This creates a massive clear space in the middle of the board. Your waiting slots will empty fast because the ants have plenty of exposed tiles to work on in multiple directions. Avoid pulling blocks for the top corners of the water until the center is much cleaner.
Step 5: Send ants to clear the black eyes and center spots.
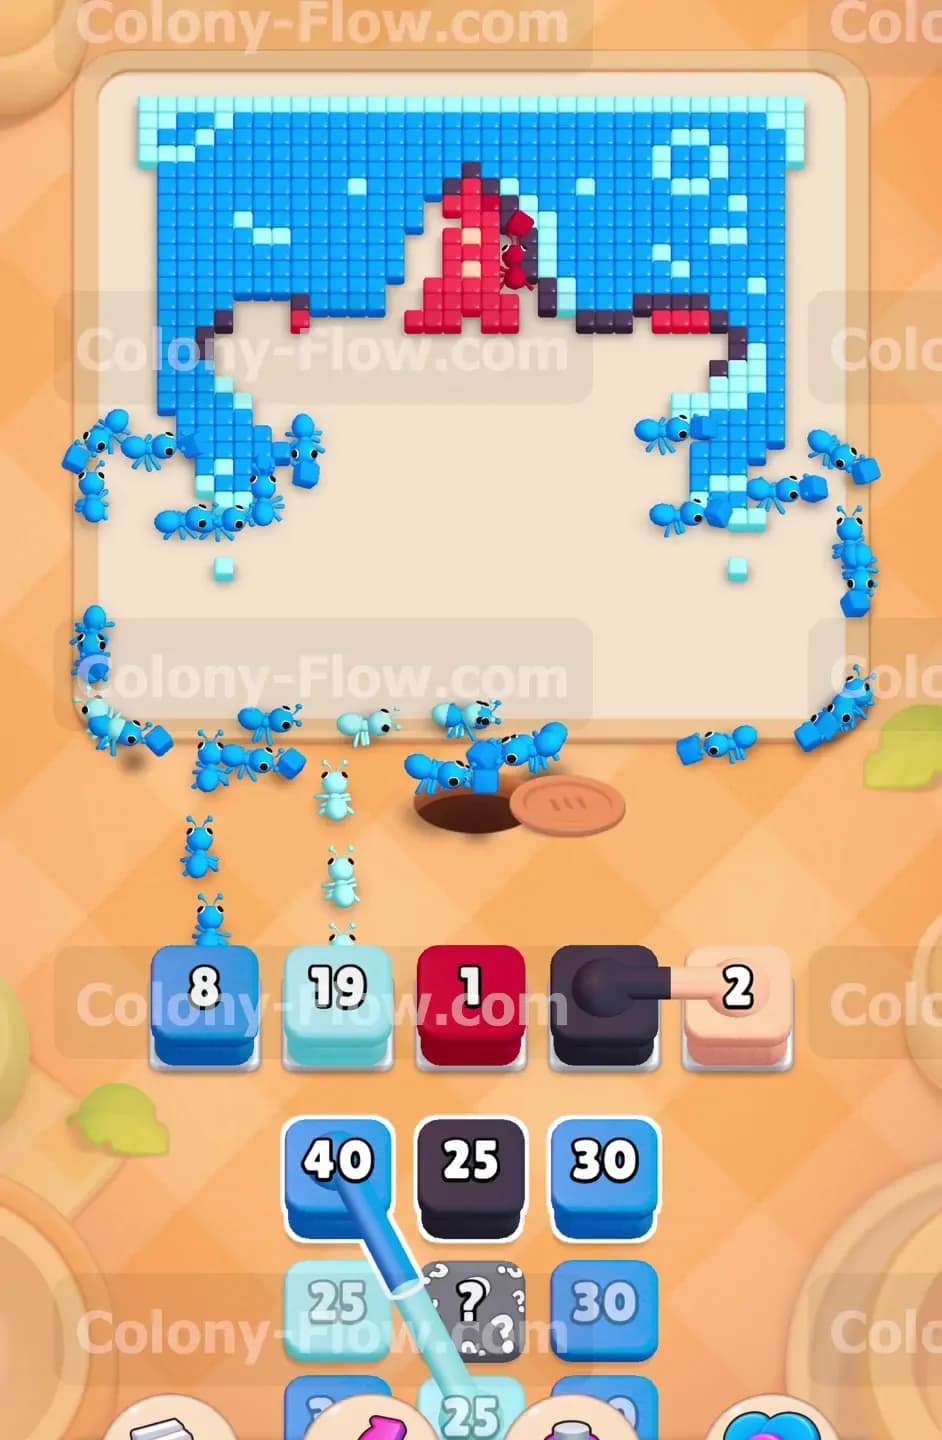
Now the ants have a wide open path to the upper half of the starfish. You will see another connected box pair in your tray. This pair links a black block to a light pink block. The black block is essential for clearing the starfish eyes. Pull this connected pair into your slots. The ants will march straight up the center of the board to clear the eyes and the surrounding light pink details. If you had pulled this connected pair too early, it would have jammed your slots heavily because the eyes were protected by layers of red body tiles. Now they are perfectly exposed and the ants will clear them in seconds.
Step 6: Sweep the left and right water borders.
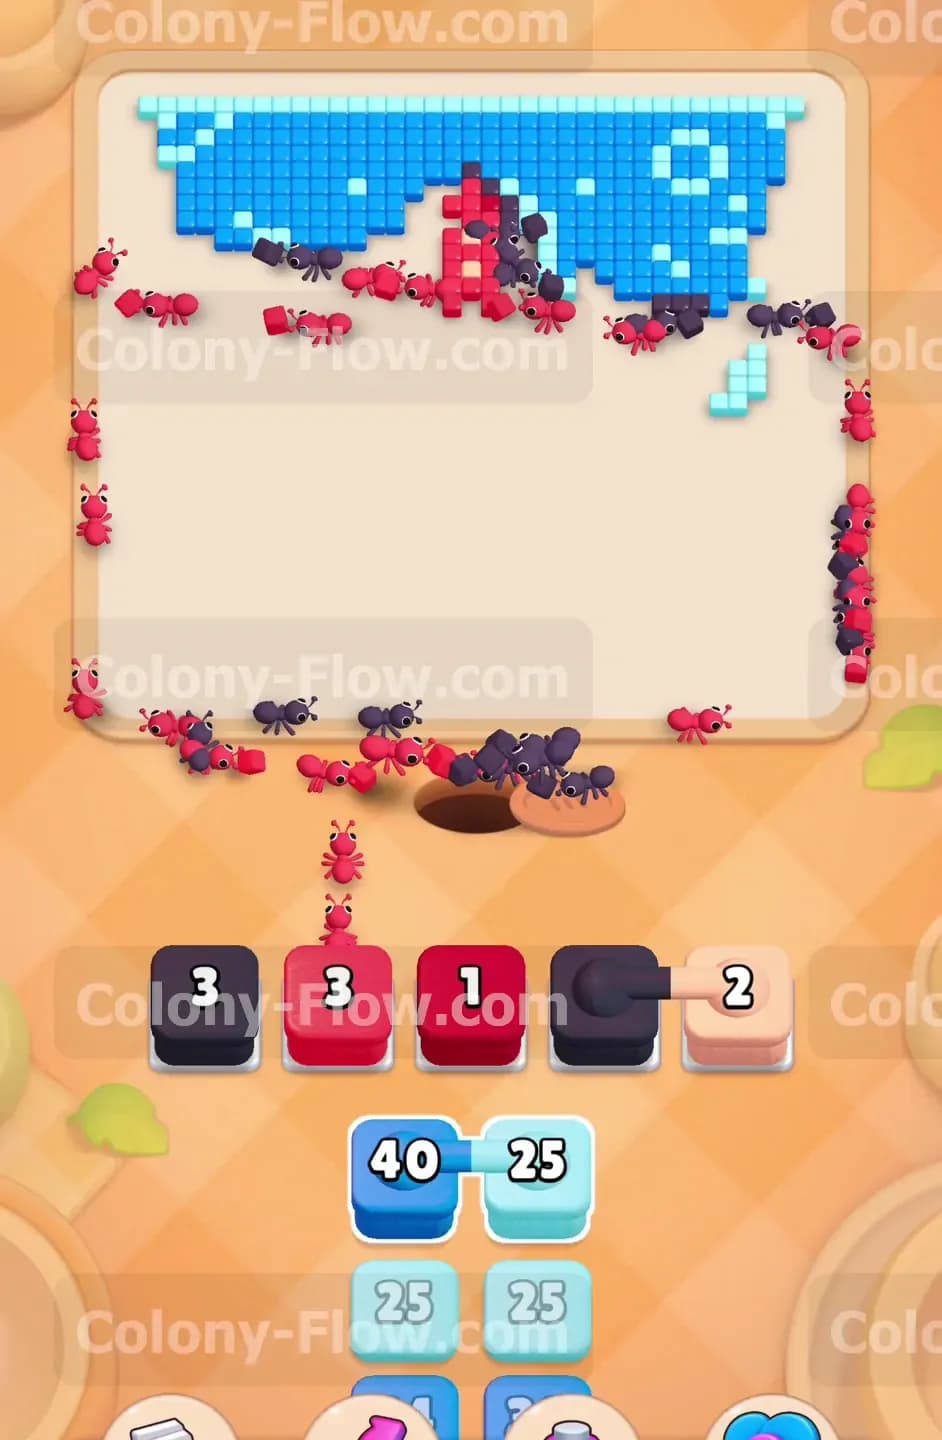
While a few ants finish up the starfish eyes, you can focus on the side borders. The tray will present large number blue and light blue blocks. Pull a blue block and a light blue block into your slots to get the colony moving outward. The ants will travel up the left and right sides of the board to clear the water background and the scattered bubbles. This step requires large swarms of ants. Let the numbers on these blocks count down before you pull too many other things. You want to keep at least two slots open to handle the final pieces of the starfish body.
Step 7: Eliminate the top arm of the starfish.
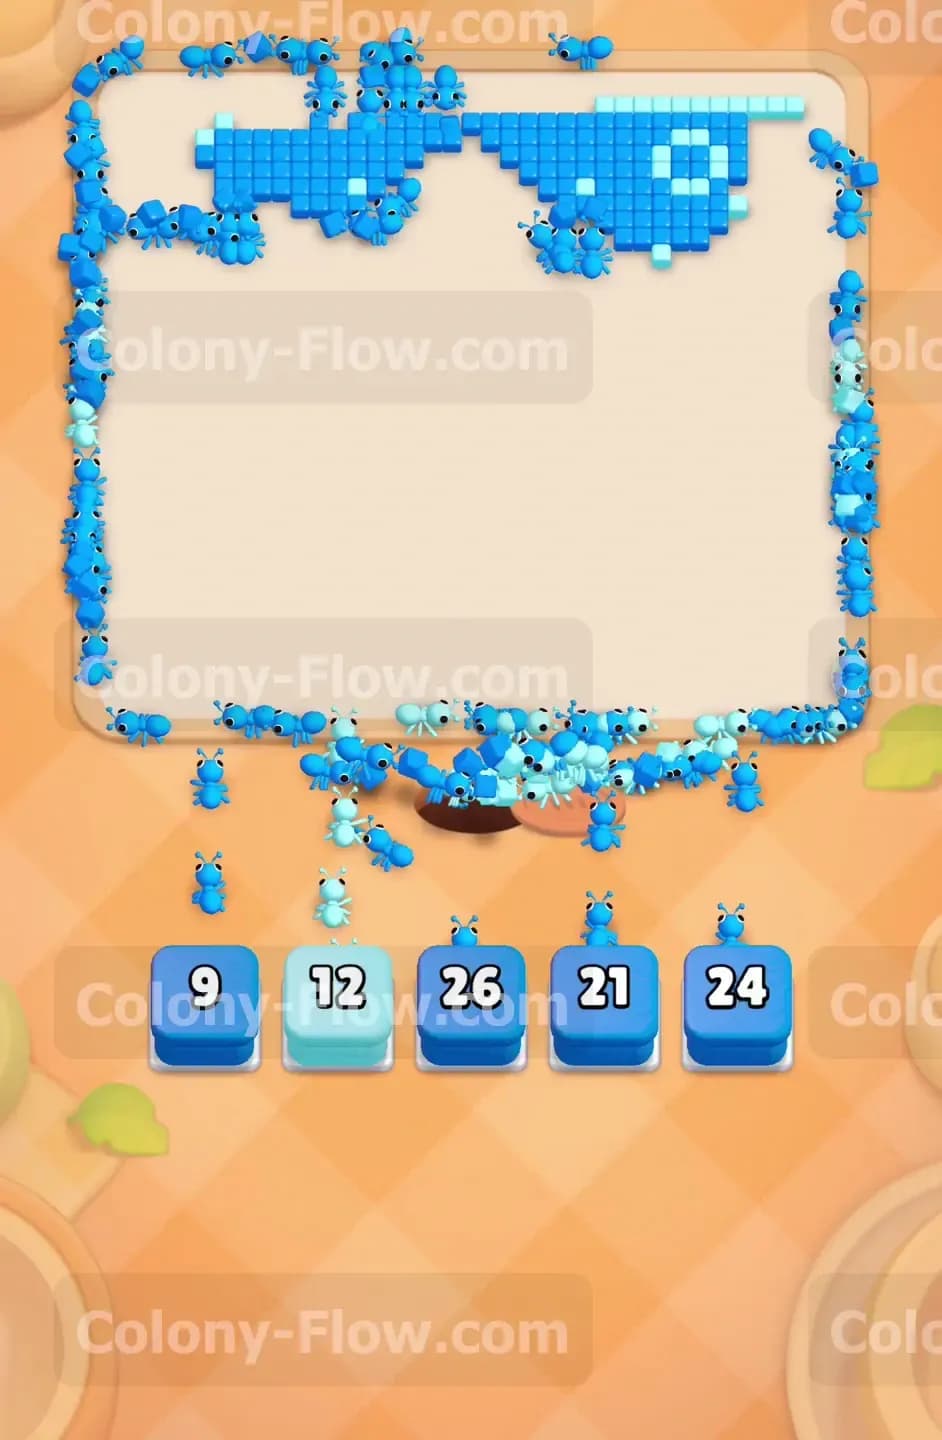
The only part of the starfish remaining is the very top arm pointing straight up. Pull the final red and dark red blocks from the tray. The hidden boxes in the tray will now move to the front and reveal their colors. These hidden boxes often provide the exact red blocks you need to finish the main subject. The ants will rush up to the top center and eat the last red tiles. Watch the board to confirm the starfish is completely gone. At this point your waiting slots should be nearly empty. This leaves you in a perfect position for the final push to clear the board.
Step 8: Flood the final water tiles at the top.
The board now only has the top section of blue and light blue water remaining. Your tray will be full of blue and light blue blocks. You can safely pull these remaining blocks to fill your slots. The ants will swarm the entire top edge of the board in a massive wave. Since all the remaining tiles are exposed and match the blocks in your slots, there is zero risk of a slot jam. The ants will eat the last blue water tiles and the final light blue bubbles. This clears the picture completely and wins the level.
Final Thought
This level teaches you exactly how to manage connected boxes without clogging your waiting slots. Patience is your best tool here. Always make sure you clear the blocking tiles before you pull colors meant for the center of the picture. If you find any step hard to follow in text, I encourage you to watch the video above this article to see the exact timing of every move.