Colony Flow Level 687 Walkthrough Solution & Guides | How to solve Colony Flow 687

Guide By Liam Stone
Updated on August 8, 2026
The article below explains Level 687 in detail, but the video above gets you there faster.
Video doesn't match your screen?
Game updates frequently scramble layouts! Try our AI Screenshot Solver first to find your exact board instantly, or report broken guides to our team.
Colony Flow Level 687 drops you straight into a vibrant desert landscape complete with a giant towering cactus and steep mountains. You must manage a tray packed with massive numbered blocks and hidden boxes that keep their secrets until the right moment. The board is dense and the paths are tangled so I will show you the exact sequence to keep the ants moving. Follow my moves to pull the right colors and manage your waiting slots so you never dead end the board.
Colony Flow Level 687 Overview
What You Are Working With
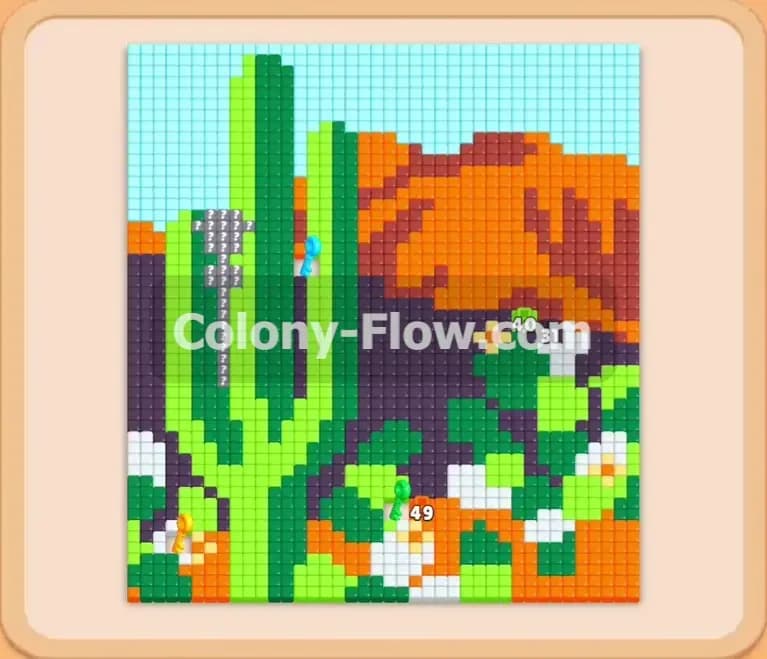
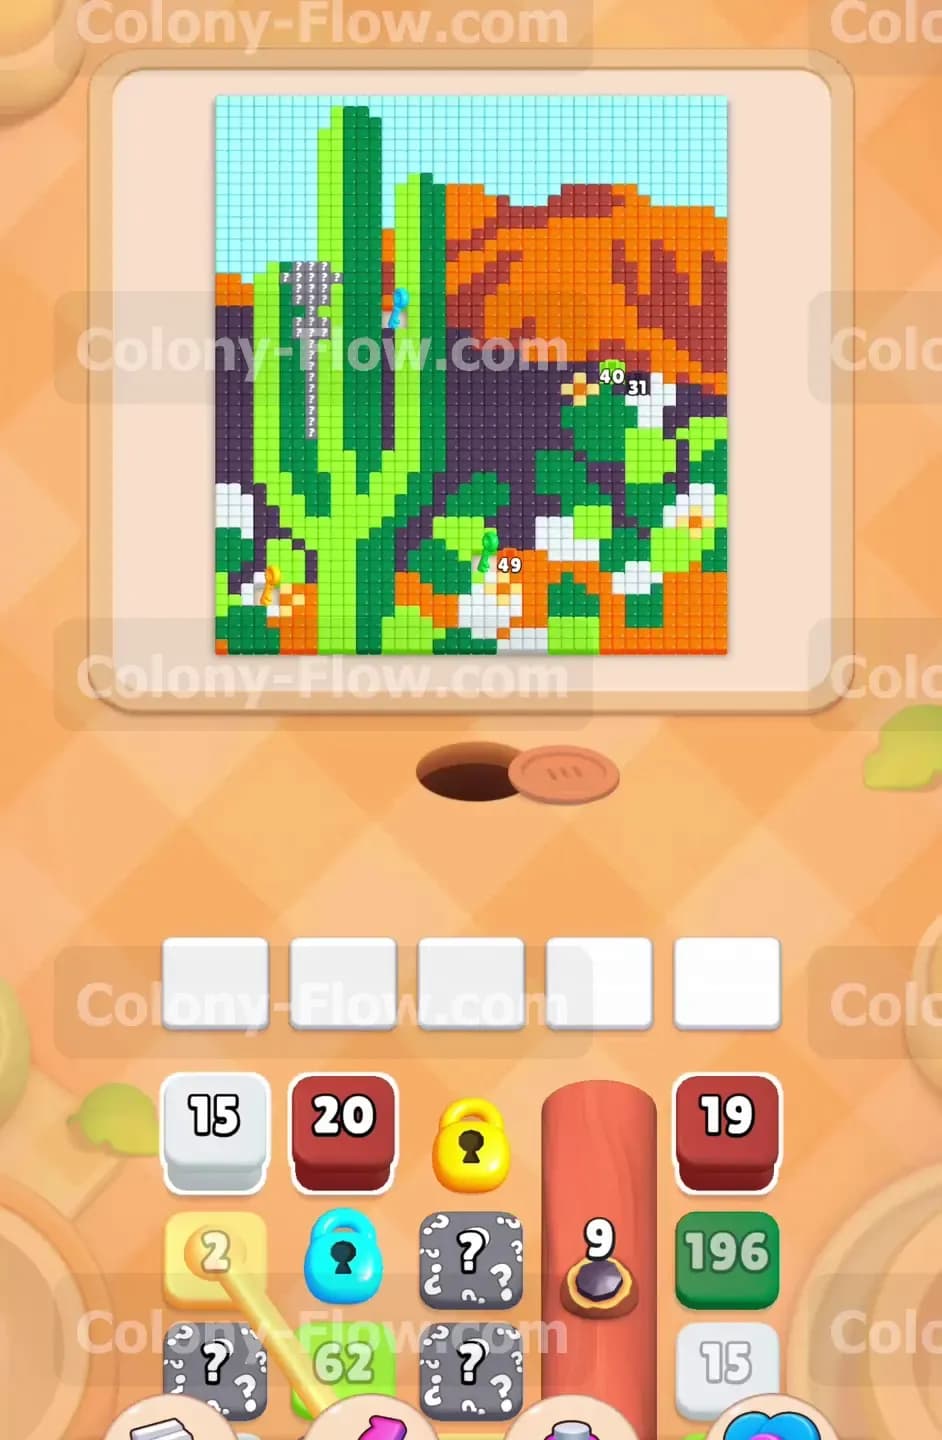
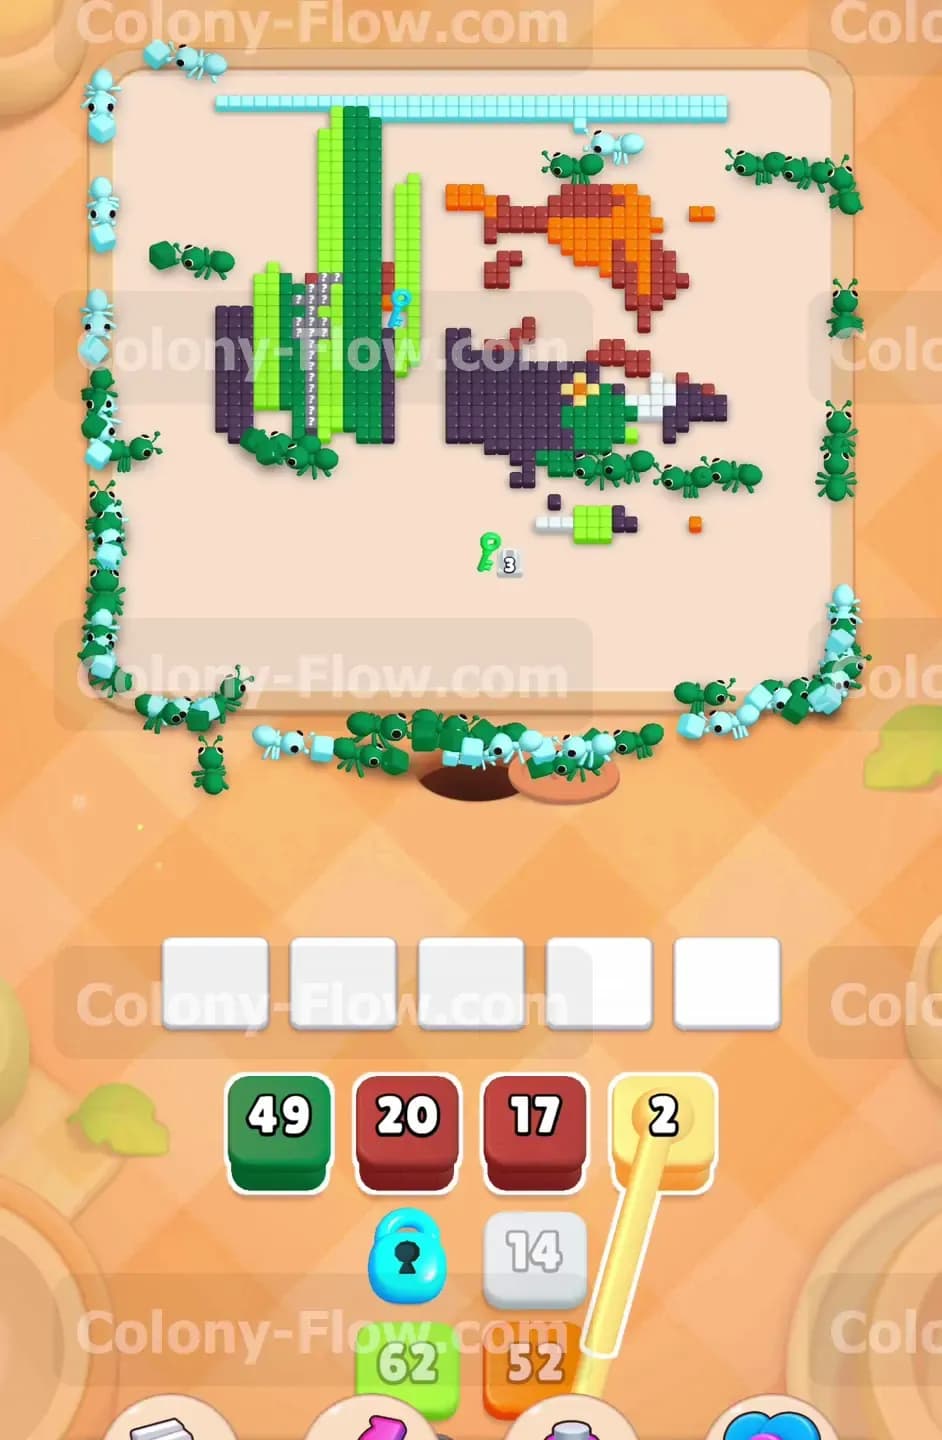
The pixel picture presents a classic desert scene built from hundreds of tiny colored tiles. On the left side a massive green cactus stretches all the way up toward the sky. On the right side steep orange mountains sit heavily above dark purple rocky shadows. Small white stones and flowers are scattered around the bottom edges of the plants and rocks. Across the top of the board a wide stretch of light blue sky hangs over the entire landscape.
Your tray at the bottom of the screen holds the blocks you need to feed your colony. You begin with white blocks dark red blocks and an absolutely gigantic green block holding nearly two hundred ants. You will also see several hidden boxes marked with question marks. These hidden boxes conceal their true color until they have a valid open path to move. The tray also features a lock and key system. A yellow key block sits waiting to be used so you can unlock a blue locked block later in the level.
What It Takes to Clear Level 687 Board
Winning this level requires a very deliberate breakdown of the large color sections before you tackle the smaller details. You cannot simply pull blocks at random. If you fill your five waiting slots with blocks that have nowhere to go you will lose the level instantly. The true challenge is managing the massive green and orange blocks because they take a long time to empty. You must let the green ants slowly chew through the giant cactus while you carefully feed smaller blocks into the open slots to clear the surrounding area. Unlocking the hidden boxes and using the yellow key block at the right time is completely required to reveal the light blue and dark purple blocks. You clear the board when every single pixel tile is eaten and the colony retreats to the nest.
Colony Flow Level 687 Step by Step Solution
Step 1: Deploy the massive green block to tackle the giant cactus
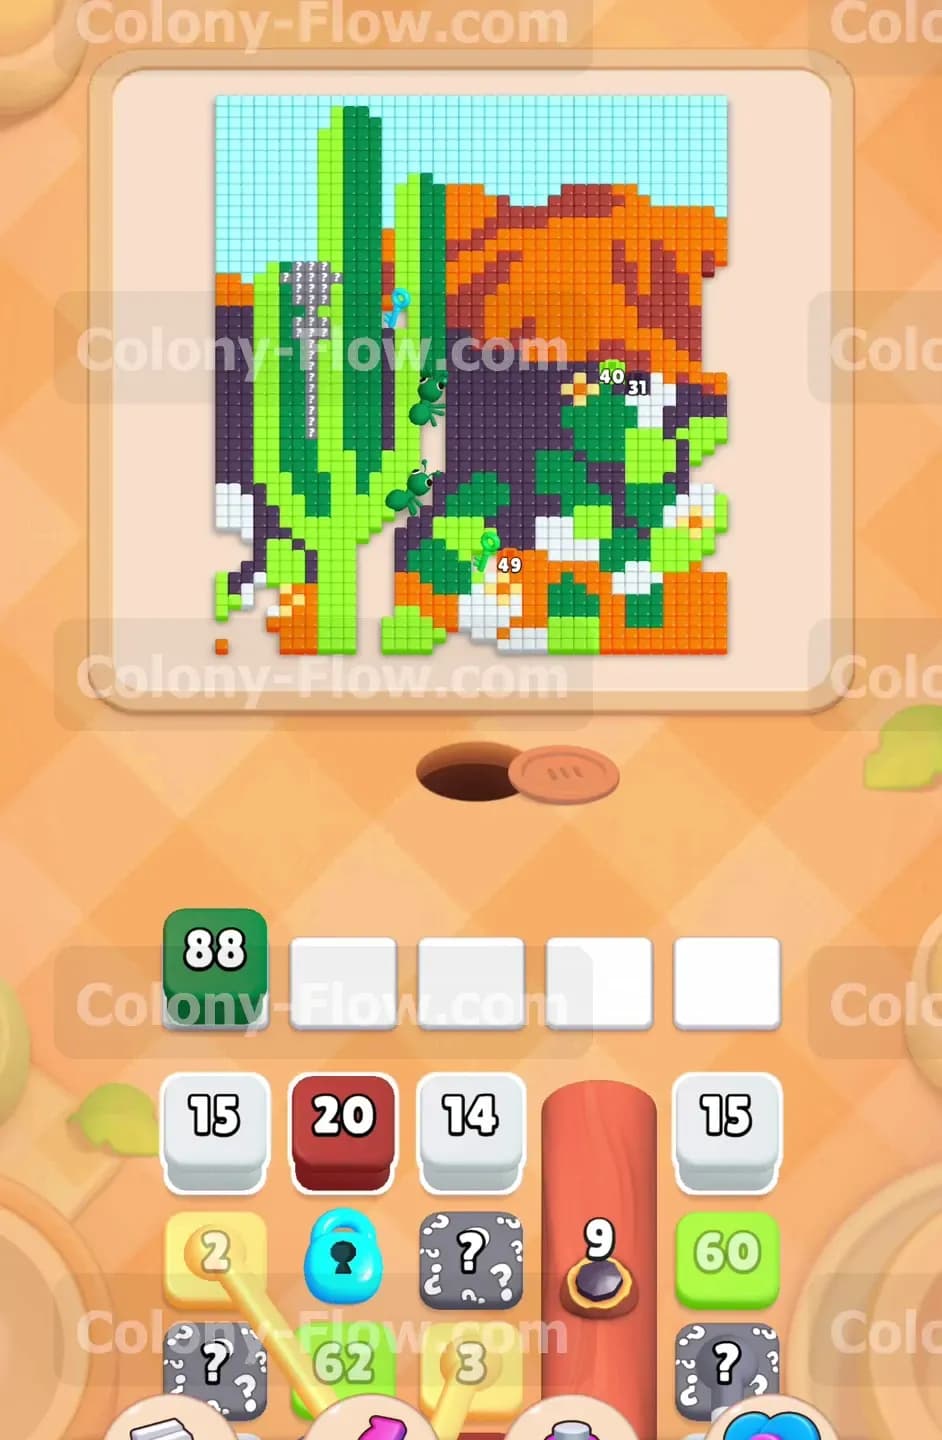
The most important starting move is to pull the gigantic green block located at the bottom right of your tray. This block holds almost two hundred ants which is an enormous number for a single block. When you place it into your first waiting slot a huge stream of green ants pours out of the nest hole. They immediately march up the board and begin eating the huge cactus on the left side. They also target the smaller green bushes scattered among the orange rocks on the right. Because this green section is so large it will take a significant amount of time for the ants to finish the job. You will watch the number on the green block slowly drop from the high hundreds down into the single digits. During this long process you must remain patient. You only have four open waiting slots left. If you panic and fill them with colors that cannot reach their tiles your board will jam. You must let the green ants do their heavy lifting and open up the outer edges of the cactus before you make too many other moves.
Step 2: Send out white ants to clear the scattered stones
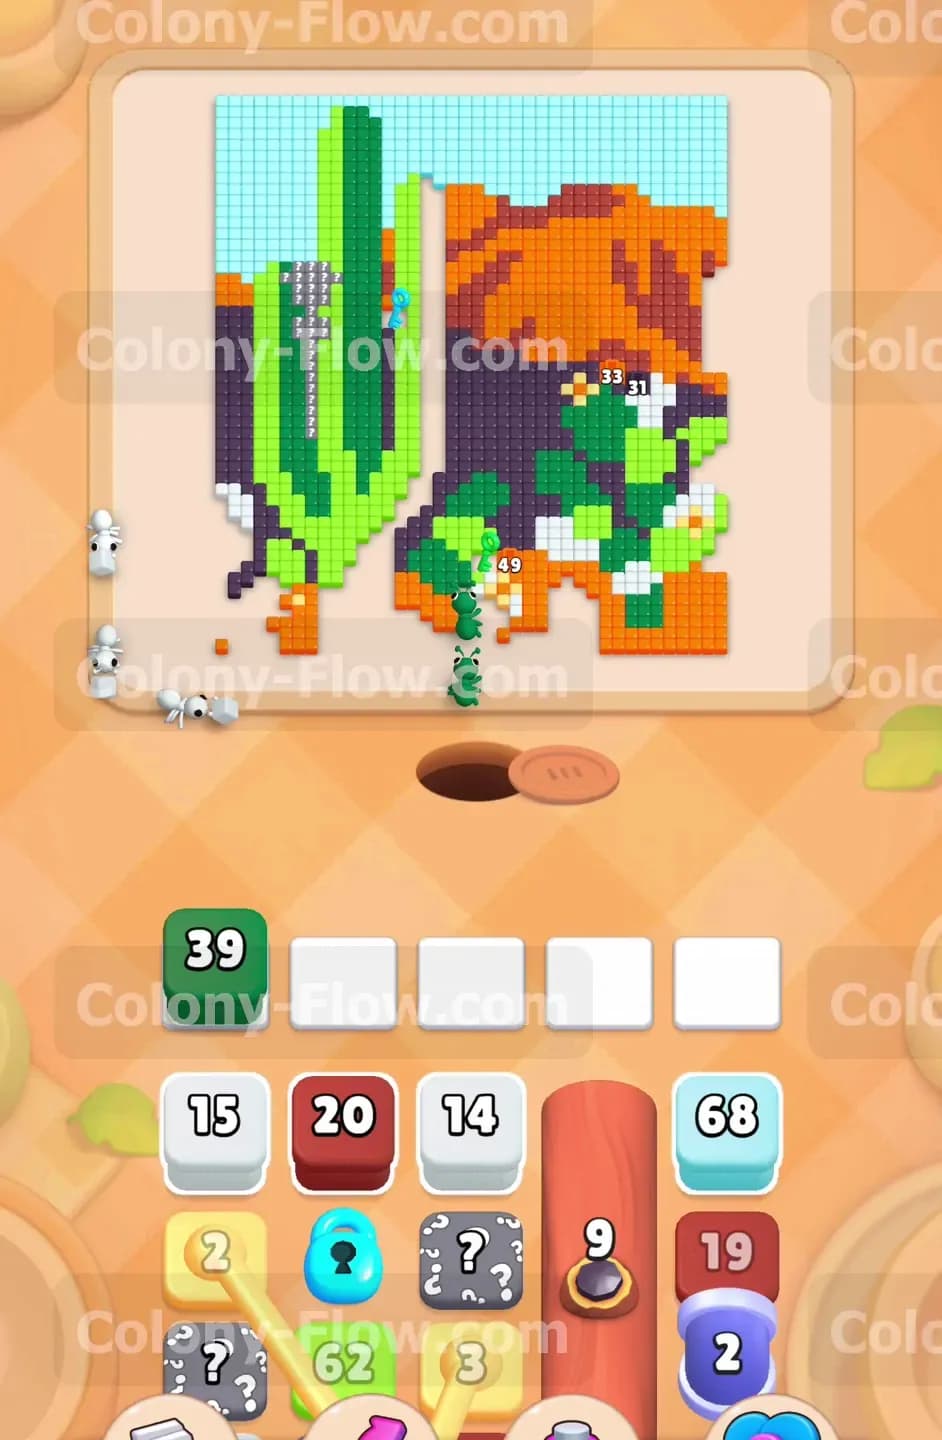
While the green ants are diligently eating away at the cactus you can start working on the white tiles. There are white blocks sitting in the top row of your tray ready to be used. You pull a white block into your second waiting slot. The white ants emerge and smoothly navigate around the flowing stream of green ants. They head straight for the small white pixel clusters located near the bottom of the picture. These white tiles act like barricades that block access to the deeper orange and dark purple sections of the puzzle. By clearing the white tiles early you create multiple entry points for future colors. This step is necessary for maintaining the flow of the colony. The white blocks hold relatively small numbers so they will clear out of your waiting slots quickly. This rapid turnover frees up space and keeps you completely safe from the five slot lose condition. You must always ensure that at least one block in your waiting slots is actively sending out ants.
Step 3: Reveal hidden tray items and deploy new colors
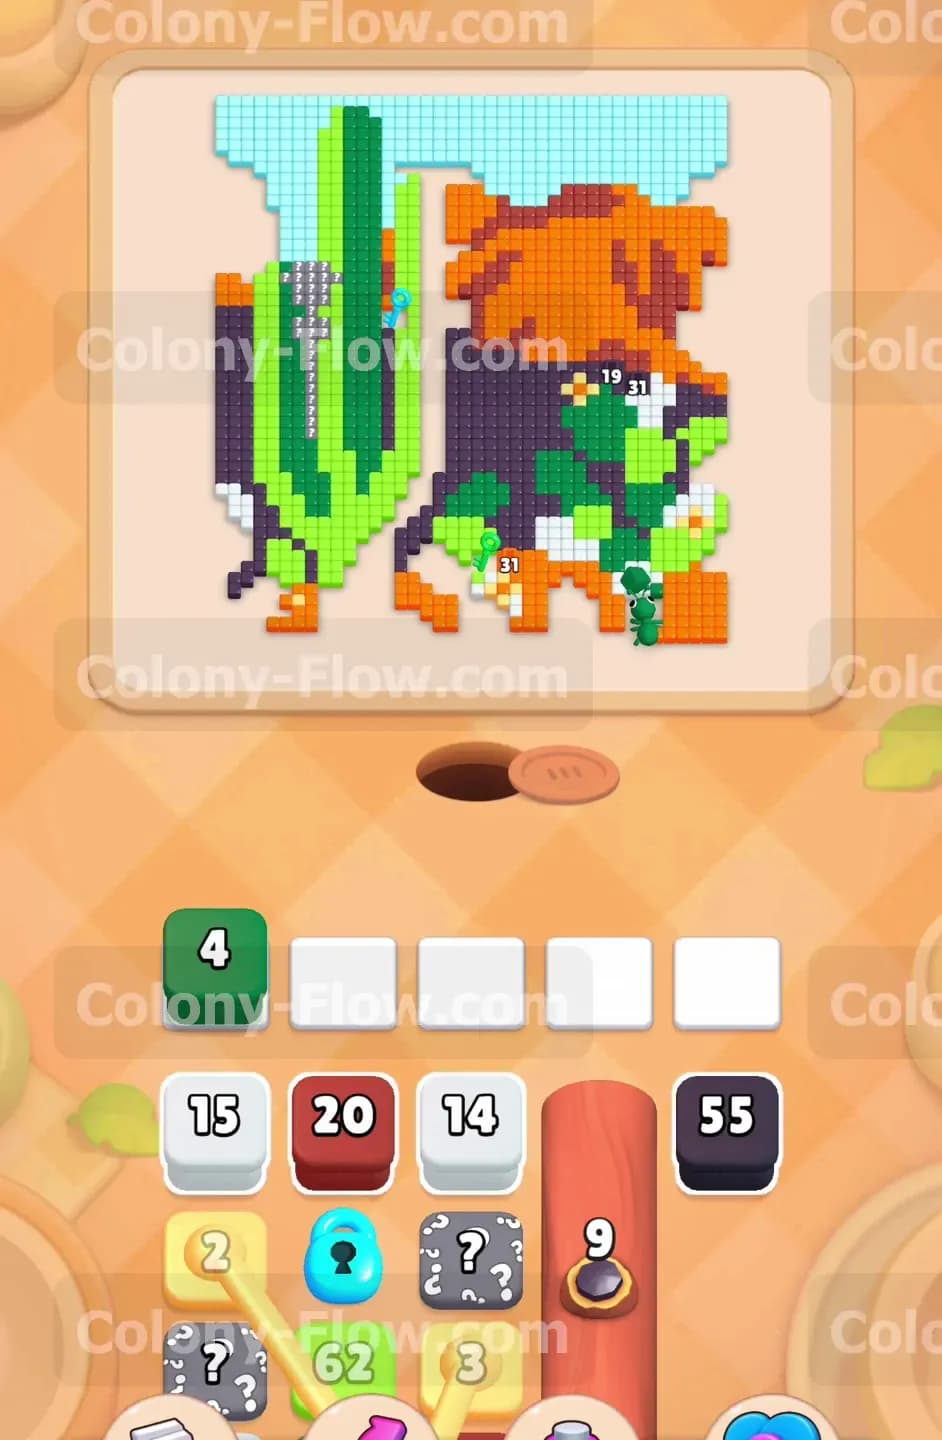
As the white stones disappear and the green cactus shrinks the hidden boxes in your tray start to activate. These boxes drop their question marks and reveal new colors like light blue and dark purple. You pull a dark purple block into an open waiting slot to target the dark shadows beneath the orange mountains. The dark purple ants rush out and split into multiple groups. One group heads left to clean up the soil under the cactus base while another group heads right to eat the rocky crevices. Clearing these dark purple areas severs the physical connection between the mountains and the ground. This separation creates a massive open space in the lower half of the board. This wide open space allows ants of any color to travel much faster to their remaining destinations. You must keep a close eye on your waiting slots during this phase. If a dark purple block gets stuck waiting for a specific path to open you must rely on the active green ants to clear the way.
Step 4: Unleash the orange ants on the mountain rocks
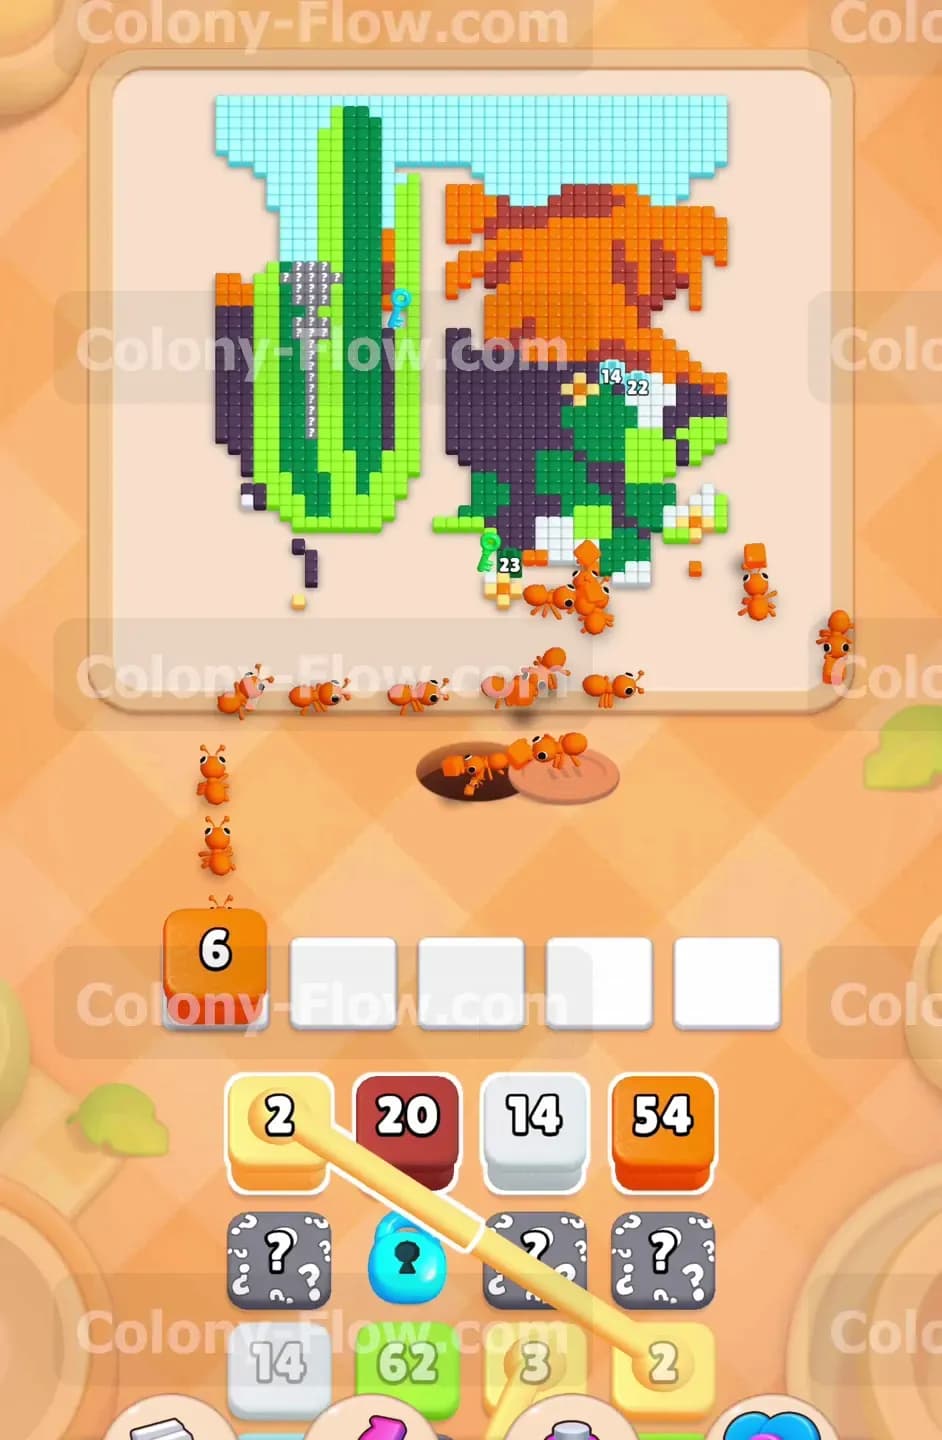
With the lower bushes and dark purple shadows completely out of the way you now have a clear path to attack the orange mountains. You pull a large orange block from the tray into your waiting slot. The orange ants swarm out and head straight for the massive rocky structure dominating the right side of the picture. The orange section is thick and dense so the ants will eat it from the outside edges moving inward. This is another moment where extreme patience is required. The orange block holds a high number of ants so it will sit in your waiting slot for quite a while. You must ensure that the orange ants have uninterrupted access to the mountains. If you accidentally pull a block that blocks their path the waiting slot will jam and you will fail the level. As the orange mountains slowly disappear the entire right side of the board becomes totally clear. The picture transforms from a crowded desert scene into a sparse collection of floating tiles.
Step 5: Unlock the restricted tray blocks by collecting keys
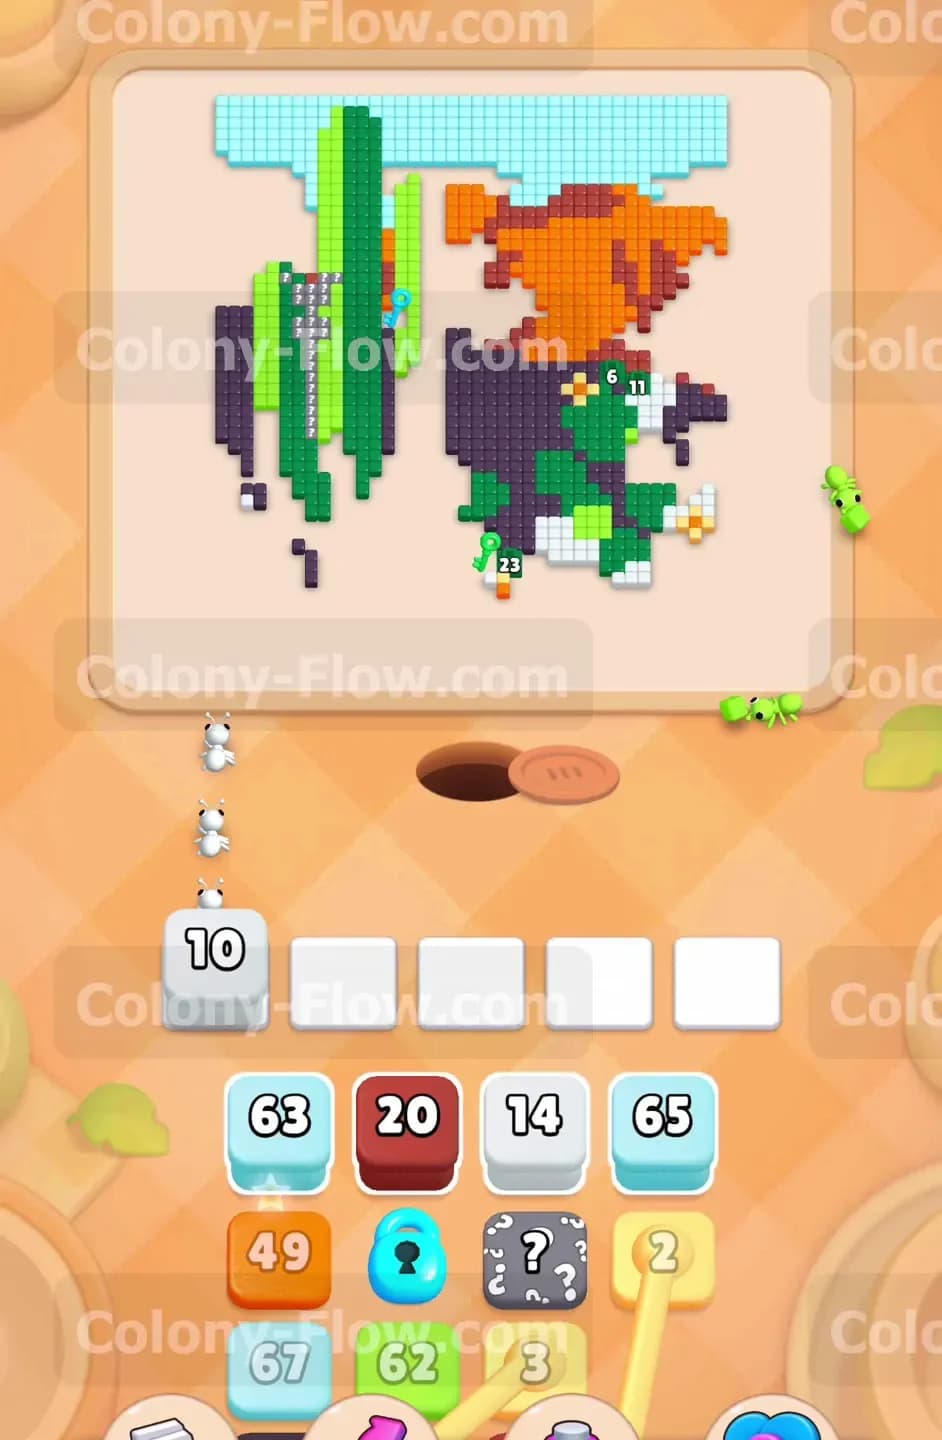
During the chaos of clearing the mountains you will notice a yellow key block sitting patiently in your tray. You also have a blue block covered by a heavy lock icon. To get past this restriction you must use the yellow key block. You pull the yellow block into an open waiting slot. The yellow ants sprint up the board to collect the specific yellow key tiles embedded in the remaining picture fragments. Once the ants consume these keys the blue lock in your tray instantly shatters. This mechanic forces you to prioritize certain areas of the board before moving forward. Breaking the lock reveals the final colored blocks that were previously restricted. You suddenly have access to the exact blocks you need to finish the upper portions of the picture. You must never ignore the key blocks. If you leave them in the tray too long you will eventually run out of playable blocks and stall your progress.
Step 6: Clear the light blue sky at the top of the board
The only major section left untouched is the light blue sky stretching across the very top of the board. Thanks to the hidden boxes revealing their secrets earlier you now have large light blue blocks available in your tray. You pull a light blue block into a waiting slot. The light blue ants have a very long journey ahead of them. They must march from the nest hole all the way up through the massive empty space left by the cactus and mountains to reach the top edge. Because the board is mostly empty the ants move very fast. They spread out along the top row and rapidly consume the sky tiles. You will likely need to use multiple light blue blocks to finish the entire sky. Always wait for the first light blue block to finish before pulling the second one. This conservative approach guarantees that your waiting slots remain open and flexible for the final cleanup.
Step 7: Clean up the final scattered patches
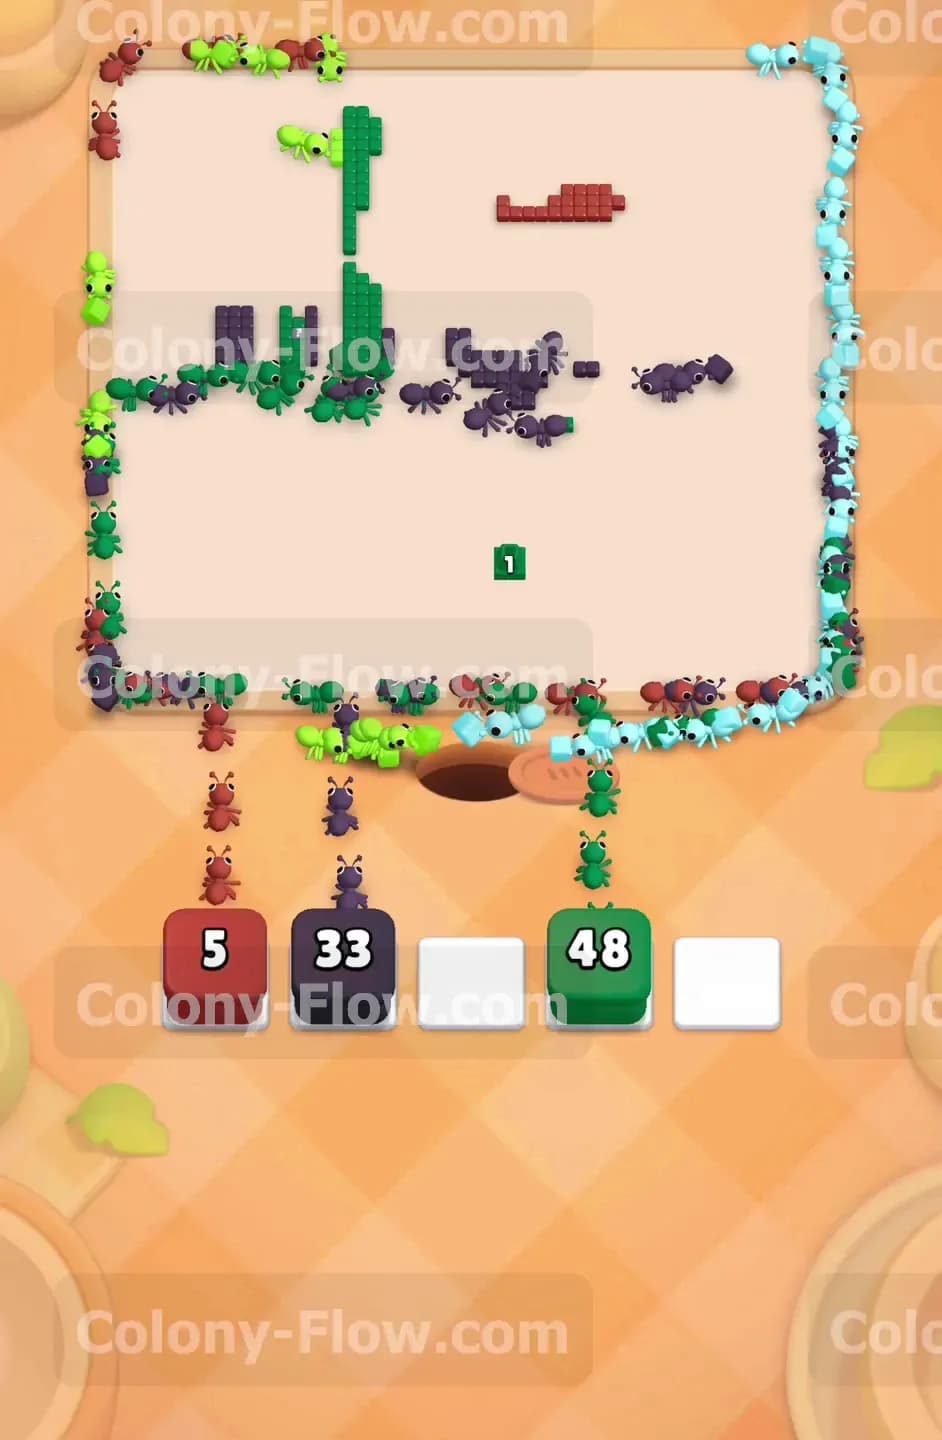
At this late stage the beautiful desert picture is completely gone. All that remains are a few random isolated clusters of dark green dark red and leftover dark purple tiles. Your tray is also nearly empty holding just the last few required blocks. You pull the remaining dark green and dark red blocks into your waiting slots. The ants flood the wide open board from all directions. They quickly surround the final isolated tiles and eat them up without any hesitation. There is absolutely no risk of traffic jams here because the paths are completely clear and wide open. You just sit back and watch the ants finish their meal. They will run along the outer borders of the board in a final lap. Once the very last colored pixel is consumed the ants retreat back into the nest hole and the level ends in a total victory.
Final Thought
Colony Flow Level 687 is a perfect test of patience and slot management. You must respect the massive green and orange blocks and let them do their work without crowding the board. If you follow this exact sequence of clearing the outer layers before attacking the sky and shadows you will easily beat the level. If any specific move feels tricky or hard to visualize in text I highly encourage you to watch the video above this article to see the exact ant paths in motion.