Colony Flow Level 29 Walkthrough Solution & Guides | How to solve Colony Flow 29

Guide By Liam Stone
Updated on July 10, 2026
Rather watch than read? The video above walks through Level 29 step by step.
Video doesn't match your screen?
Game updates frequently scramble layouts! Try our AI Screenshot Solver first to find your exact board instantly, or report broken guides to our team.
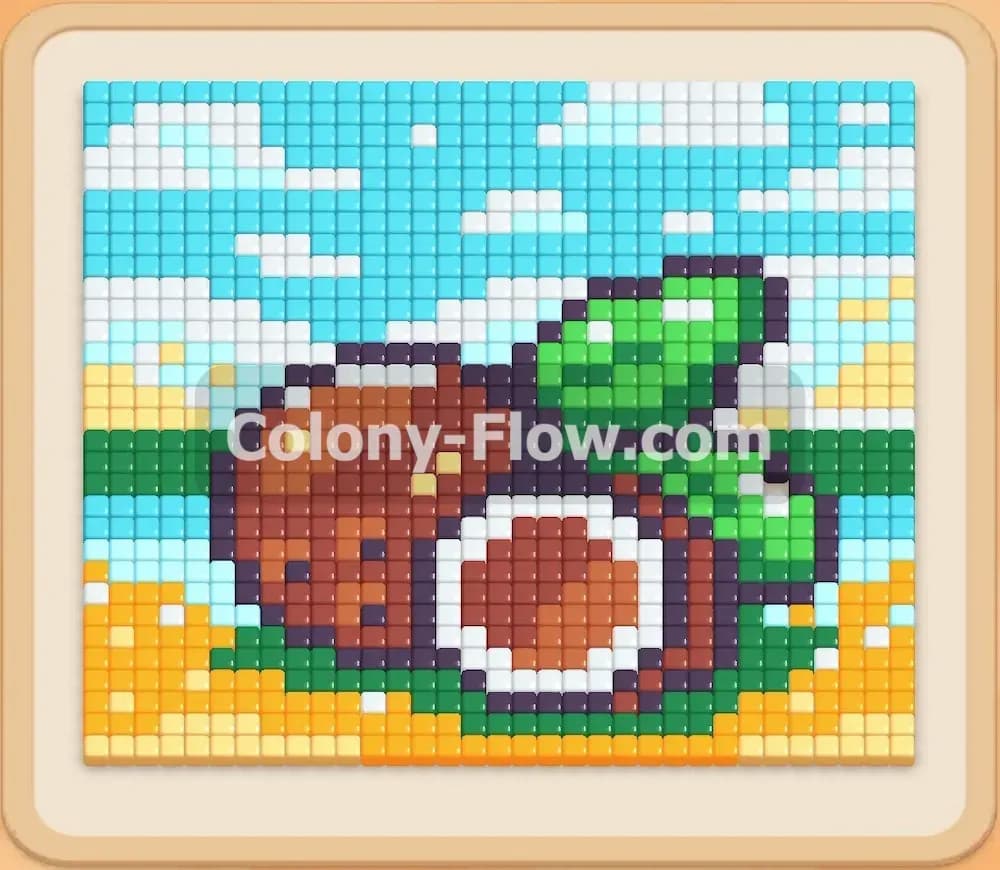
Colony Flow Level 29 brings a fun pixel art picture of a round blue creature wearing a pumpkin on its head. You will need to manage a deep tray full of colored blocks to feed your ants. I played through this board to map out the exact sequence of moves. Following this guide will help you keep your paths open and clear the entire picture without jamming your slots.
Colony Flow Level 29 Overview
What You Are Working With
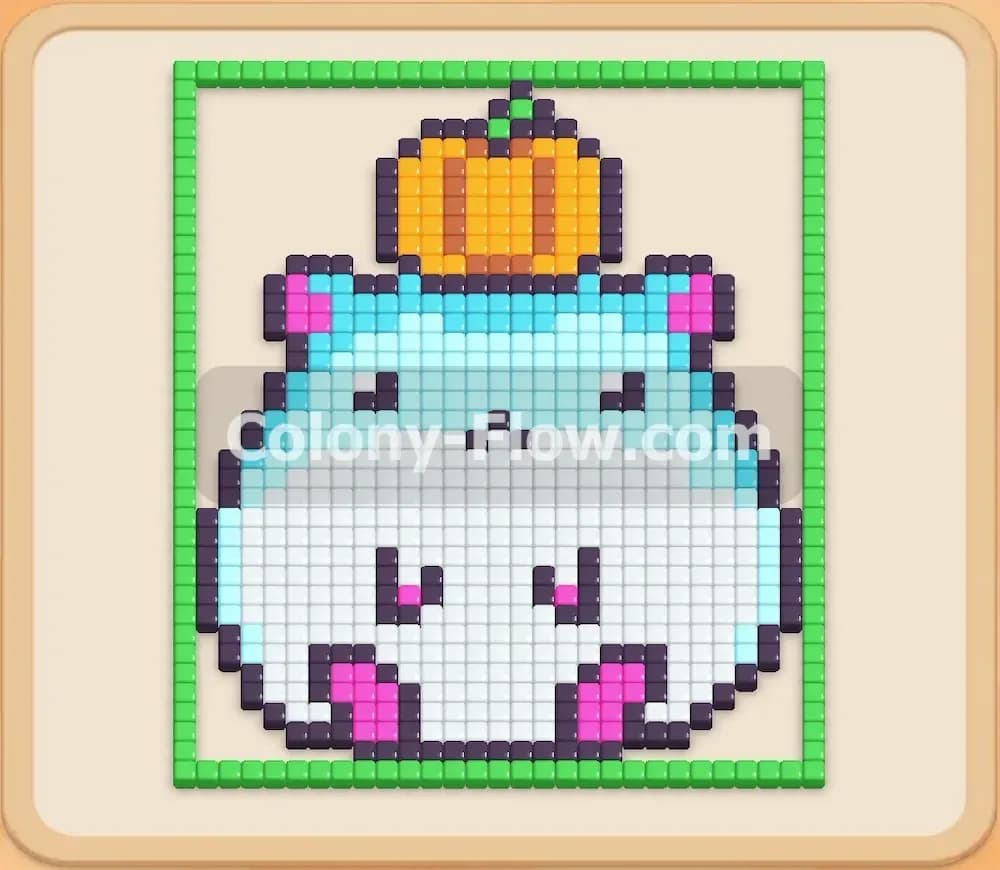
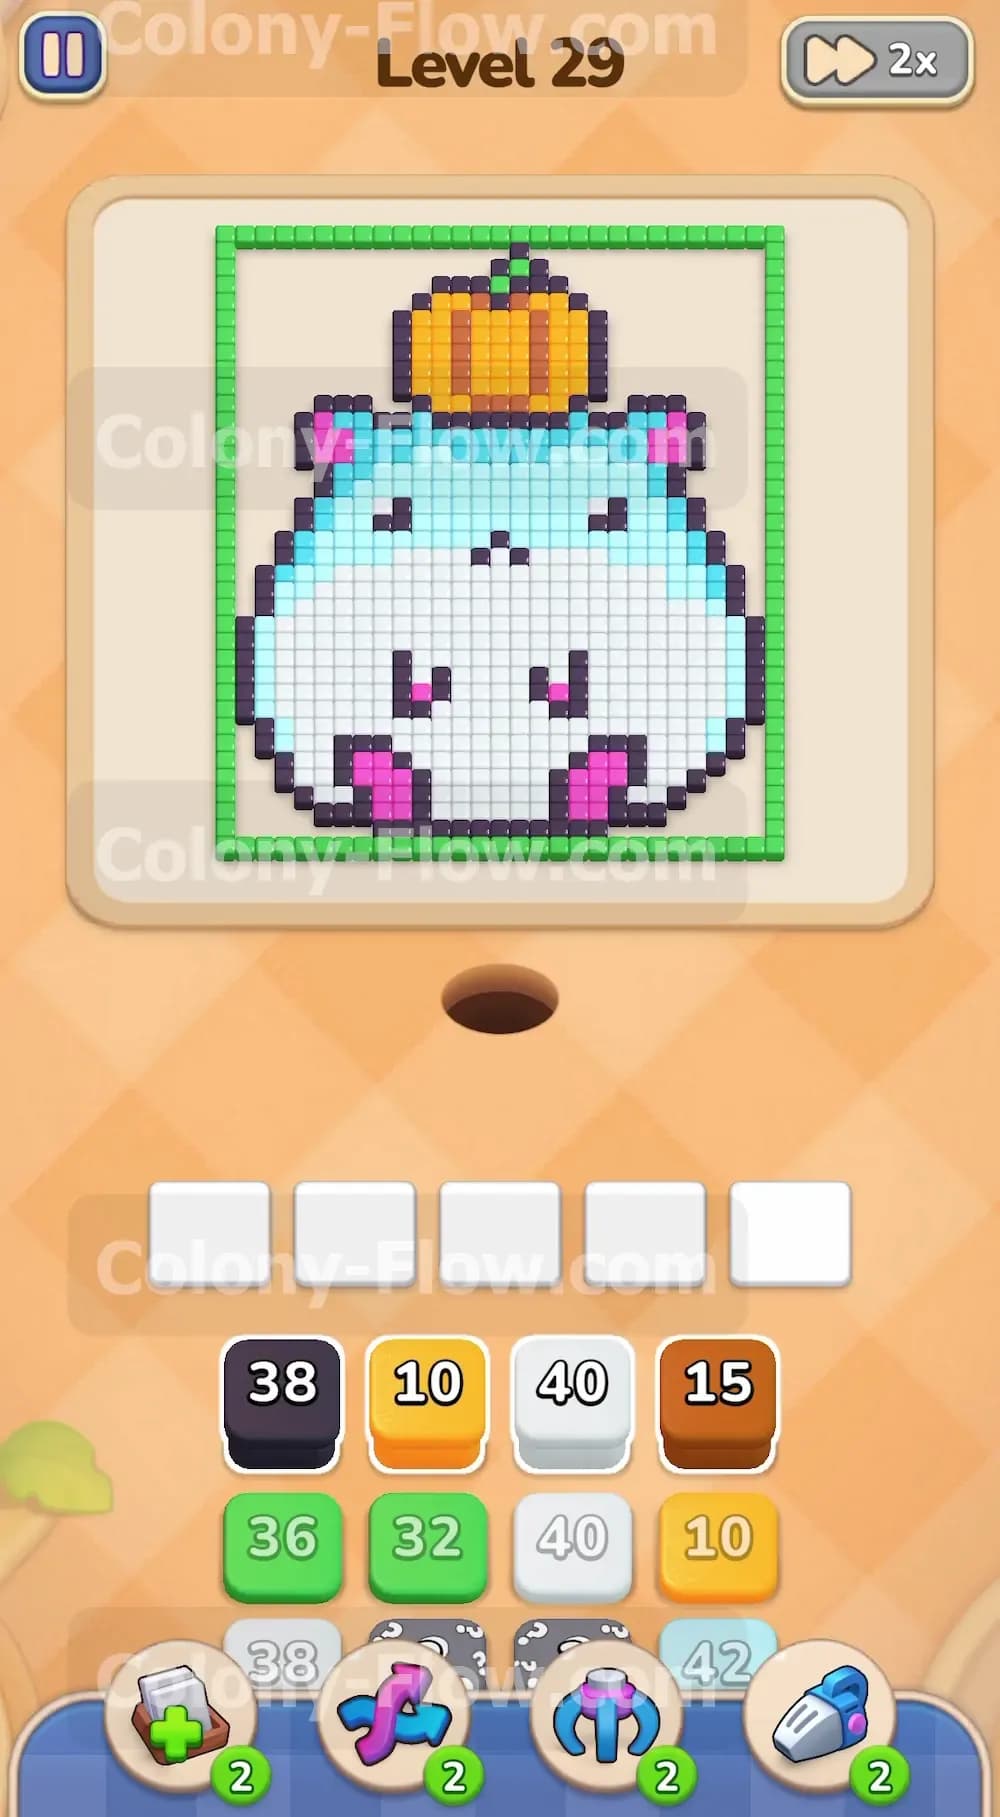
The picture at the top of the screen shows a cute blue creature with a white belly. It has pink feet and a large orange pumpkin resting on its head. A solid green border wraps around the creature on three sides. Your tray holds many blocks with large numbers. You will see colors like dark blue, white, green, light blue, pink, orange, and yellow. This level also features hidden boxes near the bottom of the tray. These hidden boxes look like grey blocks with question marks. You cannot see their true color until you clear the blocks resting directly on top of them. The bottom of the pixel art is fully exposed to the nest hole. Your ants have a direct path to the white belly, the pink feet, and the bottom dark blue outline right from the start.
What It Takes to Clear Level 29 Board
You win this level by removing every pixel art tile and emptying your tray completely. The core challenge involves the five waiting slots above your tray. If you fill all five slots with blocks that have no open paths to matching tiles your board will jam and you will lose. You must continuously match your blocks to the available tiles on the outer edges of the picture. You will work from the bottom up. First you clear the dark blue outline and the white belly. Opening the bottom creates new paths to the light blue body and the green border. You must carefully reveal the hidden boxes so you do not guess wrong and clog a waiting slot. Managing the flow of ants ensures you always have at least one active block clearing tiles.
Colony Flow Level 29 Step by Step Solution
Step 1: Clear the bottom dark blue outline and start the white belly
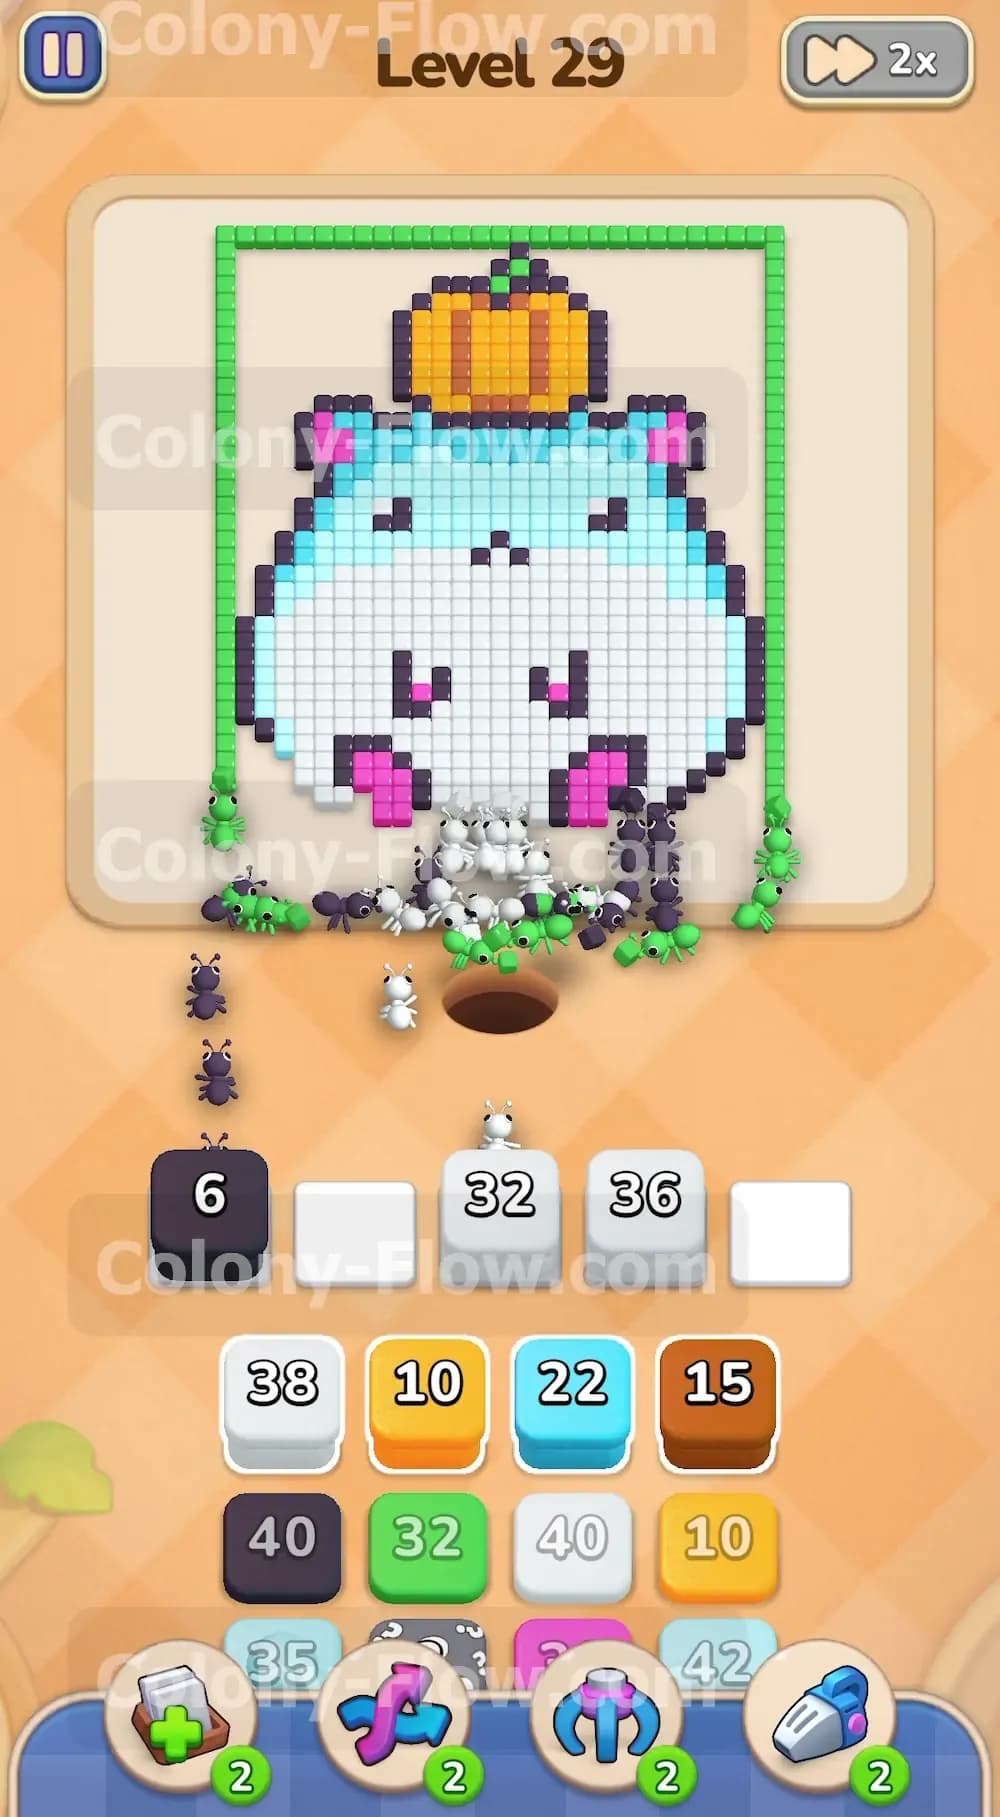
The very bottom of the picture blocks the rest of the creature. You need to pull a dark blue block to send ants to the dark blue outline. You also need to pull a white block to send ants to the white belly. Each block you pull has a specific number written on it. This number tells you exactly how many ants will spawn from that block. Your tray has a dark blue block with a high number and a white block right near the top. Tap the dark blue block to place it into your first waiting slot. Tap the white block to place it into your second waiting slot. The dark blue ants will march out of the nest hole at the bottom center of the screen and branch out to eat the bottom edge. The white ants will swarm the lower section of the belly. Doing this opens up the paths to the pink feet and the lower sides of the green border. You always want to keep your ants moving. The white belly covers a massive area in the center of the board. Letting the white ants chip away at it early saves you from running out of moves later. Pulling these two colors first ensures your waiting slots remain clear.
Step 2: Activate the green ants to travel up the side borders
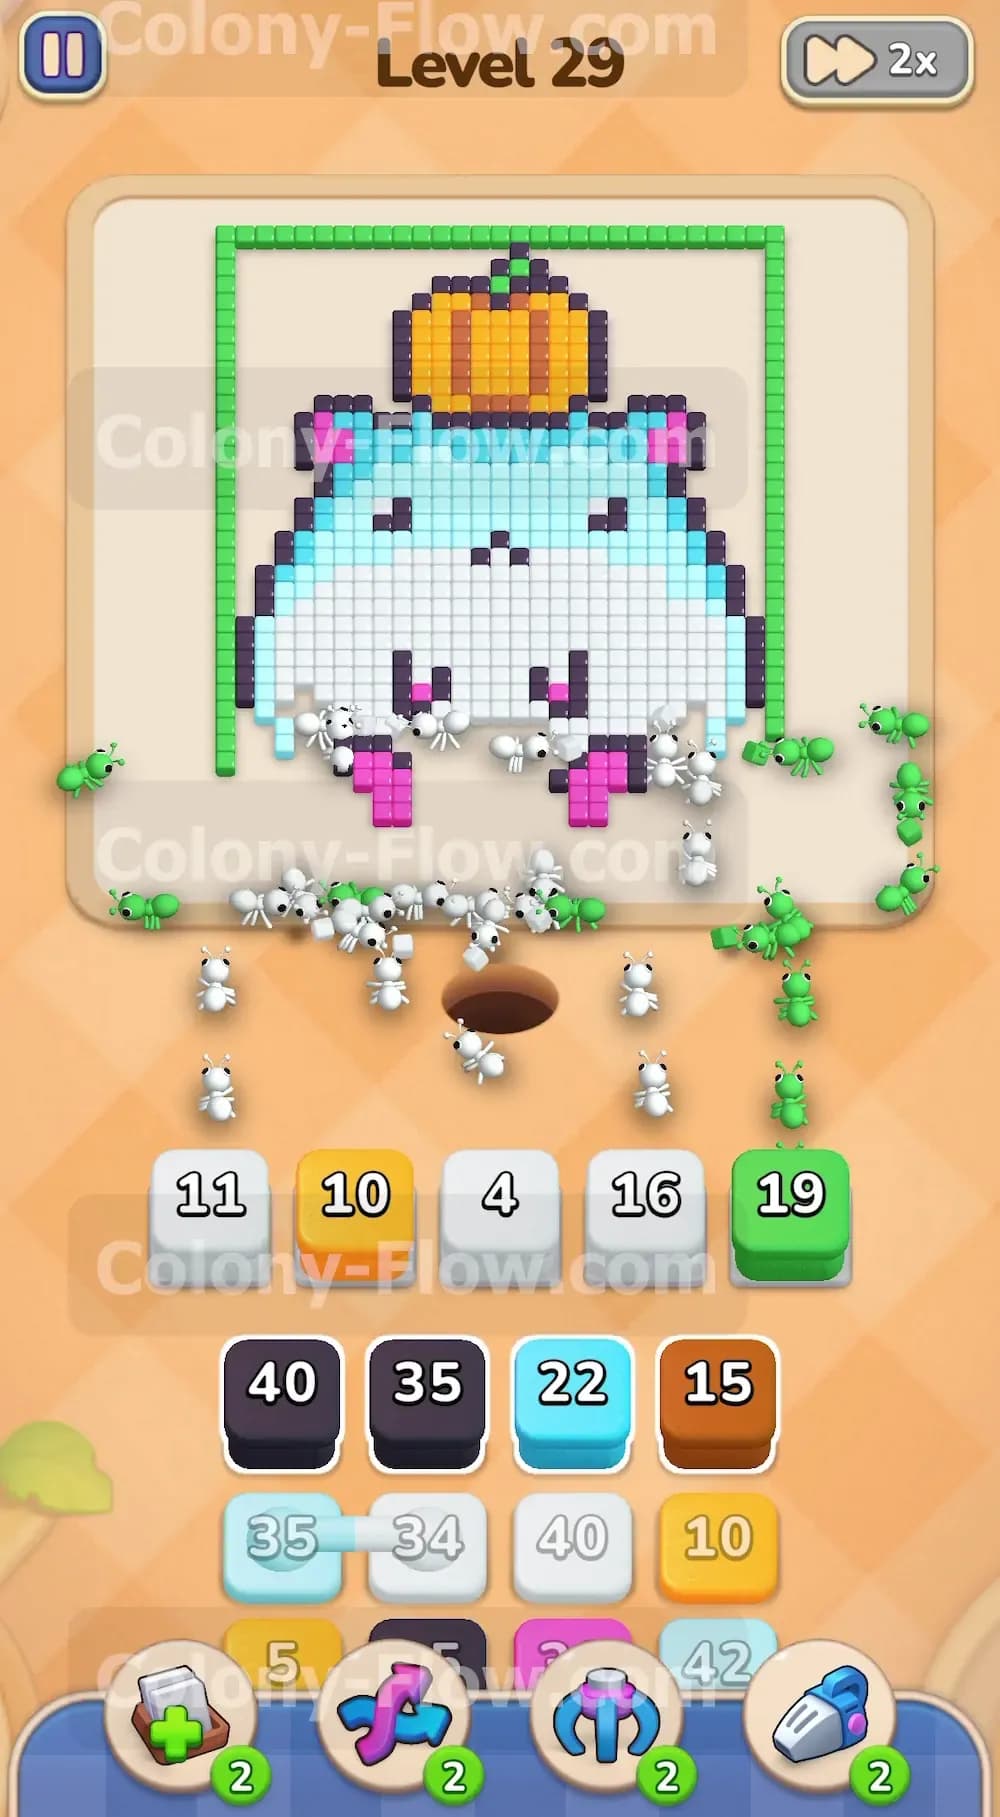
The green border wraps around the entire picture. The bottom ends of this border are now exposed since you cleared the lower outline. Tap a green block from your tray to send ants to these outer paths. The green ants will split up and travel up both the left side and the right side of the board. The green border takes a long time to clear because the ants have to walk very far from the nest hole. Starting the green ants now gives them plenty of time to travel. While the green ants walk up the sides you can focus on the center of the board. Keep an eye on the numbers on your green blocks. When one green block runs out you should pull another green block to keep the side borders shrinking. The side borders act like a cage around the creature. Opening them up gives your other ants more room to navigate. If you ignore the green border until the very end you will end up with a board full of green blocks in your tray and not enough open slots to hold them. Pacing the green ants alongside the center ants is a smart way to manage your available space.
Step 3: Remove the pink feet to unlock the main body
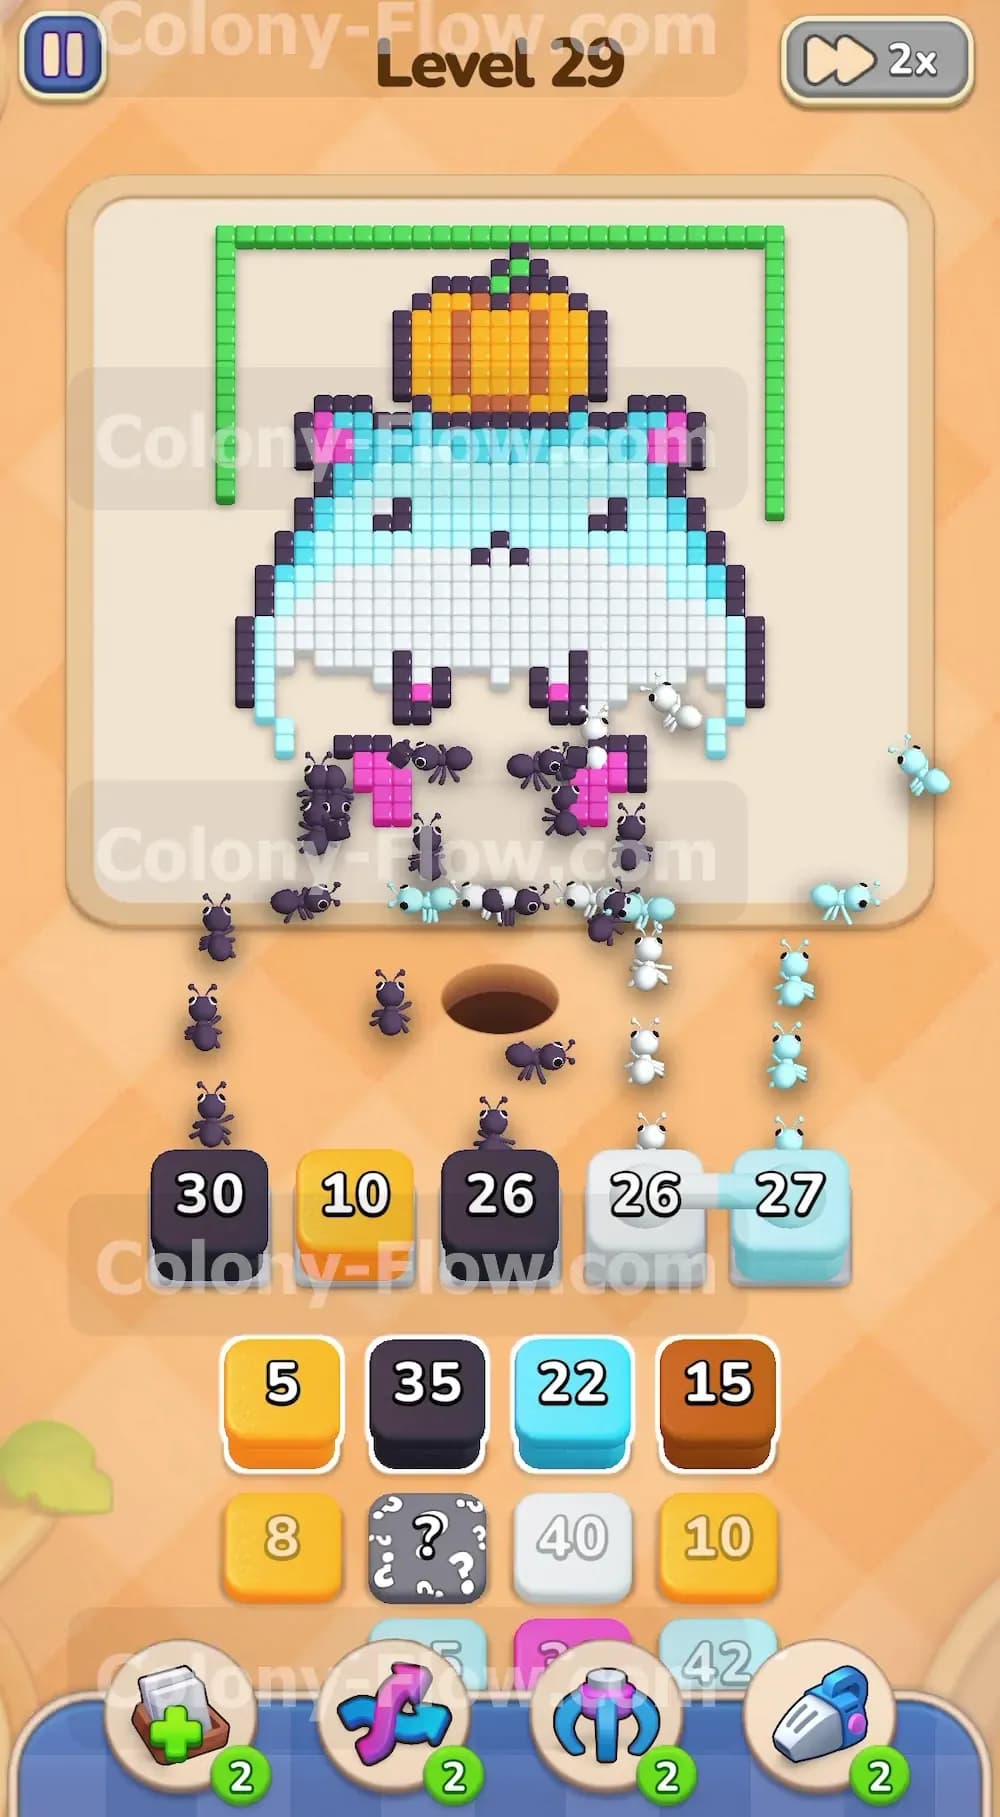
The creature has two pink feet resting near the bottom of the belly. The white ants have already cleared the space around them. Now you have a clear path to send pink ants. Find a pink block in your tray and tap it. The pink ants will rush out and consume the pink tiles on both sides of the creature. Removing the pink feet is incredibly helpful. The pink ants work very quickly because the feet are situated near the bottom. They do not have to travel far. Once the pink tiles vanish you will have full access to the massive light blue section. You might need to pull a second pink block if the first one runs out before the feet are gone. Just make sure the pink ants always have an open tile to reach so they do not get stuck in your slots. Every time a block empties it completely disappears from the slot and gives you your space back.
Step 4: Continue clearing the white belly and the dark blue outline
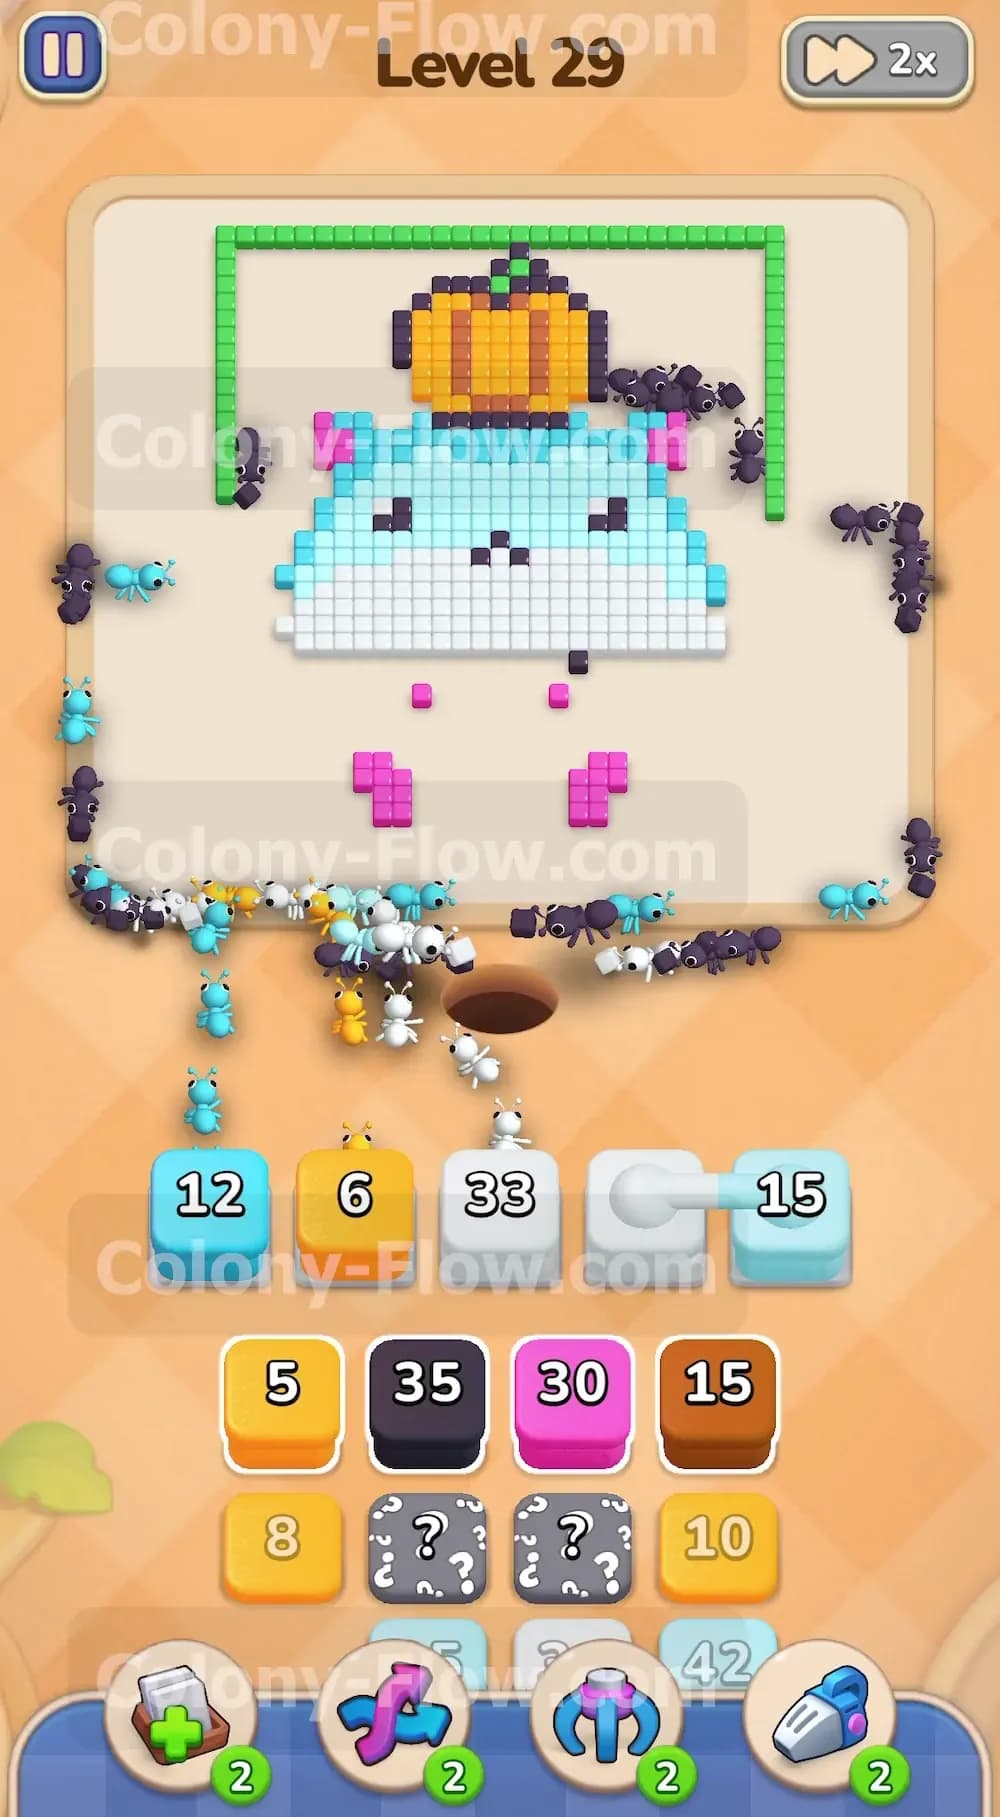
The belly and the outline require several blocks to fully disappear. You will see multiple white blocks and dark blue blocks in your tray. Tap another white block to keep eating the center of the creature. Tap another dark blue block to continue eating the side outlines. The white tiles sit perfectly in the middle and prevent you from reaching the face of the creature. The dark blue tiles protect the outer edges of the body. You must clear both colors simultaneously. This dual approach ensures that multiple paths remain open at all times. If you ever pull a block and the ants have no path to their matching color the block will simply sit in the slot. It will block other colors from entering. This is exactly how you lose the game. By constantly eating away at the white belly and the dark blue outline you guarantee that new paths naturally form as the old tiles disappear.
Step 5: Uncover the hidden boxes in the bottom of the tray
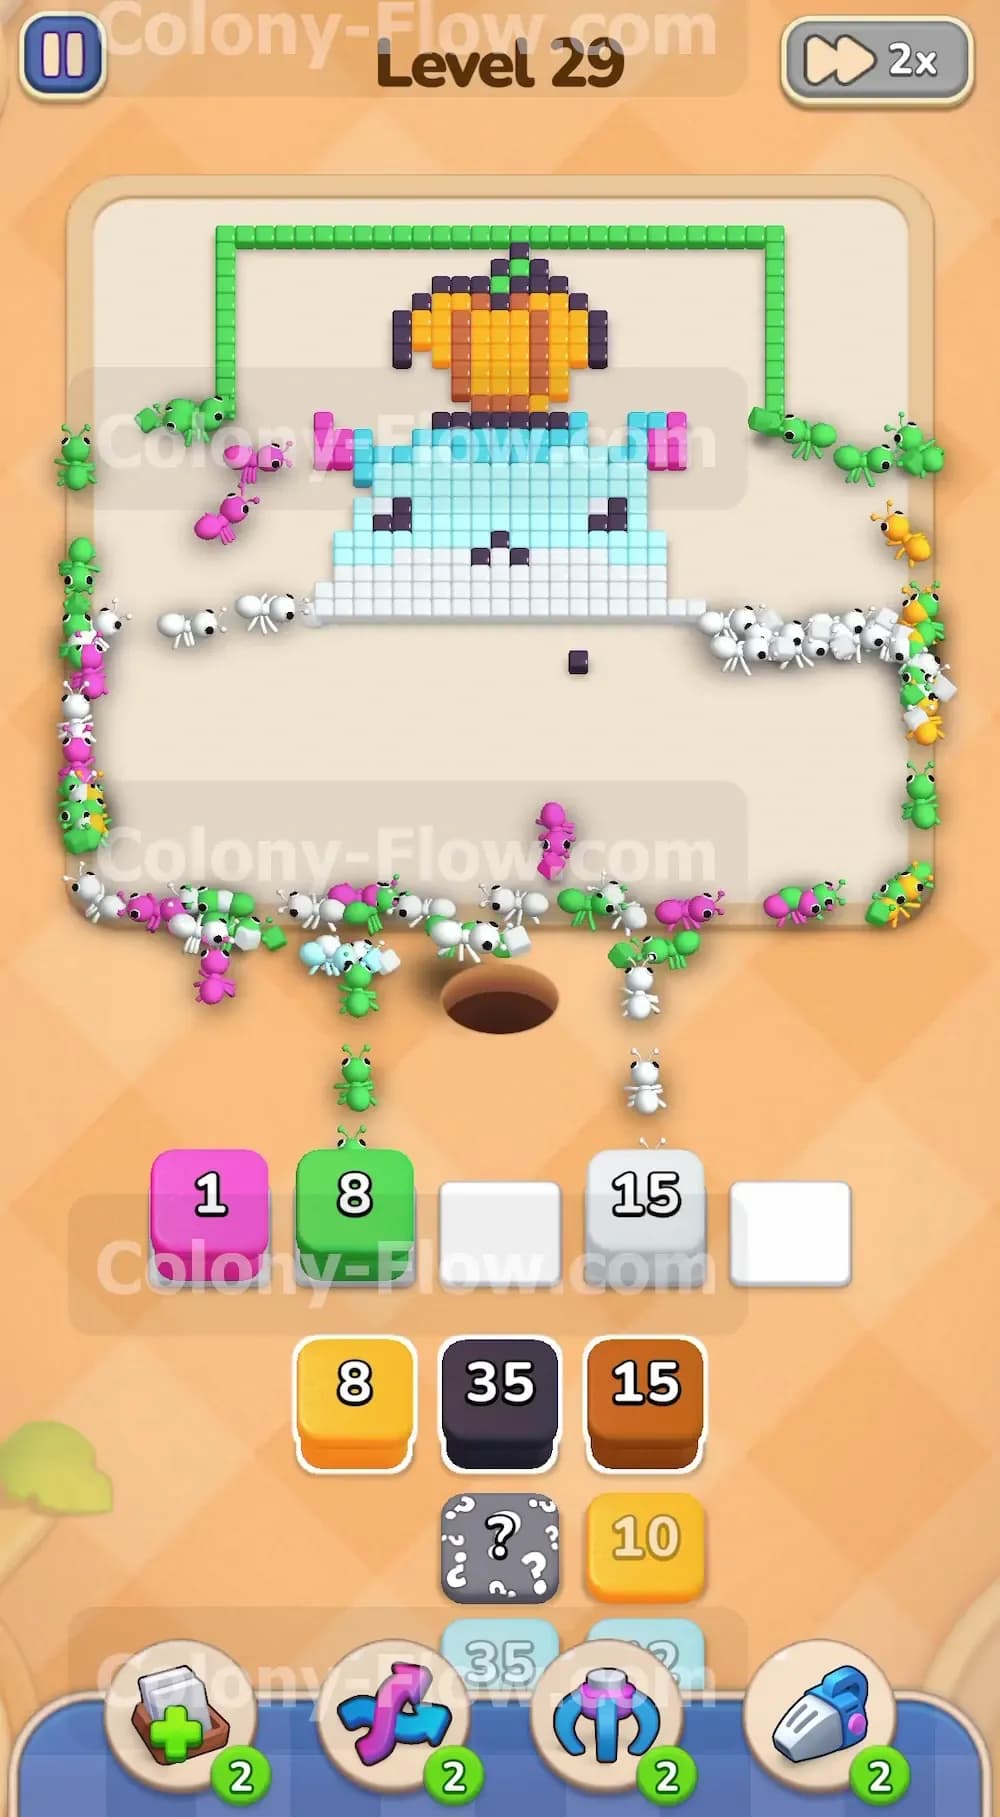
As you use up the top layers of your tray you will expose the hidden boxes. These boxes display question marks instead of colors. You cannot know what color a hidden box holds until you remove the blocks sitting directly above it. Look at the blocks covering the hidden boxes. You will see colors like yellow and light blue. Tap these top blocks to move them into your waiting slots. When you tap a block it flies up into one of your five waiting slots. The blocks sitting behind it in the tray will slide forward to take its place. This is how you access the hidden boxes buried in the back. Make sure the board has open paths for yellow and light blue before you do this. The light blue ants will start eating the main body of the creature. The yellow ants will target the yellow sections of the pumpkin on top. Once you move the covering blocks the hidden boxes will reveal their true colors. This allows you to plan your next moves without guessing. Never pull a hidden box before you reveal its color. If you blindly tap a hidden box and it turns out to be a color with no open path it will permanently occupy one of your five slots until a path opens. If you do that too many times your game will end instantly. Always clear the top blocks first so you can clearly see what the hidden boxes contain.
Step 6: Flood the main body with light blue ants
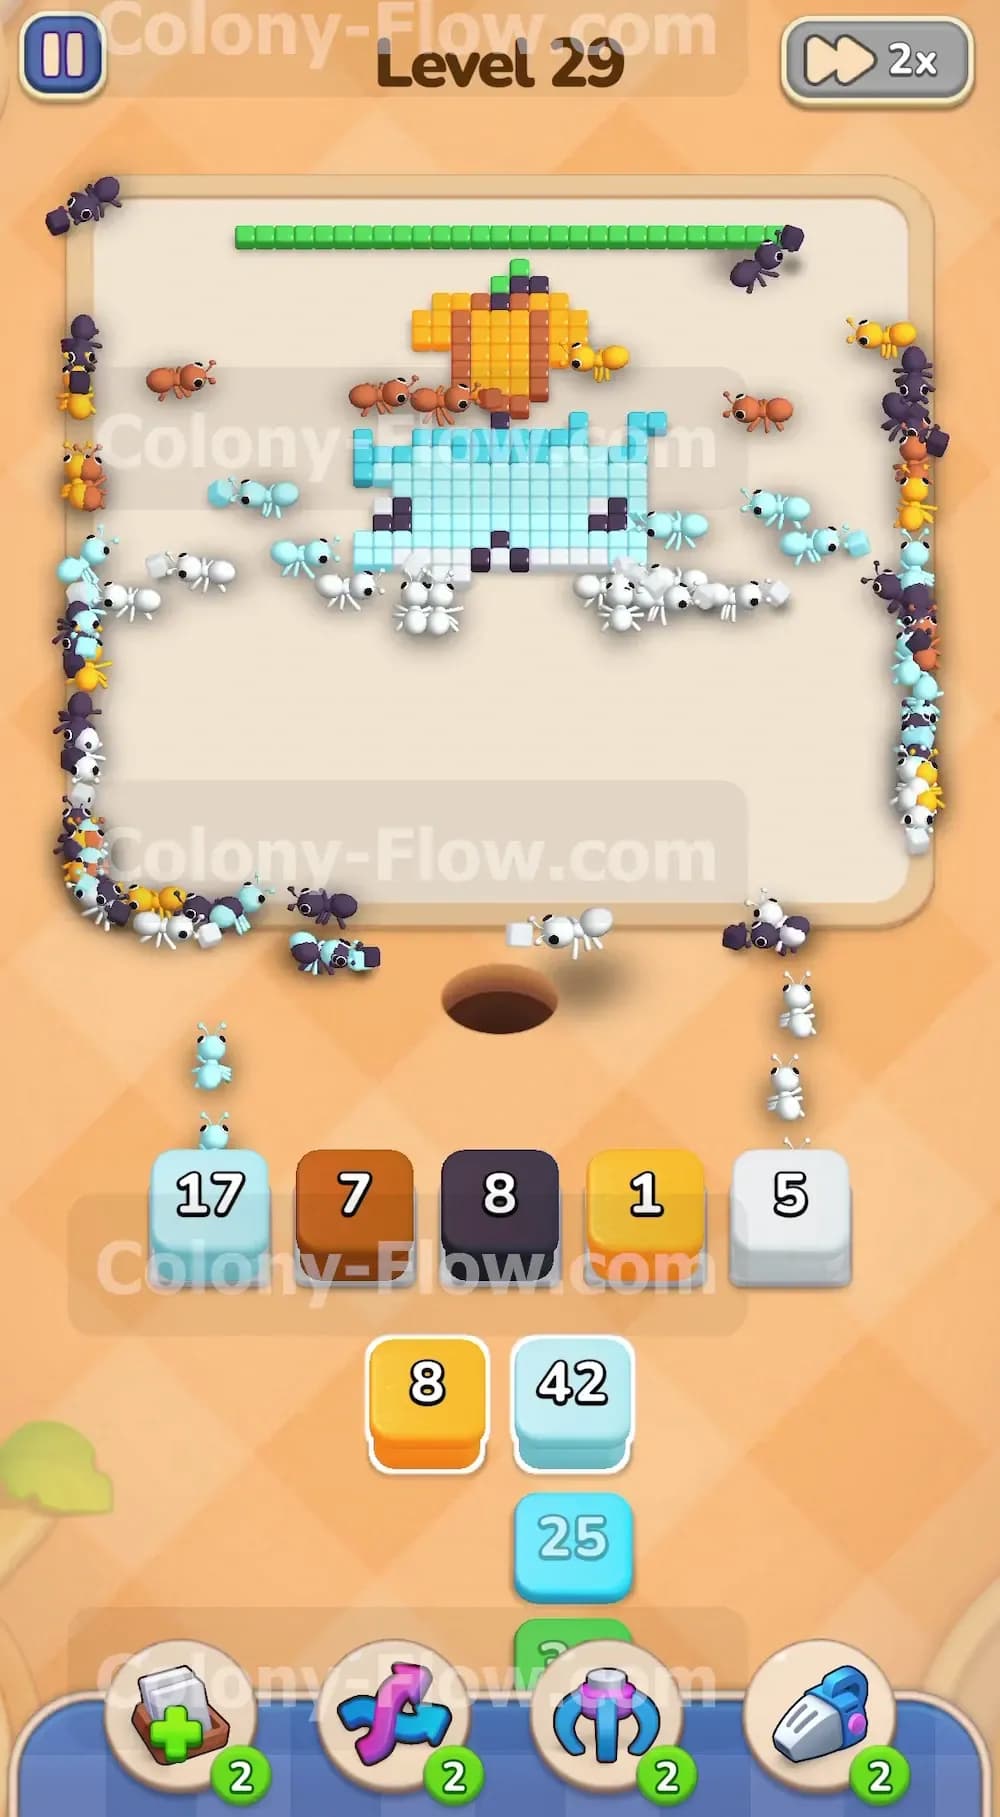
The largest section of the picture is the light blue body of the creature. Now that the white belly and pink feet are gone the light blue tiles are fully exposed. Your tray holds several light blue blocks with very high numbers. Tap a light blue block to send a massive swarm of ants into the center of the board. The light blue ants will eat their way up the body toward the face and the pumpkin. The sheer number of light blue tiles means this step will take a while. You can safely pull two light blue blocks into your waiting slots at the same time. The ants will divide the work and clear the body much faster. The light blue body curves up toward the ears and surrounds the pumpkin. The ants will naturally follow the curve of the body as they eat. You will notice the numbers on the light blue blocks dropping rapidly as the swarm consumes the creature. Keep feeding the light blue blocks from the tray to maintain the momentum. Just monitor the remaining tiles to ensure you do not pull too many light blue blocks and jam your slots.
Step 7: Clear the orange and brown tiles on the pumpkin
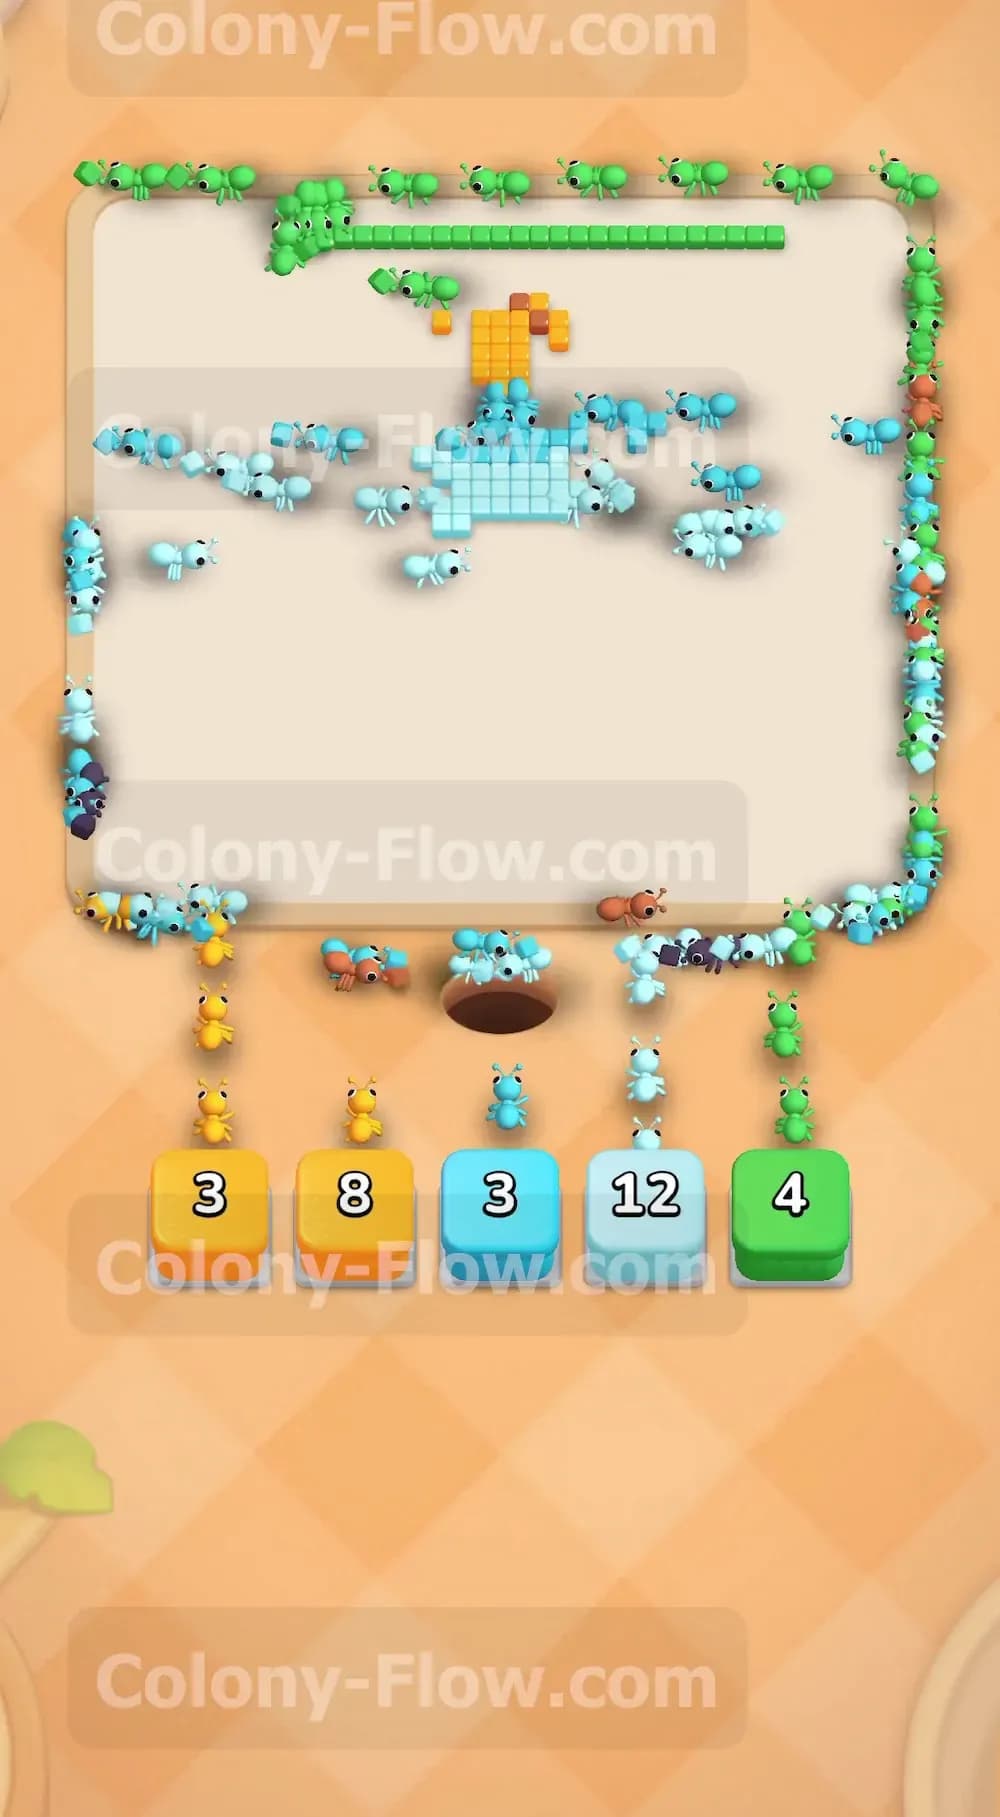
The pumpkin sits on the very top of the creature. You can reach the pumpkin tiles once the light blue body shrinks enough to open a path. The pumpkin consists of orange tiles for the main shell and brown tiles for the stem. Find an orange block in your tray and move it to a waiting slot. The orange ants will travel all the way up the middle of the board to eat the pumpkin. Find a brown block and do the exact same thing. The brown ants will target the stem at the very top. These top tiles require a long walking distance for the ants. You must keep the paths completely clear of other ant swarms to speed up the process. The pumpkin also has some yellow tiles mixed in. You will need to pull a yellow block to help clear the remaining pumpkin pieces. The yellow ants will rush up the center path right behind the orange ants. Coordinating these three colors removes the entire pumpkin structure from the board. This leaves only the absolute highest points of the picture for your final moves. Let the orange and brown ants finish their jobs while you prepare for the final cleanup.
Step 8: Finish the top green border and the remaining body tiles
Only a few scattered tiles remain at the very top of the board. You will see the final pieces of the green border and the last few light blue tiles near the creature ears. Your tray should only have a few blocks left. Tap the remaining green blocks to send ants to the top border. Tap the final light blue blocks to finish off the ears. The waiting slots are mostly empty now so you have plenty of room to operate. Watch the ants march up the sides and the middle to eat the final pieces. Sometimes a stray ant might take a few extra seconds to reach a corner tile. Be patient and let them finish walking. Do not panic and pull unnecessary blocks. Just watch the final numbers tick down to zero. You have successfully navigated the entire board without dead ending your paths. Once every single pixel art tile disappears and your tray is completely empty you will win the level.
Final Thought
Colony Flow Level 29 requires careful attention to the hidden boxes and a steady rhythm of clearing the bottom tiles first. Keeping your paths open is the only way to prevent your waiting slots from jamming. If you follow this exact sequence you will master the board without breaking a sweat. Please watch the video above this article if any step is hard to follow in text. Seeing the ants in motion will clarify exactly how the paths open up.